
FOURTH WEEK ASSIGNMENT
 |
 |
 |
 |
ELECTRONICS PRODUCTION
Make the Fab ISP in-circuit programer
      David
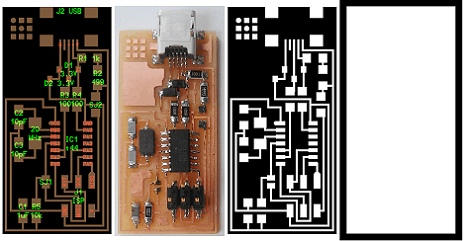
      hello.ISP.44.cad board components traces interior
      inventory microcontroller crystal USB connector ribbon connector Zener diode jumper
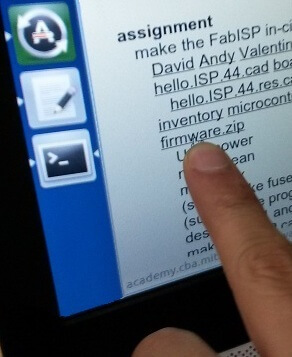
      firmware.zip
- This week's assignment is to make your own Fab ISP (In-System Programmer).
- This plate (once programmed) will allow us to communicate with new plates that will be manufactured in future Fab Academy assignments.
Preliminaries
This week's task can be divided in 4 stages:
Imaging, Modela, Welding and Programming, with their respective tests:
IMAGING
1. Chose the ISP model that will be implemented for my project. I decided to use the David's fretwork.
2. Downloaded the image in PNG format, changed the size, resolution, and customized it in order to have an adequate image for its use on the Modela Roland MDX20 equipment.
board components traces interior
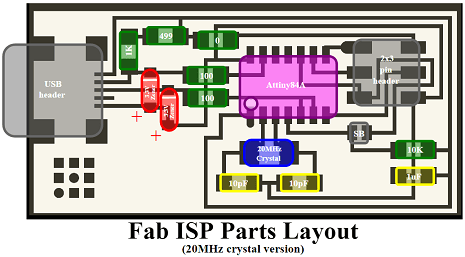
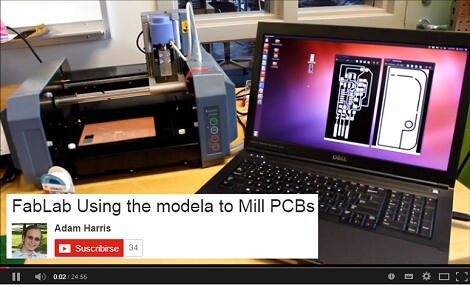
Here we have two excellent contributions by Adam Harris, of Fab Academy 2014, a text and a video tutorial.
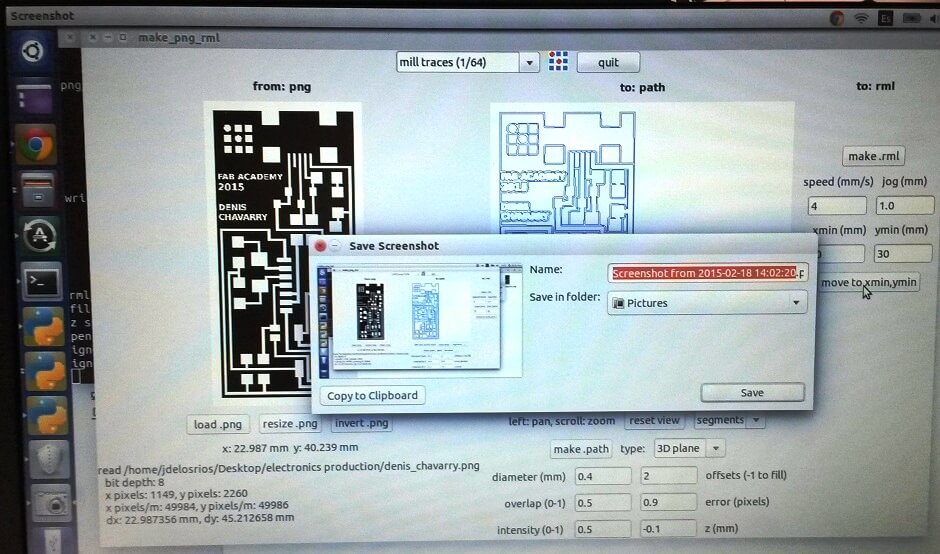
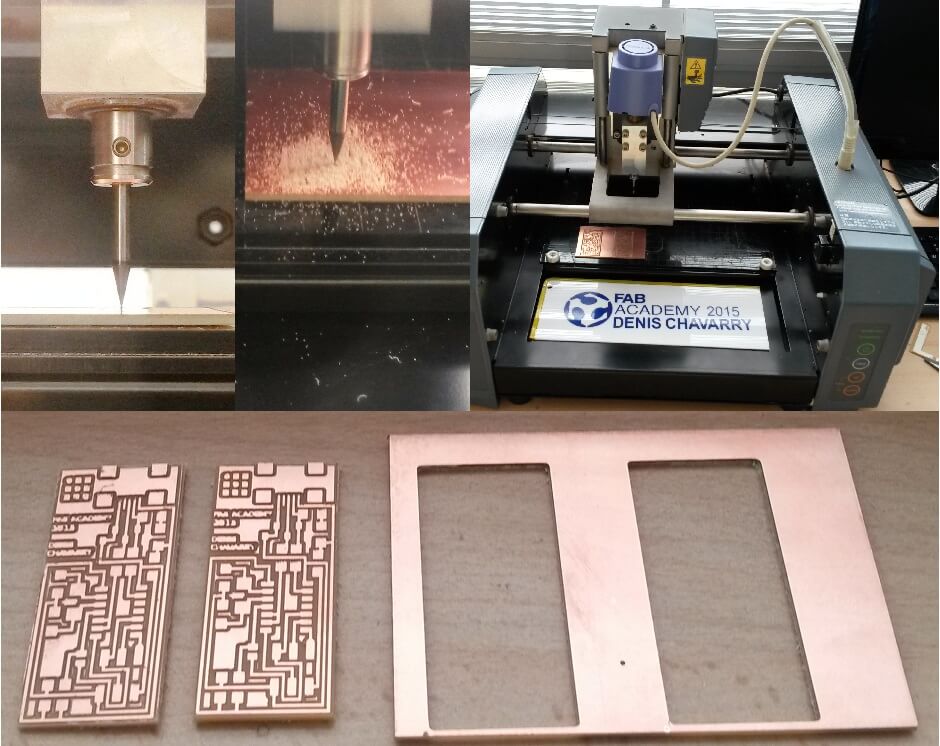
Some notes.
1. Card was secured to the base using double-sided tape.
2. Adjusted the reference point to "0".
3. Set machine's speed and depth.
4. The first part of card was made with a 1/64" mill bit.
5. The outline was cut using a 1/32" mill bit.
6. Be careful when changing bits, they can break if fall.
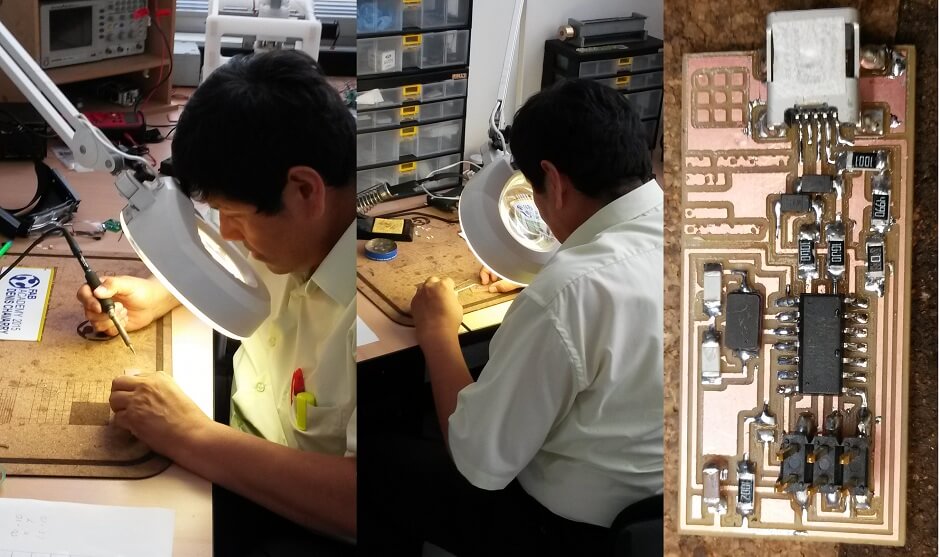
After cutting, the next step was the welding of components.
1. Verified list of components..

3. First time welding surface components. Even though I had a difficult start, I knew I would succeed.
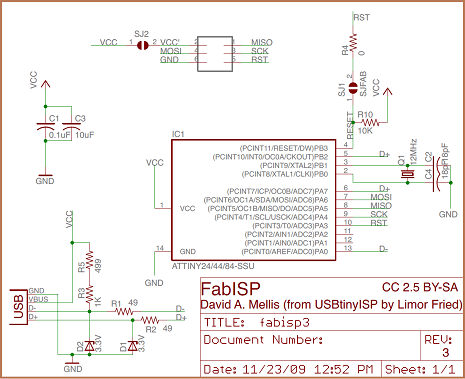
PROGRAMMING AND TESTING
- Removal of two bridges.
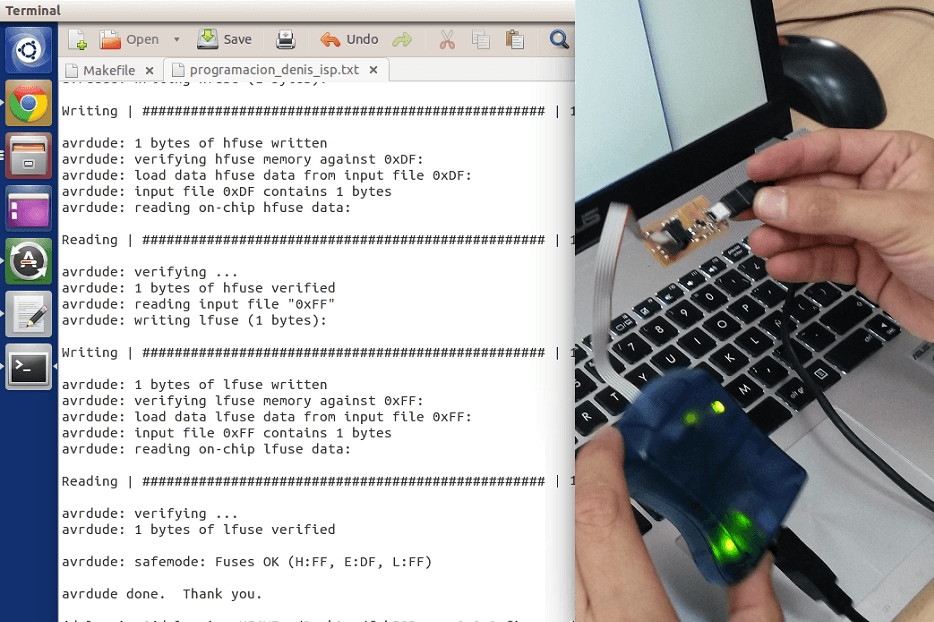
- Fab ISP was finally recognized by the computer.
- Fab ISP ready for future assignments.
