Design nut and bolt
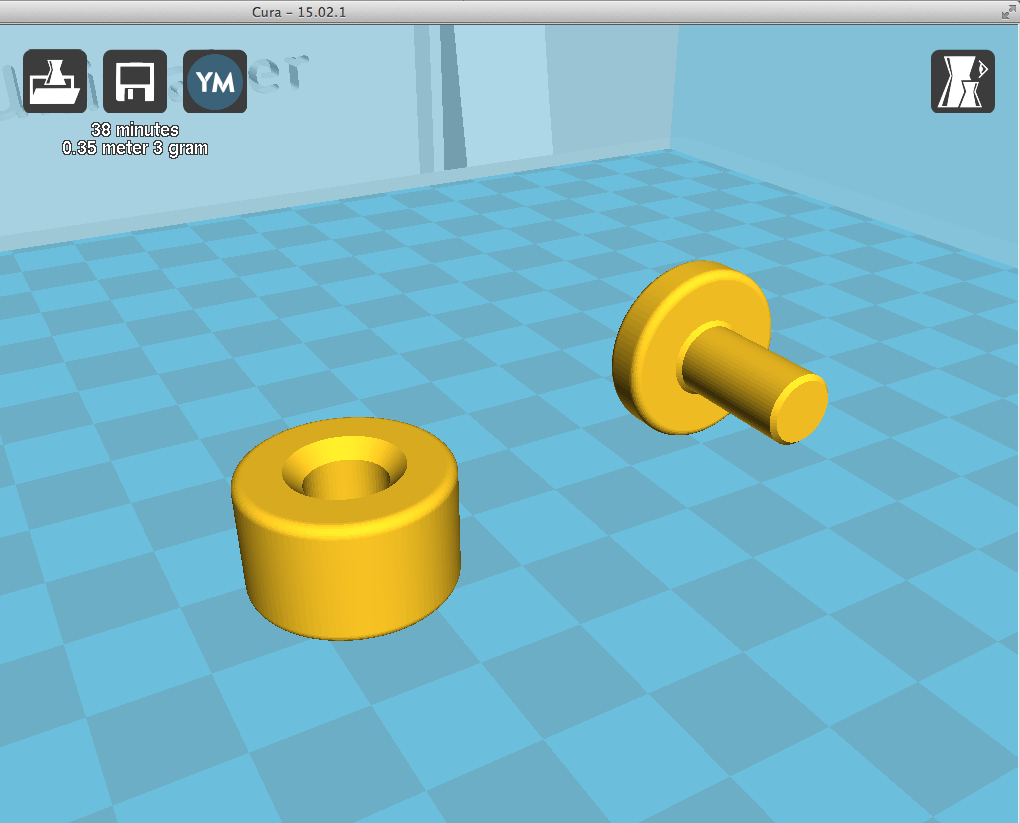
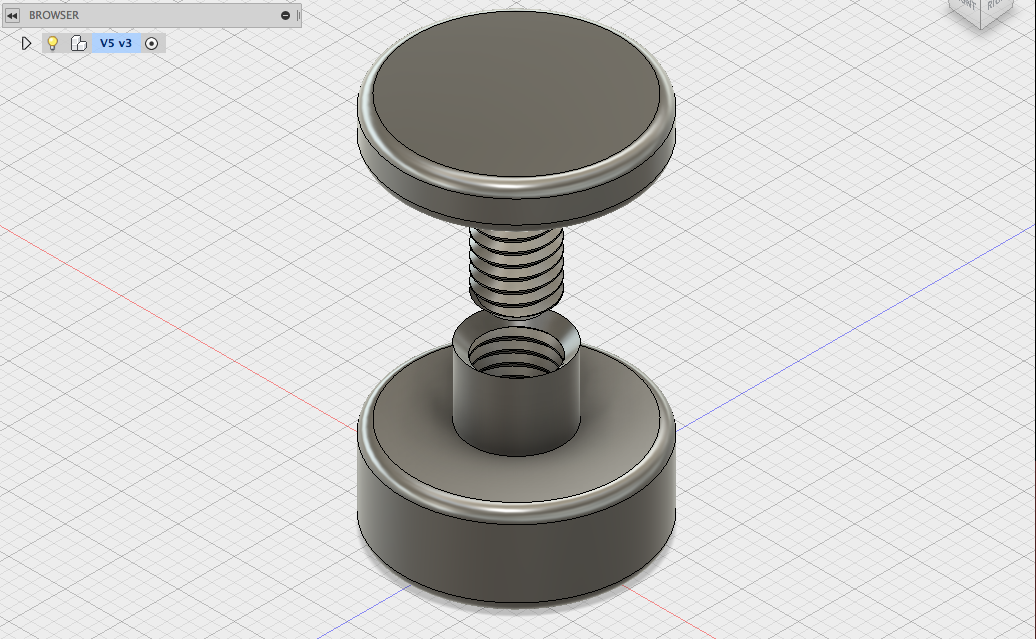
For this week I wanted to print something in an assembly style and test if they can fit into each other. I chose to do a nut and bolt, so that I know how strong such an construction can be if someone wants to 3d print it. My first thought was that you cannot reduce the size too much, but that doesn't matter for now as there is no application of the design. I worked using Fusion 360 and I struggled for quite some time to understand why I design the thread but Cura doesn't think the same when you import the .stl file there. It seems that in order for the result of the thread to be not only visual but also in the geometry of the model, you need to select the option "modeled".
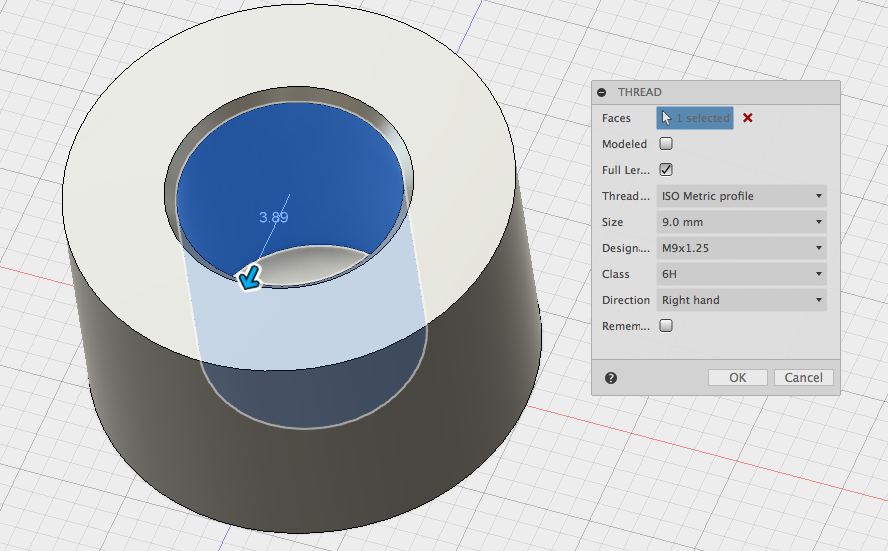
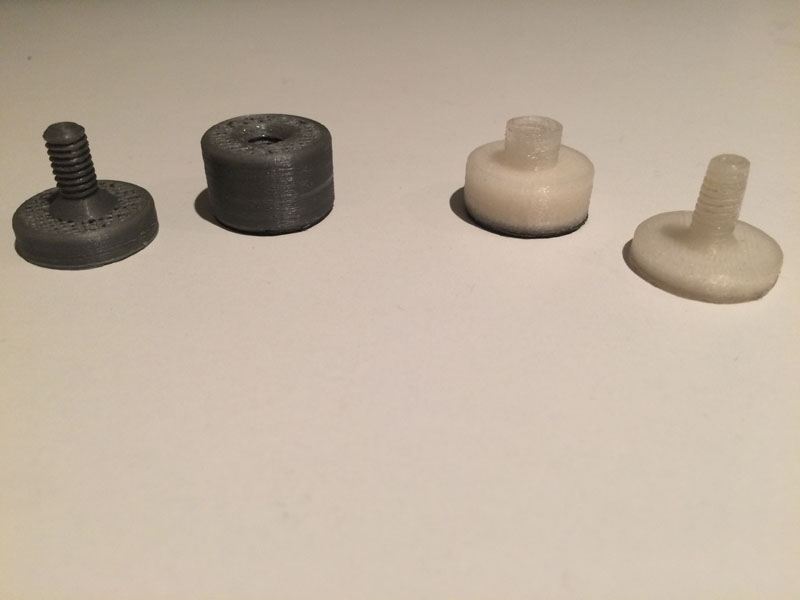
Given that I figured this out, I made and printed 3 different designs. The first one, didn't fit. The second one fit, but I made a third one as well in order to test if I can reduce the walls of the nut. I started designing having in mind that the nut should be slightly bigger than the bolt so that it is possible to fit. However, even though I checked both diameters the first attempt didn't fit. It seems that the settings of the 3d print can even affect that (e.g. with the perimeter lines) and change the design you made. I can't say I ended up with a brilliant tip on that, only that you need to be aware and experiment when you have an assembly.
Print nut and bolt
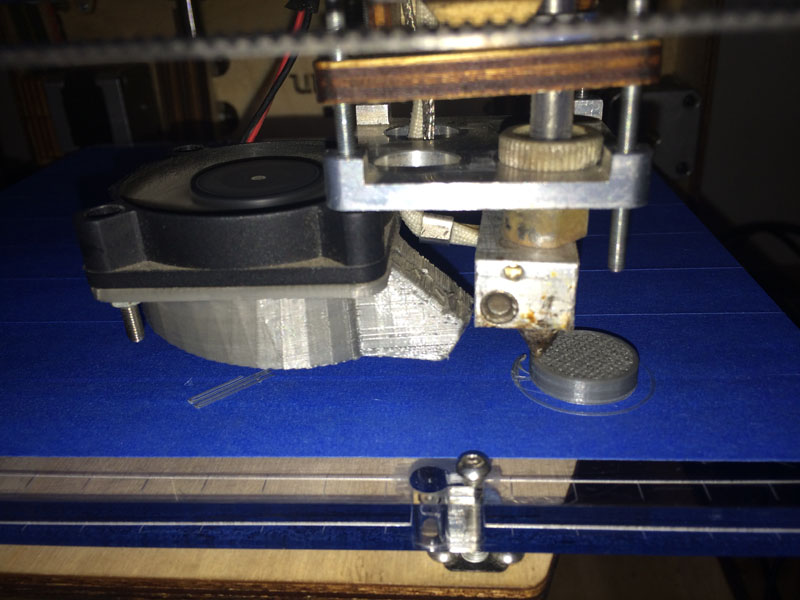
In the first attempt to print out the nut & bolt I selected a quite refined option in terms of detail (e.g. 0.06 layer height), but I put only 20% of fill density. I believe that was too low, because the thread part of the bolt just started to lean after some height, since it couldn't a proper attachment to the rest of the body. Moreover, as I already mentioned, it didn't fit.
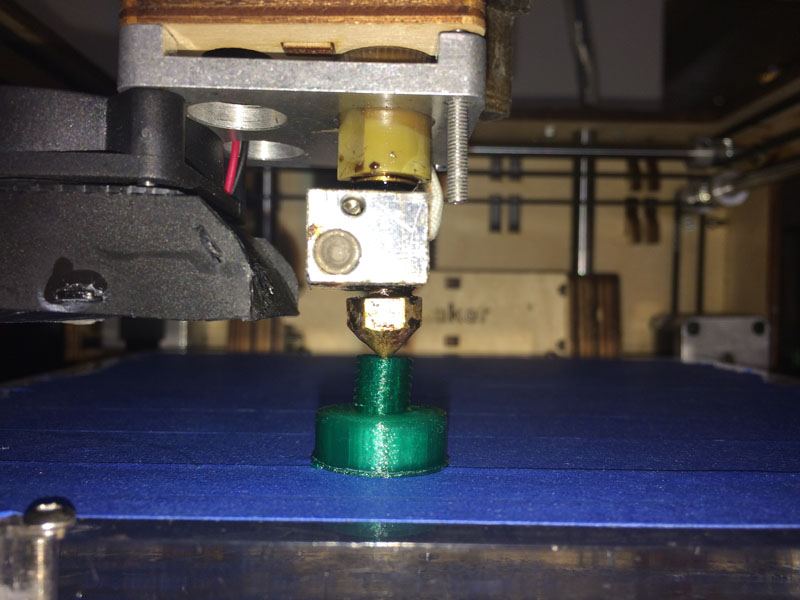
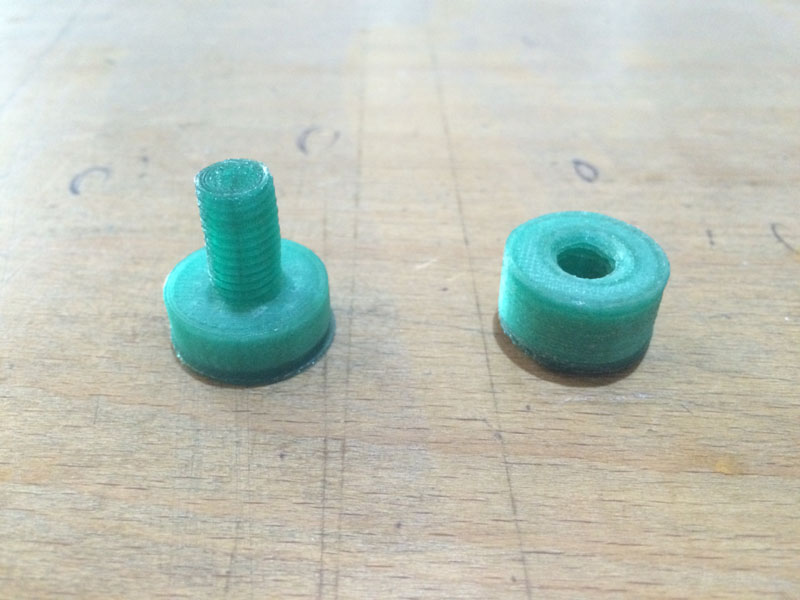
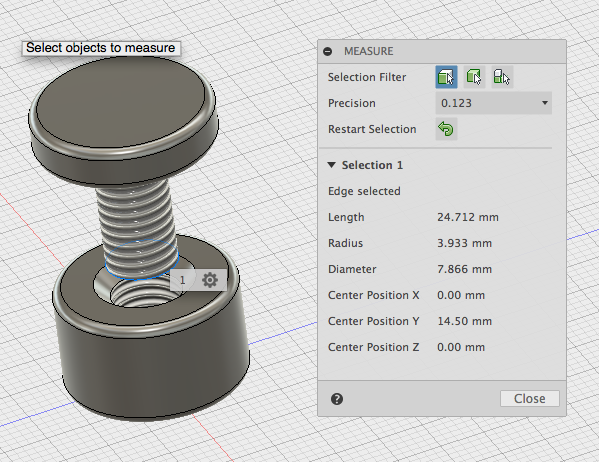
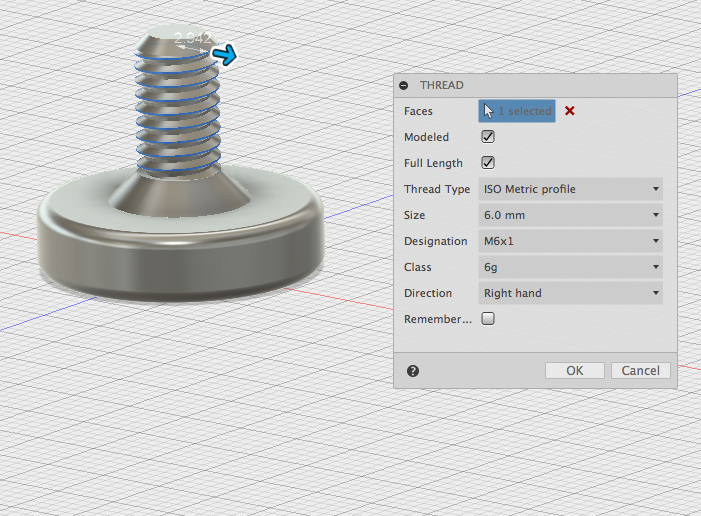
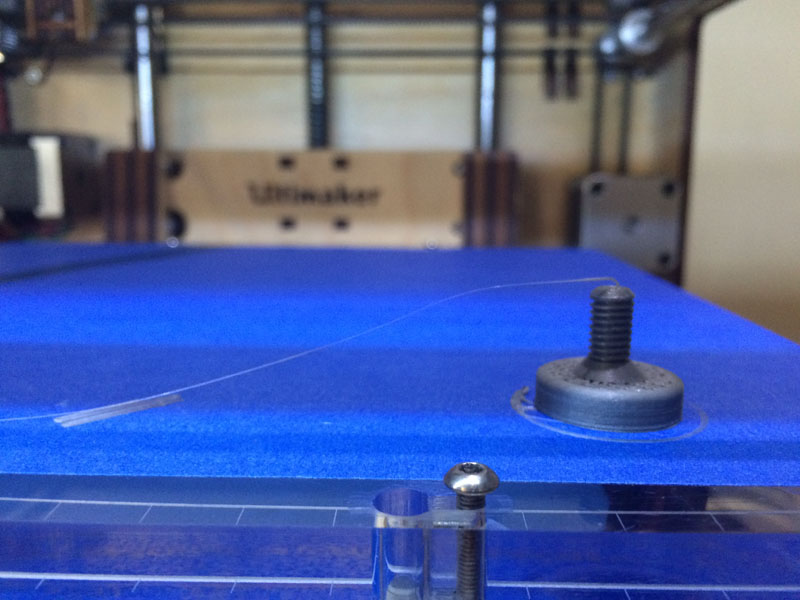
I decided to increase the density and try to print the second attempt with a smaller diameter for the bolt. Also added some details to make sure it won't start leaning again (like the chamfered connection of the threaded part to the head). That worked out quite well, both in terms of quality of print and in the general goal. This time it could fit!
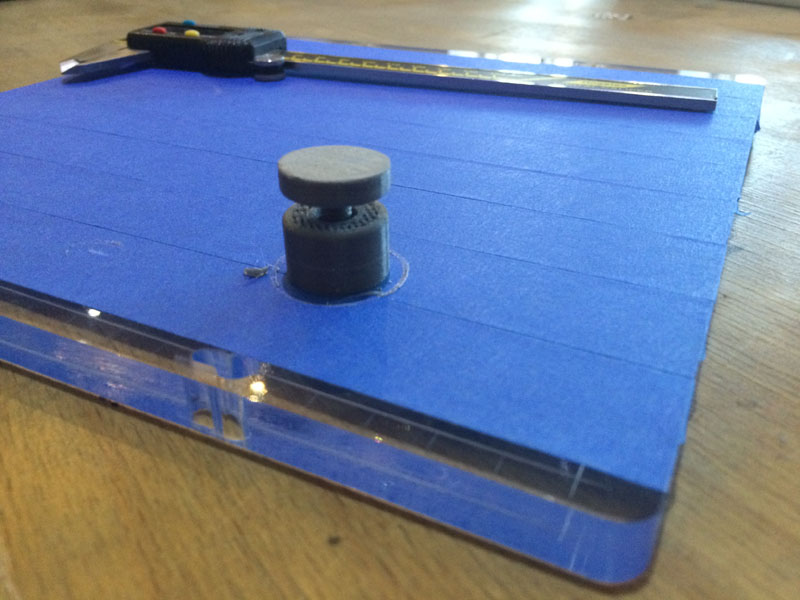
In my last attempt I just decided to see if the size of the nut could be reduced, by thinning the walls around the threaded part. That also ended up well, but I guess it is quite logical that the ticker the walls the more robust the construction will be.
3d scan nuts!
I began with the intention to 3d scan using the kinect and not the modela. However my way to just figure out what to install and how, took me the whole day. First, reading on the web about that I thought that the only solution is to do that using windows (and I have a mac). Luckily I do have a boot camped windows partition. So I switched to that, after years! I installed Reconstructme but when I tried to open that I got a message that a file named “OpenCL.dll” is missing, so ReconstructMe cannot open. OpenCL.dll is a file that GPUs’ drivers install by default as it seems, if they are “decent” enough. ReconstructMe only supports those “decent” GPUs, or those that can handle a 3d scan and have OpenCL. So I made a time-consuming update on my graphic card’s drivers, since my windows partition is barely ever used, and the program was able to load. But that is just step 1. Step 2 is to actually connect the kinect and use it through ReconstructMe. When I plugged the kinect in my mac, the windows were able to recognise that this is a kinect device but the drivers were missing and marked with an exclamation mark (!). I haven’t managed to finish that part of the installation (cause time to call it a day at the lab was nearby), but there are few more installations that need to be done:
What puzzled me is that OpenNI seems to be discontinued as a project. There are some places you can fetch older existing versions like this Structure.IO OpenNI but not sure if they are outdated. When someone manages to go through all the steps, get a proper 3d scan, all you need is to remove some parts you don’t need (e.g. floor/walls around the object).
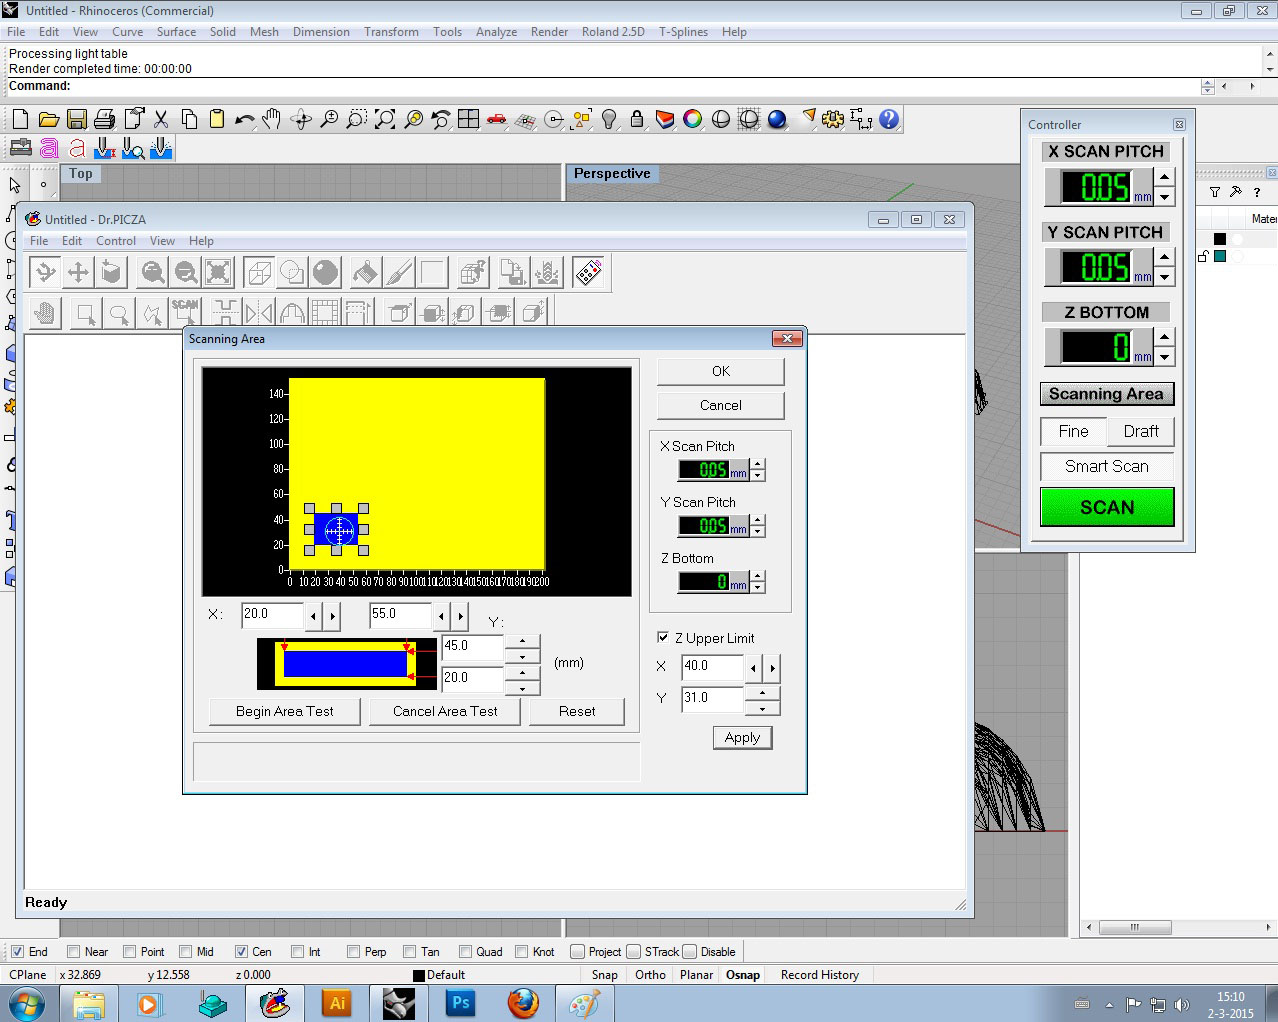
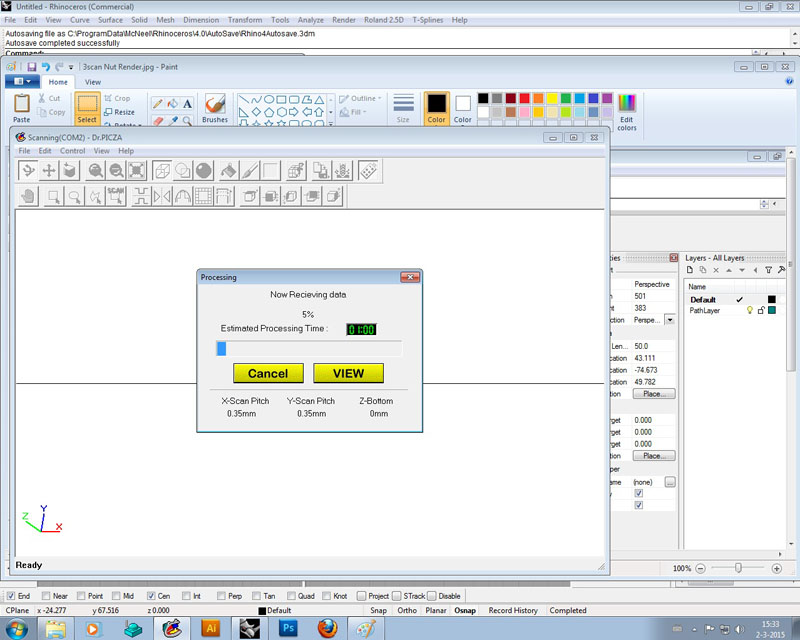
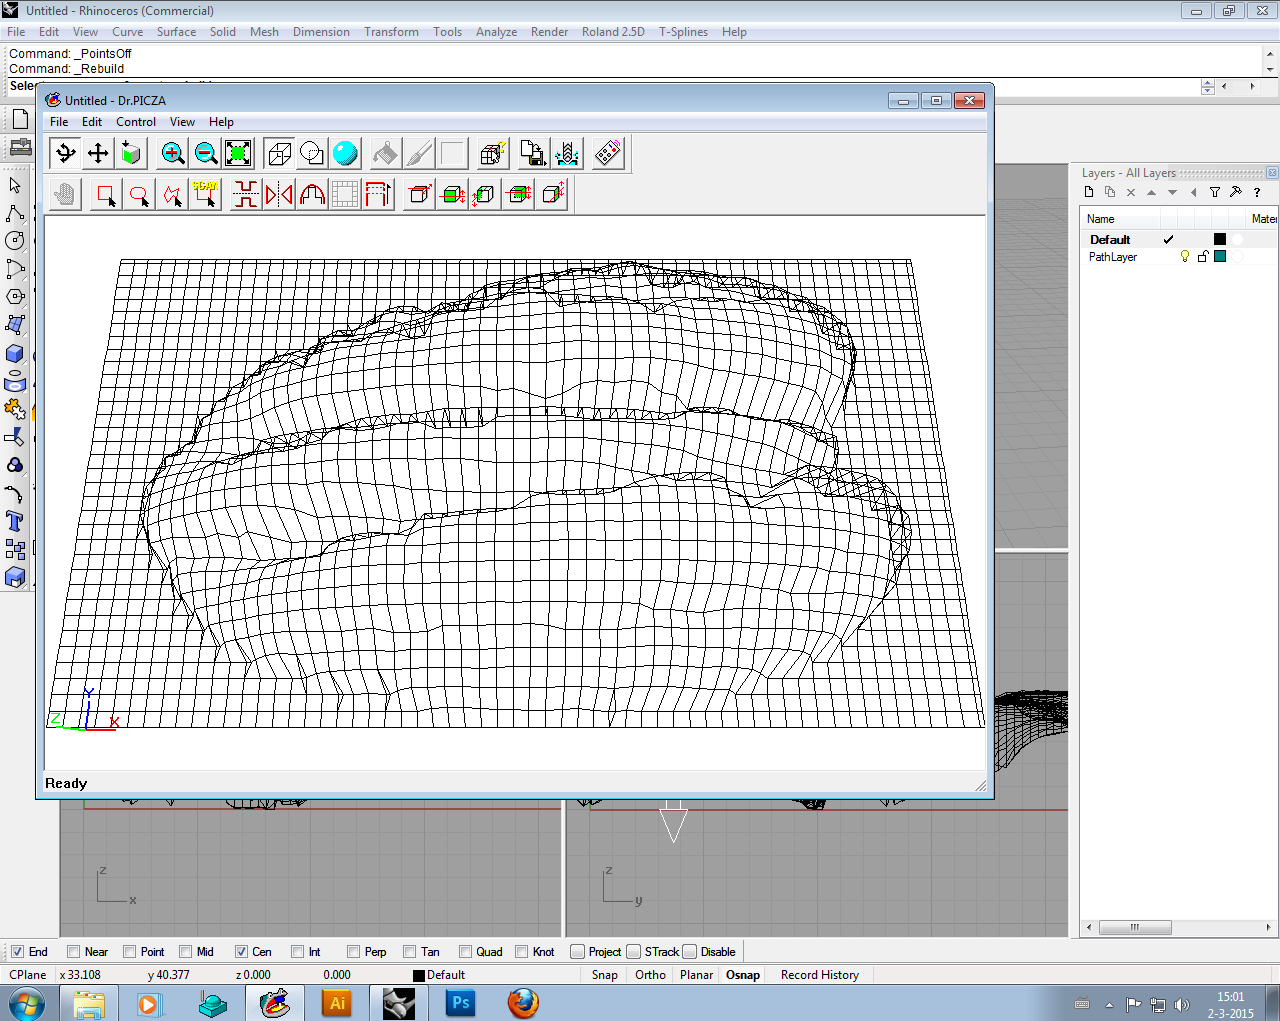
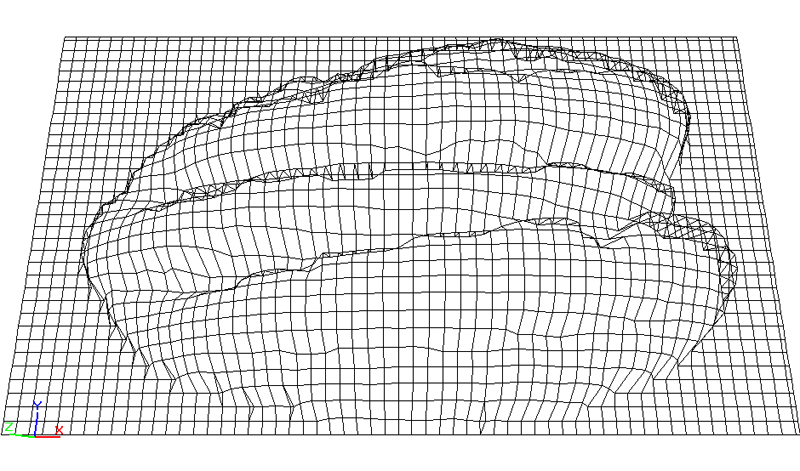
In any case I decided to let it go and continue with booking a time for 3d scanning with the modela! The modela basicly goes around the object, slowly and painfully, with a head and stops everytime it hits something. After setting the area to be scanned and the details, you can let scan till you get the result back, unlike other machines and processes. In the end I got exports of the walnut into various types of files, but I thought not to 3d printed, mainly because I wouldn't know what to do with a half 3d printed walnut! Although I liked the mesh result of it.