Firstly, I tried using the Fuel 3D scanner, but had a problem with the graphics card driver.
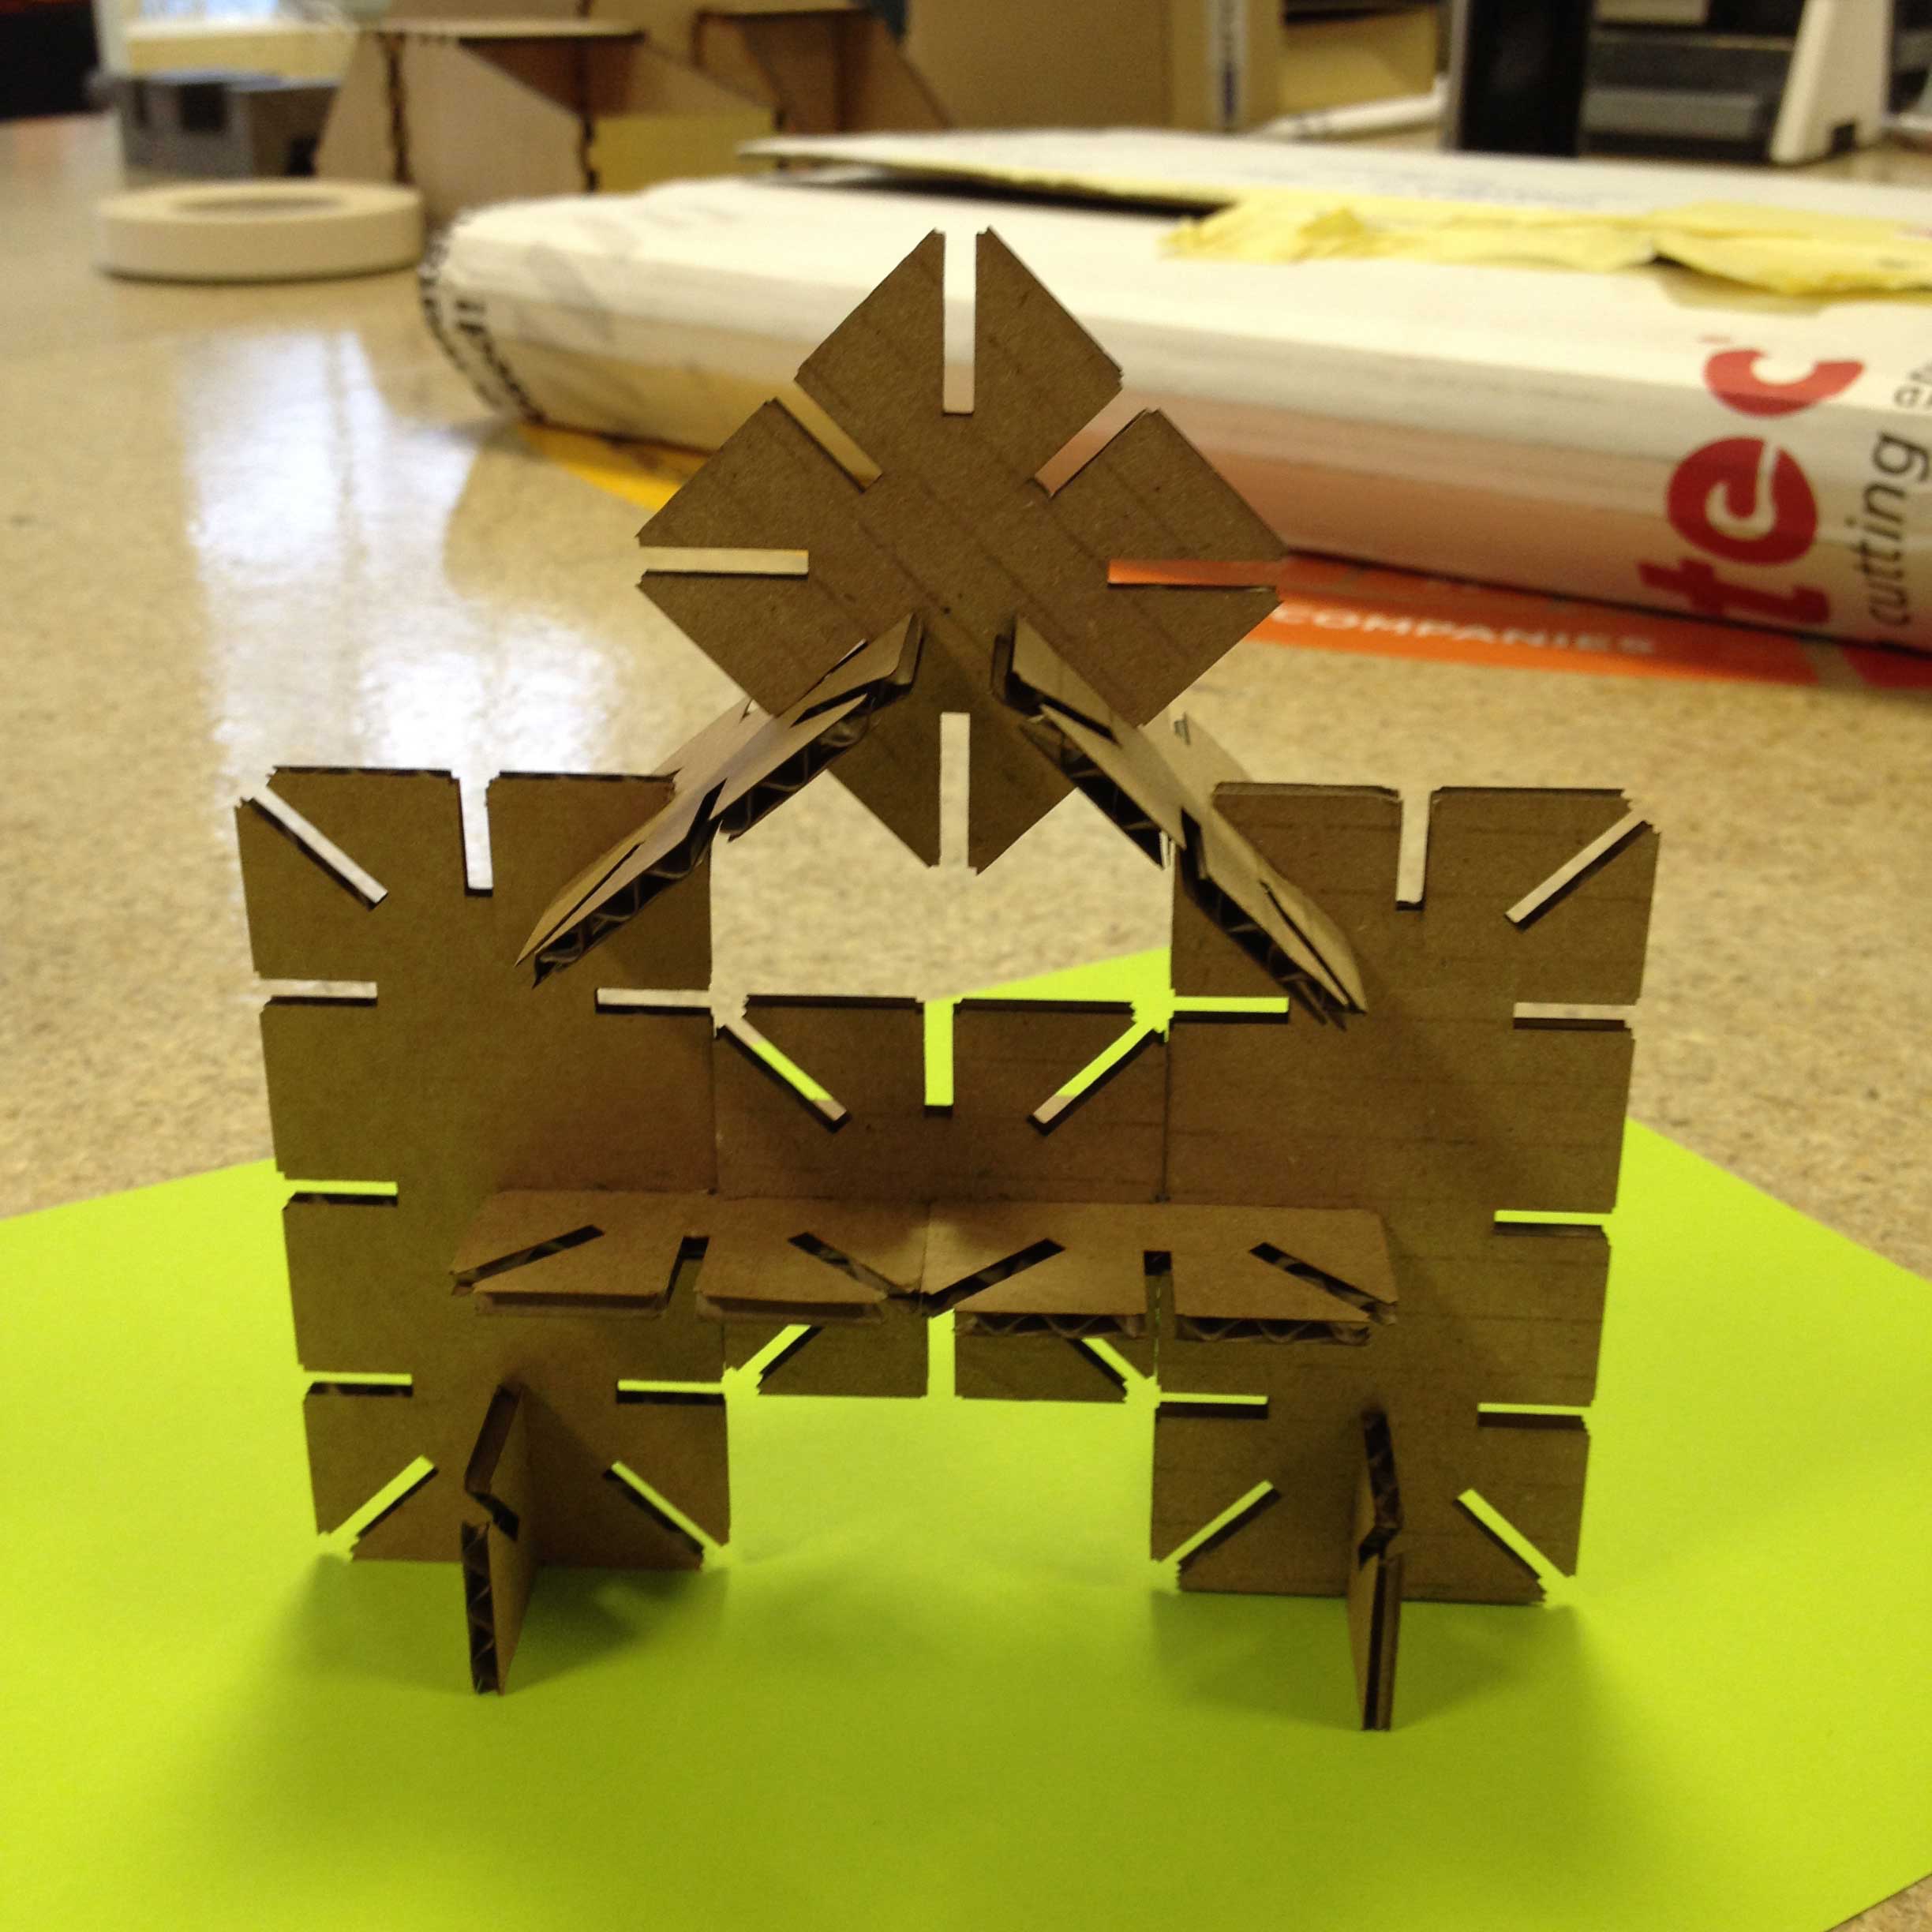
So, I switched to 123D Catch on my iPhone 4S. Having read a bit about 3D scanning, I looked around the Fab Lab for an object that was not shiny and had a bit of texture. I settled for Toby’s cardboard press fit model from a couple of weeks ago. It looks like this in real life:
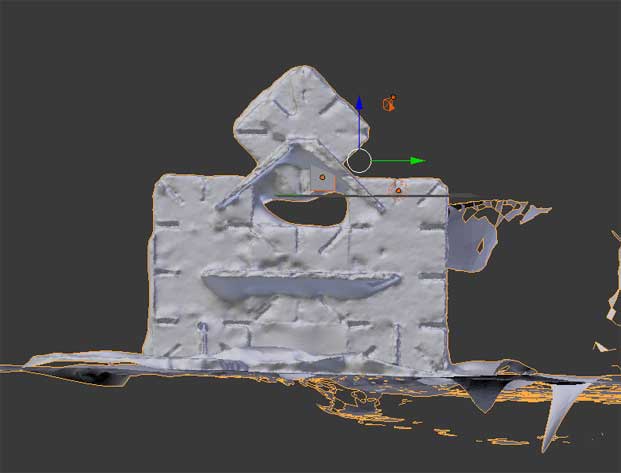
I took photos of it from all around – the software leads you round the model with a great interface so it seemed like it was all going to work out well. However, the result is that the model looks like we’ve had a snowstorm in the FabLab and Toby’s model has been buried in a snowdrift.
Then I had to create a model to 3D print. My 3D software skills are still pretty rudimentary, so I created a box with a lid in Blender (which was still quite challenging and involved having to buy a 3 button mouse just so I could use the software), and put a cone inside it just to see how that printed. I used Cura to prepare it for our Ultimaker 2 printer which was pretty straightforward.
The first print failed as I left the lid on top of the box (left hand picture). I then reprinted with the lid on the side. Both models I did in low resolution as there is a lot of demand for the 3D printer at the moment. They took about an hour each to print and are 3cm wide.