This week’s assignment was to design a press-fit construction kit that could be put together in more than one way. I wanted to use cardboard that we have lying around – things get delivered in boxes all the time. I found a nice big piece that I measured to be about 3mm thick.
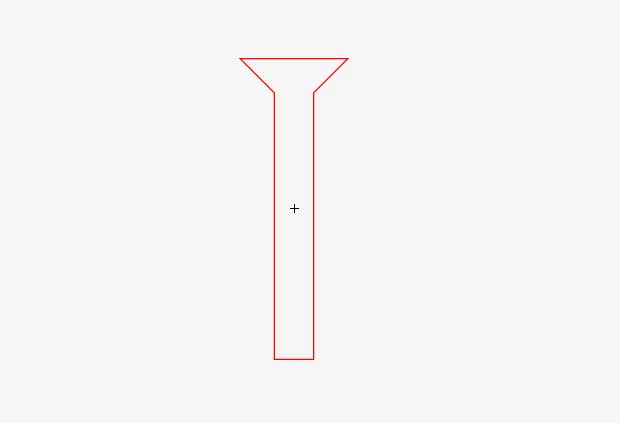
The first thing I had to do was create a measuring tool to work out exactly how big the slots had to be. I made this tool here with different sized slots at 3mm down to 2.6mm. This showed that my slots had to be drawn in Illustrator at 2.7mm.

I then had to set my Illustrator file up so that I could use it for a different depth of cardboard if I needed to. I created a SYMBOL in Illustrator with this shape – a 2.6mm wide rectangle with a 45 degree chamfer at the top to ease construction. By editing the symbol, you can globally change the size of the slot for the material you are working with.
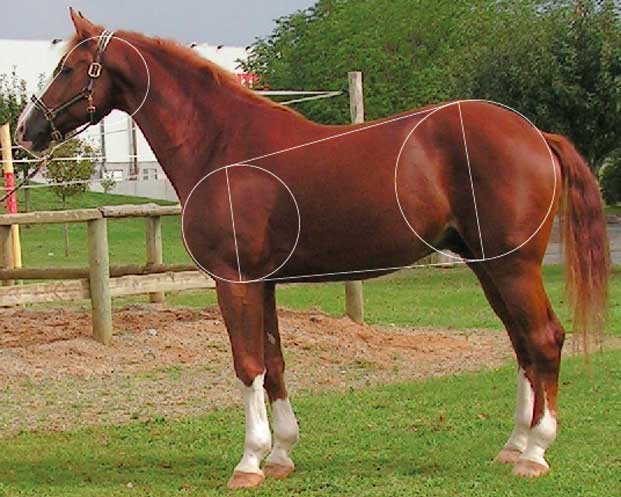
I started playing around with drawing shapes. Originally I was going to make something geometric, but ended up drawing animal-esque shapes. I got images of horses, antlers, wings etc. from the internet and made simple shapes that roughly represented these shapes. Here’s a horse being used as a template.
After a few hours I had a good selection of heads, legs, feet, connectors, ears, wings, tails, crowns etc. Here’s what the illustrator files looked like.
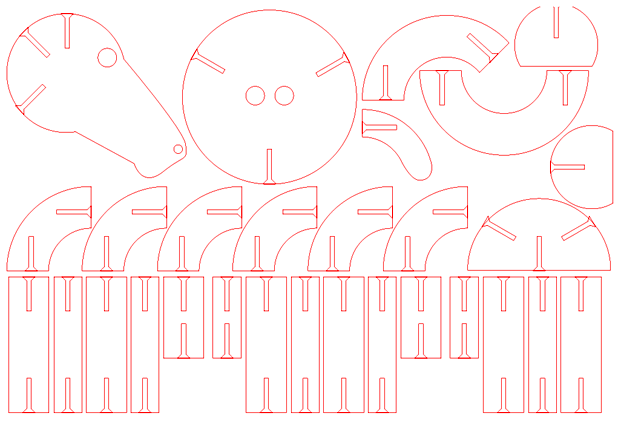

You can download the files here if you’d like to use them. Let me know how it goes!
I found that Illustrator files can distort when taking them into CorelDraw to print on our Trotec laser cutter. But if you save as an .eps file it seems to work without any adjustments.
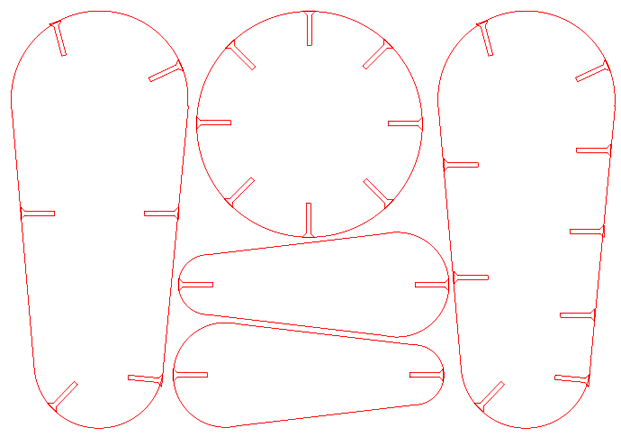
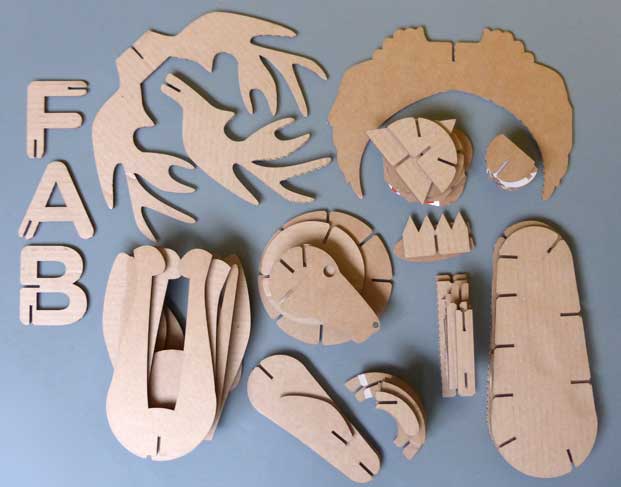
The printed kit of parts looks like this – a pile of legs, heads, bodies etc.
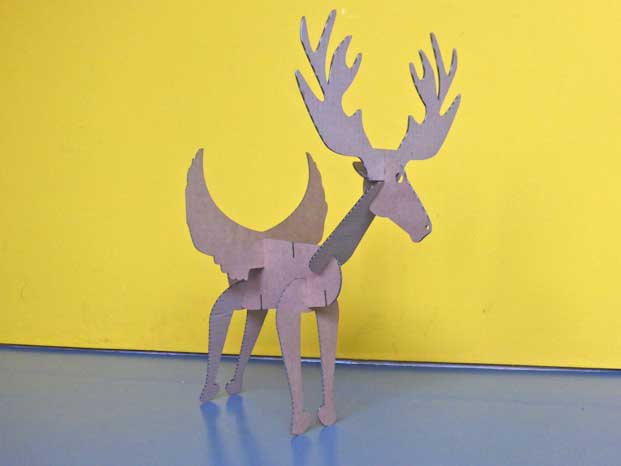
And here’s what you can do with it – creatures of no specific type.

I gave them to my 7 year old nephew and 4 year old niece who immediately coloured in all the pieces – the advantage of using discarded cardboard!