At week 10 I programmed a micro-controller to measure distance using an ultrasonic sensor.
At week 11 I programmed a micro-controller control two servo motors.
At week 13 I programmed three micro-controllers to work as a network, each with its own ID.
At week 14 I programmed a micro-controller to send photoresistor inputs through the serial port.
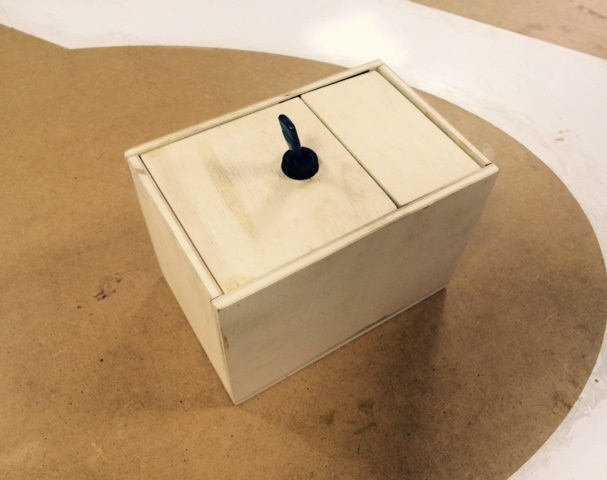
I used a board from my final project that I didn't need and programmed it to control two servo motors of a useless machine that I made.
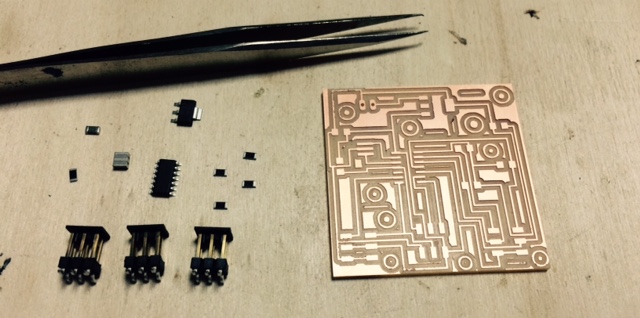
In order to program the AtTiny with Arduino code you need to install the Tiny for Arduino. Download the attiny-ide-1.6.x ZIP file and install according to the tutorial in the High-Low link
The code for operating a servo motor with the atTiny Chip is a bit different. Instead of using the regular servo.h library I used the SoftwareServo.h after downloading the .zip file I opened the Sketch menu->Include Library->Add .ZIP Library and browsed to the downloaded zip file.
Next I will connect the switch to the board and modify the code to operate the motors when triggered.
- © Or Shoval. All rights reserved.
- Design: HTML5 UP