21/4/2015 // Outpot Devices //
Testing
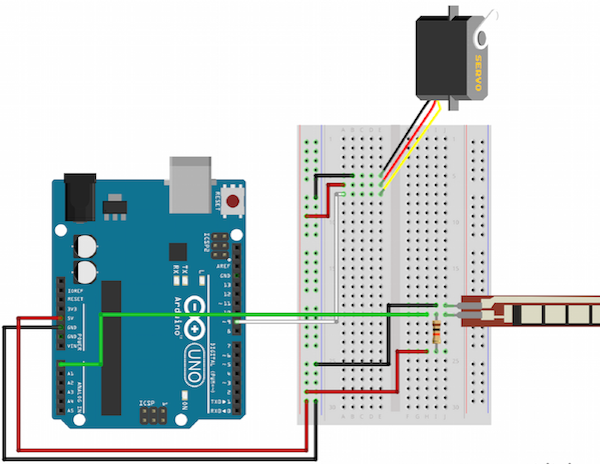
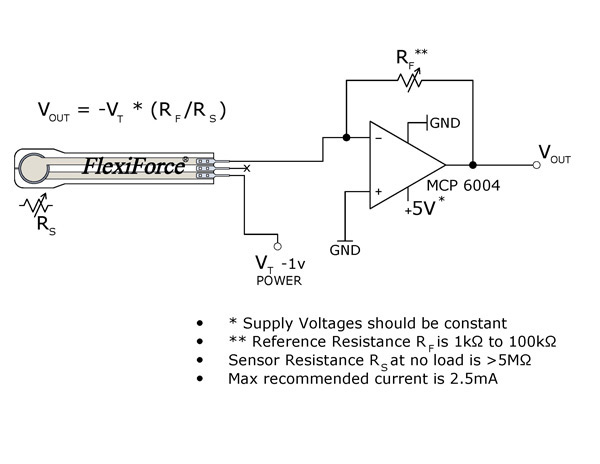
My first go designing and making an output device was in week 7 and this week was interesting for me since I have very little experience with electronics and programing. It's because of that that I've decided to first make what I wanted with some user friendly hardware in the form of Arduino Uno. My goal was to imitate movement so I choose to use a Flux sensor and a servo motor, so that the movement of the former controls the later. I've found a very helpful guide on Sparkfun.
I didn't have a 10KΩ resistor so I used five 2.2KΩ resistors and connected them in a line.
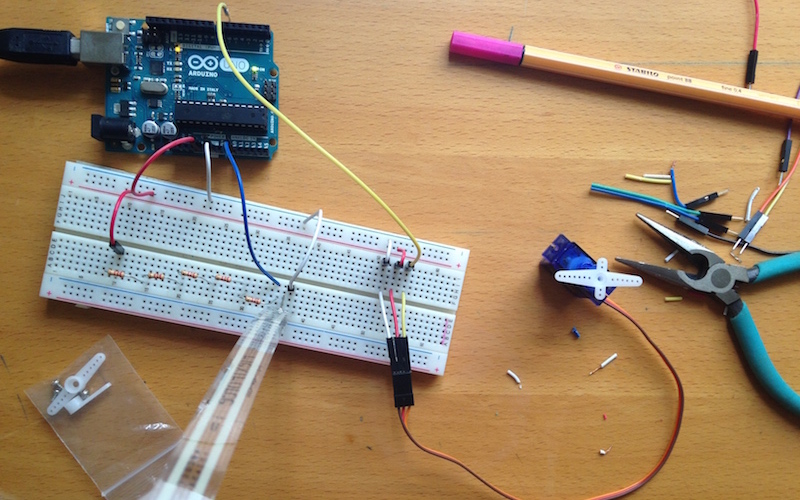
After I connected everything I searched for a compatible code and after playing with a few found this one:
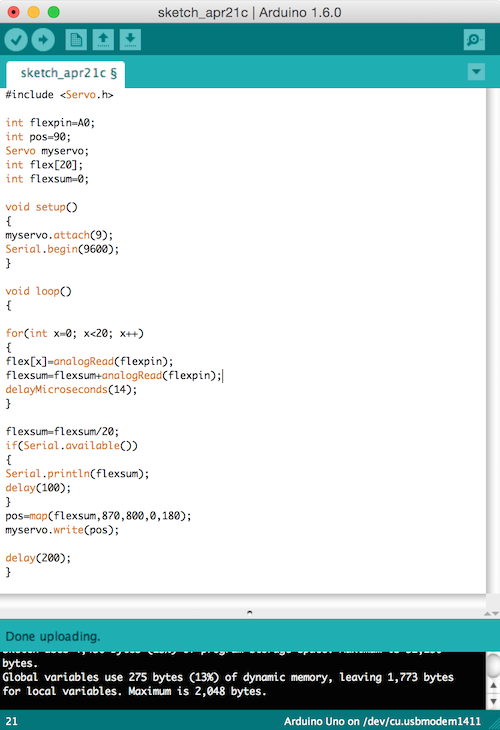
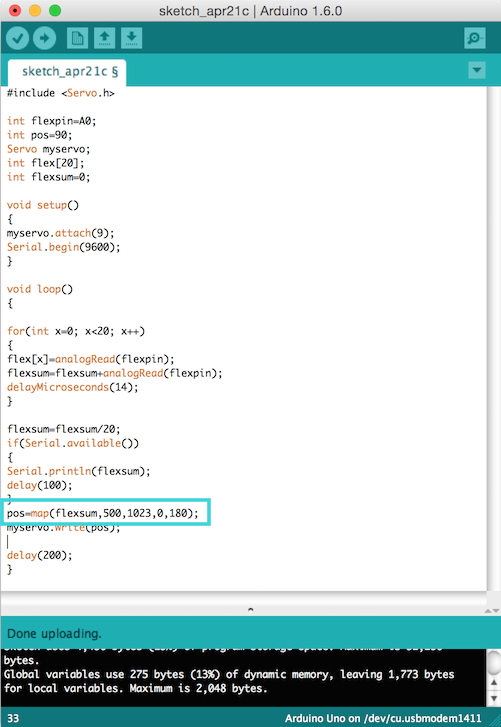
The code:
Making
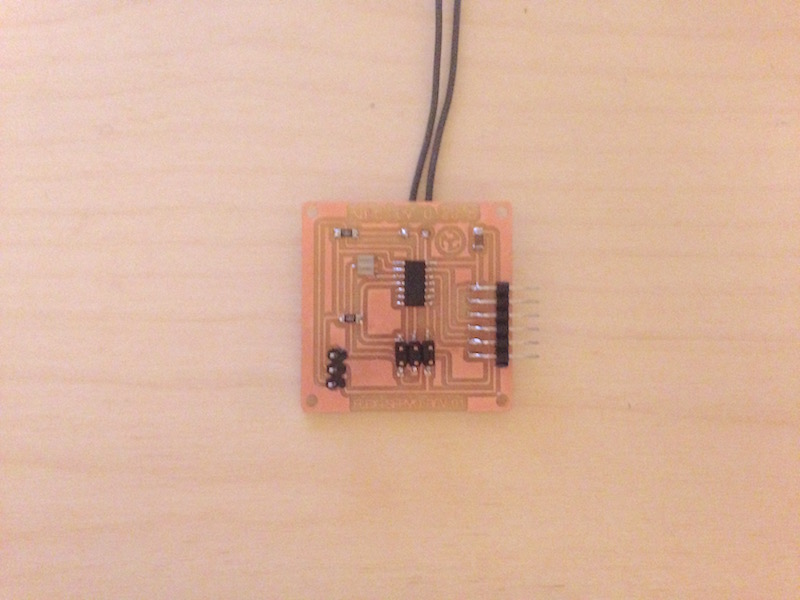
My next step was to make my own board with Eagle so I went back to the hello-world board and added a servo and a flex sensor input.
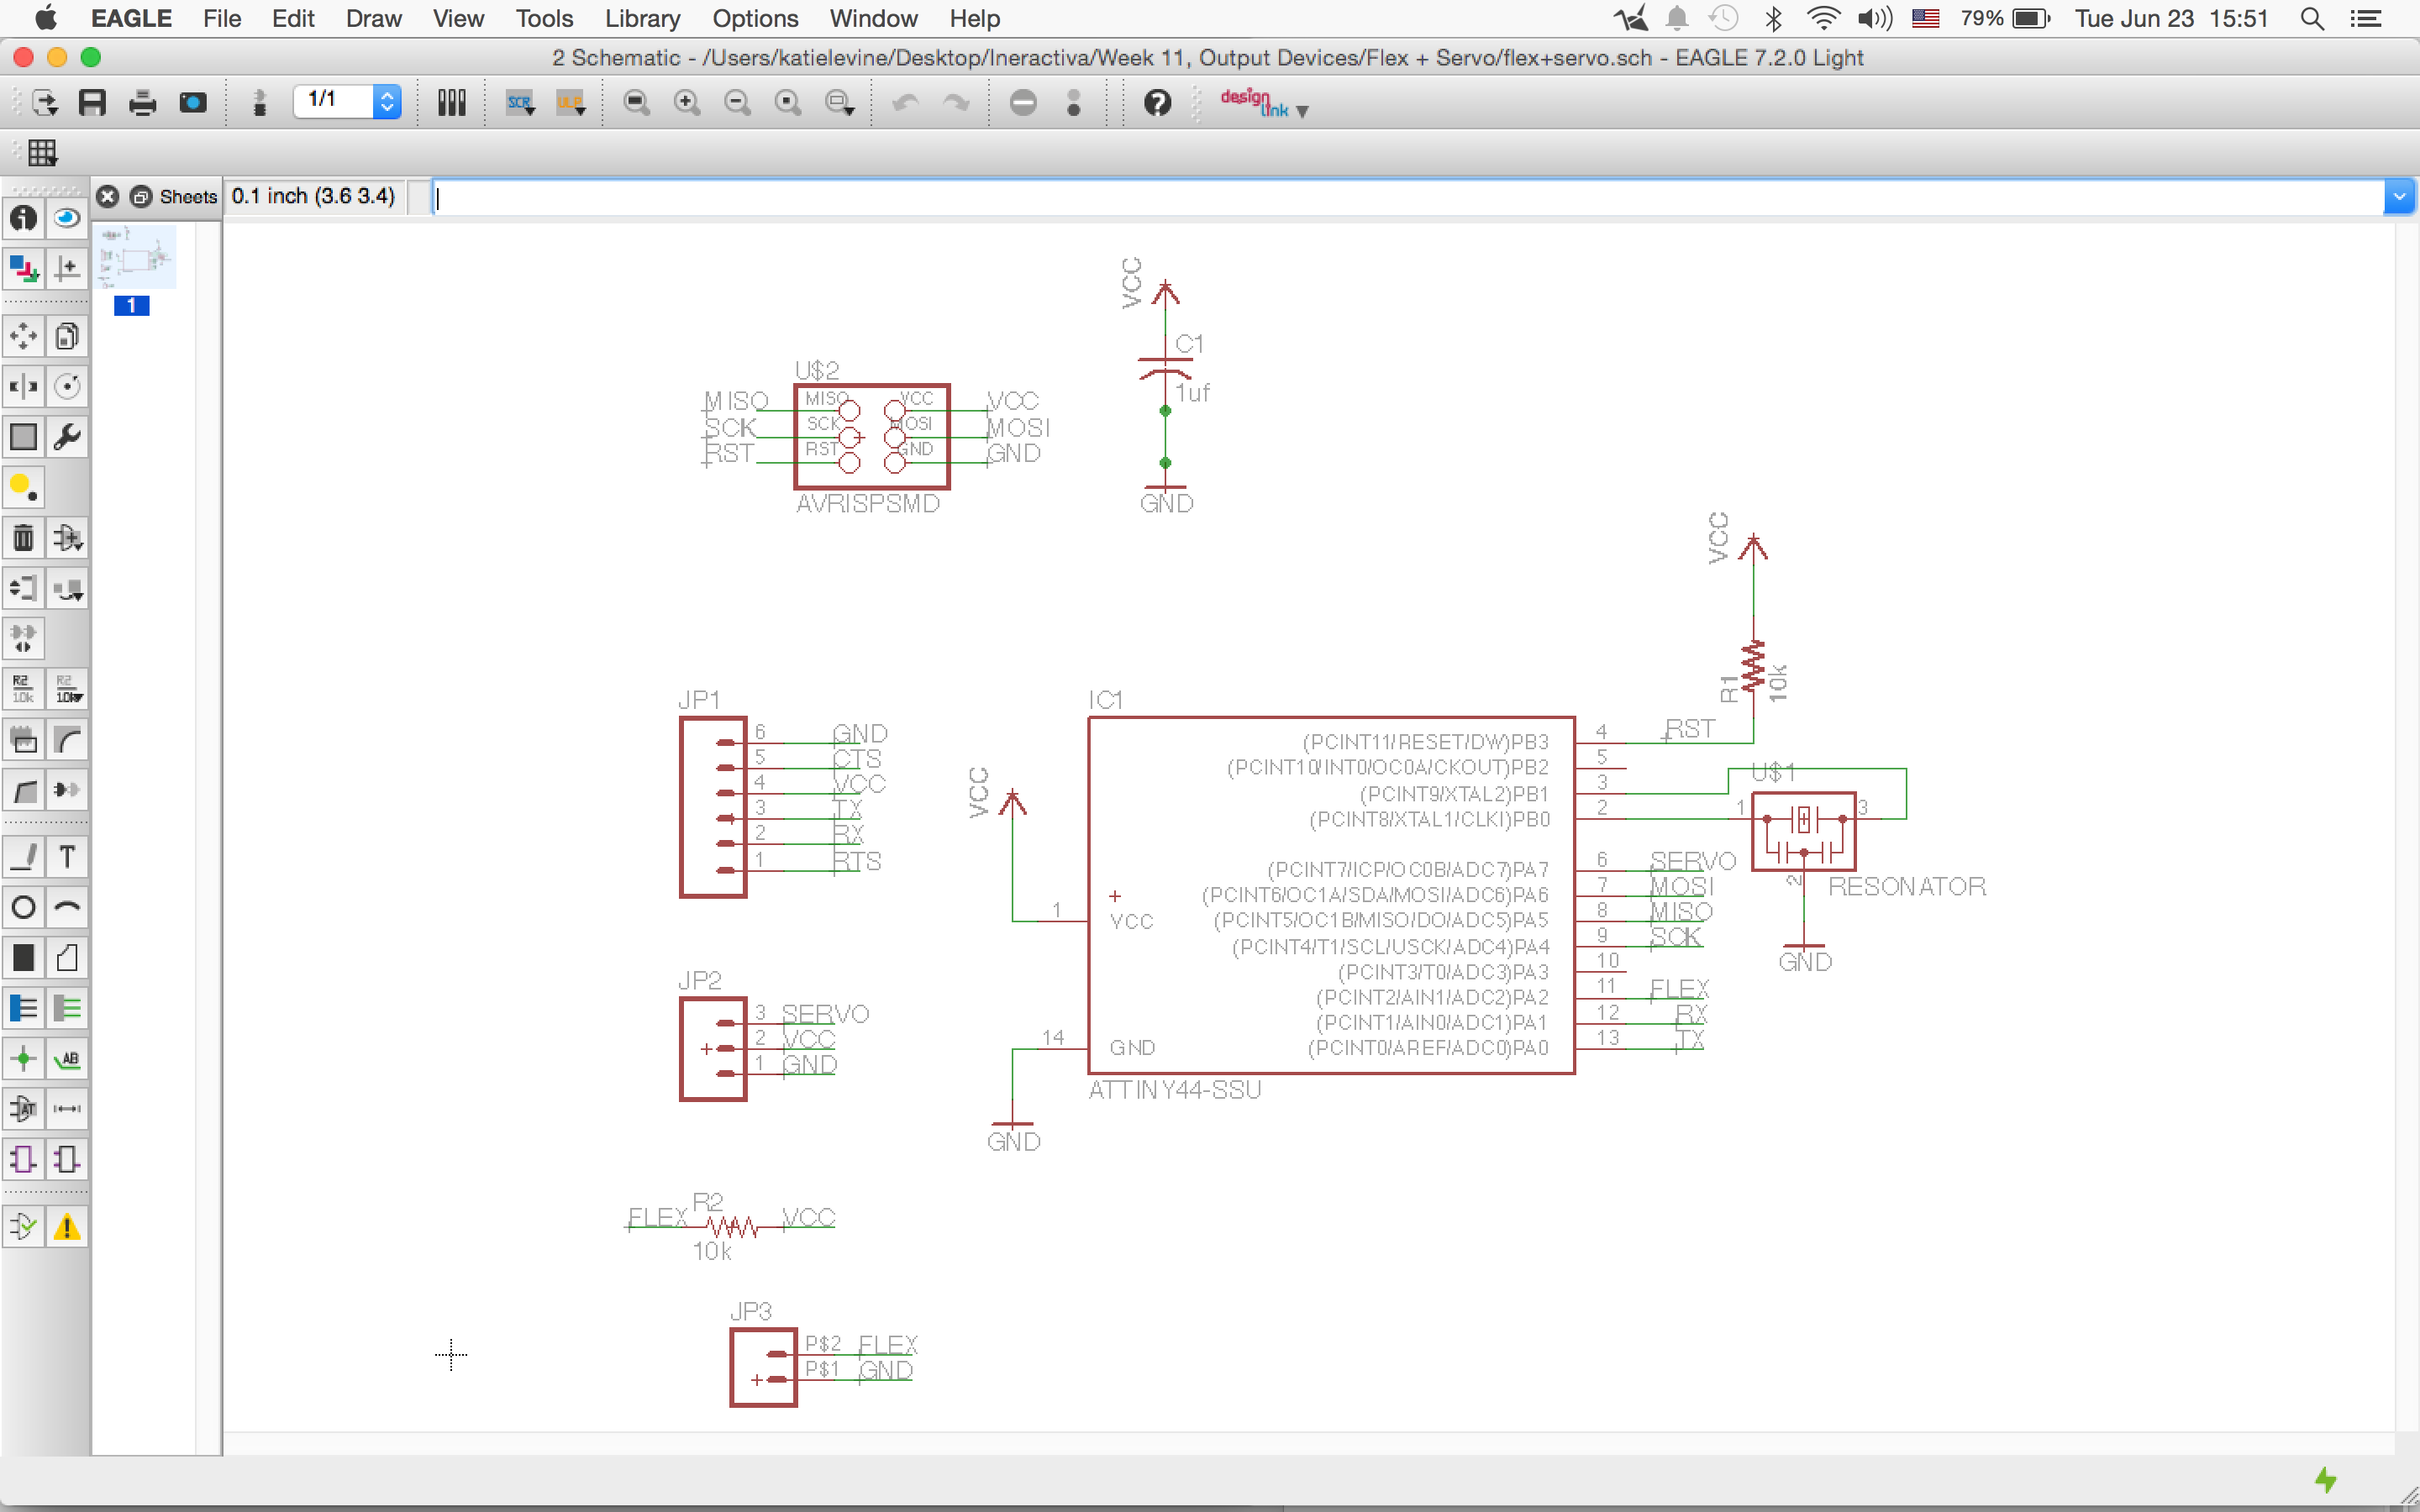
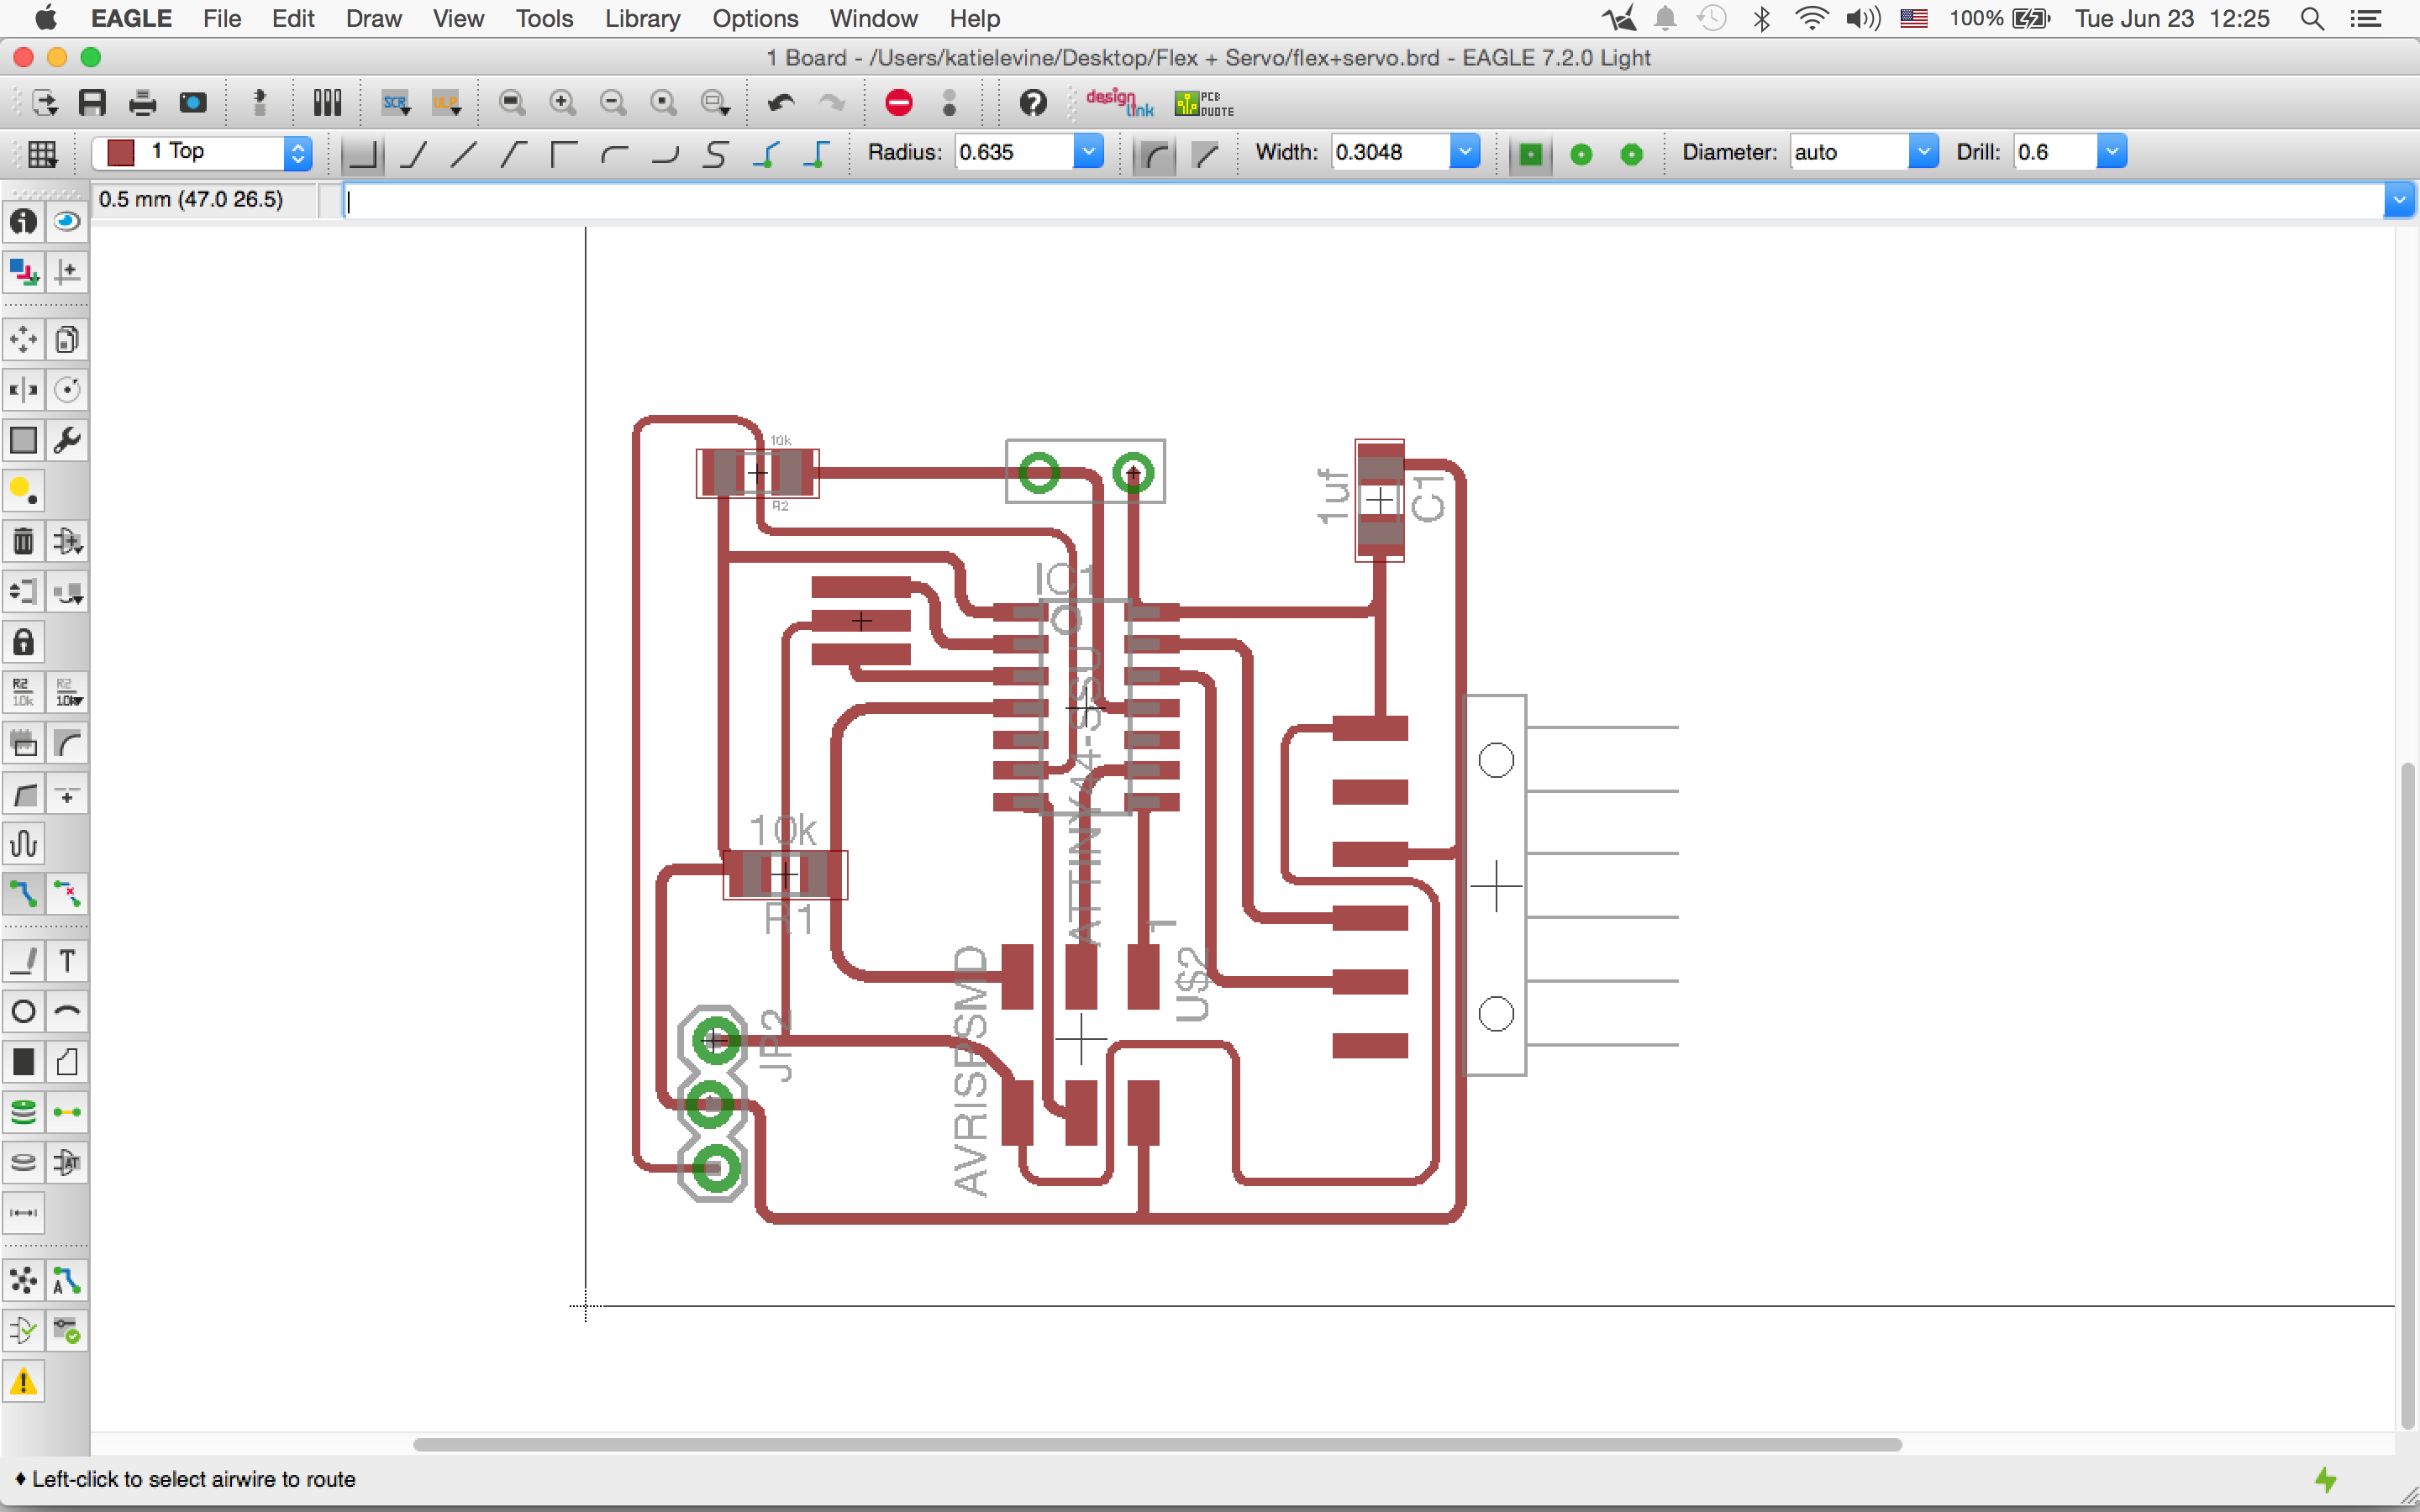
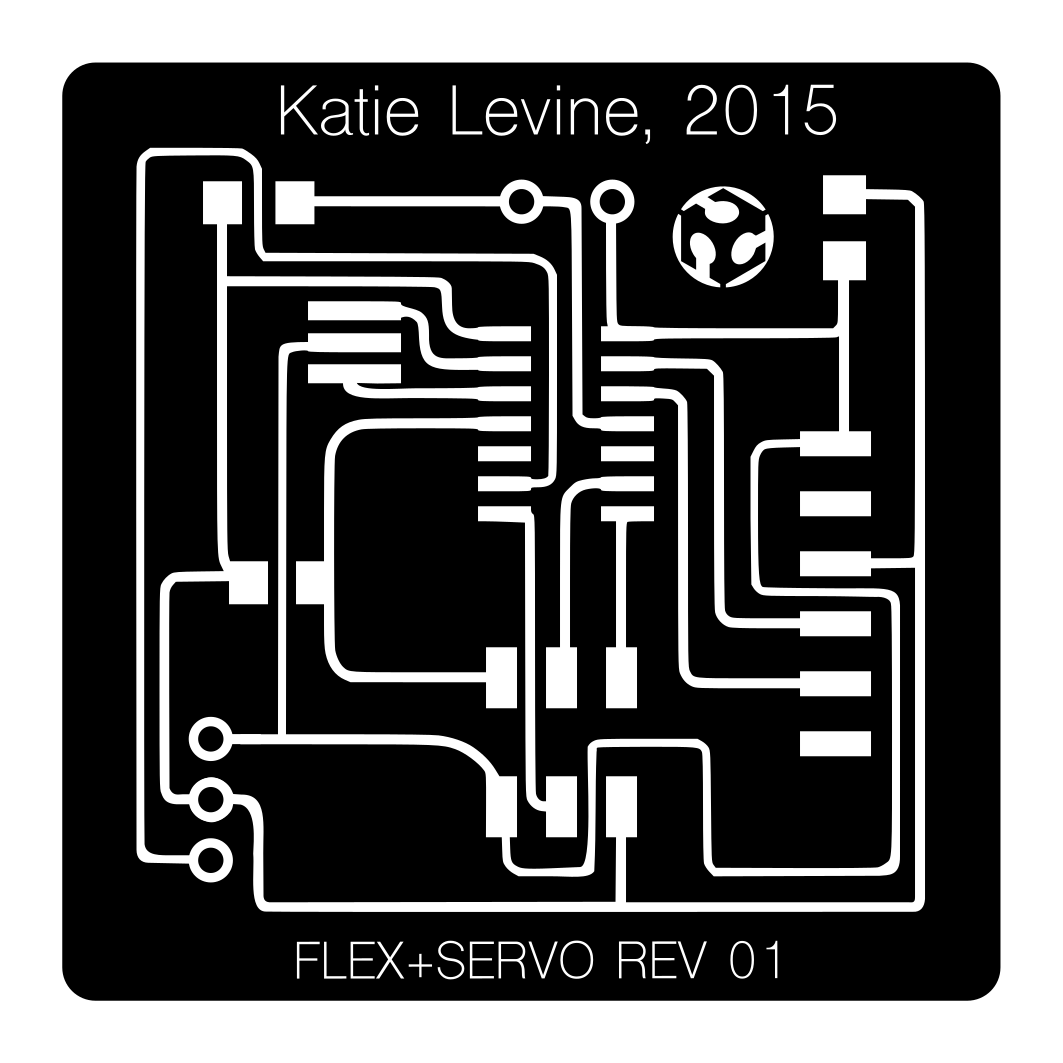
After planing the board with Eagle and designing it with Inkscape I milled it using the modela.

You can find my files for this week here