
Week 2: Computer Aided Design
This week's assignment was to create both a 3D & 2D image of our final project. For this task I chose to use LibreCAD for the 2D rendering, and TinkerCAD for the 3D.
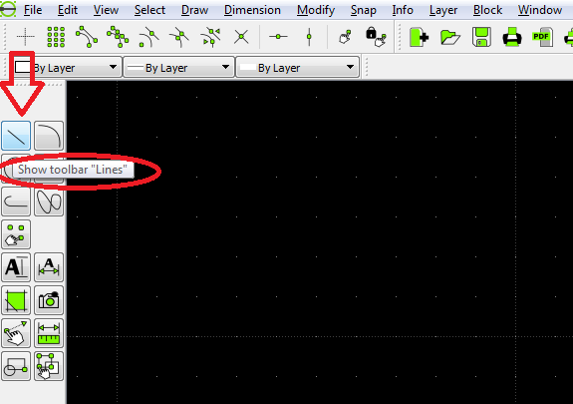
For the 2D Rendering, I choose LibreCAD.
![]()
I started by selecting the Show toolbar "Lines" option on the side toolbar, and then selected the Line with two points' option
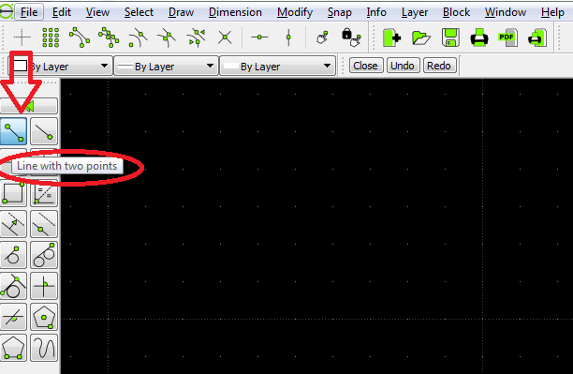
Then going from point to point, constructed the 4 right angles of the box. This was not done to scale, I just chose the outline of the grid as a template to make sure all sides were even

Then I went back to the main toolbar menu, and selected the Show toolbar "Circles" option, and then selected the 'Circle with two opposite points' option and begin filling the box with the circles.
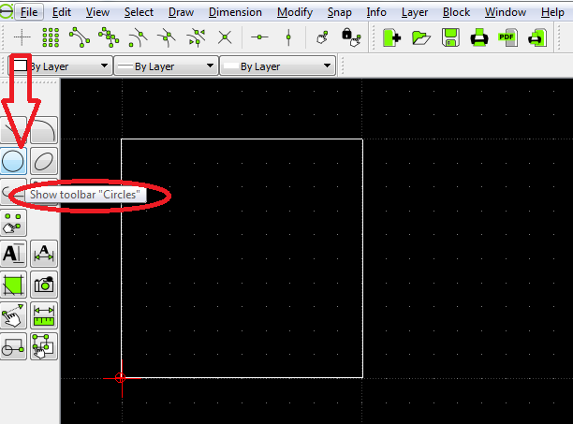
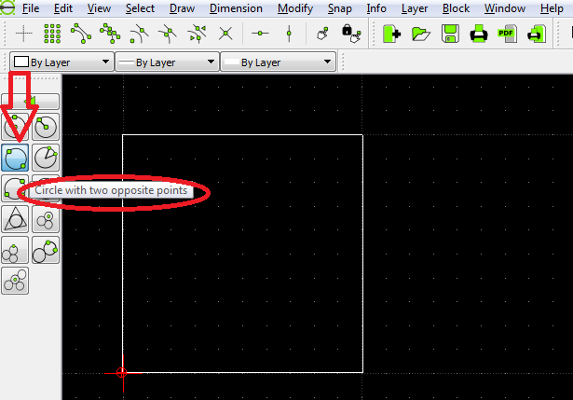
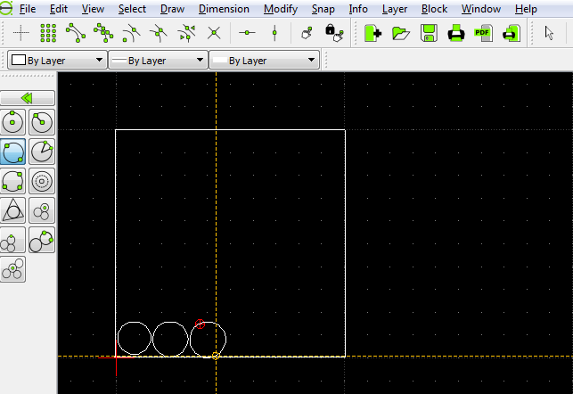
I may end up using marbles of various size so i chose to represent that with the different size circles.

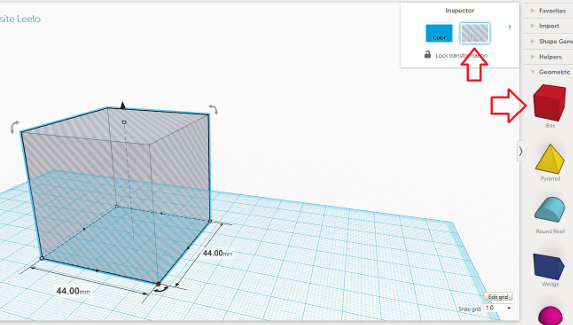
For the 3D rendering I decided to go with TinkerCad
![]()
The user interface was simple and easy to understand. Within 5 minutes of first getting into the program I already started to feel comfortable manipulating the various shapes and tools.
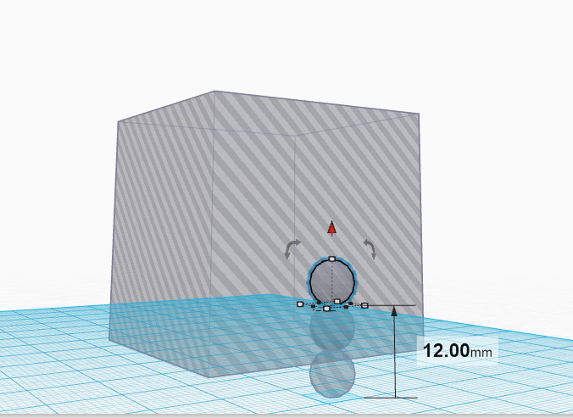
So for the first step, I chose the geometric tab on the side menu and selected 'Box'. Once the shape was selected I placed in on the workplane and adjusted the color to represent clear or transparent by selecting the 'Hole' option in the Inspector menu that pops up once an item has been selected.
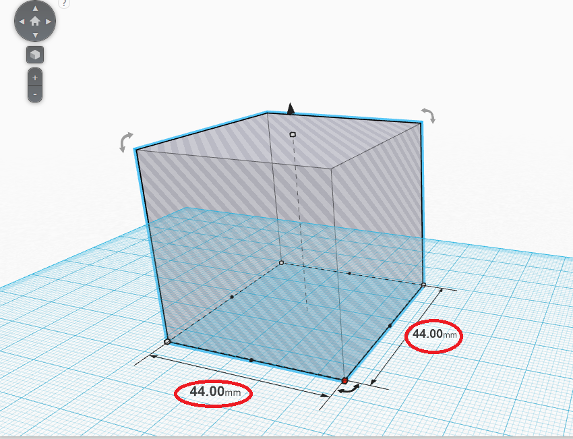
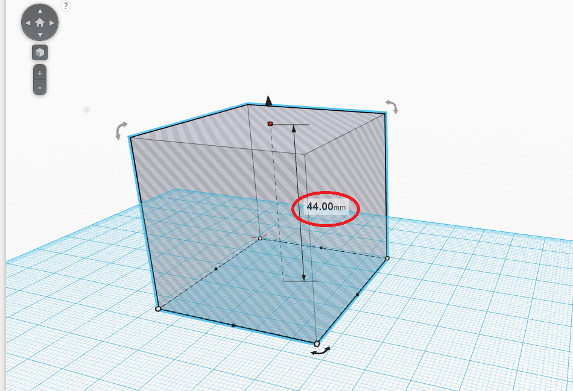
The box that I will be constructing for the nightlight is 1.75" x 1.75" x 1.75" (approx. 44mm^3). So I adjusted the size of the box on the workplane by pulling on the various tabs on the x, y, and z-axis making each dimension 44mm to reflect the actual scale.
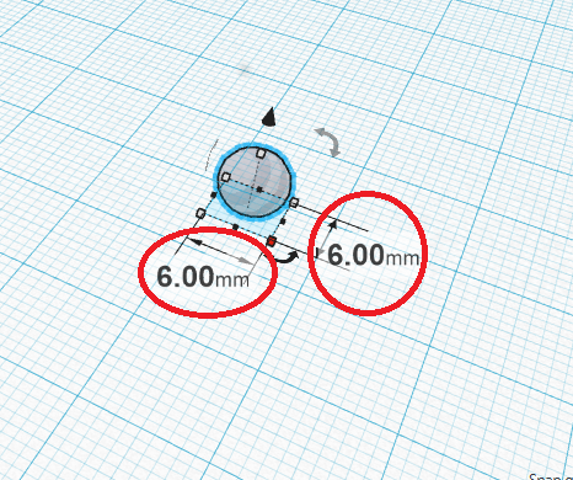
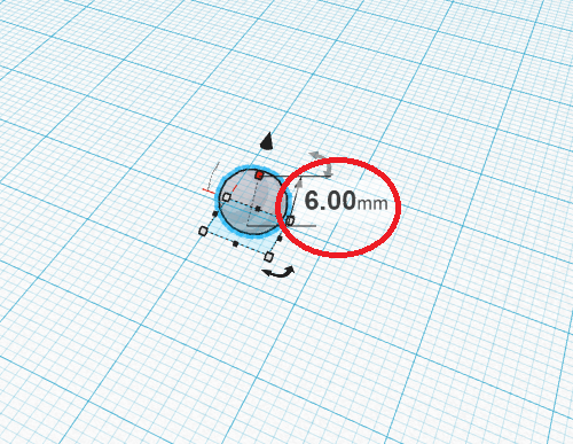
After scaling the box to the proper size, I then repeated the same process to create the acrylic marbles that will be used to diffuse the light created by the LEDs. This time selecting the sphere shape from the side menu, making them transparent, and scaling to the appropriate size (approx. 6mm^3).
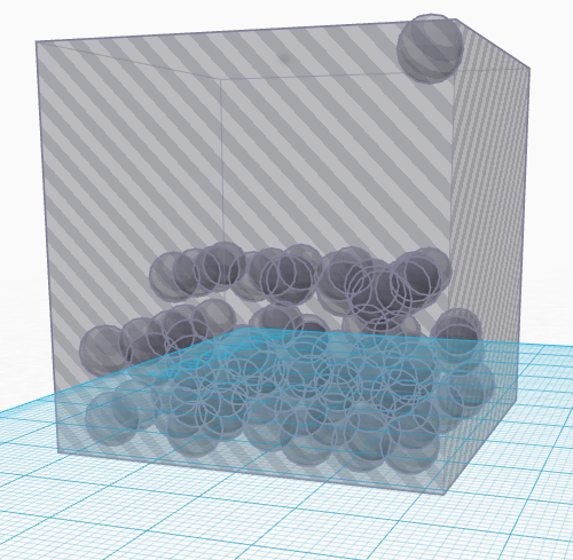
I duplicated the sphere numerous times placing them inside the cube at several different z heights to mimic the marbles that will be stacked on top of each other throughout the box. I didn't fill the box completely just enough to get the general idea of how it will look. The final project will most likely be completely filled, and the marbles may possibly vary in size.
**UPDATE**
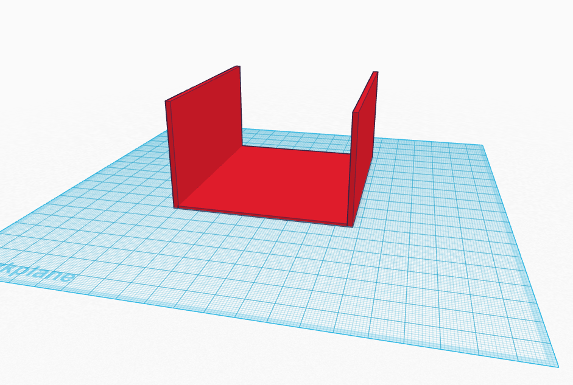
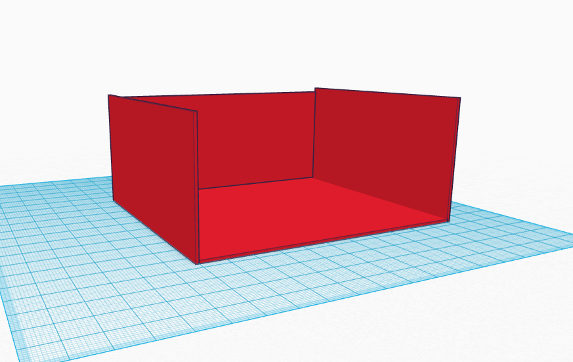
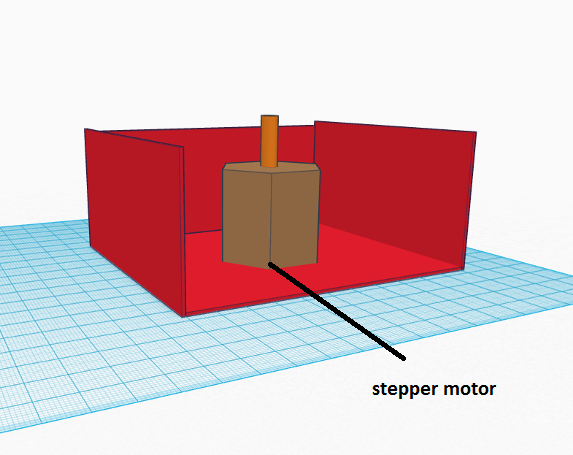
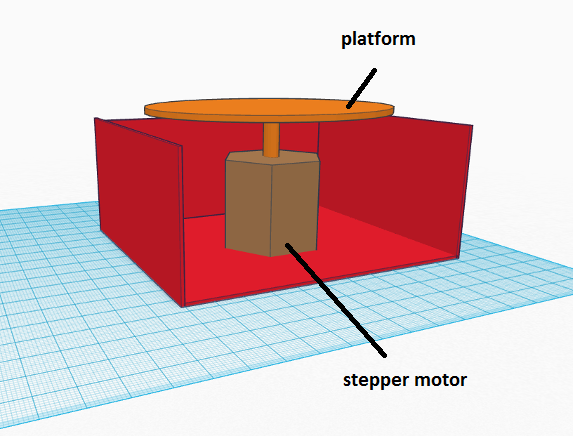
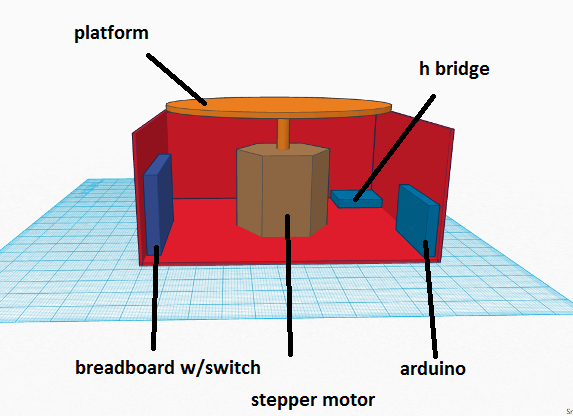
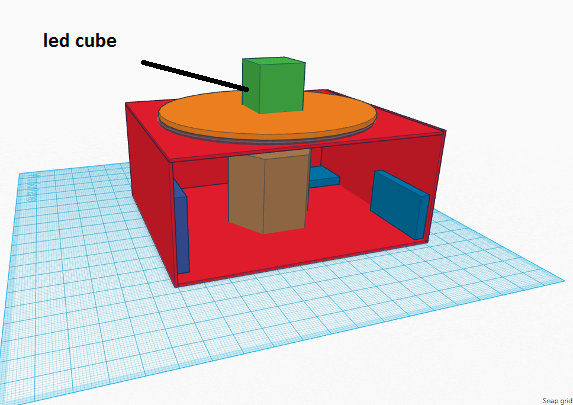
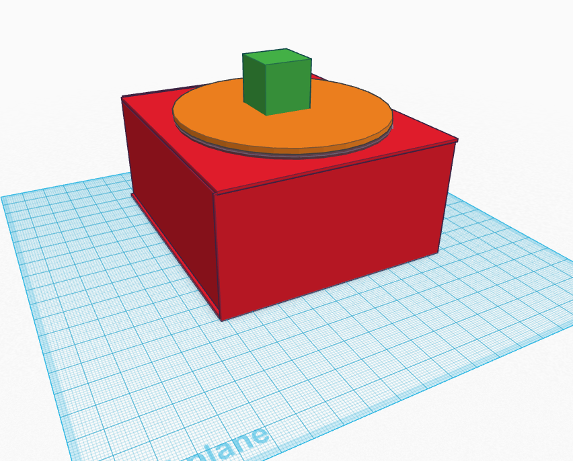
After speaking with my remote instructor she suggested that I add something mechanical to my final project. So I've decided to add a stepper motor to rotate the platform that the LED Cube is sitting on. So I needed to design/add a base that houses the motor, arduino, h bridge, and the breadboard w/ the switch.
TinkerCAD files: