
Manufacturing de Circuits
For this part I used the technics of the Electronic Production Assignment.
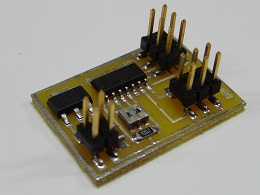
All the files you need to manufacture the board with for controlling the servomotors are in Fab Academy's web.
Programming the Hello Servo
For this part I did in Ubuntu OS enviroment. First I download the programs from the academy web.
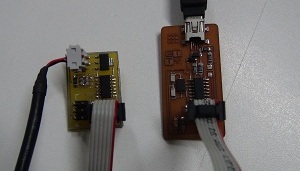
Step 01.- Conect the hellow servo to the Fab ISP. And energice the hello servo board. For the programing I prefer used a cable conected to usb port.
Step 02.- Open terminal and go to the folder with the program files. Then type in:
make -f hello.servo.44.c.make program-usbtiny
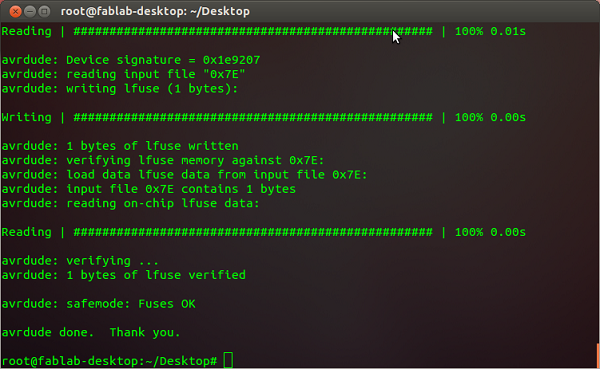
If The following text appear the Hello Servo is programed correctly:

Step 03.- Then type in the terminal:
make -f hello.servo.44.c.make program-usbtiny-fuses
If The following text appear the Hello Servo is fused correct:
Testing
First I test the board alone (conected only the power supply x4 AA battery pack - 6V) to the oscilloscope to show the signal of the PWM control. By fortune the signal is OK, so then I connect the servos to the board.
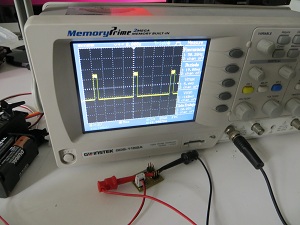
First Conected to the Oscilloscope to see the PWM signal |
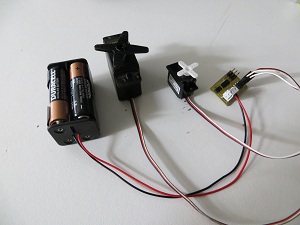
Conected to the servomotors |
Also I record videos to show the function.
Using the board for an aplication.
This is a small rotating table made of acrylic cutted with laser (the base is made of stainless steel recycled of other project). The movement come from a servomotor(tricked to continuos rotation) and is controlled by the hello servo board (from Fab Lab). It was used in the ExpoTIC 2013 convention to show the Nanosatellite Chasqui-I (the first satellite designed and constructed here in Peru)
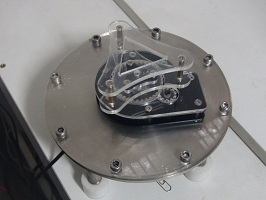
The Rotating Table. |
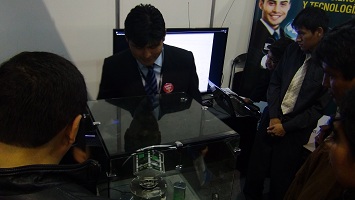
The rotating table showing the nanosatellite |