- Home
- Principles and Practices
- Computer Aided Design
- Computer Controlled Cutting
- Electronics Production
- 3D Scanning and Printing
- Electronics Design
- Molding and Casting
- Embedded Programming
- Computer Controlled Machining
- Input Devices
- Composites
- Interface and Application Programming
- Output Devices
- Networking and Communication
- Mechanical/Machine Design
- Applications and Implications
- Invention, Intellectual Property, and Income
- Project Development
For this section of the course we had to design a 3D object and use the 3D printer to fabricate the design. Also we were assigned to scan a 3D object and post the image. I had fun doing the assignment partly because I enjoy creating in 3D CAD programs like Sketchup and partly
because I enjoyed using the 123D Catch App suggested to me by my instructor Mr. Evans.
I used the app 123D Catch to capture an object I had in my home which was a plastic owl cooking timer. Here are a few still shots of my 123D Catch: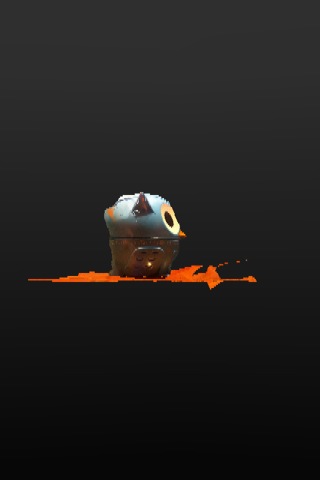 The 123D software requires that you take up to 40 pictures of an object from all sides and from as many angles as possible. The background has to be distinguishable from the object you are capturing and the background cannot be too reflective of light. I used a wooden kitchen table.  You will need the 123D Catch app on your device but here is a link to where you can check out my 3D image: I designed a wheel that was used for our classes final project. The function of this wheel is to help shoot out ping pong balls at different speeds and spins. The wheel is designed with a dip along the outer edge that matches the size of the ping pong ball's round shape. This match in size is important because when the two comes into contact the wheel will now have better traction against the ball allowing for the wheel to have more control over how fast the ball shoots out and how much spin the ball will have. The design code is linked here: 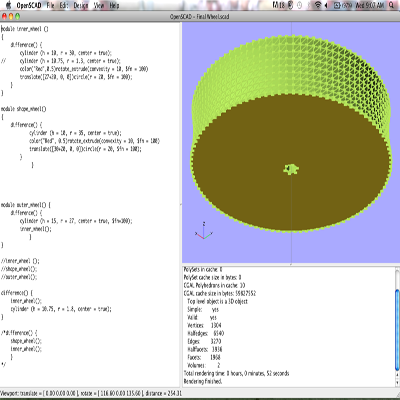 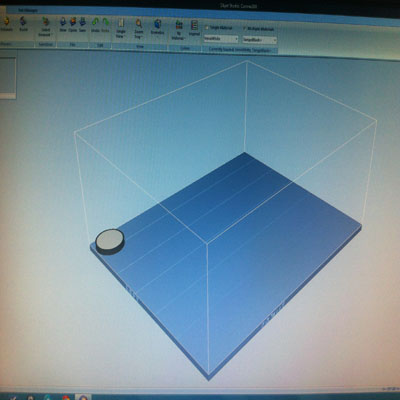 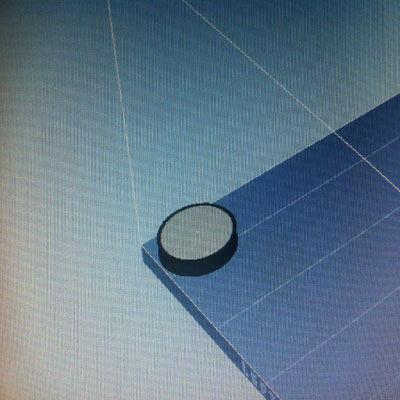 The wheel was printed (and duplicated). The 3D printing process is fun to watch at first but gets boring. However, I am still amazed at the capabilities of additive construction. After converting my design files into binary-stl format (readable by the 3D printer), I set up the printer and began the process.  After the job was done, I cleaned off the printed wheel and along with its printed duplicate, my lab partner used them for the ball launcher part of our group project. 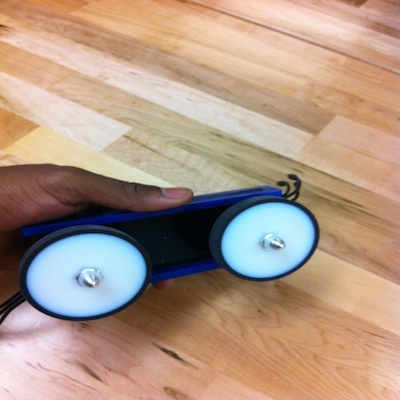 |