Assignment
Make something big
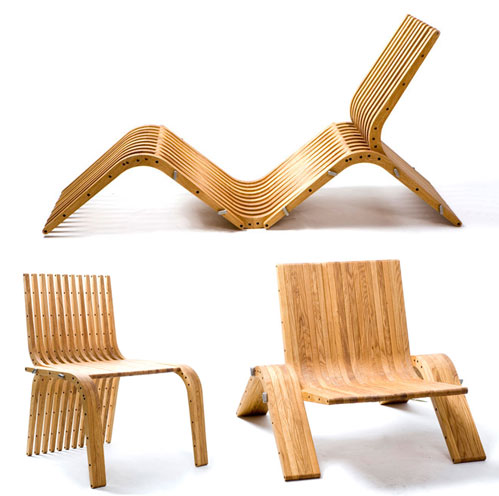
I have for some time been trying to practice the fabrication of modular furniture using the least number of parts as possible. Looking for inspiration, I found this design (see the photo below) of a Croatian company that uses one piece and some threaded rods and nuts to create various furniture.
As my priority this week was to spend the longest time as possible to the learning of the operation of the CNC milling machine, I decided to try to design this piece from the photos rather than designing something new from scratch.
The more complicated part was to find the holes layout. Finally, after some trial and error I had the piece.
To cut the pieces I have used a TEC-CAM 500 and the software Aspire.
Aspire generate the toolpaths used by the CNC milling machine.
- First I load the .dxf file into the Aspire software.
- In the job setup window establish the size and thickness of your material
- Go to the toolpath window and select your cutting depth
- Select your tool, 6 mm end mill for the profile toolpath and 6 mm ball nose for the holes toolpath. I did not have a 8mm drill so I make the holes as a profile toolpath. Then revise all the settings: pass depth, spindle speed, feed rate and plunge rate.
- After select your vectors you can choose if you want to cut outside, inside or on the selected vectors.
- Select the cutting direction: conventional or climb
- Add a smooth ramp to prevent the cutter from plunging vertically into the material
- Finally save your toolpath
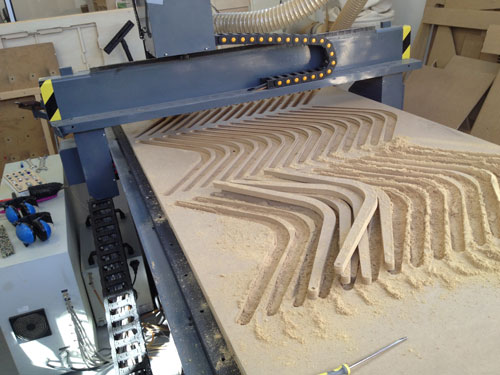
First I did some test cuts using different feed rates and cutting directions in 10 mm MDF.
Then I started to cut the pieces in MDF 19 mm. I had only just started when the tool broke.
Probably the problem was a very low feed rate that worked fine in the 10mm MDF, but as it deepened in the 19 mm. MDF it was too slow, and the pieces burned at the bottom.
After I increased the feed rate and plunge rate, I could cut the rest of the parts without any problem.
Furniture using 15 pieces.
Furniture using 30 pieces.
Furniture using 60 pieces.
Final files:
- Holes toolpath
- Profile toolpath
- pieza.dwg
|