For the scanning i used the Kinnect Primesens, and scanned my torso.
The application ReconstructMe, downloaded on a trial version here
http://reconstructme.net/projects/reconstructmeqt/#buynow was used to interface with the Kinnect and generate the mesh.
after a few trials, i used a combination of static camera and me rotating on the chair, with the camera completing the upper parts and hidden surfaces by moving rotating as well.
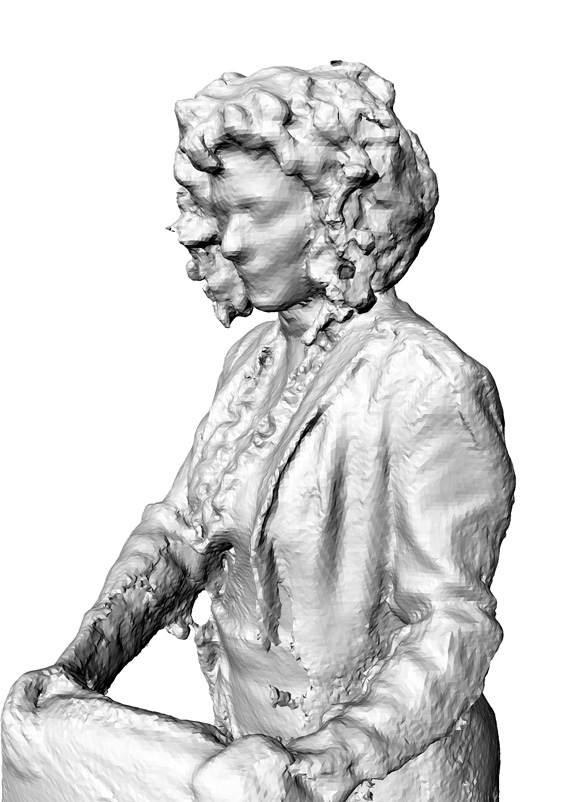
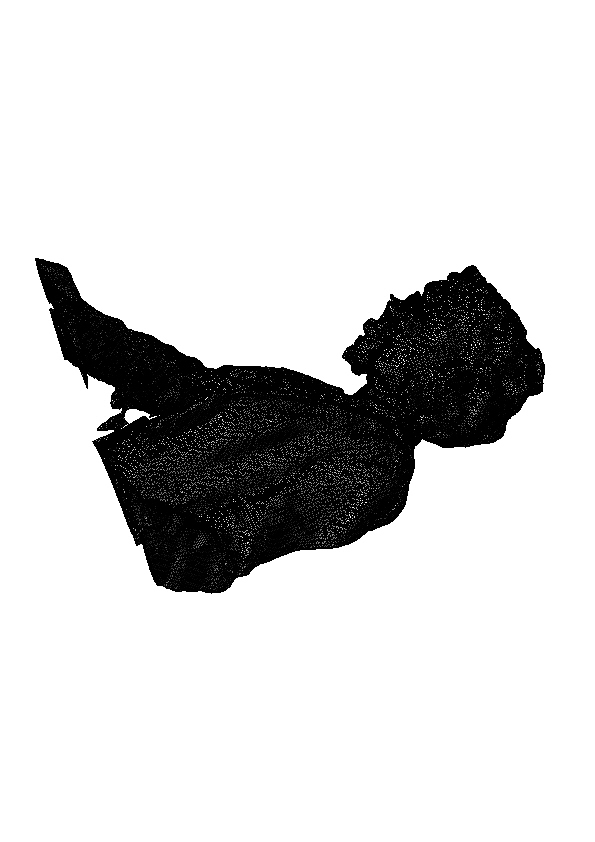
the resulting STL was surprisingly good :

it had some bits and pieces flying around, and little mesh problems (and spheres floating, generated by ReconstructMe trial version).
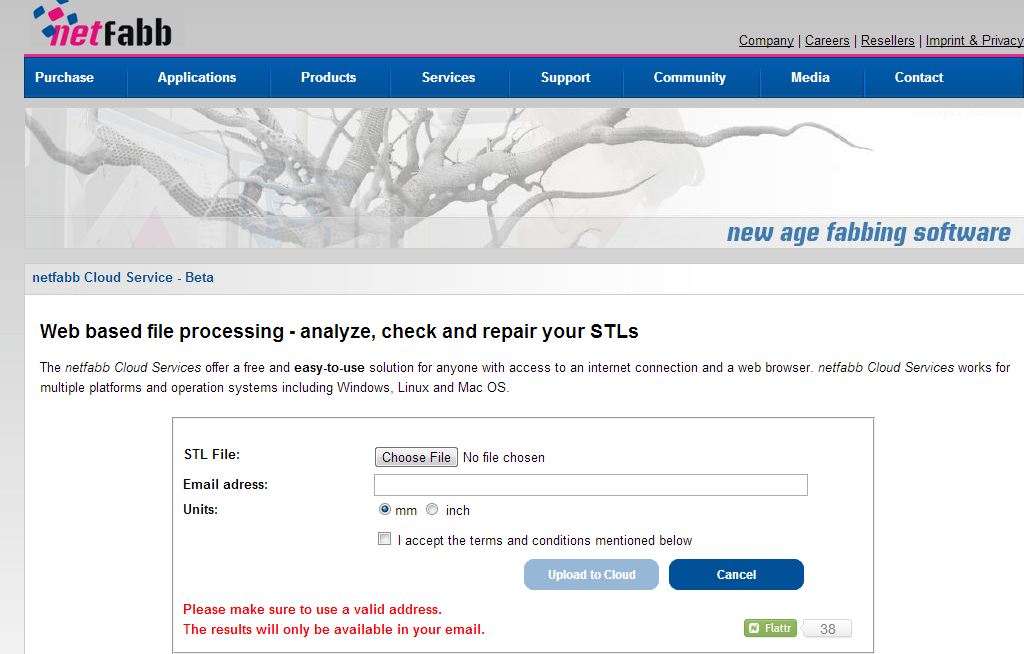
some mesh problems and naked edges (shown in magenta) after a brave and short attempt to fix the mesh by myself with rhino mesh repair tools, i tried the NetFabb service of mesh repairs http://cloud.netfabb.com/
works out just perfect:
with some nice details of fabric, hair etc…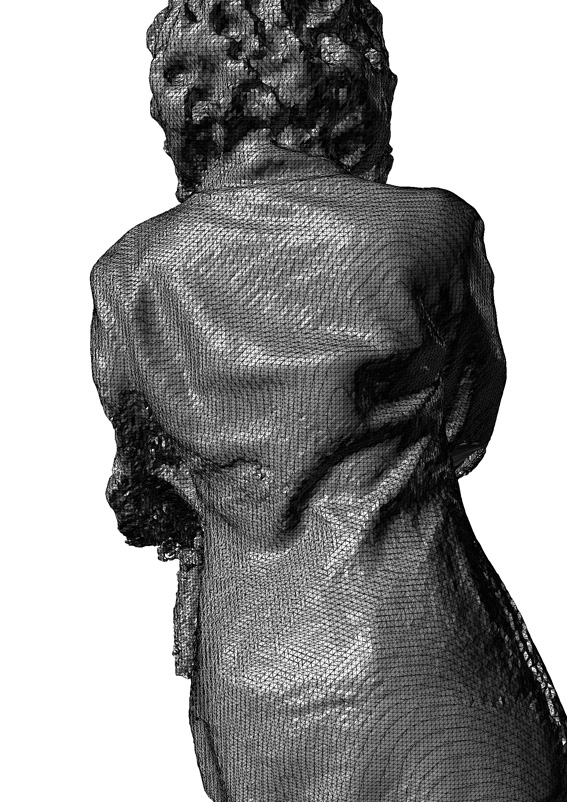
 I experimented with printing with the RepRap.i turned the model to be standing (and not lying), in order to get the less support material possible
downloading Slic3r and Pronterface is needed to generate the Gcode and as an interface for the printer.

the reprap pronterface is downloaded in its wiki page :


once installed, i import the STL into the Slic3R, to generate a GCode. i uploaded ohad’s config file . then generating the Gcode
 Next step is controlling the RepRap from the Pronterface. Setting the temprature, warming up nozzle and plate, homing the head.
importing the Gcode generated in the Slic3r, and printing.
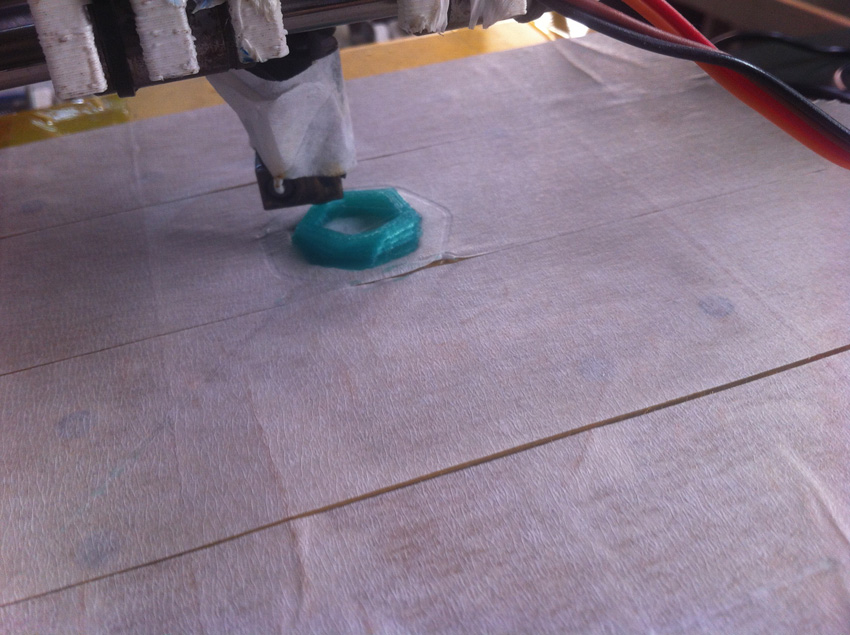
The print resulted like that: 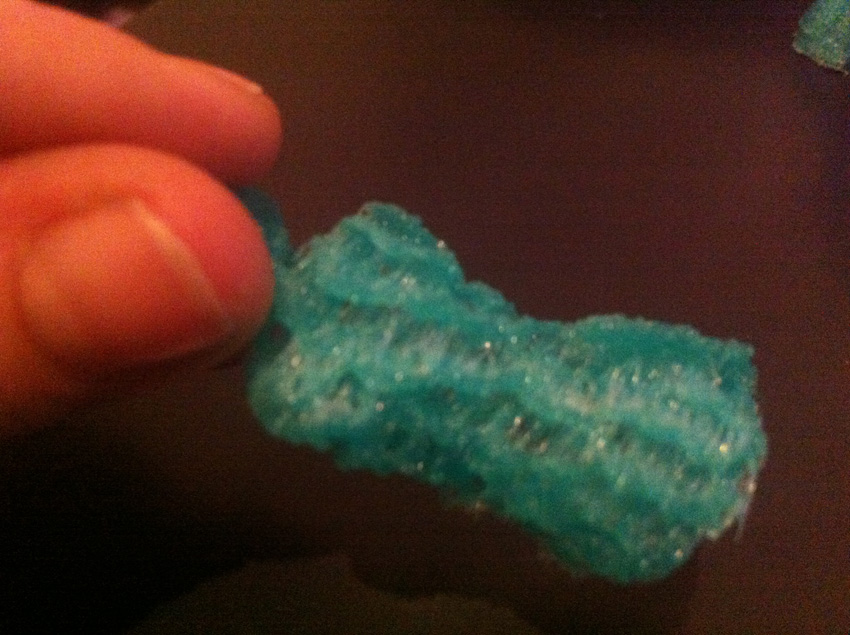 wrong configuration for infill…lots of air between the layers
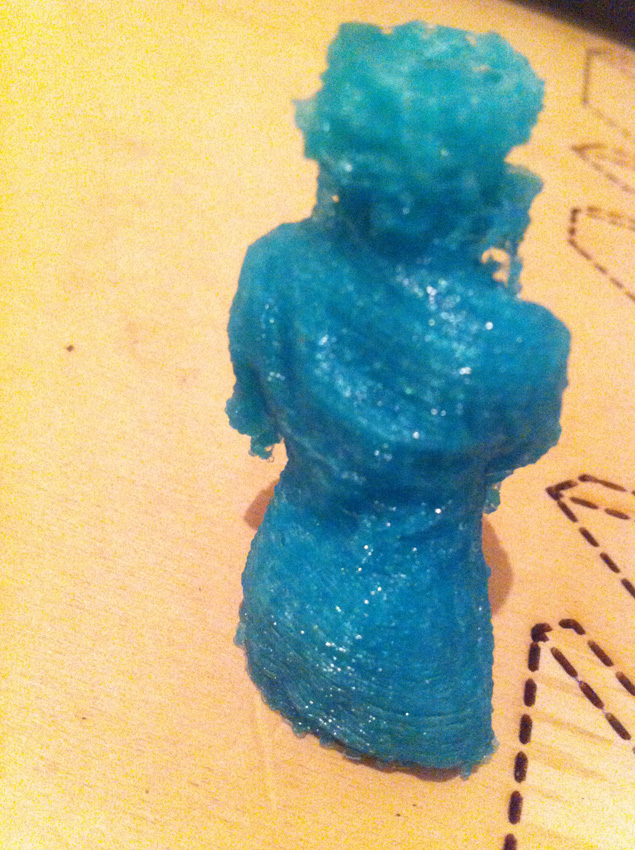
 when changing the fill density to 0.2 mm, a more proper result was printed:
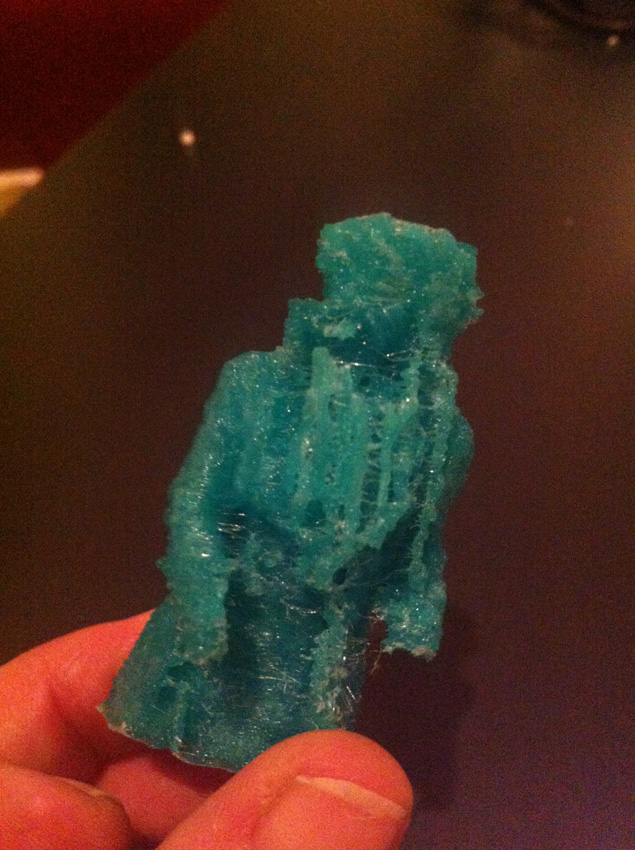
 the front details were a bit too fine for the scale and resulotion of the Reprap, and support material and the “real” model got mixed a bit
Next, i did a tryout with the same STL in the Shopbot milling, to see the opposite technique over the same file
(it just requested the slicing of the model in Rhino, to get a flat back, as milling cannot operate full 3D. then closing the mesh with FillHoles )
milling it in simple Polypropylene, small scale, resulted like that: (some fine details of the coat ! )

I then experimented with a parametric code, in Grasshopper, that could generate an STL, in the format of wide public applications for the design and self production of goods.
the code generates a ring, based on various parameters to be set (inner diameter, height, thickness, type of polygon etc…). the code can be downloaded here

 “baking the ring’, the resulting mesh is waterproof and correct STL for printing

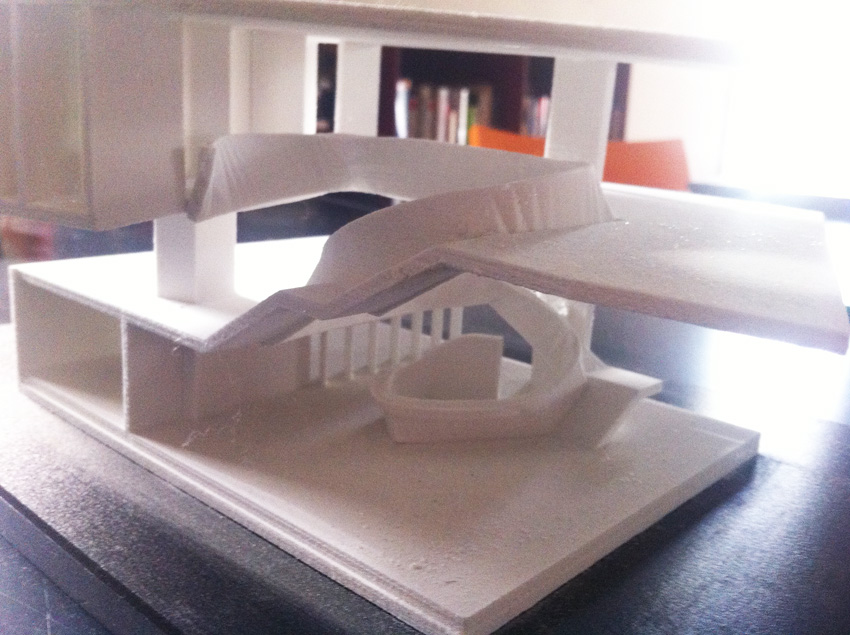
on a totally different scale and purpose, i printed an architectural model, with the Zcorp
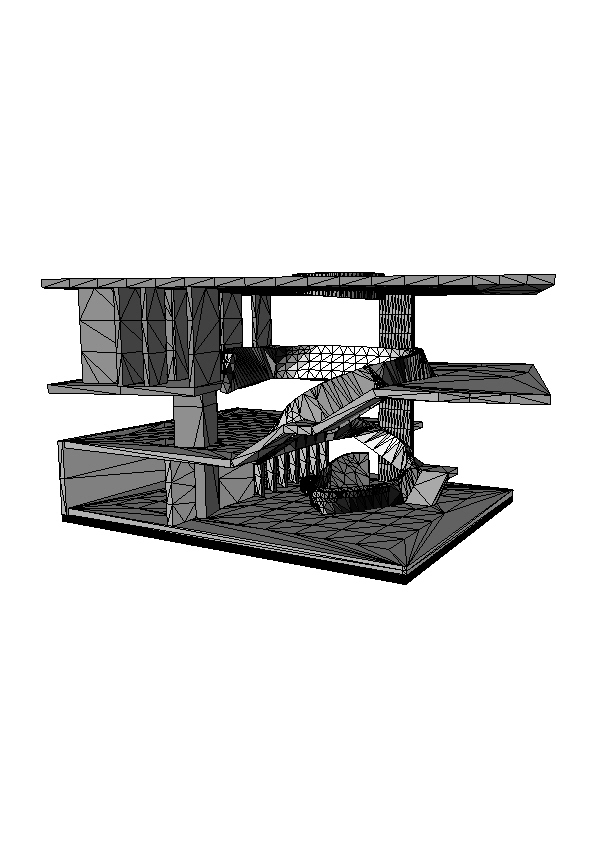 as the powder serves as support in this technique, floating elements, overhangs etc can result very clean :