Input devices
This week's assignment was to make a board with a Sensor as an input, and the measure something.
Deciding what do make:
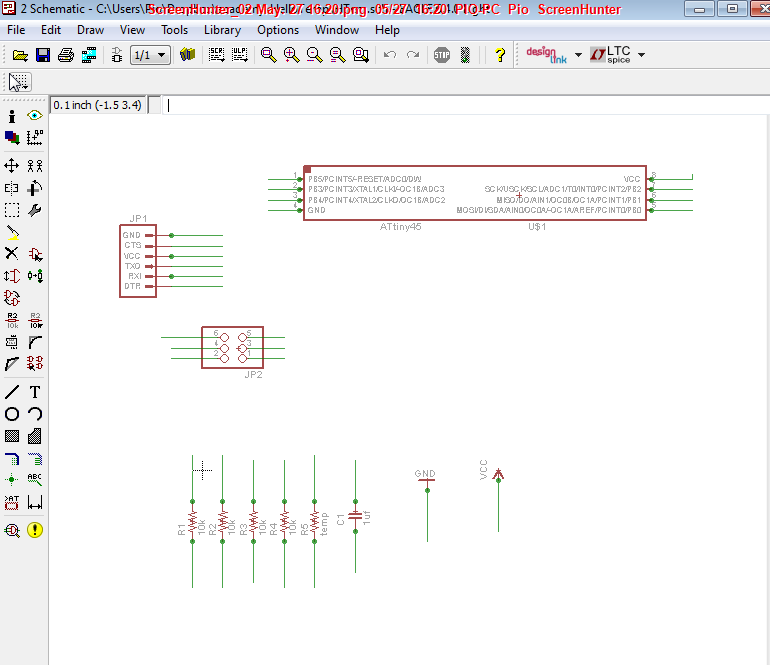
I decided to to build the temperature sensor from the class archive. I had a hard time getting this to work after the design process. Building it was not a problem at all since I was just replicating the existing image of the circuit from class. I could have just downloaded the PNG file and used it, but instead I decided to redraw it using the eagle program just so I get to understand it more. The design came out successful, I even branded it by adding the name of the circuit to it.
Milling the circuit:
After the design of the circuit, I made all the conversions for processing on the mill, I came out with the trace and the outline in the PNG format. then with the fab module, I imported the files, set up all the parameters necessary for milling each file. After milling the file (circuit), I went ahead and soldered the components. I appeared to me by far, that the soldering aspect was the easiest for me. Then comes the hardest.
Programming the circuit:
this was the aspect of this week's assignment that gave me more headaches, I had to install some packages such as the gcc dependences and the serial driver to be able to communicate with the FTDI cable we use for serial communications via USB port. Using the Ubuntu OS, I installed all the packages including that of the Arduino. After the installations, I tried programming my board and it kept returning error, which I told could be caused by package conflicts. I tried fixing it but was still getting the same error. T make sure the problem was actually software but not hardware, I had to install cygwin on a Virtual window 7. to my surprise, everything worked out perfect on my first attempt to program the board after the installations. for the tutorial, I referred to that of Providence.
Images Showing the Building Process:
1) Designing circuit board with Eagle:
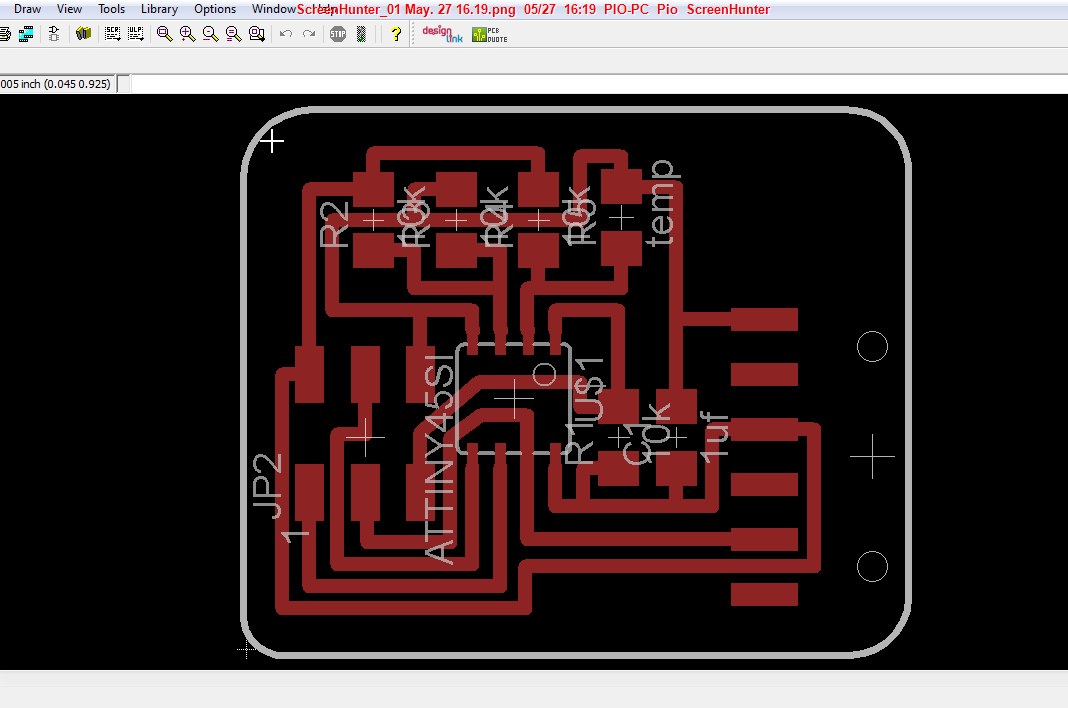
2) Converted circuit board to PNG:
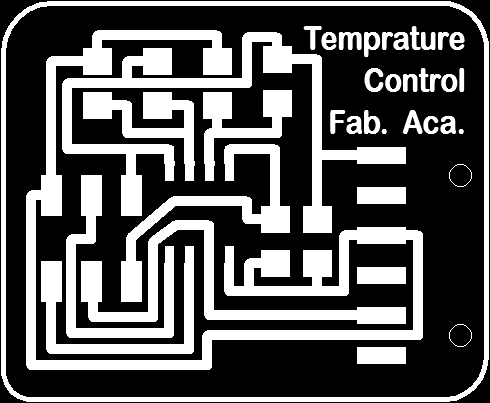

3) Milling the file:

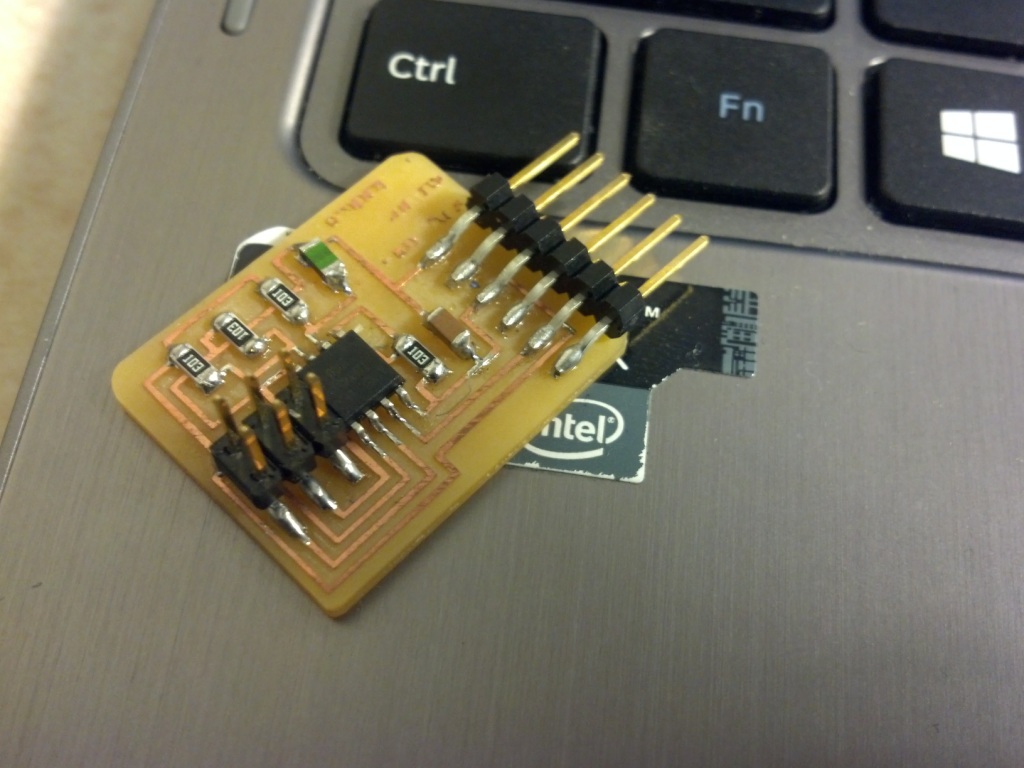
4)After soldering the circuit:
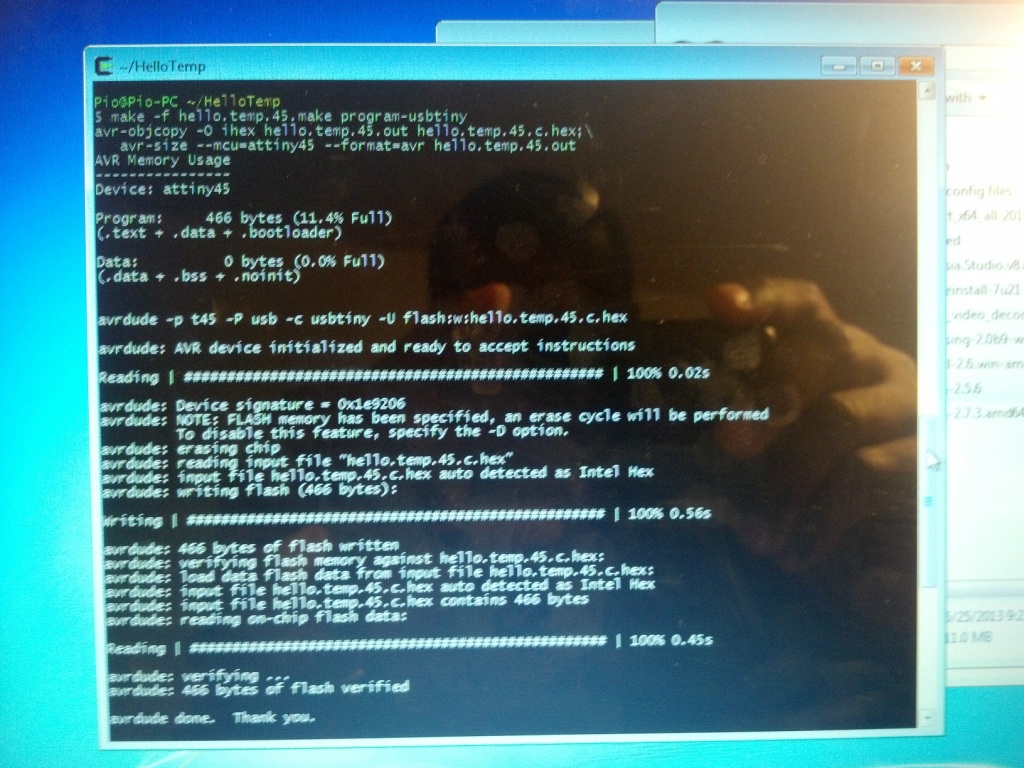
5) Programming the circuit using CYGWIN on windows 7 OS:
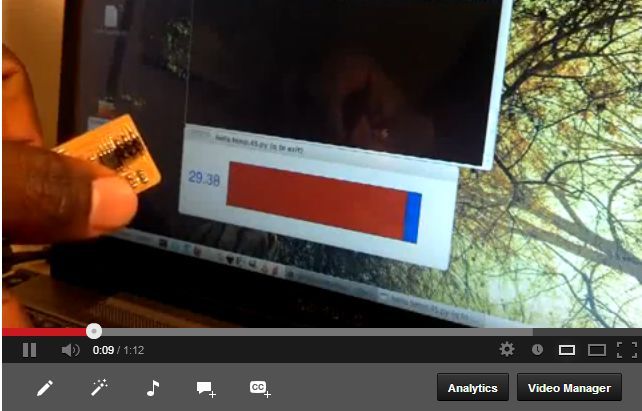
6) Testing the circuit after programming: Click on image to play video