Embedded programming
BACK TO WEELY ASSIGNMENTS
This weeks Assignment was to program the replicated the hello world board with the LED and then a SWITCH in the previous lesson.
This was an oppotunity for me to practice building programmable circuit and loading a program on to it to perform a function. I had to try doing this assignment in both windows and ubuntu. following the tutorial on the Provedence site, I was able to do this project with success. Well with some difficulties which were trushed out with help from Blair.
In doing this assignment, I had to; make sure I have downloaded and install all the programs and driver with the firmwares needed and then Install and configure them correctly.
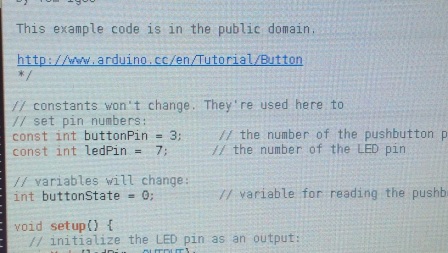
After installing and configuring all softwares and drivers; I connected my fabISP to the computer using the usb cable and then connected my helloworld board to the FabISP and then powered the board using the 3.3V usb serial cable. after connecting them, I opend the programmer ( ARDUINO), cofigured the setting by choosing the correct processor architechture (board), sellecting the correct output port and then sellecting the right programmer. I then opened the recommended example sketch and made the necessary changes to fit my pin configuration and then compiled it and loaded it to my circuit board. the aim of the sketch was to make it possible for an led to light on when a button is pushed on the circuit and after programming the board, it did just that.
The next thing I did after this was that, I changed the skectch by omitting the switch and making the LED to blink when ther is powor connection to the circuit. I was happy to find out it all worked out well.
NOTE: One thing I realized I had to do in addtion was, to change the the permission settings of the /dev/tty* to 777 just so I can rigth through the ports without any restrictions.
Below are the snapshots of the how it all worked out:
1) Downloaded Arduino and ther drivers for installation

2) Changed my permission

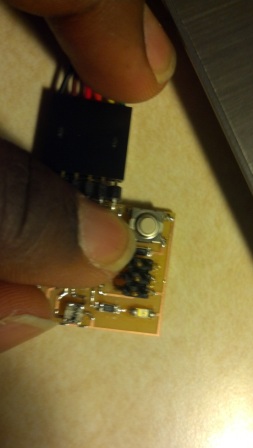
3) Connected my boards

4) Opened Arduino and sellected the rigth board

5) Sellected the right programmer.
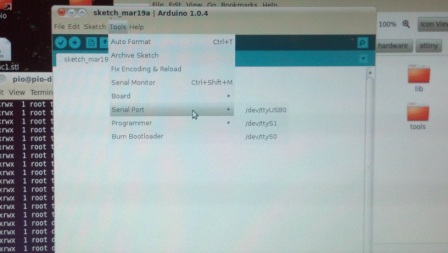
6) Sellected the right port

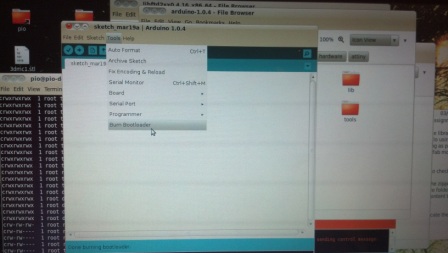
7) Burned the boatloader to the board
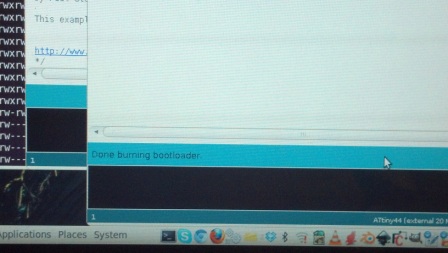
8) Burning complete
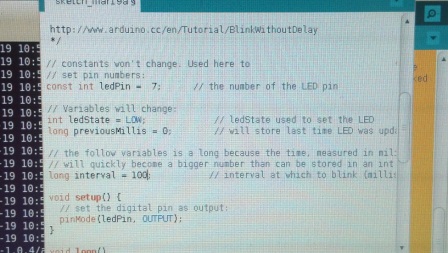
9) Opened Sketch and made changes
10) Compiled and Uploaded sketch to board

11) Final work for board in switch mode

12) Made changes in sketch for blink
13) For vedio of the Final work for board in the blink mode, Click the link below
BACK TO WEELY ASSIGNMENTS