8. Computer controlled machining
Objectives
Group (To redirect to group assigment page Click here)
- Safety training
Individual
- making (design+mill+assemble) something big (~meter-scale)
- extra credit: don’t use fasteners or glue
- extra credit: include curved surfaces
CNC router
A computer numerical control (CNC) router is a computer-controlled cutting machine that uses a endmill on a spindle to cut a variety of materials, including wood, composites, aluminium, steel, plastics, glass, and foams by moving in diffrent axis. Many carpentry shop machines, such as the panel saw, spindle moulder, and boring machine, can be replaced by CNC routers.
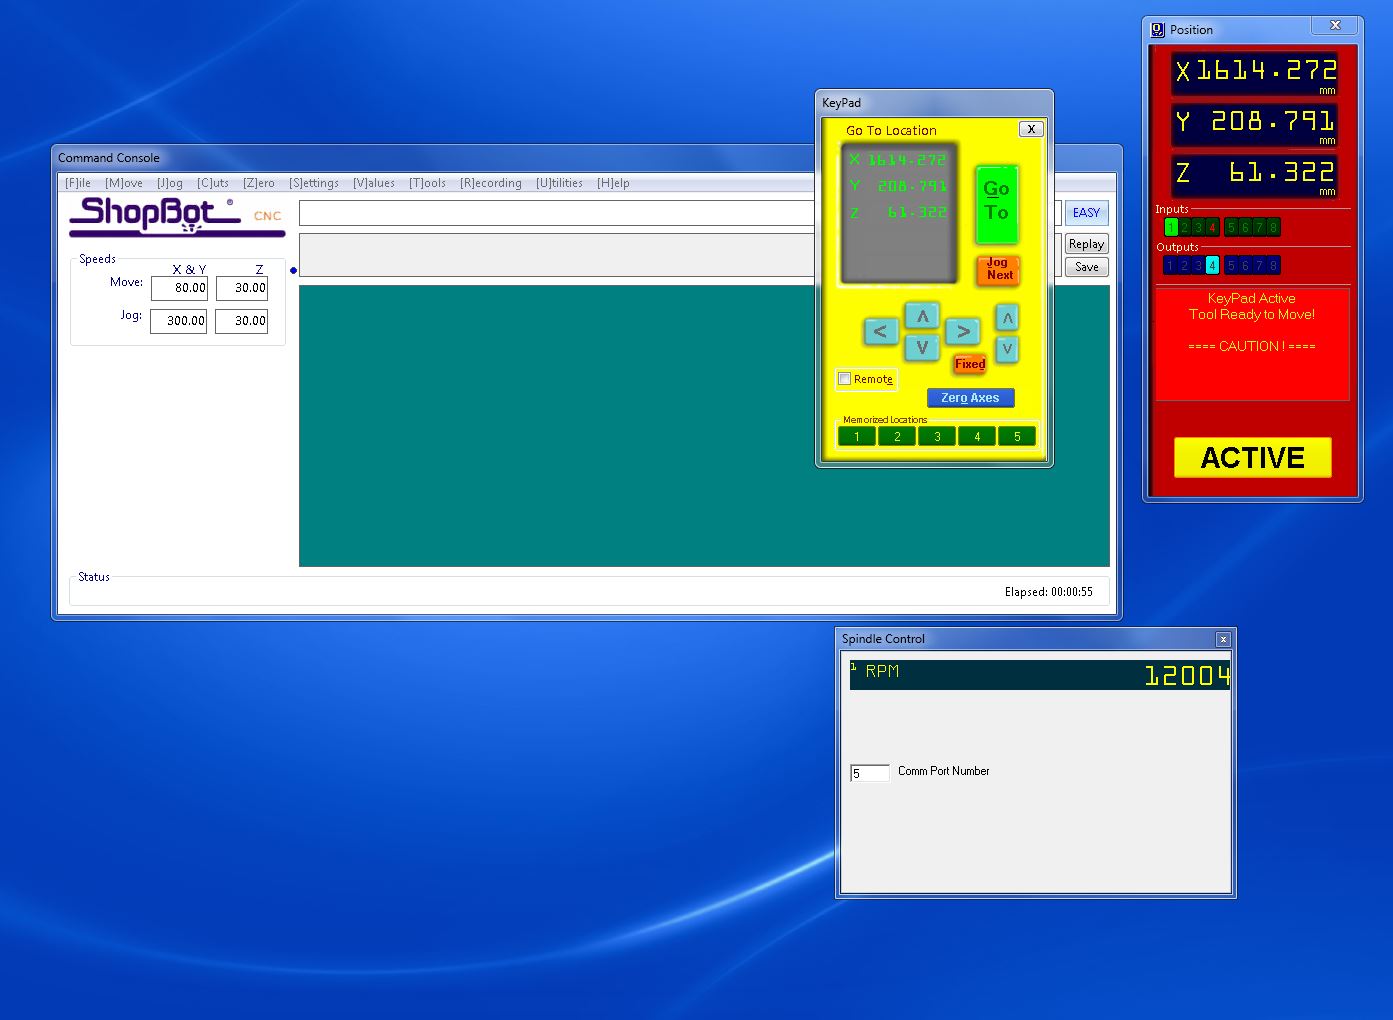
ShopBot PRSalpha 96
We use Shopbot PRSalpha 96 in our lab, which has Fast, closed-loop Vexta alphaStep motors on all three axes (two on the X-axis) — The alphaStep system keeps track of motor shafts locations and PC inputs in order to provide more precise and error-free cutting. It can cut at up to 600 inches per minute (depending on the cutting tool and material) and travel at 1,800 inches per minute. as well as a spindle speed of 15000 rpm. It is a good choice for furniture, sign, and cabinet manufacture because of these properties. On the other hand, this makes the machine a little risky, necessitating safety training before operating it.
Safty Trainning
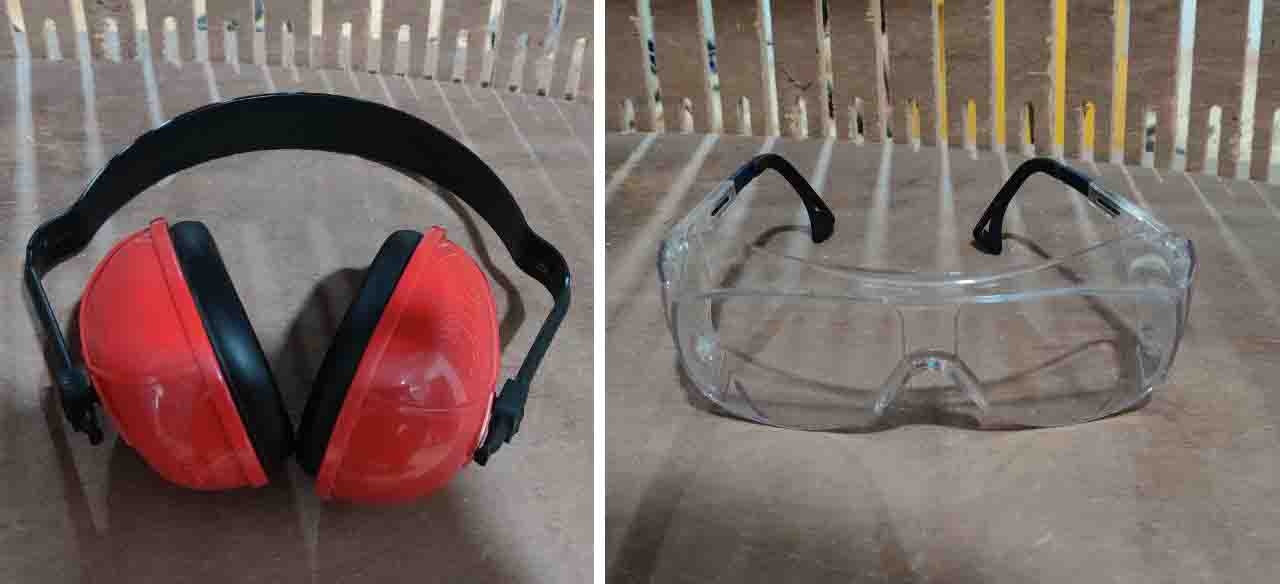
Because of the machine’s noise and the possibility of being wounded by thrown-off chips or broken bits always wear suitable ear protection and safe eyewear when working on a CNC machine.
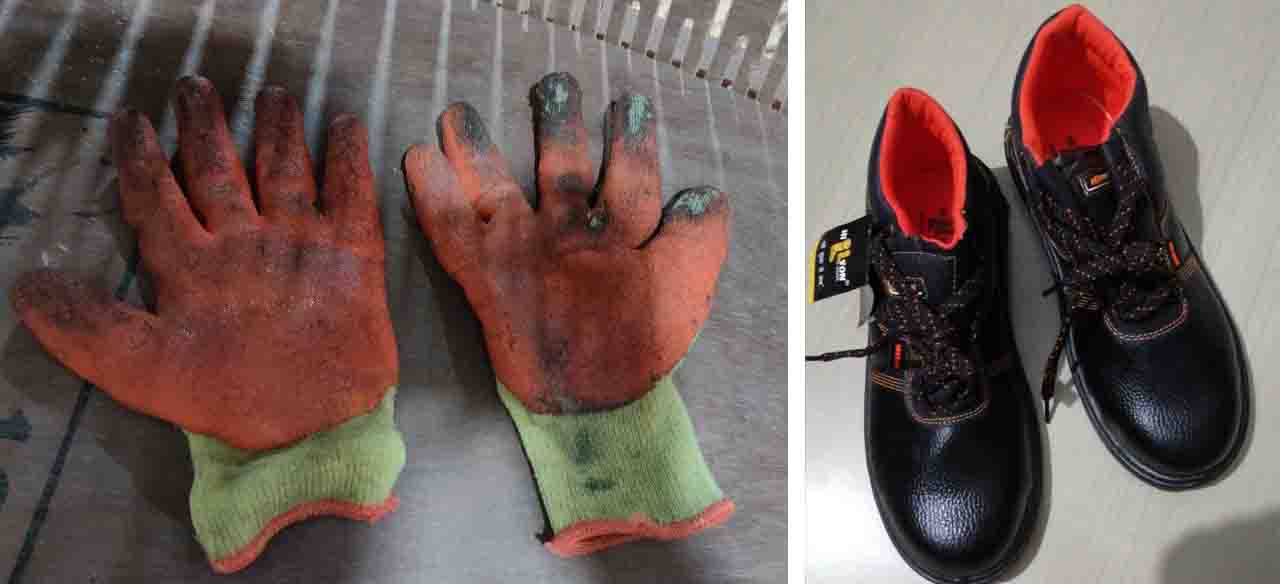
When handling the workpiece, use gloves to avoid getting shards in your hands, and wear appropriate footwear, such as safety boots, at all times.
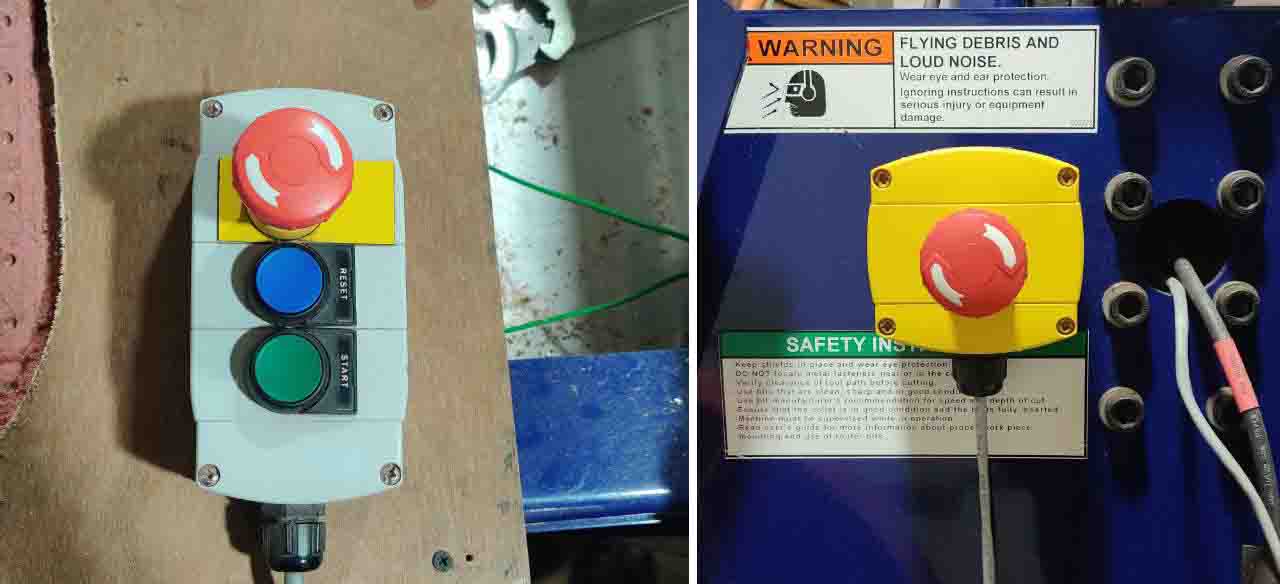
always use a mask since the file dust can be injurious to your health. During machining processes, keep your hands away from any moving parts. When the machine is on, keep a safe distance from it. Avoid touching the cutting edges of tools when handling or passing them. When you’re done using the machine, make sure to switch it off fully and clean it. make sure the spindle is firmly tightened in the chuck before starting the machine. Never wear jewelry or lose clothing, and if possible, wear half sleeves. Never leave the machine running, and in the event of an emergency, press the emergency stop button.
Test cut
We built a comp to determine the greatest fit and cut the file out on 20mm plywood for a group assigment, but the results were poor owing to the ply’s ageing.We tested on 20 mm ply and the it had a tight fit on the 19.9mm gap.

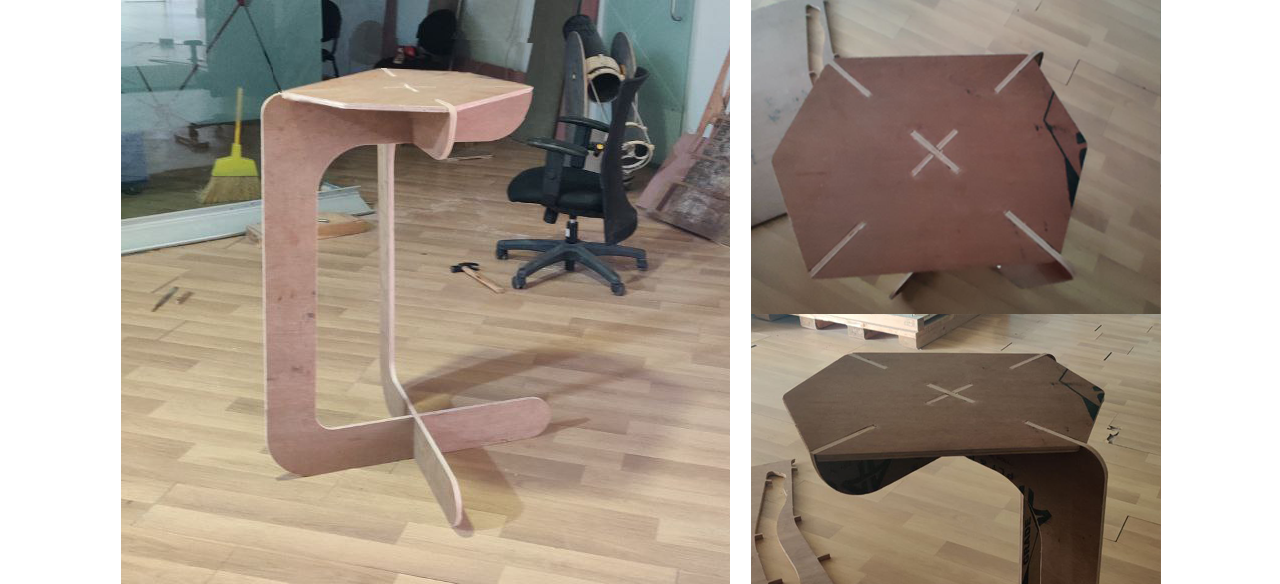
Make Something Big
The individual assignment was to create something big in meter scale, therefore I decided to make a simple standing podium after much browsing and discussion with the instructors.
Designing
I started my design using fusion.
Click here to learn more about 3D modeling.
for downloading file Click here
before trying in the Shopbot i laser cutted the model and assembled a miniathure podium

Creating the CAM
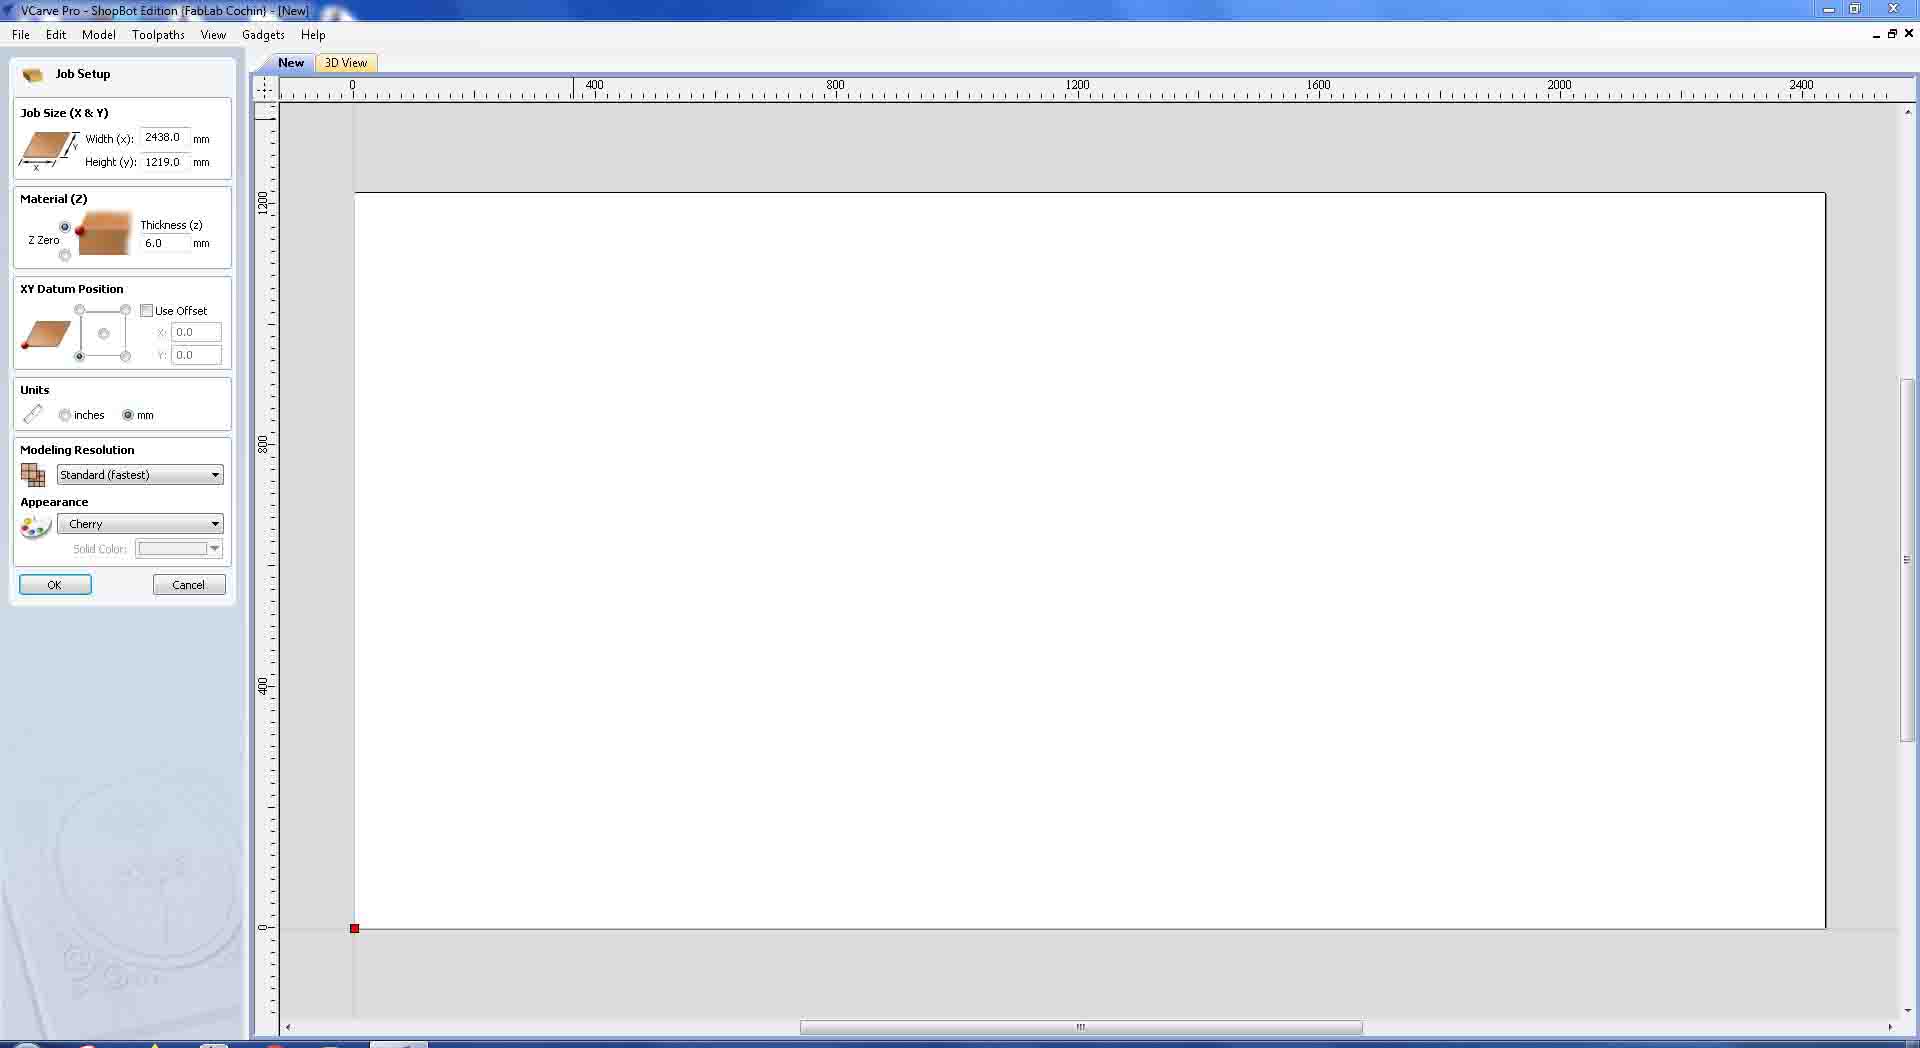
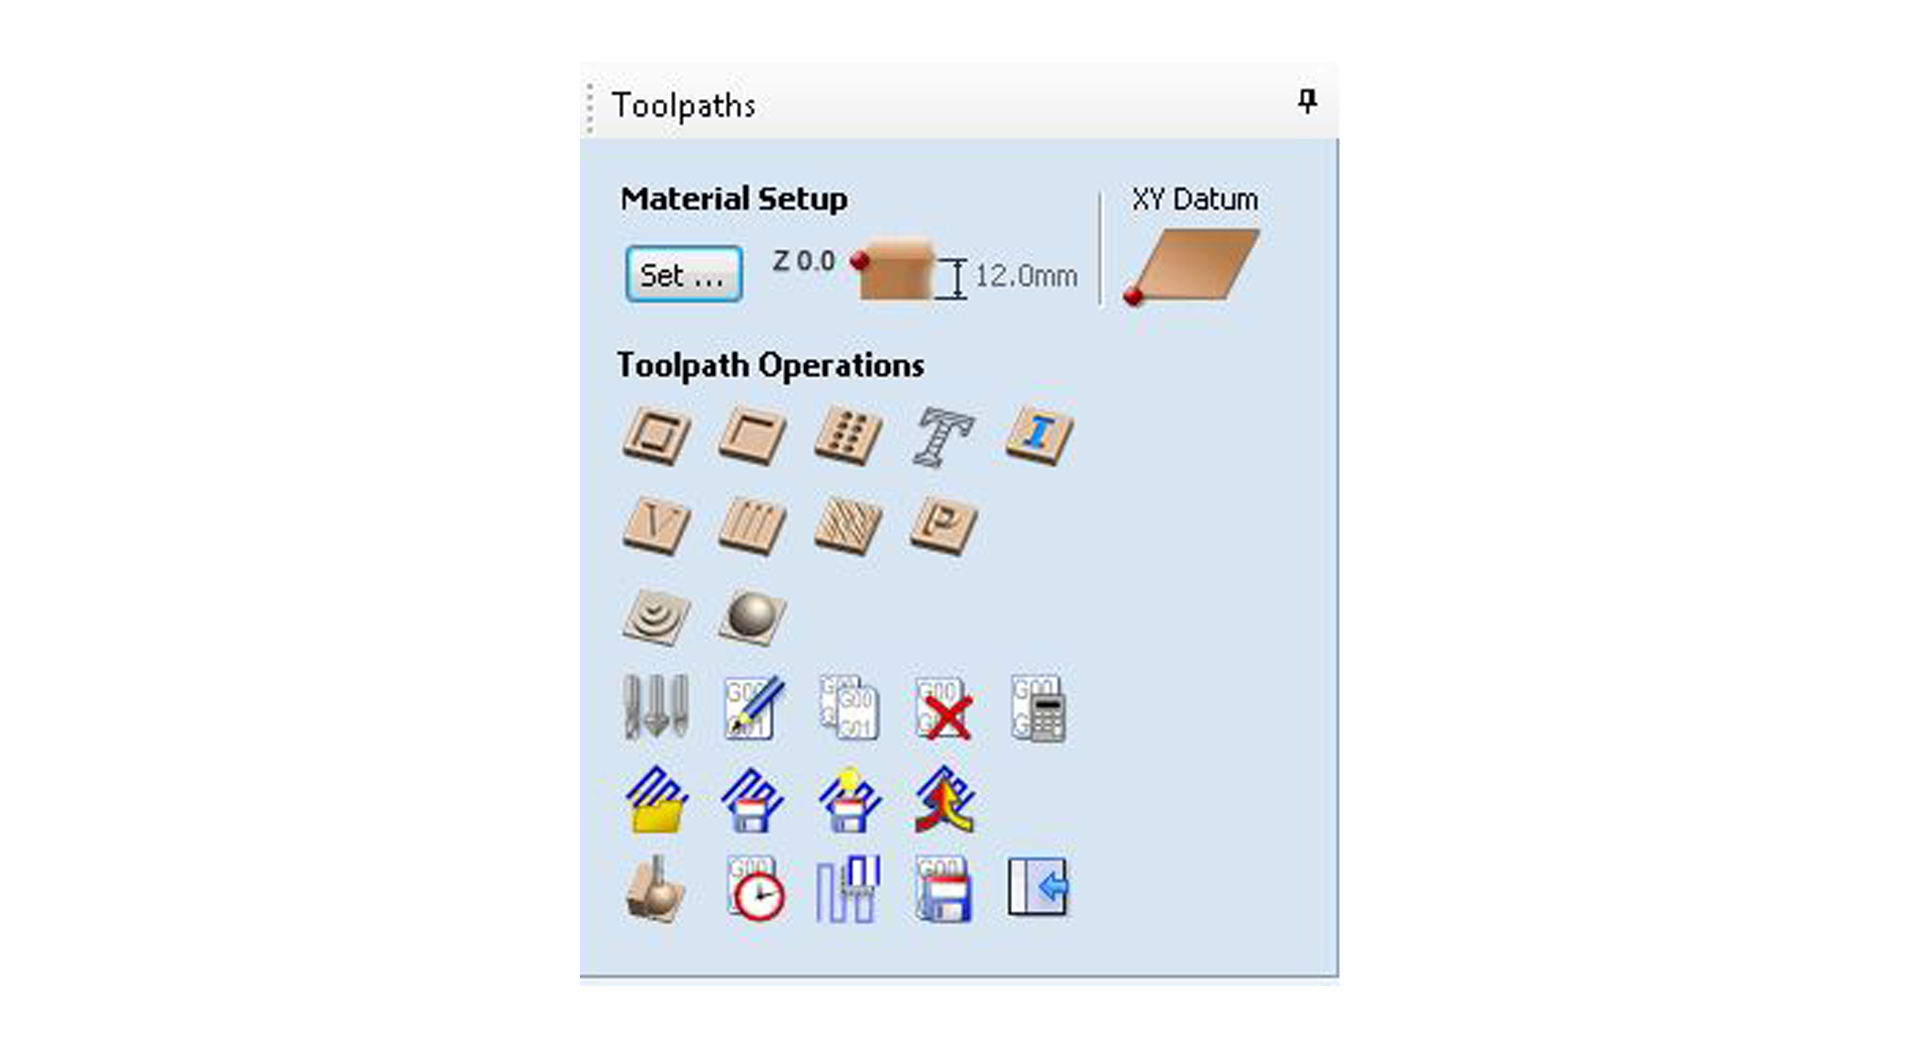
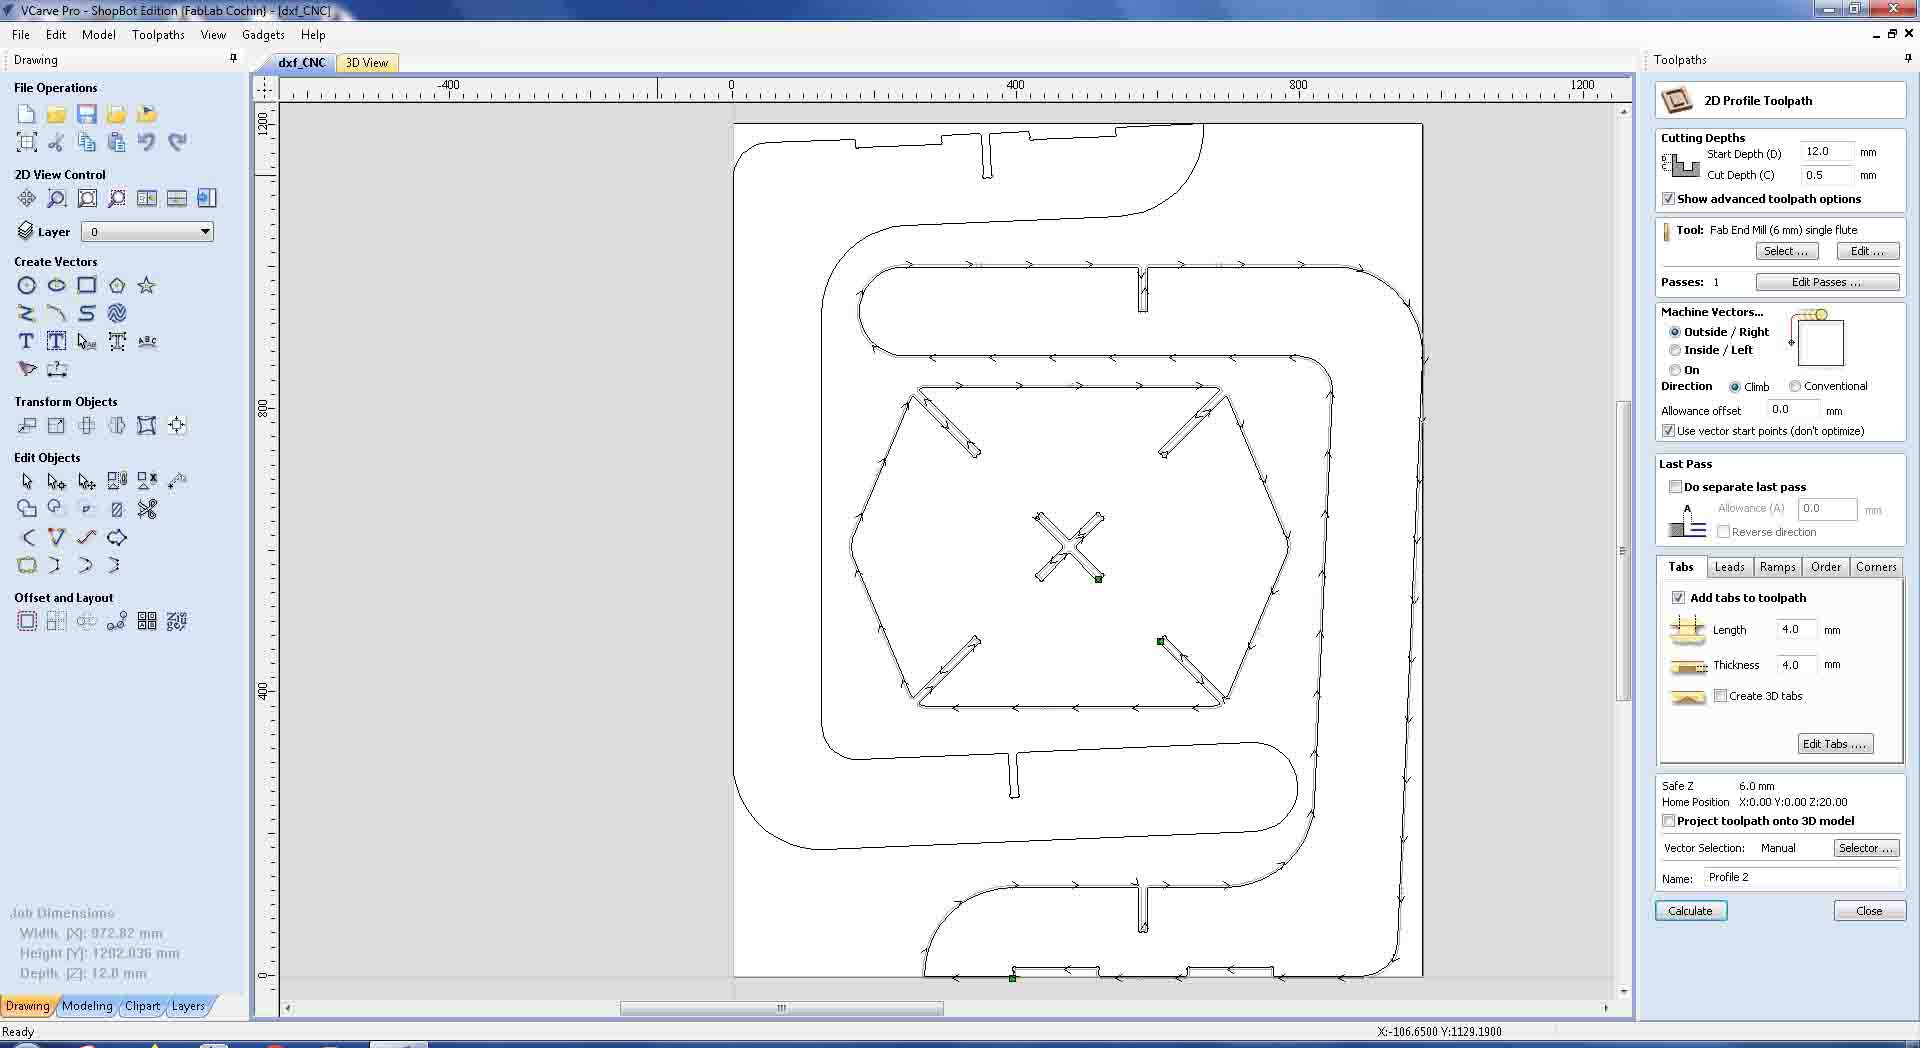
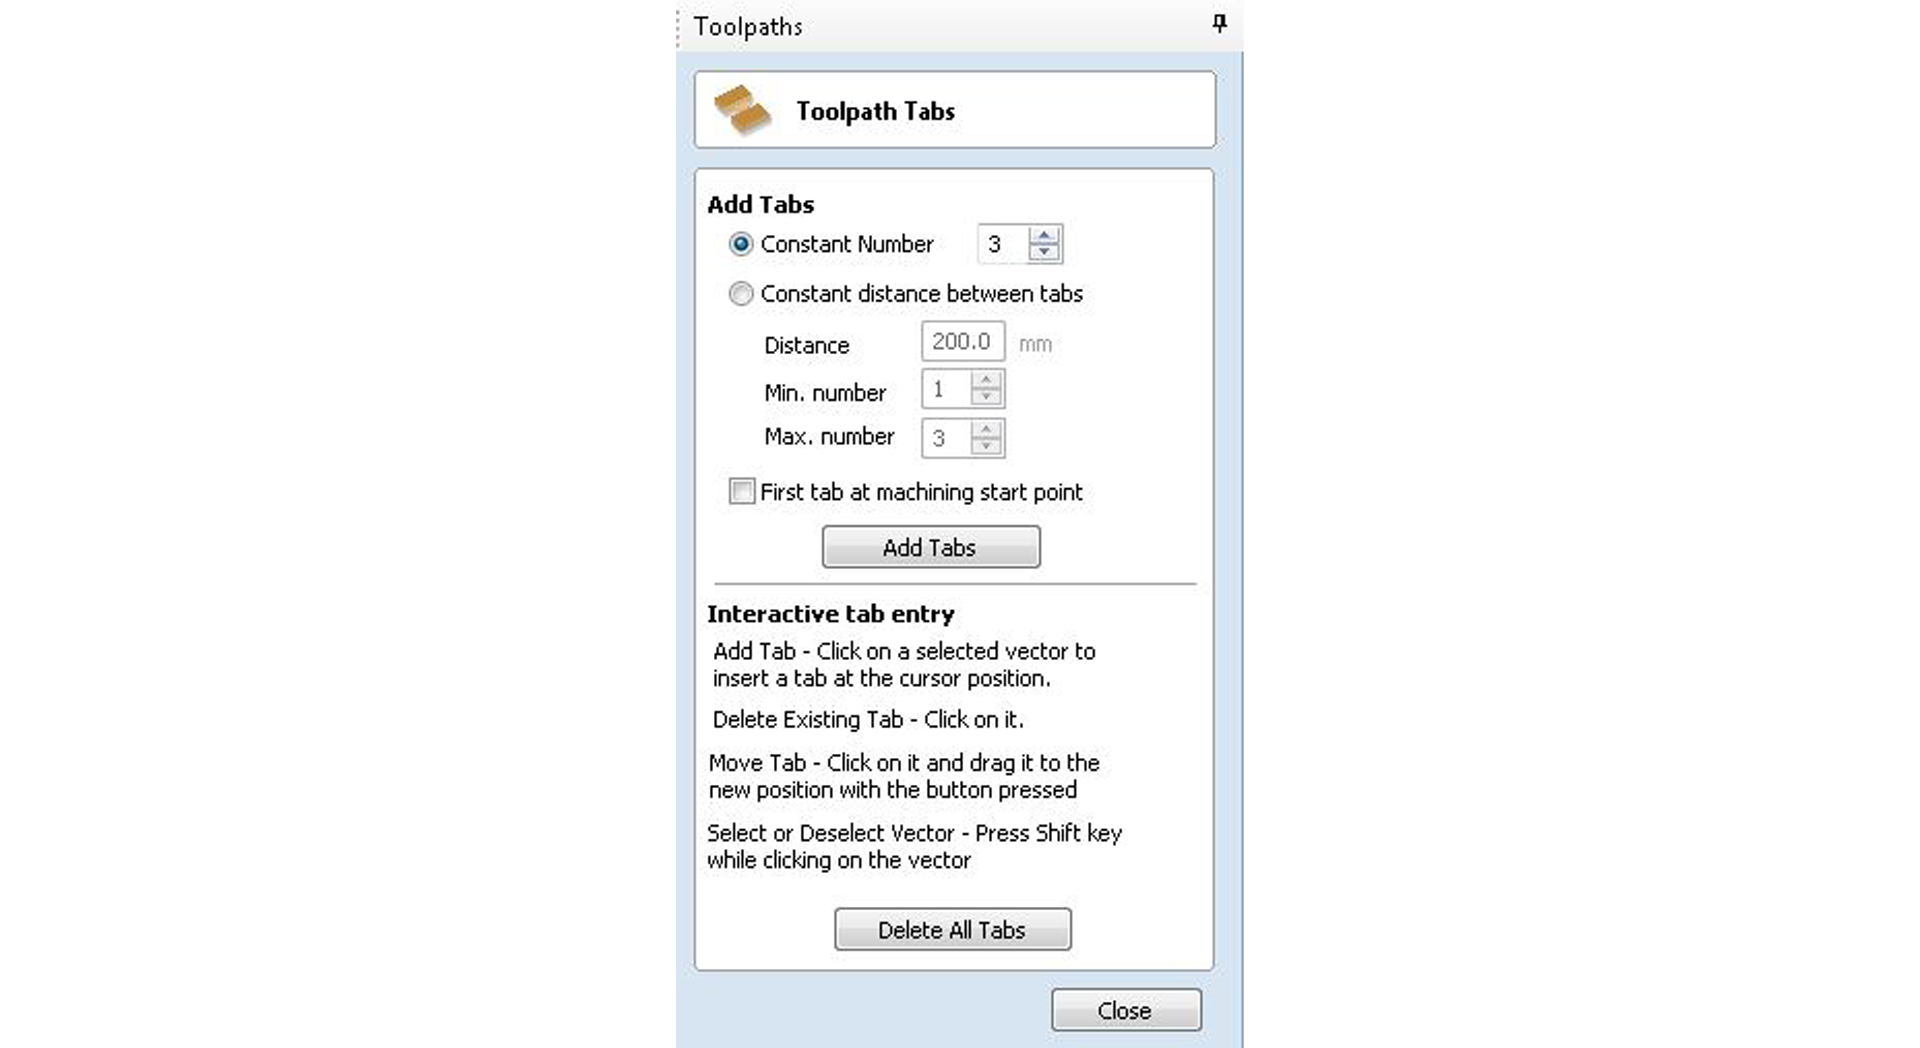
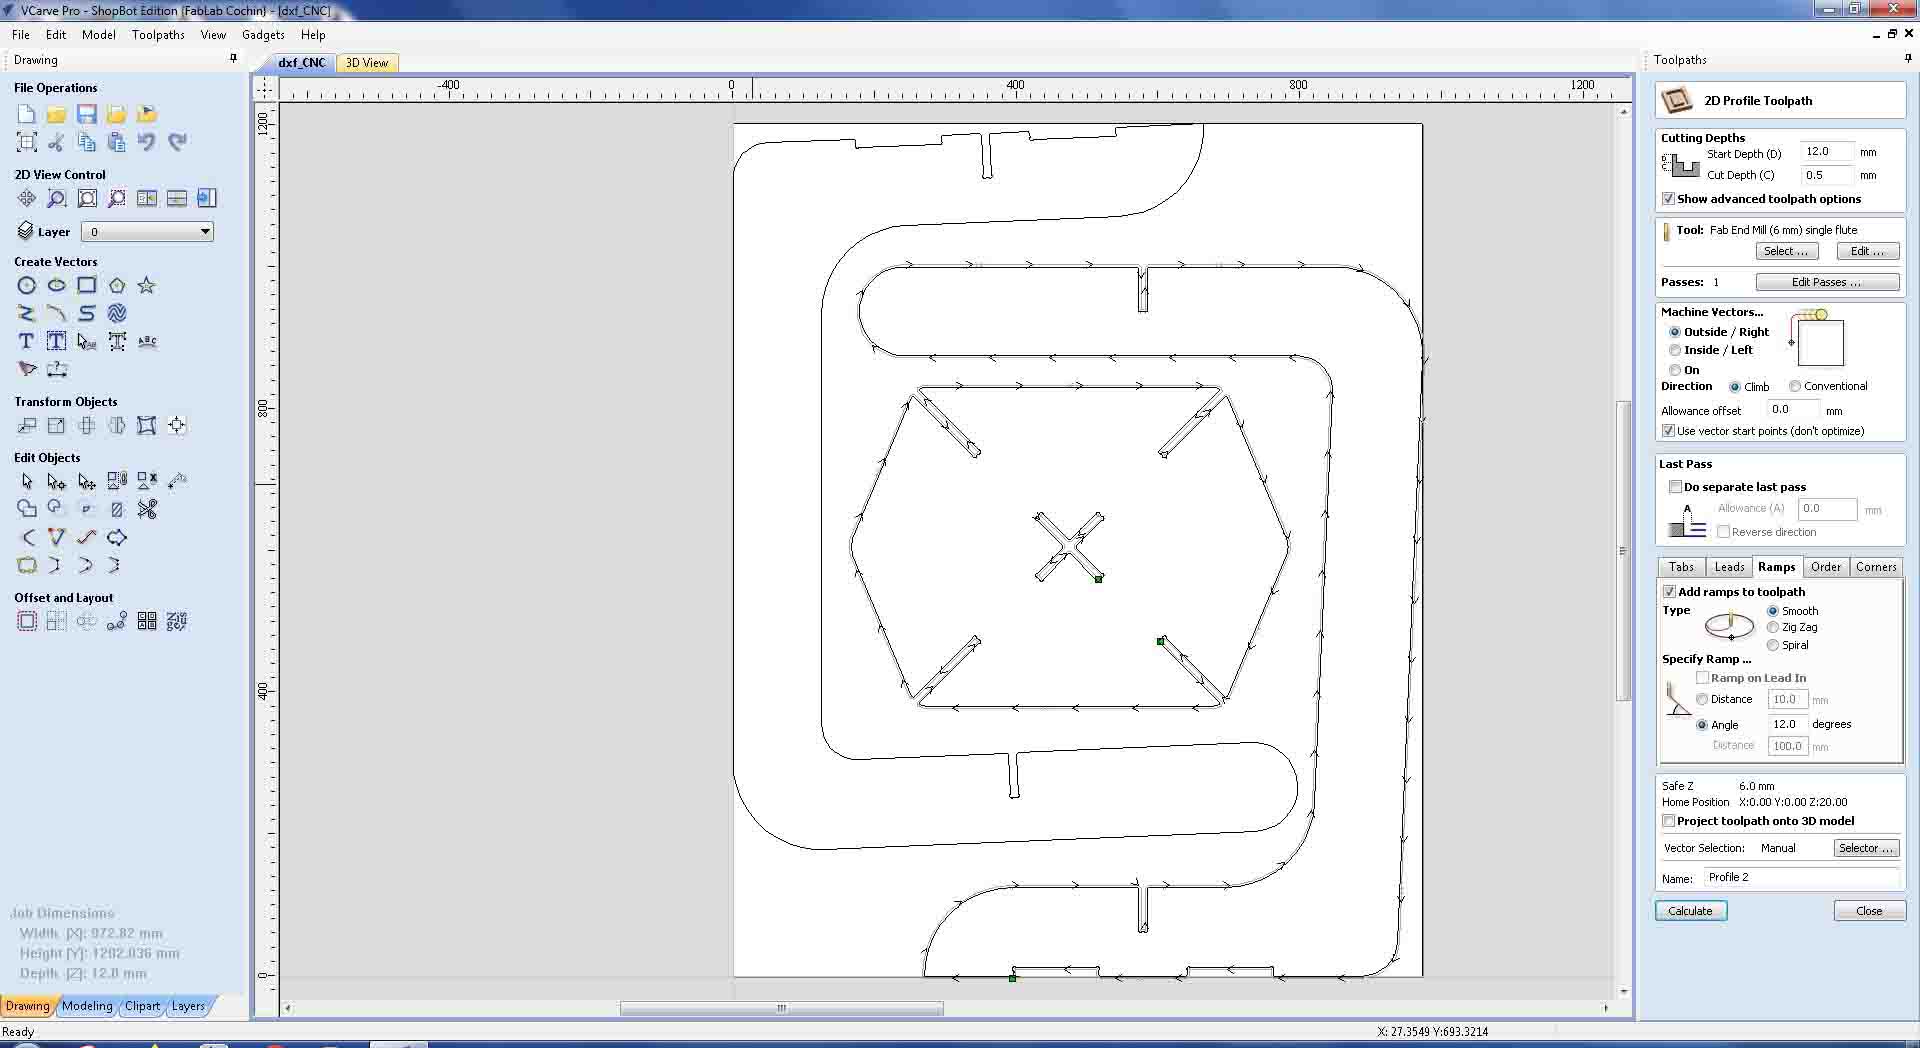
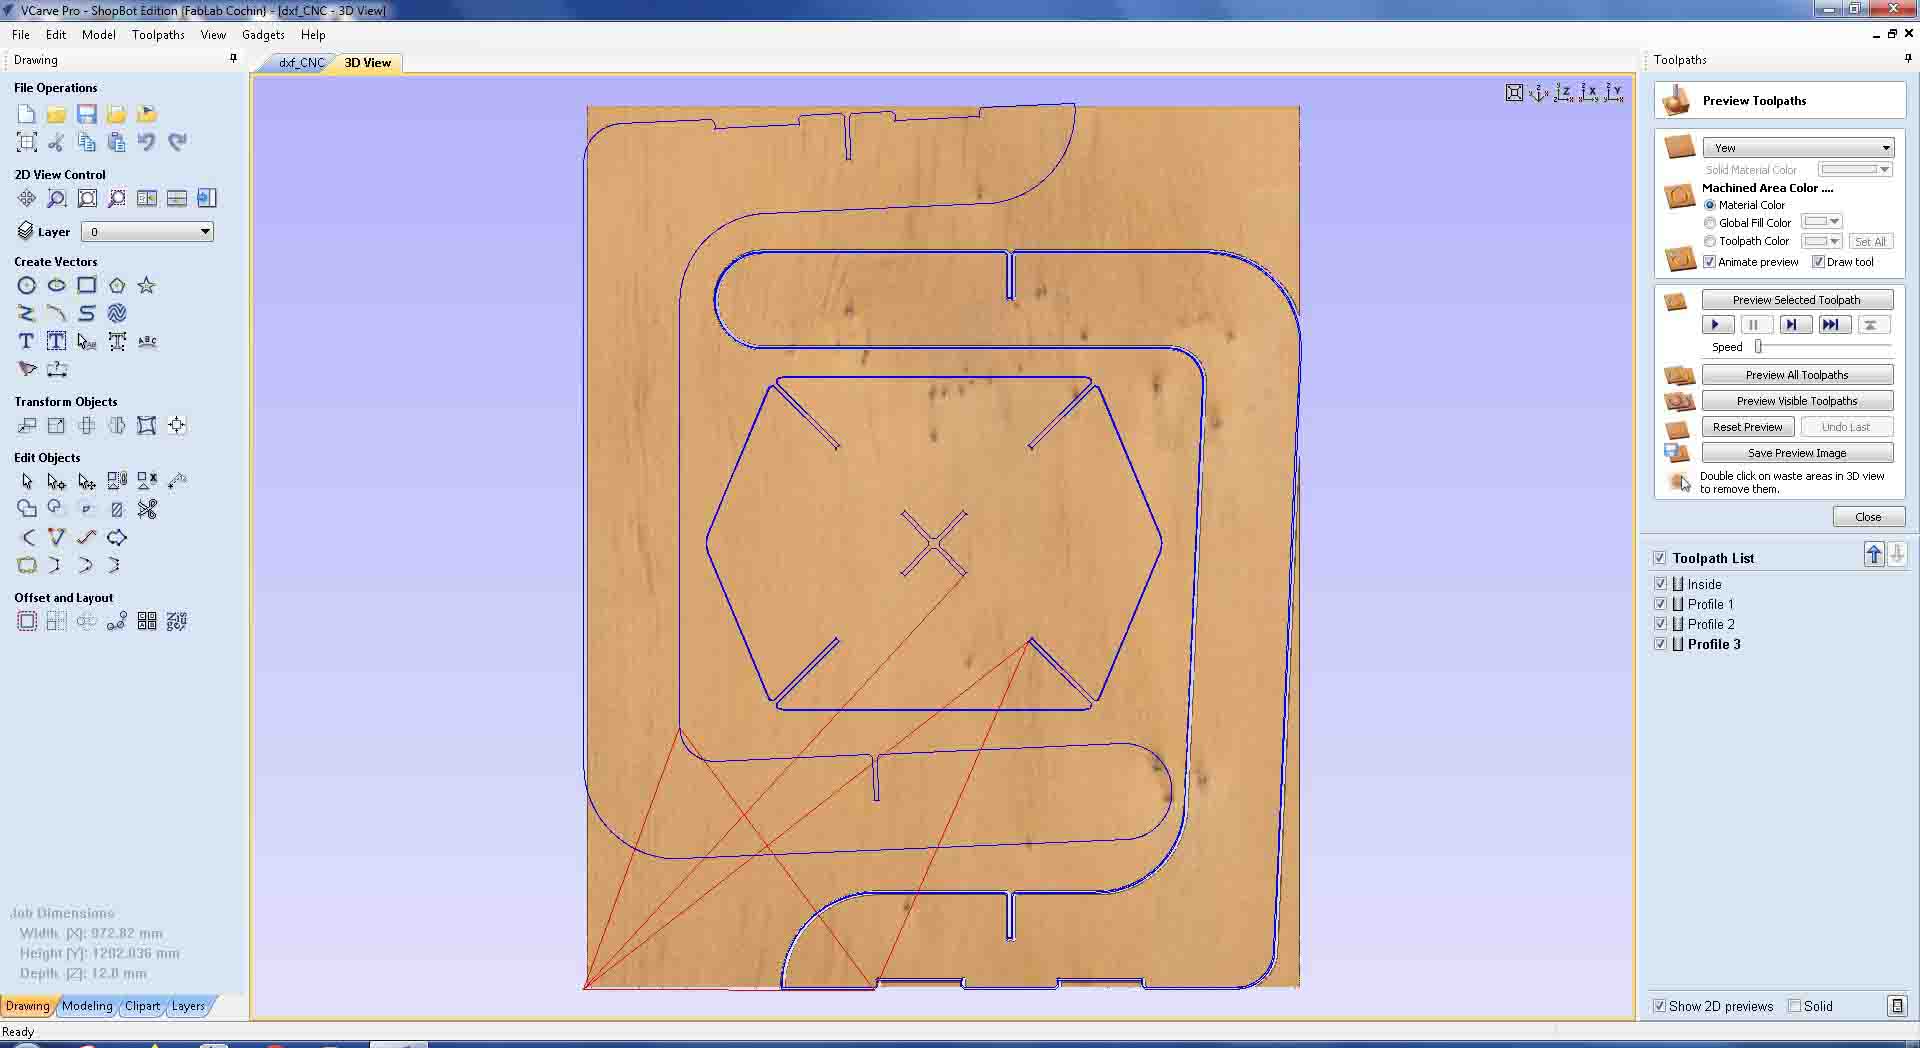
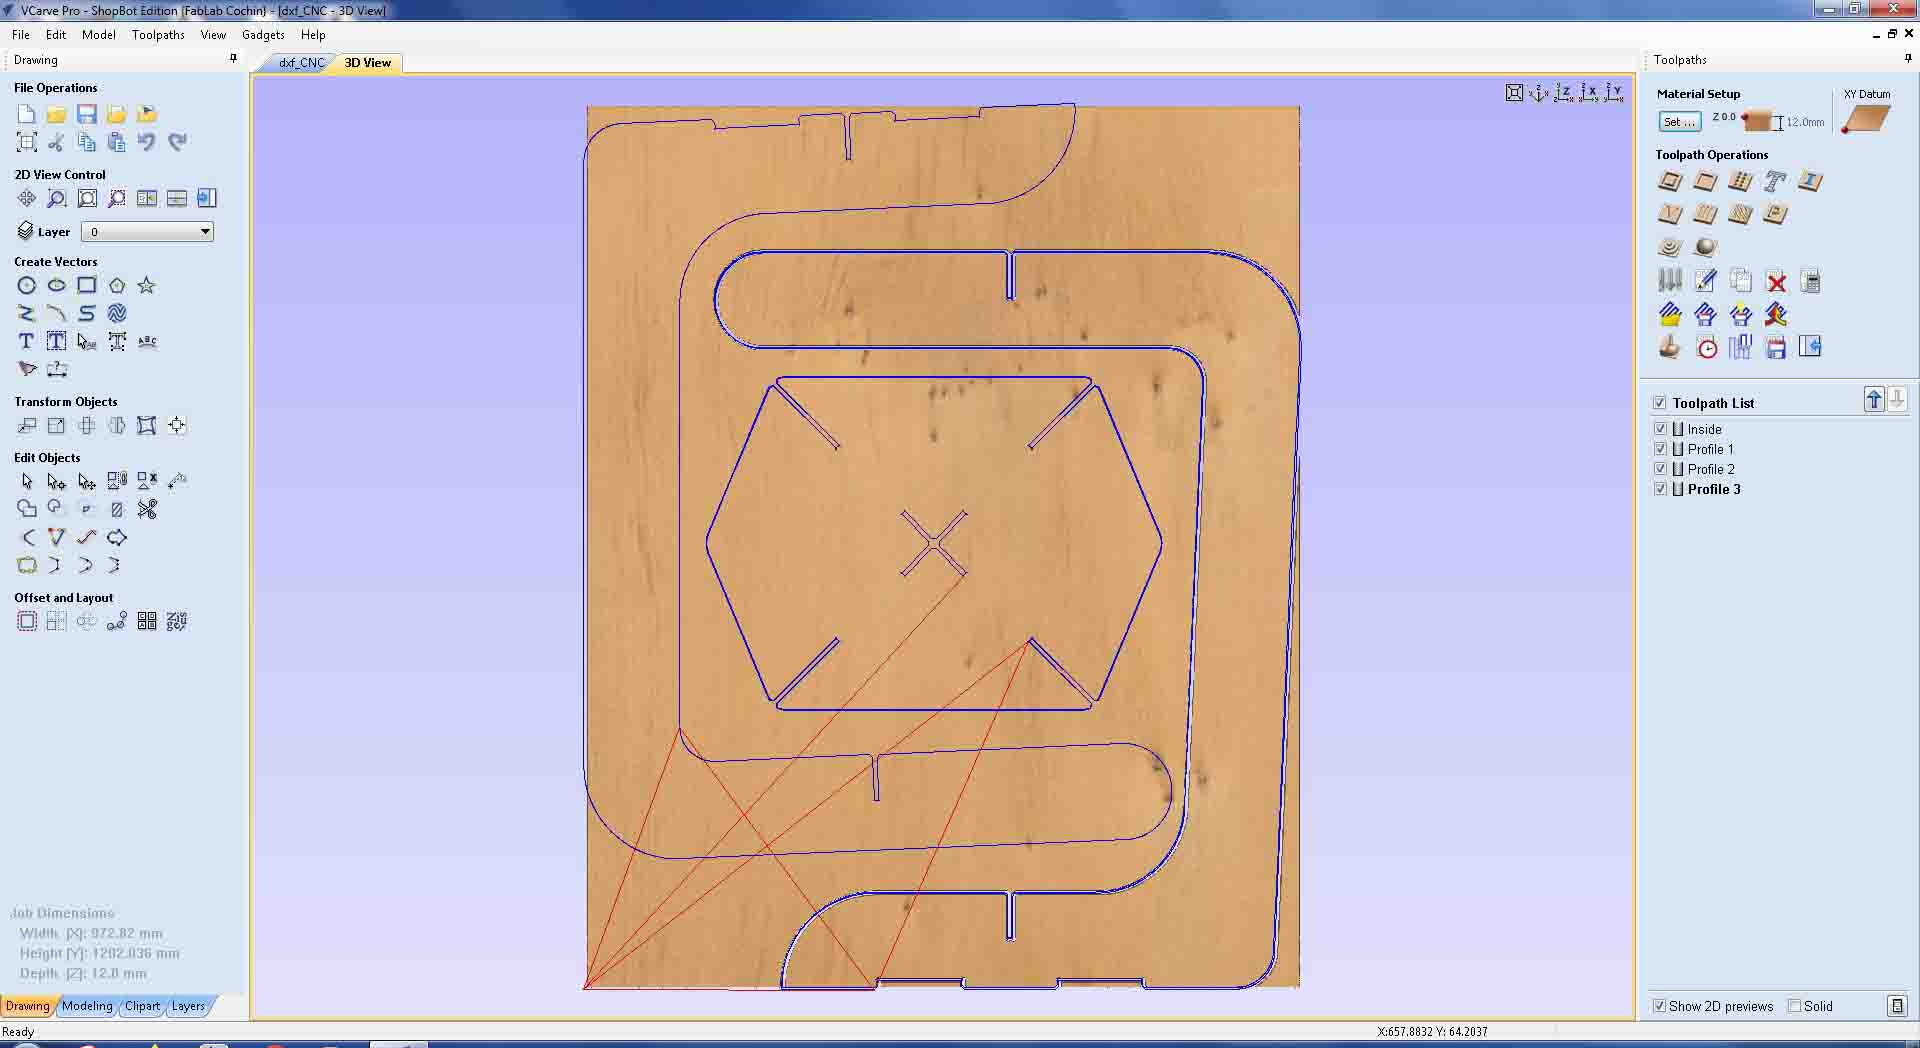
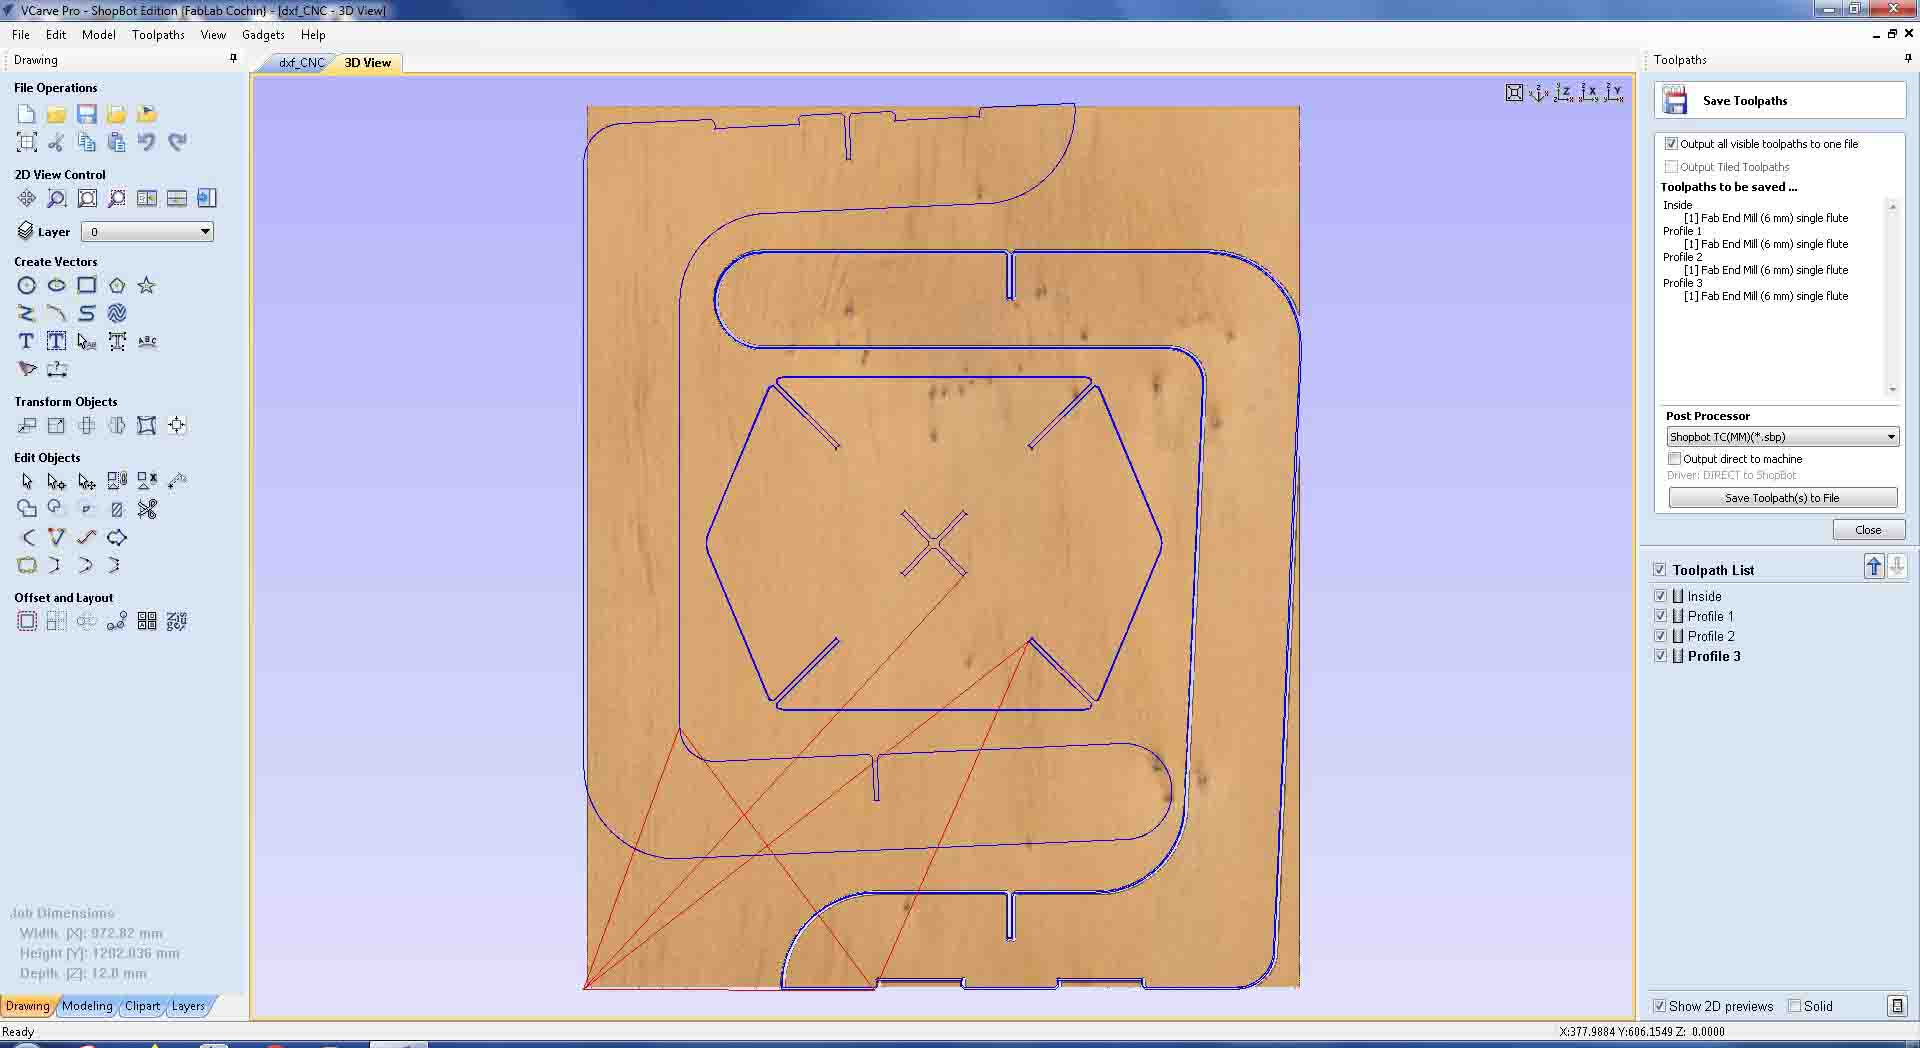
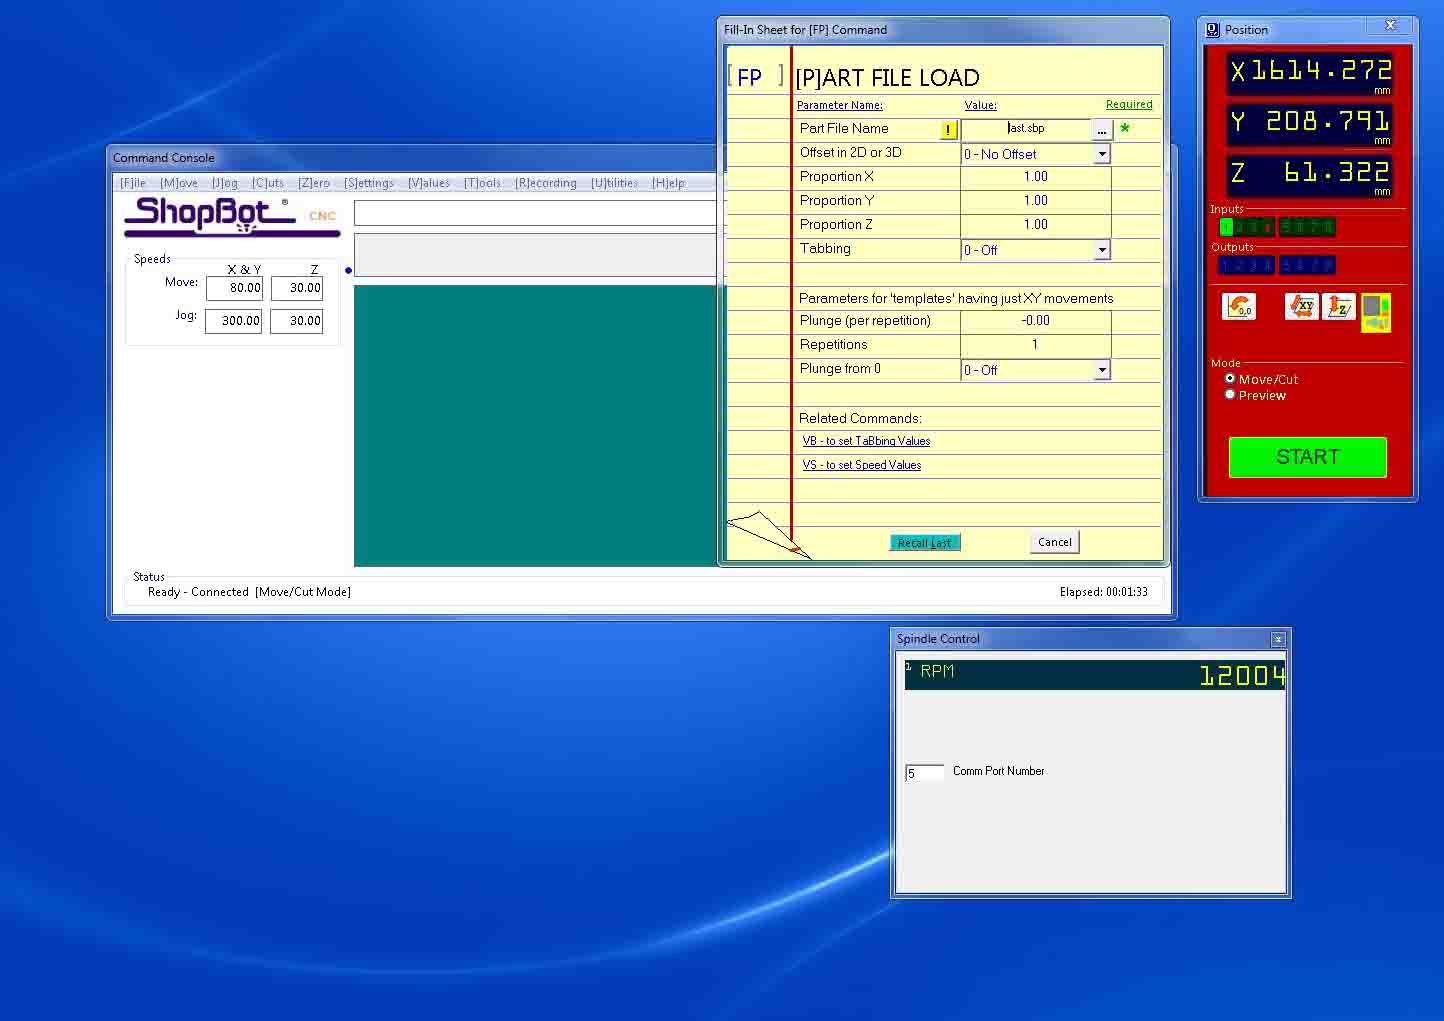
I took the completed .dxf file to the machine. On the ShopBot’s desktop, I opened V Carve Pro and made the necessary changes to the job setup, making sure that use offset was unchecked(Fig.1 in slider). I then imported the .dxf file and pined the tool path side toolbar(Fig.2 in slider). in the toolpath operations, choose the 2D Profile toolpath > Select the cutting parameters > tool accordingly under the 2D Profile toolpath > Configure the Tab and Ramp settings > Now press the calculate button(Fig.3 in slider). A 3D viewport will open, allowing us to visualize the tool path and simulate the CAM(Fig.6 in slider). Click Save in the Toolpath operation to export(Fig.8 in slider). Click the Save Toolpath(s) to File. CAM is created now we can look at how to use the machine control system
Parameters
- cutting depths as 12
- Tool Bit: 6mm Dia
- Step Over: 4.8mm
- Pass Depth: 5mm
- Speed: 1200RPM
Setting Machine and Cutting
I cleaned the bed and placed the ply over the bed fixed the ply using screws and seted the orgin using the control software.
By clicking the cut part, you can import the G Code we created earlier. and after importing by keeping default settings click START. Now, turn on the spindle by pressing the start button on the control remote and selecting ok from the pop-up dialogue box on the desktop.

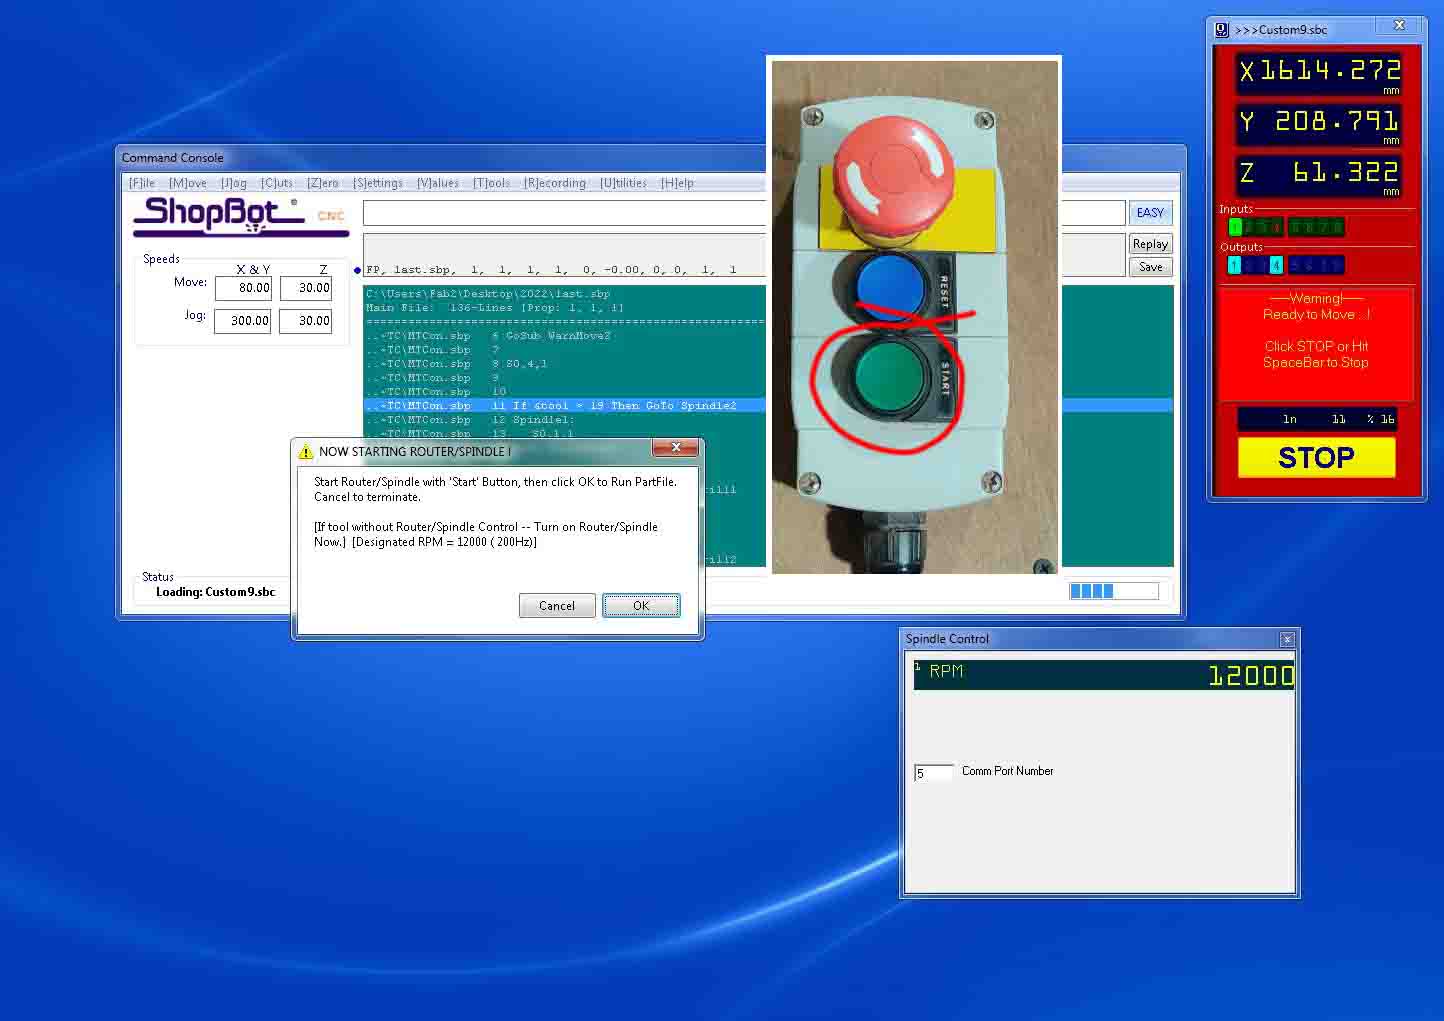
Your cut will now begin. Remove the tabs with a chisel. Then file the parts for a better finish and begin assembling your model.
Result
All parts were cut and but the tabs were to be filed and being a manual process it takes a lot of time so i assembles some of them and need to continue a bit more to complete the full assembly.