Embedded Programming
Week Nine

This week is all about programming!
Group assignment
Comparison the performance and development workflows for different microcontroller families.
Document everything
Individual assignment
Read the datasheet for the microcontroller that you are programming.
Program the board you have made previously, with as different programming languages and programming environments as possible.
Learning outcomes
Recognize relevant information in a microcontroller datasheet.
Instrument programming protocols.
________________________________________
In this week’s I used the Attiny 44 that I designed in the electronics design week
And also the ISP board I produced in the
electronics production week.
basically C language is a powerful general-purpose programming language. It can be used to develop software like operating systems, databases, compilers, and so on. C programming is an excellent language to learn to program for beginners. It is a language that is understood by humans, and then it goes through a process to convert it to understandable machine language which is Object language through
________________________________________
Attiny 44 Board:
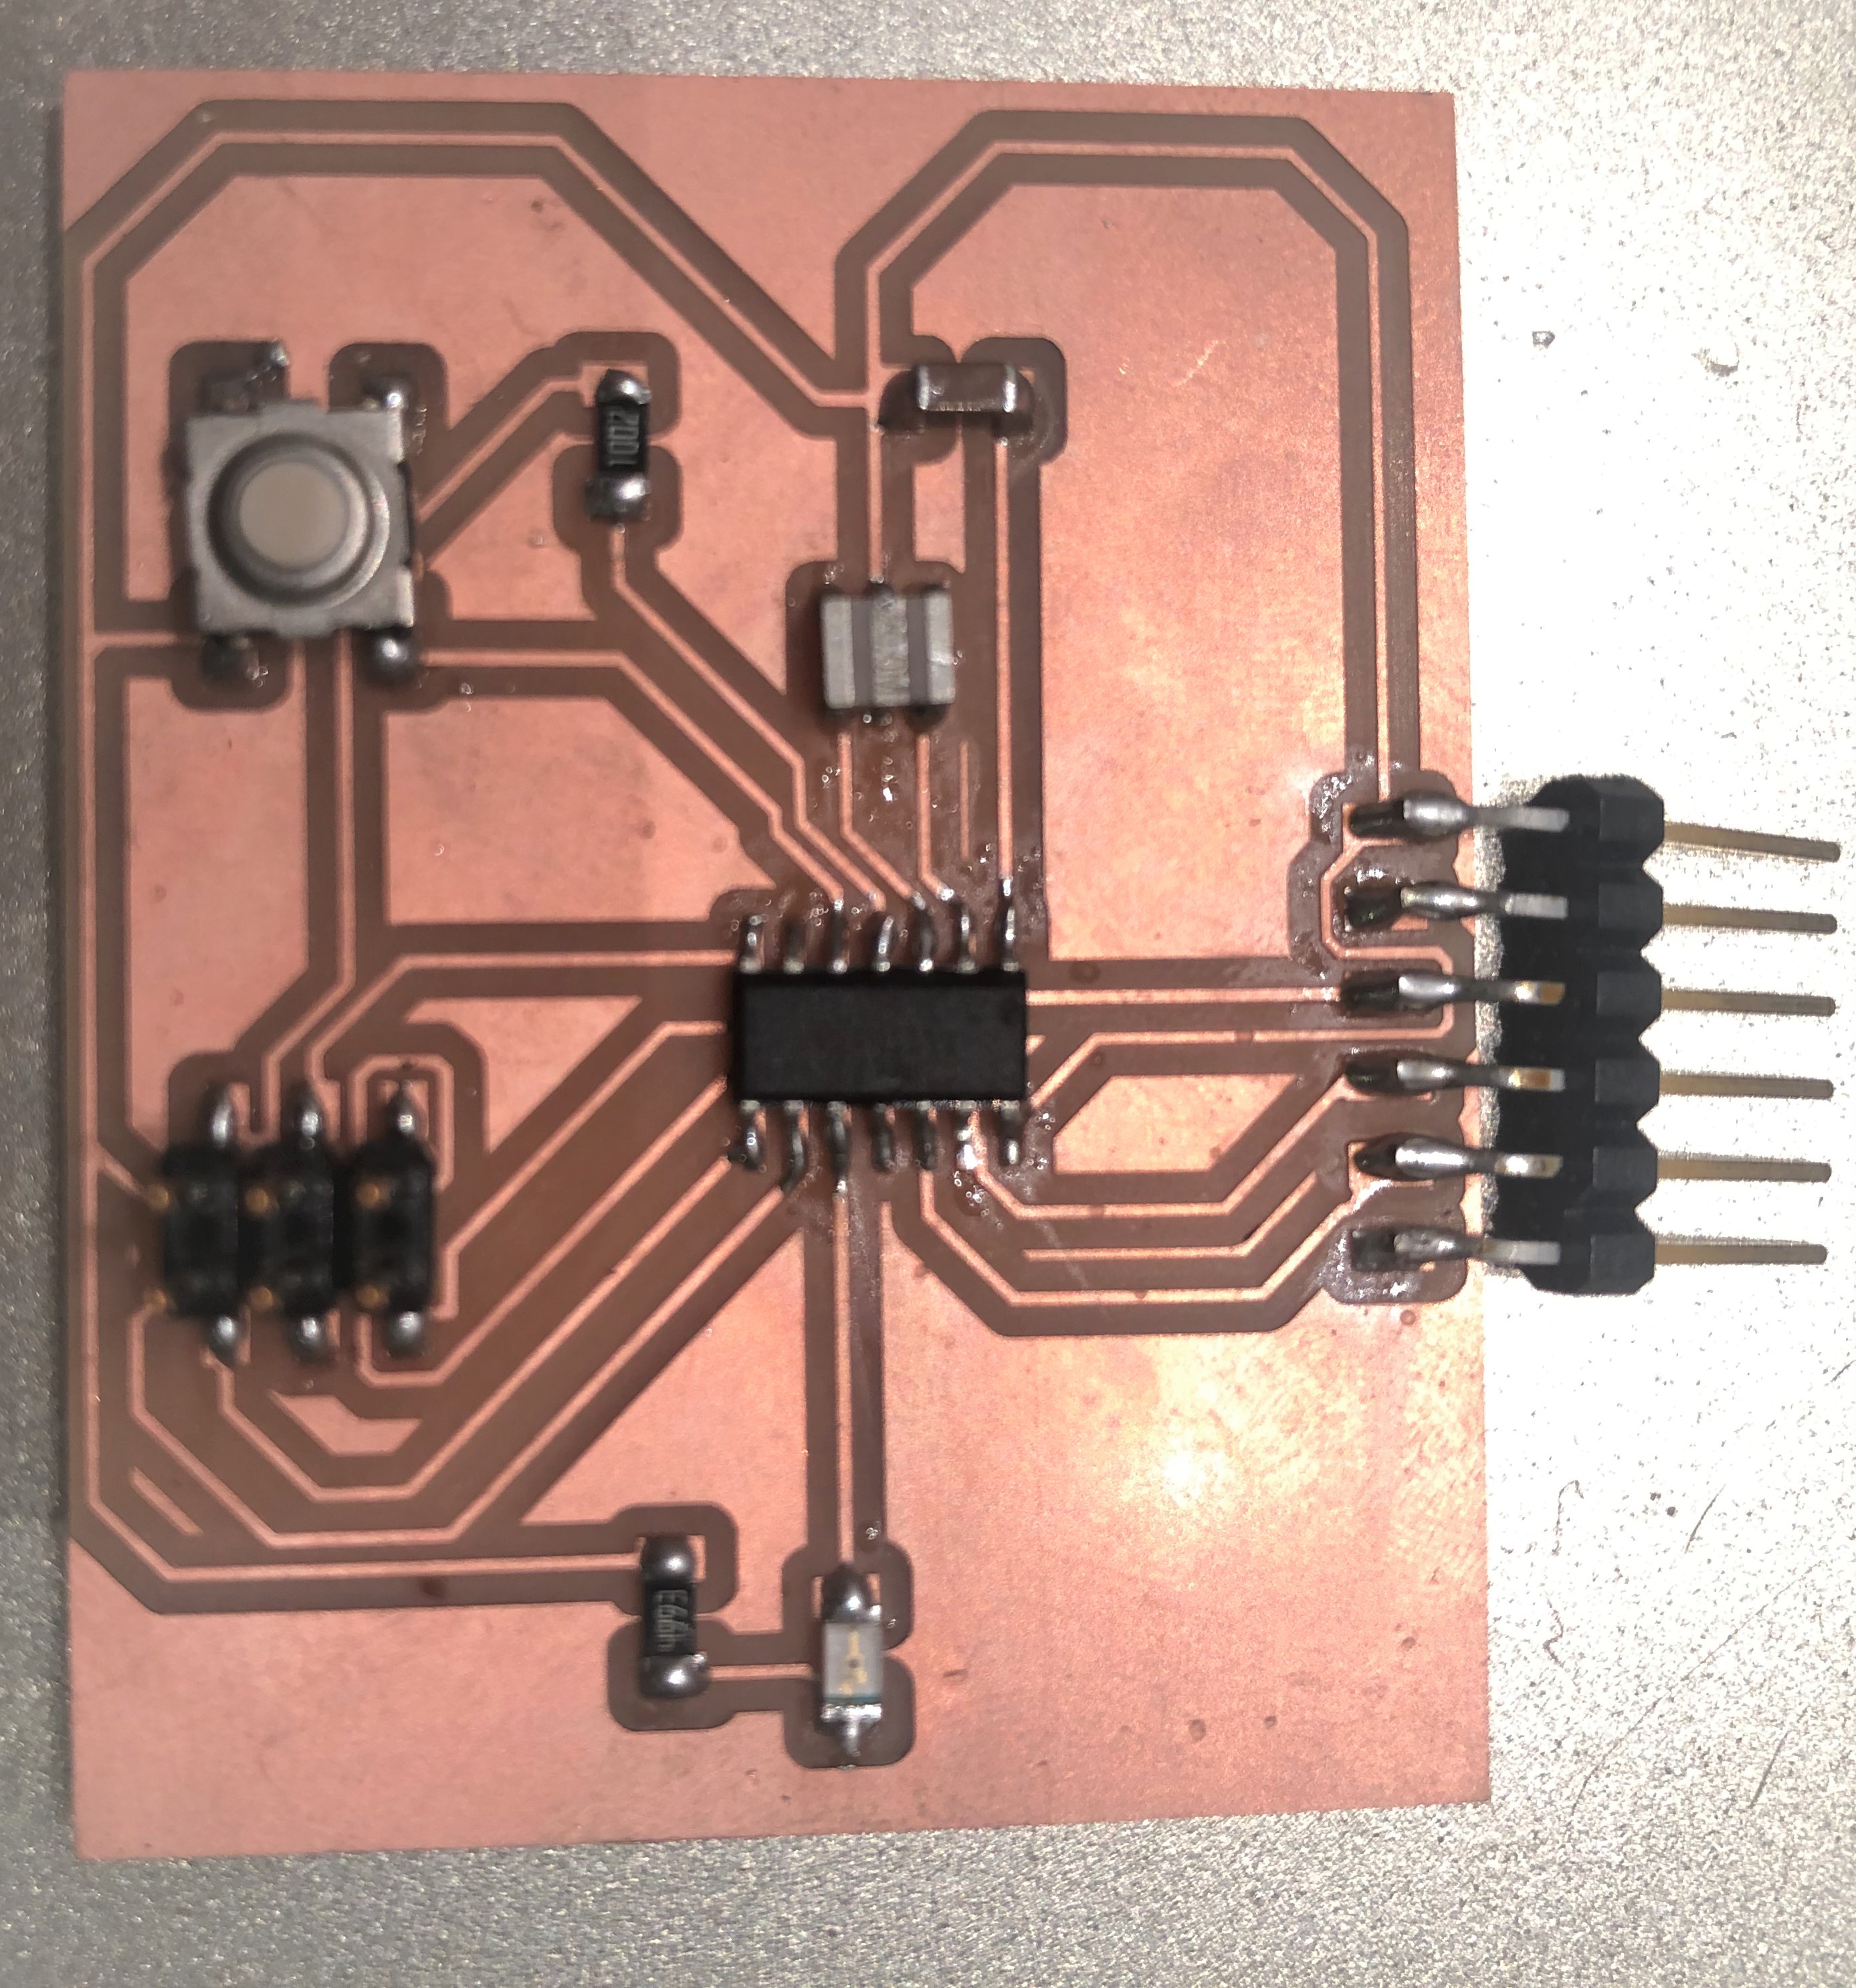
I must have a look at the basic architecture at datasheet of Attiny44 to know how to programe the board. And also to know the recommended power and the pin we will use.

As it shown in the Pin configuration:
The attiny44 has a VCC PIN and GND pin for the power.
The attiny44 has I/O pins ports A and ports B with internal pull-up resistors.
The operating voltage to run the attiny44 is 1.8V to 5.5V.
Programming my board Attiny44 with C
I use the programmer (FabISP) to upload the code to the board I have designed.
When I press the push button the LED will light Up after programming my board.
as its shown that the LED is attached to pin PA3 and the push button is attached to PB2.
To program the board using C language you need to learn about the three important register:
To know more about it refer to the link
The Data Direction Register(DDRx) :
is determines whether the pin is set as Input or Output.
As default we need to set all pins which are inputs to set them as Output We set 1 in the Data Direction Register (DDR)
The port output register(PORTx):
determines the real value of each pin when it’s actually used as an output.
Ans states whether the port is LOW or HIGH while it is used as Output.
The port input register(PINx):
Its used to read the input value.
After being myself familiar with the Data register I started to work in board programming by working in lighting up the Led when I pressed the button.
I program the board by using Arduino software (IDE) to run the codes:
To use the board I must burn the Bootloader:
go Tools >> Burn Bootloader ( done only one time).
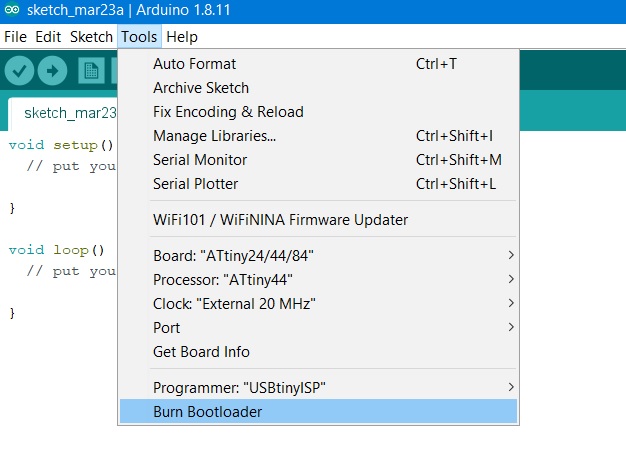
Then do following settings:
Attiny44 will be the main board from the tools tab.
Processor >> Attiny44
Clock >> External 20MHz
Programmer >> USBtinyISP
Sketch >> Upload
#include
int main(void) {
DDRA |= (1<
Previous
Next