• Test runout, alignment, speeds, feeds, and toolpaths for the machine.
• Document everything.
Individual project
• Make, design, mill and assemble big design.
Learning outcomes
• To production CNC you need to demonstrate 2D design development.
• Define workflows for CNC production.
The Machine I need to use in this week:
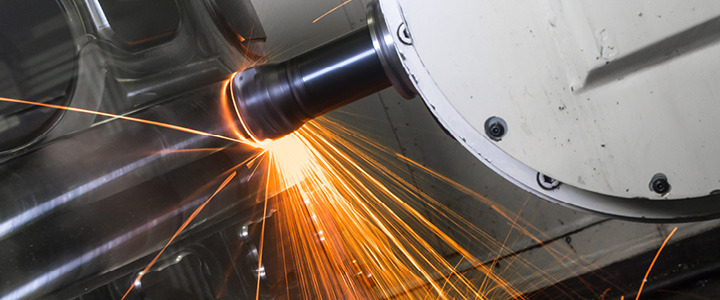
ShopBot CNC machine has 3 axis X-Y-Z and it allows you to cut different materials like wood, plastic, and non-ferrous metals.
It can use to cut signs, furniture and sheds.
You can make an entire house with this machine.
You must learn how to operate it and how take extraordinary safety protections to protect from injures.
Designing:
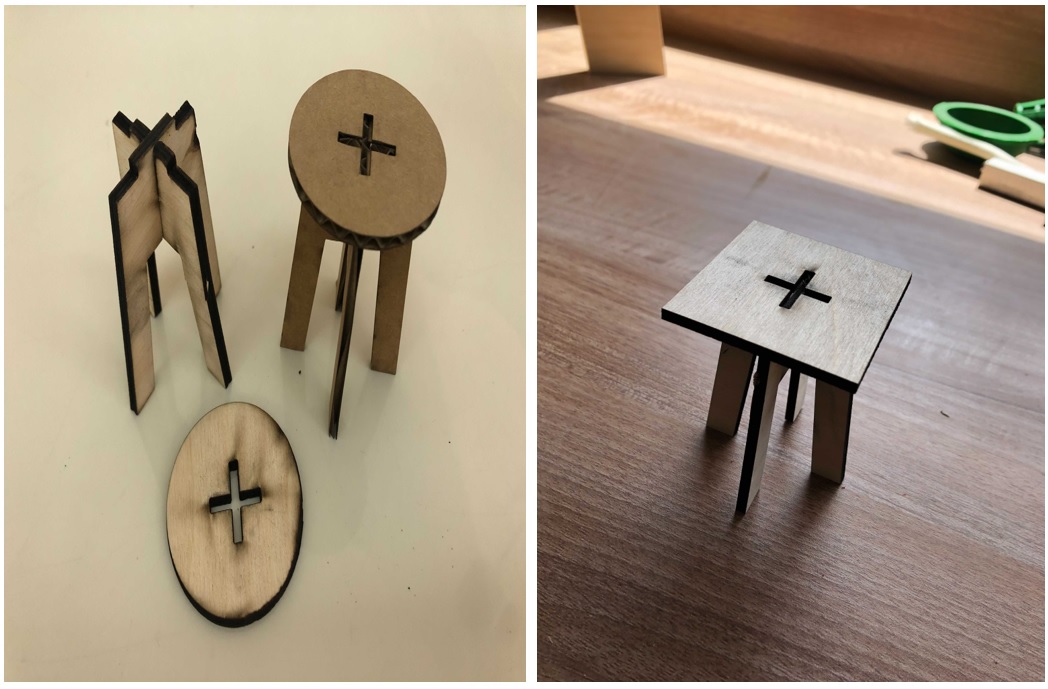
I started by watching the seat tutorial to create the design in fusion.
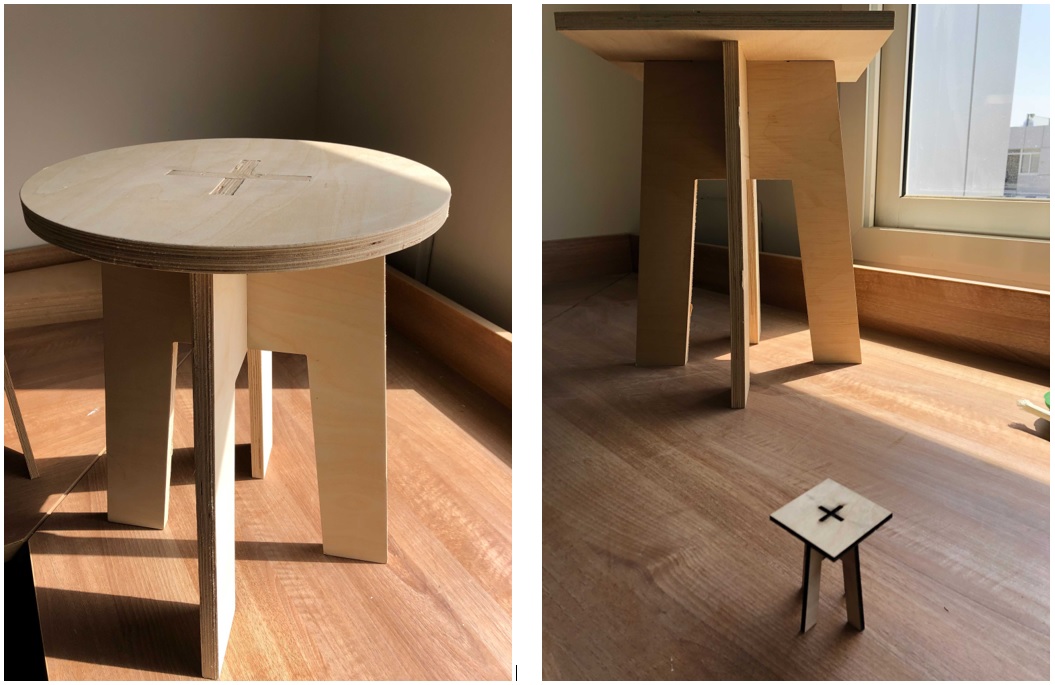
With my design I start to work with the seat which is a top-down method for the design, then I start with the legs. Then I create the top and down curved part.
The design consists of 3 parts, the 2 legs and the seat.
I try to make the design with parametric. Moreover my design in two shape rectangle and circle.
To use the Shopbot machine I need to test the design by using the laser cutter. I had a problem will I am using a hard wood material while it works perfectly by using cardboard. By adding 0.2 clearance the problem was solved.
After assembling:
Milling:
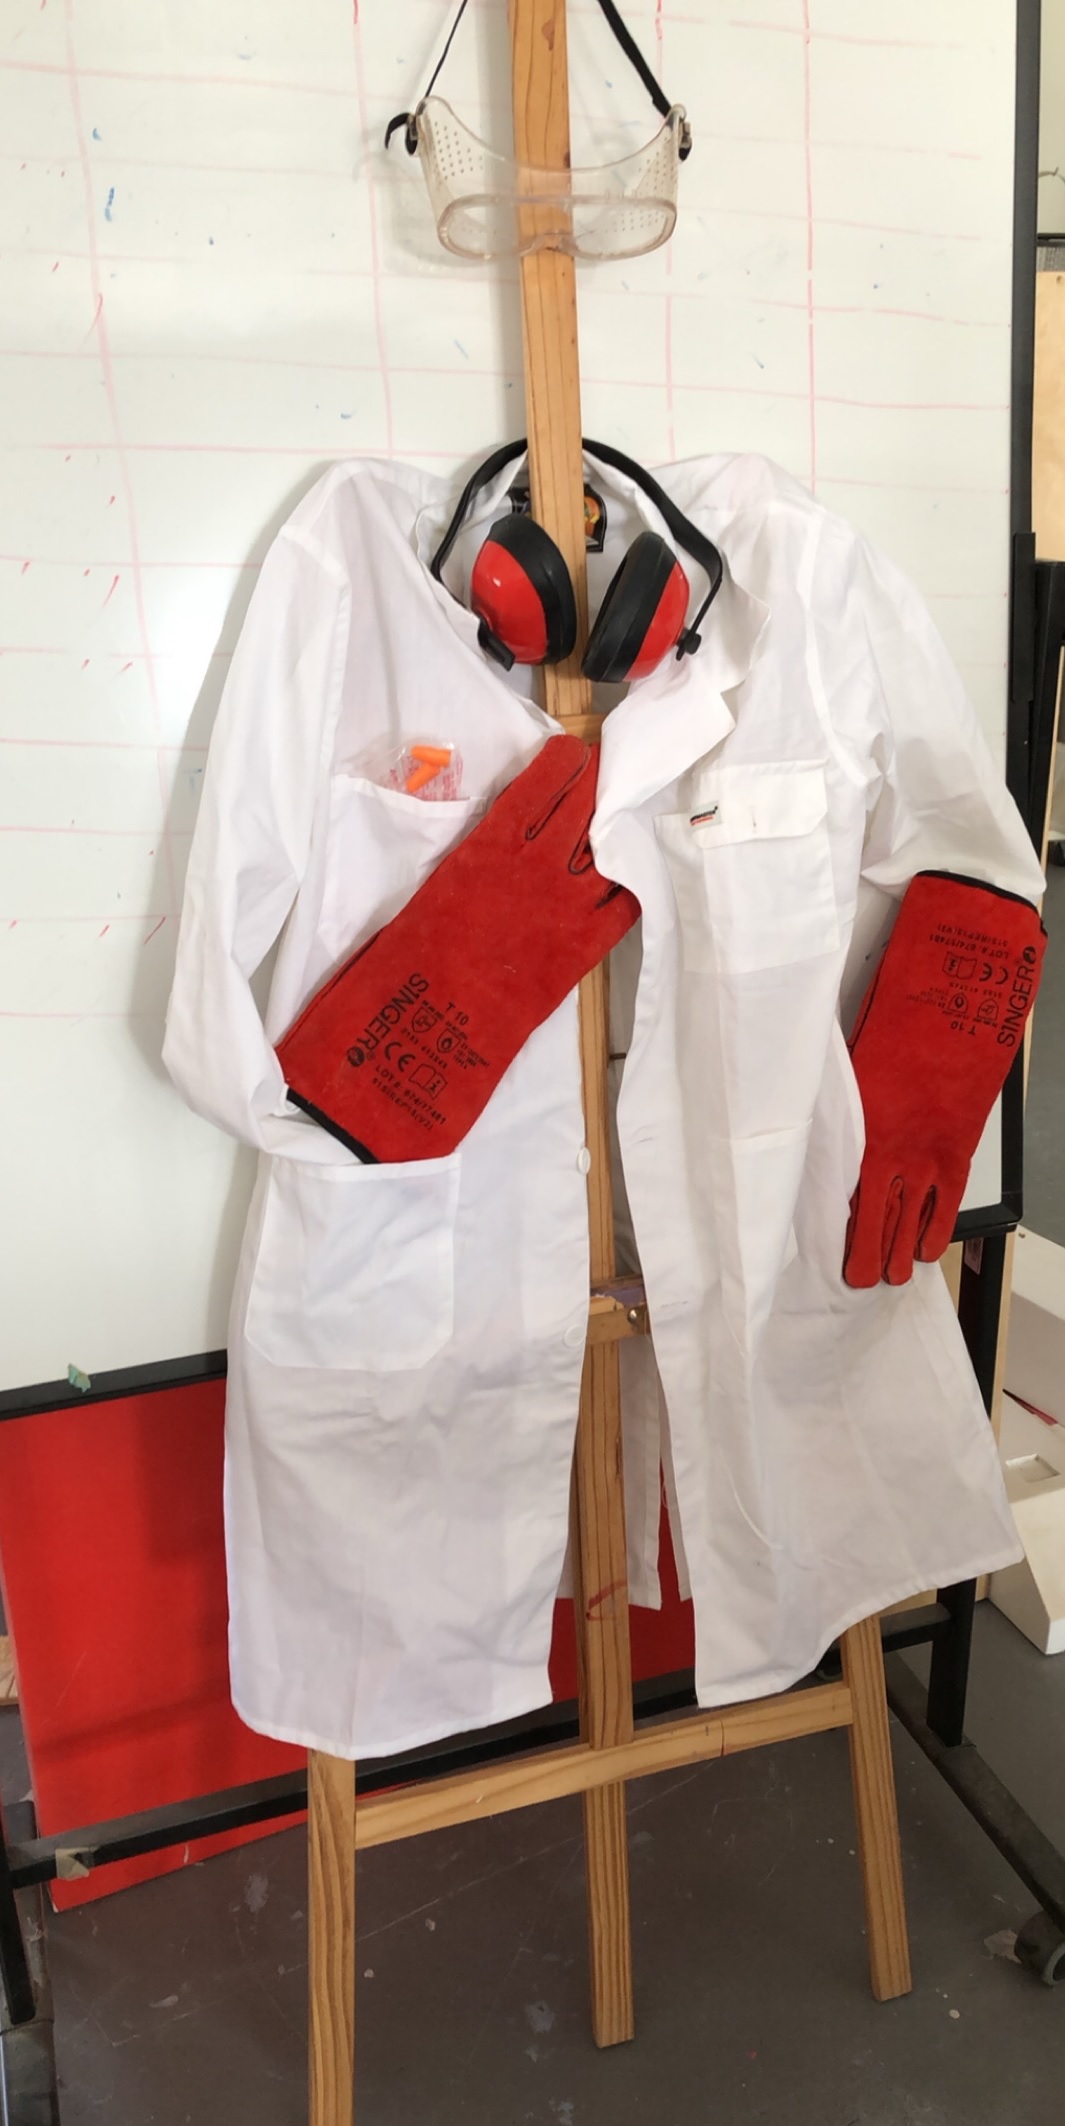
First we will start with safety:
Before working with the CNC Shopbot precautionary measures must be taken.
There was a white line “Safe places” to stand while the machine is working.
In case you were inside the room you need to be in the right corner of the machine.
Also, you must be behind the glass door of the room.
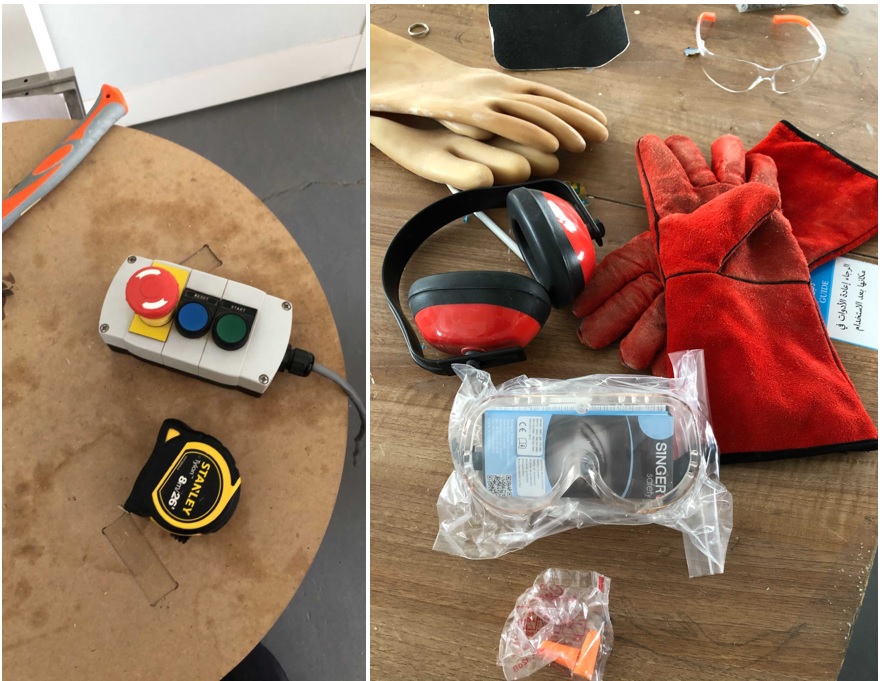
You need to wear the personal protection equipment such as Lab coats, protective goggles, ear plugs and gloves were the basics.
The most important thing to know is the emergency buttons on machine.
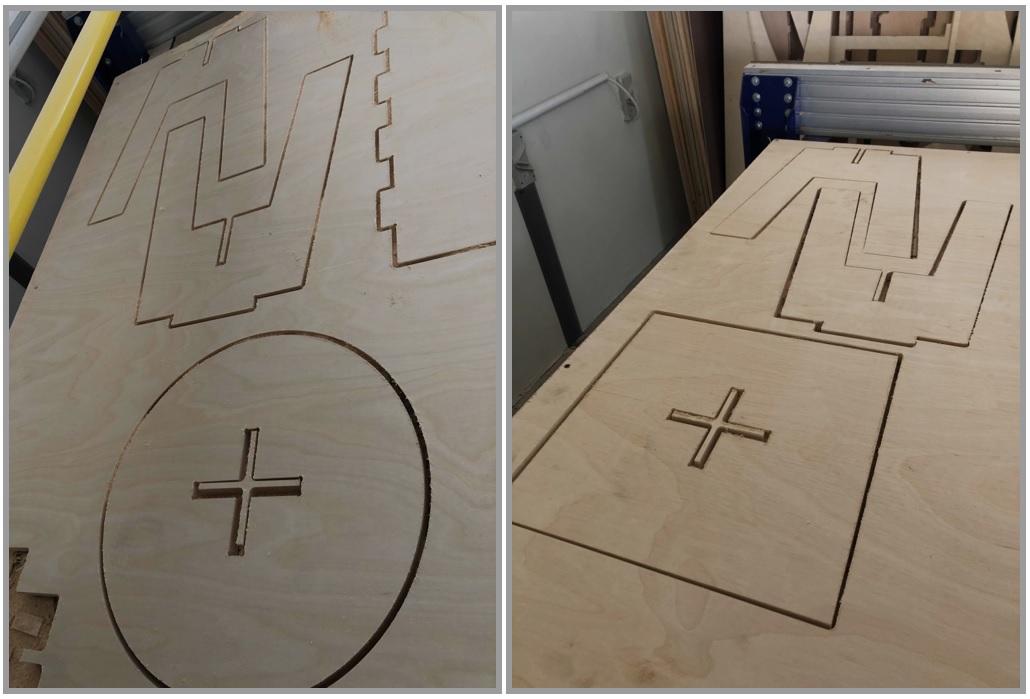
clearance:
The clearance I need to measure to work with the laser cutters machine. We created a design with slots that has 0.2 mm in width to discover which one would fit the best.
Operating the machine:
I clicked on set job dimensions and origins under job operations.
set the material thickness to be 18mm.
I clicked on create fillets under edit objects
I chose dog bone fillets
I clicked on the toolpaths tab
selected the Profile toolpath. (to cut the inner parts of the design)
Check the add tabs box
set the tab length to 8mm and the tab thickness to 3mm(Adding tabs will protect the pieces from moving )
click on calculate
The outside profile selecting the outer profile of the design.
Select outside/left in the machine vectors section.
Select summery of all toolpaths ( estimated time for milling).
Save it
Preparing the CNC:
First the origin points for the milling have to be set.
Go to Shopbot Control Software.
Standardize the X,Y,Z values by the position keypad.
Select the position required.
Click on zero axes.
Adjusting the height or the Z value:
Click on the zero z button on the keypad.
Touch the milling bit with the metal bar.
It will flashes in the control keypad.
After the Z-Zero is running the milling bit touch the metal bar on the surface twice that will confirm the height of the sheet.
click on cut part button on the keypad.
click on the START button on the controller from outside of the room.
After milling process is done.
Time to remove the pieces.
We use the ventilation of the Shopbot to remove the wood shavings.
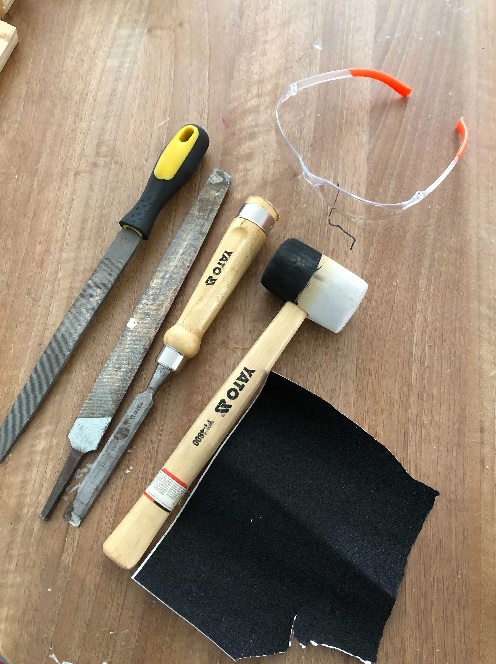
We start sanding by using sanding machine ,metal files and sanding paper.
The hardest part is to assemble the seat but with help of Mohammed I managed to get this seat assembled.