10. Molding and casting
Group Assignment
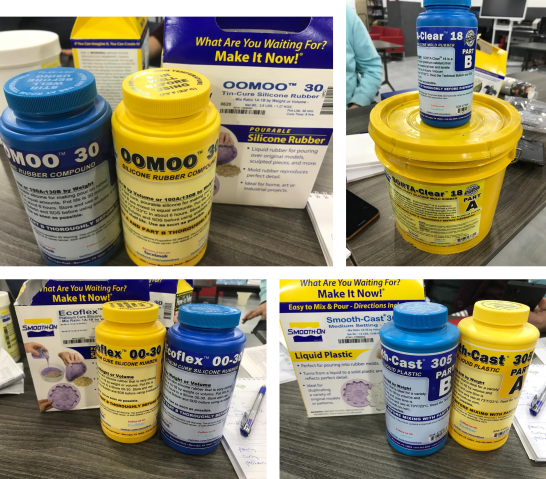
In this part we read and reviewed the technical and safety datasheet of casting and molding material we have in the lab.
The image below show the materials available in the lab.
-
Links to products webpage
- Ecoflex™ 00-30 : Silicone Rubber-Tin Cure
- SORTA-Clear™ 18 : Silicone Rubber-Platinum Cure
- Smooth-Cast™ 305 : Liquid Plastic
Below is the comparison between these materials.
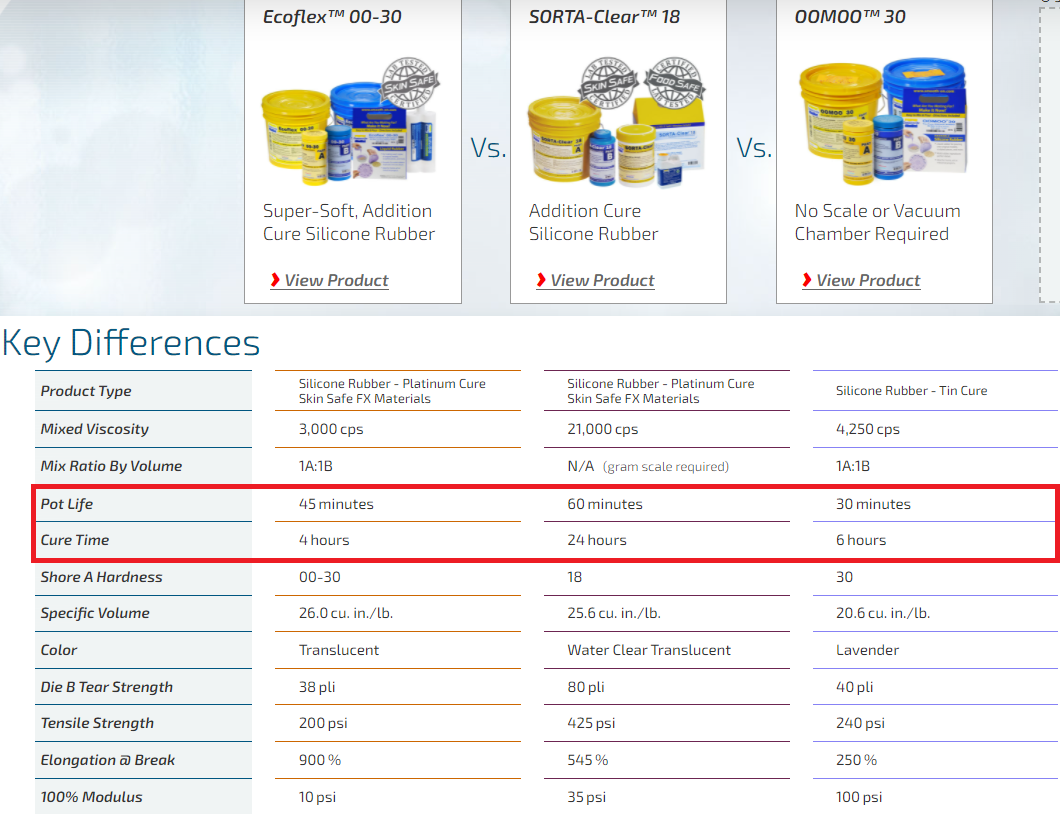
The image lists the key differences between the three liquid rubber materials. For example, there are operational differences like pot life and cure time, and there are finish differences like end product color.
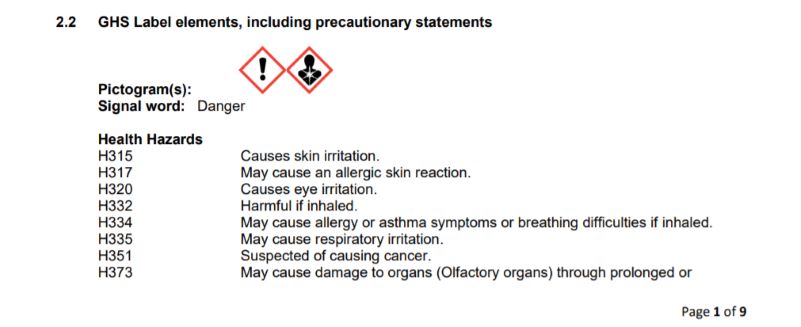
Safety and Technical Datasheet Technical and safety datasheets are linked for each material. The technical datasheet provides operational data like technical specs and processing recommendations. The safety datasheet describes different hazards associated to the material and risk levels. Note that SORTA-Clear™ 18 is the only safe food material.
-
OOMOO™ 30
-
Ecoflex™ 00-30
-
SORTA-Clear™ 18
- Safety Datasheet
-
Smooth-Cast® 305
- Safety Datasheet
For example, the following risks are listed in the safety datasheet of Smooth-Cast® 305.
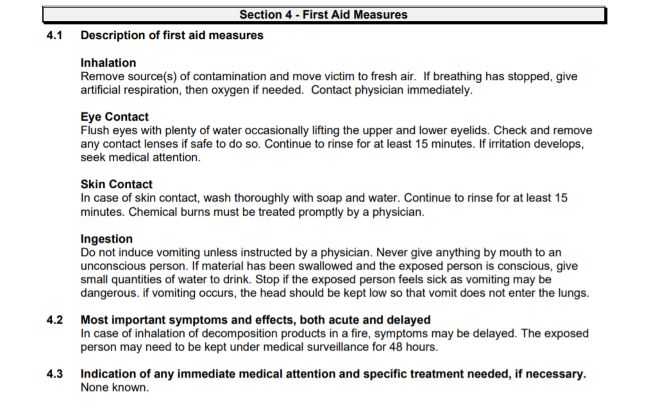
And also, the following first aid measures are listed in the safety datasheet for the same material.
Week Assignment
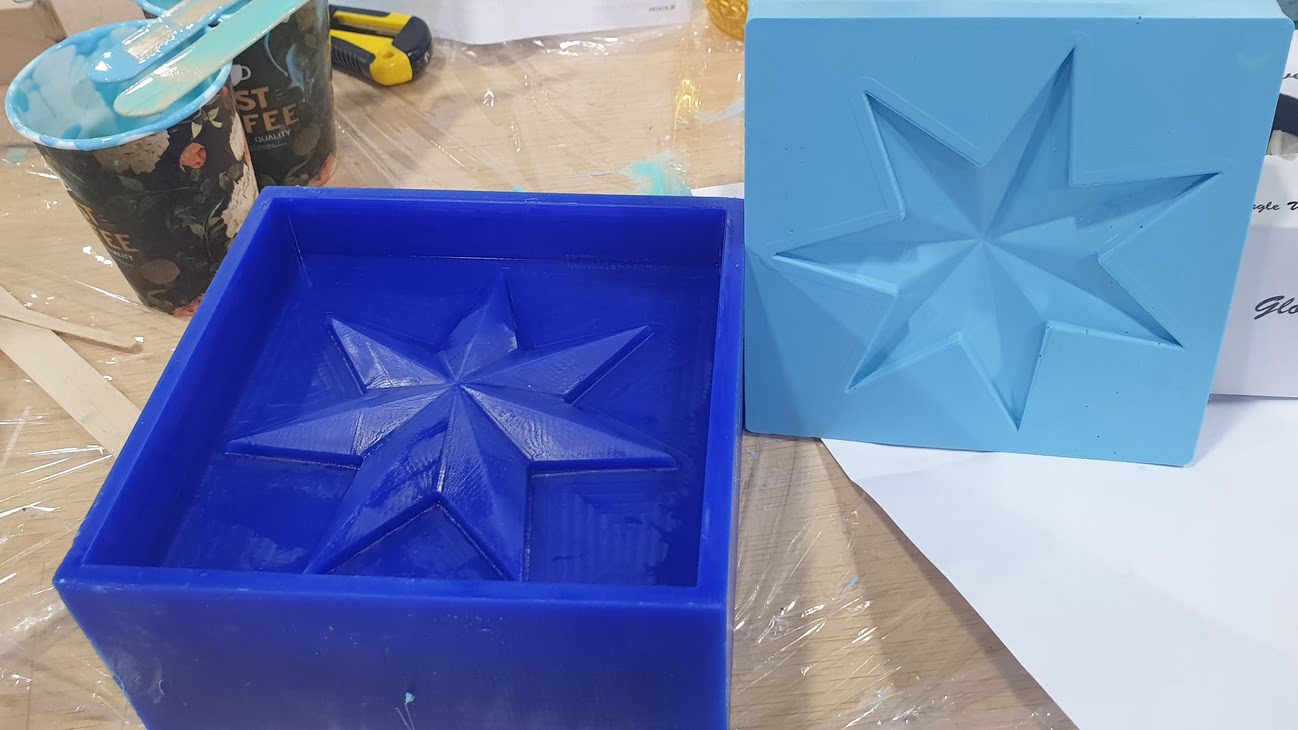
For this assignment I choose to cast a Heptastar which is part of the Jodanian Flag.
I made the design for the mold using Rhino7.
The mold design featured tapered walls to help with easeir silicone mold release from wax mold and deep pocket to make silicone mold bottom thickness around 10mm.
Heptastar Mold Rhino 3D File
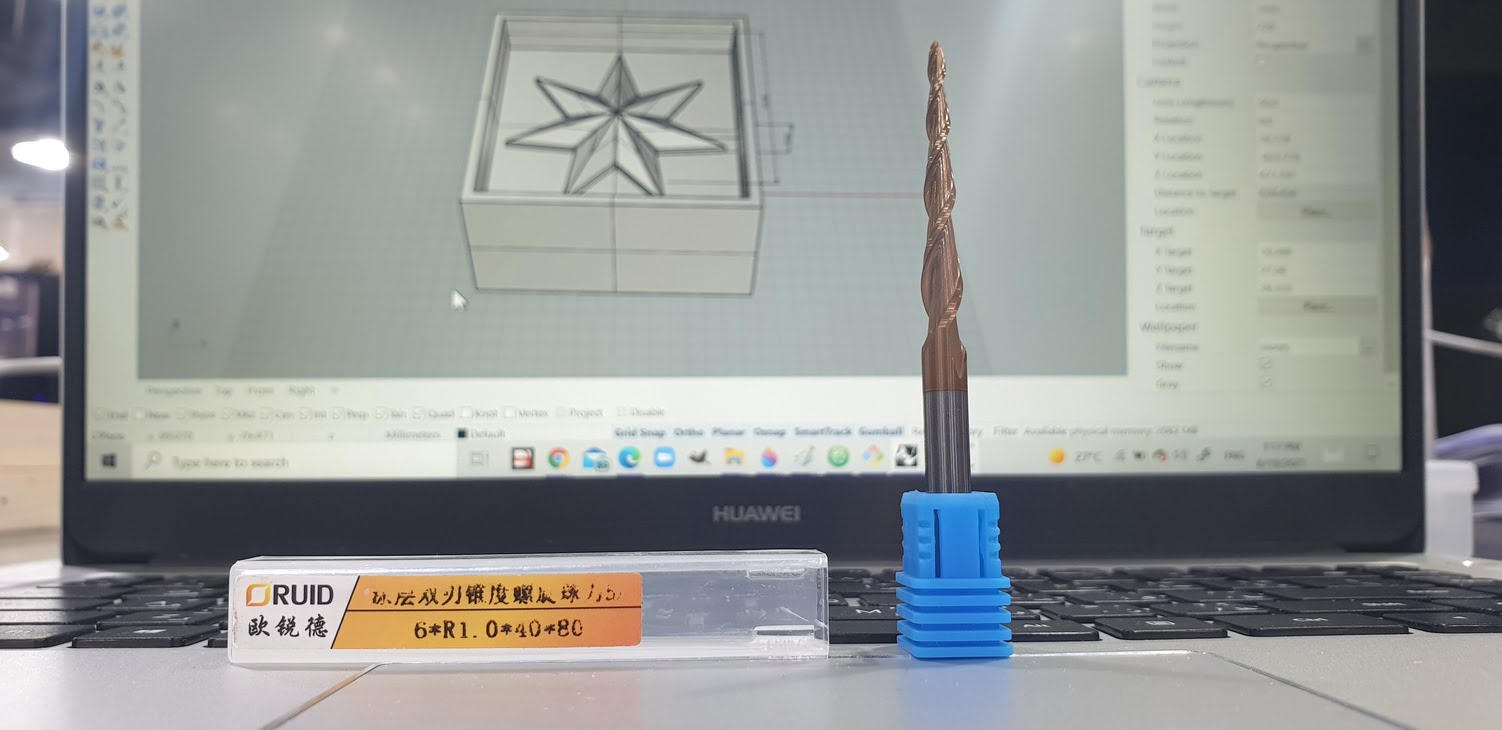
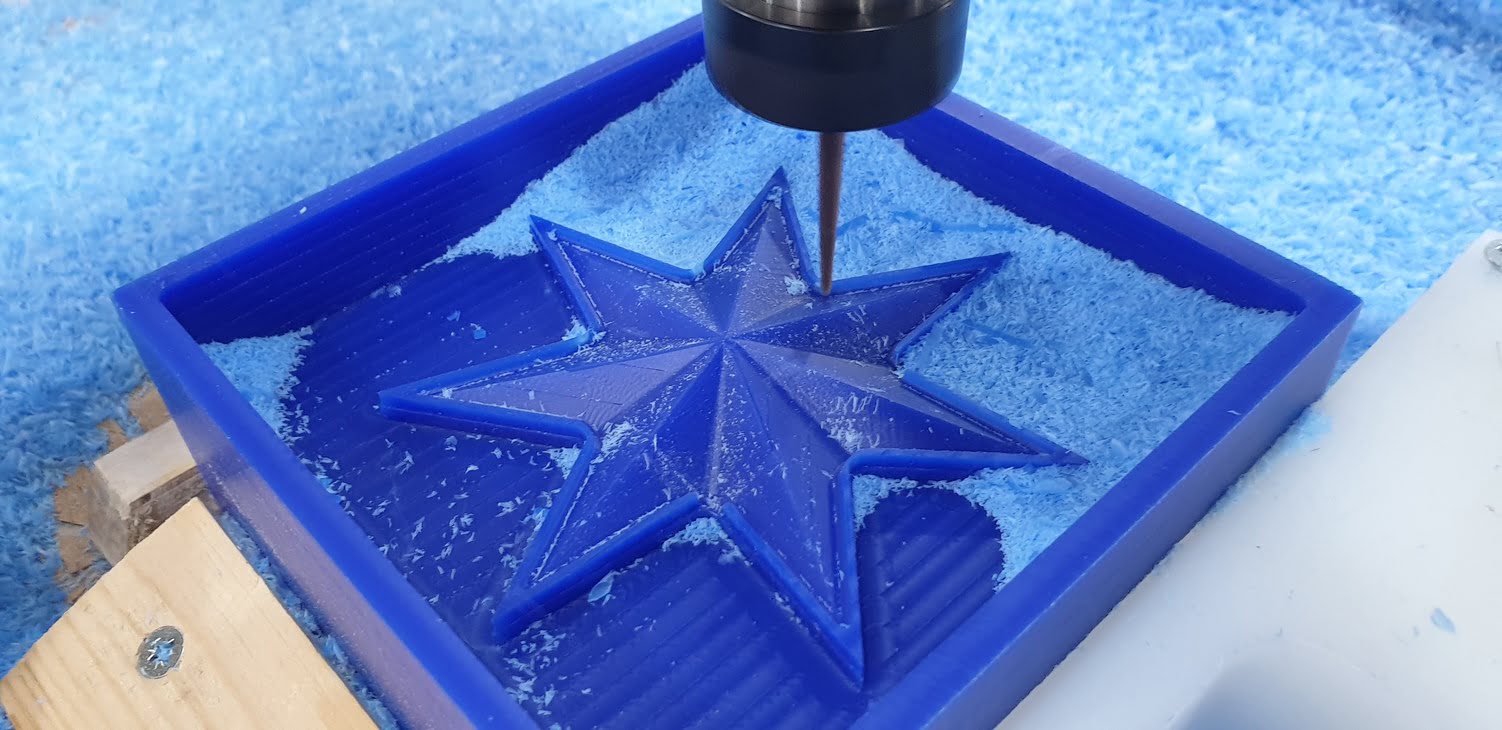
Wax mold model shown on Rhino and showing the finishing tool
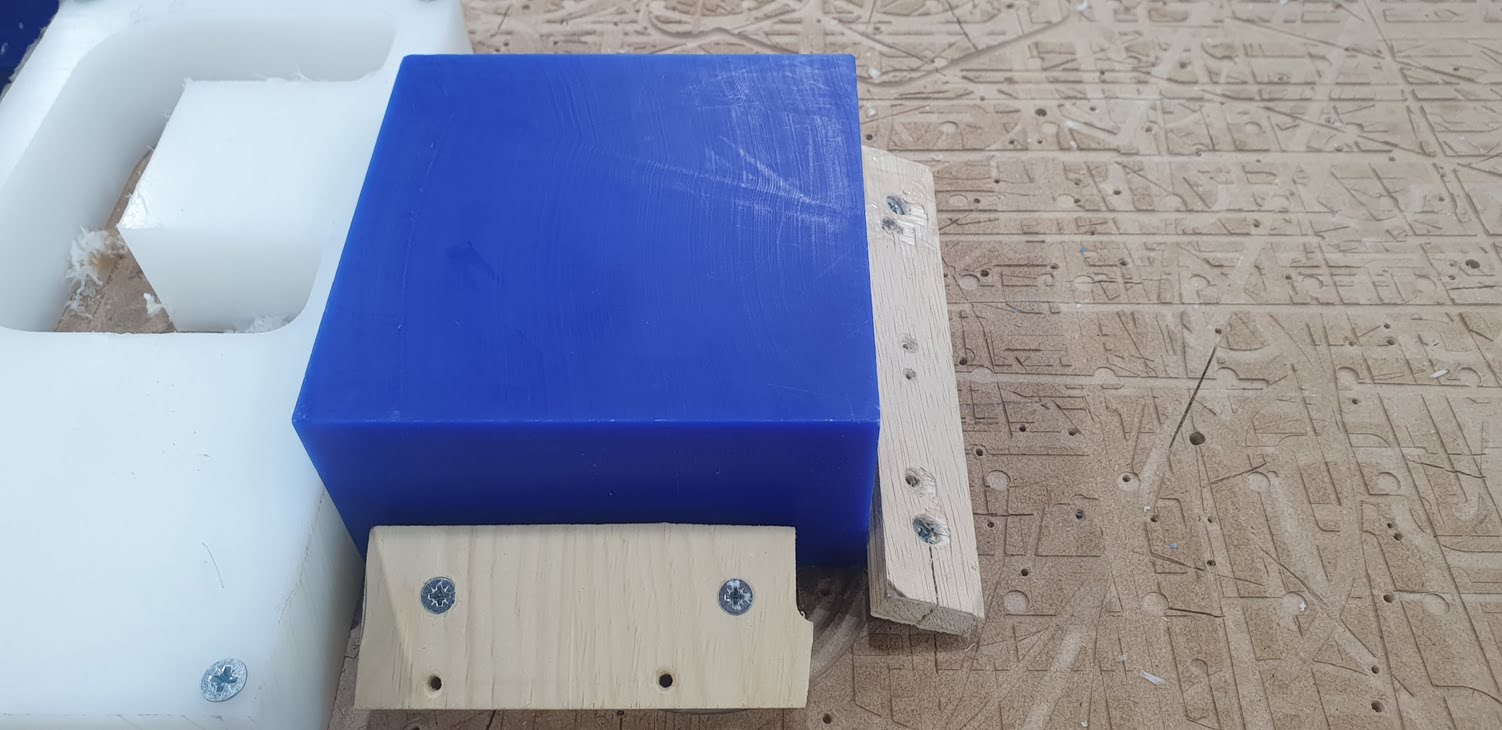
For clamping the wax mold I used three flat wood pieces held at angle against the wax mold sides to hold the wax mold against Teflon block and provide good gripping power during machining
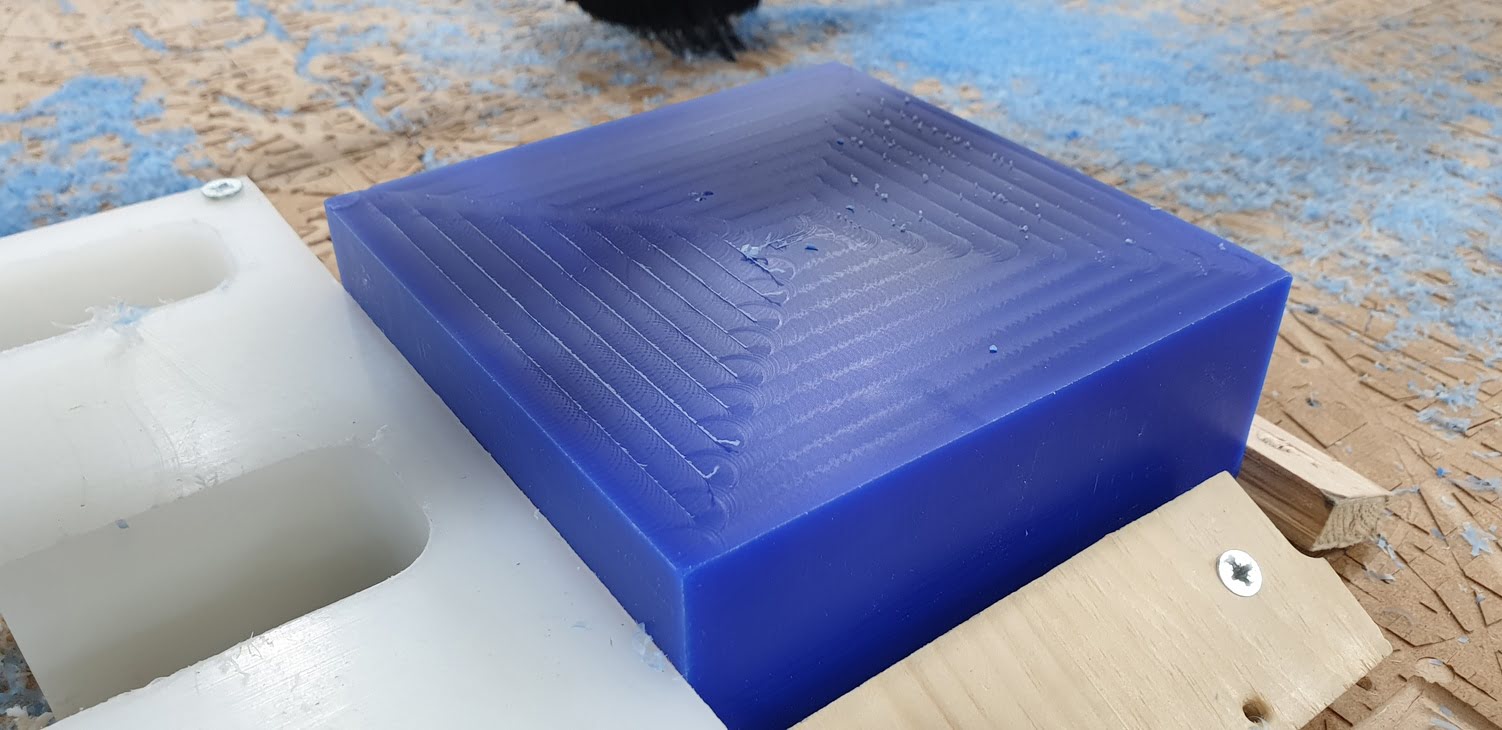
First toolpath is facing for top side to make it flat and make the edges on same level for better casting of silicone molds
Second toolpath was 3DRoughing using 0.25” Flat Endmill
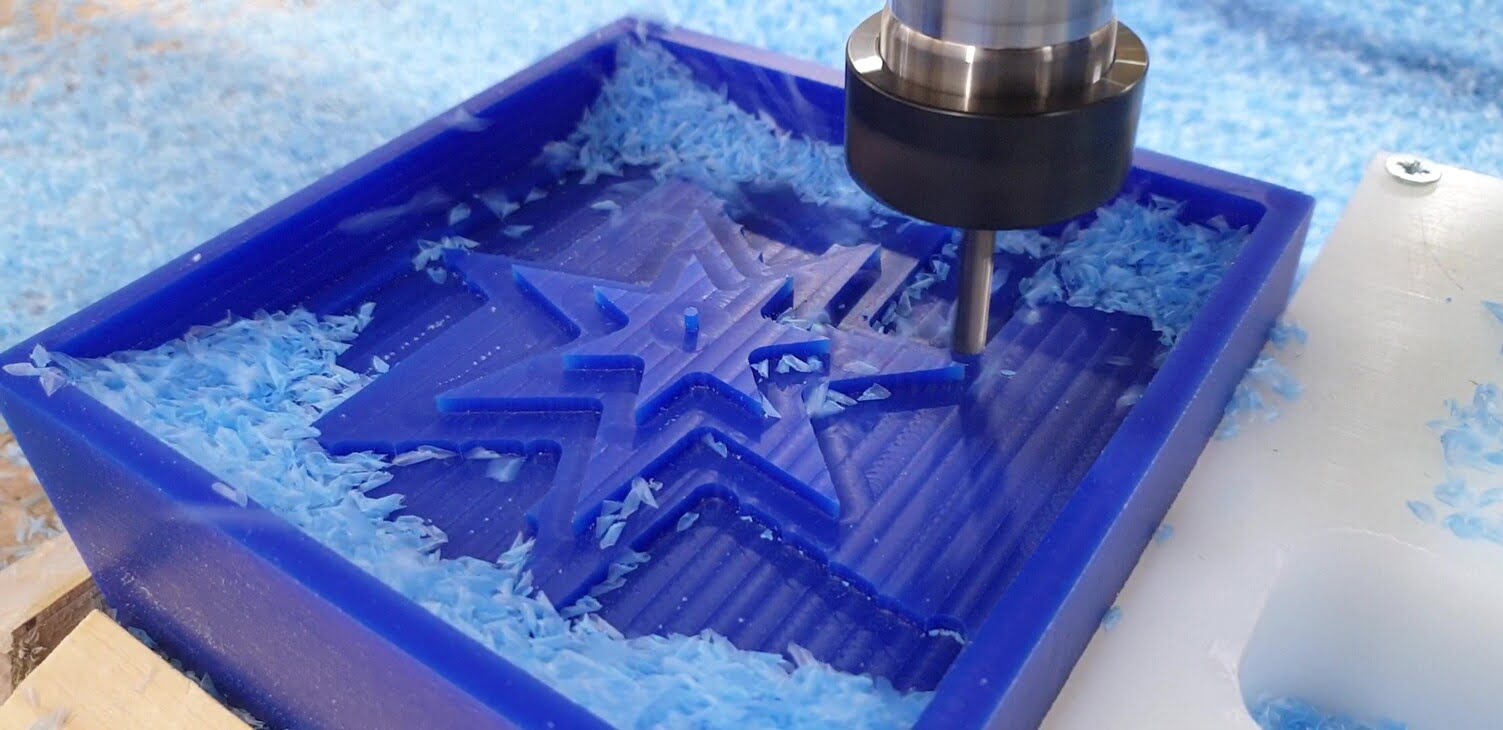
Last toolpath was 3DFinish for final shape and geometry using 2mm Tapered Ballnose
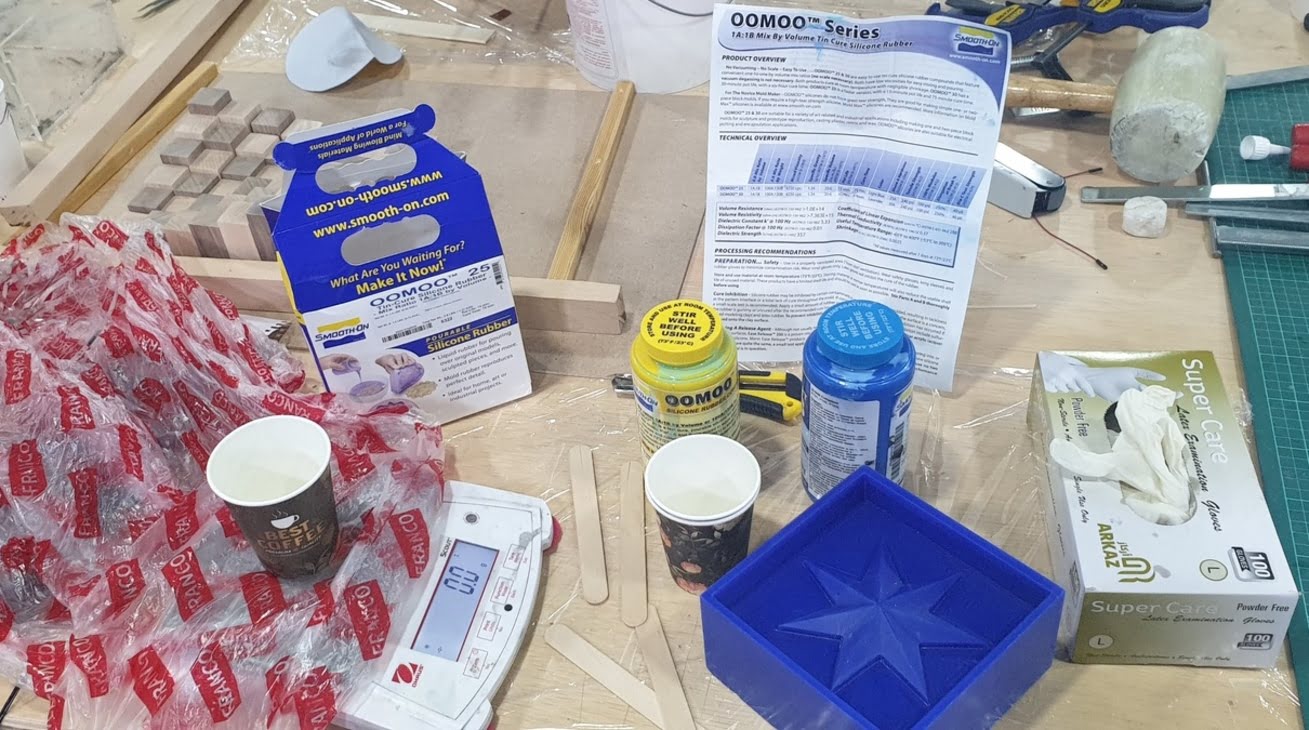
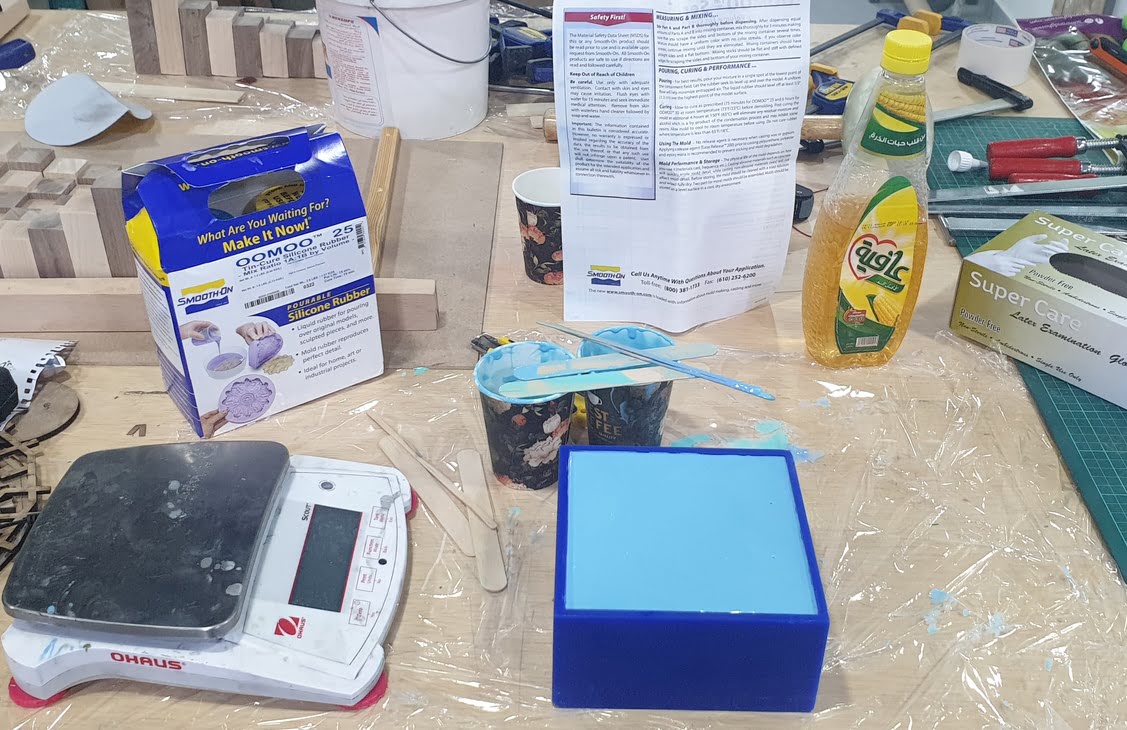
Arranged all required materials and made all necessary arrangements for Silicone casting within the available confined space shared with many other lab users
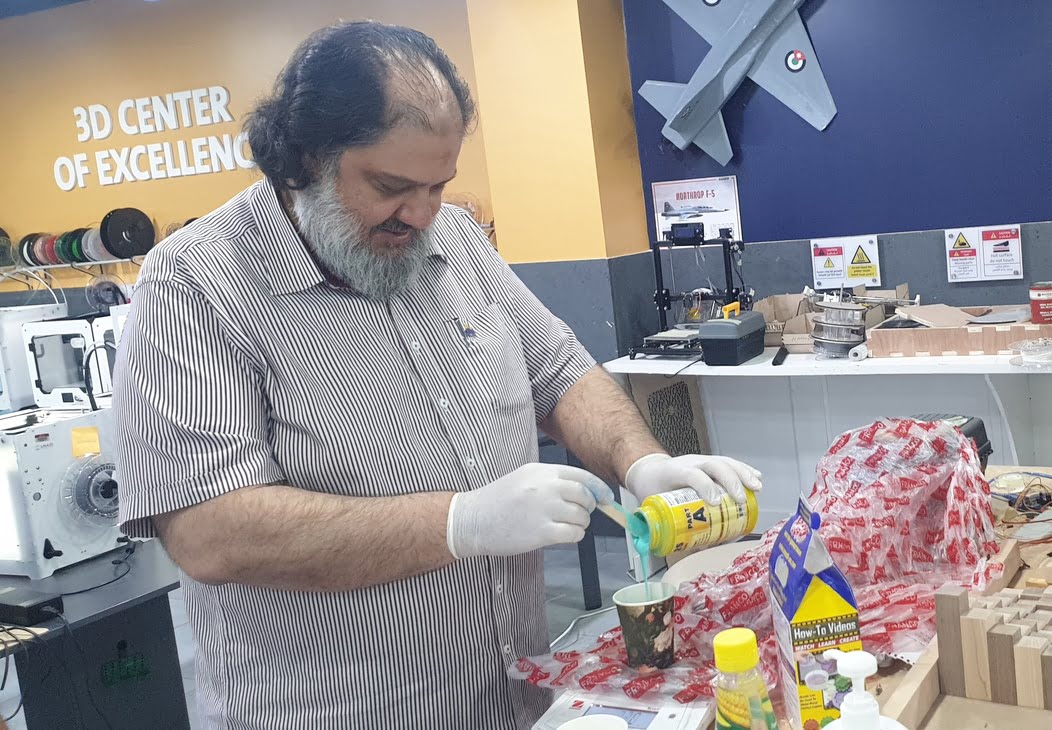
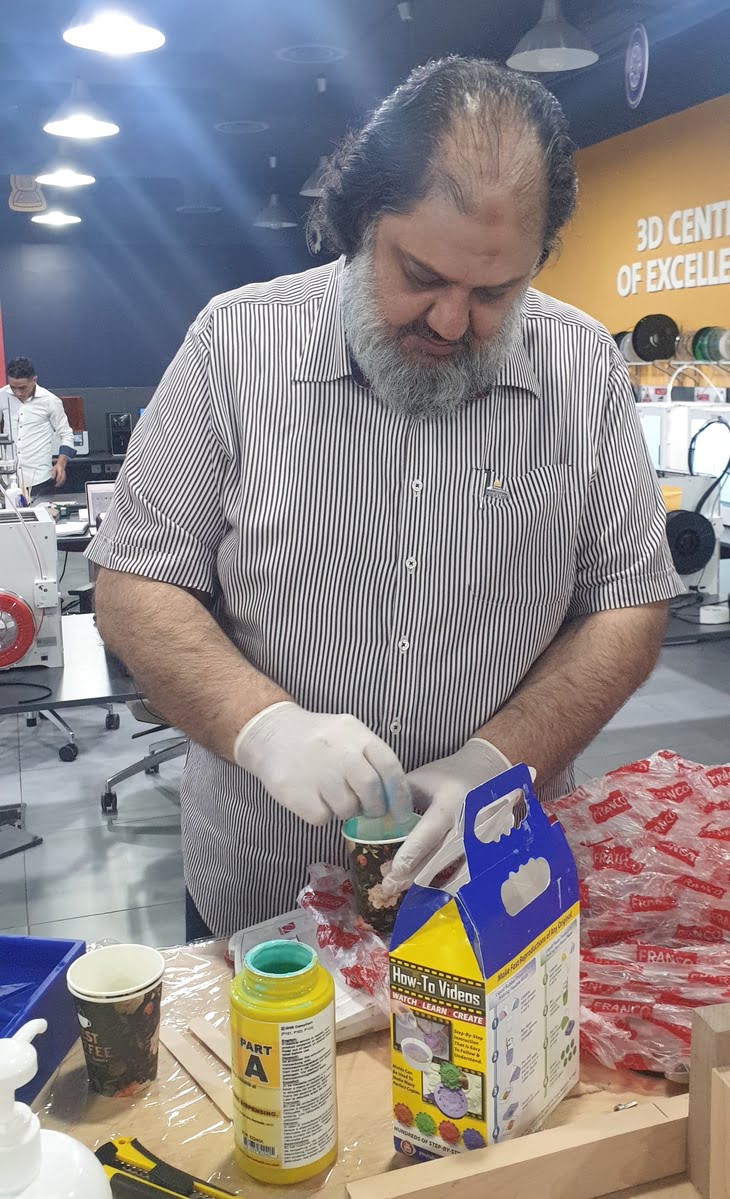
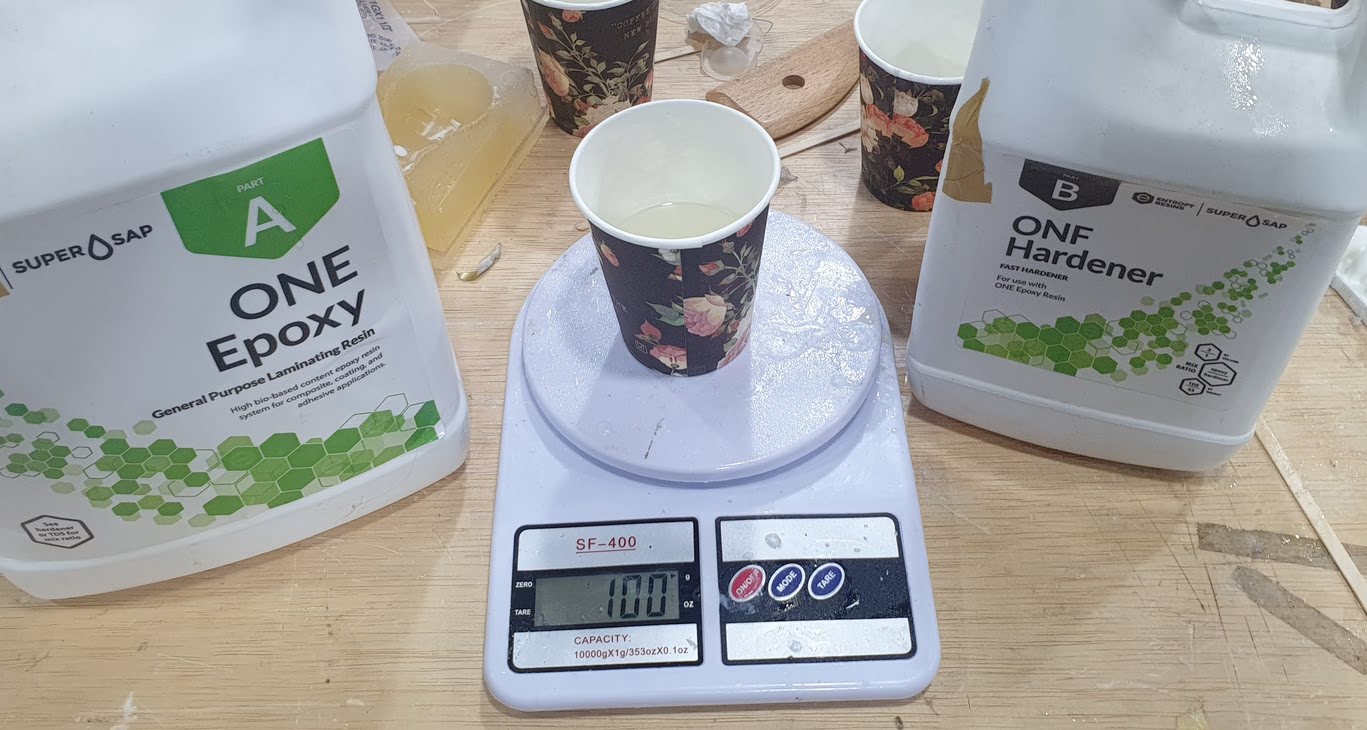
started with adding part A from OOMOO 25
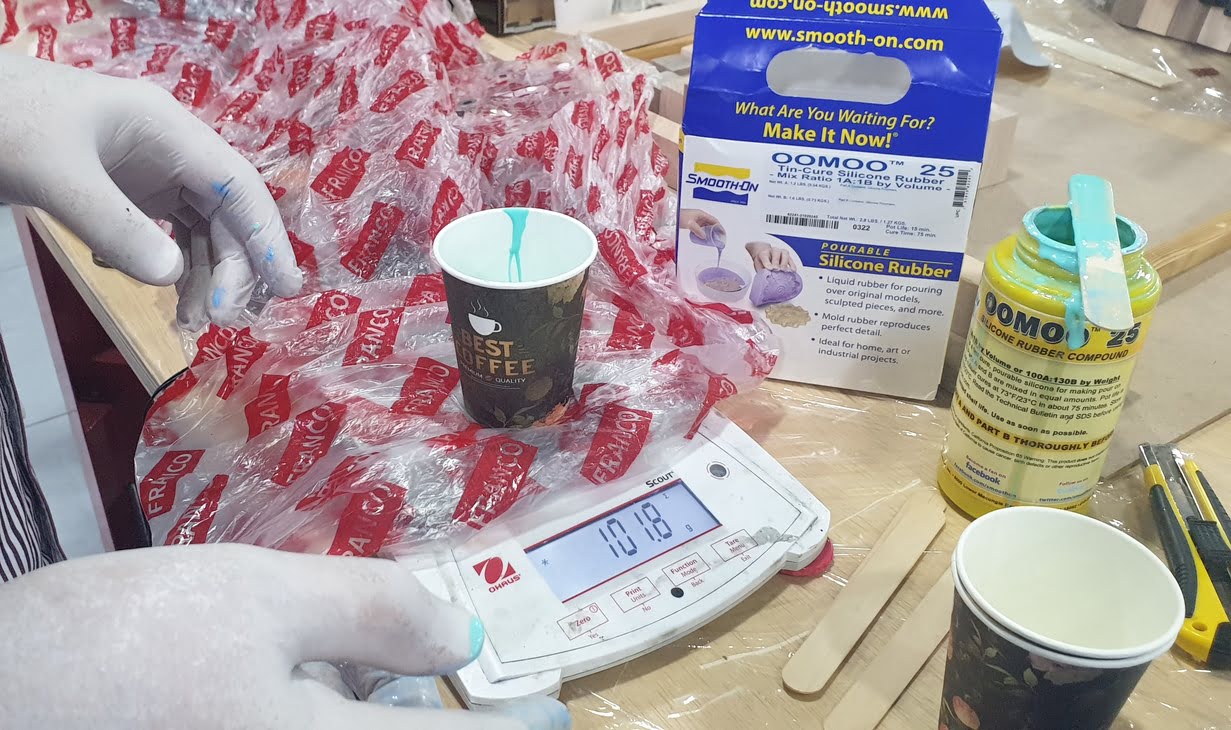
Weighing part A before adding part B
Mixing Part A & B slowly and thoroughly to minimize bubbles formation
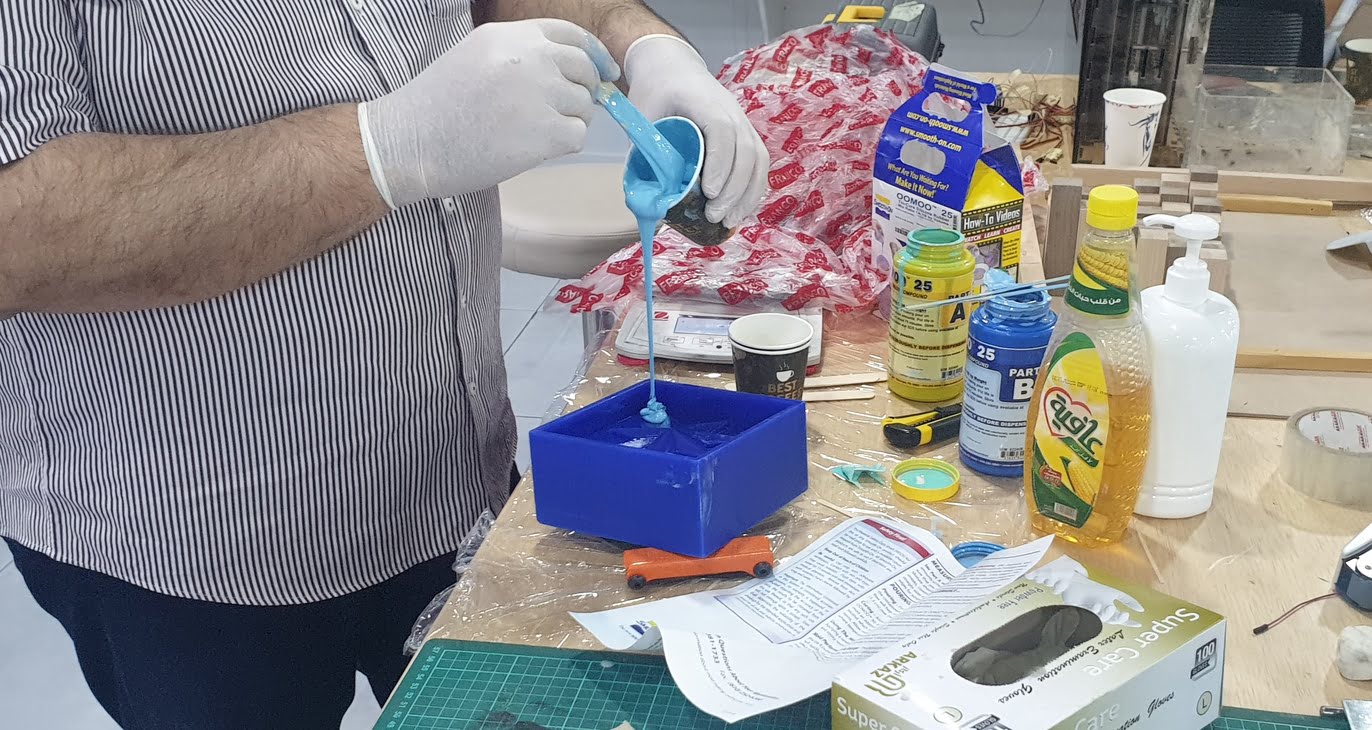
After rubbing the wax mold surface with vegetable oil to help with silicone mold release after curing, and while holding the wax mold inclined at angle we start pouring silicone compound on bottom corner to minimize bubbles formation
When wax mold is getting filled with silicone compound we lay the mold flat and fill it to the edge and let it set for curing
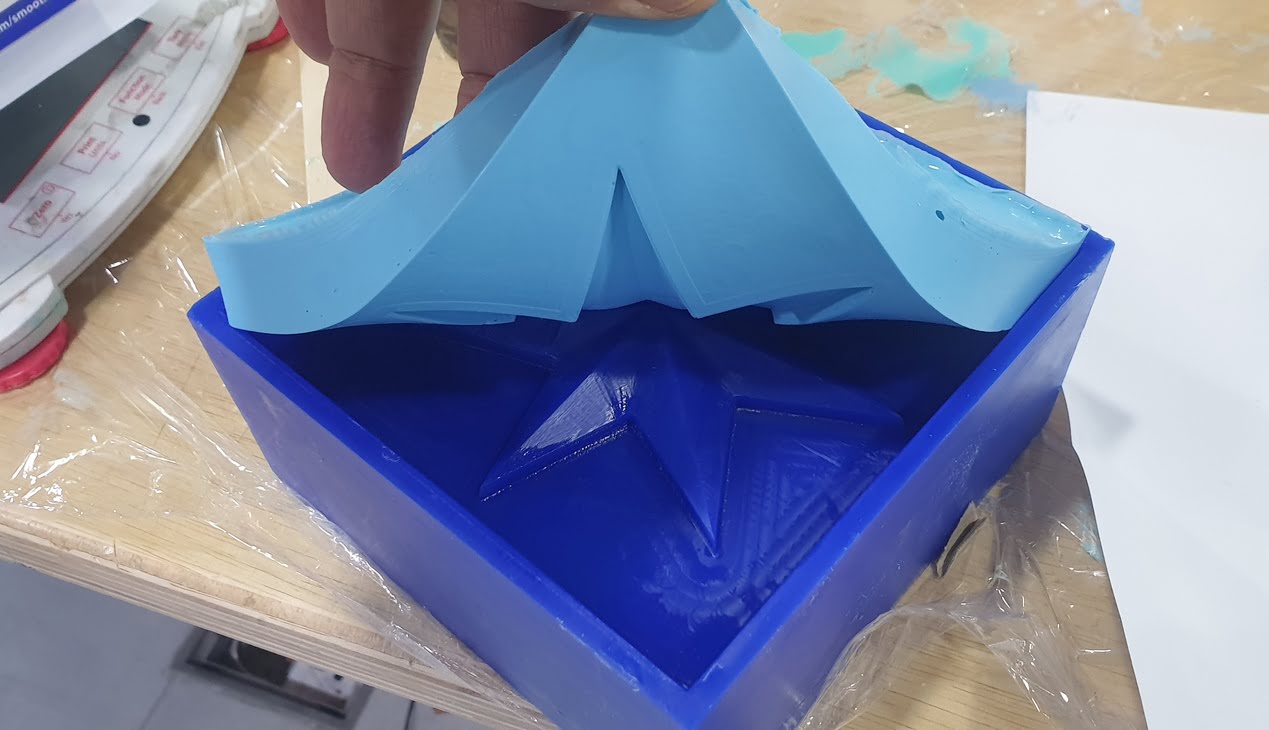
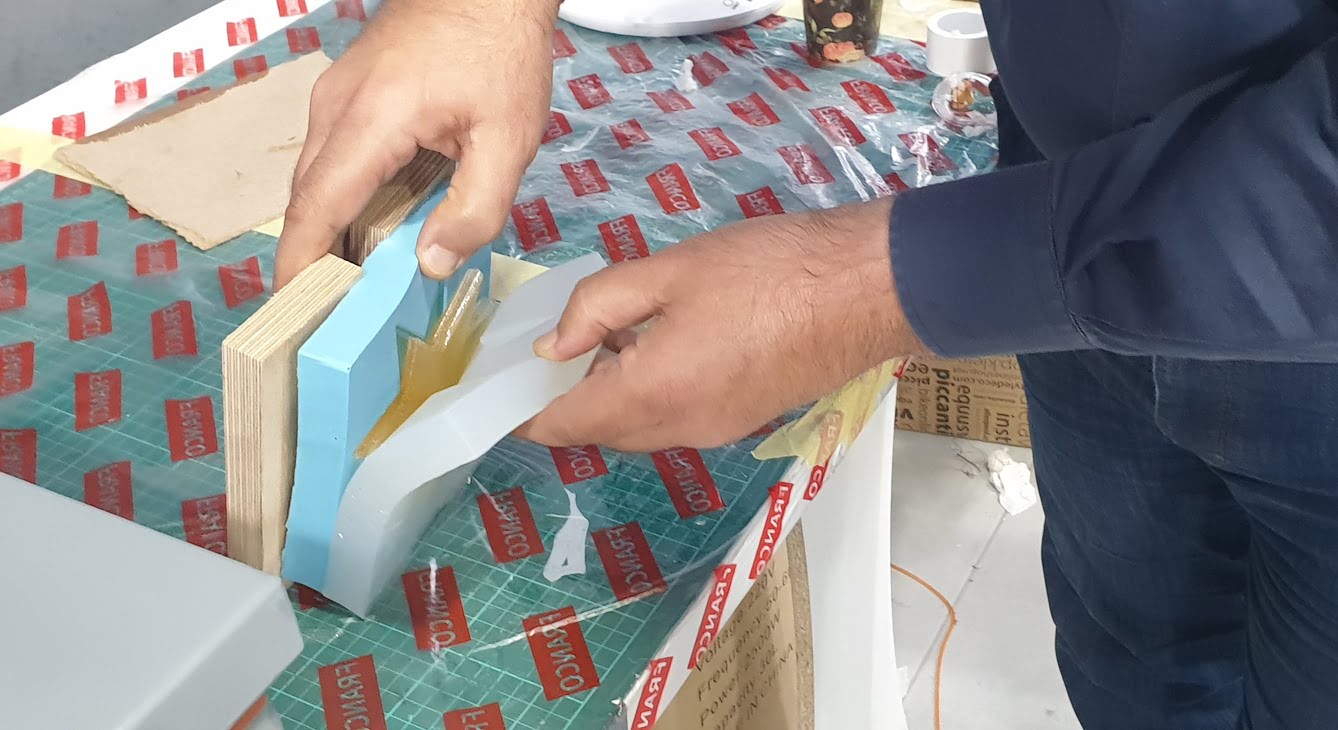
After setting for one night I left the the silicone mold from the corner to check for sticking or adherance with wax mold
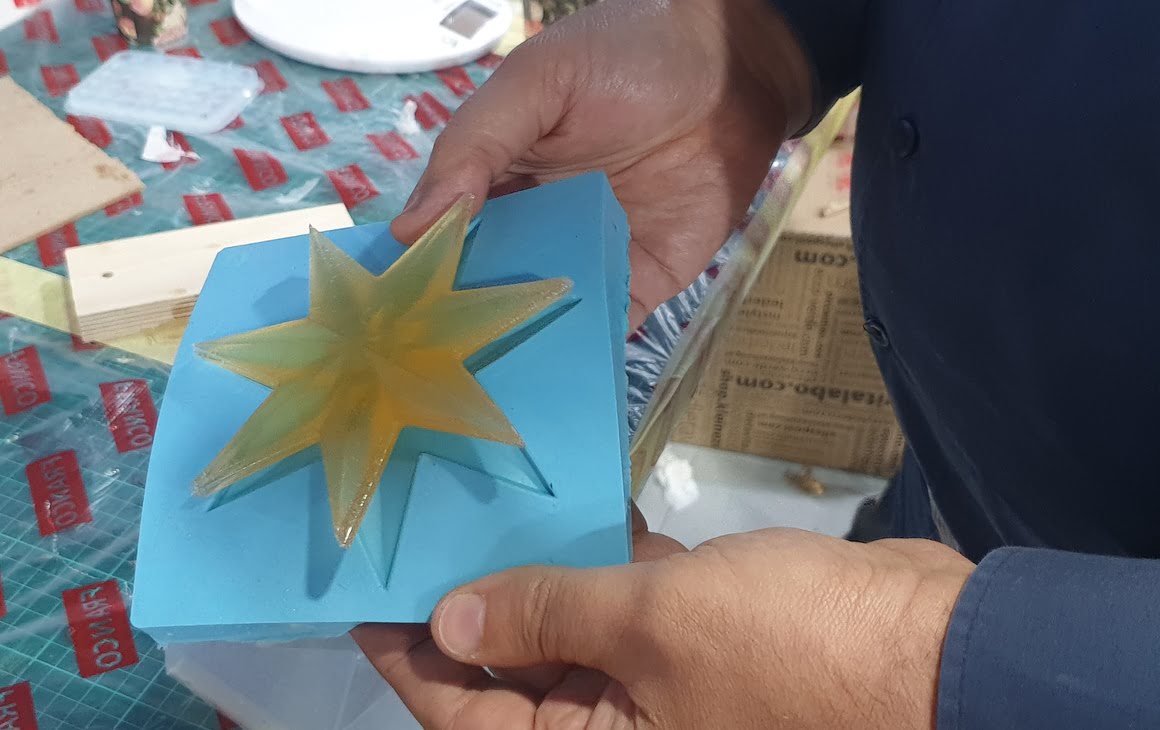
Silicone mold completely released fom wax mold with no visible bubbles or defects
Now starting with epoxy casting in the silicone mold, we first pour part A
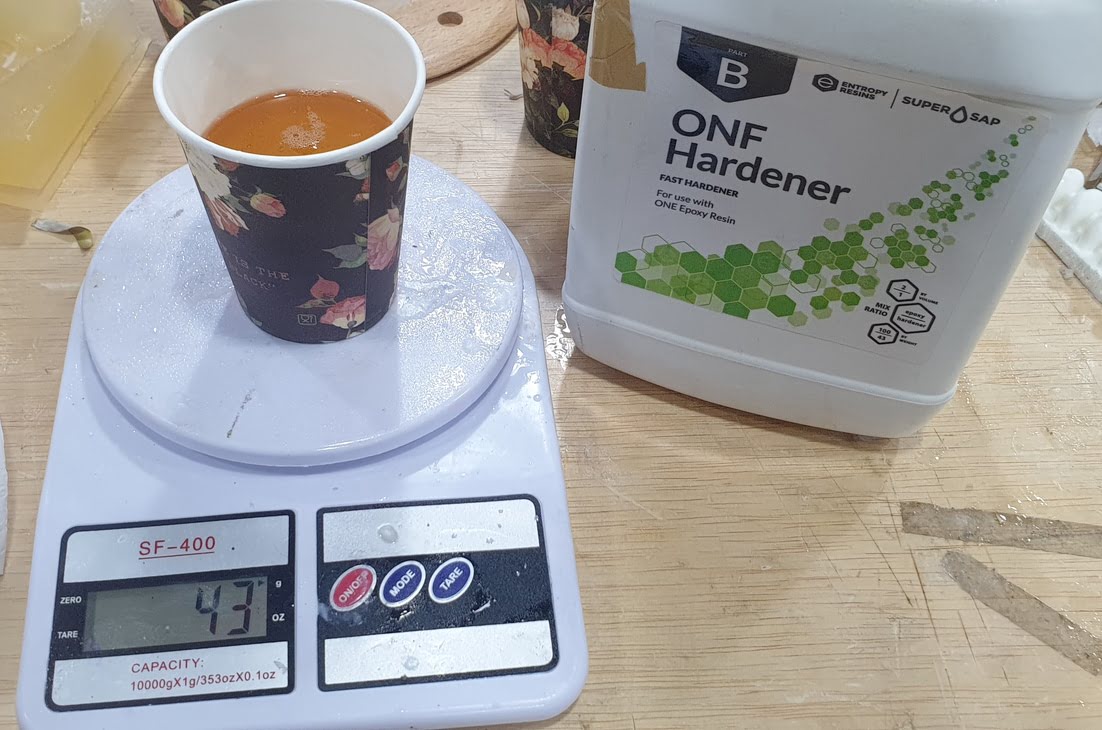
And then we add part B
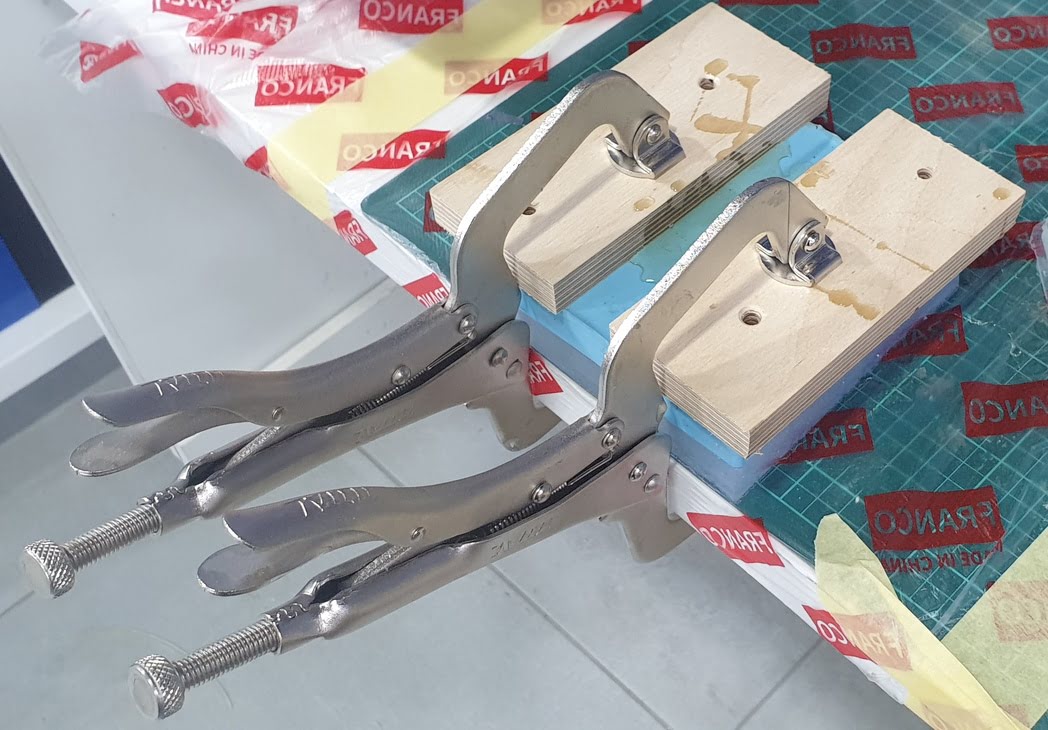
After setting the two silicone mold halves on top of a flat table and clamp them with flat wood pieces and power grip clamps I poured epoxy compound into silicone molds and let it set over night for curing
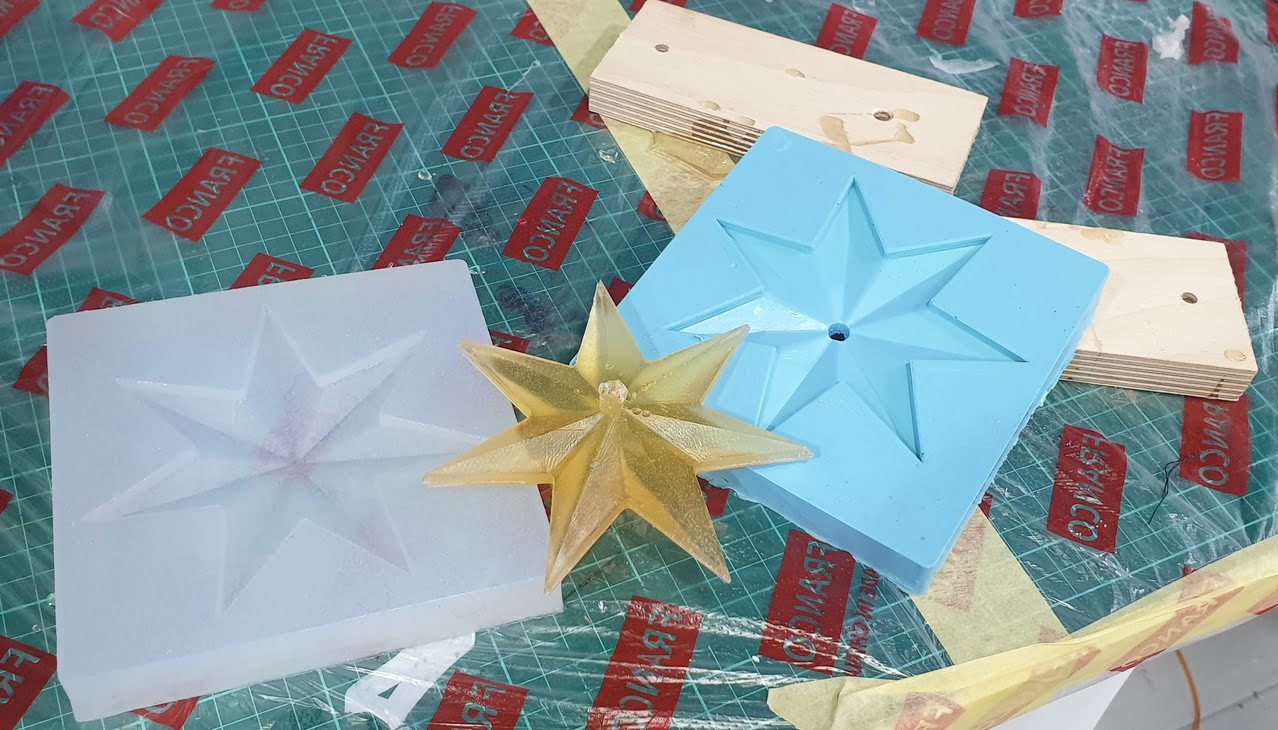
Next day I opened the silicone molds and removed the epoxy star
Bottom side of the star was good with no bubbles
Top side of the star had some trapped air bubbles on top edges of the star