Back to project managment
HUGO
i build the website using hugo freamework, and here is about hugo

Hugo is a general-purpose website framework. Technically speaking, Hugo is a static site generator. Unlike systems that dynamically build a page with each visitor request, Hugo builds pages when you create or update your content.
what makes hugo beutiful is its ability to enable you to hand code your own website without worrying about setting up complicated runtimes, dependencies and databases.
Download hugo
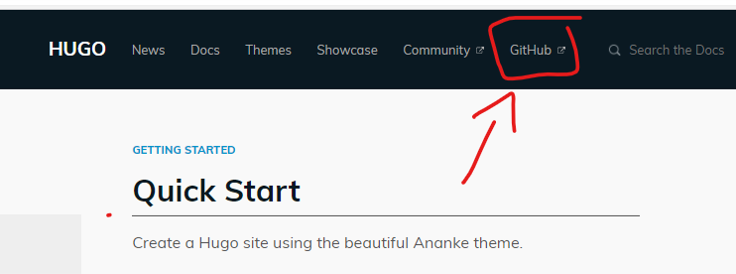
you can download hugo by navigating to there page from here and then click github
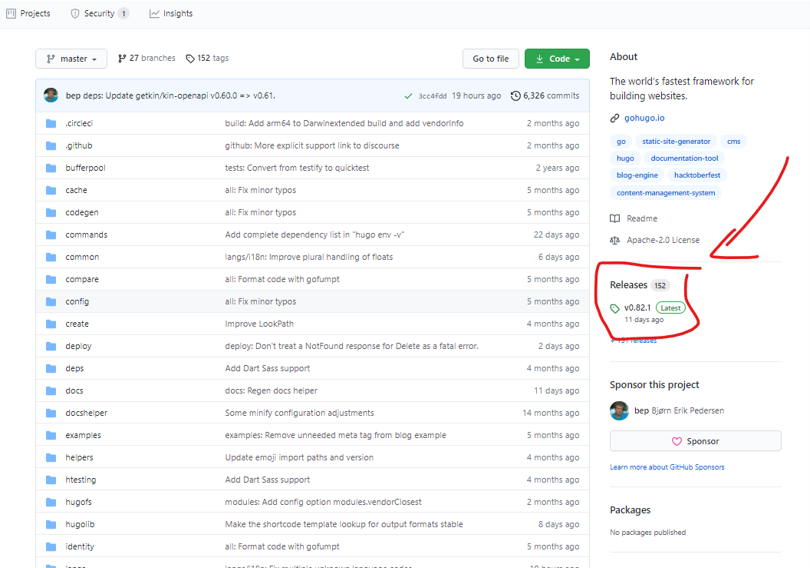
click latest release
in right bar you will find link for the latest release of hugo click that and it will take you to another page
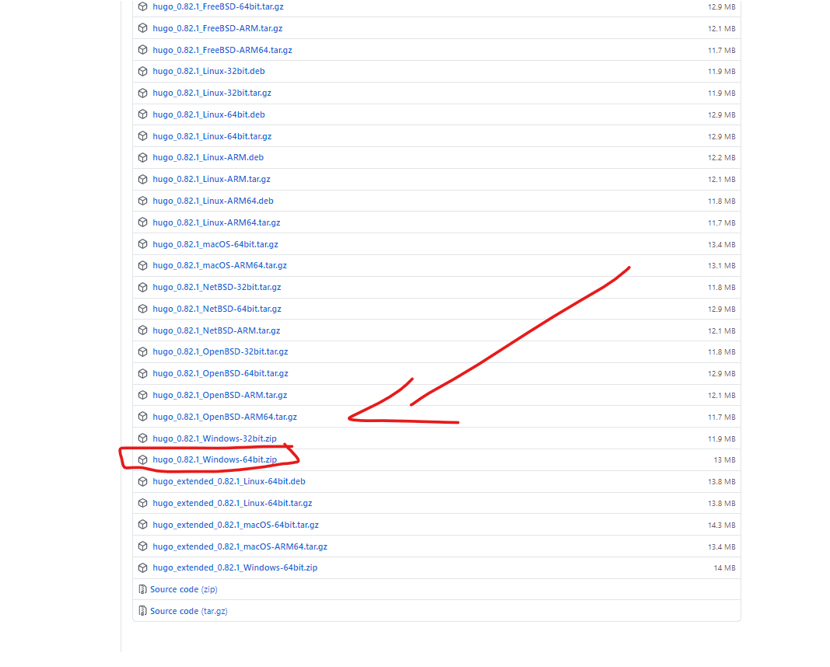
- here you will find all version of hugo depending on your operation system, and since i am using windows i will donload windows 64 version
unzip folder
now once you downloaded hugo its time to make it accessible from command line, so first unzip the files and add them to a reachable location
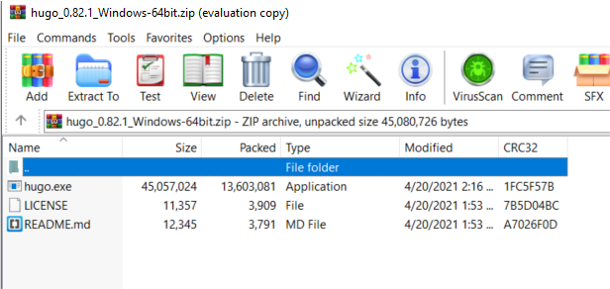
after downloading ffmpeg unzip the folder and save it in a reachable location such as c:/user/

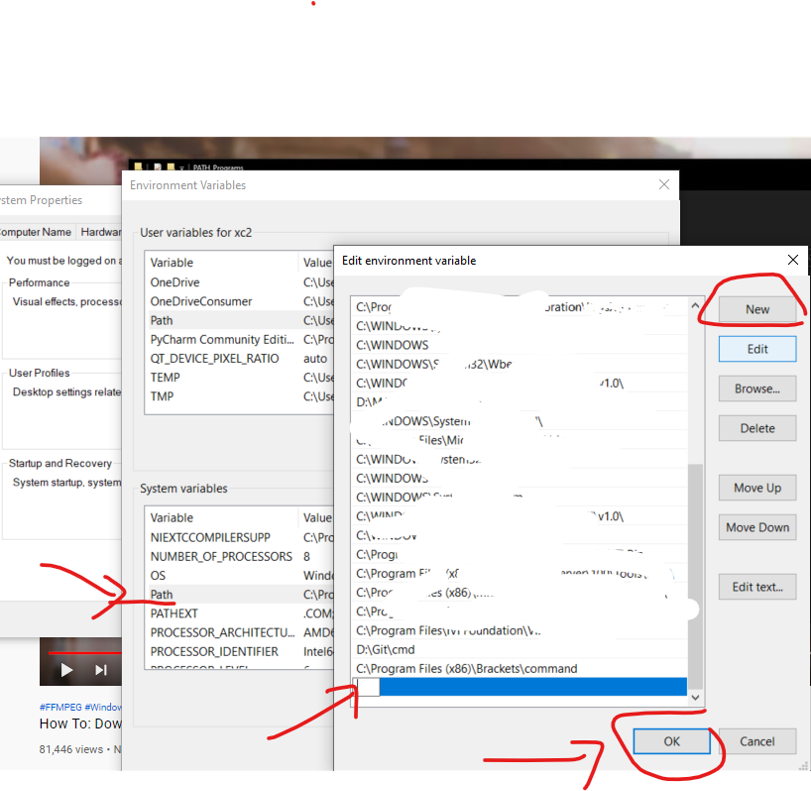
add to path
now lets add it to our system path to make it recognize where its located to make it reachable from command line
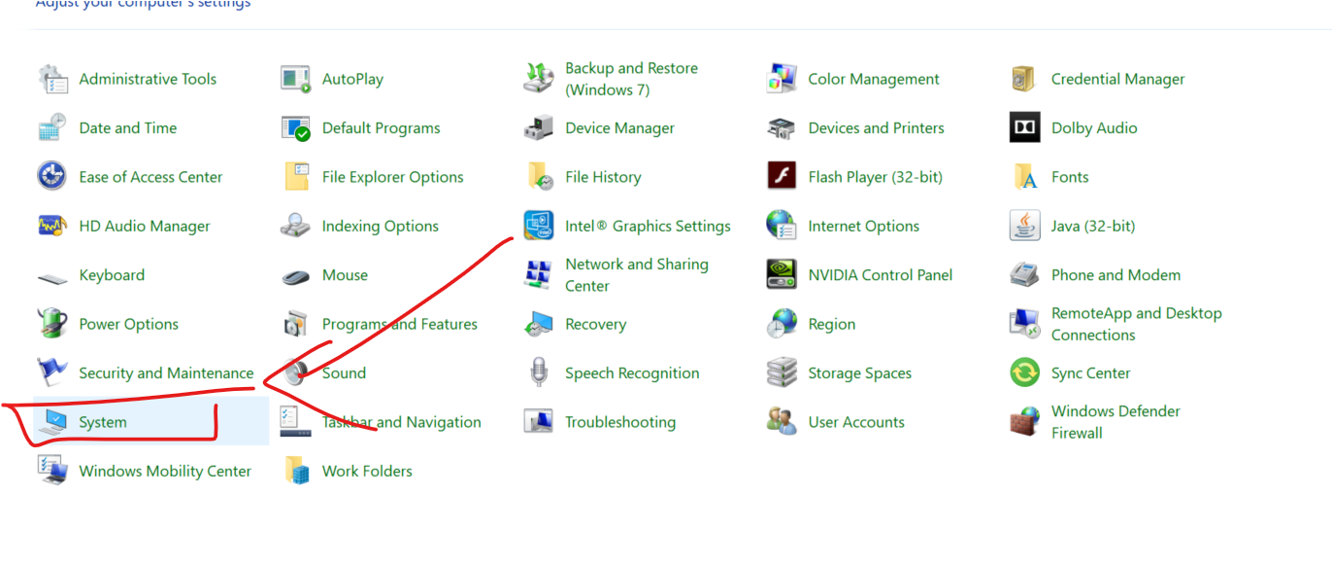
- open control panel then navigate to system
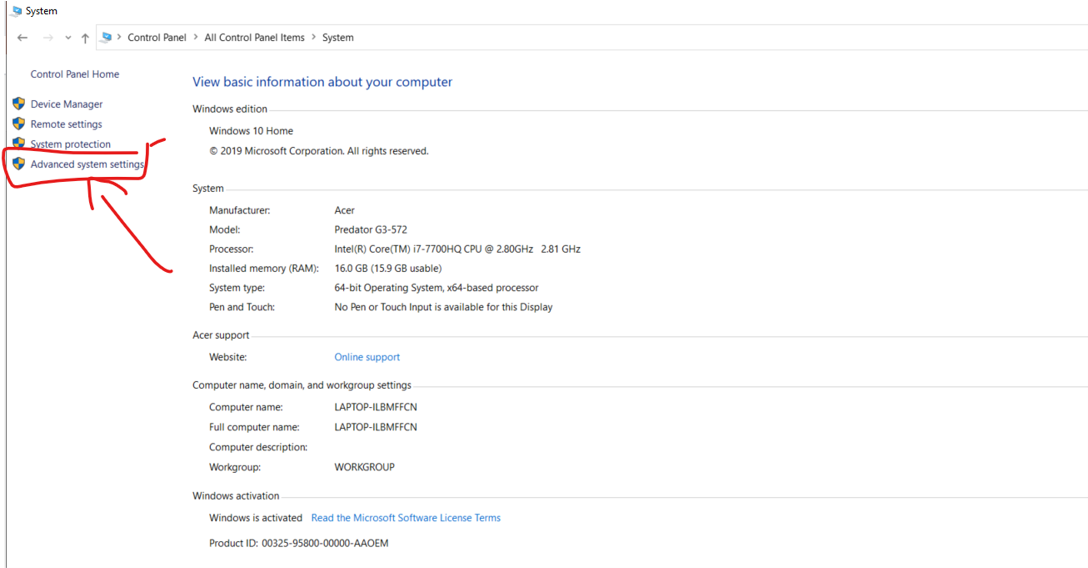
- then click advance system setting
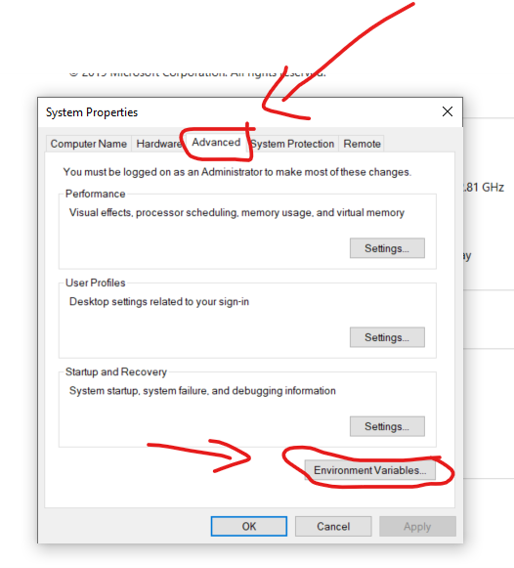
- then from the top bar click advance and open environment variable
- from the system variable open path, and add new then the location of hugo folder that you saved on
hugo in command line
once everything is clear its time to test hugo in command line by typing
hugo version

hugo new site
now its time to create our website, start by typing in command line
hugo new site ./

it give me error becouse there is files already exist in the folder, lets try with –force
hugo new site ./ –force
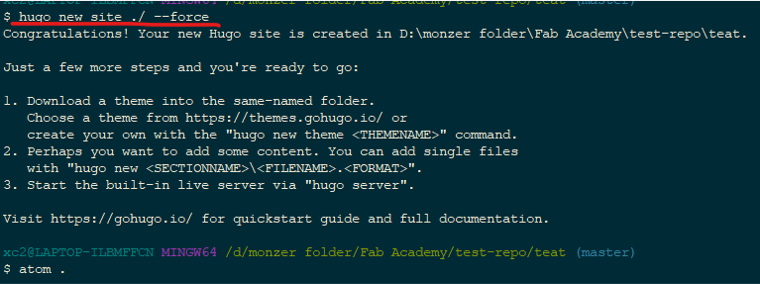
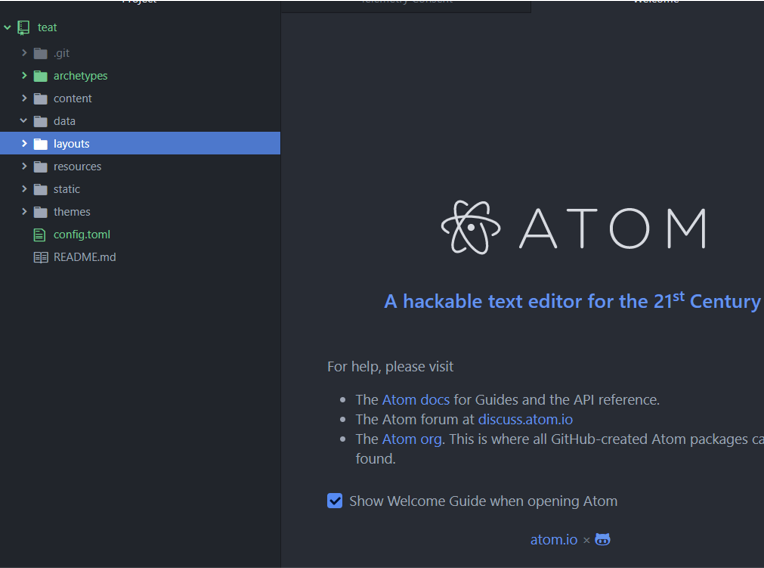
open atom to see the files that have been created
now all our tools already accessable from the comand line you can just type atom . to open atom text editor on this folder
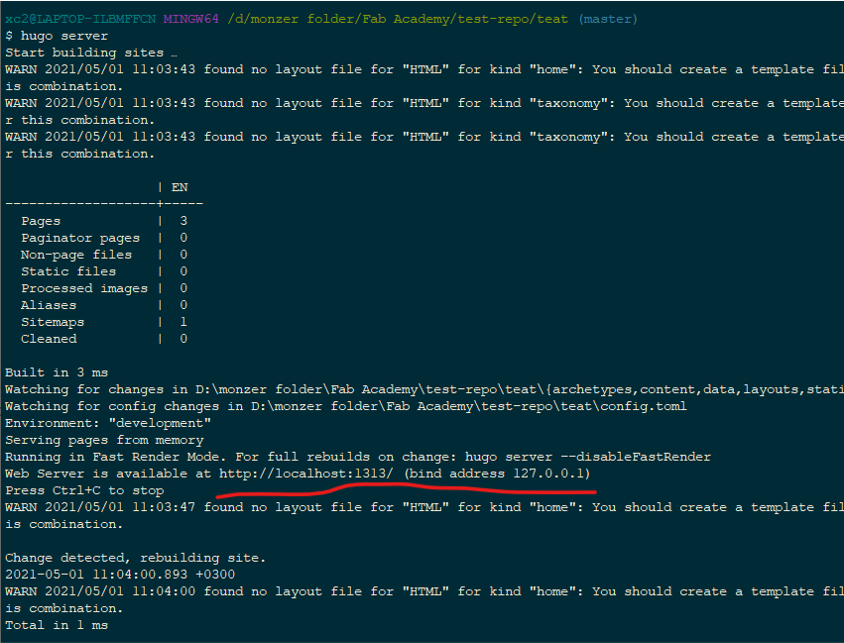
hugo server
Hugo provides its own webserver which builds and serves the site. While hugo server is high performance, it is a webserver with limited options. Many run it in production, but the standard behavior is for people to use it in development and use a more full featured server such as Nginx or Caddy.
‘hugo server’ will avoid writing the rendered and served content to disk, preferring to store it in memory.
by typing hugo server, hugo will show a local server in your computer it will be like a website in the internet, so it give you the ability to work on
your side offline and then just push the update using git.
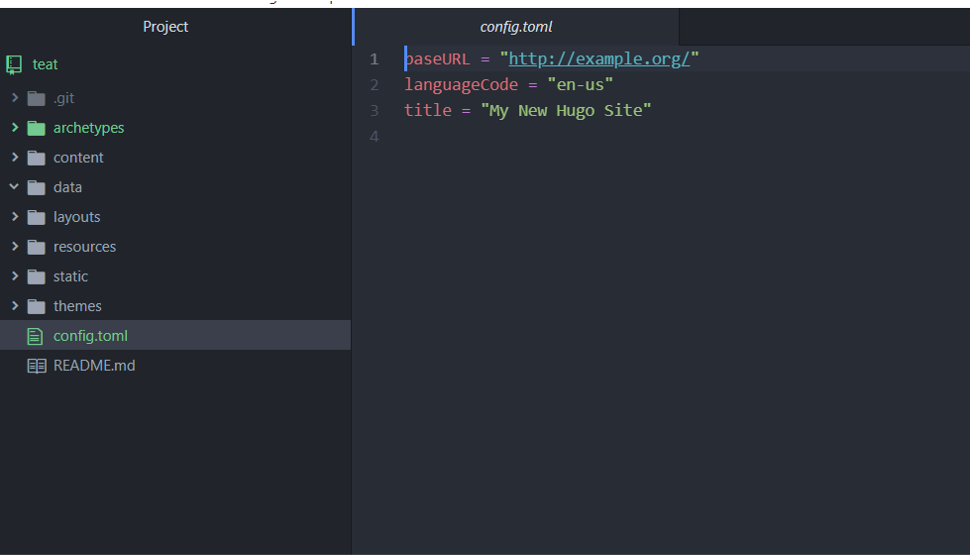
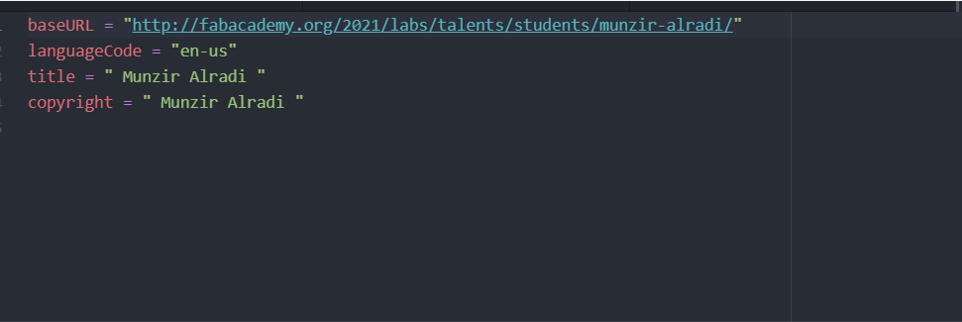
Edit config
the first thing to do is to edit config file, change the base url to your page and add your name or website name to the title and copy write
Bootstrap

Bootstrap is a free front end framework that’s getting more and more popular among front end developers. It’s effortless to use and saves developers a lot of time from having to manually write syntaxes over and over again.
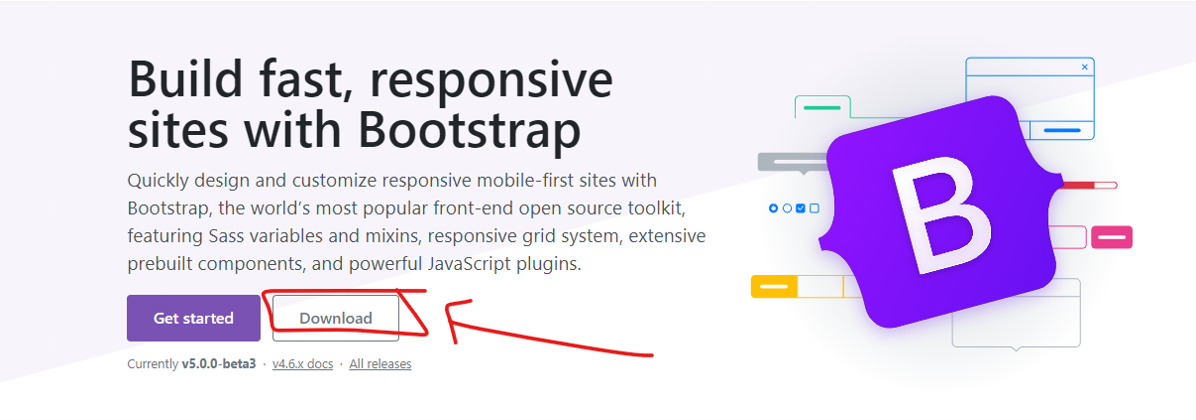
download boostrap
you can download the latest version of bootstrap from their website here
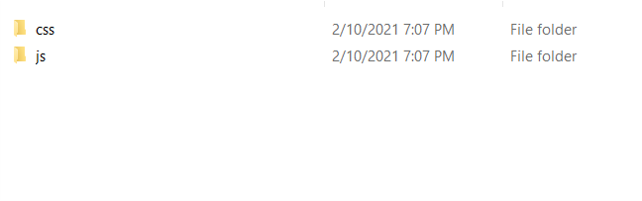
extract files
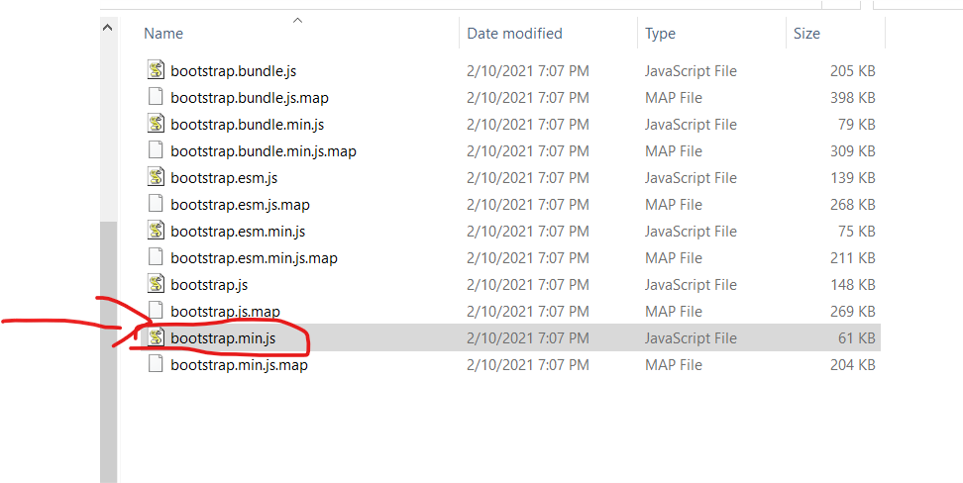
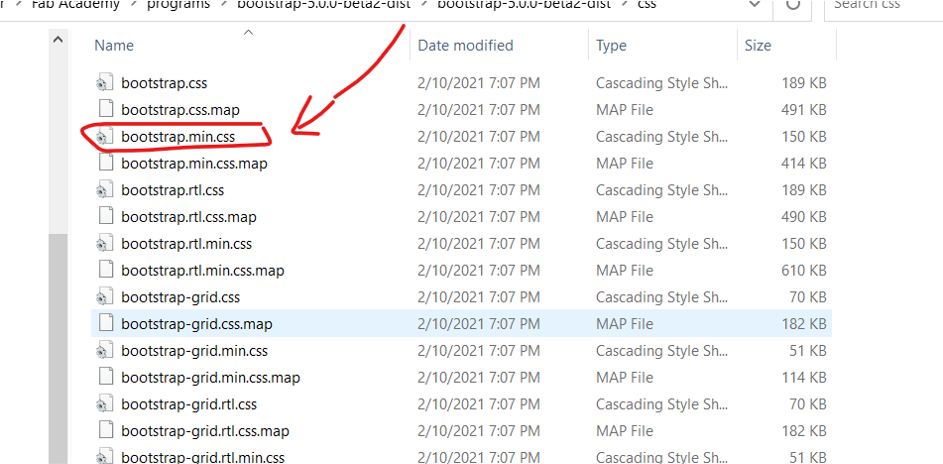
once you download the latest version extract the files, you will find tow file js , css
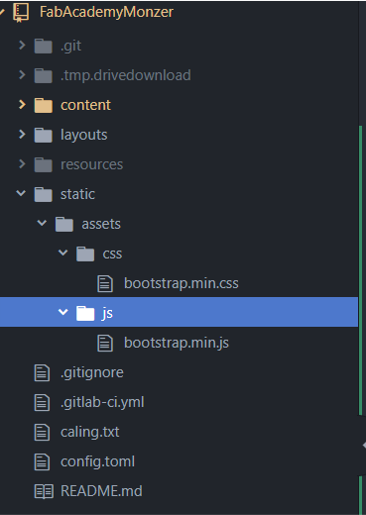
from the files now we need only the bootstrap.min.js and bootstrap.min.js copy the files and go to your website folder and create folder with the name static and the folder assists and paste them in
index.html
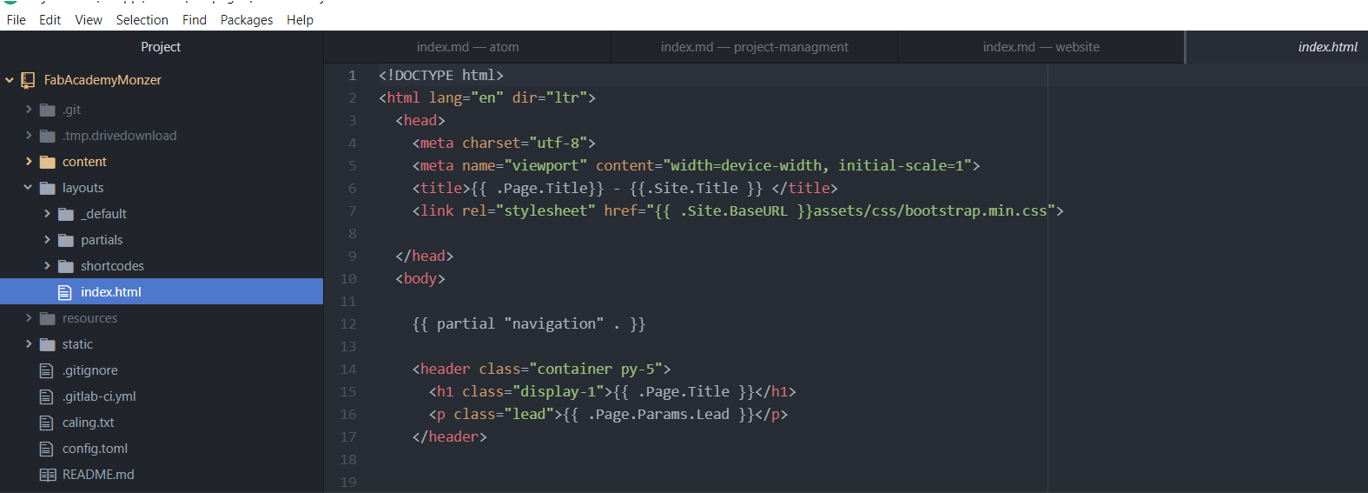
this HTML file file is the main website page that is going to reflect on all other pages, so we have to work on it one time and then the rest of the documentation will be on mark down
adding css
In order to user the bootstrap css you have to add this line to the top of the html file and it should be before the head tag
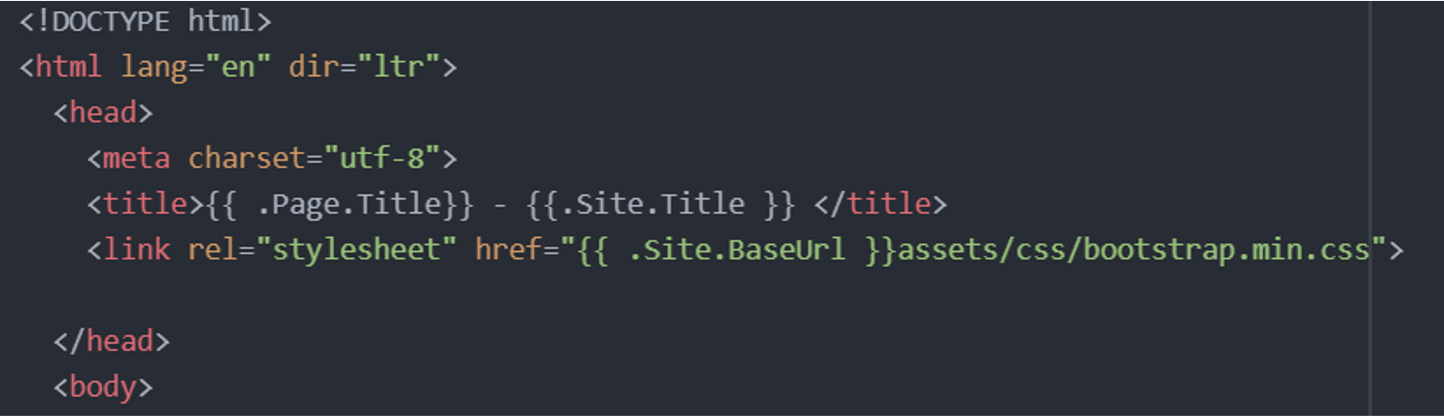
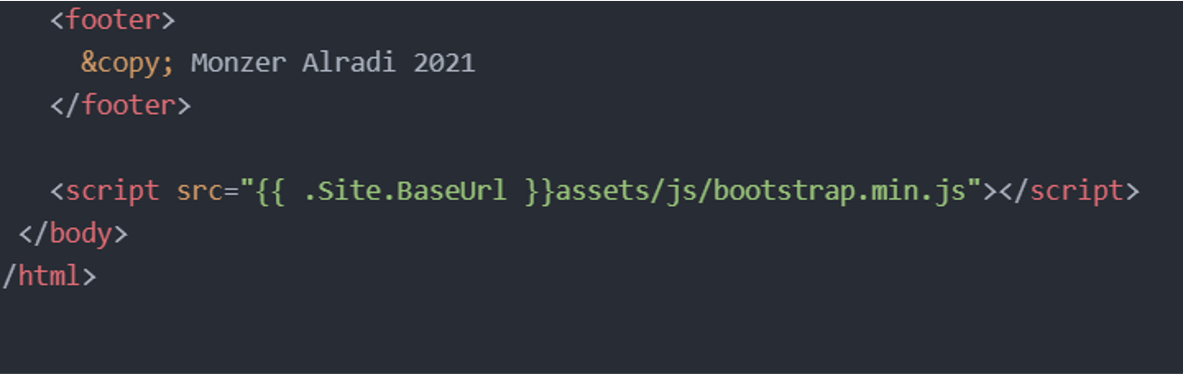
adding js
And for the javascript file the way to load it has to be at the end before the closing body tag and after the footer tag
The src is attribute = the location of the bootstrap css file {{ .Site.baseUrl }} its shorct for hugo to load the website main url
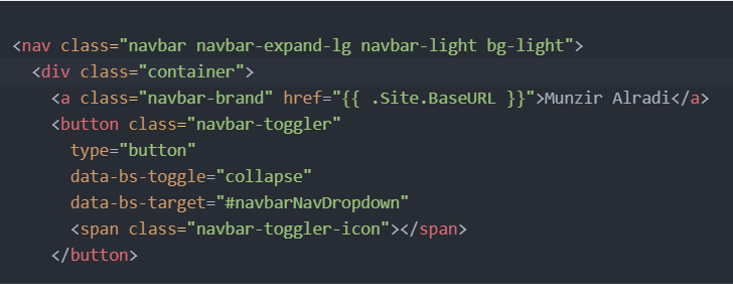
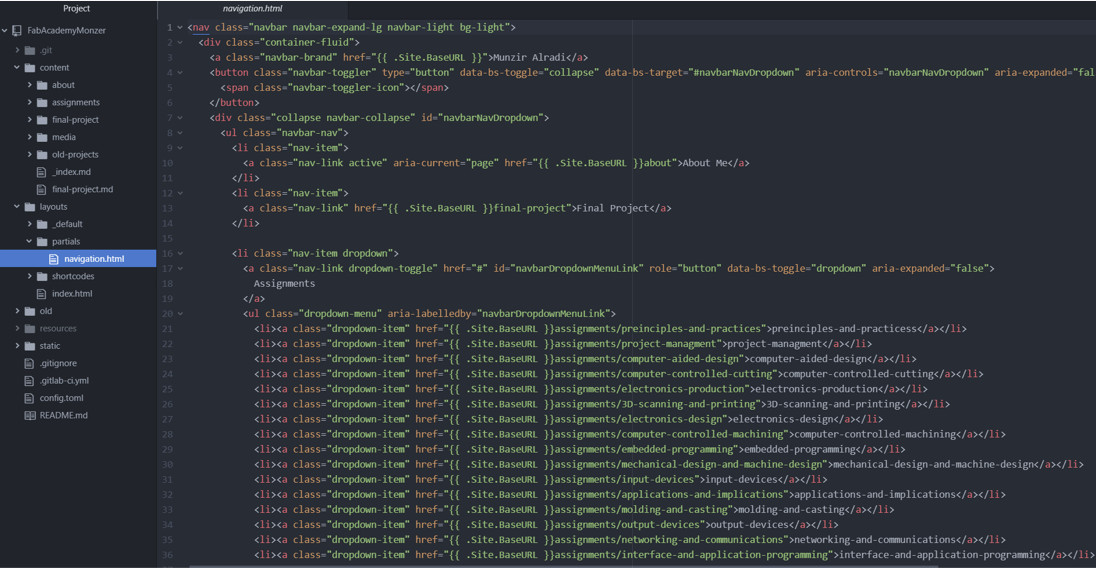
adding navigation bar
From the bootstrap nav bar I copy all the code then I started to change the insite links and text Becouse now I understand what is happen in the code I can easly navigate between and start building it
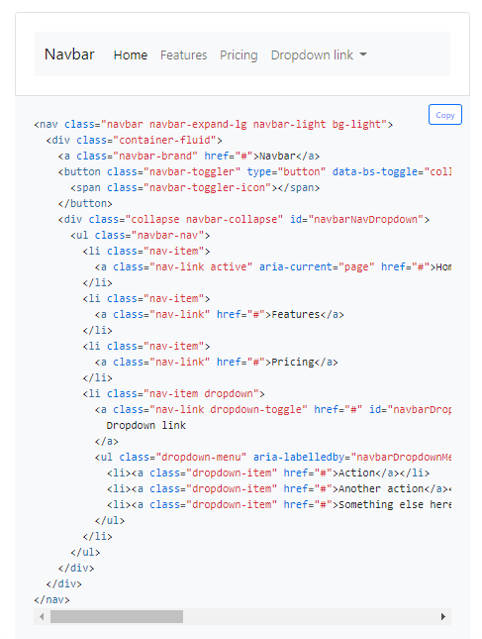
adding container to navigation bar
In bootstrap there is tow type of continers 1- is the fluid that to make the content fit the page with all its length2- and the other one is the normal container which is by default is responsive so I used the regular one
<a href we added here a link to the site url so we go back to the home age And then we added a button In htm you have to specify some of the element like type And each element you can name attribute
Data-bs-toggle is java script built in variable used specially for bootstrap
Aria-control is accessabilty control but ists important if you want to build service website something we will not talk about today so will delete it
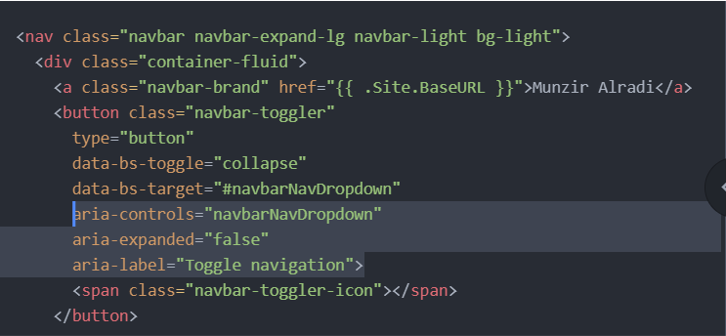
Span is general purpose
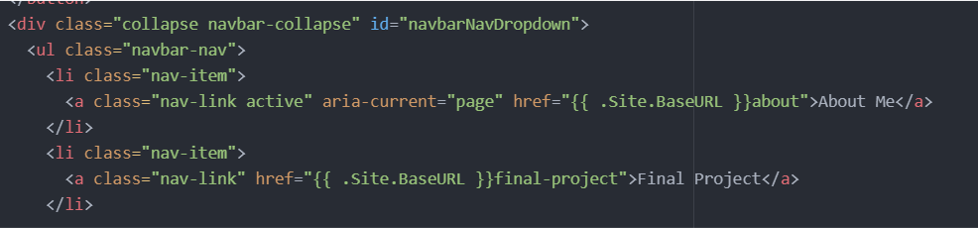
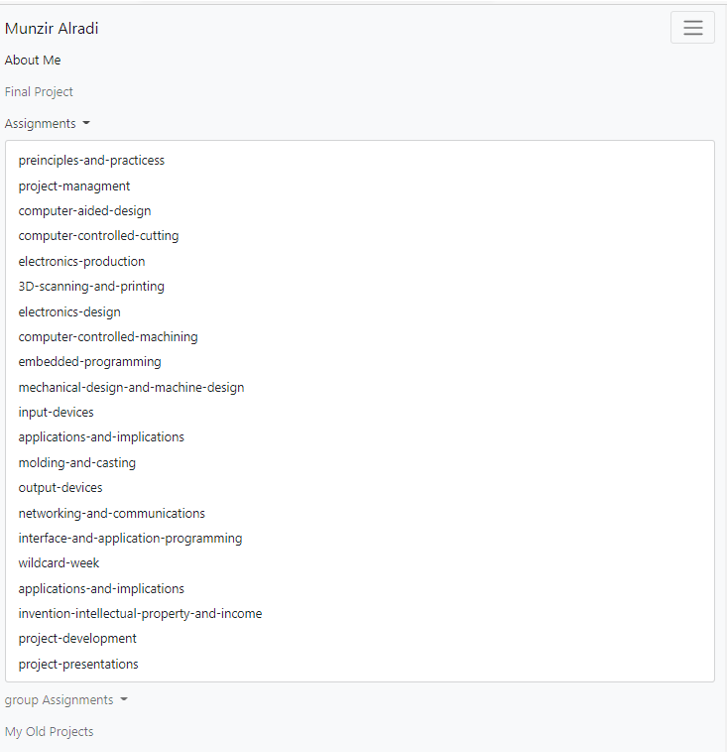
adding about me page
Staring with the static pages the final project and about me page , I added {{ .Site.BaseURL }} to navigate to the home page then added the extention for the page
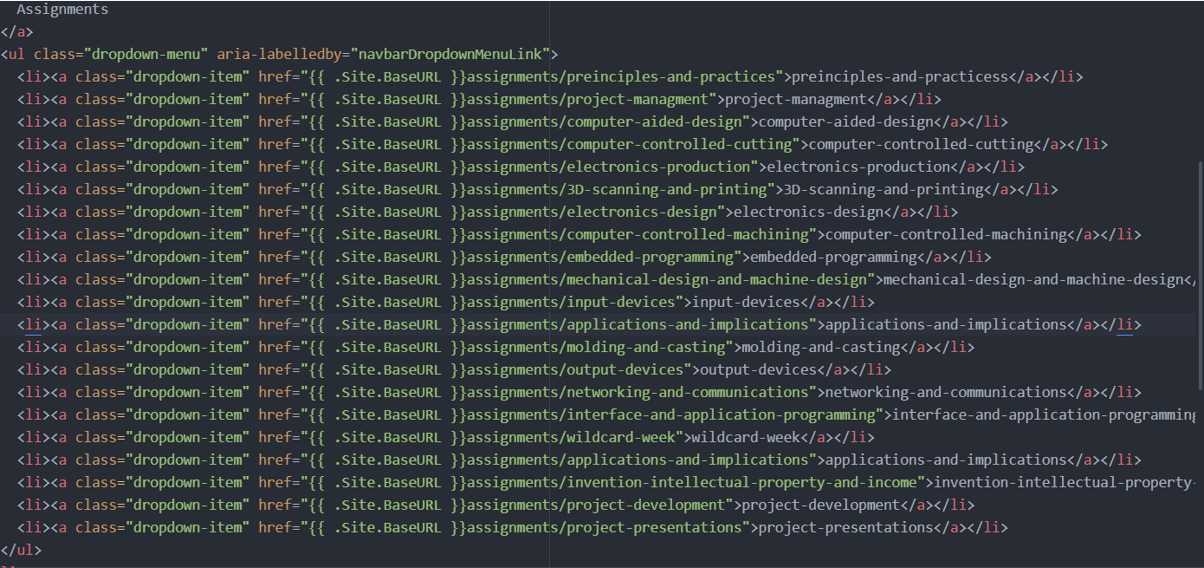
Then for the drop down I added all assignments for the up coming weeks topics so can build it once
Adding links for all group assignments

adding old project page
Then Lastely I Added a Wep page to show my old Projects

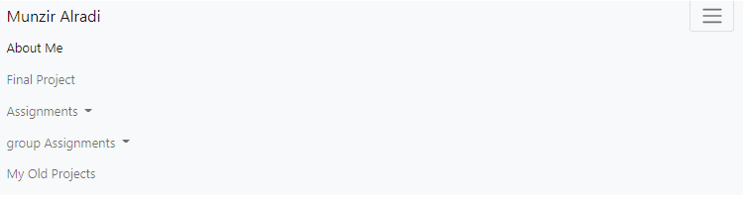
And now this how my web page look like now
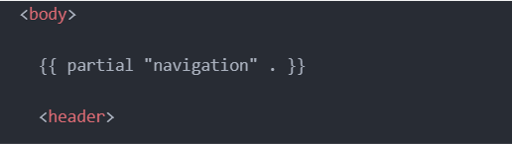
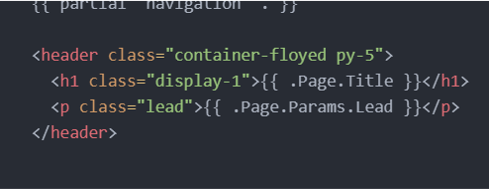
partial
Next we took all the nav tag codes and paste it in the partial navigatin.html
And then we linked that file to the index html by hugo short code {{ partial “navigation” . }}
And it remain same
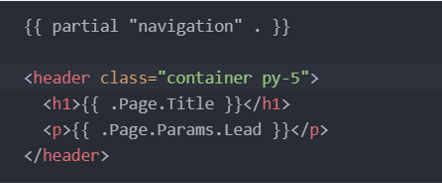
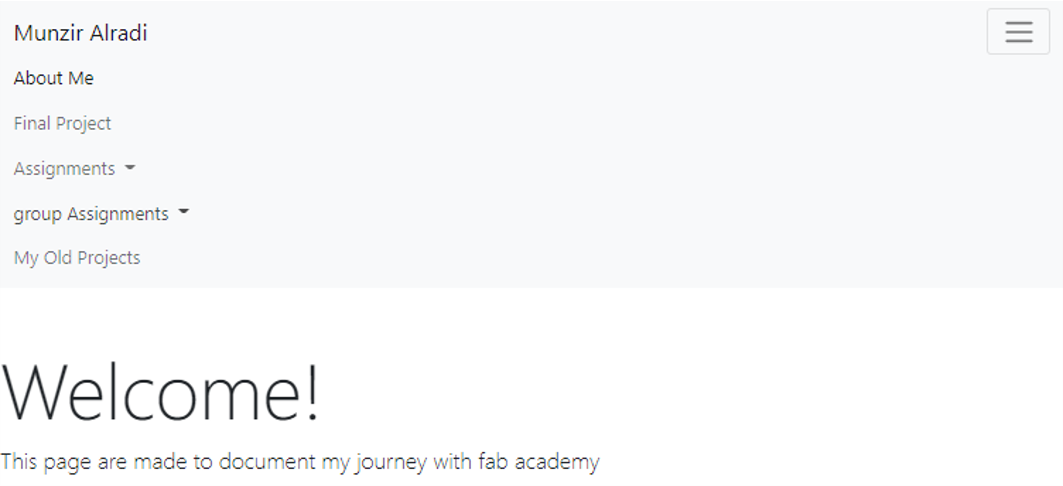
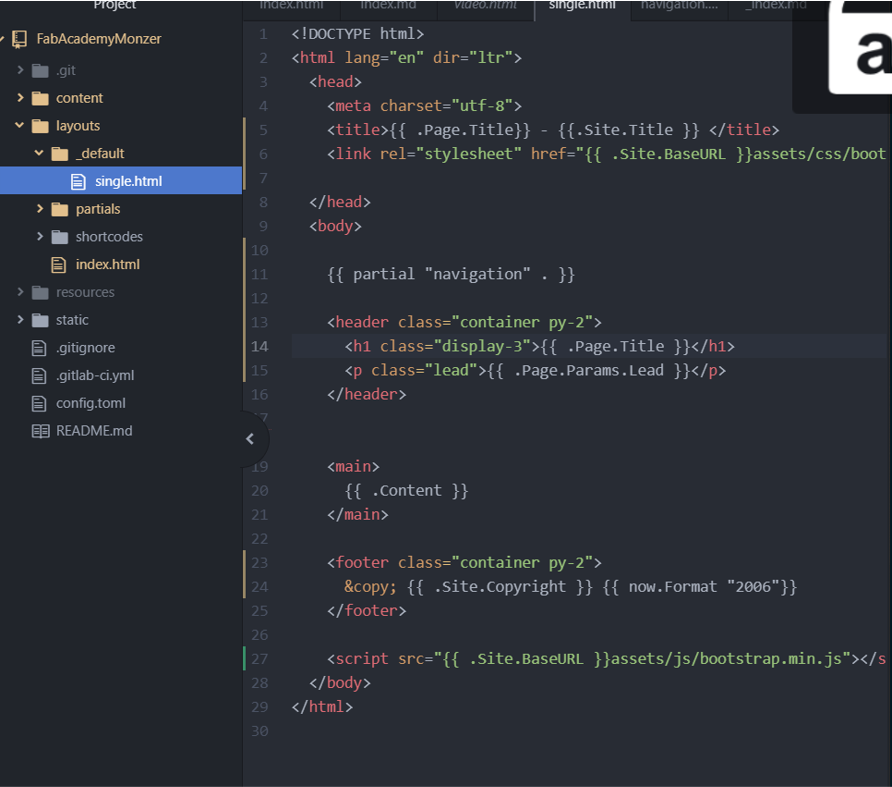
adding header
Next I add header just a welcome and small paragraph
Then added a container to make the text responsive and another class py-5 to make a space from the navigation bar
In bootstrap you can add classes and separate them with spaces
Class display-1 is to make the text bigger Class lead is to make the paragraph bigger to match the head lead
And its look like this
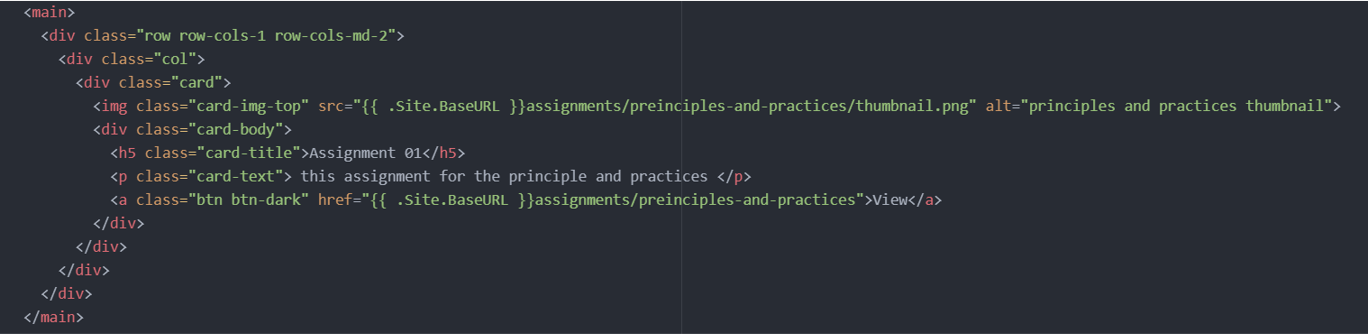
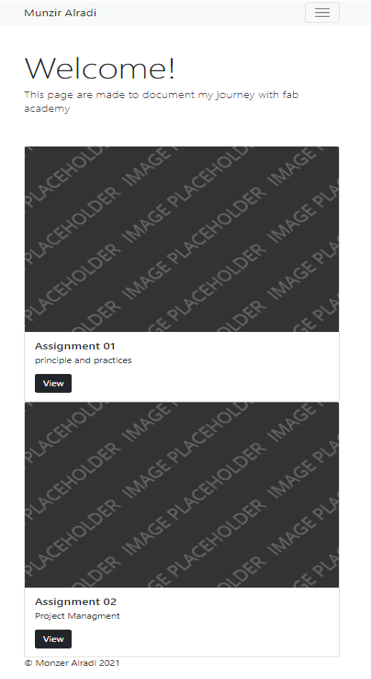
add some pictures like cards
Next in the main I want to add some pictures like cards to make the wepsite look beeter and for easy navigation
The standard grid of bootstrap is 12 colom
Then added after the picture another div and give it a class “card-body” to insert more element 1- a card title (Assignment 01 ) 2- a small description ( this assignment for the principle and practices ) 3- a link to the page with a button “ view “ (View )
And here how it looks now

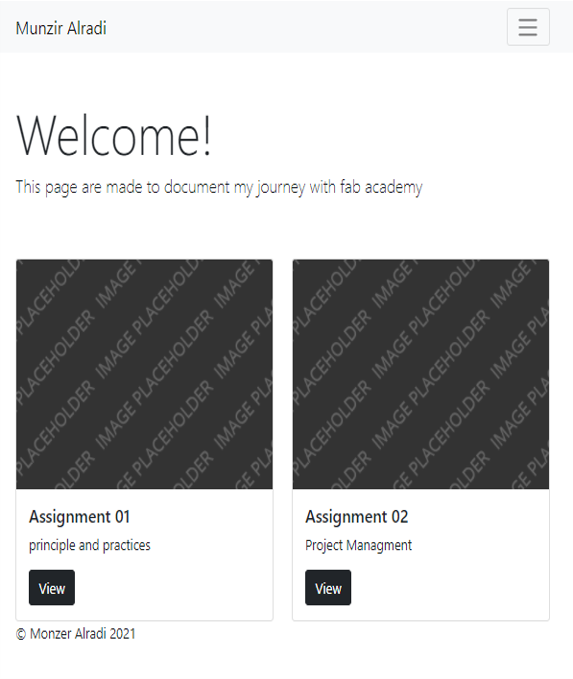
tow column’s
And here I made a tow columns and added a container class to the main tag to make it aligned with the other and then add another colom and changed the links and information for project management

mobile view and desktop view
footer
In footer I added a container class to make aligned and a make use of hugo functions and variable that ia set before like copyright, and the I added another function called now to make the year automatically updated now is a function in hugo that give you time in second since the begaining of unix, and format is going to take the input and convert it to a specific format and in go 2006 is going to convert it to year format

And here how its look like
.content
Then copied all the index.html to the default folder
And replaced the main with hugo function {{ .Content }}
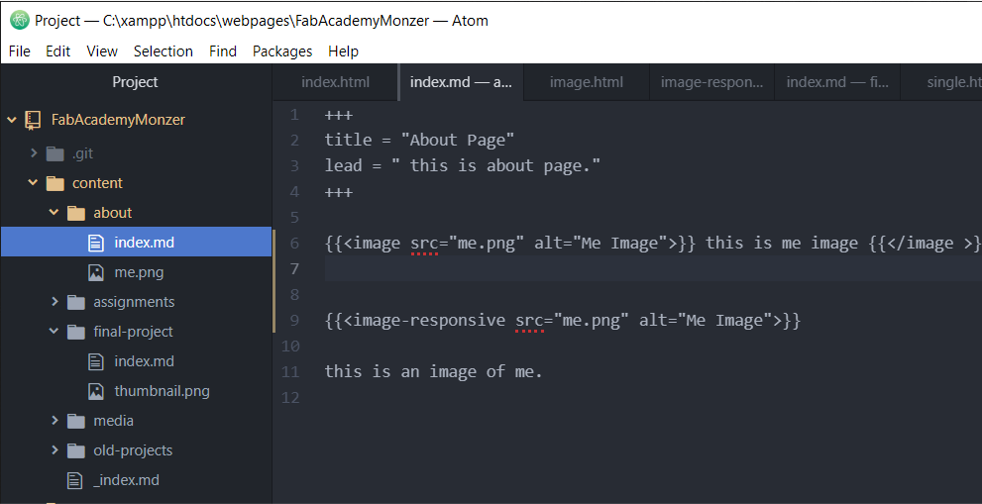
Short codes
Then added a new short code to orgnise the images in the markdown files
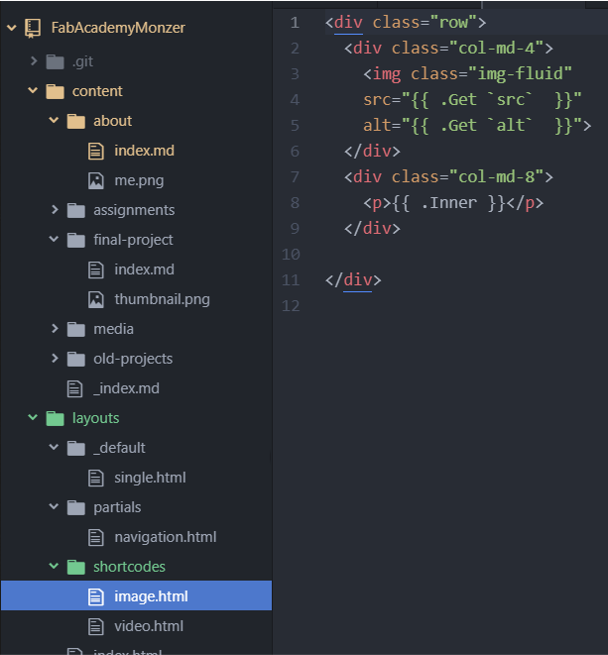
And here how we add them in the mark down
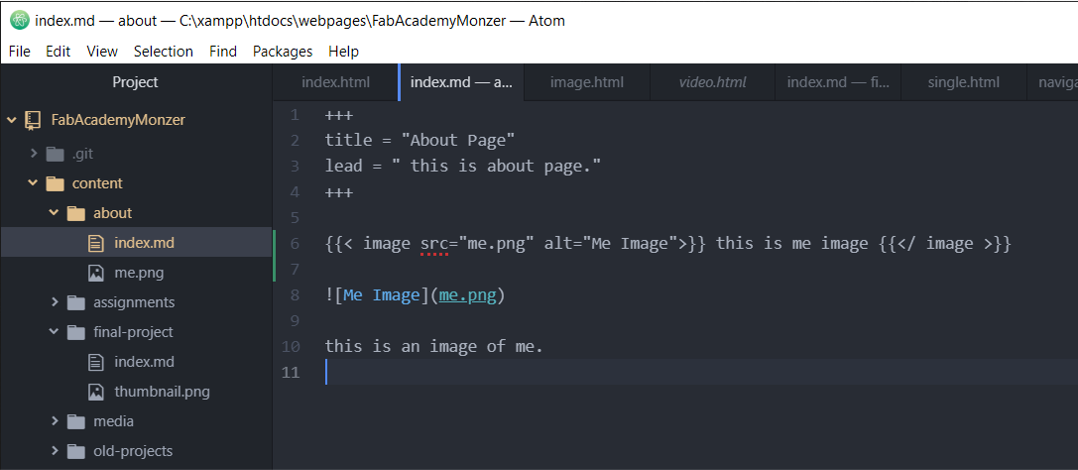
image responsive
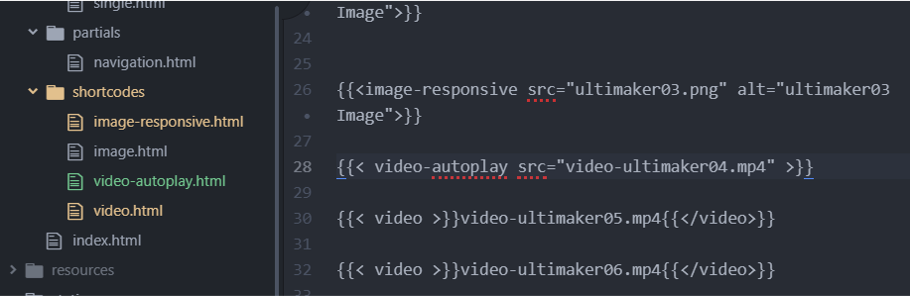
Also we can add the image like this to make it responsive
To fit the device with

autoplay video short code
I added here a new short code for the video autoplay in order to make the video autopalys
youtube embeded video short code
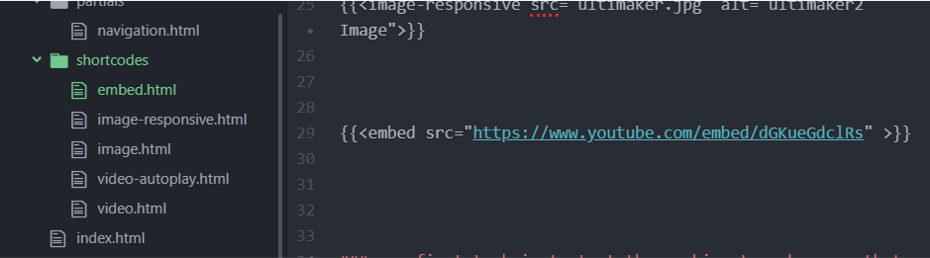
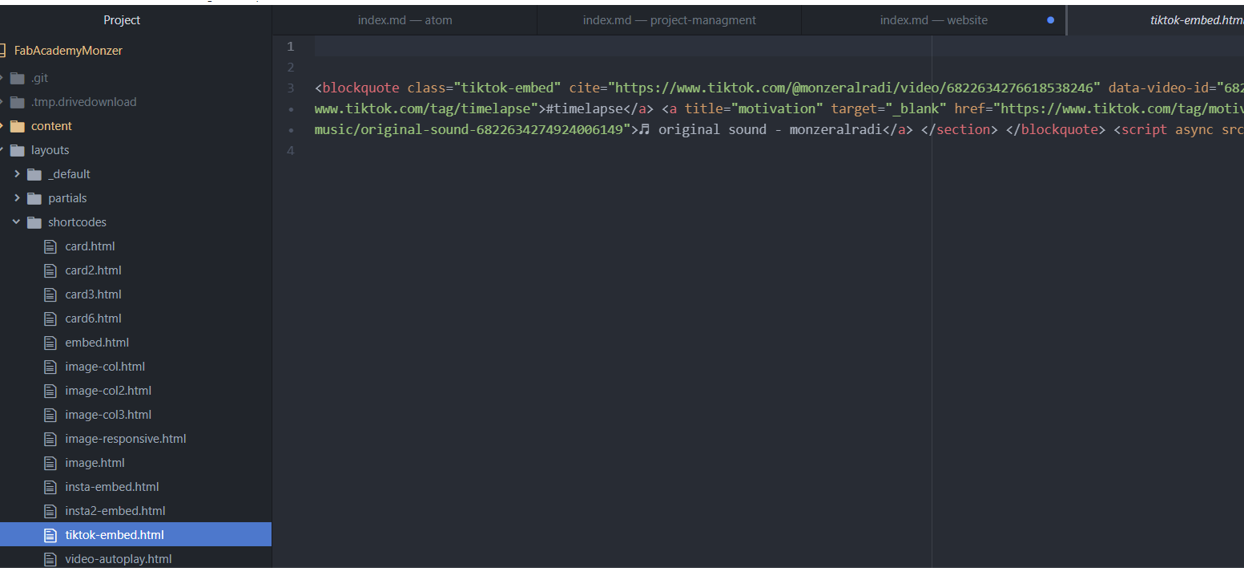
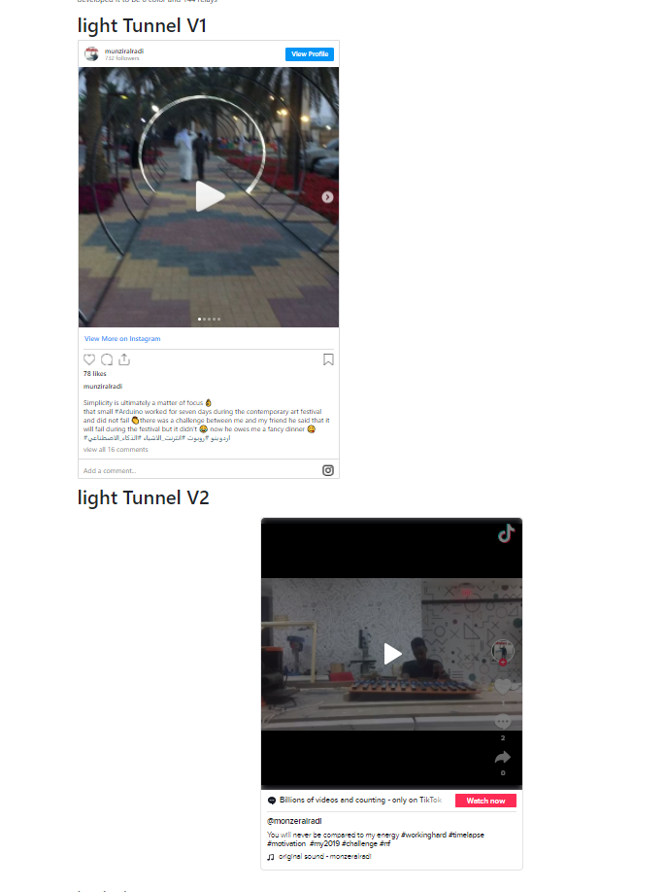
tiktok embeded video short code
instgram embeded video short code
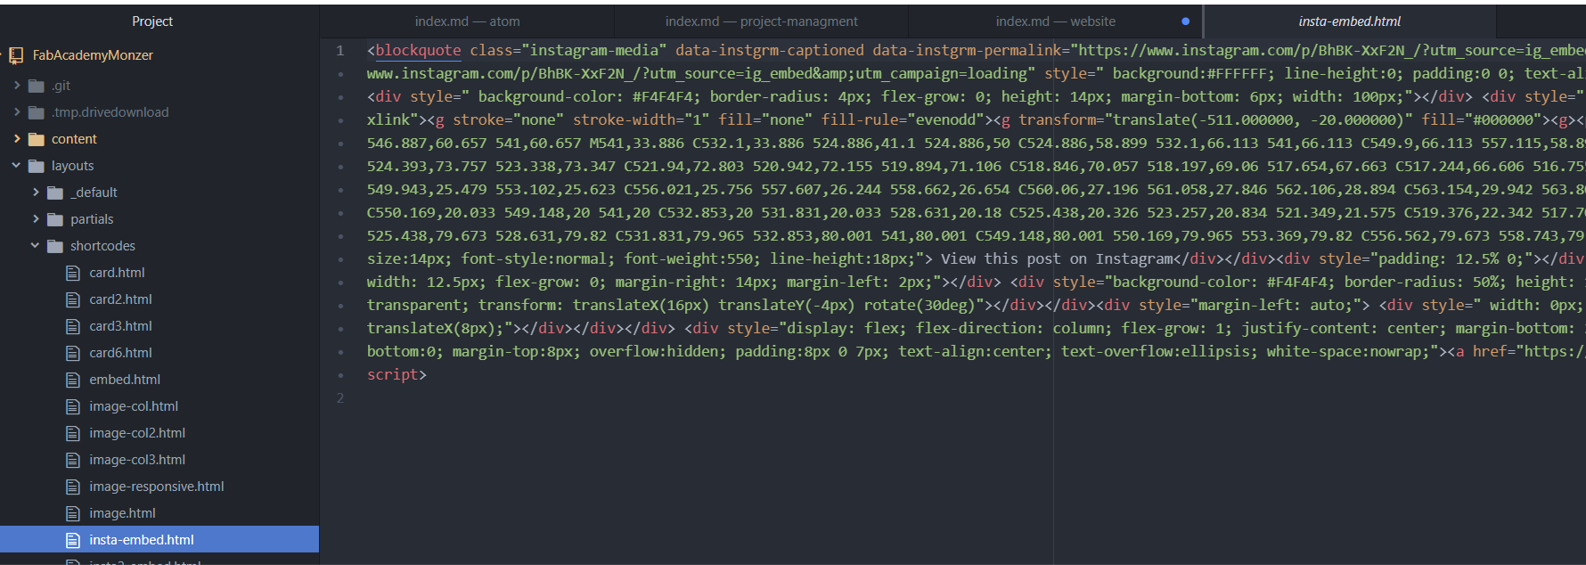
and here how it look like
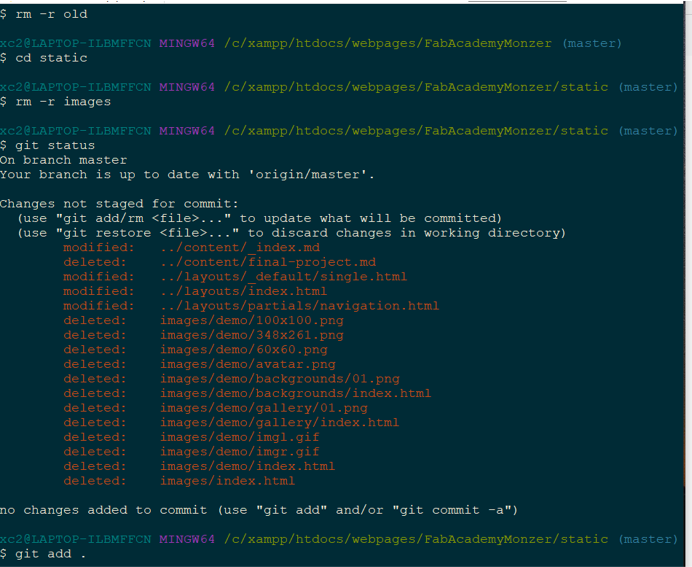
git add git commit -m and git push
I made some cleaning for the folders that I don’t want and the git status to see what is the files that have been modified
Then gitt add . To add all the files to committed
git commit -m " " . And then a massage for committing
git push , Then pushed the website
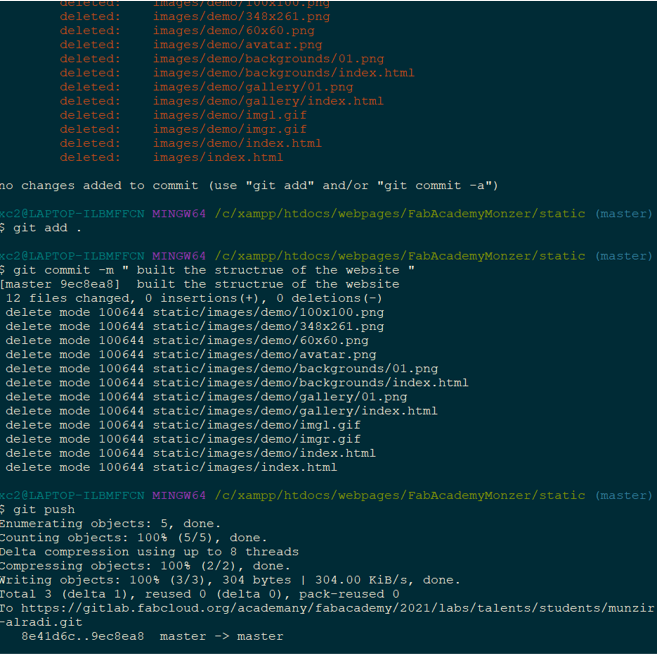
Show the website in git gitlab.
Now gitlab finished compiling the website and ready to be live

And now its live