2. Computer-Aided Design
Goals of the week :
- Get in touch and explore as many 2D and 3D modeling software as possible and use them also to shape a possible final project.
2D MODELLING
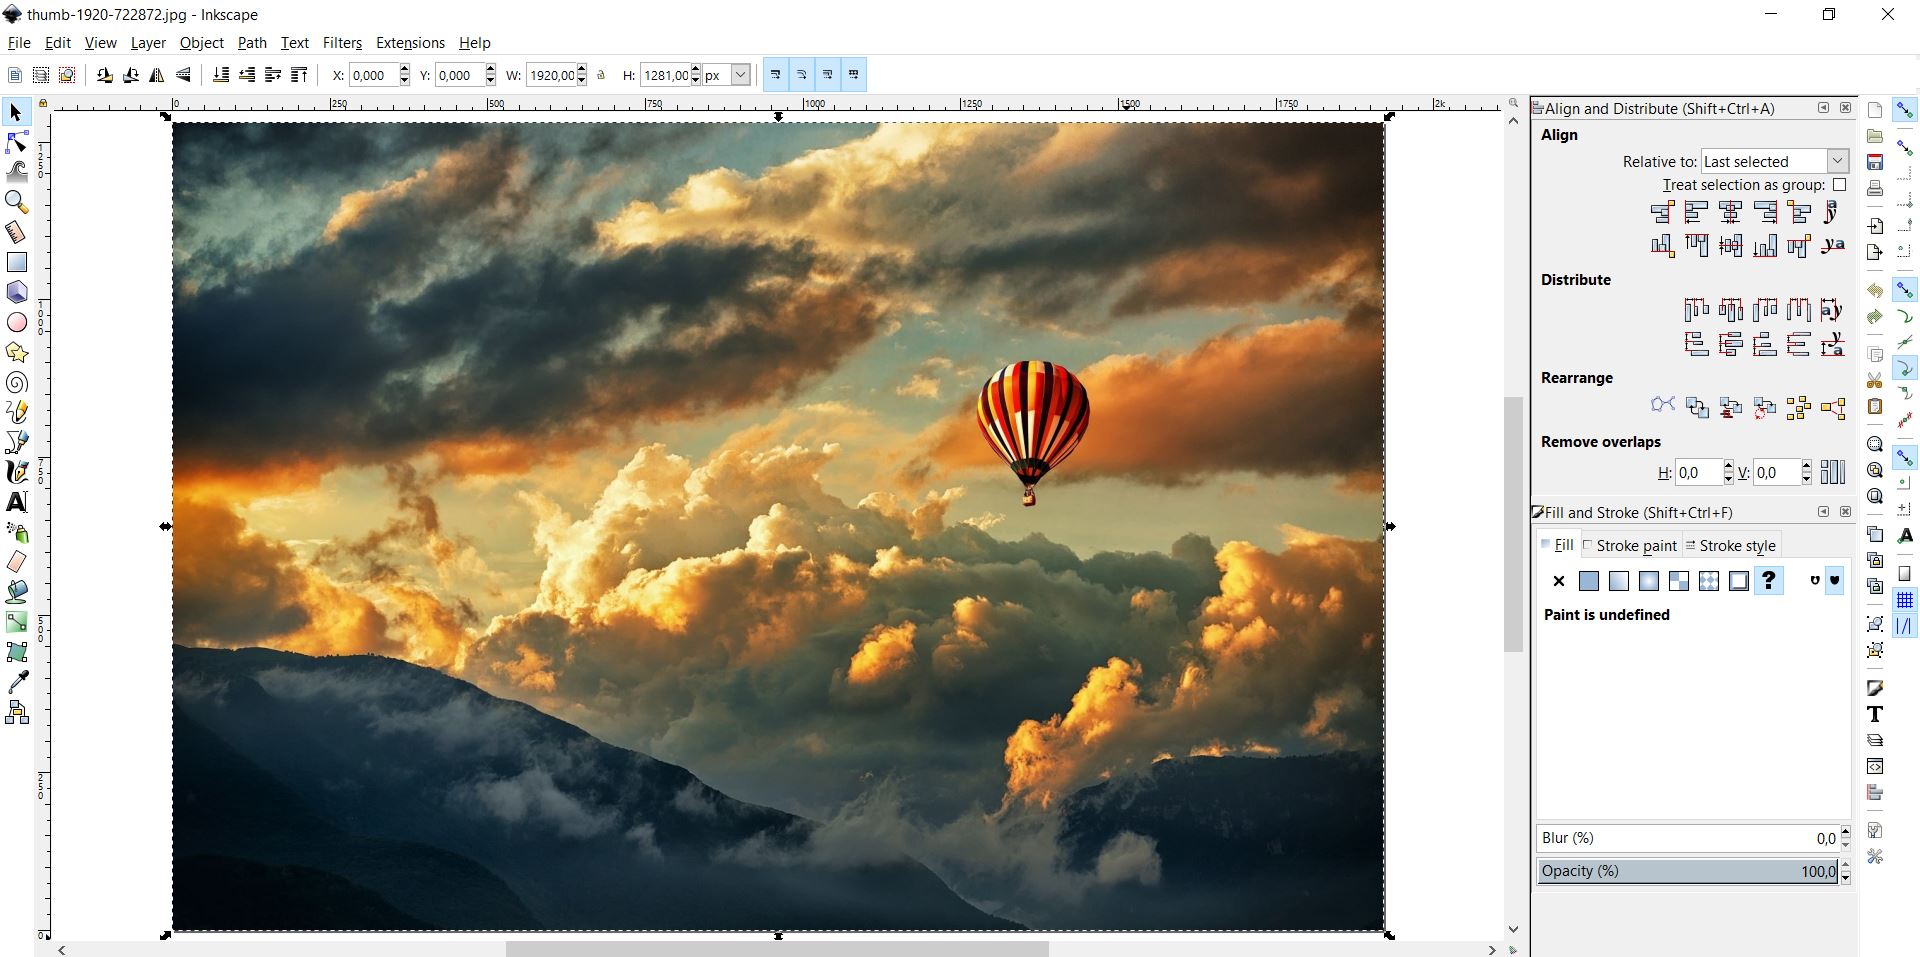
For 2D modelling, I have decided to use two pieces of software that will certainly be useful to me on my journey: GIMP and INKSCAPE.
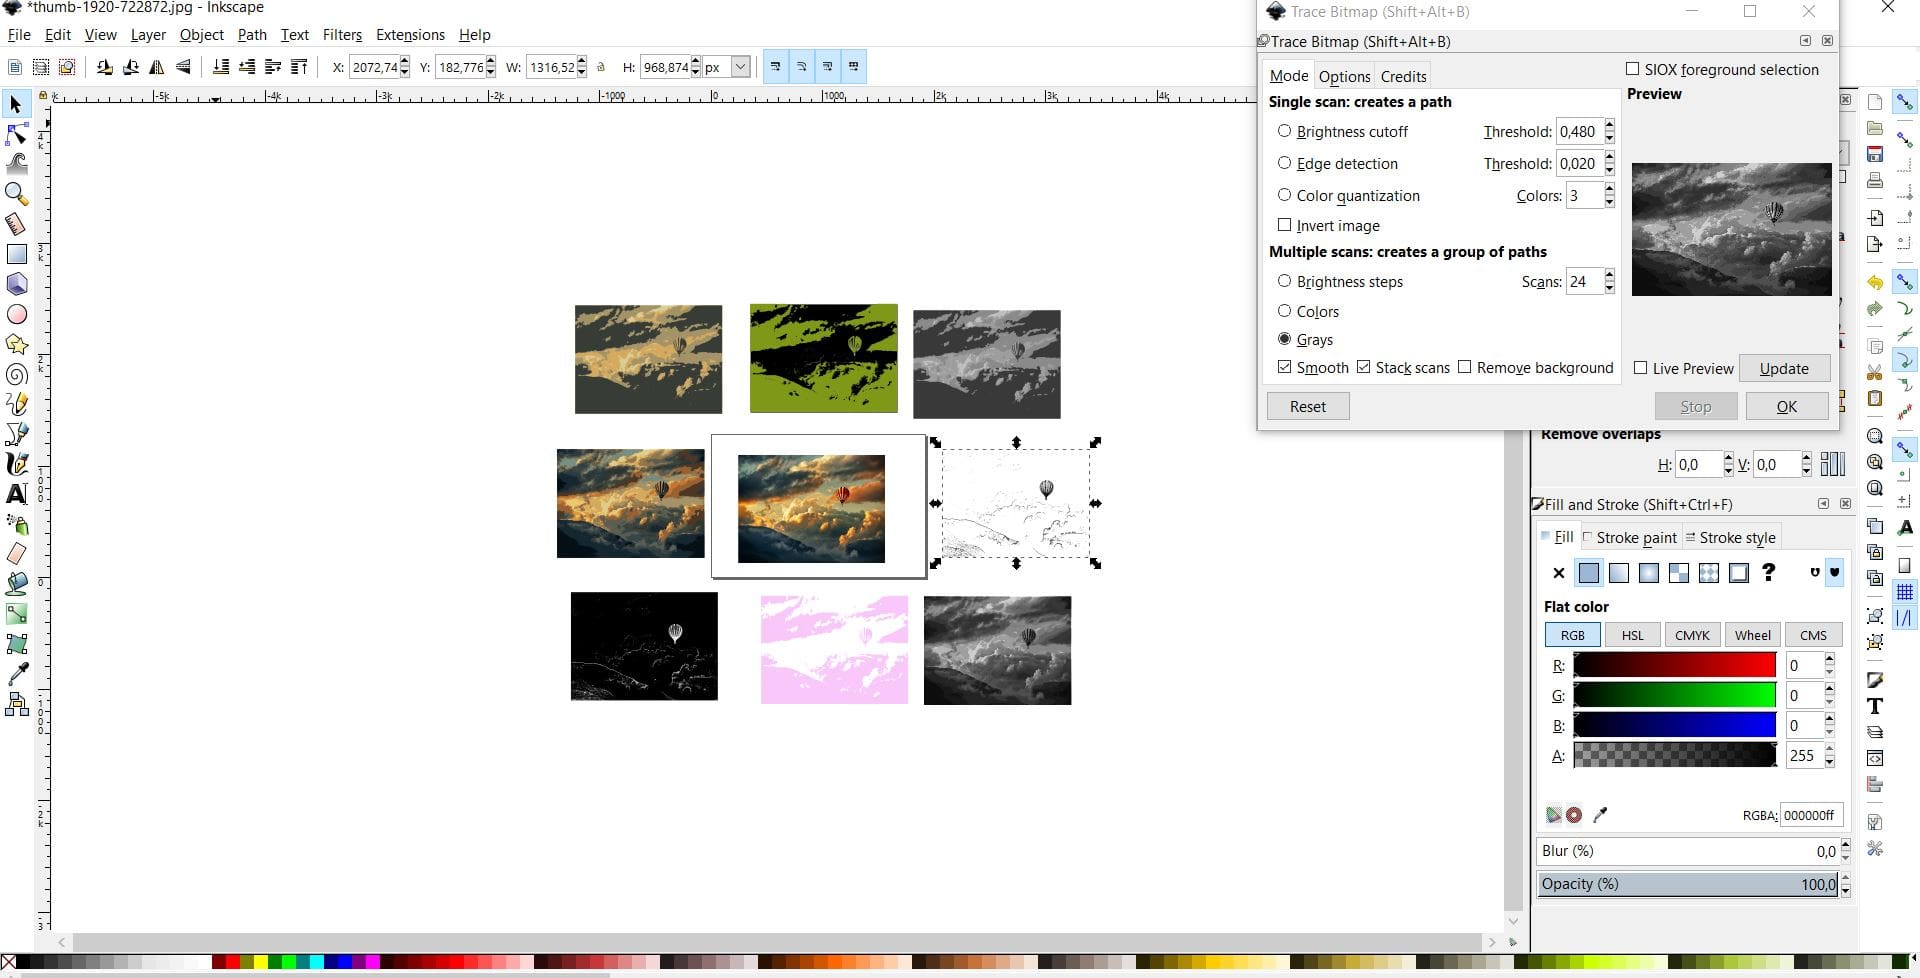
As far as INKSCAPE is concerned, I have tried to use different options both for drawing from the bar on the left with the different shapes and brushes and for importing images and editing them. In particular with the function Trace Bitmap the program allows you to obtain vector images from a photo or drawing. I tried to use this function first with an image downloaded from Google and then with a drawing.
Changing the colors and the points you can create different effects. The result was as follows:


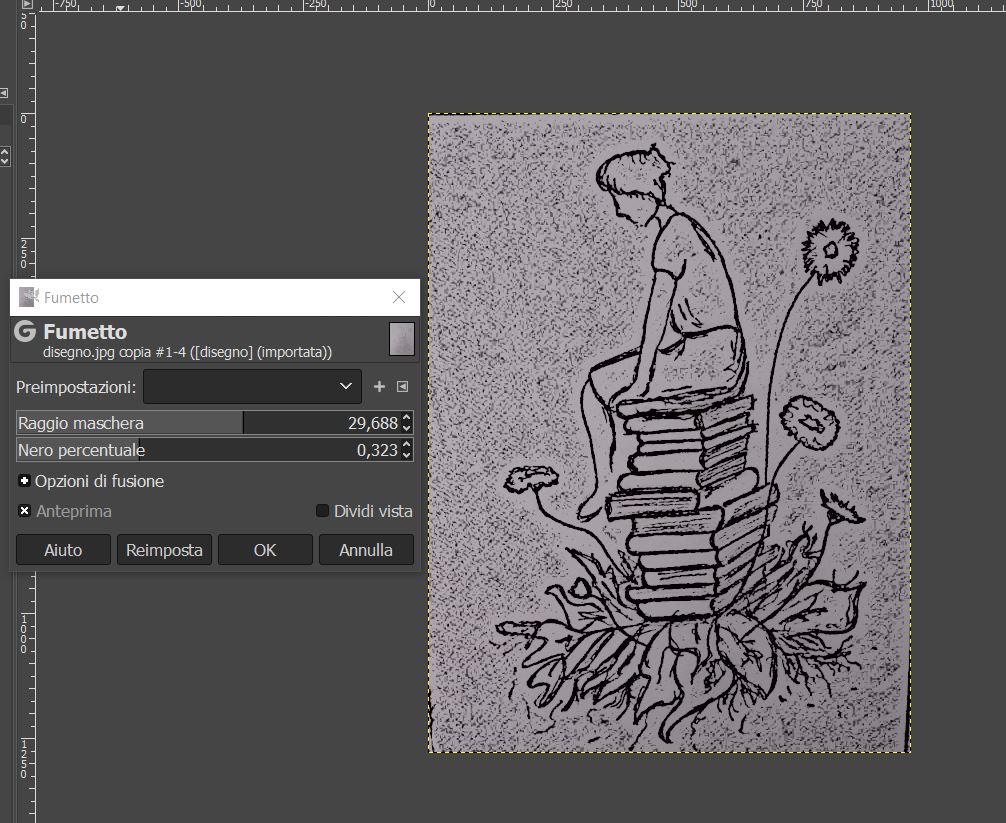
Then GIMP! This time I want to see how far I could optimize and improve the resolution using light tools and artistic effects using a draw I made. The quality of the starting images was really low and that helped me in seeing the “before-and-after” difference to evaluate the level of results one can obtain just having a basic knowledge of the software.
Just editing light features with commands in “Colors” menu (Color balance, Brightness-contrast, Levels), I obtained this result:


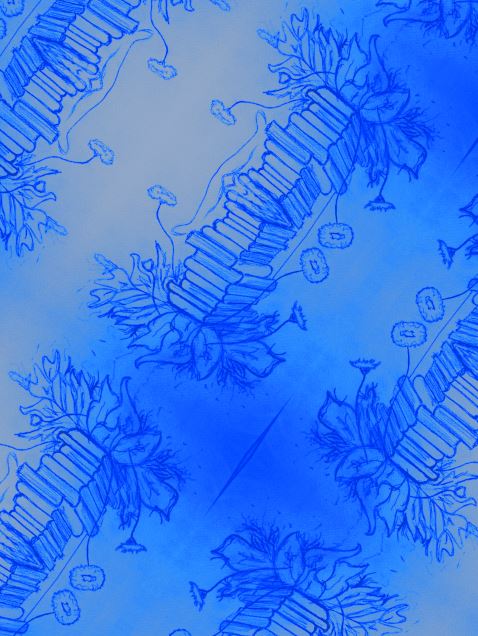
I then wanted to play a bit with artistic effects but to maintain my previous result, I copied the level (from Levels command bar, usually in the right of the page) and I tried different effects: filtri > artistici > Fumetto
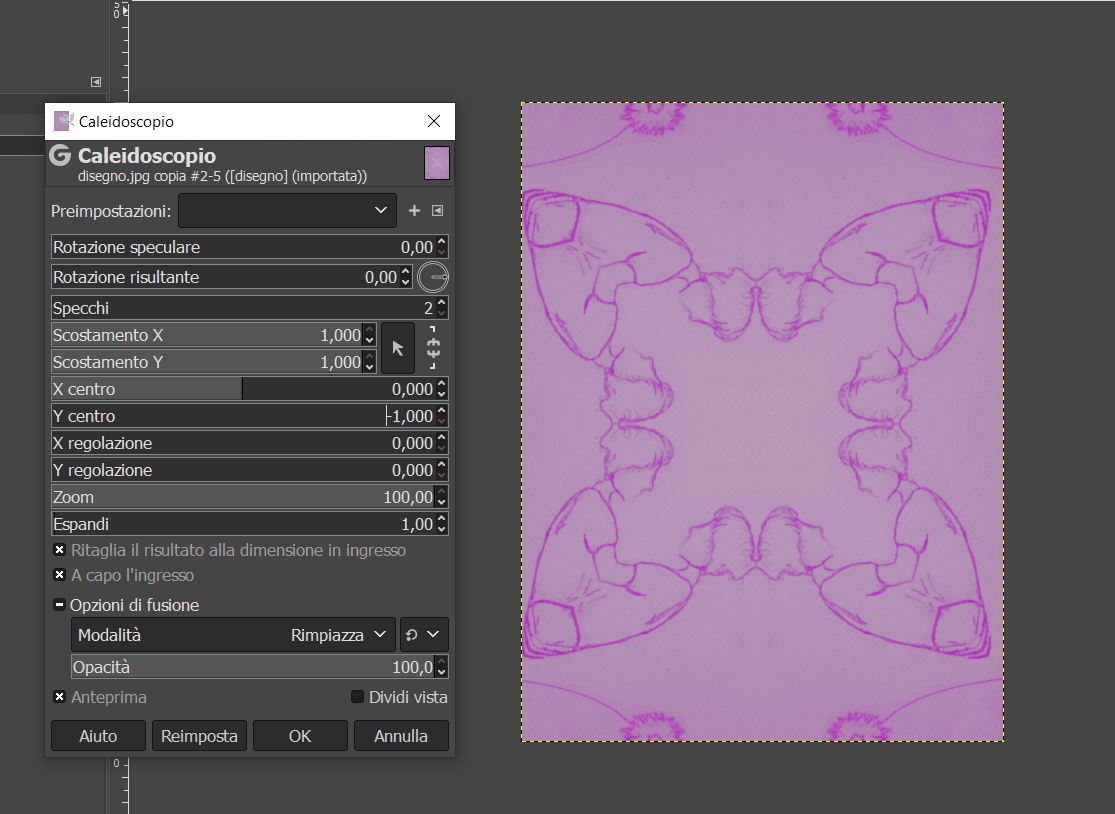
I then combined the “Fumetto” effect with the “Effetto luce” and this was the result:

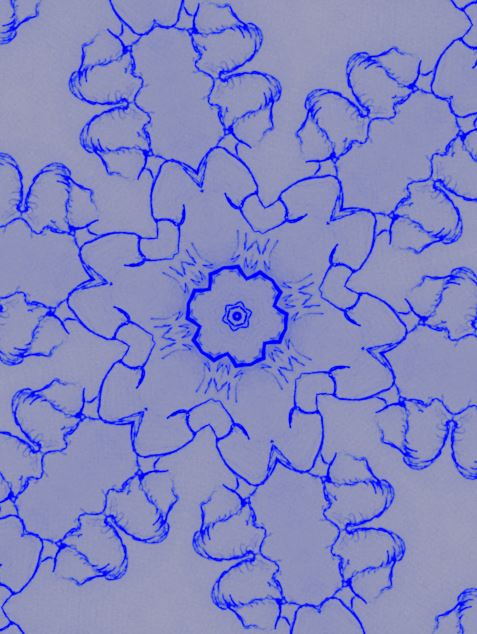
At the end, I had fun using the Artistic effect “Caleidoscopio”. This are some of the changes I did at my drawing:
3D MODELLING
I’m totally new at this so I decided to start from the basis and learn how to use Fusion 360. I used some (tutorials)[https://www.youtube.com/watch?v=A5bc9c3S12g] for beginners and I tried to replicate some of the example that the tutorials showed me.
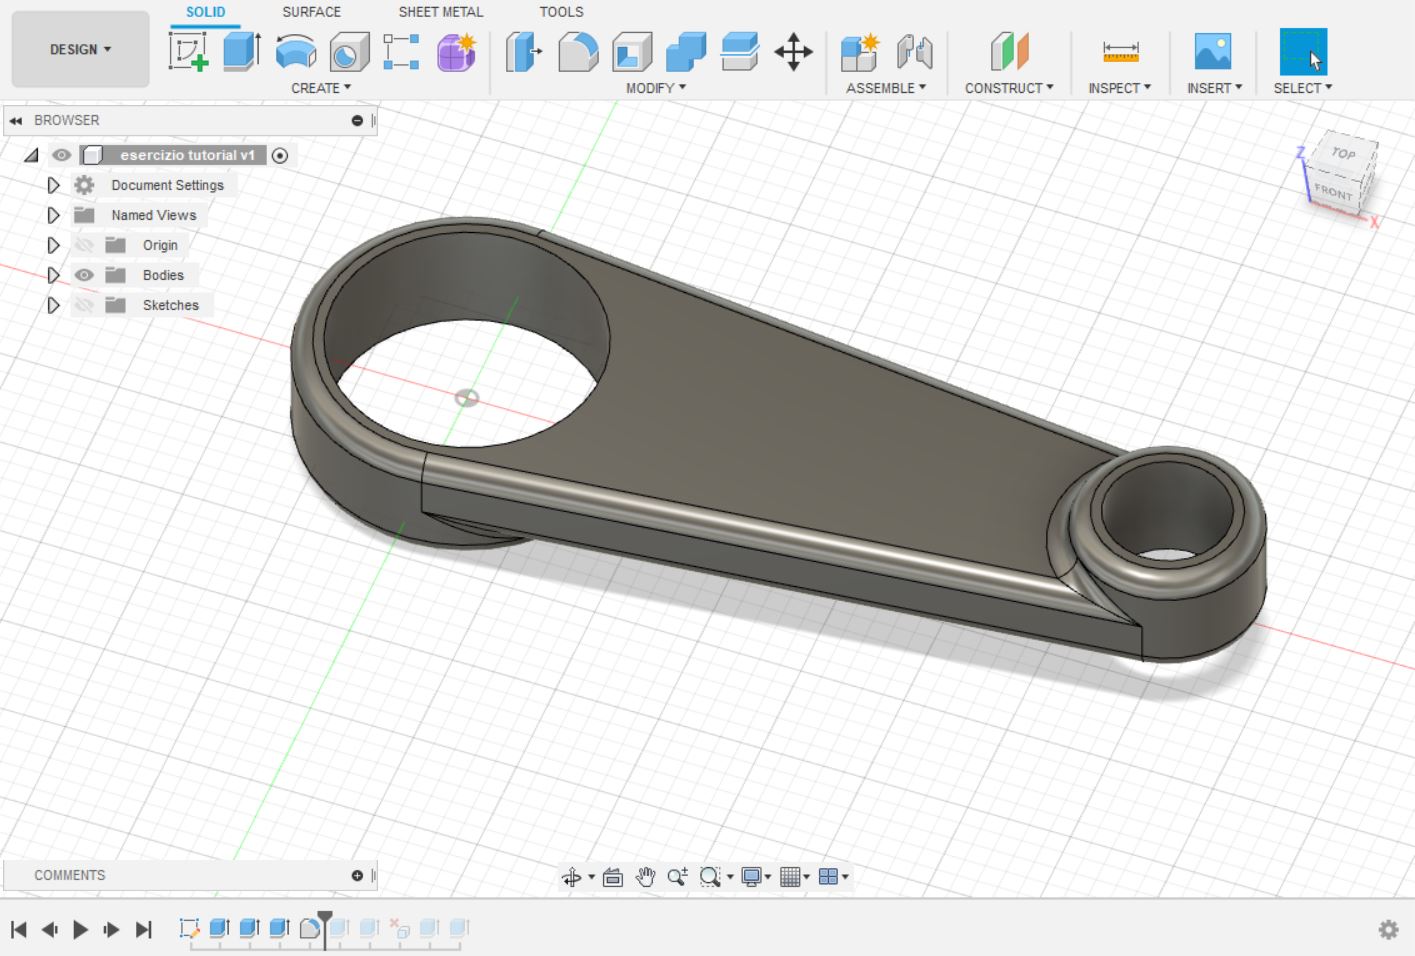
My first attempt was with this mechanical tool:
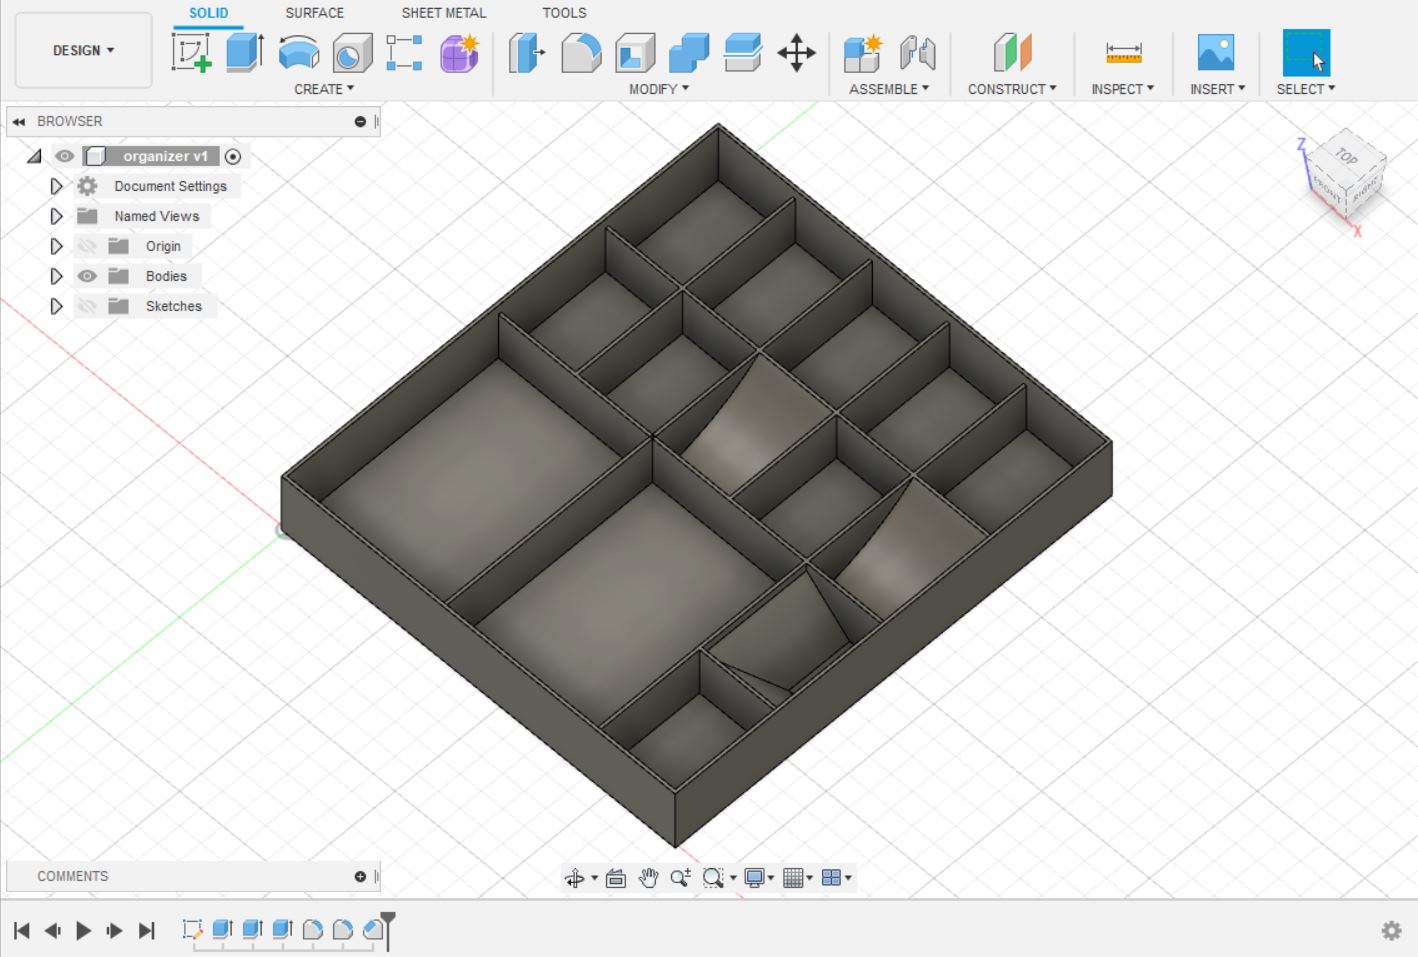
The second was with this space-saver container:
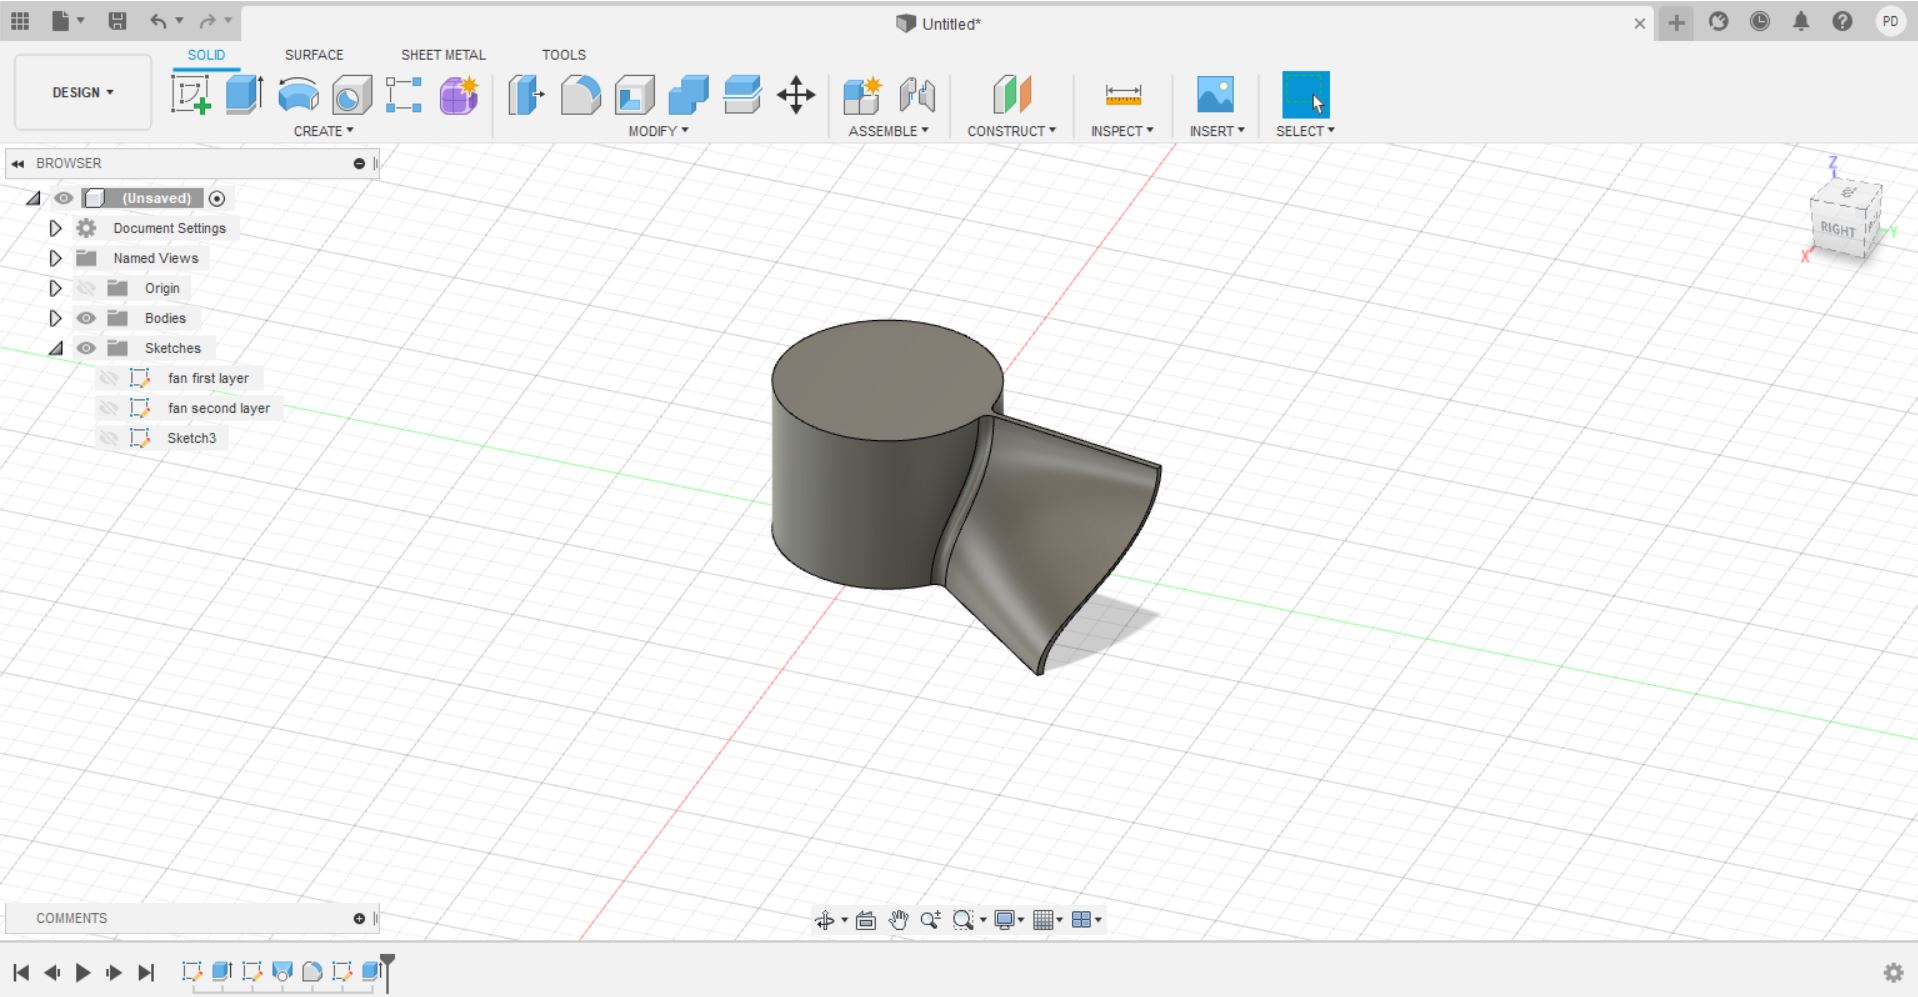
But at the end I tried to focus my work on something that could be useful in my final project, so I tried to build a fan.
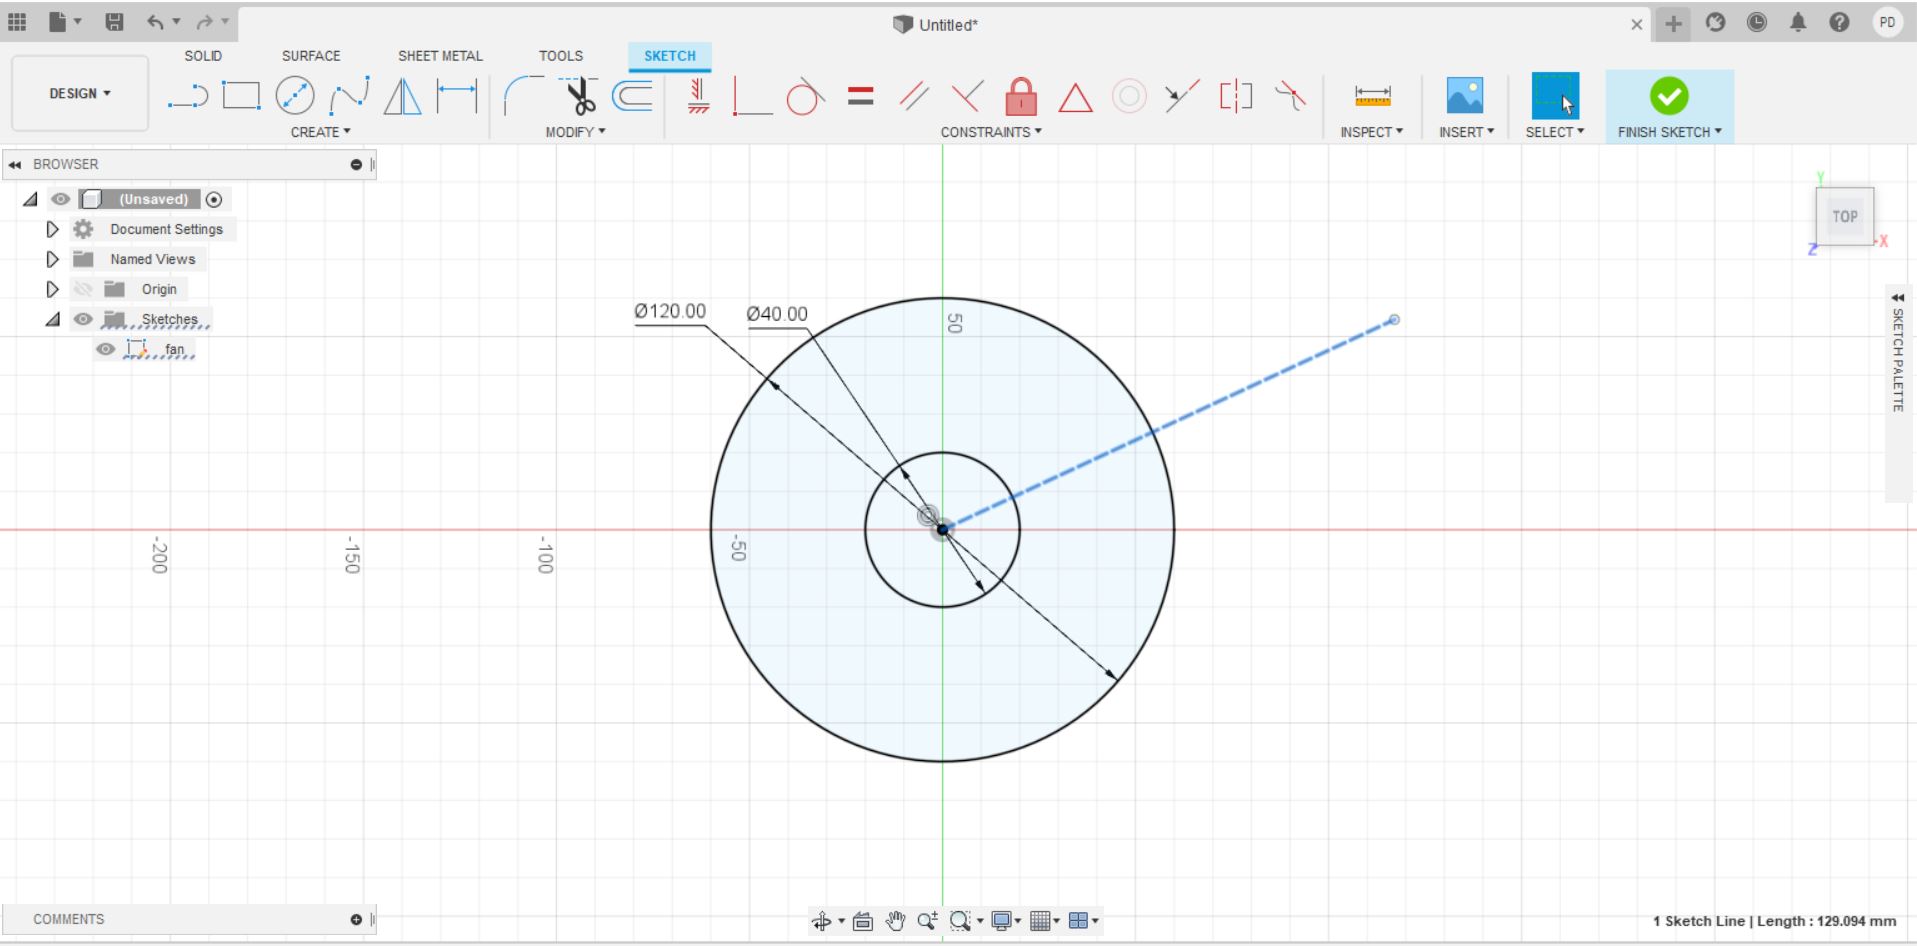
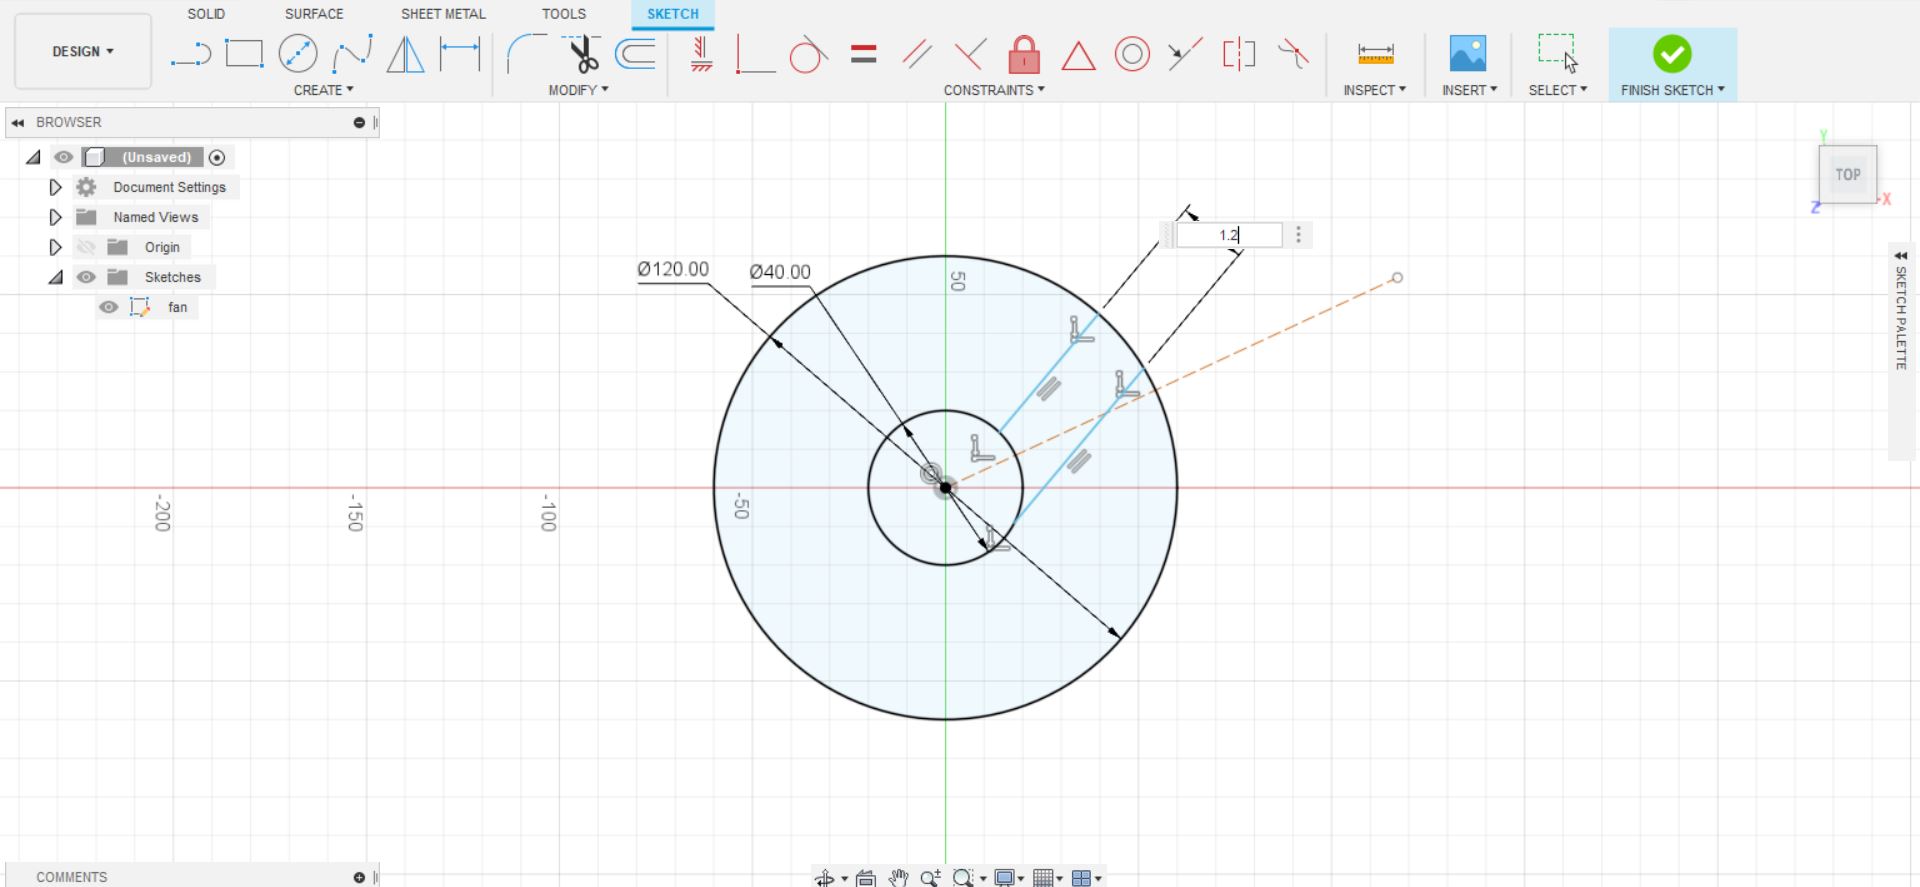
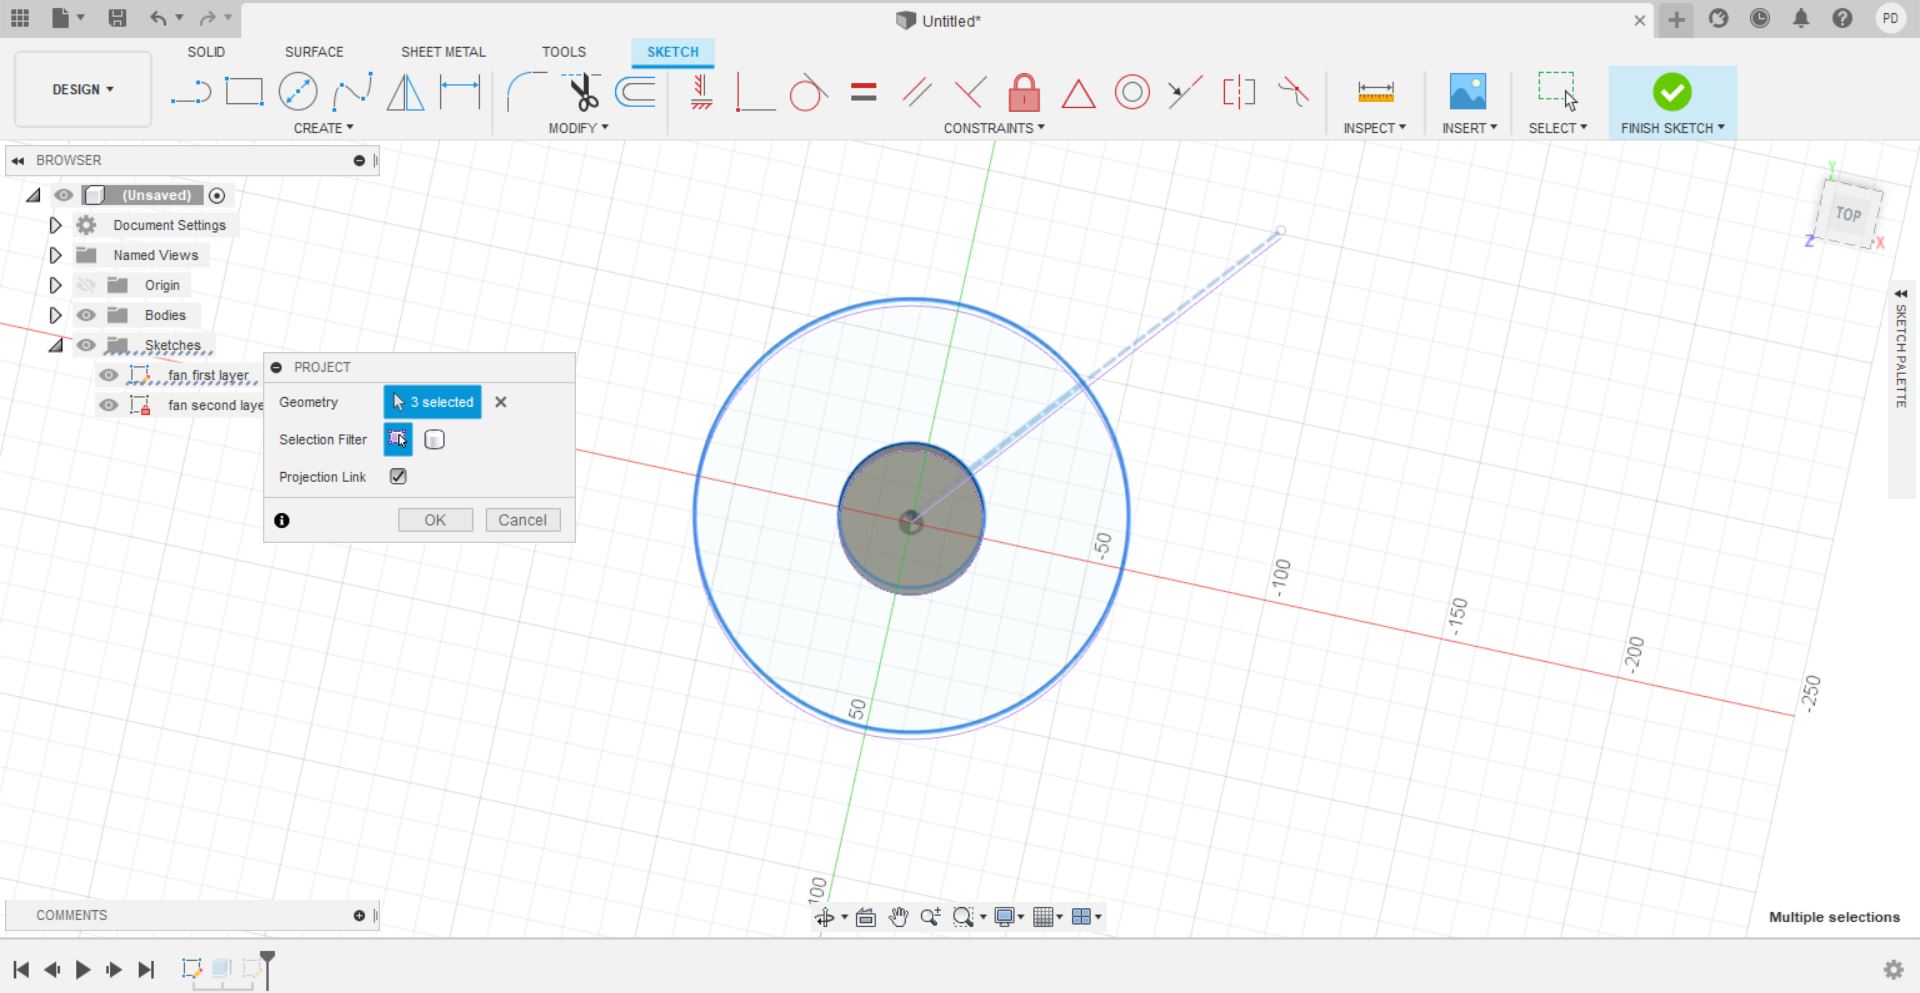
I started by drawing two circles constrained to the origin. Then I drew a construction line from the origin and two lines inside the larger circle. I made several constraints on the two lines. First I made them parallel and then symmetrical to the construction line.
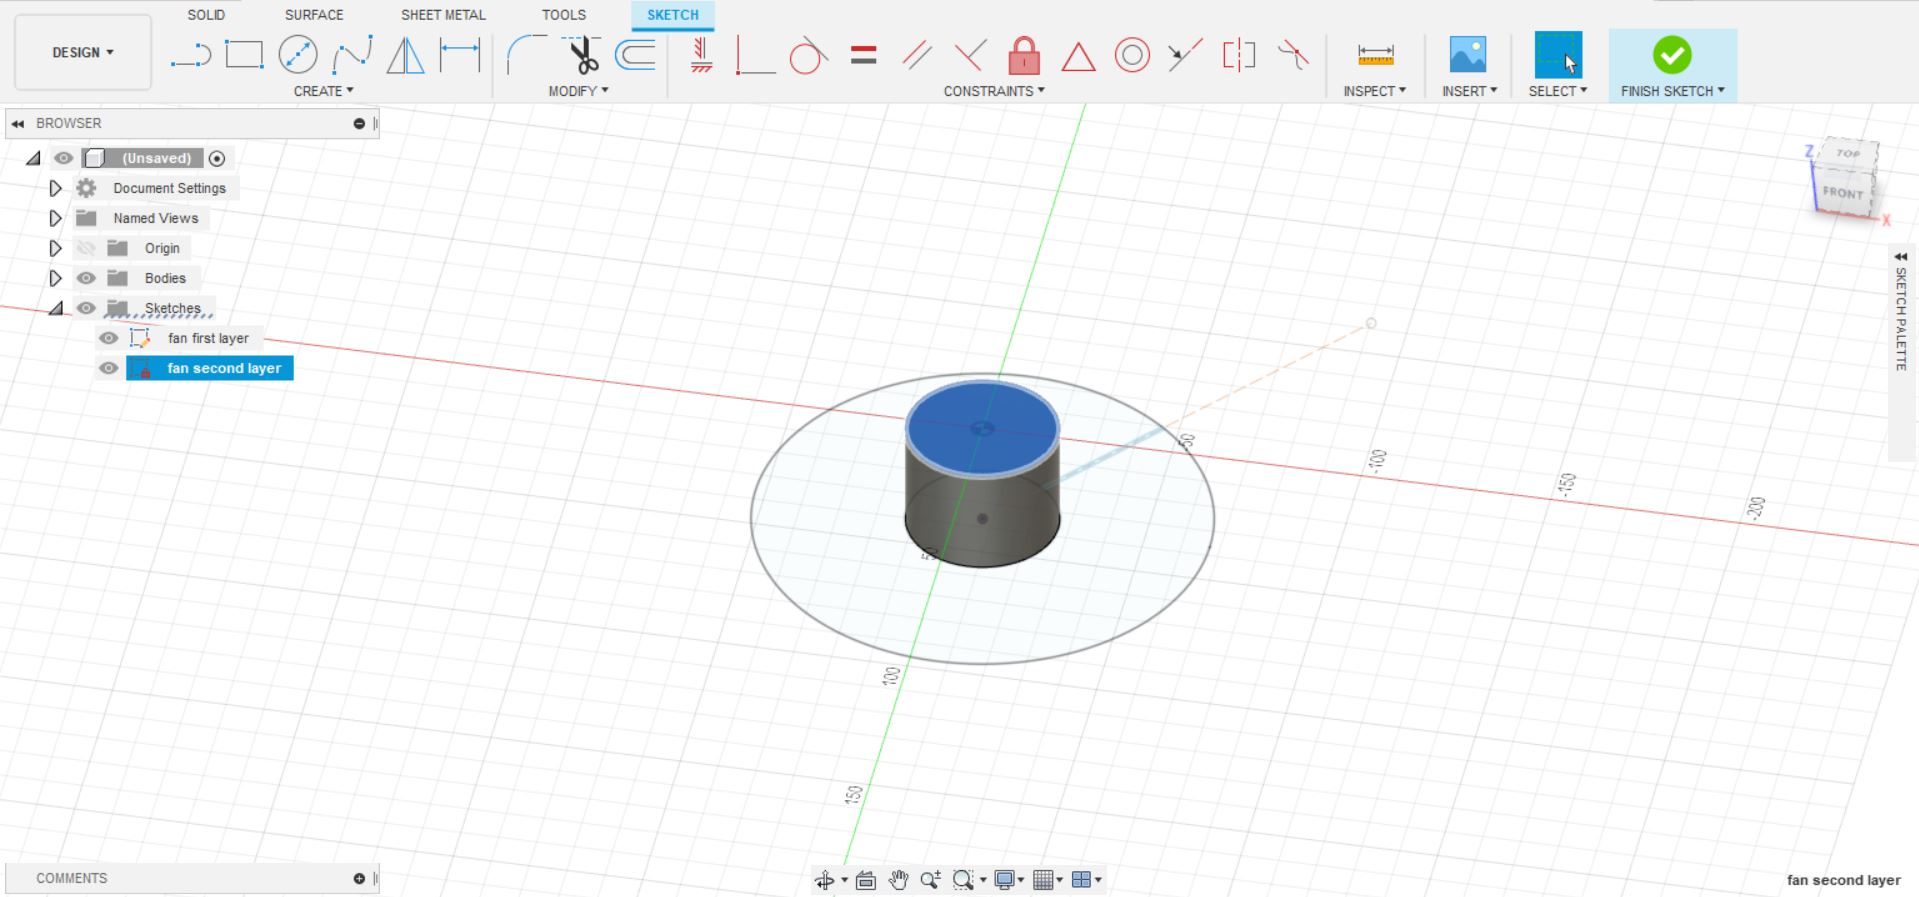
I then extruded the smaller circle to give thickness to the fan
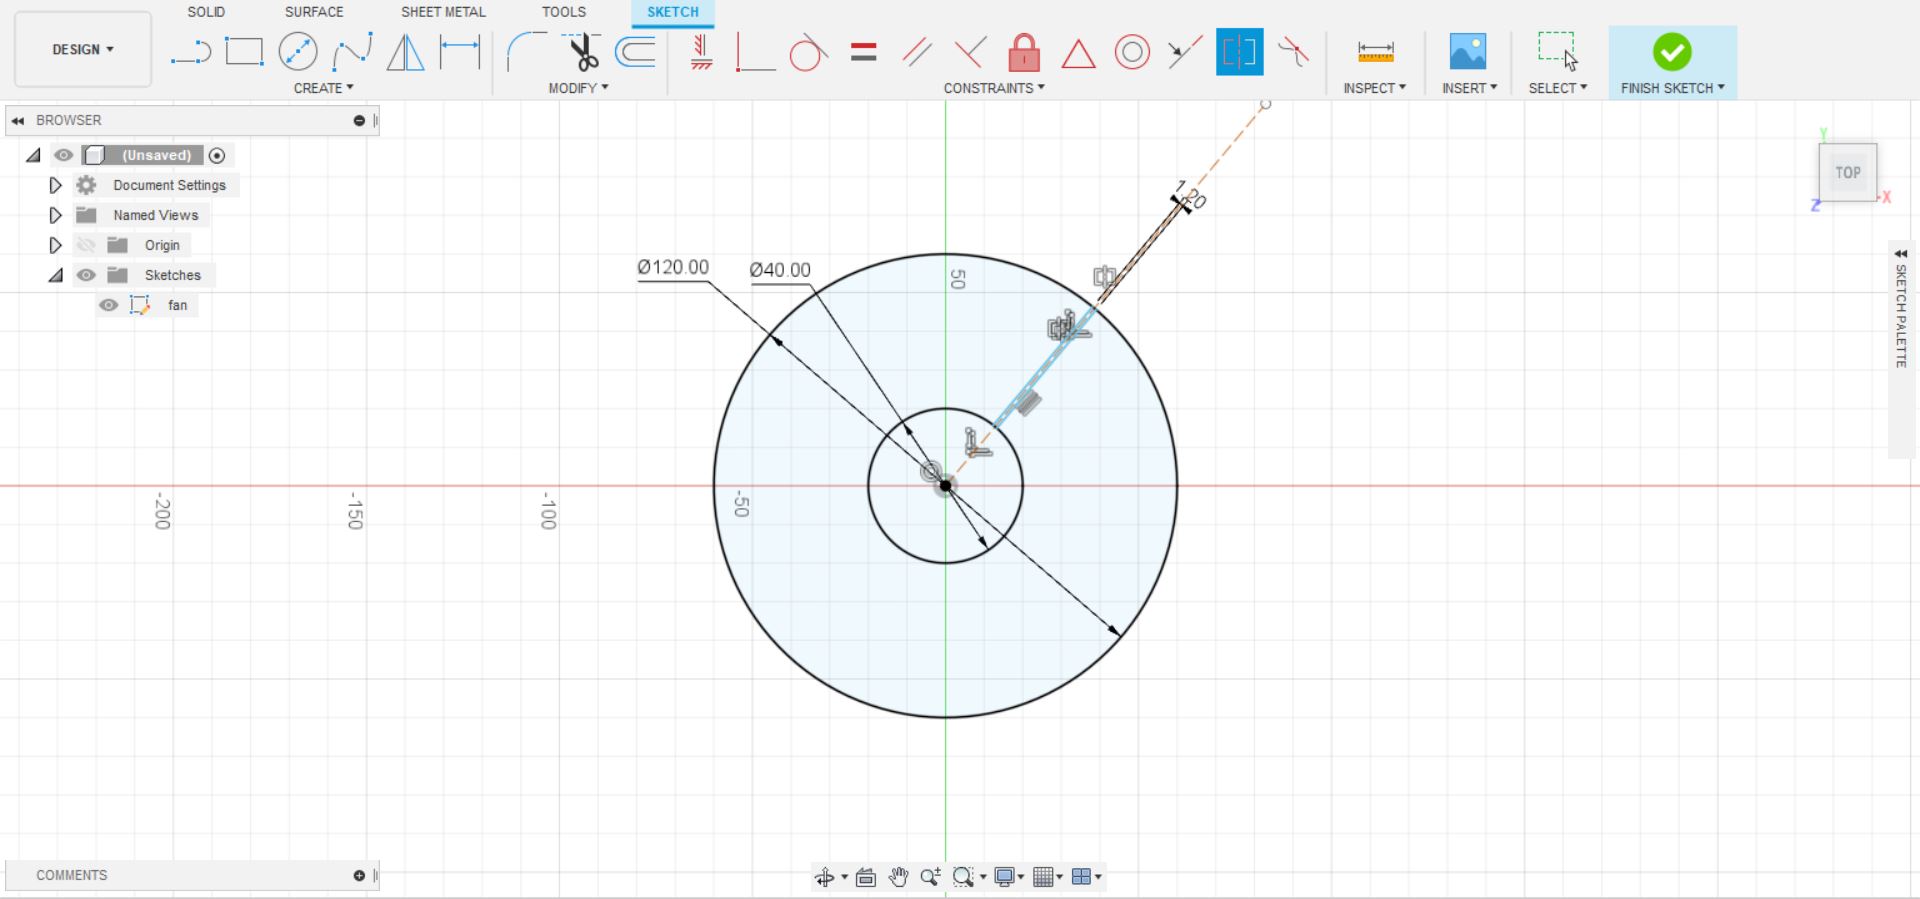
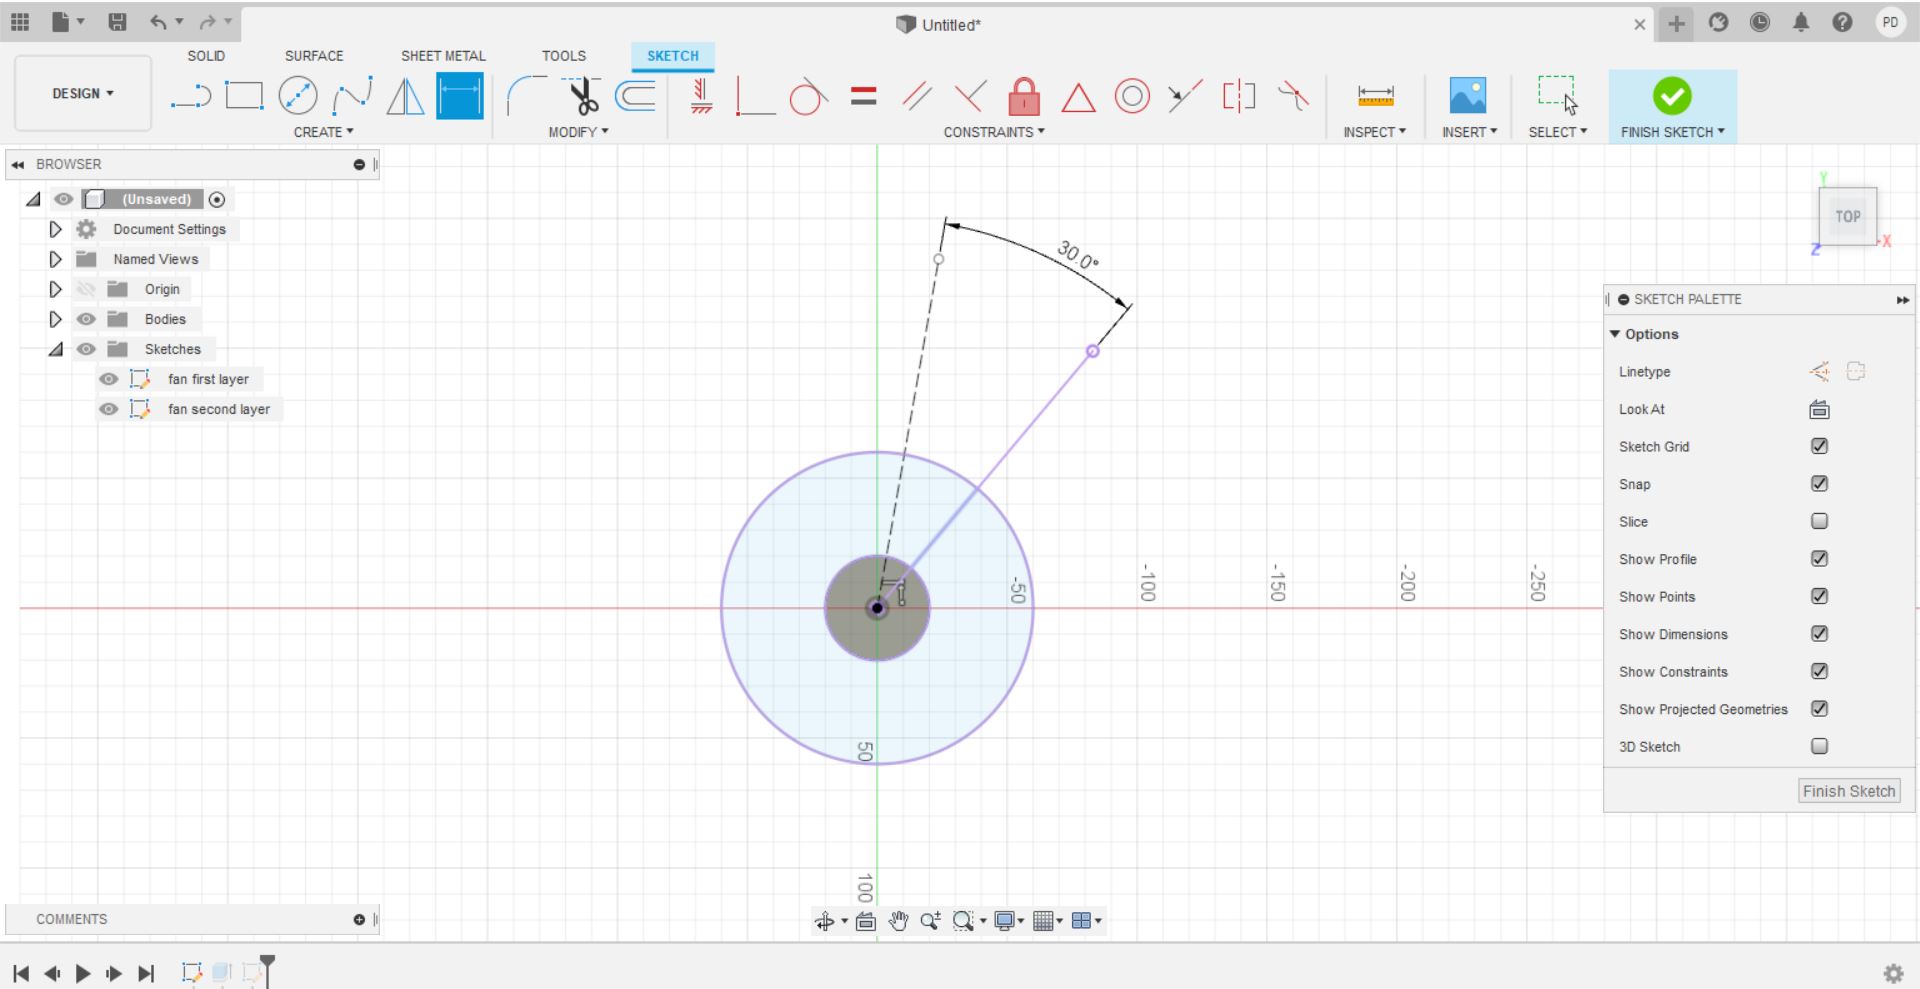
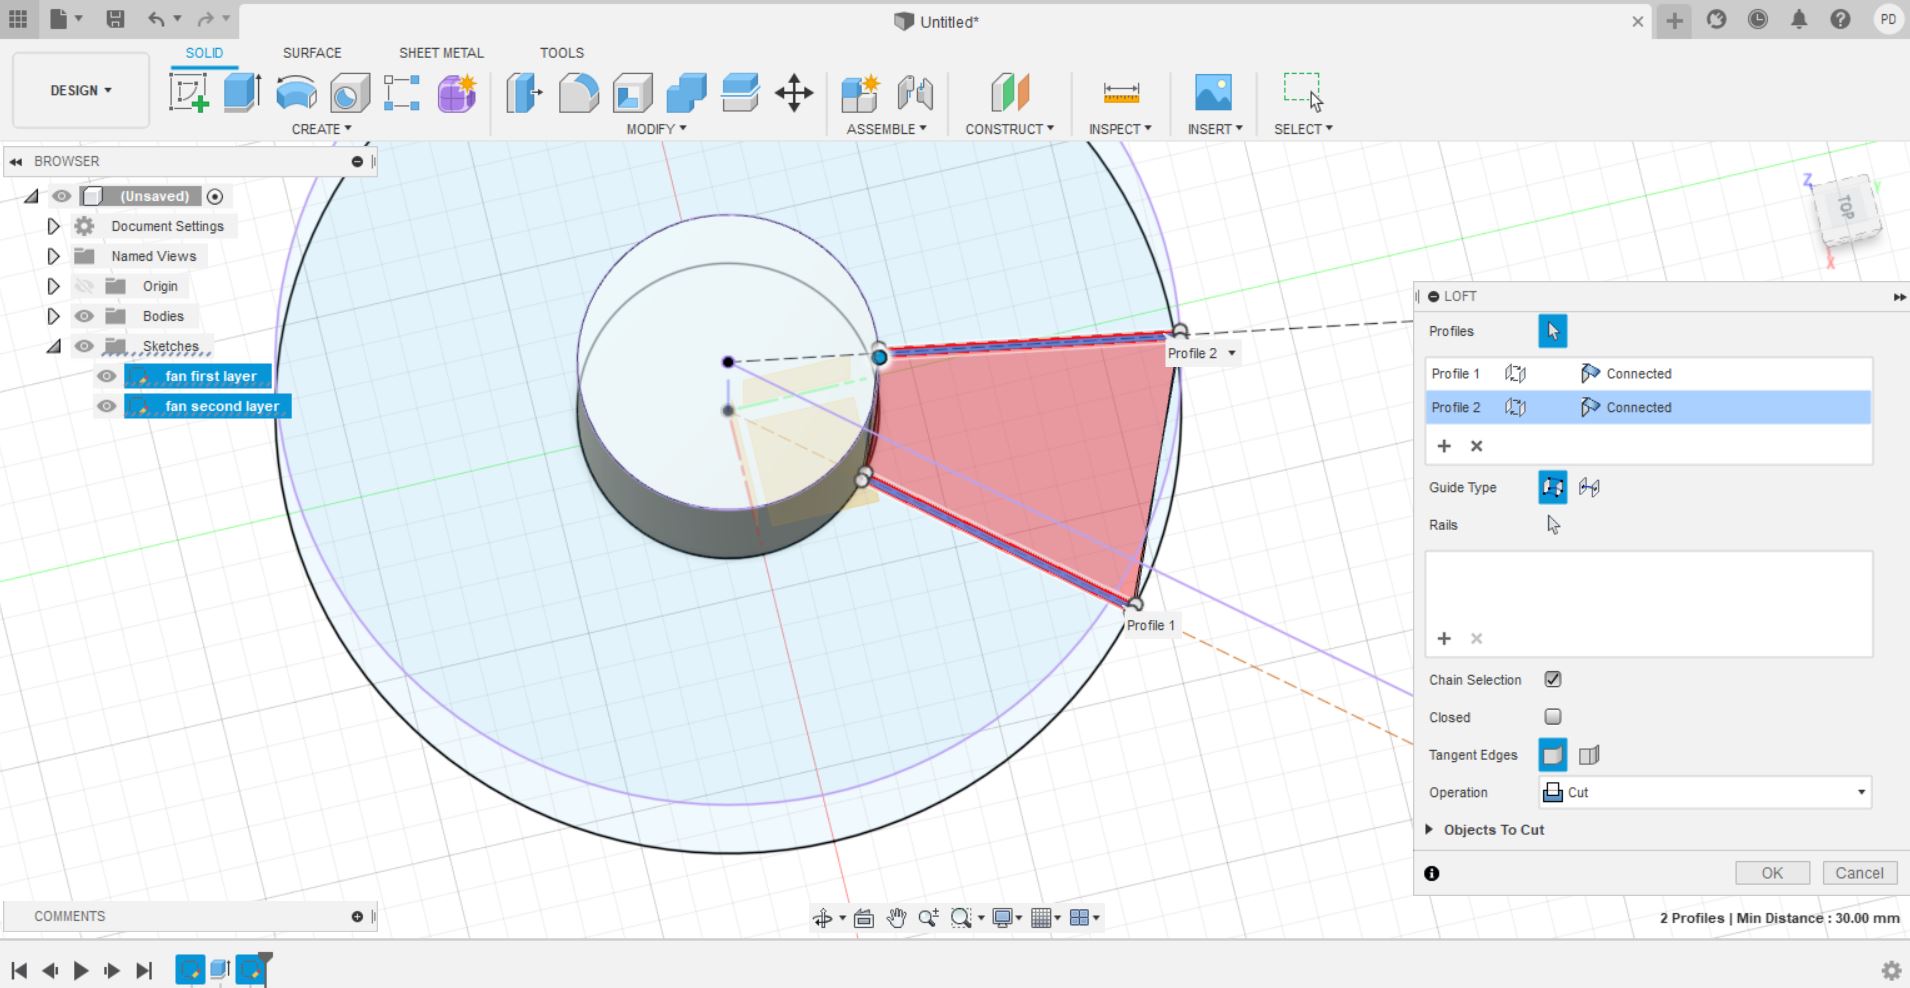
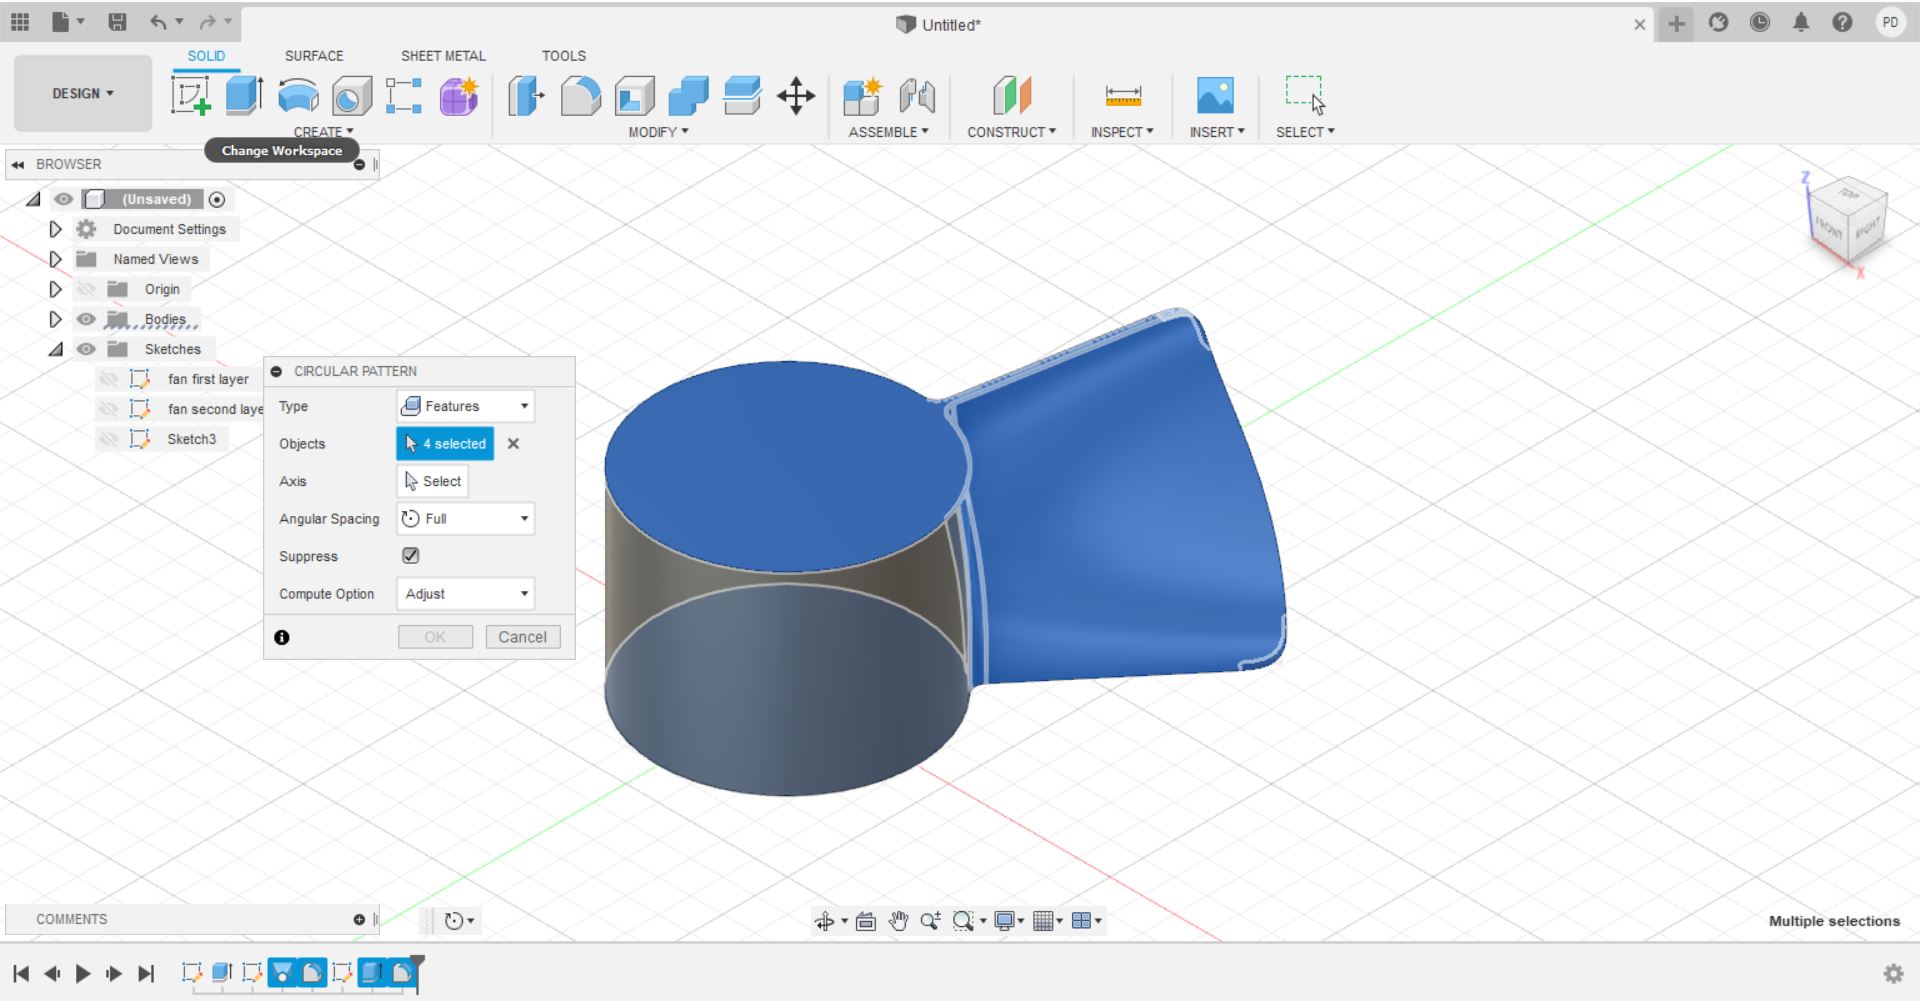
After this step I created a new layer on the circle to replicate the lower sketch in a new layer and start creating the first blade. I then rebuilt a new construction line and created a 30° angle between the first construction line and the second. Too large a radius would create problems in the subsequent printing of the object.
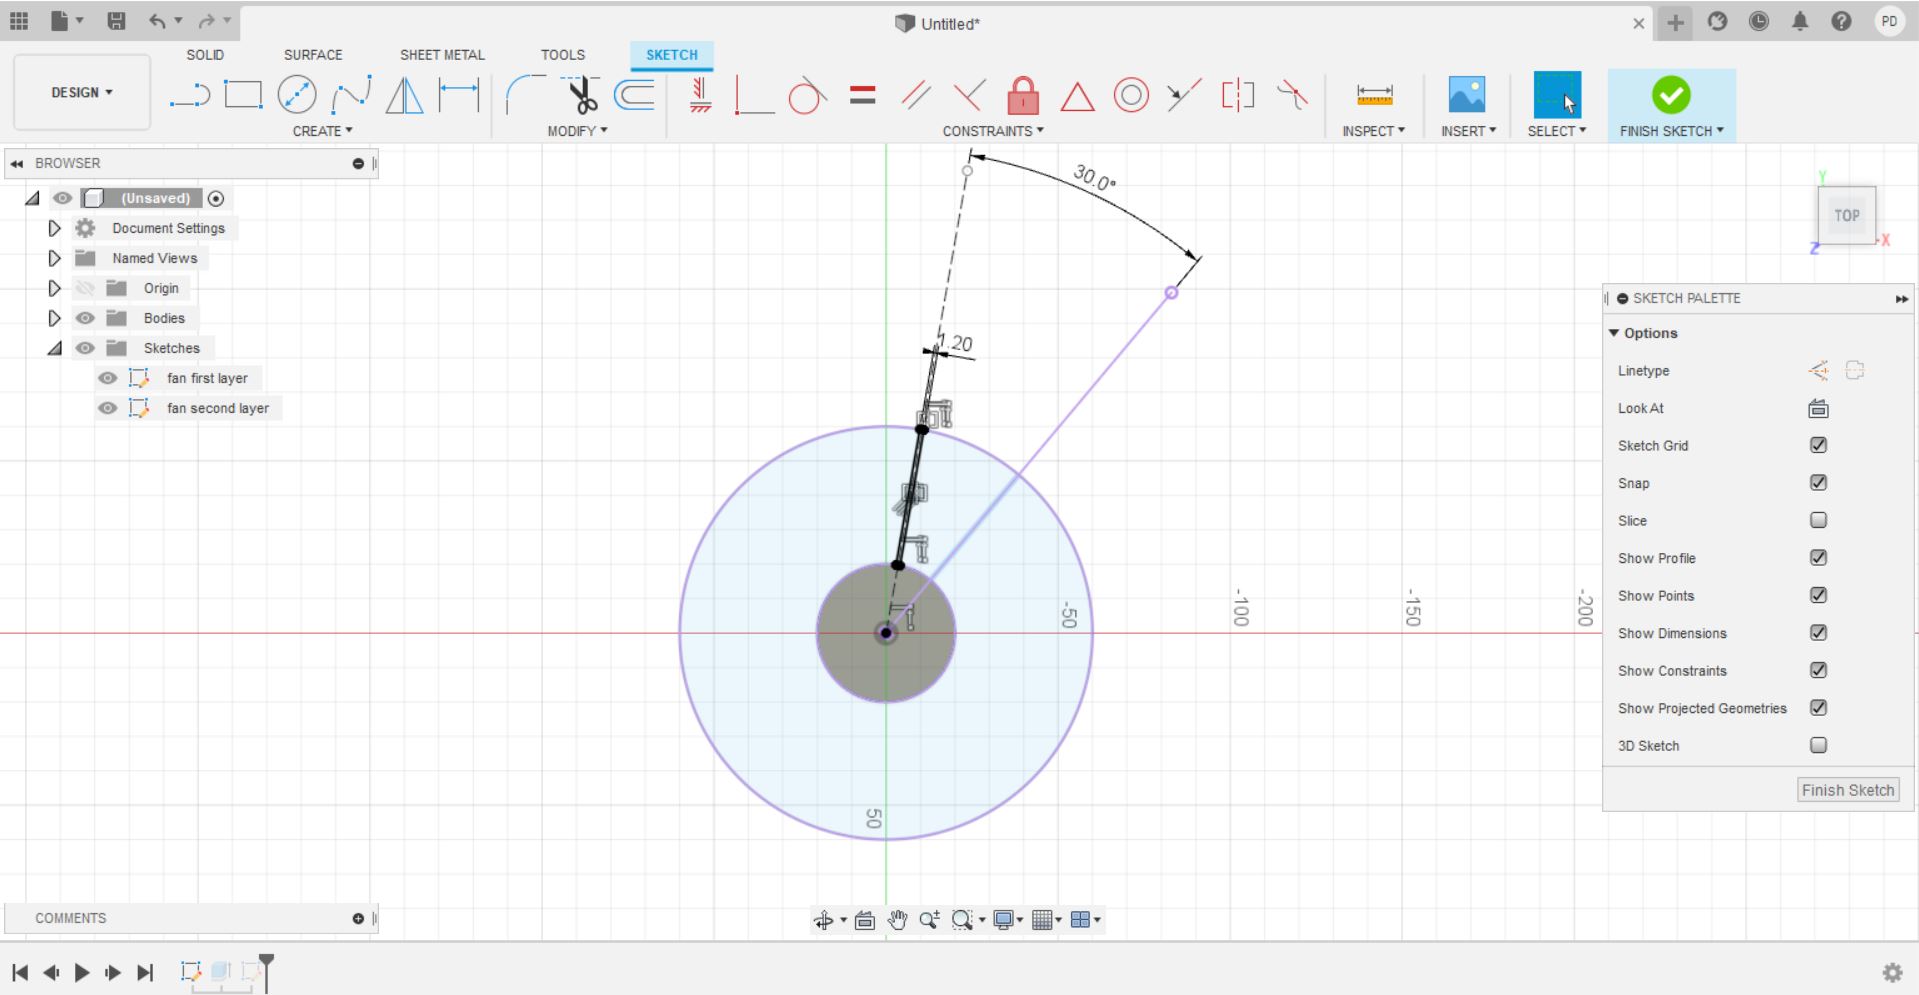
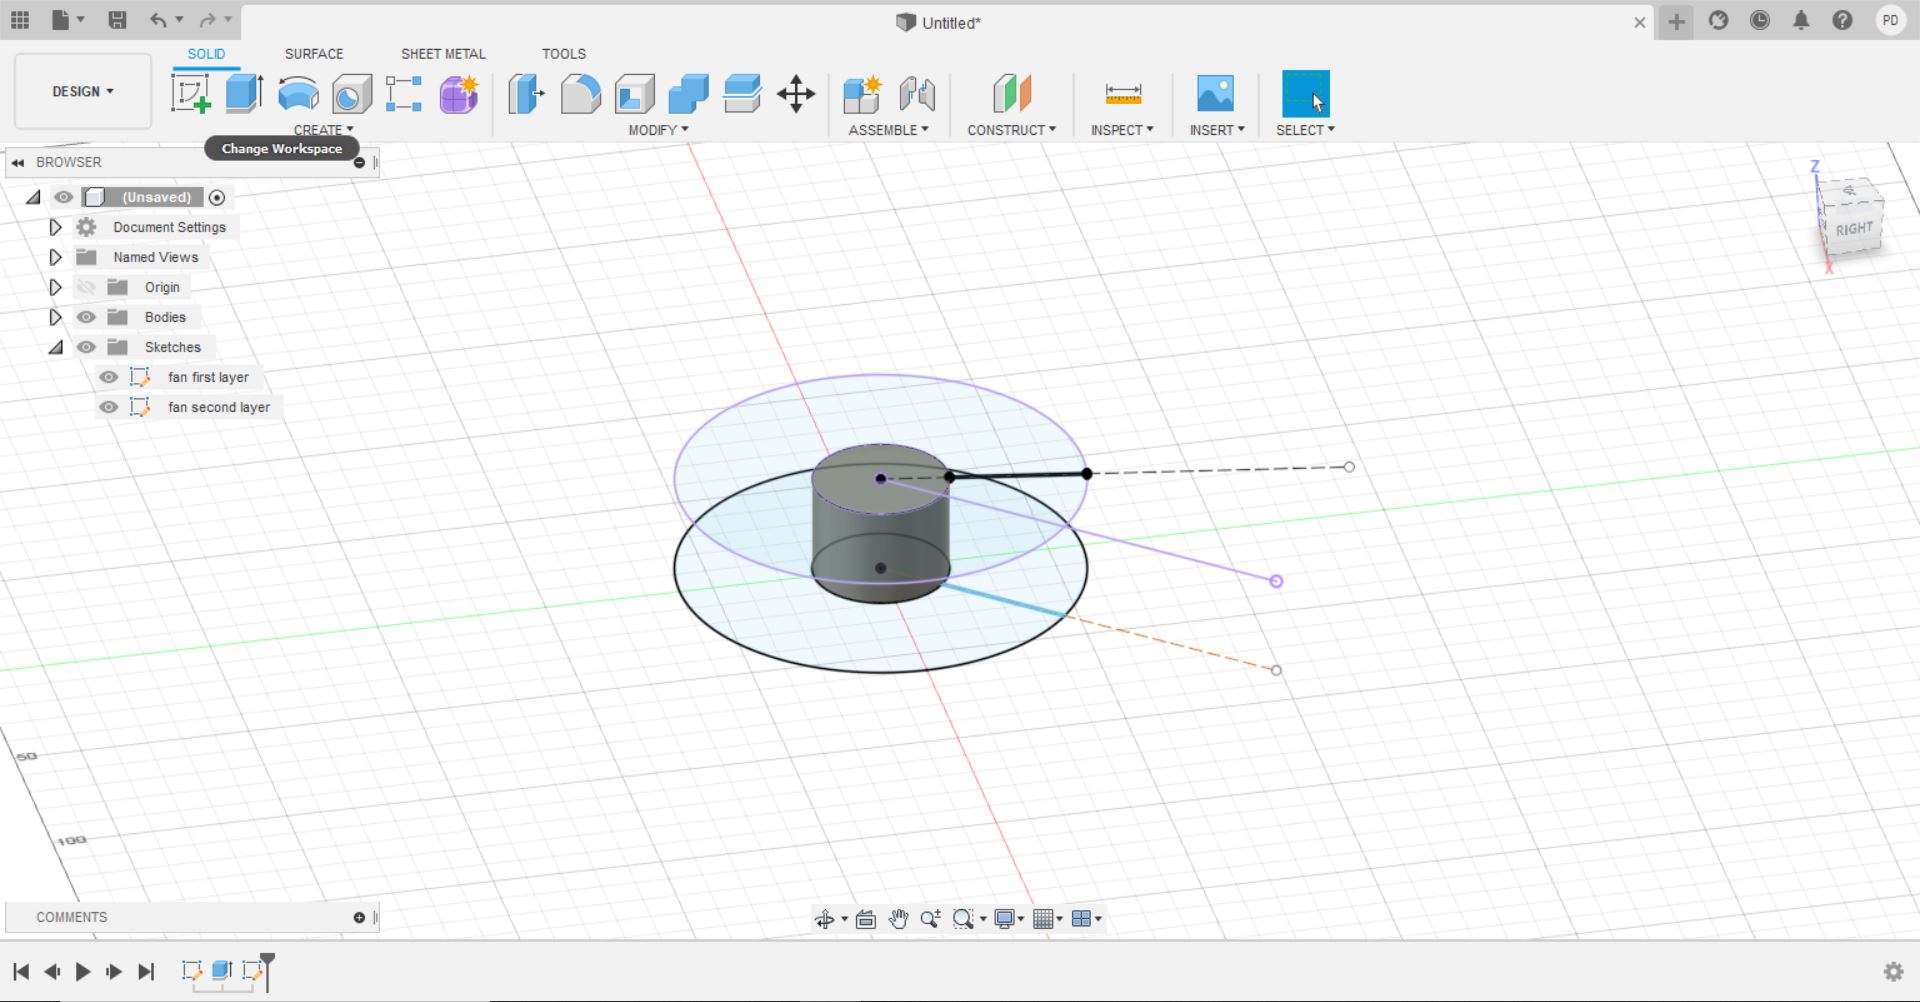
After recreating the same design on the second layer, I used the loft command (selecting the symmetrical lines of the two layers) to join the two profiles.
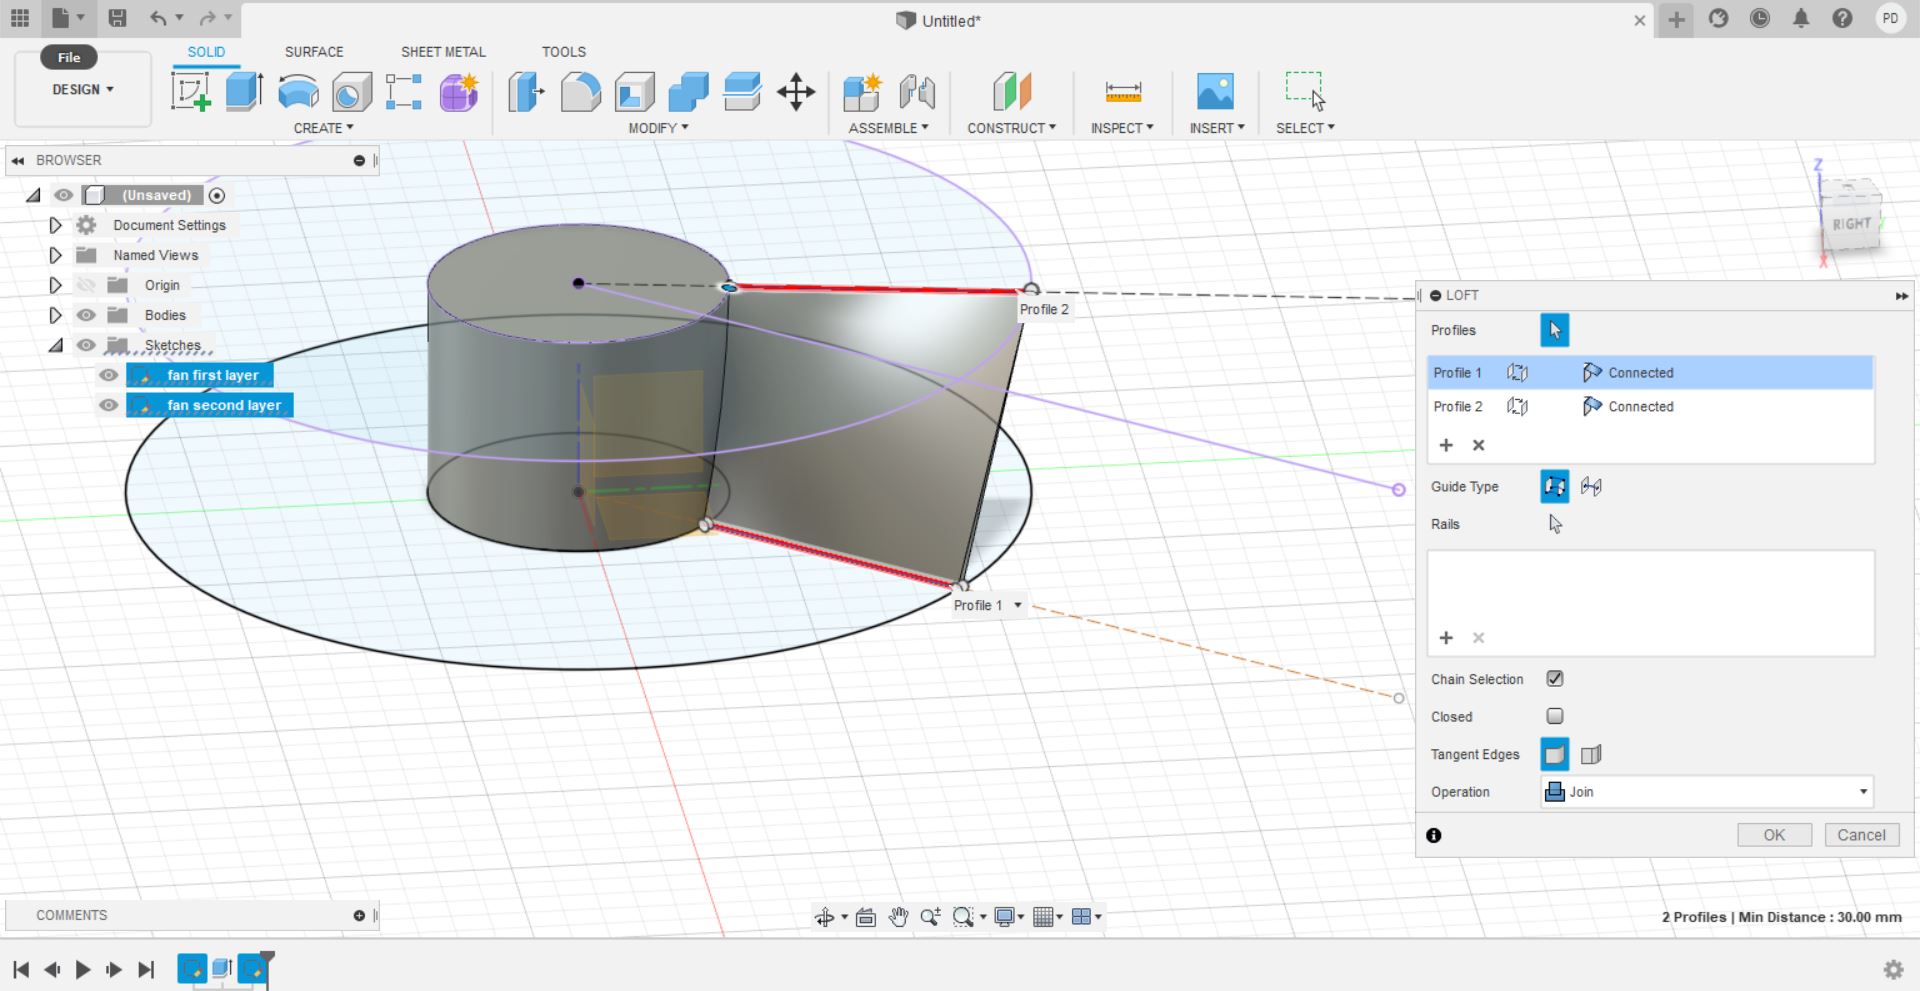
At this point Fusion automatically activates the Cut command. Changing this in Join and selecting connected –> direction I was able to make the design follow the blade.

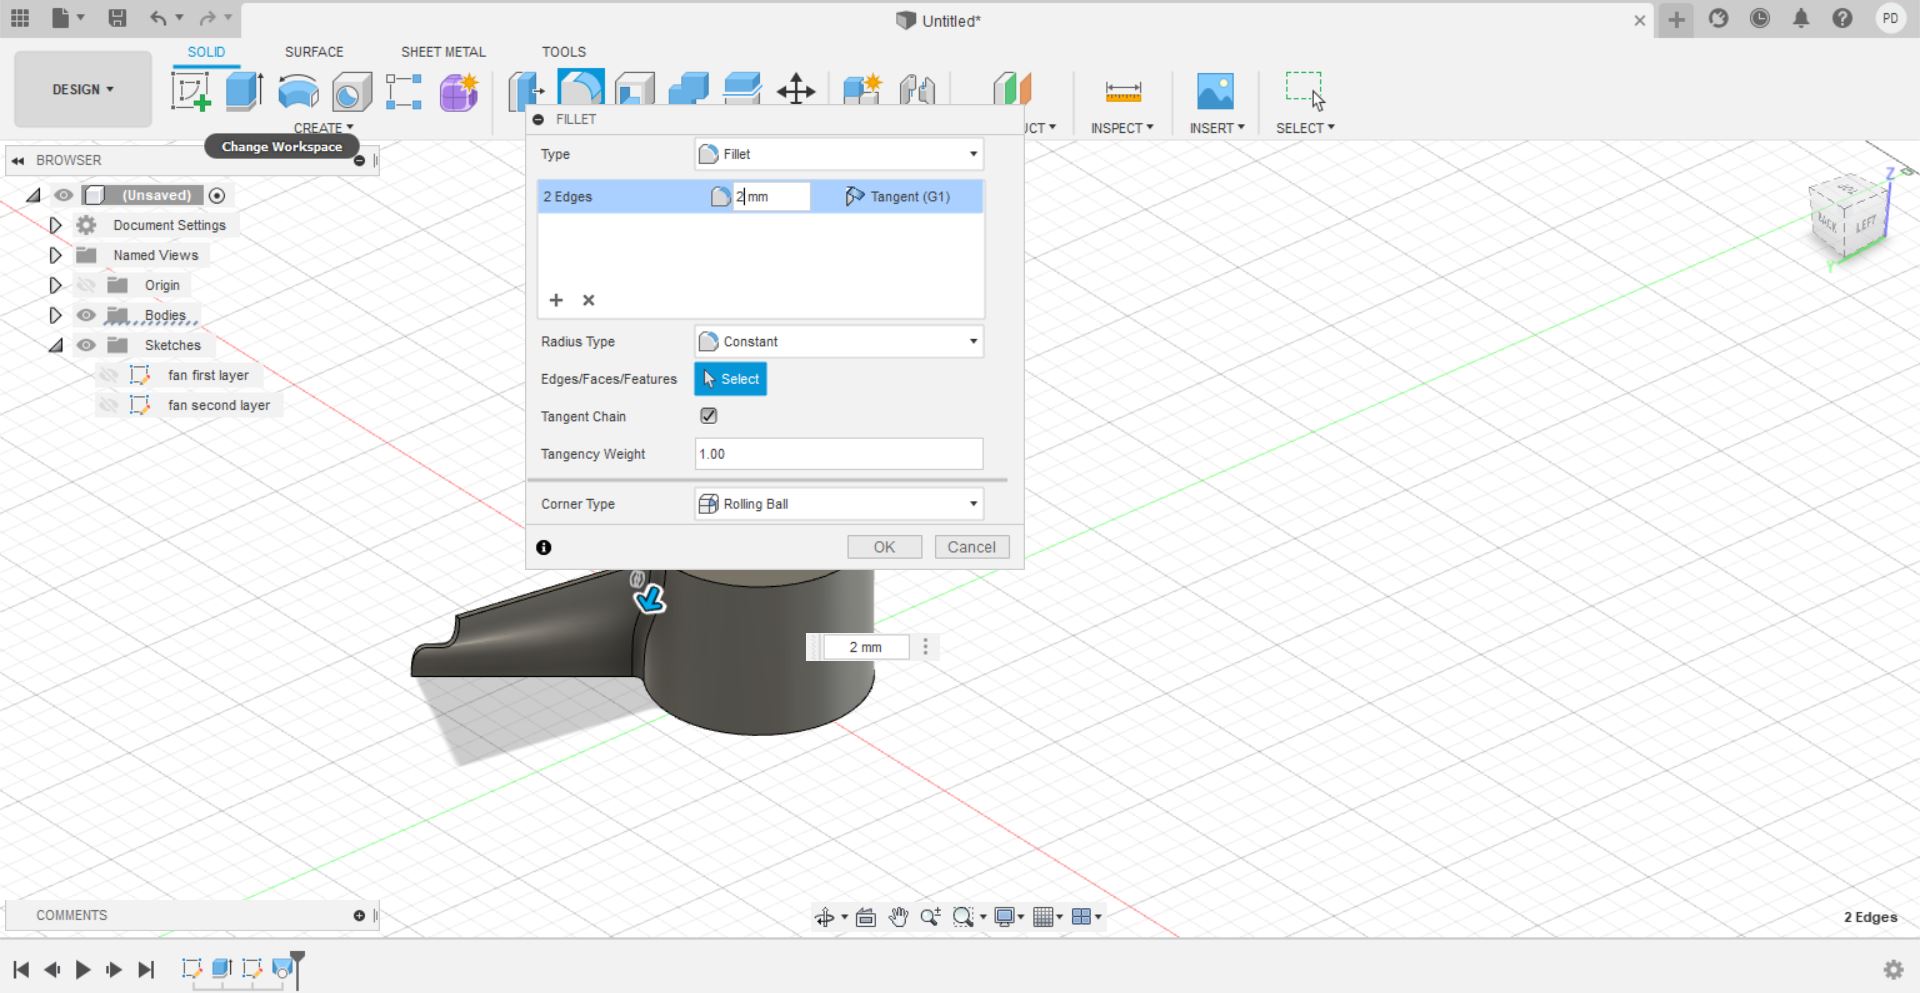
Then I went to reinforce the fillet to give the blade more resistance.
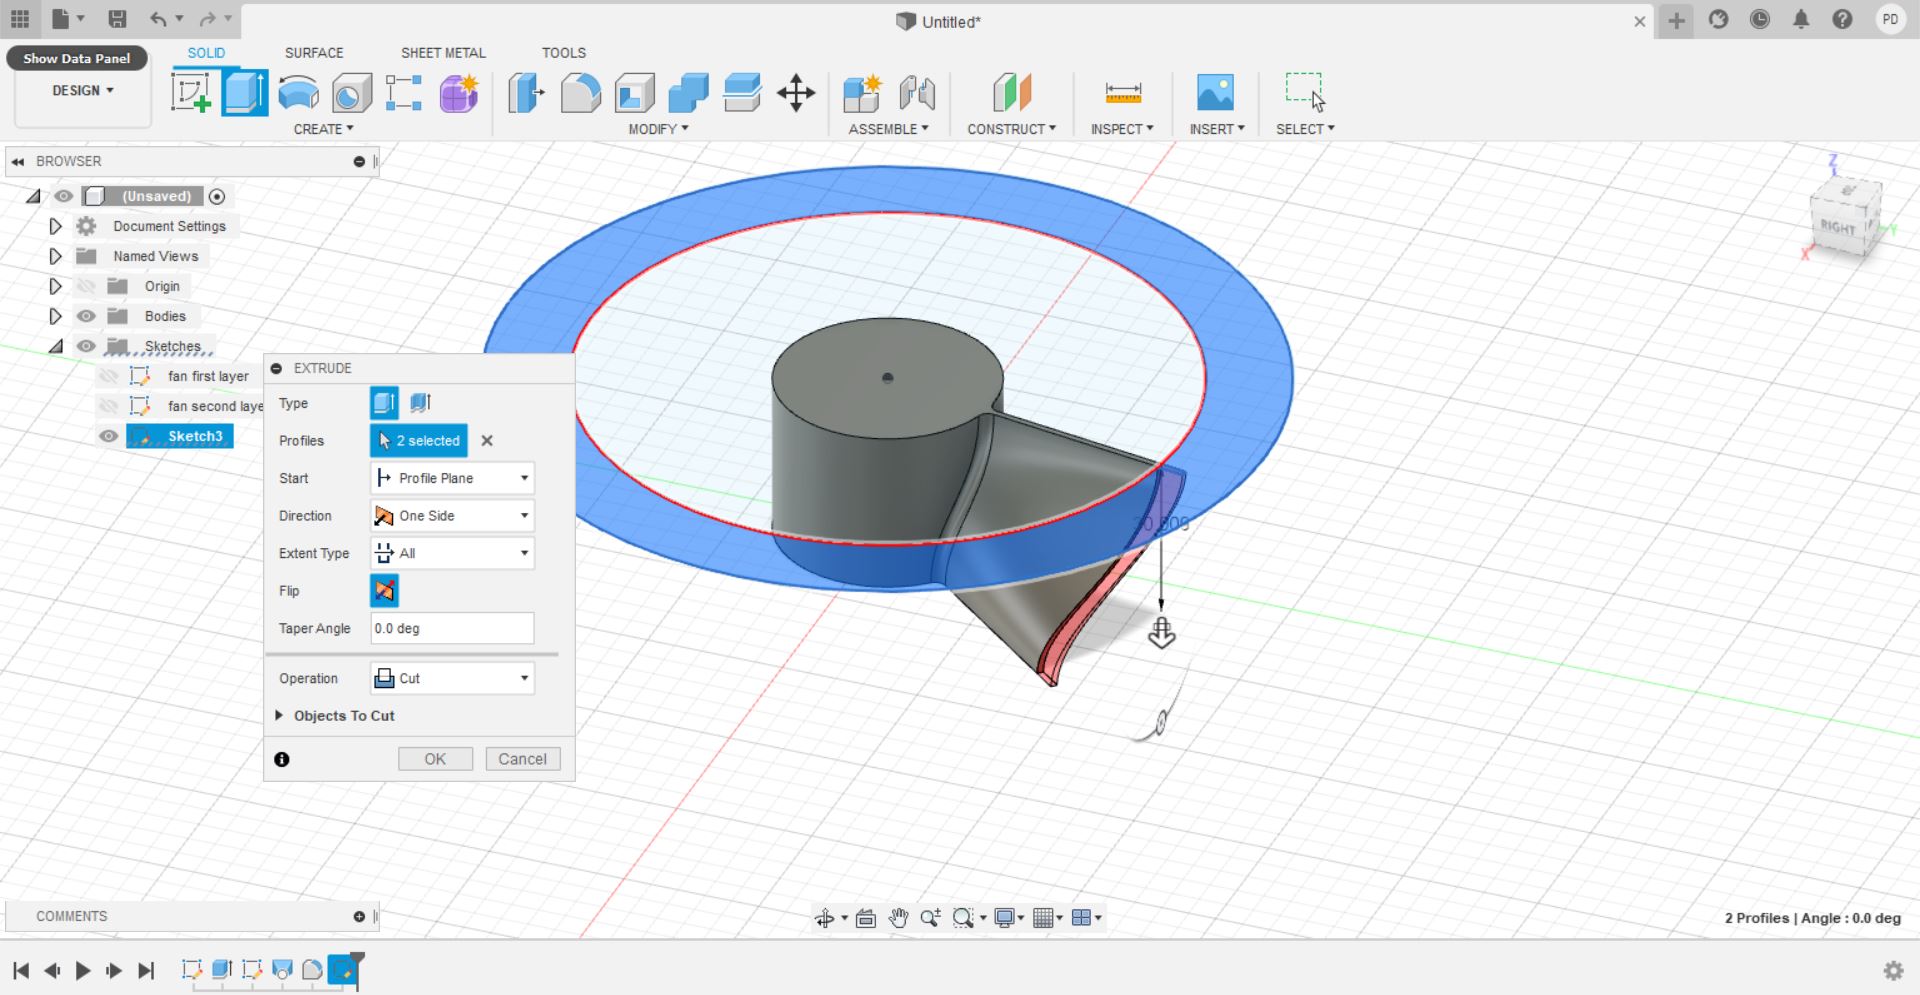
To make the outer edge of the blade rounded, I created a new layer with a larger circle so that I could extrude it downwards and cut the blade rounding it. Next I used fillet to round the corners.

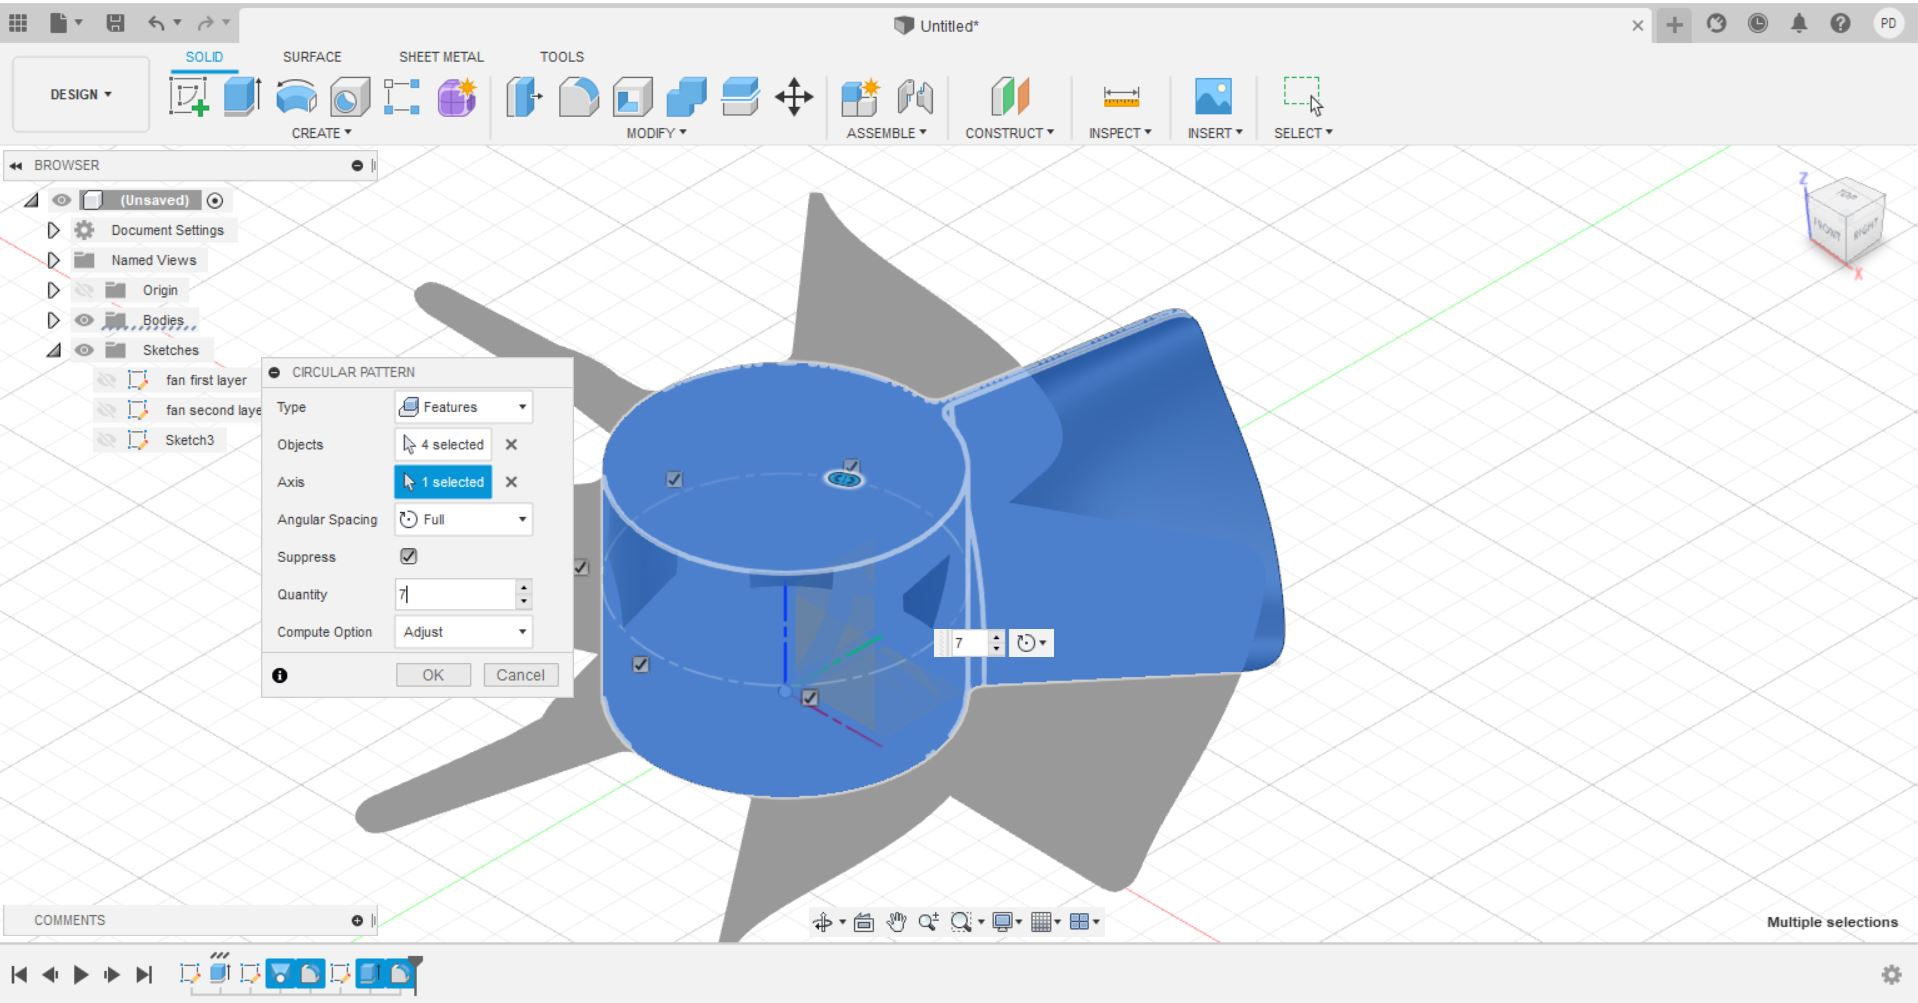
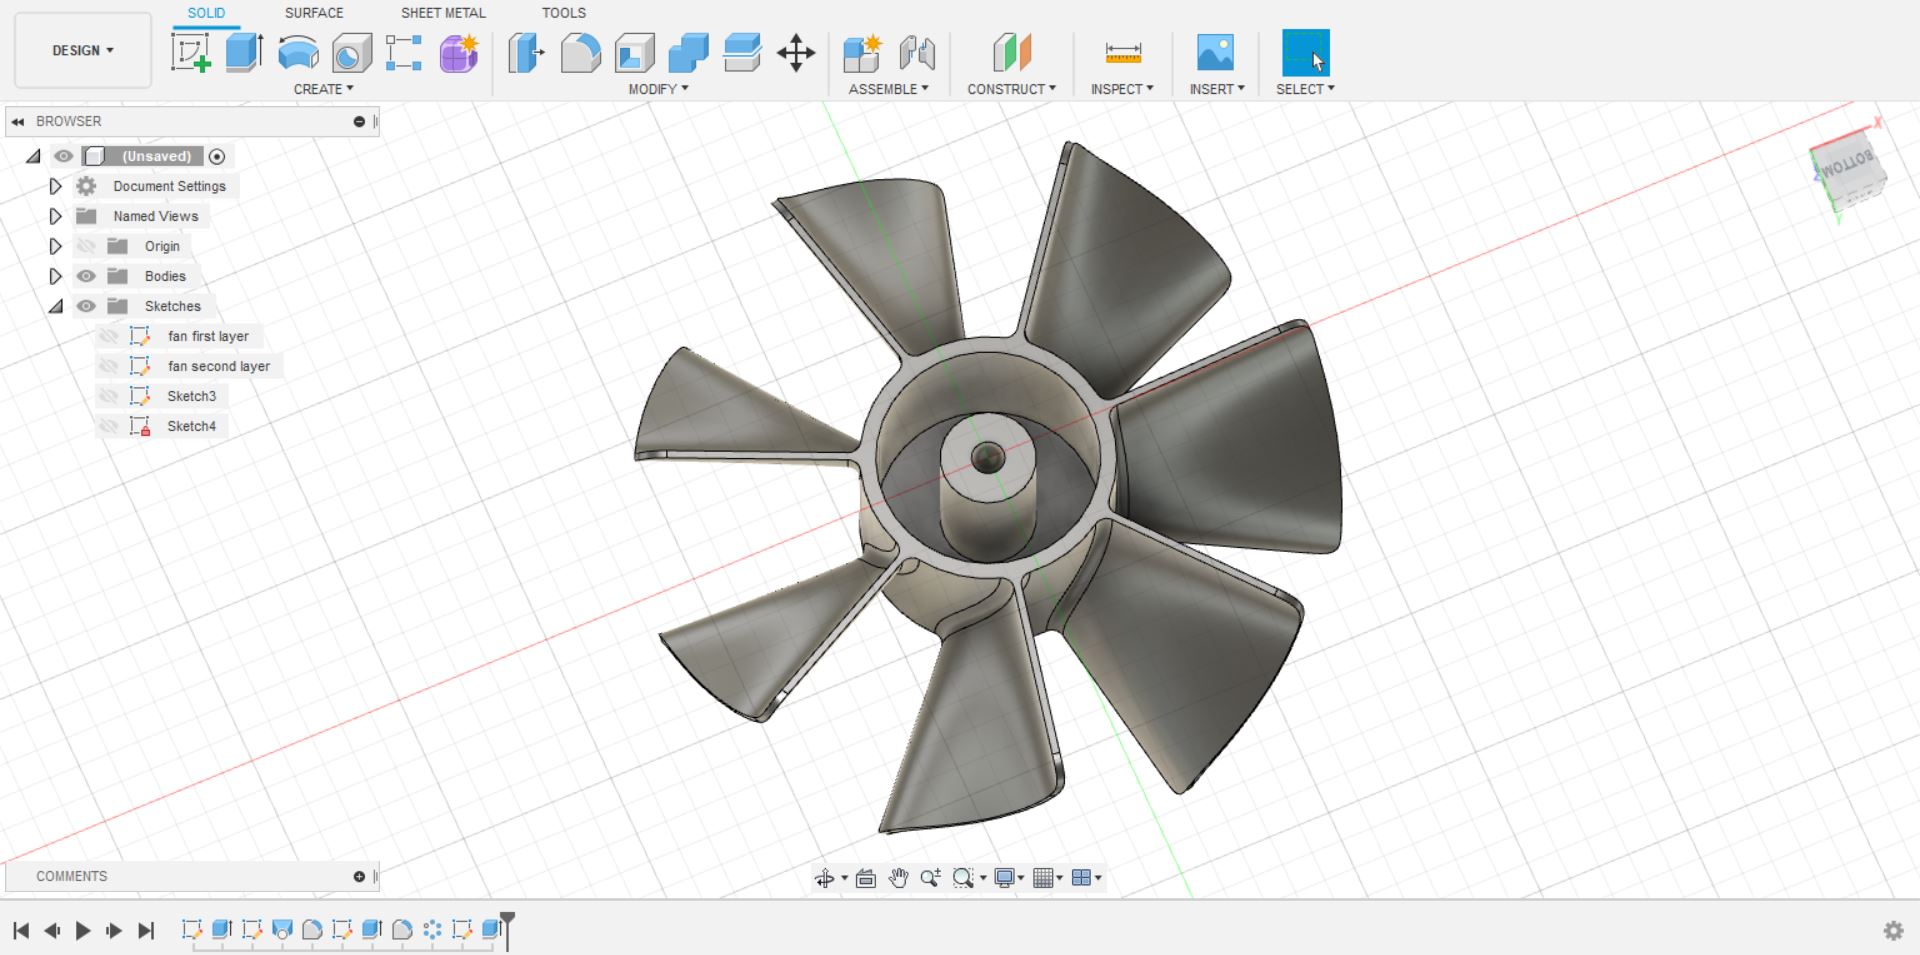
To create the entire fan I used the Circular pattern command defining as type –> features in order to select in the storyboard the actions to replicate (loft, fillet, extrusion, fillet). I defined the axis on which to replicate the pattern (Z) and I defined the number of blades (7).
After that, I created a new layer on the bottom circle, where I drew concentric circles to loft and lighten the pattern, I then extruded the circles downward.
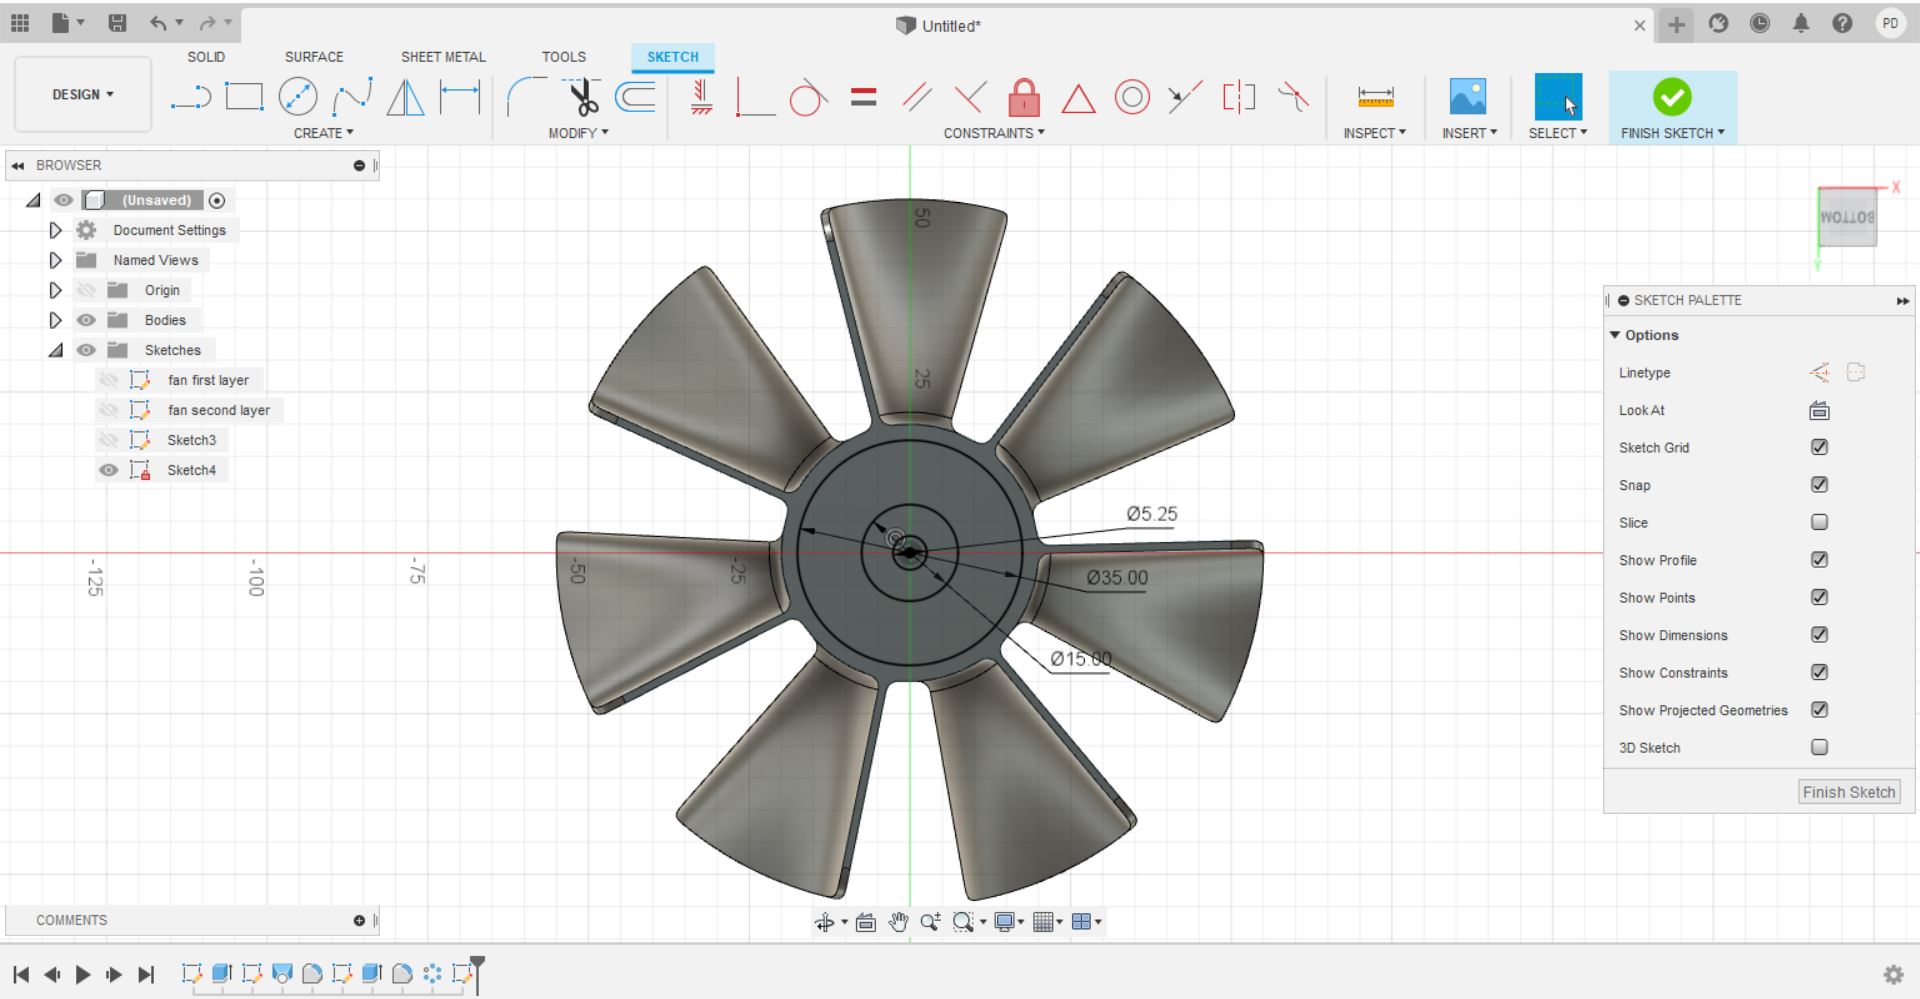
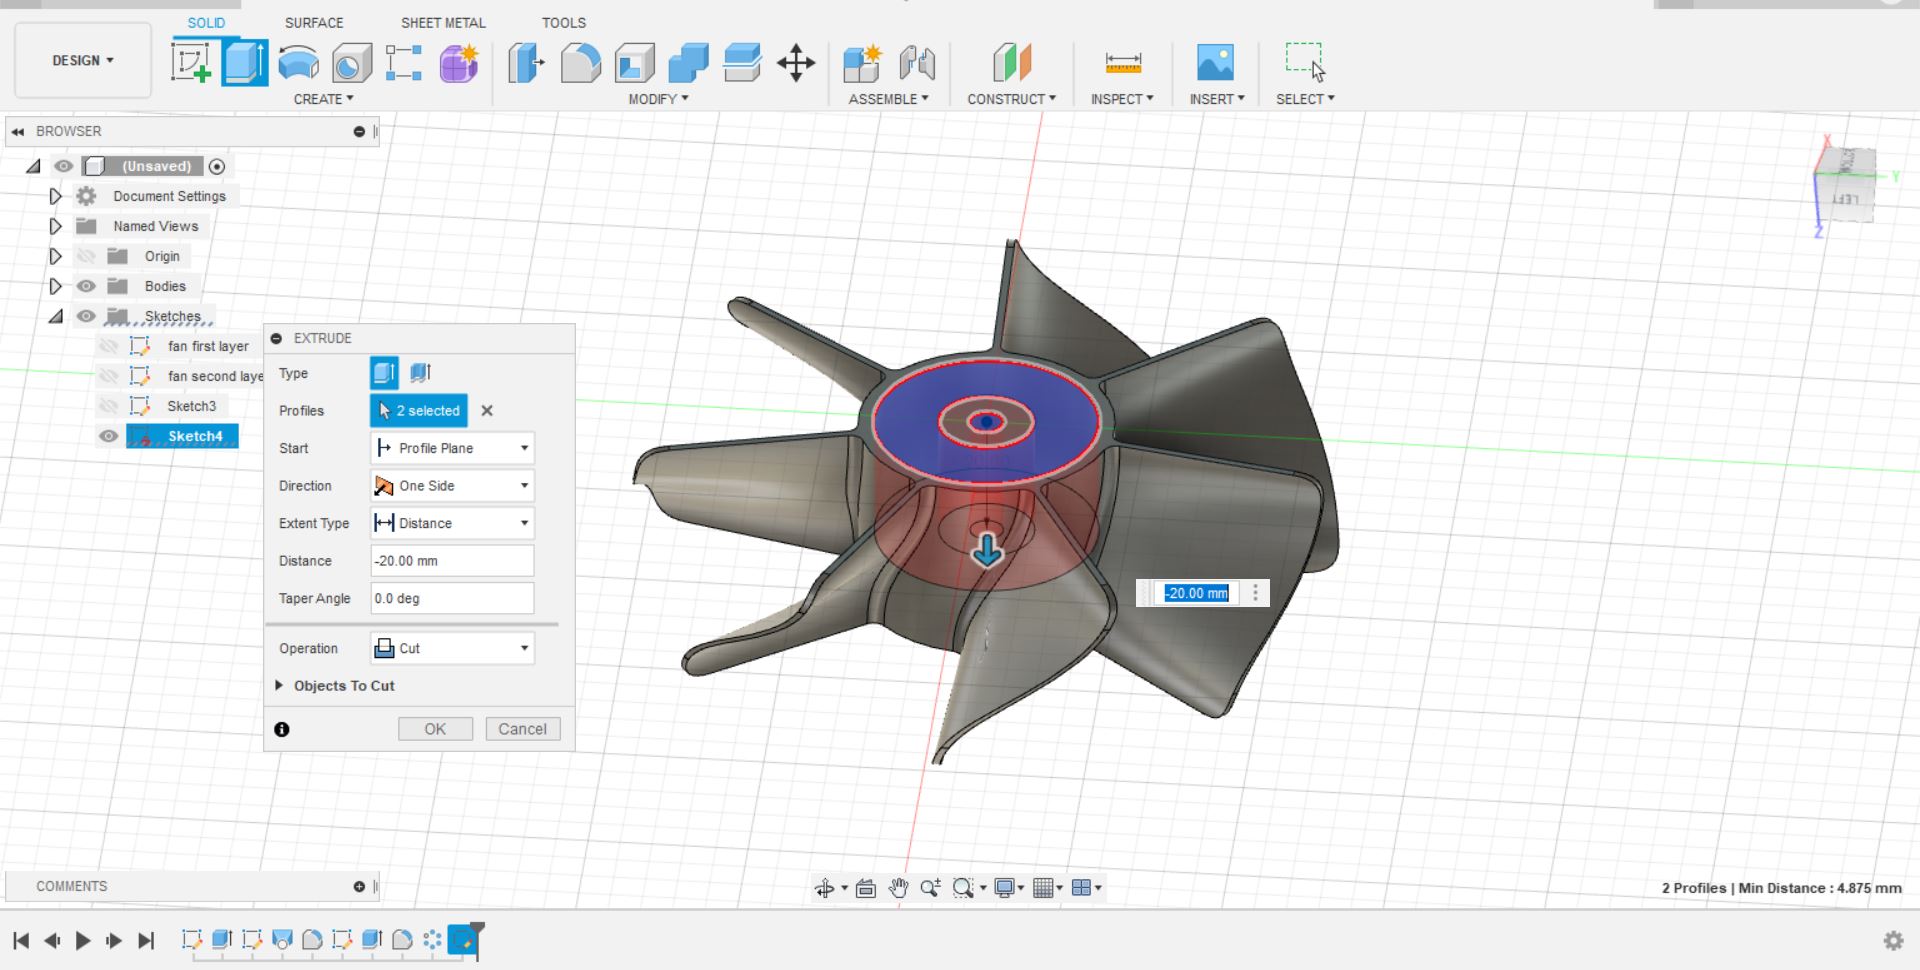
I then used the chamfer and fillet function to round and smooth the corners in the center.
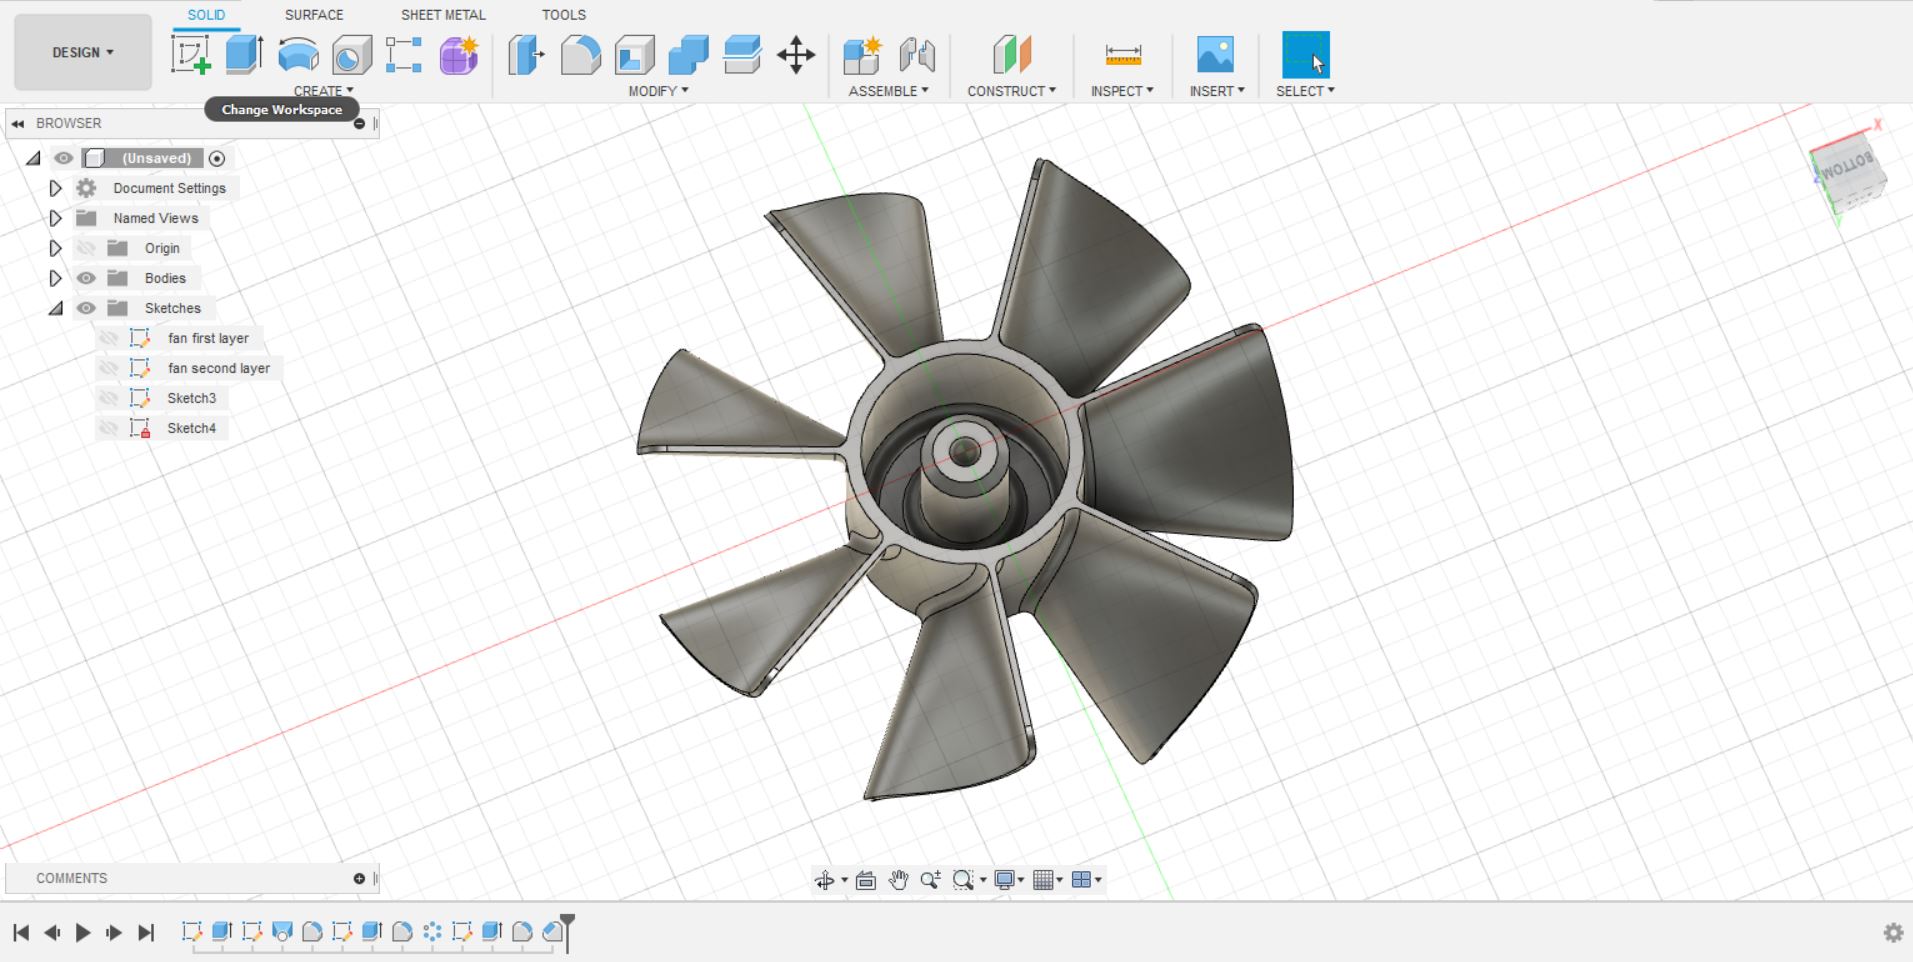
As a final step, with the web function I created three wings to insert into the center cylinder to reinforce the fan.
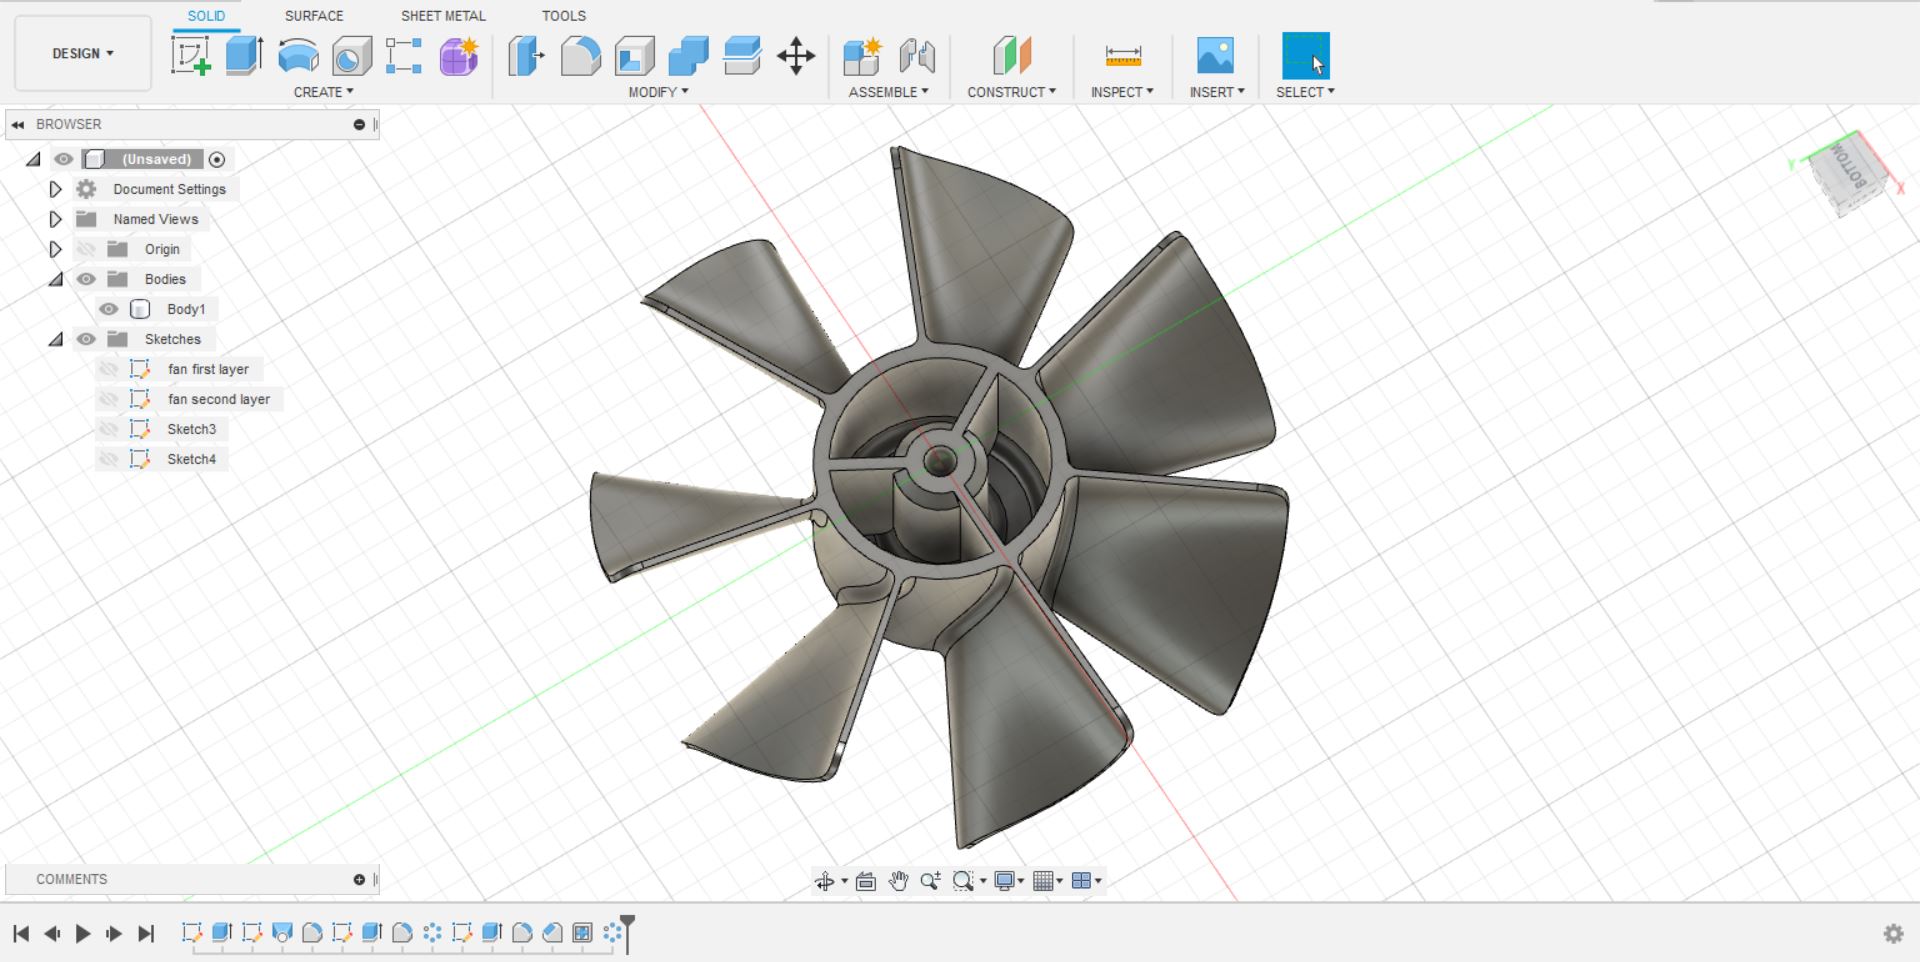
You can find below my model preview!
You can find the 3D model here: