How to use Hamamatsu CNC
Software
- Cut2D
- Mach3
Cut 2D
Attention
The screenshots are from Cut2D Pro Trial Edition 10.5, so version is not same as Hamamatsu’s.
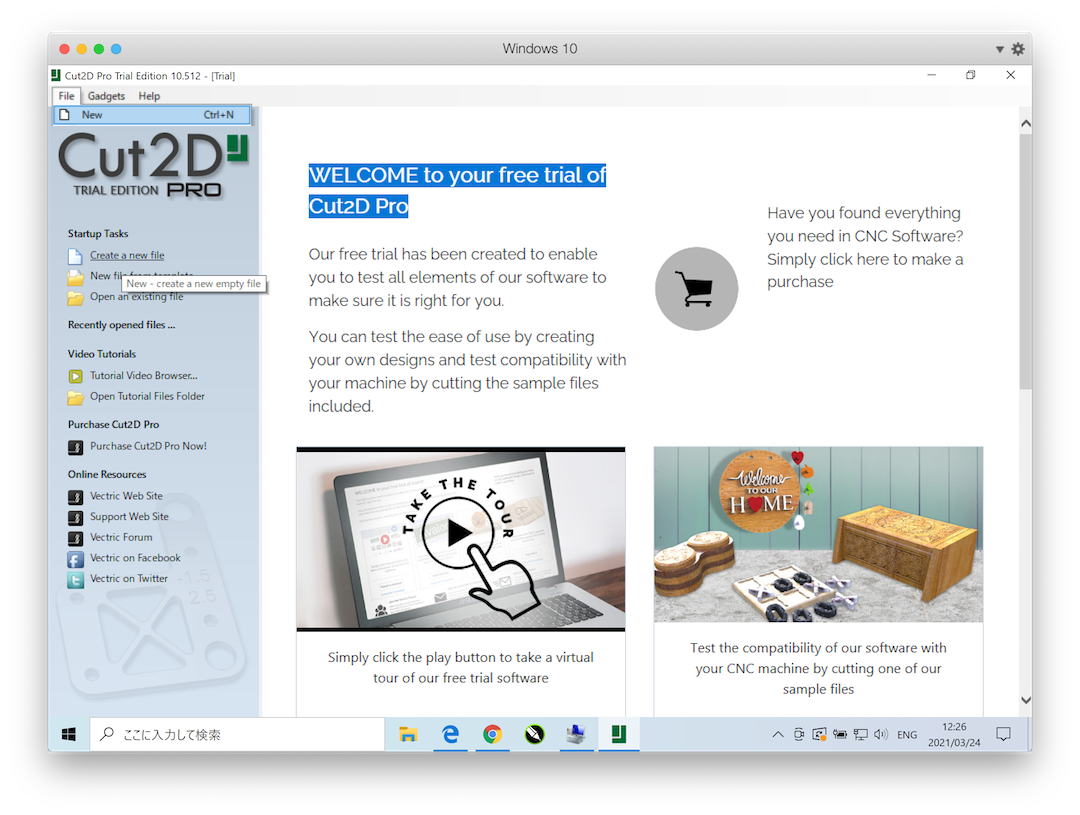
File -> New
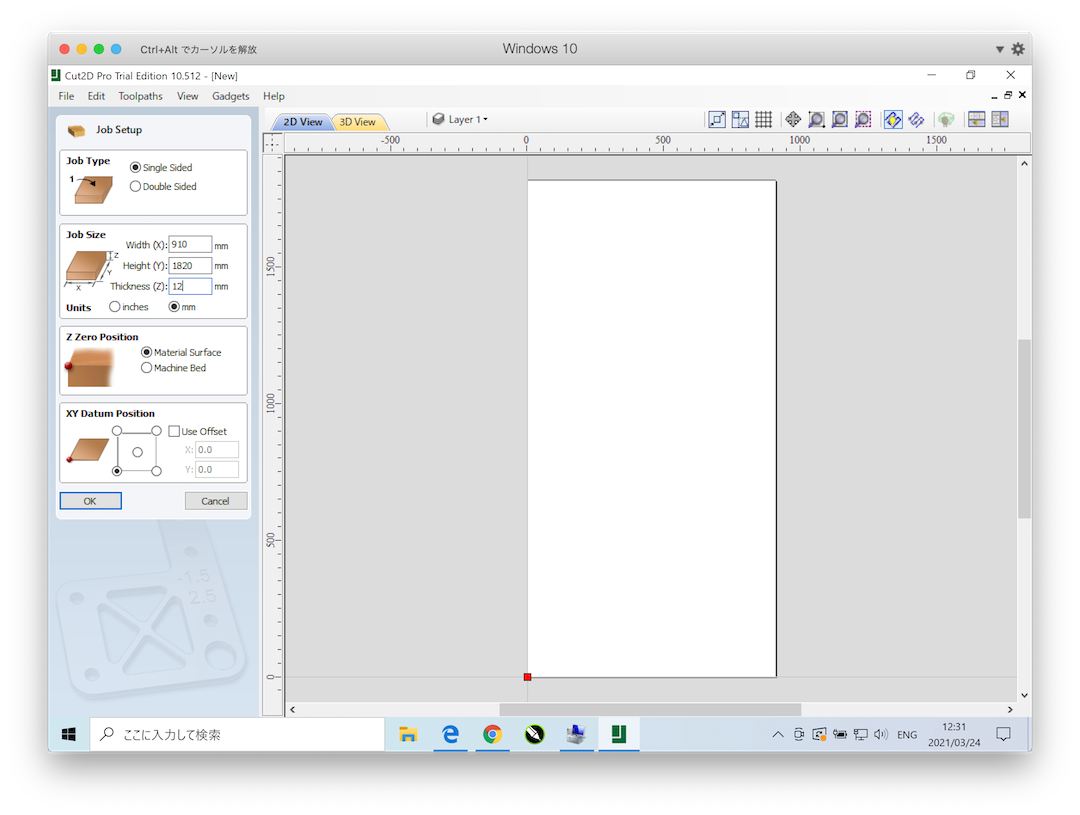
Job setup
-
Job Size
- Units: mm
- Width(X):910
- Height(Y):1820
- Thickness(Z):12
-
XY Datum Position
- left-down
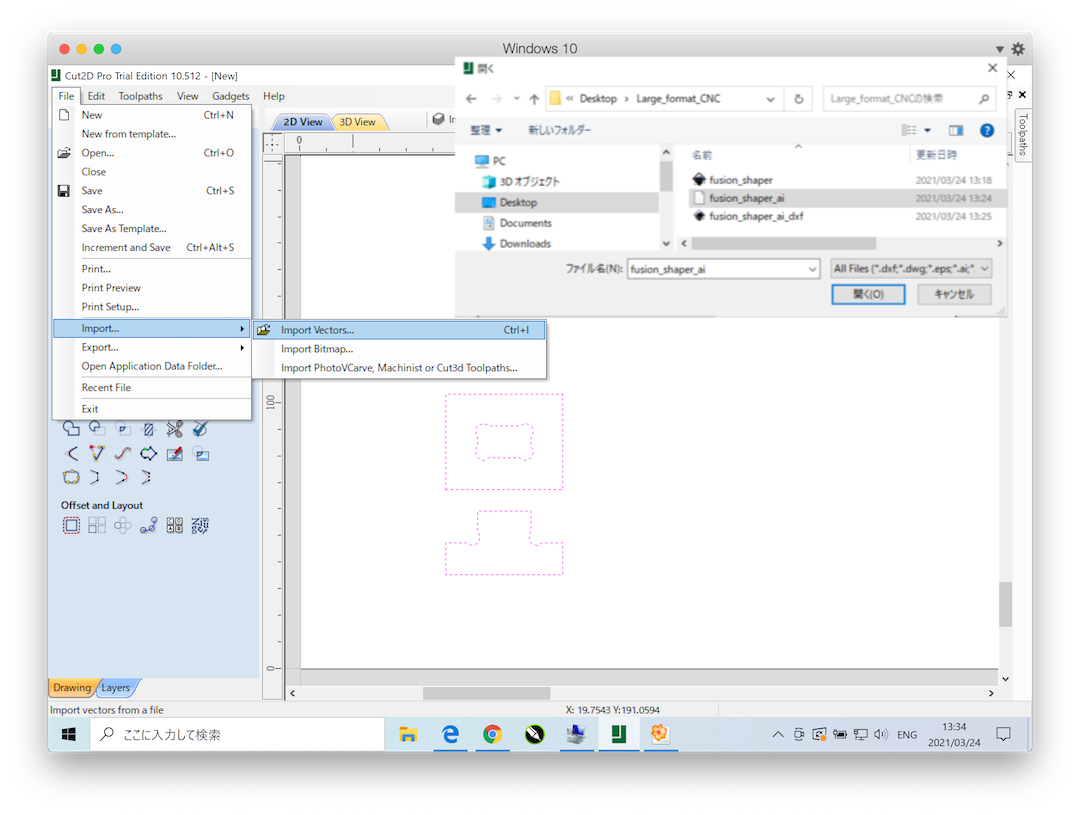
File -> Import -> Import Vectors
- .ai
- .dxf
- .eps
- [X].svg
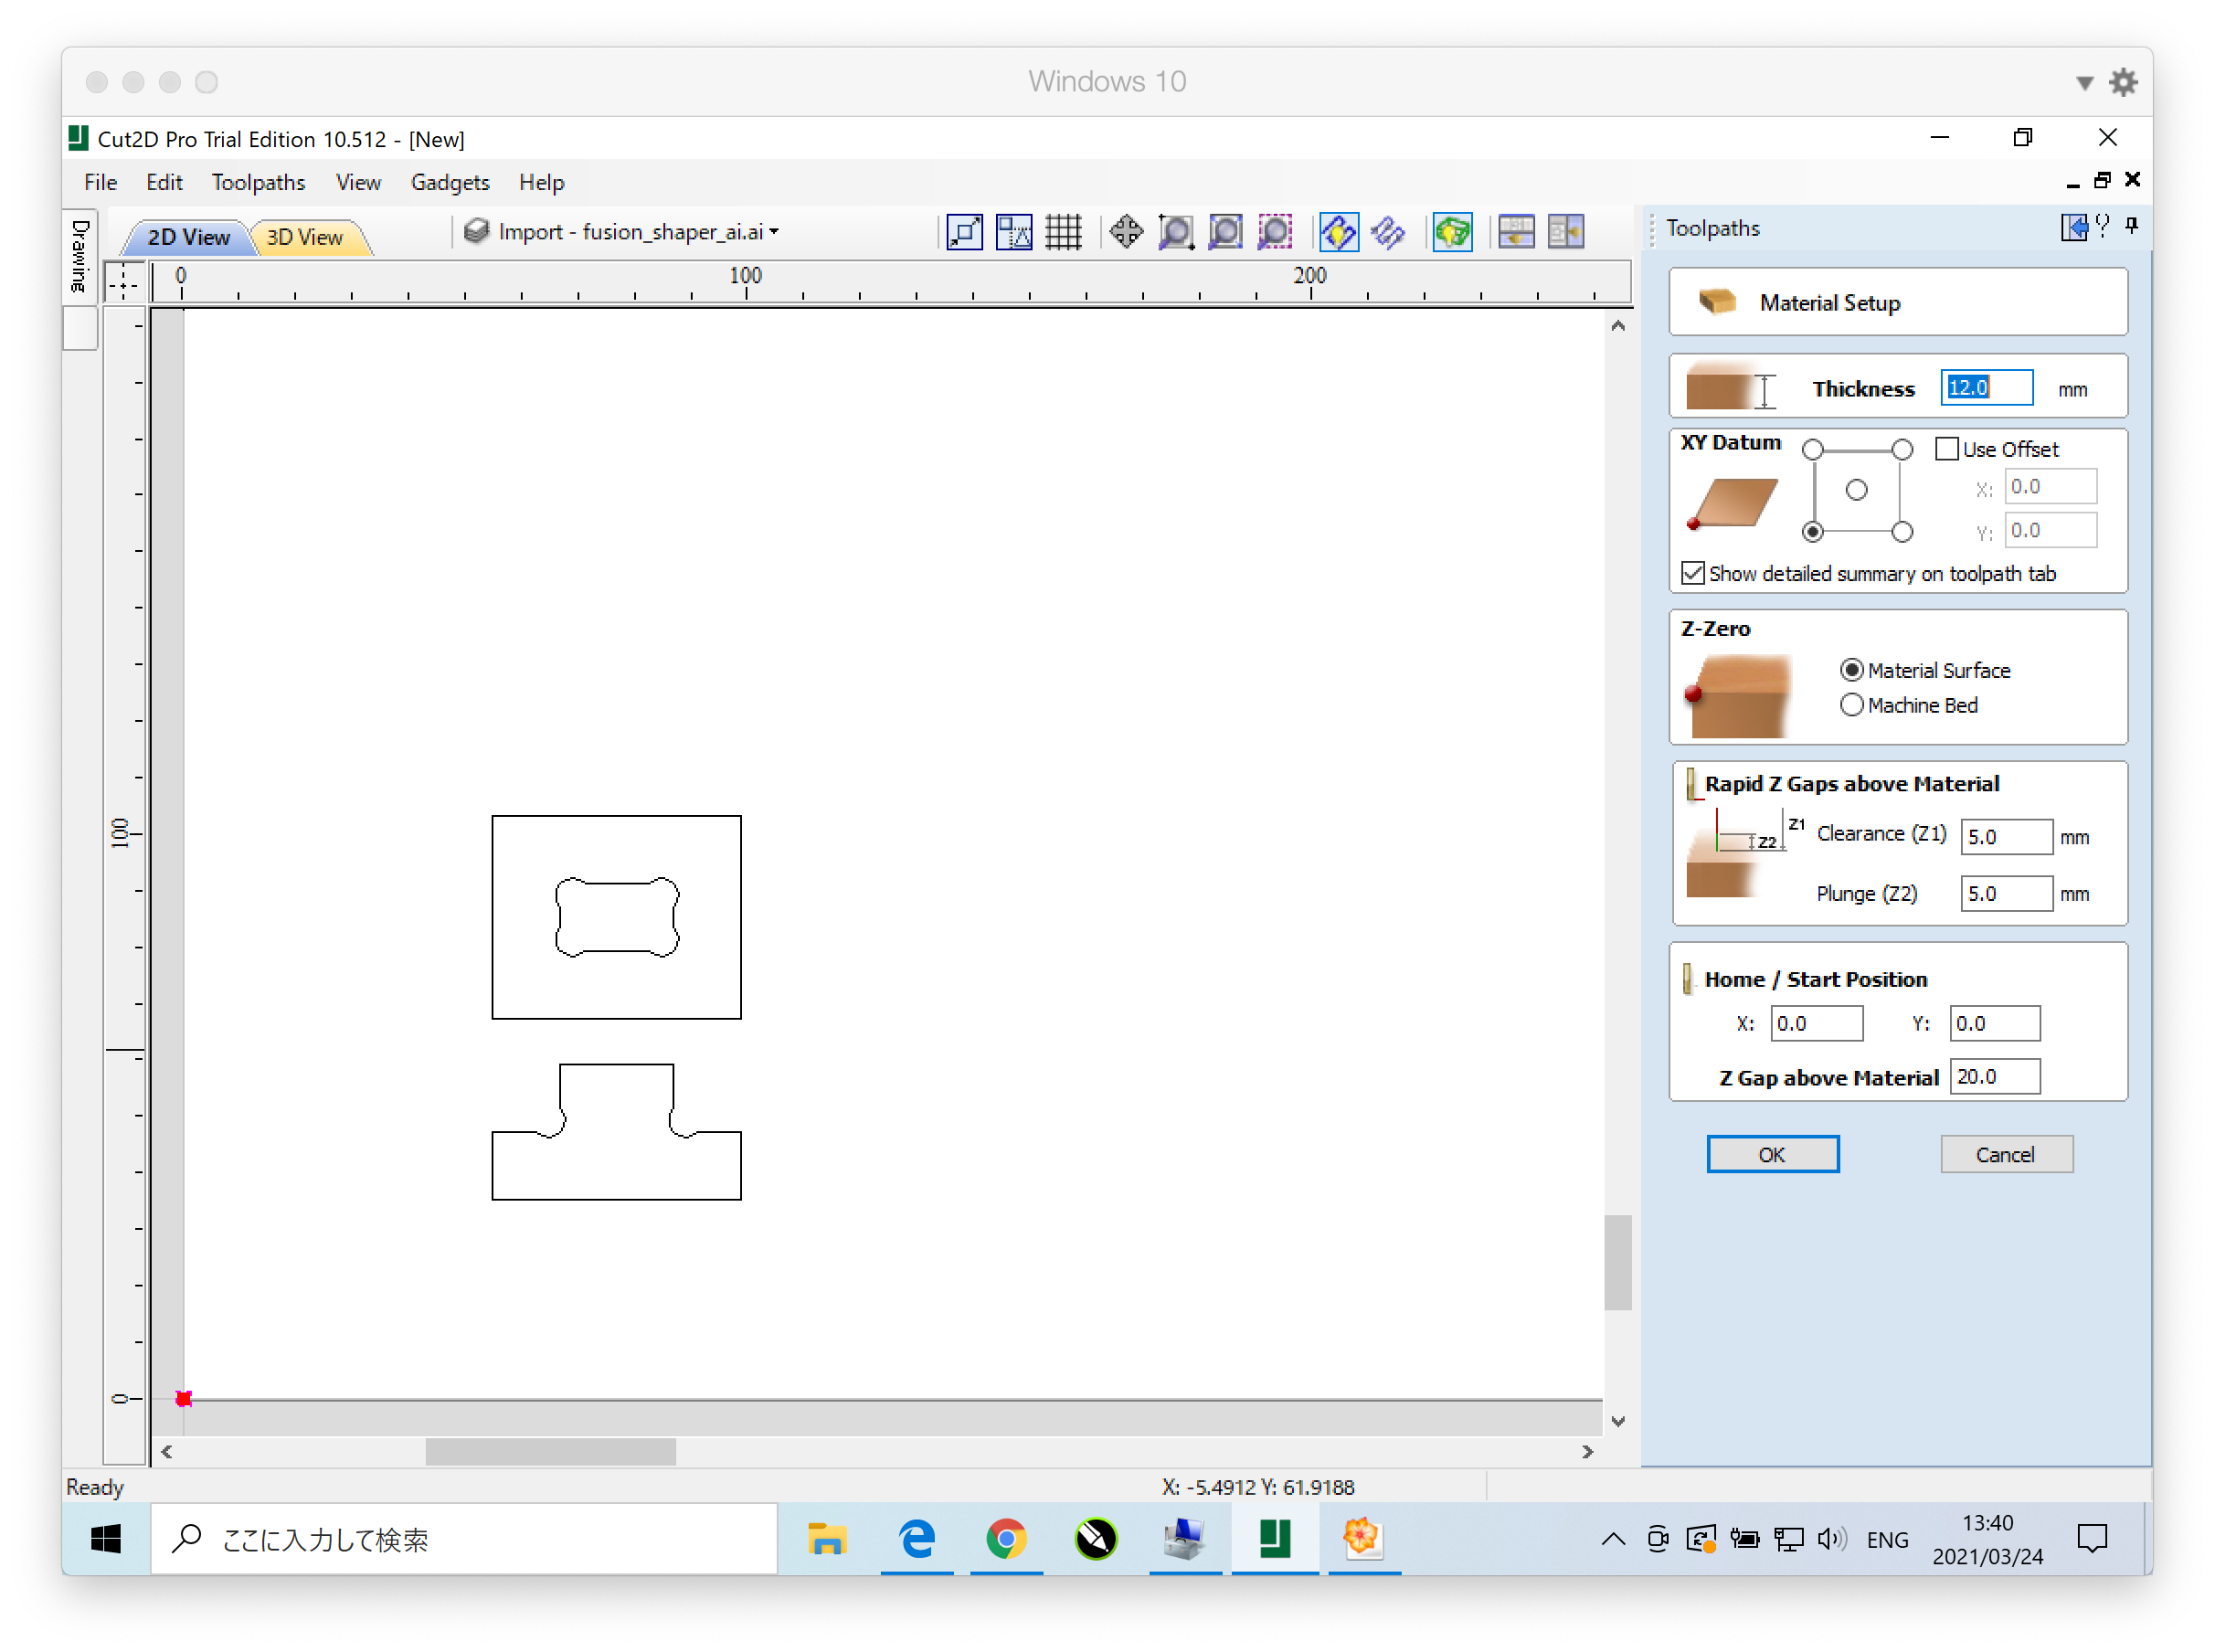
Material set up
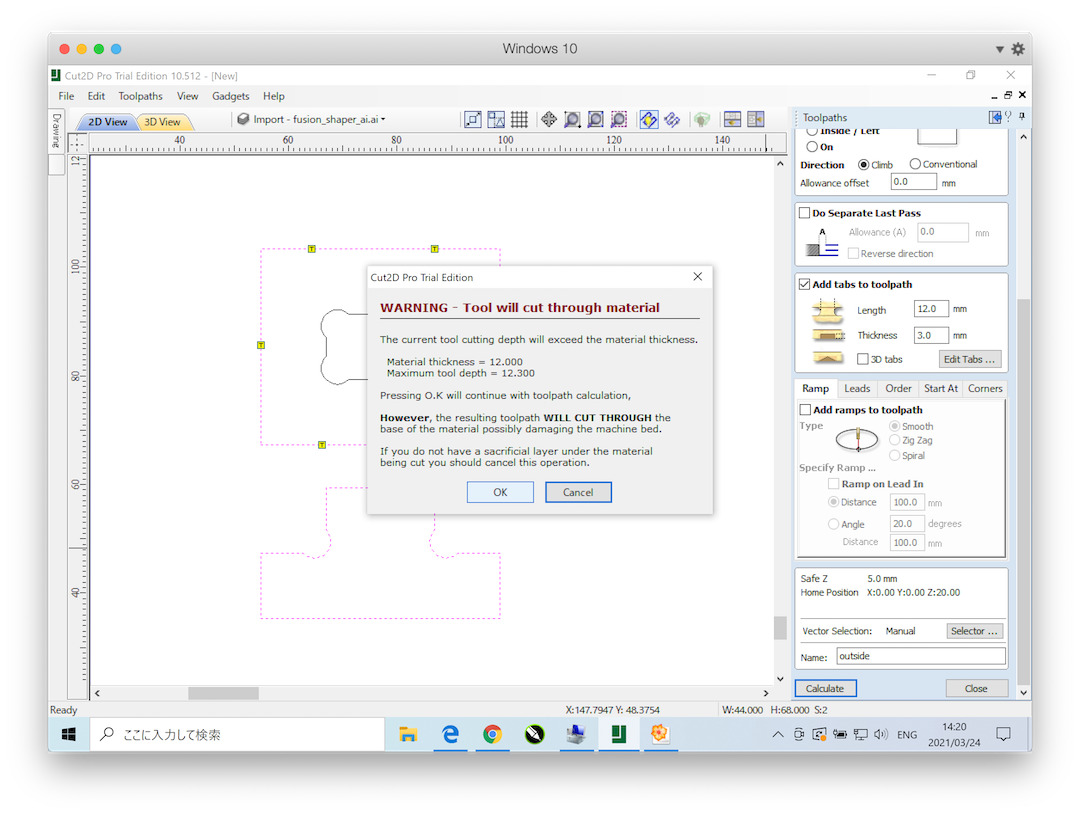
- Thickness: 12.0
- XY Datum: left-down
- Z-Zero: Material Surface
Toolpath Operation -> Profile Toolpath
- Outside
- Inside
- Online

- Cutting Depth
- Start Depth:0
- Cut Depth:12.3
- Tool
- End Mill(6mm)
- Cutting Parameters:
- Pass Depth: 6mm
- Machine Vectors
- Outside
- Inside
- On
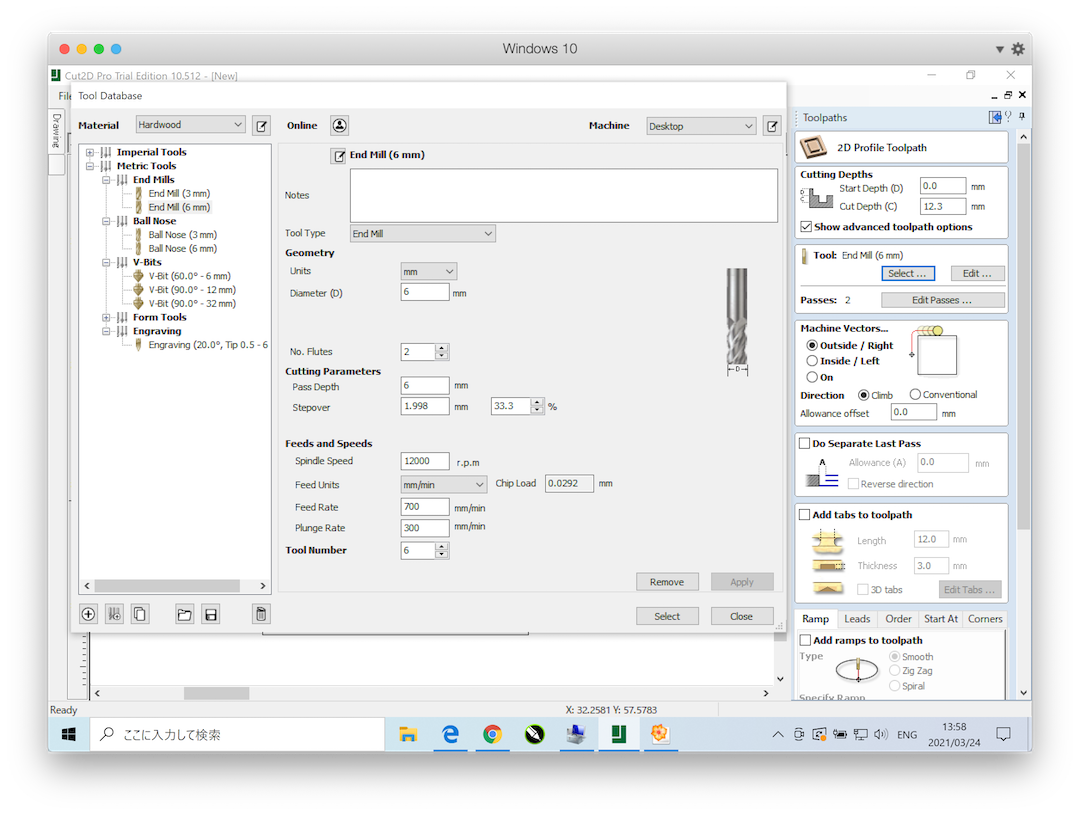
- Add tabs to toolpath -> Edit Tabs
- length:5
- Thickness:5
- select vectors

- Create toolpath
- select Vectors
- Name: outline
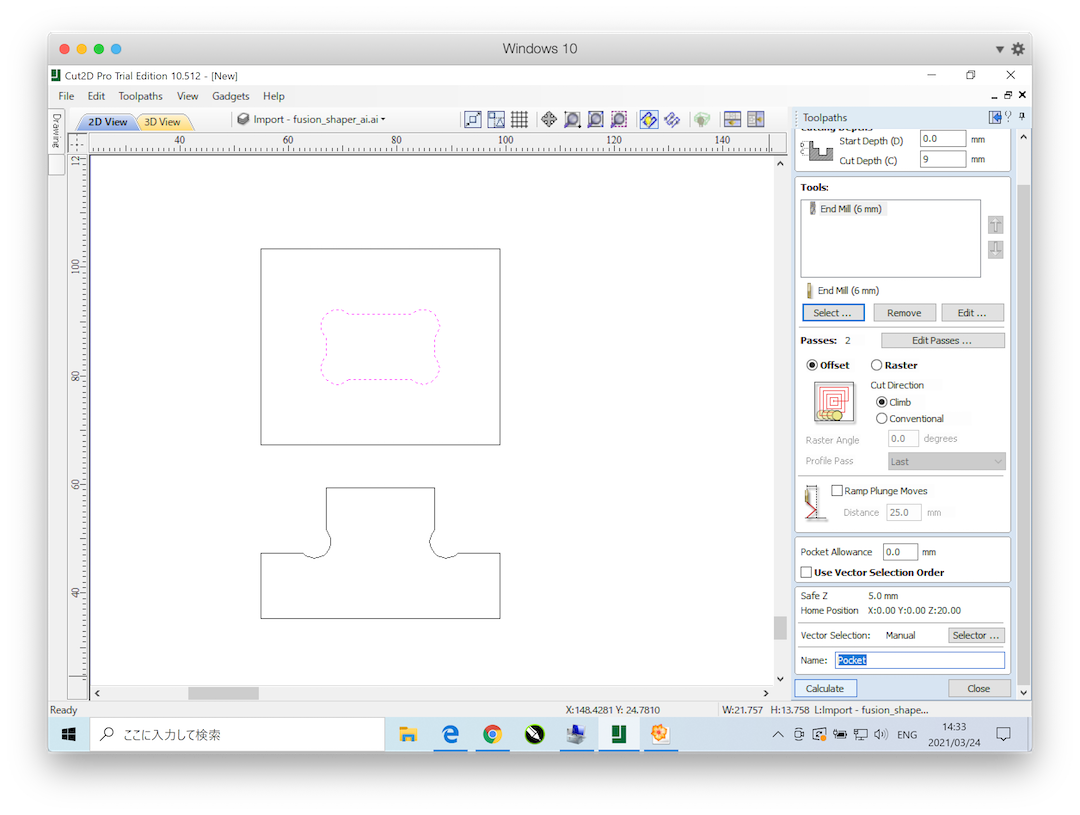
Toolpath Operation -> Pocket Toolpath
-
Pocket
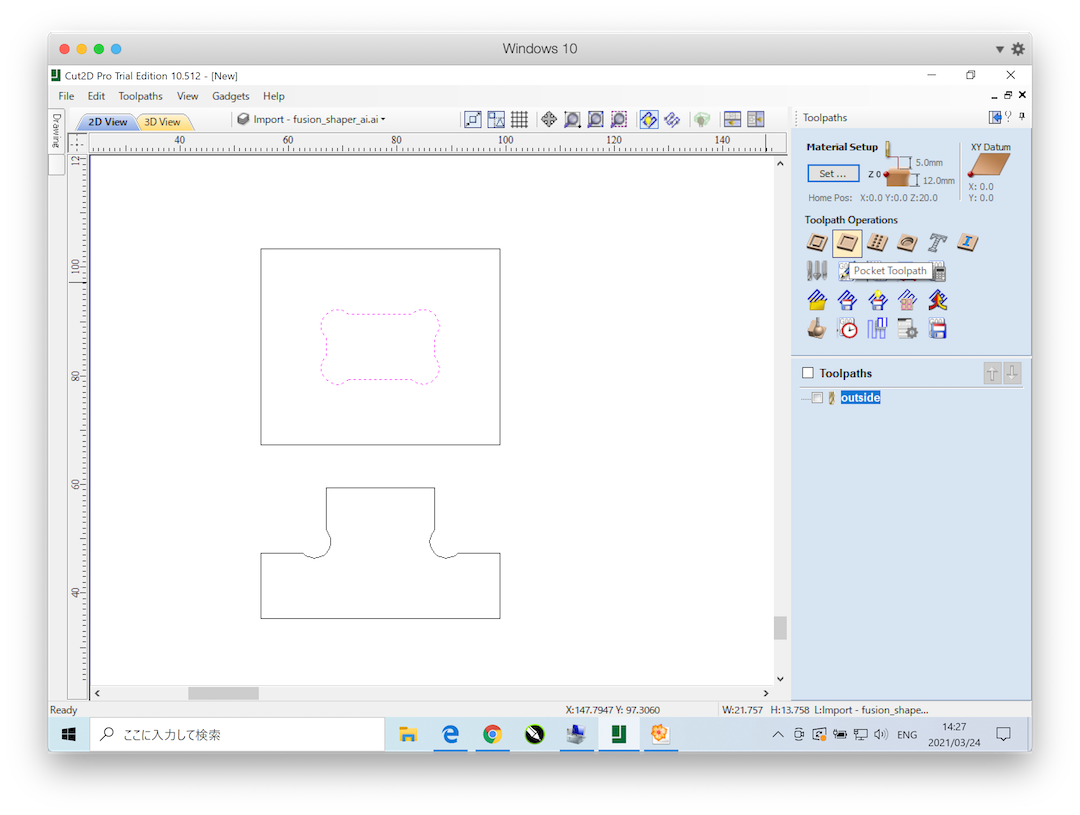
-
Cutting Depths
- Start Depth:0
- Cut Depth: 9
- Tool
- End Mill(6mm)
- Cutting Parameters:
- Pass Depth: 6mm
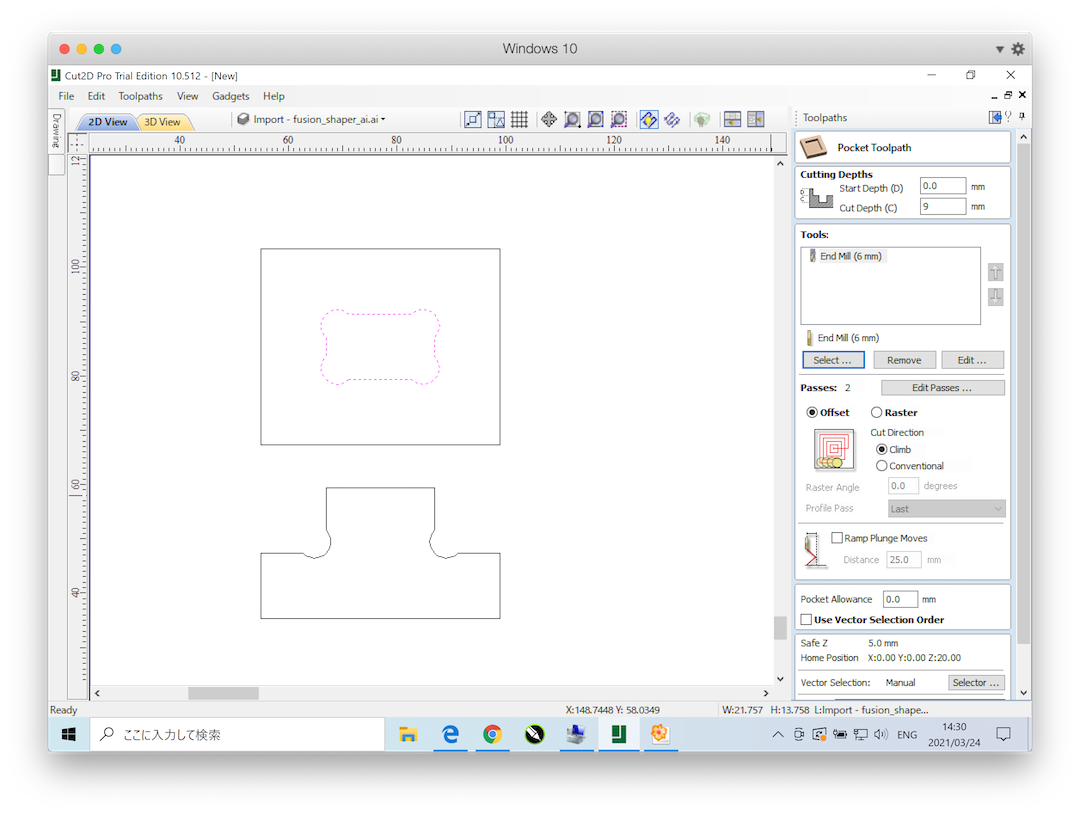
- Create toolpath
- select Vectors
- Name: pocket
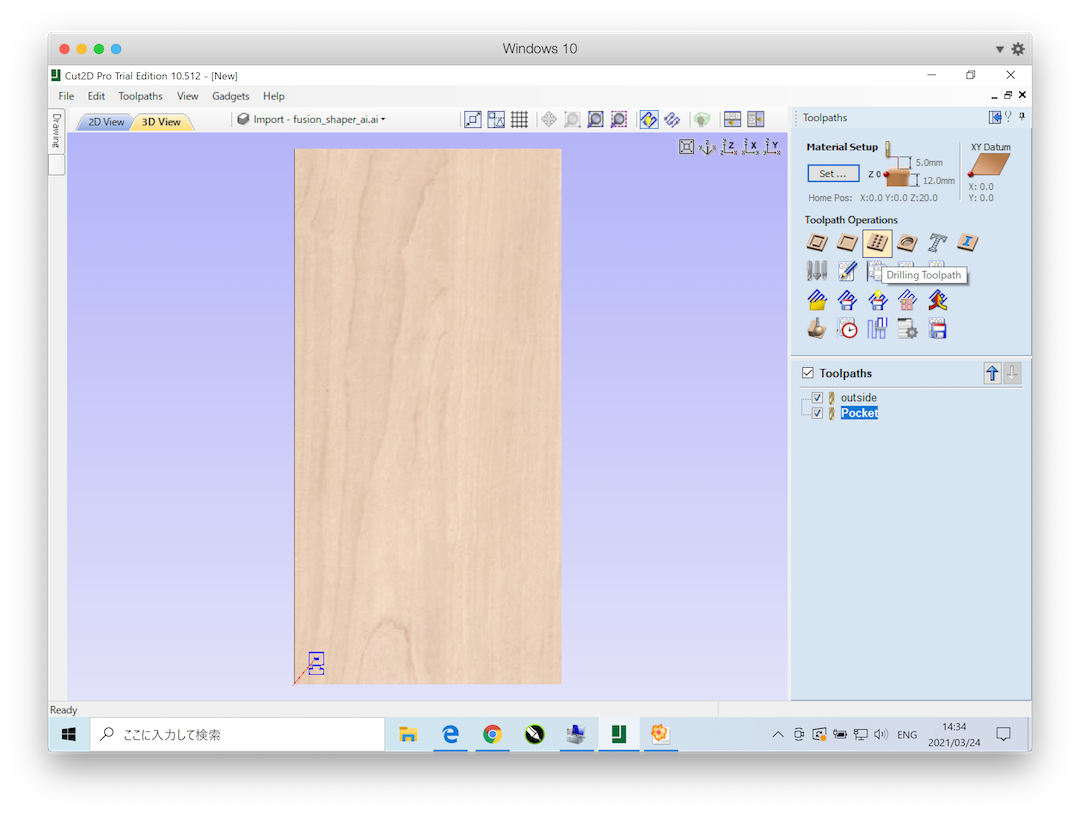
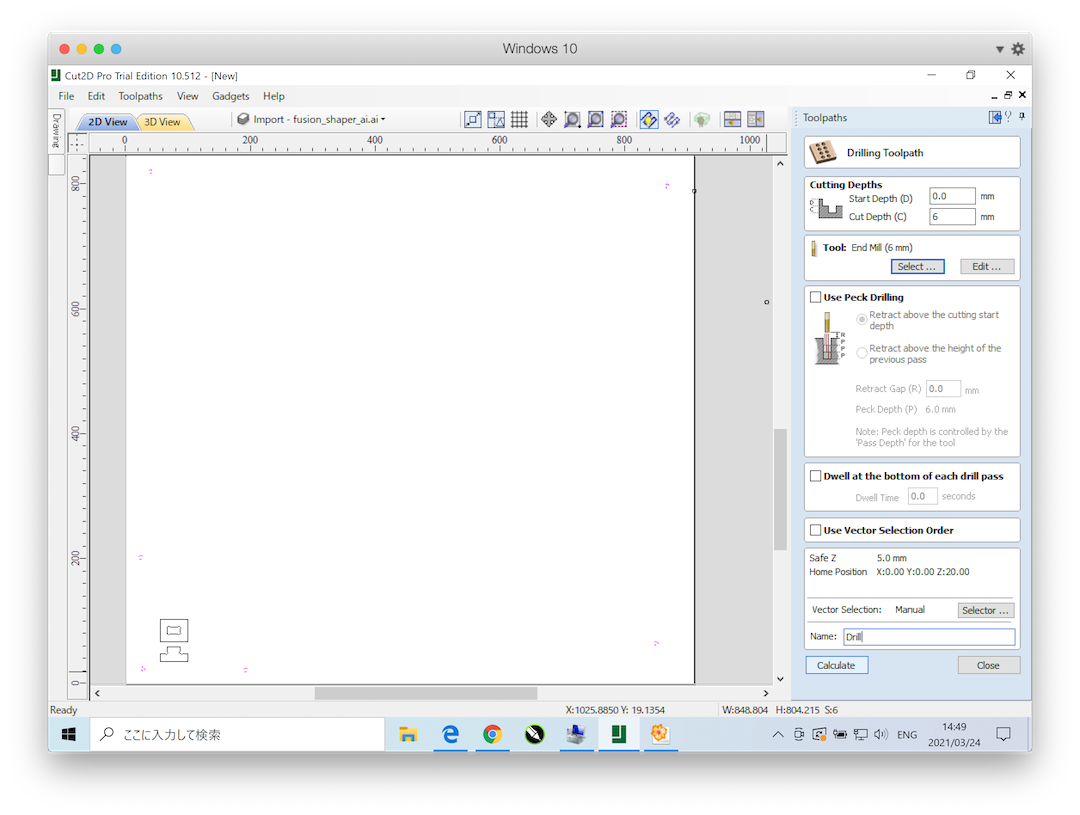
Toolpath Operation -> Drilling Toolpath
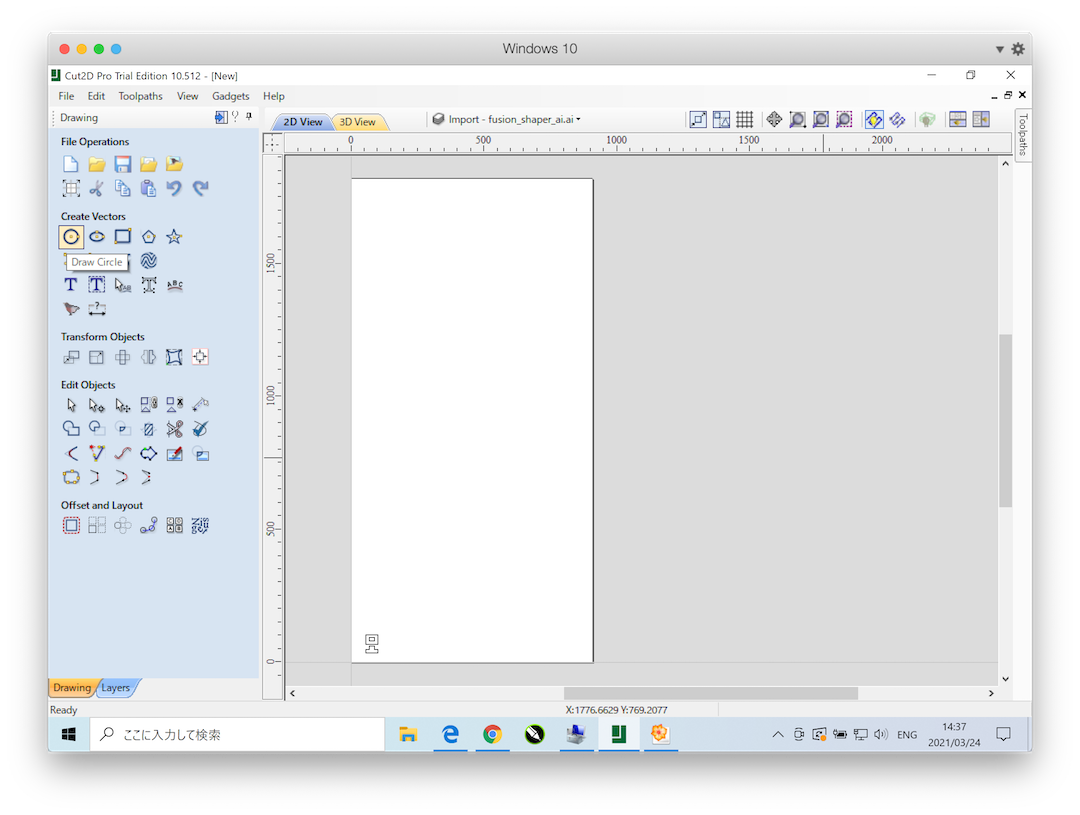
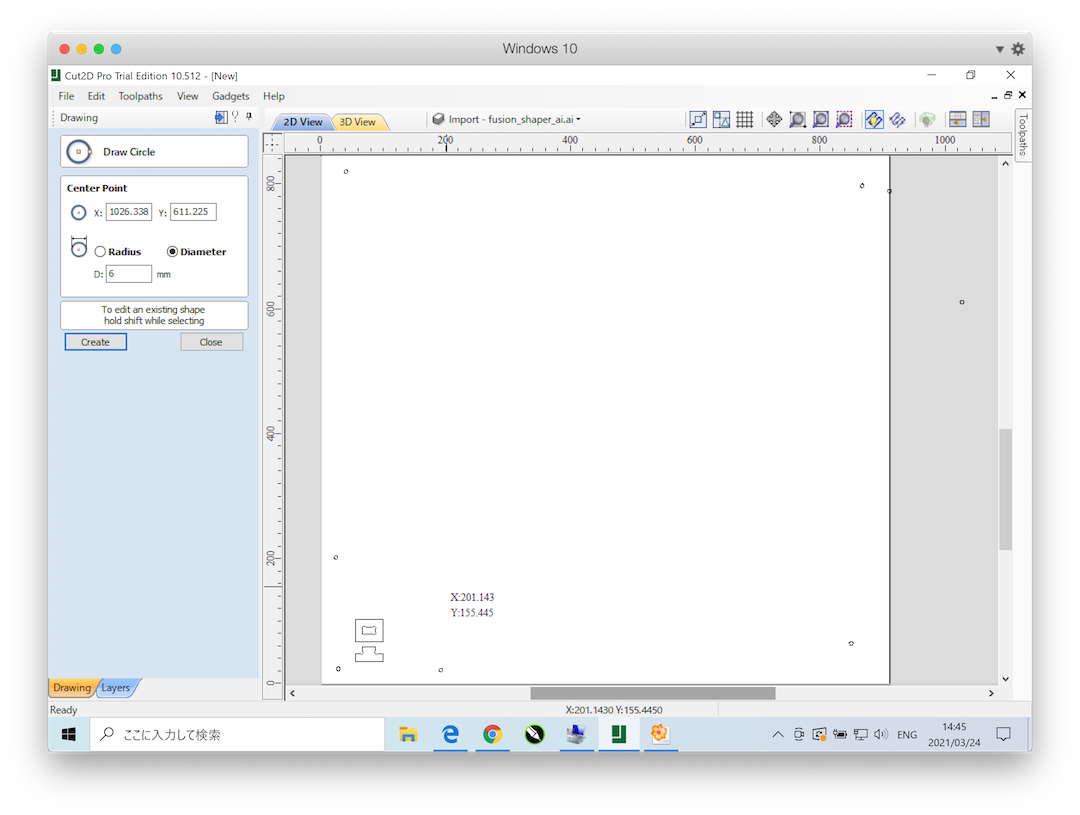
[Before] Add Circle Vectors in design
- Draw Circle -> Diamete: 6mm
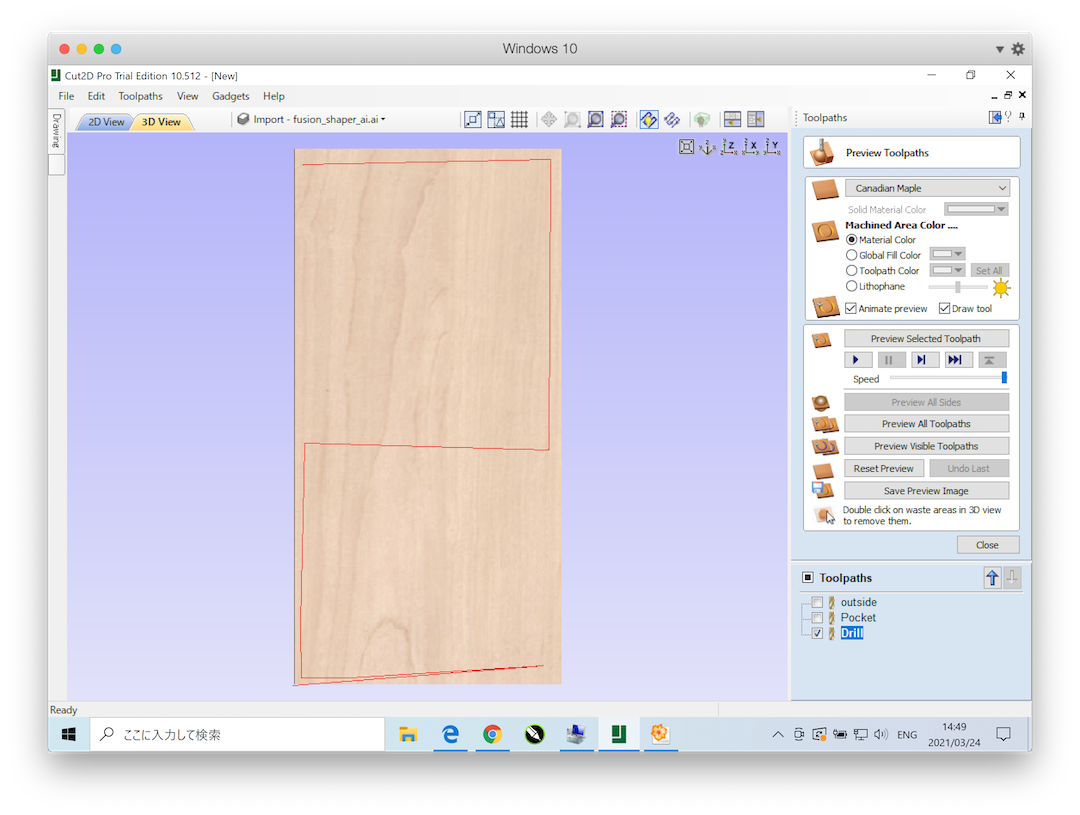
Toolpath Operation -> Save Toolpath
- Select tooolpath from list
- Outside
- Drill
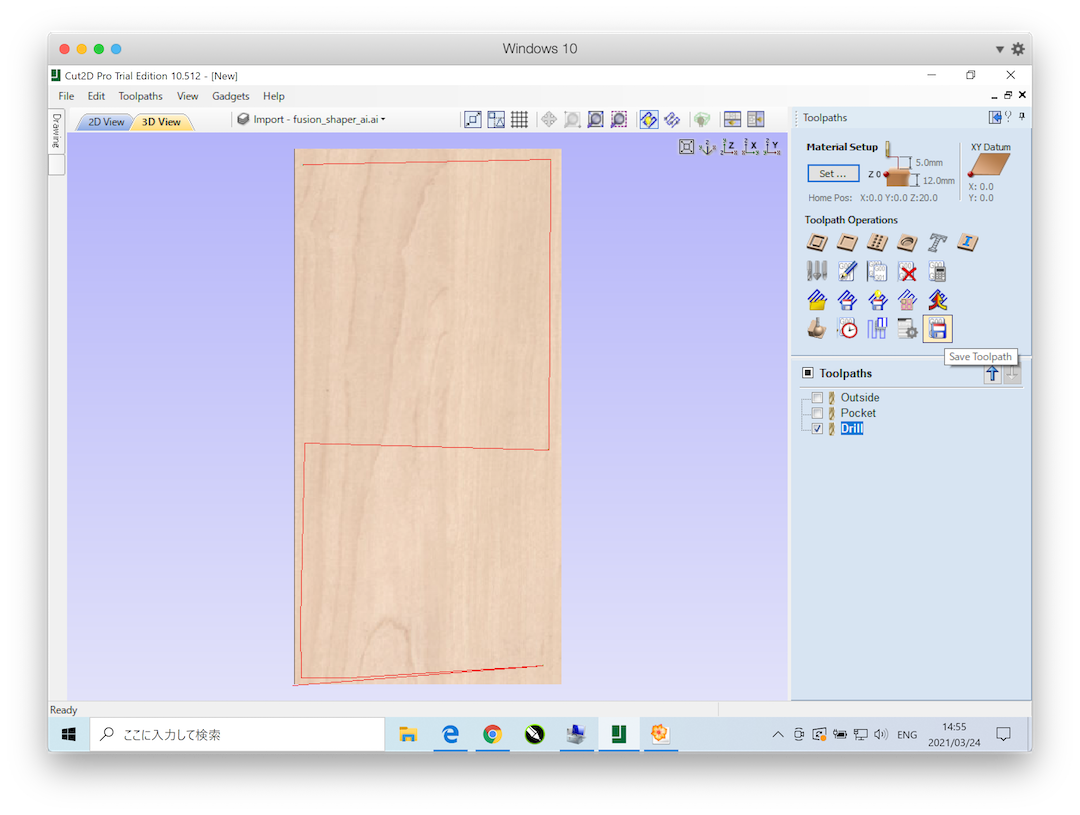
-
post Processor
- G Code (mm)(*.tap)
-
Save Toolpath(s)

Mach3
Attention
The screenshots are from Mach3 (not licenced), so version is not same as Hamamatsu’s.
Move router head
- Use keyboard
- X Axis -> left/right
- Y Axis -> up/down
- Z Axis -> page-up/page-down
Set X-Zero, Y-Zero, Z-Zero
- X, Y Axis
- move to left-down
- set Zero-X, Zero-Y
- Z Axis
- touch on material Surface
- set Zero-Z
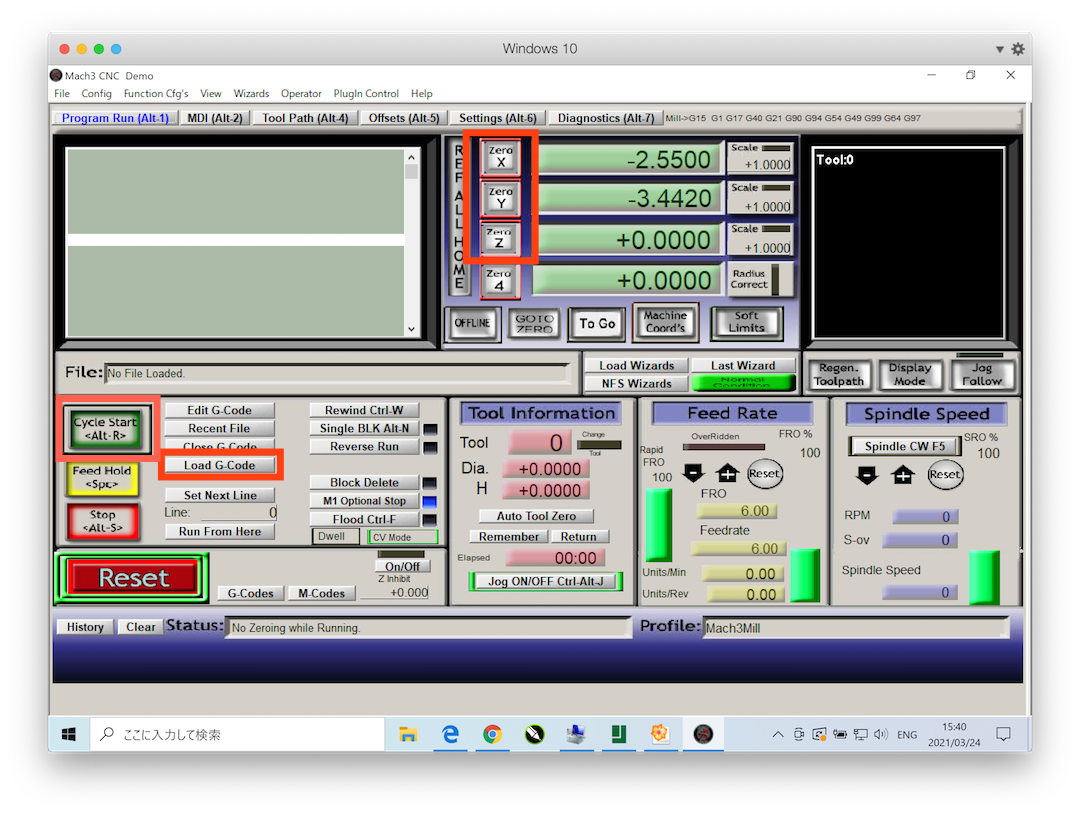
Load gcode
- Load G-Code
- Drill.tap
- Pocket.tap
- Inside.tap
- Outside.tap
Start
- Cycle Start
Last update: March 24, 2021