Week 7 : Computer Controlled Machining
☛ Group Assignment
☐ 1. Test runout, alignment, speeds, feeds, and toolpaths for your machine
☛ Individual Assignment
☐ 2. make (design+mill+assemble) something big
☛ CNC milling machines Workshop by Alexandre Beaudouin
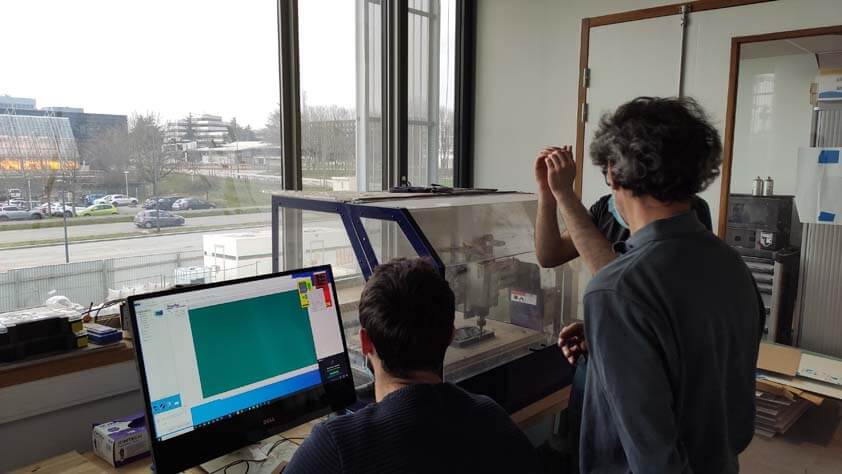
This week Alexandre Beaudouin gave us a workshop about CNC milling processes. It was an overall presentation of how these machines work, what are the properties of several kind of endmills, and what results they're capable of. He showed us how to prepare files to be milled using Fusion 360 and its manufacture menu, and how to use VCarve and the Shopbot we have at the fablab.
▸ Overall presentation
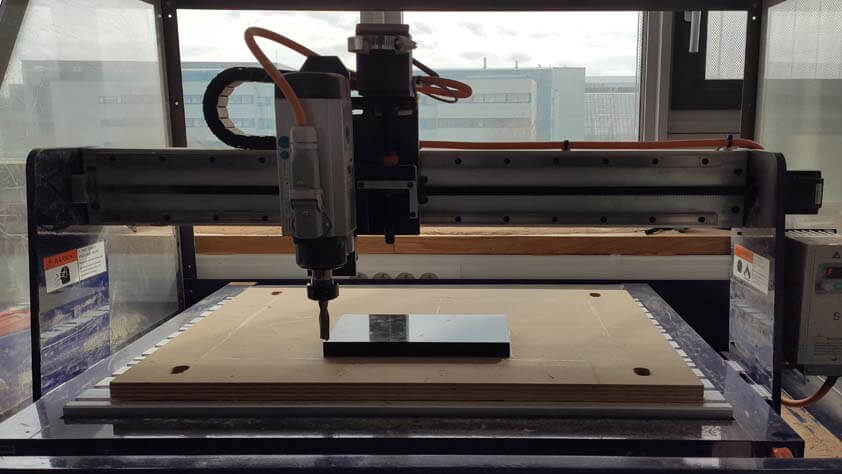
A CNC milling machine is a 3 axis machine which uses a motor to rotate a cutter on a workpiece to remove materials from it. It exists in differents scales and its precision allows a large variety of work to be done with it. Most commonly, CNC machines are used to operate 2D cuts on a material, but as it has 3 axis 3D workable. Alexandre showed us his process to do so.
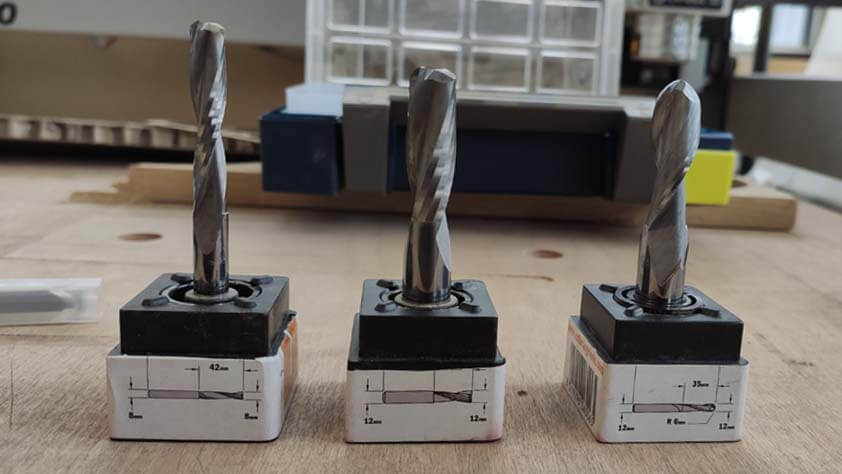
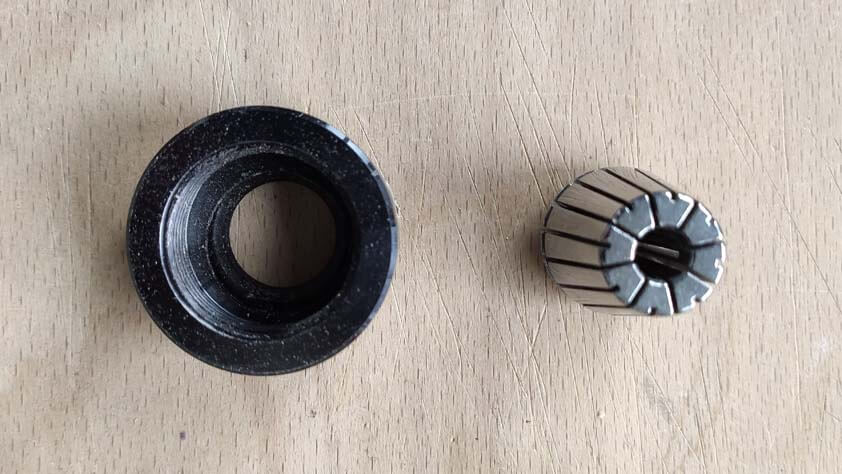
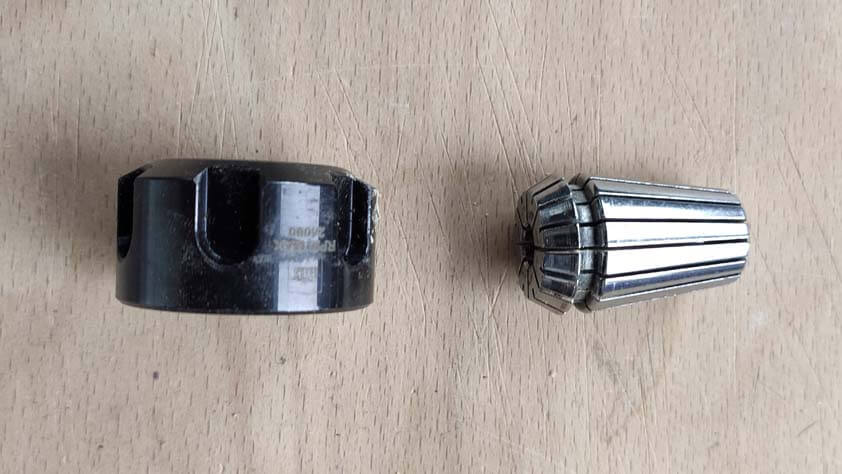
Here are the bits he uses, a 8 mm square endmill, and a square and a rounded endmills of 12 mm each.
The endmill is placed into the collet which is placed into the collet hut, two tools, with a shape adapted to the collet hut are used to tighten and loosen the endmill.
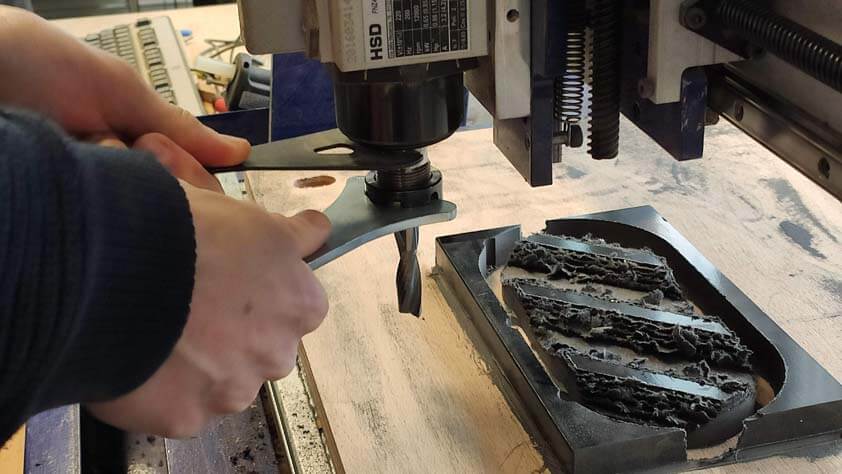
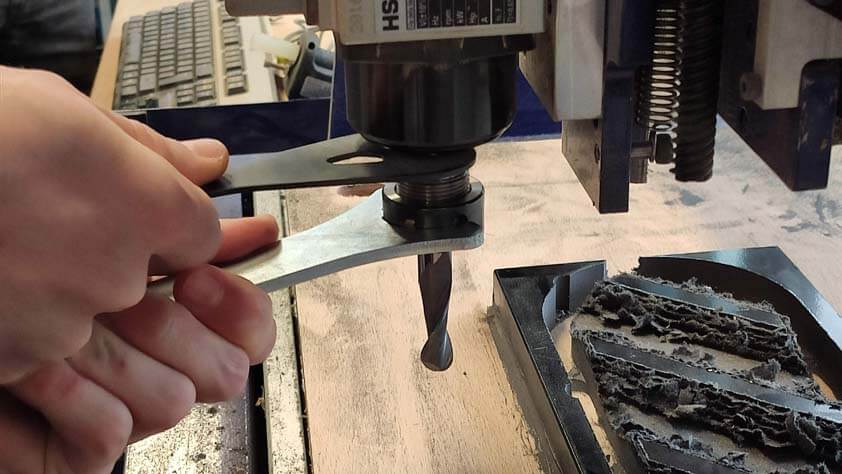
The two images below shows the roughing job in progress and the endmill changing in process, the squared bit is replaced by a rounded one to obtain a better finished surface.
Before and after the rounded endmill passed by. The is to choose a very low overlap when setting up the finishing process, the more overlap there is, more precise the work will be, and longer will be the job.
☛ Safety
As most of the machine of the fablab, a CNC has to be well treated and supervised when used : this is a powerful machine. It is important to supervise it while using it, and to be there to stop it in emergency if needed.
☛ Designin something big : a radiator mounted dryer/shelf
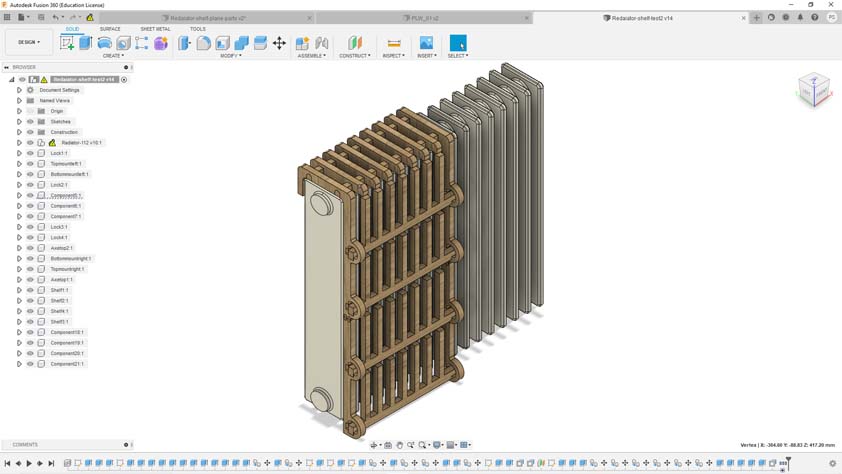
As "something big to mill" I decided to design a dryer to mount on my radiator, it will be useful as I used my radiator as a shelf to dry composite mixtures.
▸ Designing the dryer on Fusion 360
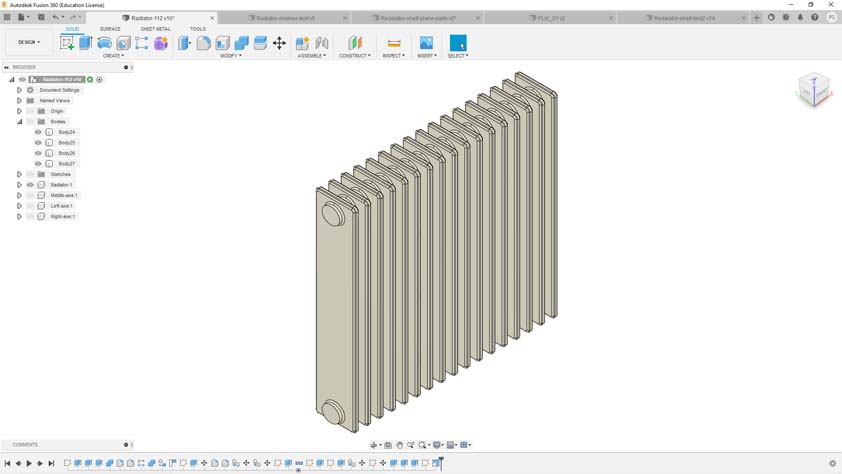
First thing to do was to measure my radiator and model it on Fusion 360 so I have a stable basis for my design. So here is my radiator. At first I wanted to make a dryer that covers all the radiator, but as I struggled to find a rotative system that was simple and functional, I was less and less sure of the outcome so I decided to make it less big.
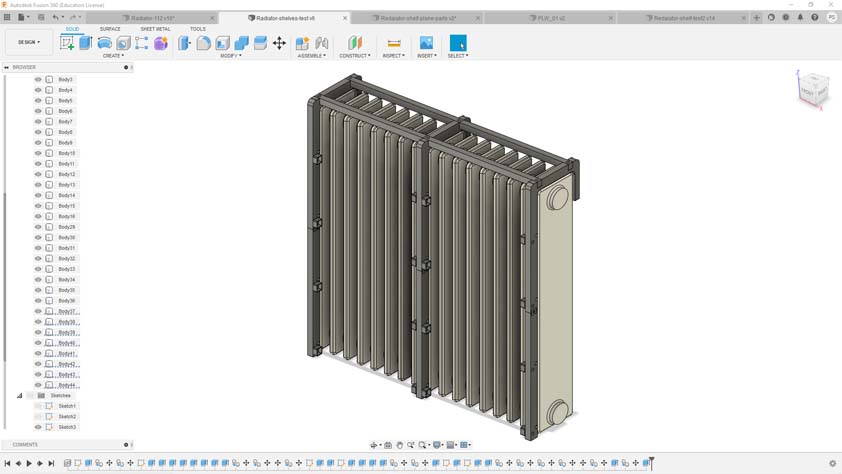
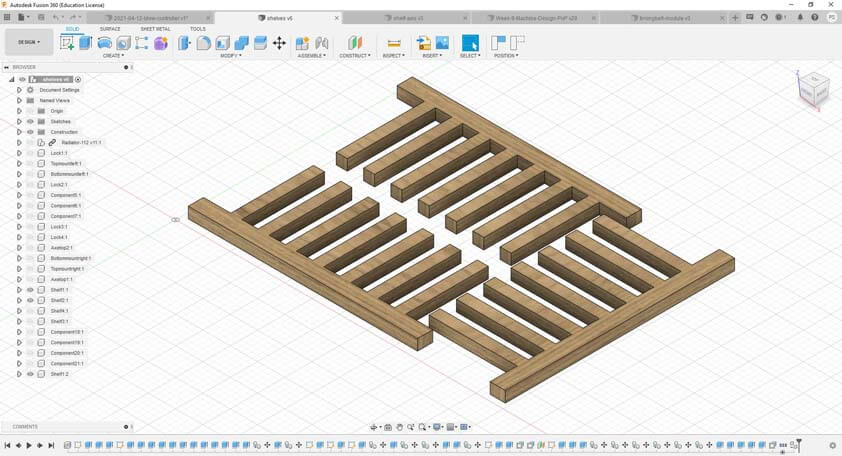
So it is taking a half of the radiator, with wood joints and a simple system that took me hours (at least) to find (I will show it below in the documentation !)
▸ Preparing the files
Once the design is ready, it is time to prepare it to be processed by the milling machine. As Alexandre has shown us, we can prepare the files from the Manufacture menu in Fusion 360. Regarding the type of job, if it is a 2D or 3D milling job, there is different manners to do it.
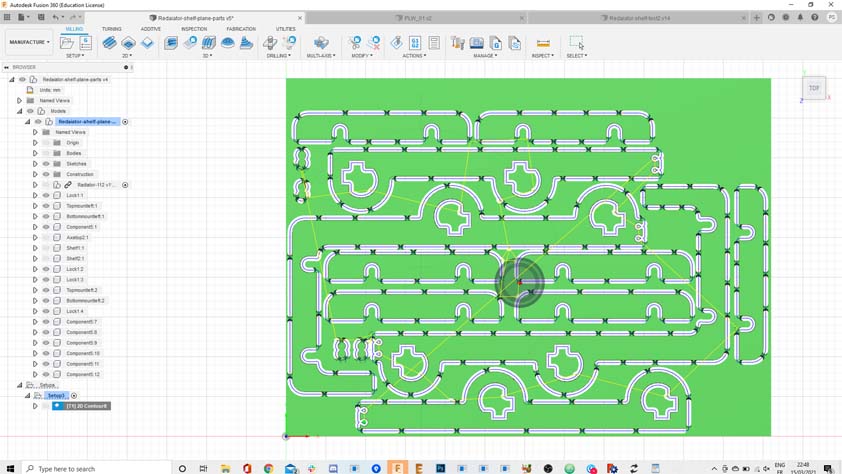
First thing I did is to separate my 3D parts from my 2D ones, then I tried to placed them on an area of 600 x 450 mm, the size of our stocks of wood. This way I knew I would use 3 workpieces.
In the Manufacture > 2D menu select 2D contour, if you wish to mill the contour of your piece. It opens a new menu in which we have to specify <:/p>
- The endmill we are using, and the type of material to mill; this choice automatically fills the feed and speed ratio.
- The size and position of our stock. It has to be measured precisely. Then, select it XYY origin, and the tabs.
The tabs are actually an important setting to set correctly. The first I made were to weak and broke as - Define the Bottom Height as the Bottom of our part to mill
- Specify the passes properties, select the Multiple Depths and put it to 2mm (regarding the endmill and the roughness of the material)
- The last menu allows to specify Predrill and entry position
What I didn't find yet is how to specif what piece or part of the piece should be milled first.

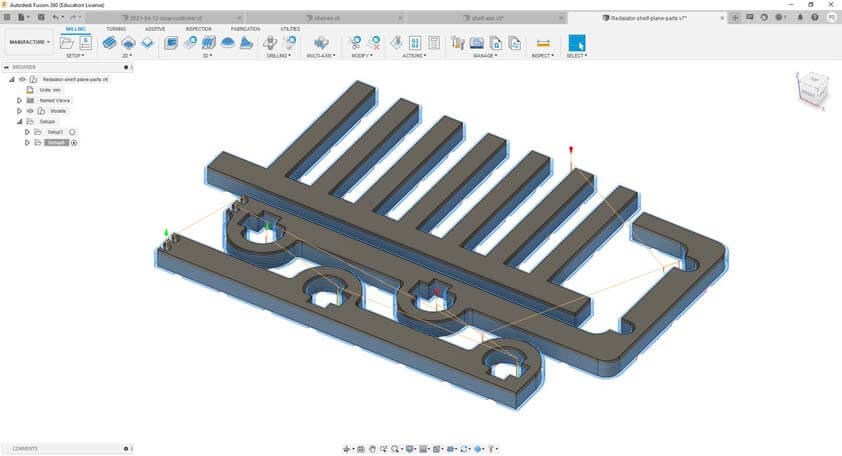
Here are screenchot of my pieces being prepared in Fusion.
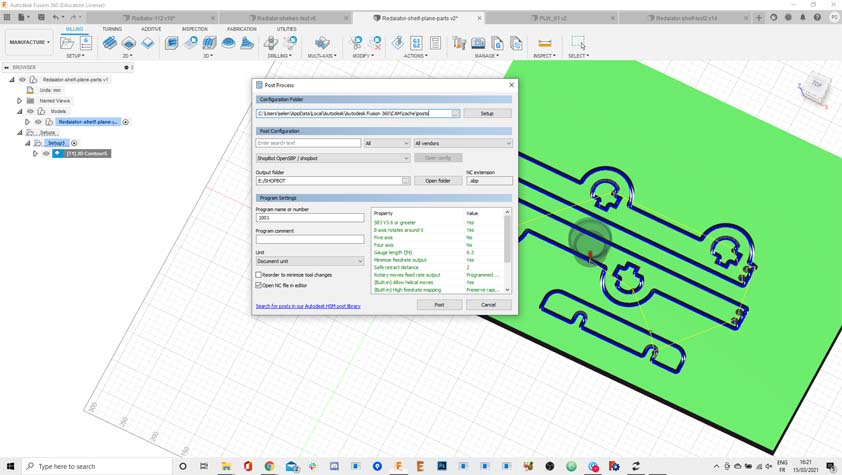
Those images shows the simulation of the cutting process, it allows to preview the job. If it is satisfying enough, it is time to right click on the job and select post process. In the menu the extension file has to be selected regarding the machine we are using. Then we can export the job.
▸ Using the Shopbot CNC
An important before-use thing to do is to fix our stock of wood to the bed of the milling machine. There is several ways to do it : I have a 3018 mini CNC at home and I use screws to hold it tight, at the fablab wer are using hot glue to do so. The process is to press on the stock and apply glue around it. Why around and not below : it would be difficult to have a plane sstock if we put something below, the glue just holds it in place, then we ccan use a cutter to take it out.

-
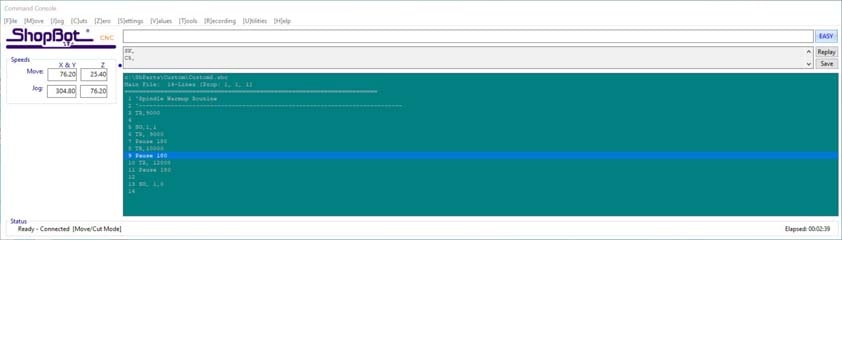
Another before-use thing to do is to warm up the spindle motor, it is called the Warm Up Routine. It consists in actionning the motor at different speed frequencies to avoid the risk of breaking our tools.
-
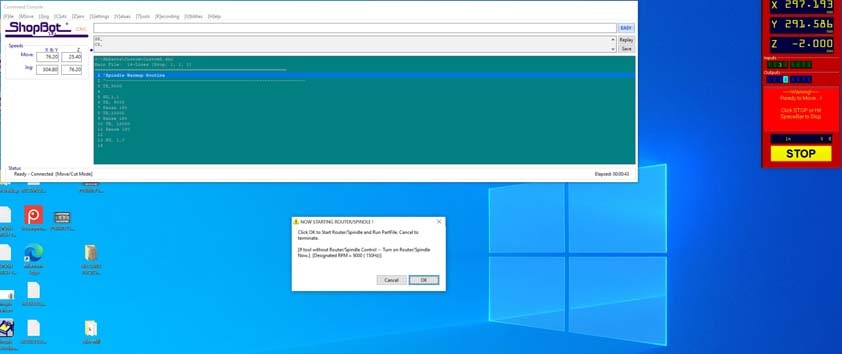
The spindle frequencies are controlled on the machine and not from the Shopbot interface, before lauching a job or in this case, the warm-up routine, it asks if the frequency is set up correctly.
-
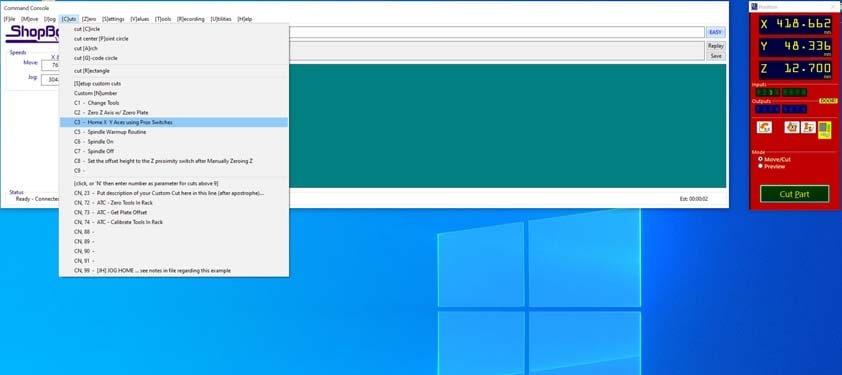
Then we have to calibrate the machine using the switches, this way the machine knows where she is on X and Y axis.
-
The Z axis can be set from this yellow panel, using the keypad or the mouse.

-
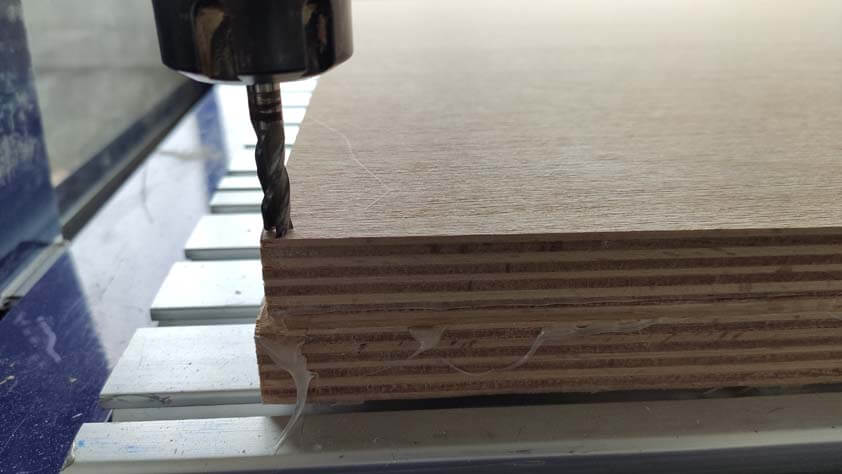
And here is a picture of the XYZ calibration.
-
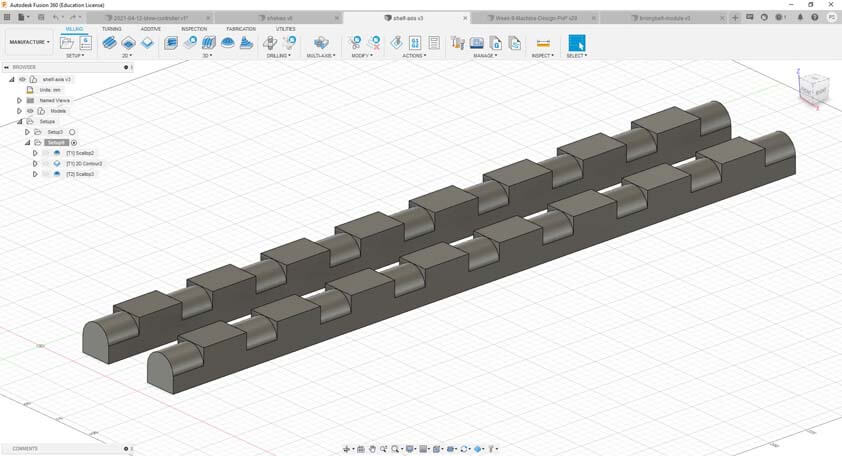
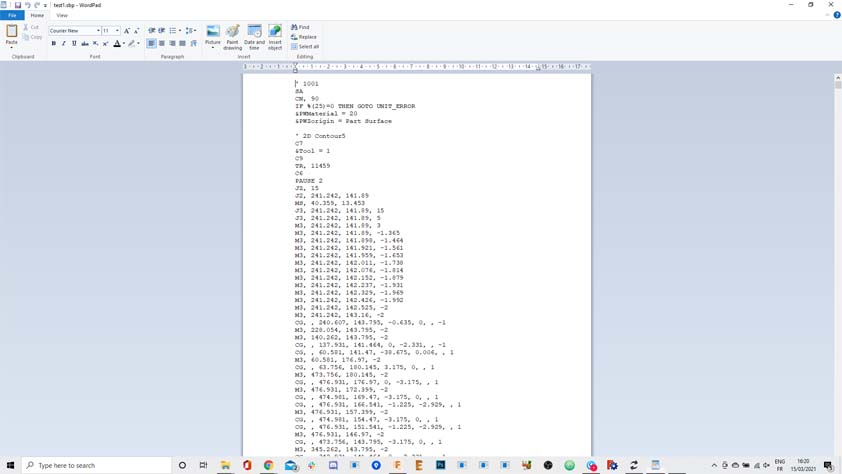
Before starting a job, it is safe practice to launch an airpass, it means to calibrate the Z axis higher thant it should be to observe if the path of the job is correct. The image below shows the gcode read by the machine, thos are coordinates the machine is travelling to step by step.
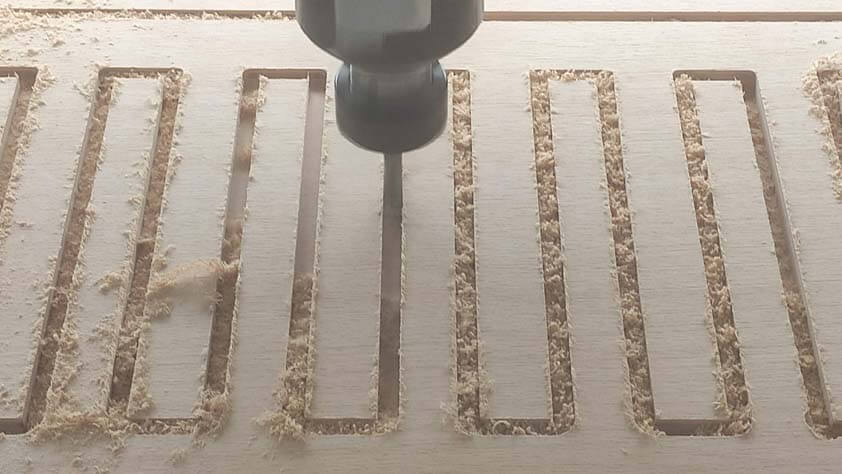
▸ Milling
Tabs are an important thing to set up correctly, as the precise size of the stock of wood. Several things can explain what went wrong, as I wrote just before, the tabs sizes and the precise size of the stock, and also the priority of milling. If the interior of the part had been milled before its contour, it might wouldn't have happened as less force would have been exerced on the contouring tabs.
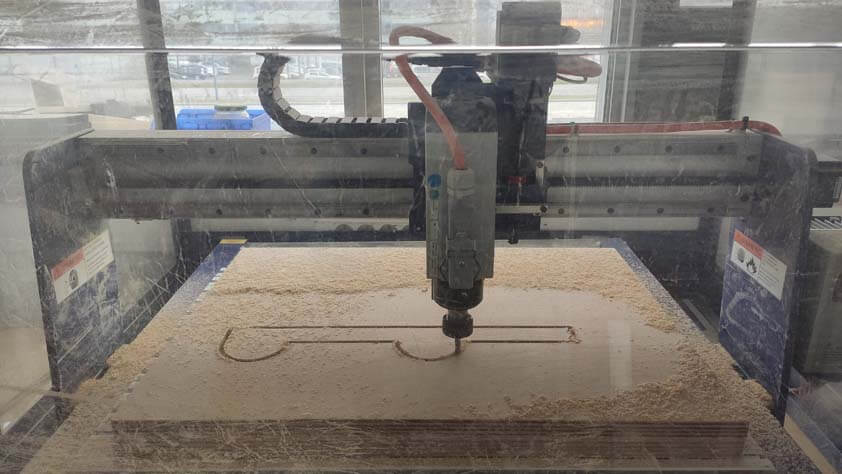
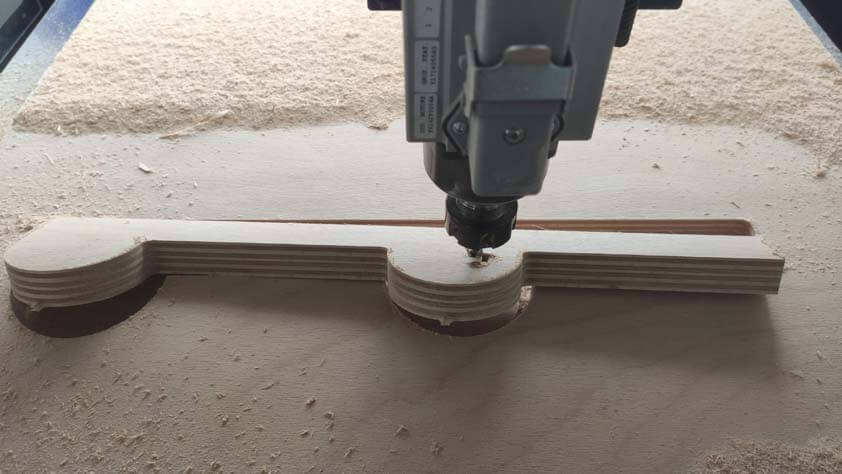
Here are pictures of the job going the right way.

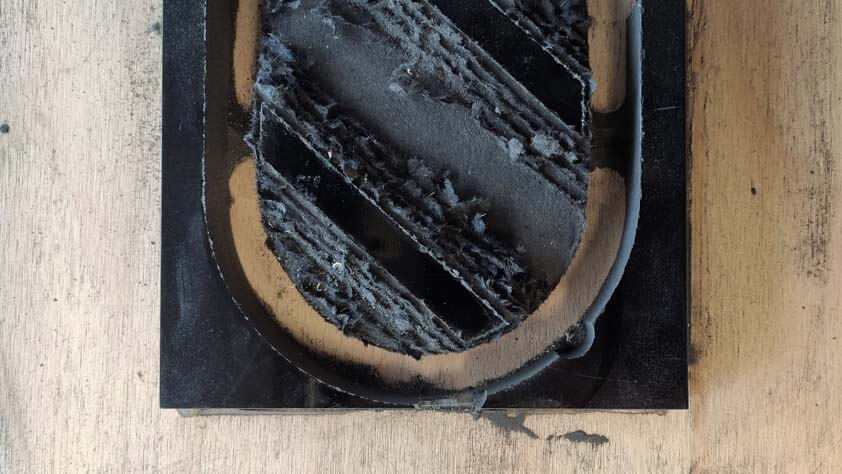
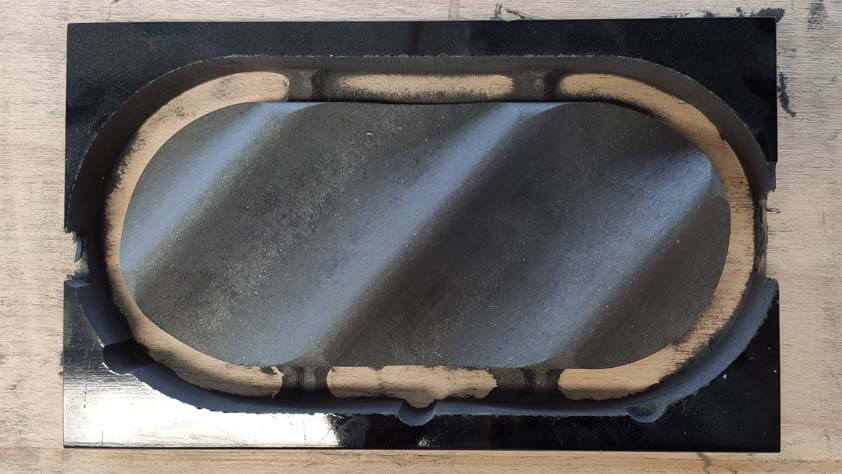
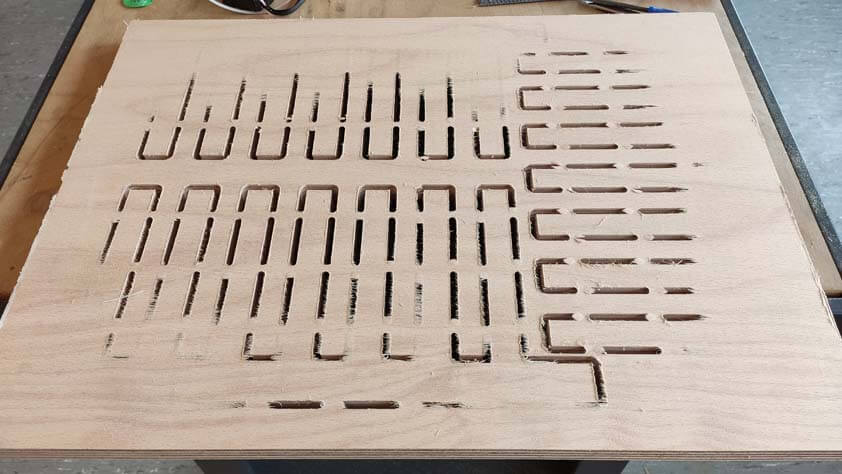
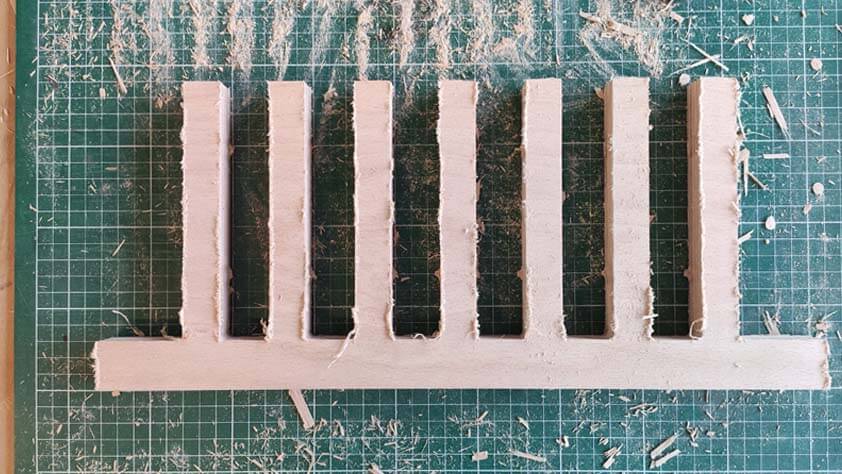
▸ Sanding
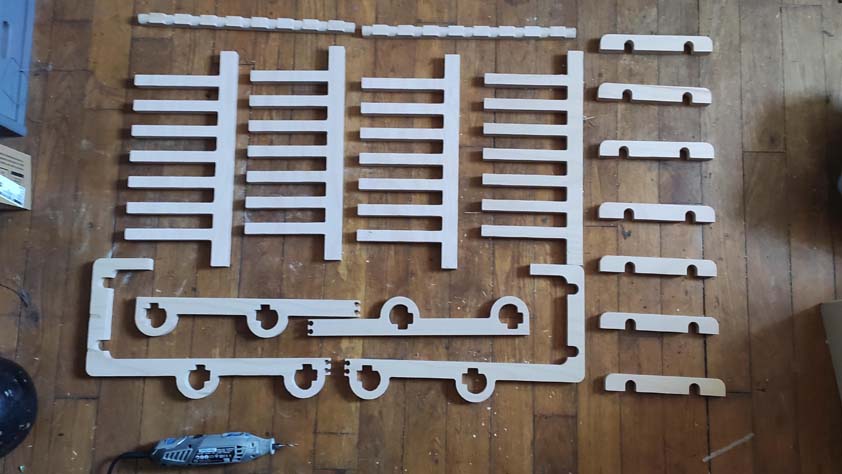
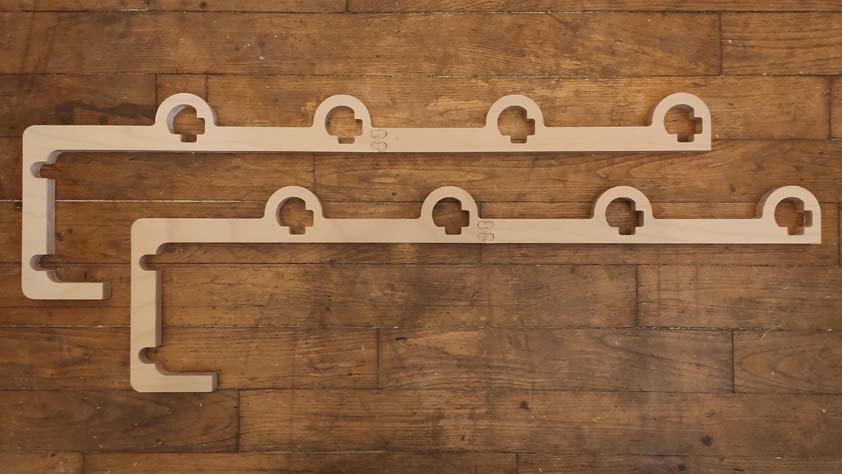
After my first experience I decided to play it safe, yet it was too safe because I had a lot of un-milled material and it meant that I would have to sand a lot.

The first shelf being sanded :
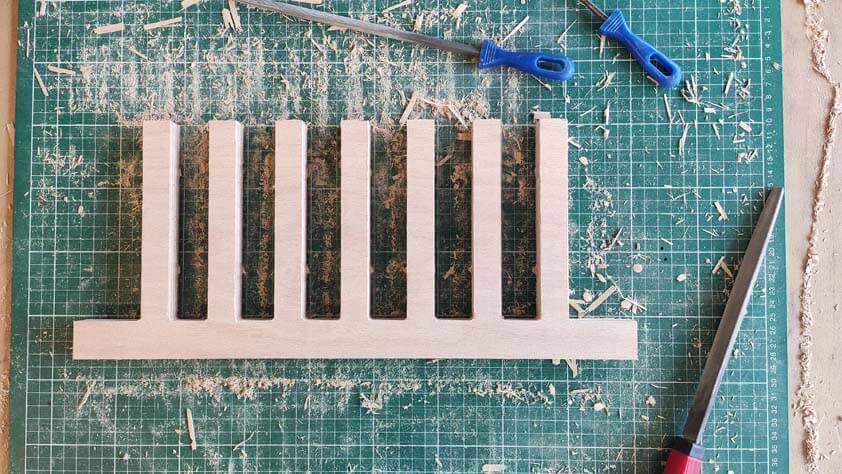
All the parts from the dryer that I sanded (it could have been more) using the Dremel.
▸ Assembly
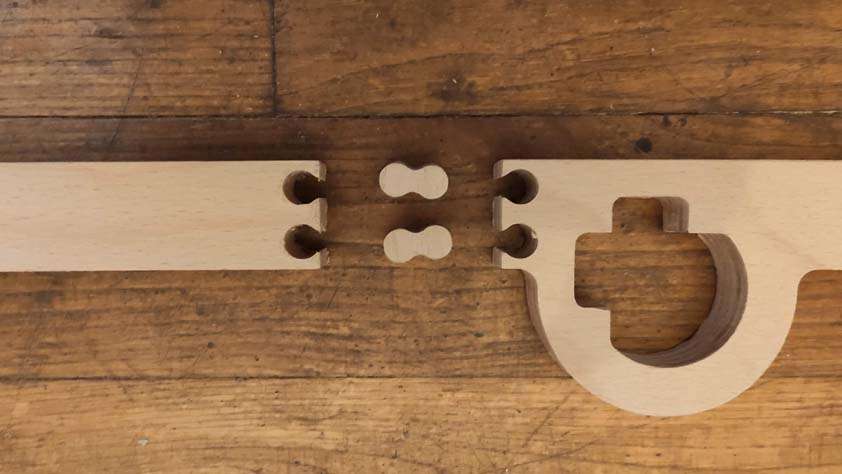
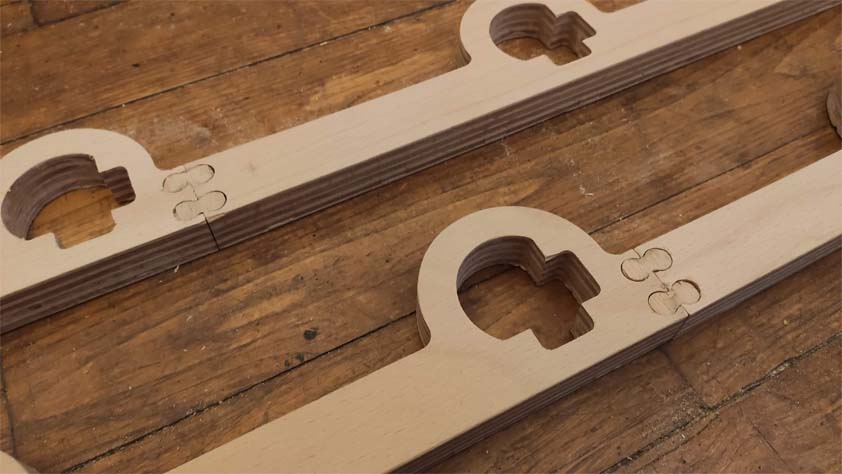
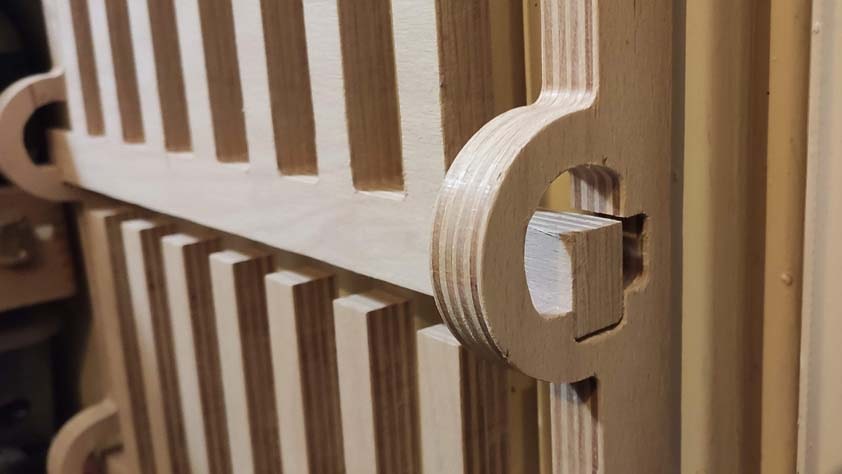
Now the parts are ready, time to discover if the joints and the low mechanism are working, here are the joints :
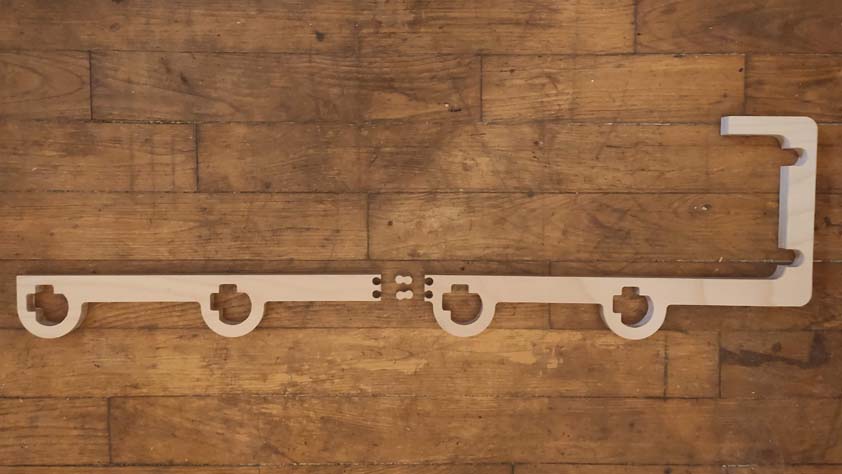
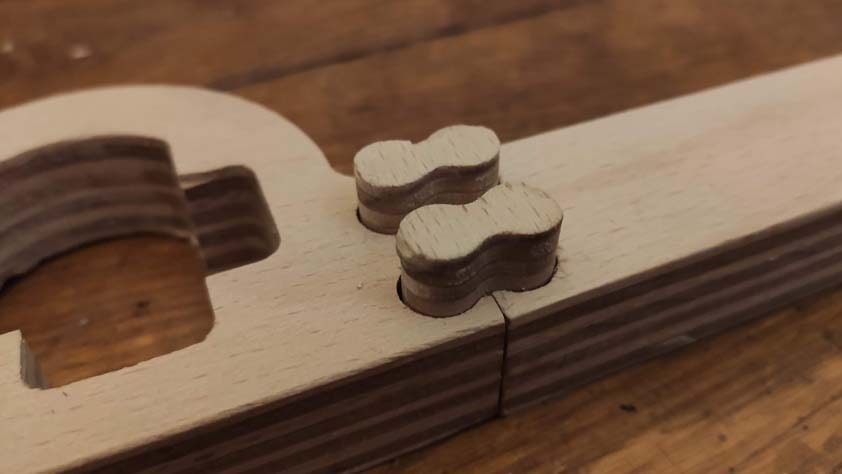
The two "arms" are placed on the two axis on the radiator, then the parts composing the upper shelf are placed.
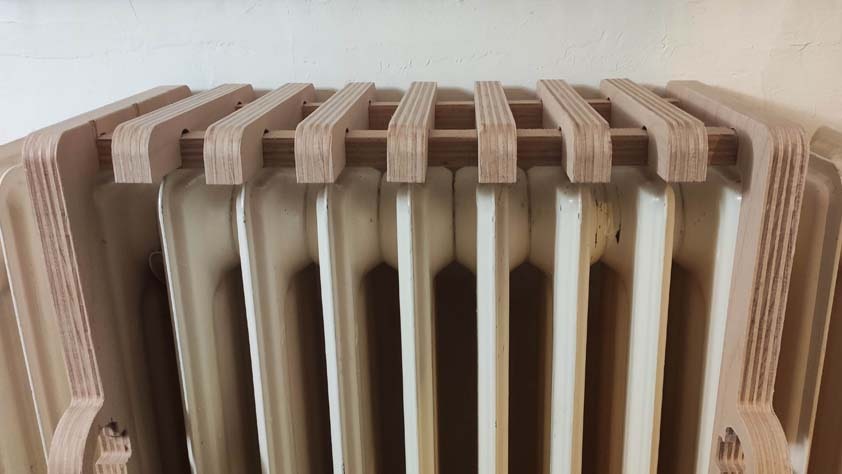
Here is my rotation low mechanism, the shelf has to be lifted up and turned in order to be locked in an open or close position. Nothing but wood and easy assembly.
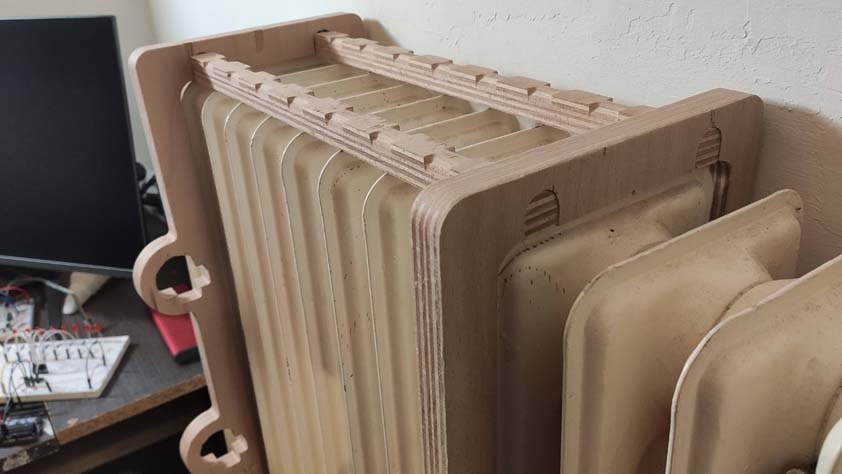
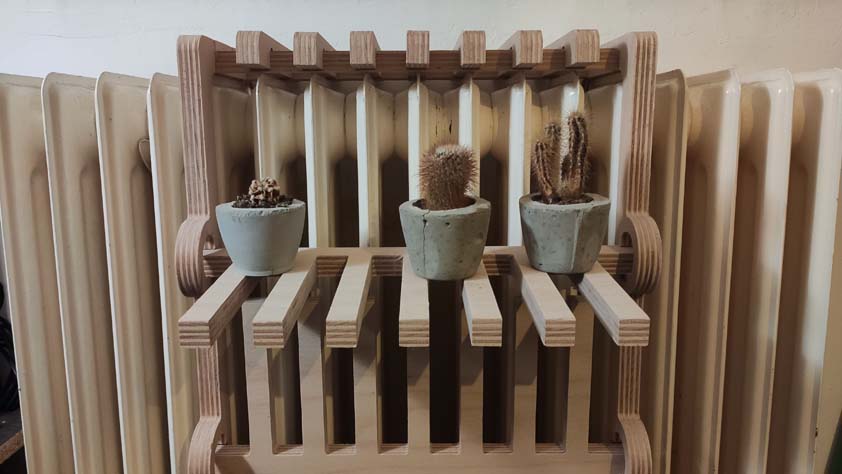
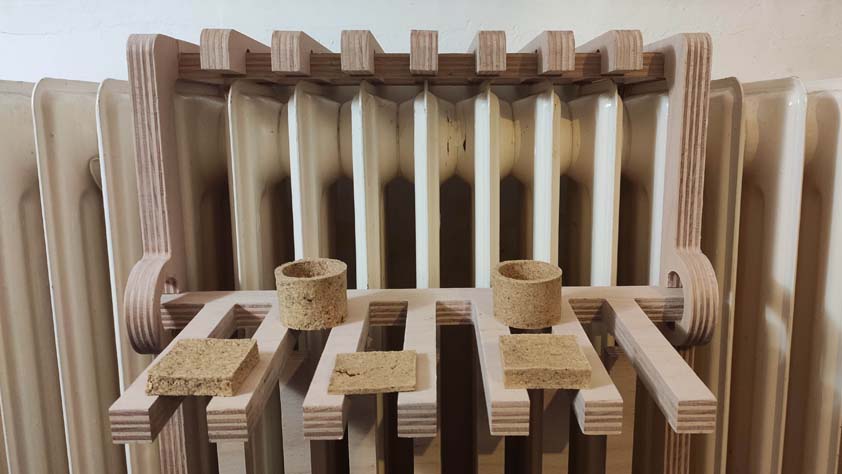
And here is the radiator mounted dryer. The two images below shows it in the open and close positions.
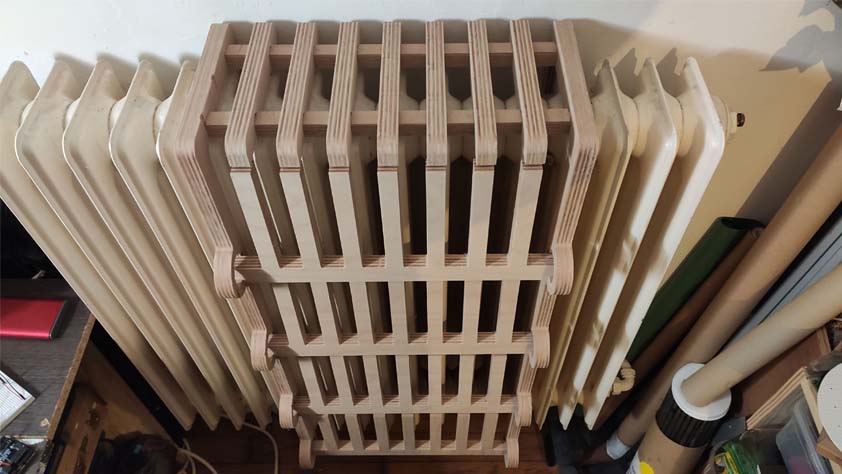
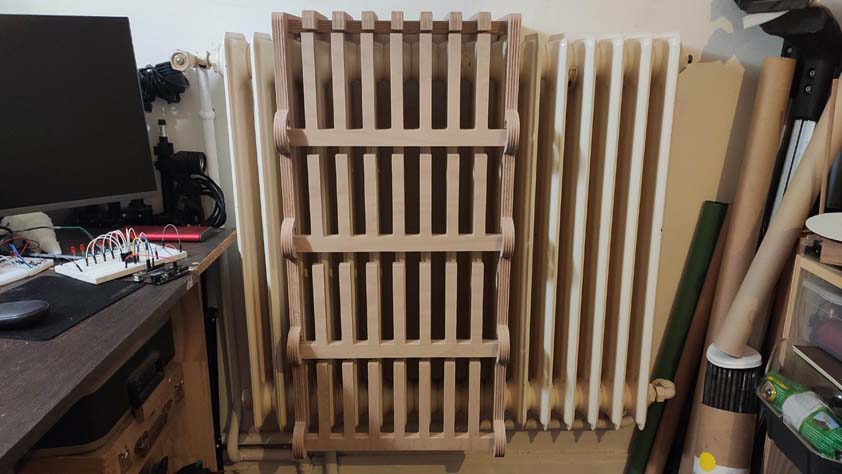

I will use it as a dryer, but it could also be use as a simple shelf. The shelves parts might have been milled in a thinner stock of wood.
☛ Files of the week
▸ Here are my files from this week.