6. 3D Scanning and printing
This week I worked on
• the Group Assigment: set rules for our 3d printer
• Design & print a 3d model that can’t be can only be made bij a 3d printer
• make a 3d scan
Individual assigment, design and print a 3 d model
First I had to think of something that could only be 3D printed. I rejected several ideas because on second thought they could be made with a Shopbot. Basicly the design had to be hollow or had to havemultiple angles.
First I thouhgt of a scale model of the car I want to make for my final project. But I realized that - in the way I want to make it - it could be made with a Shopbot
Secondly I thought of a vase, but that is super simple to design in Fusion.
Thirdly I thought of a bolt, but I already desiged that once and I did not want to use it again.
Finaly I decided to make something like this candlestick, designed by Charlotte van der Waals
Designing
I used Fusion 360. First I needed a tube. I started with 2 circles of 6 and 8 mm, giving 2 mm thickness to the tube. With Concentric I made them concentric
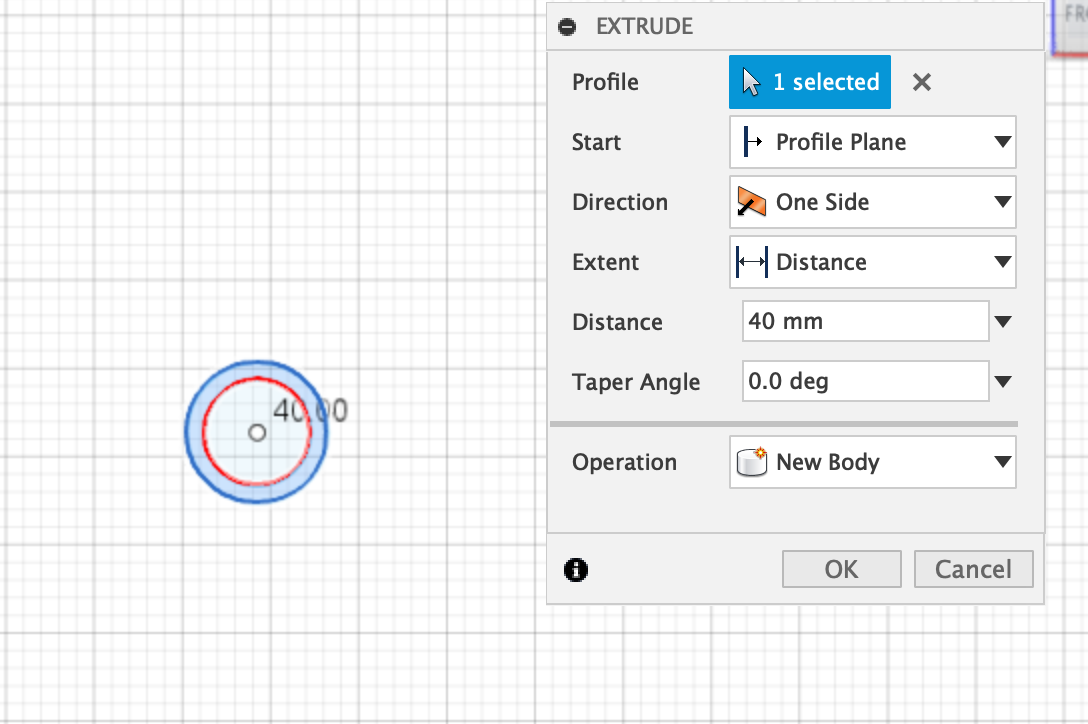
Ater that I extruded the circles by 40 mm to get a tube.
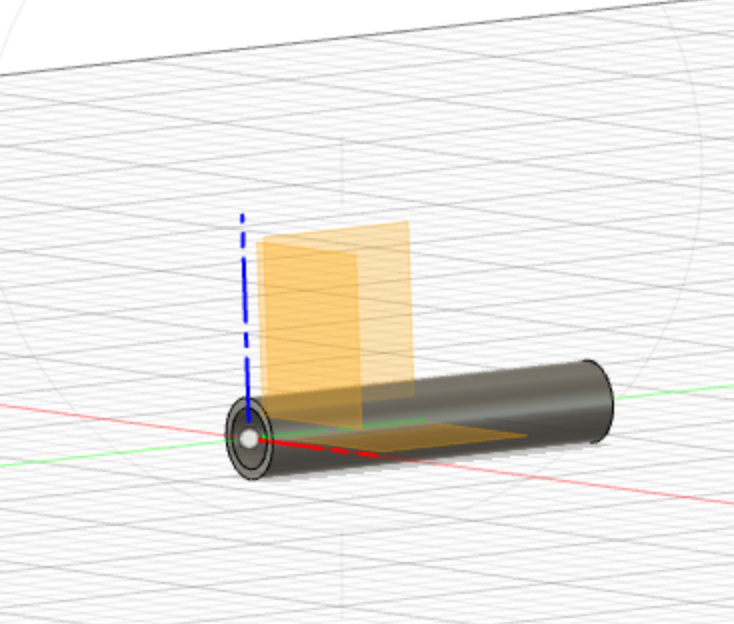
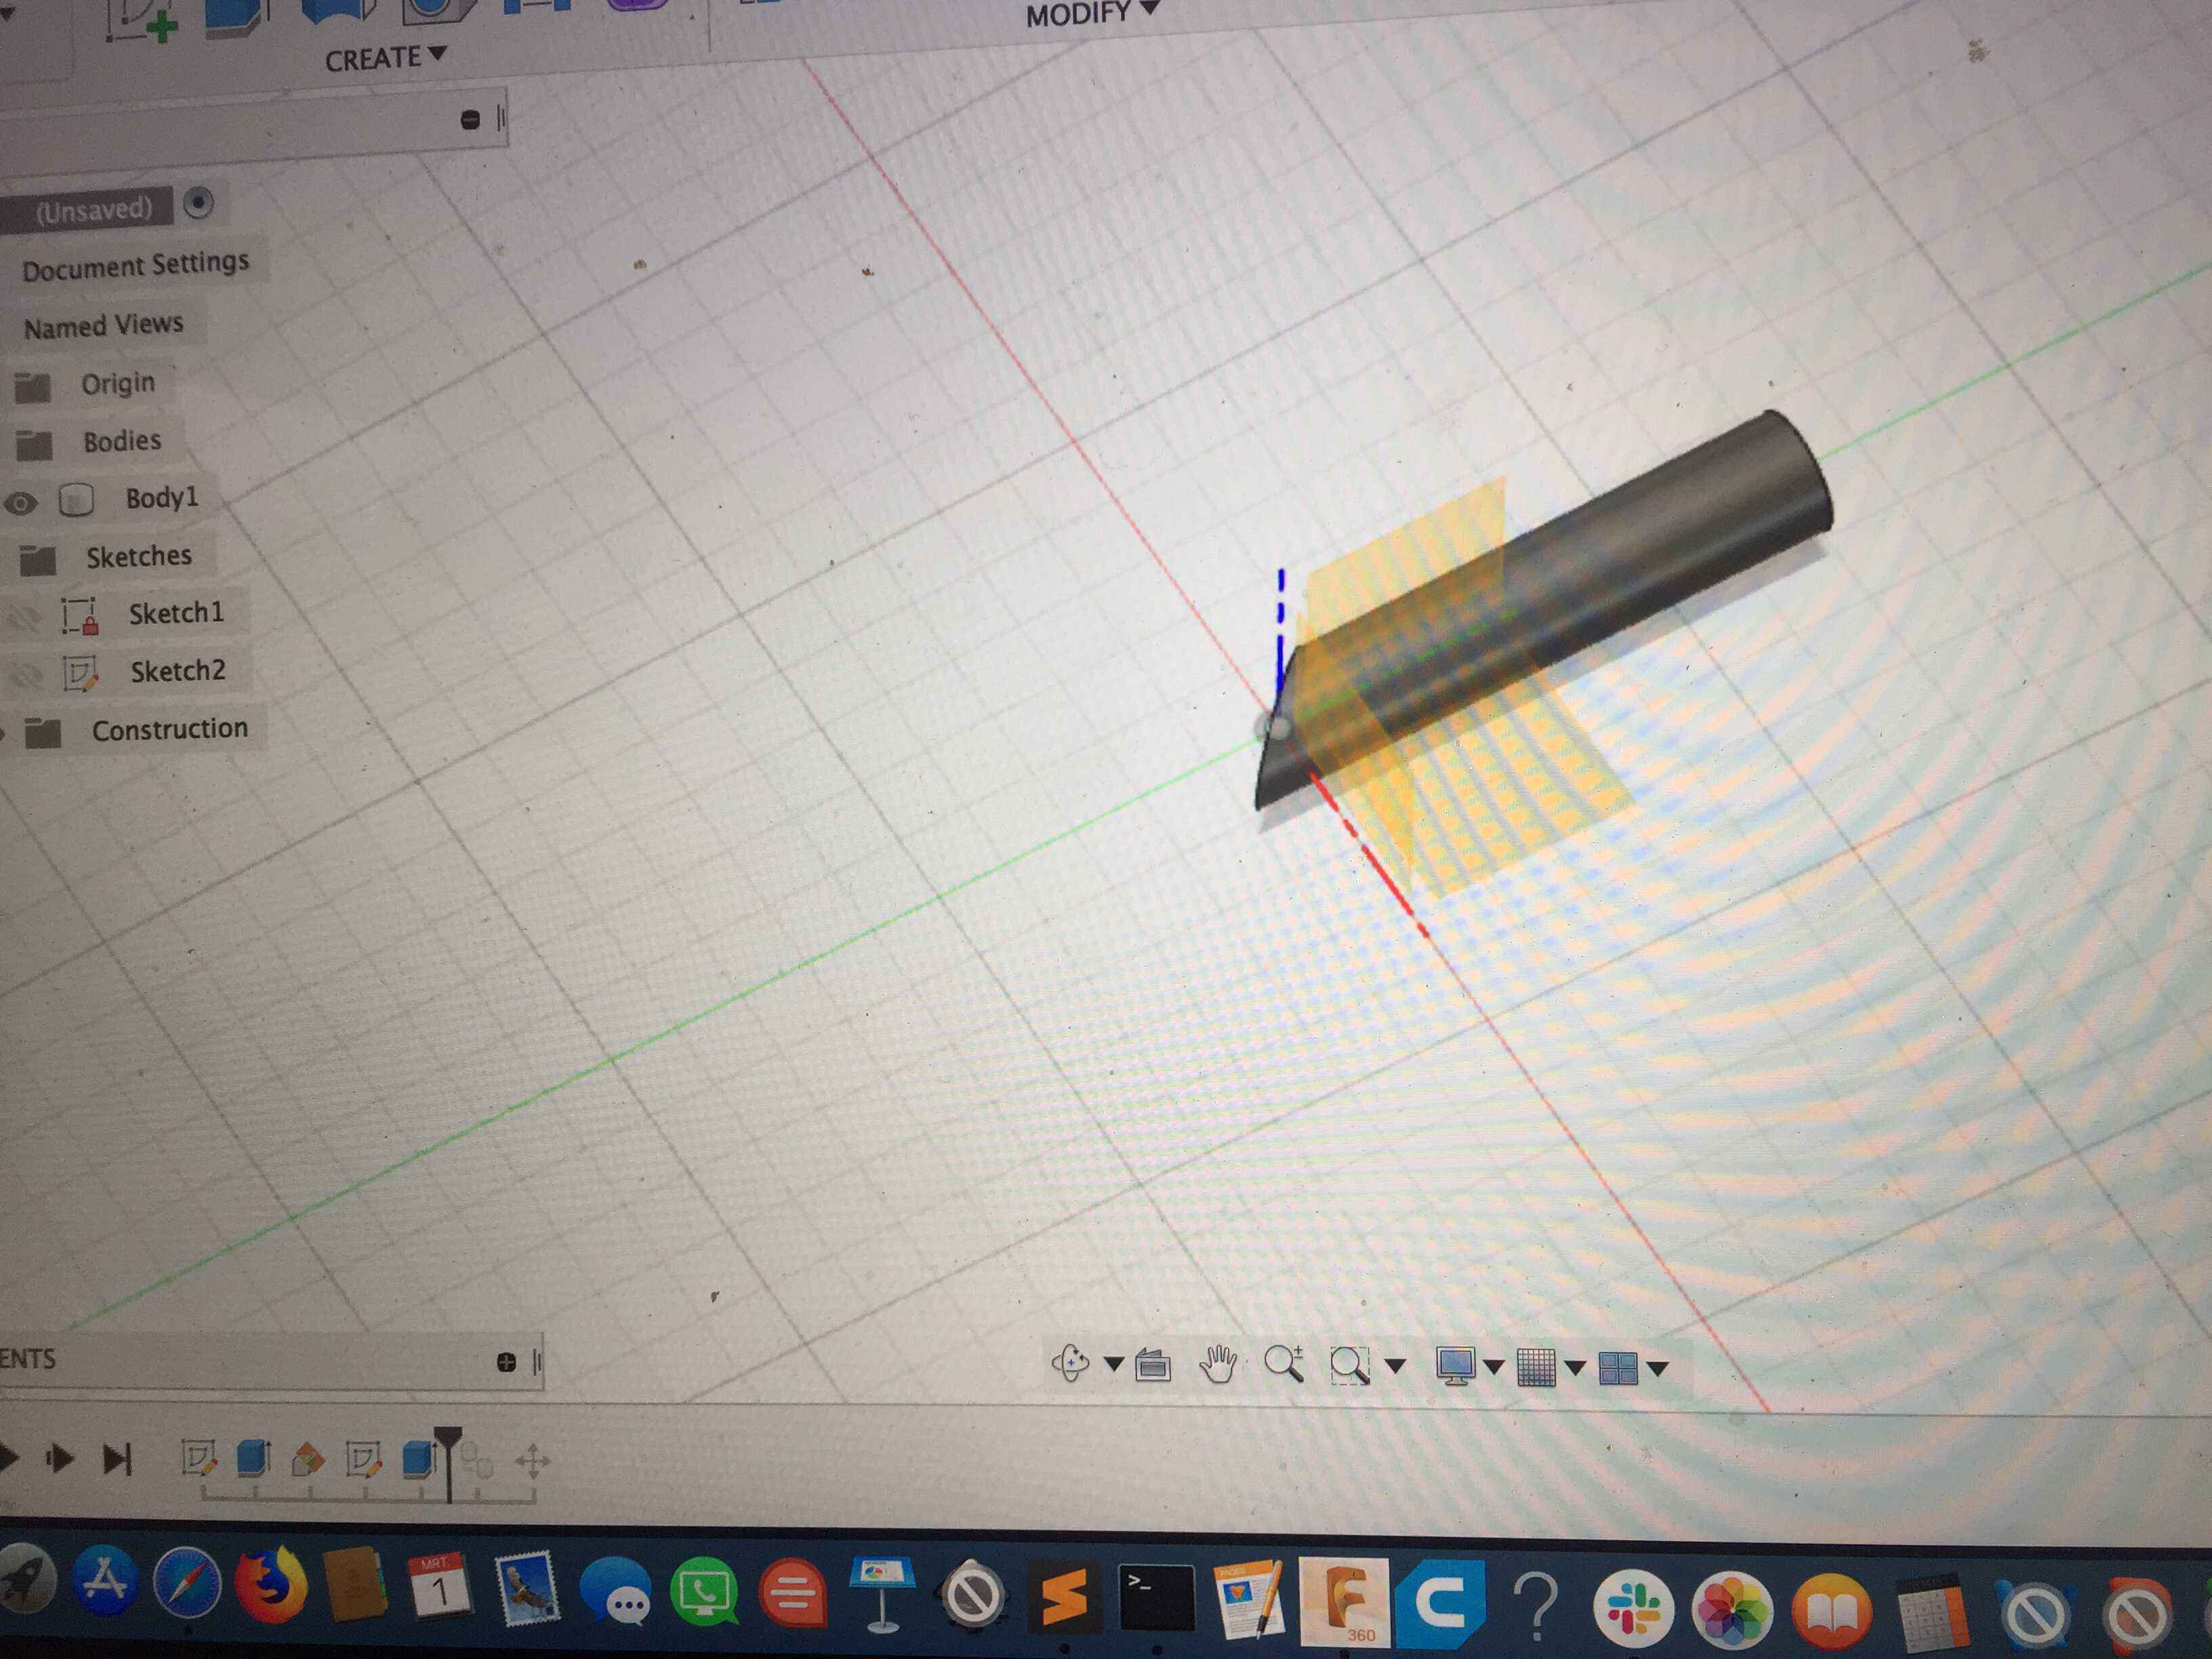
Now I needed to mitre the tube with a 45º angle. I made a 45º plane, placed it at the end of the tube and extrude/cut the tube.
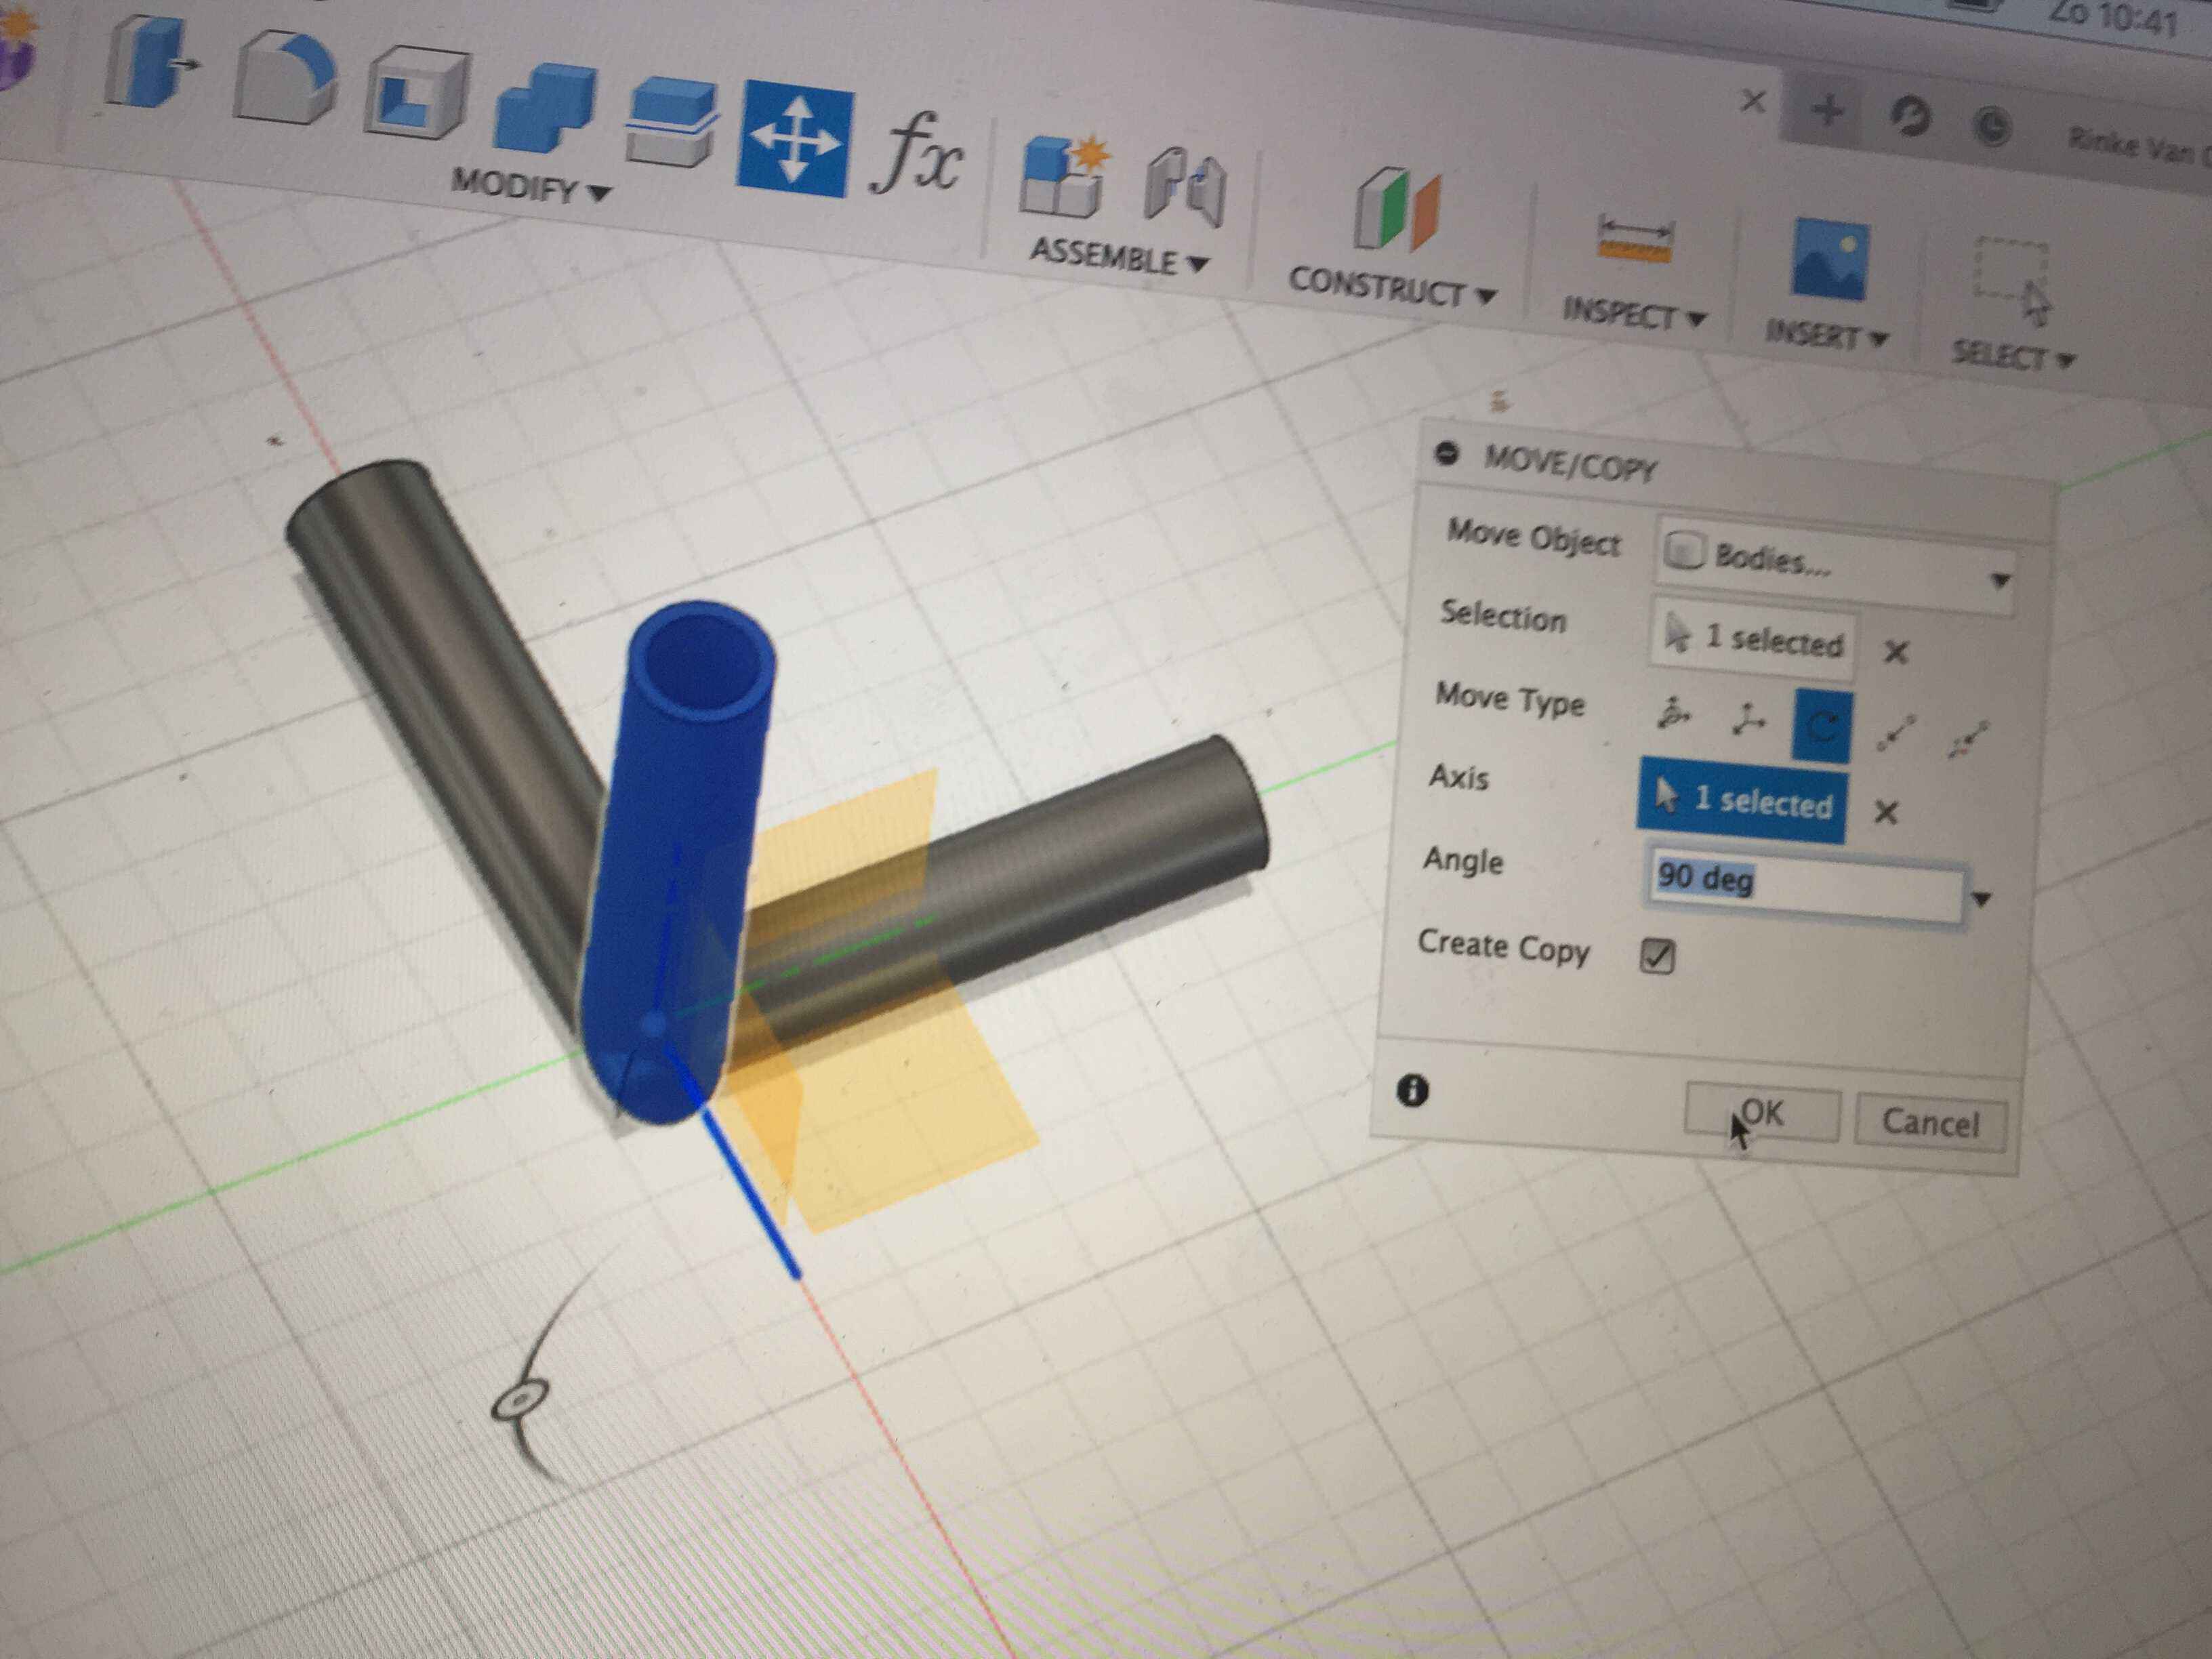
With Move/Copy I could make the second tube and I placed it in a 90º angle on the end of the first tube.
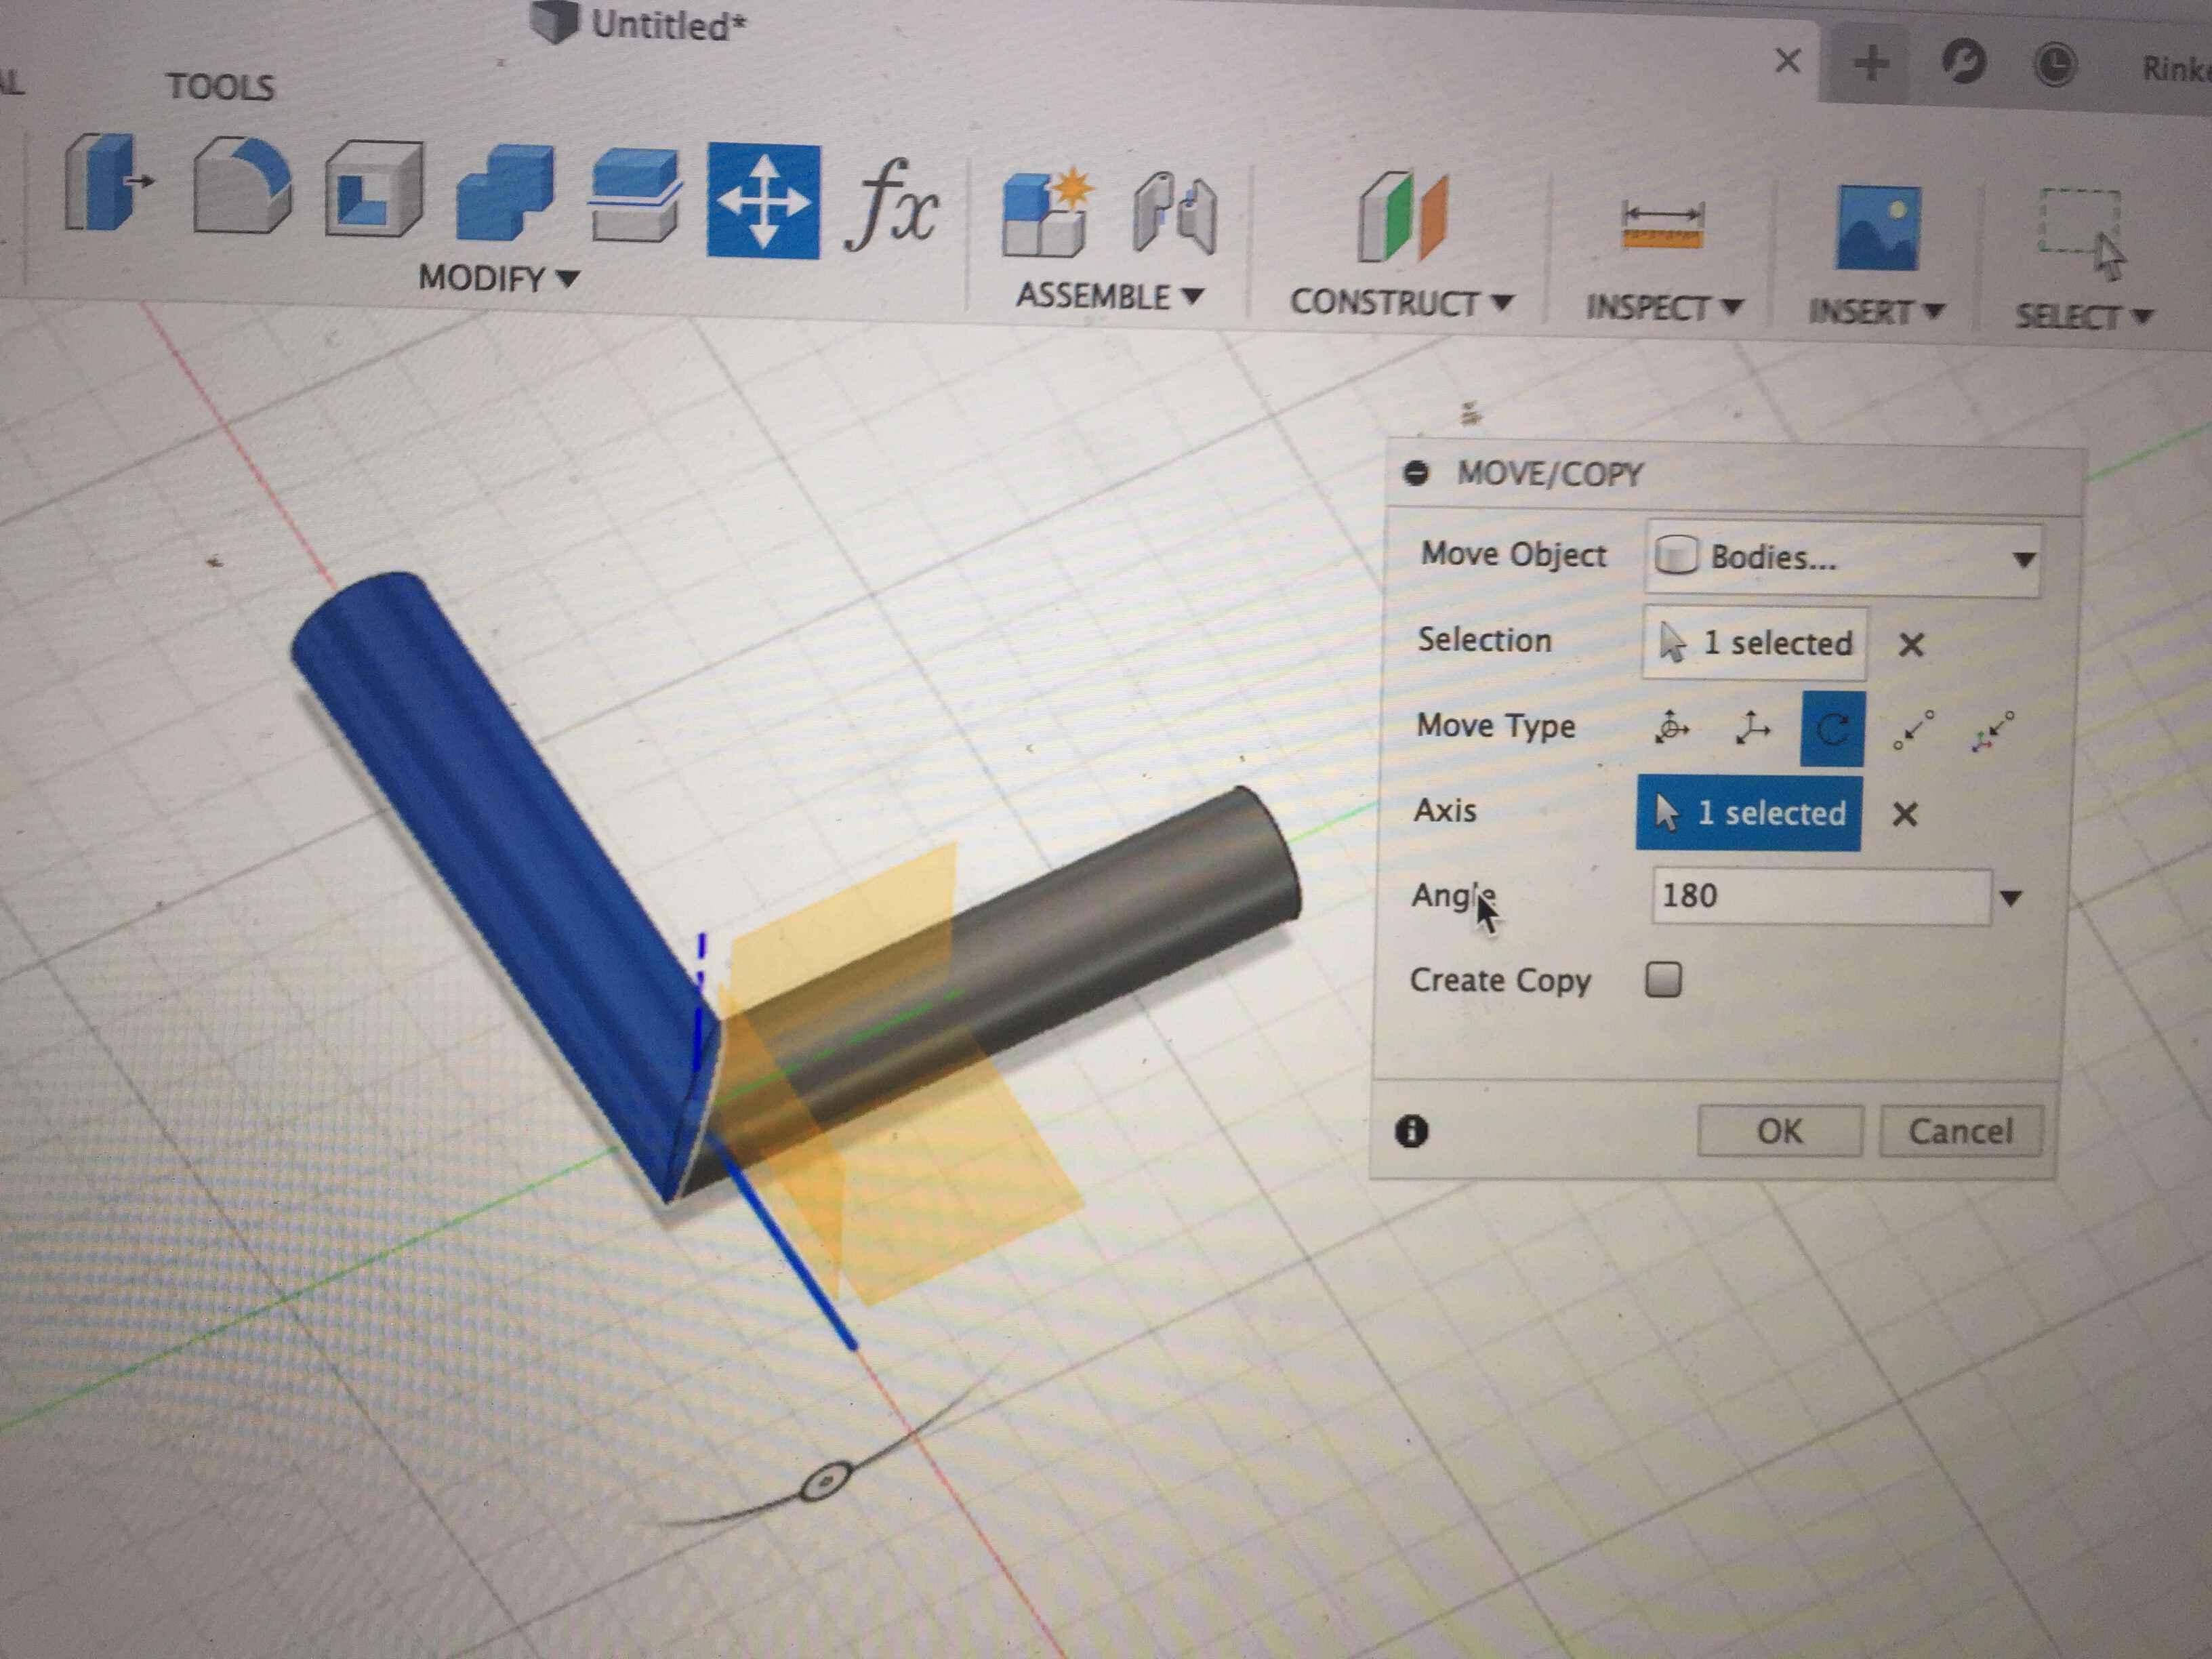
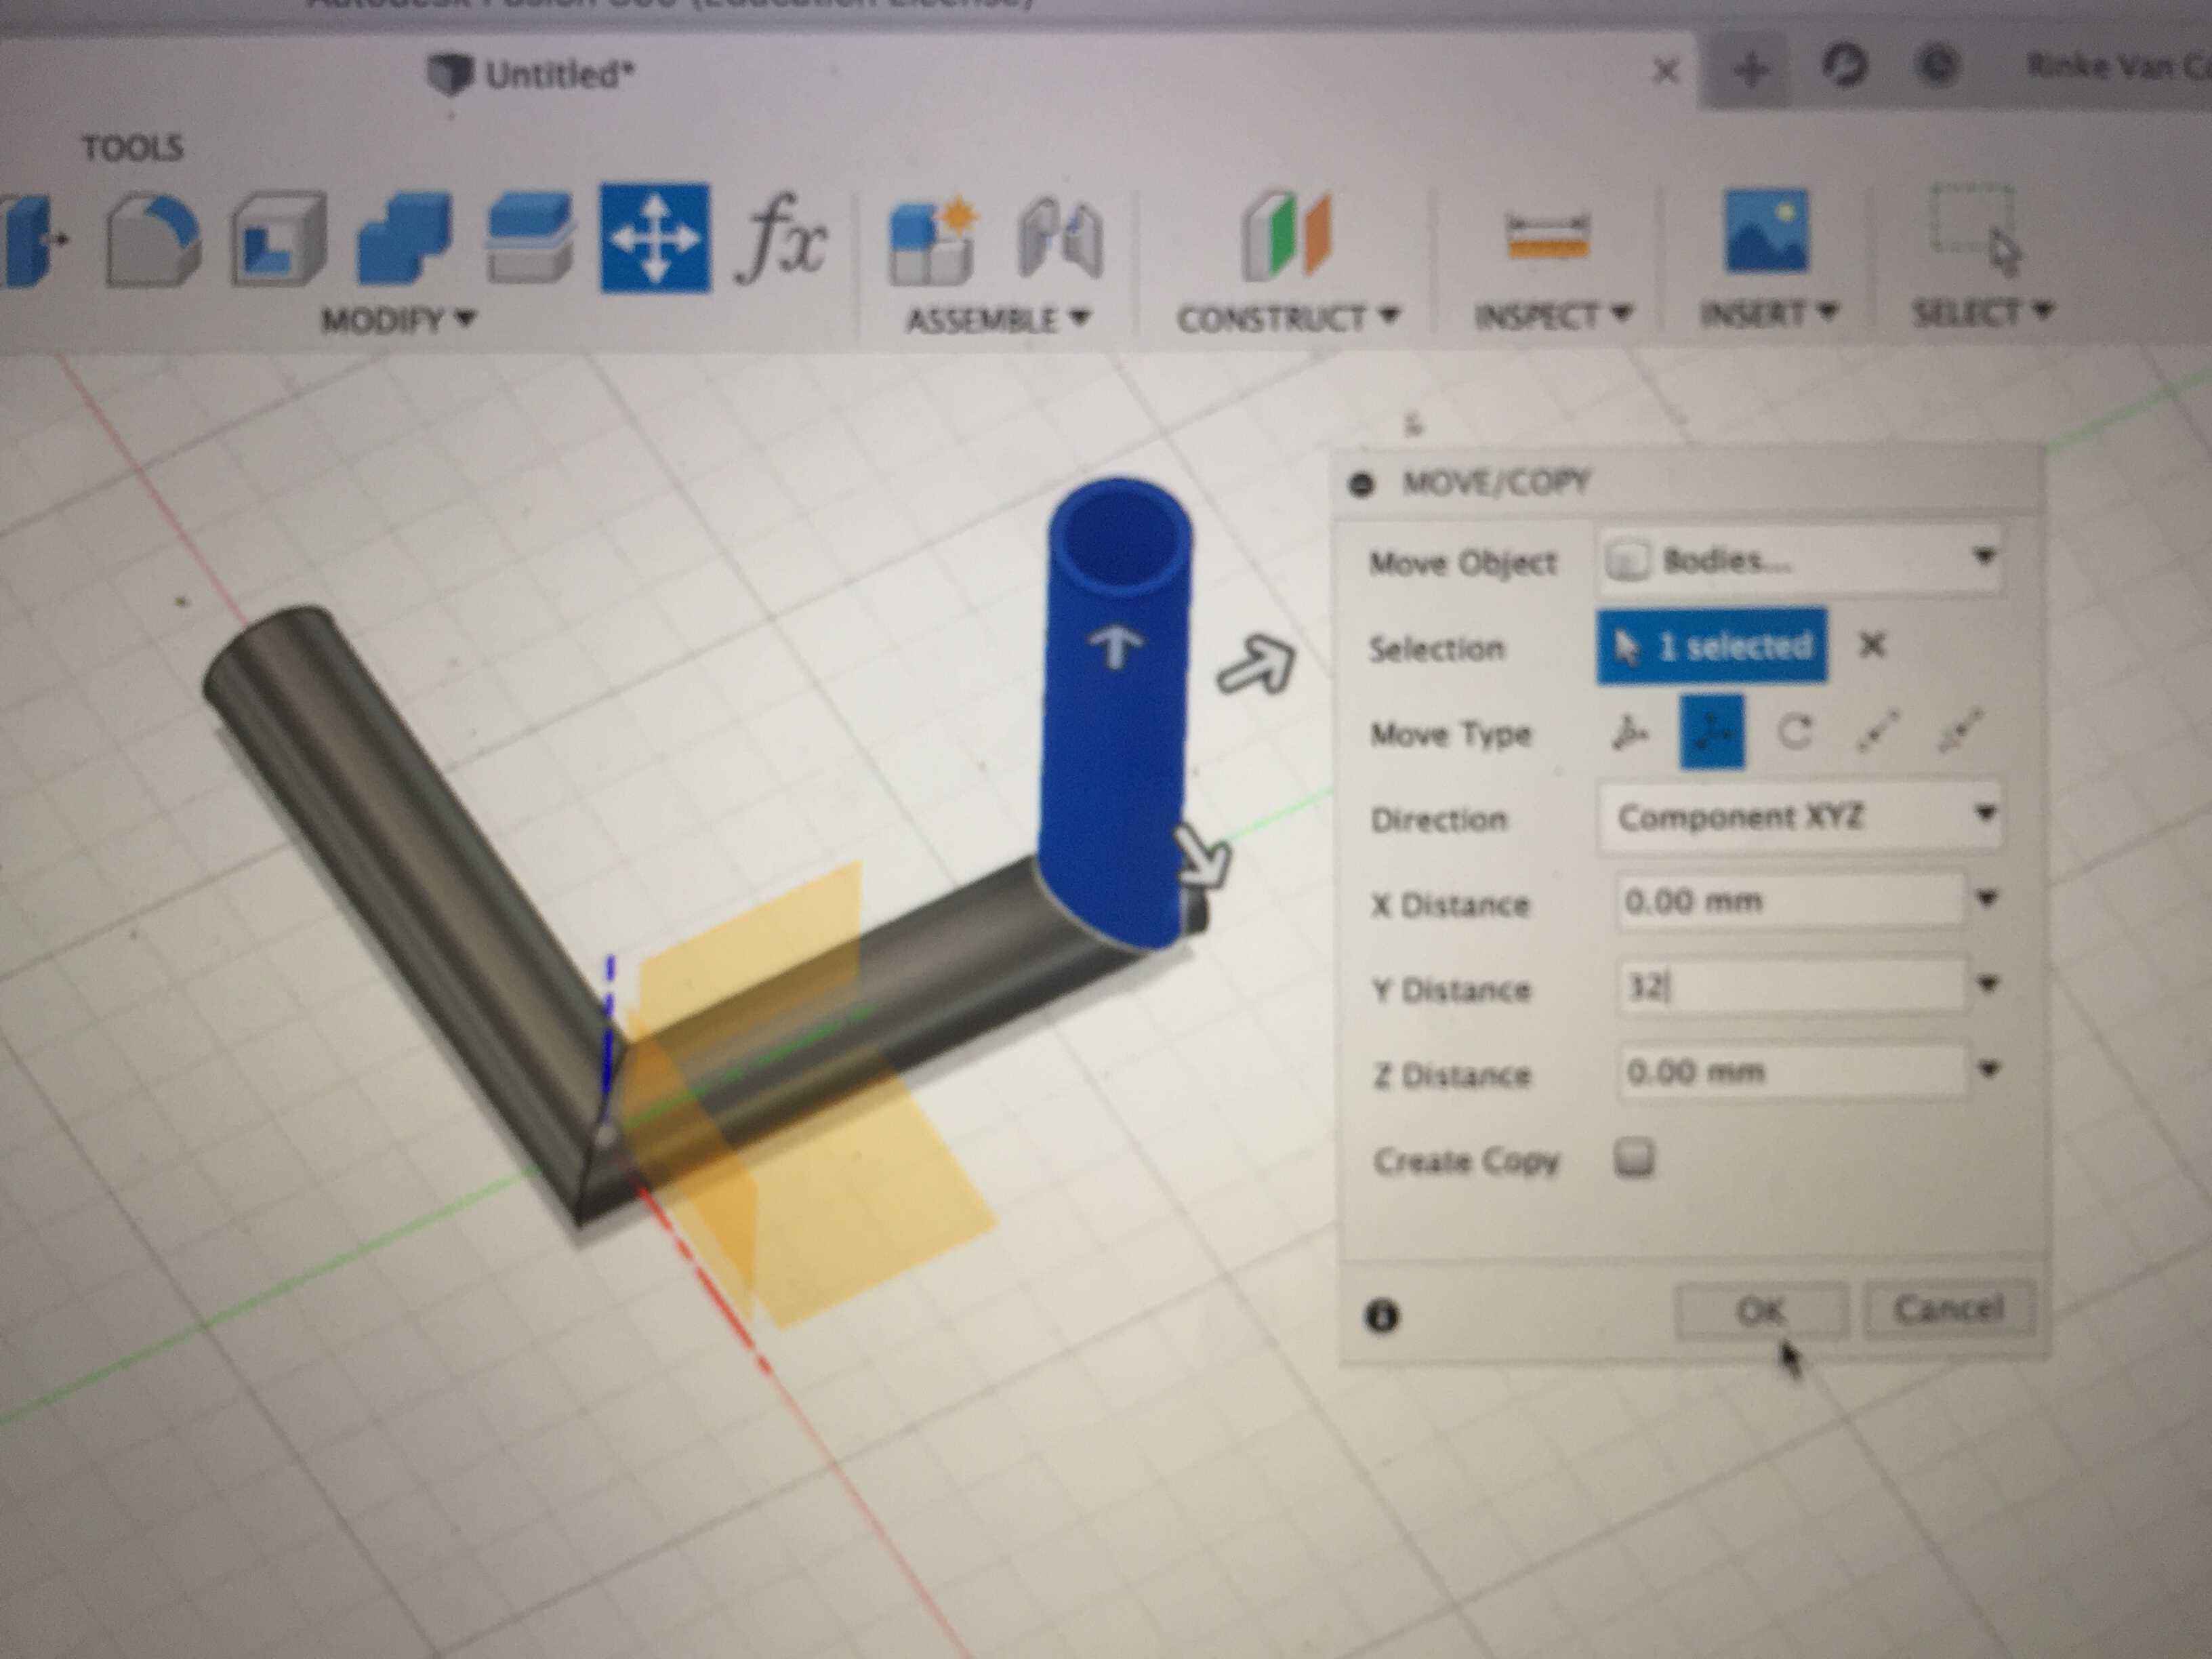
With Move/Copy I could make the third tube. I turned it 90º verticaly.
Again with Move/Copy Translate I moved it to the right position 32 on the Y-axes, witch is 40 mm minus 2x 4 mm radius of the tube.
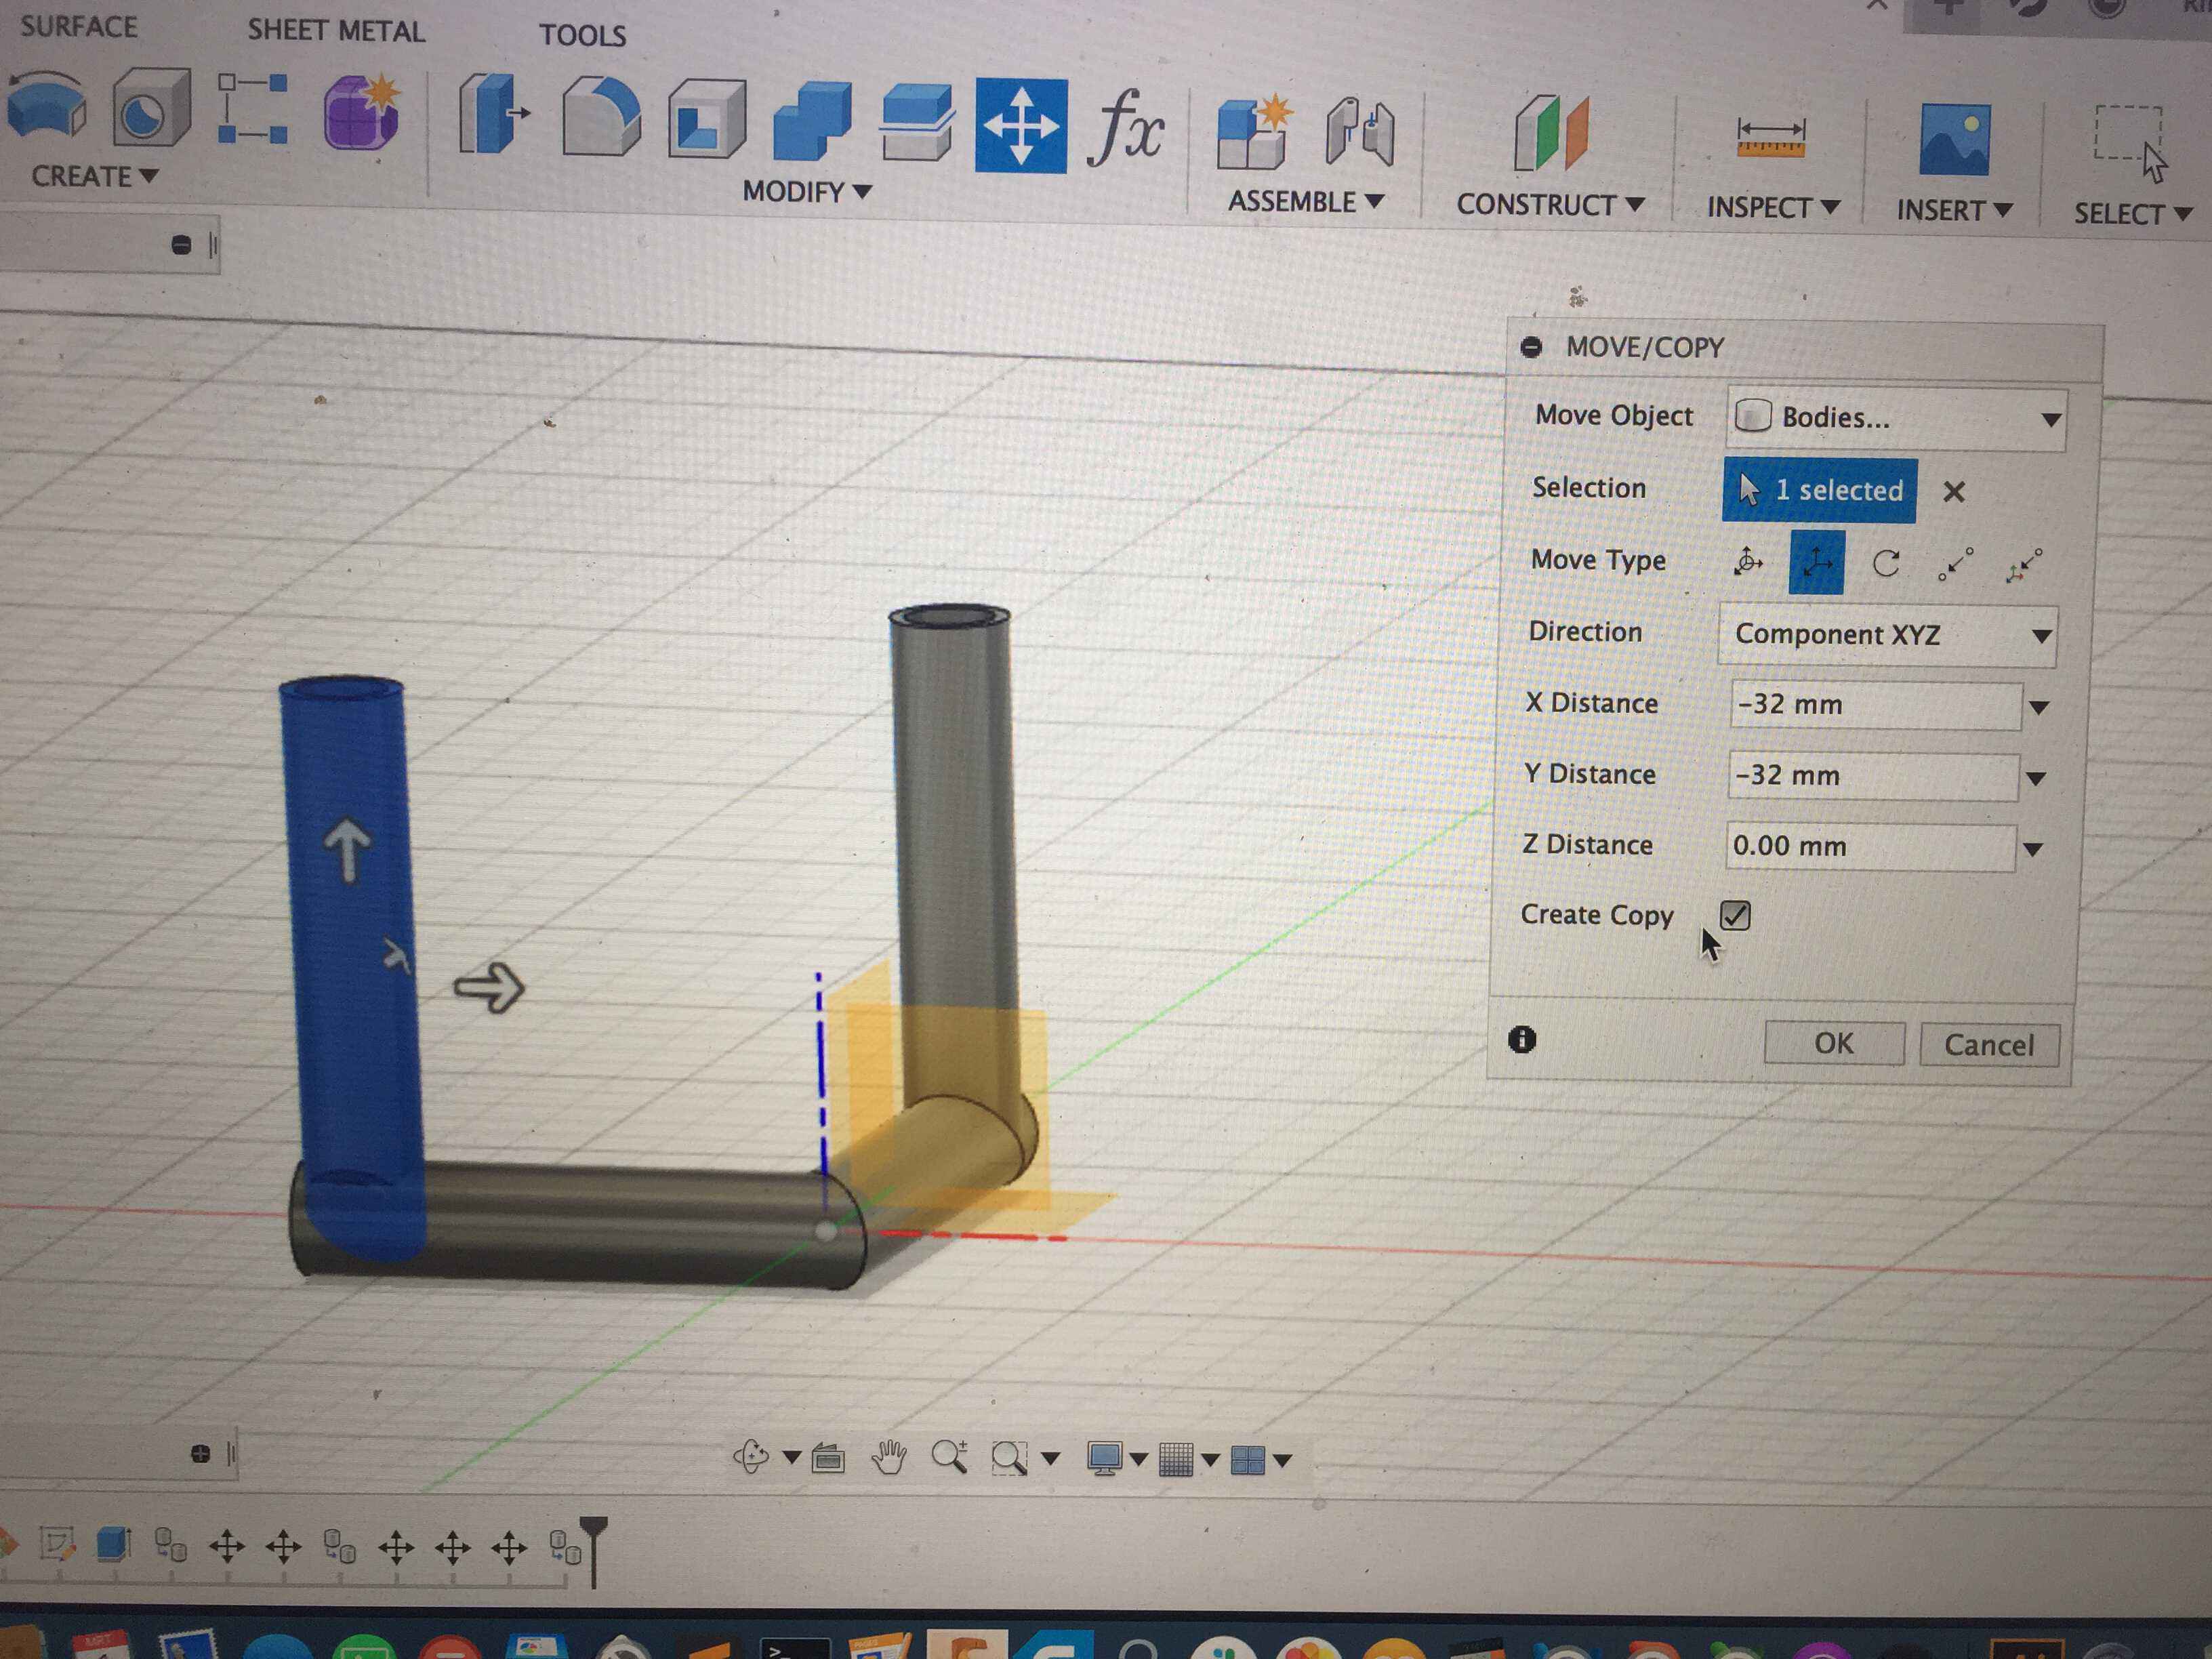
Then I did the same Move/Copy operation described above, but with -32 mm on the X and Y axis.
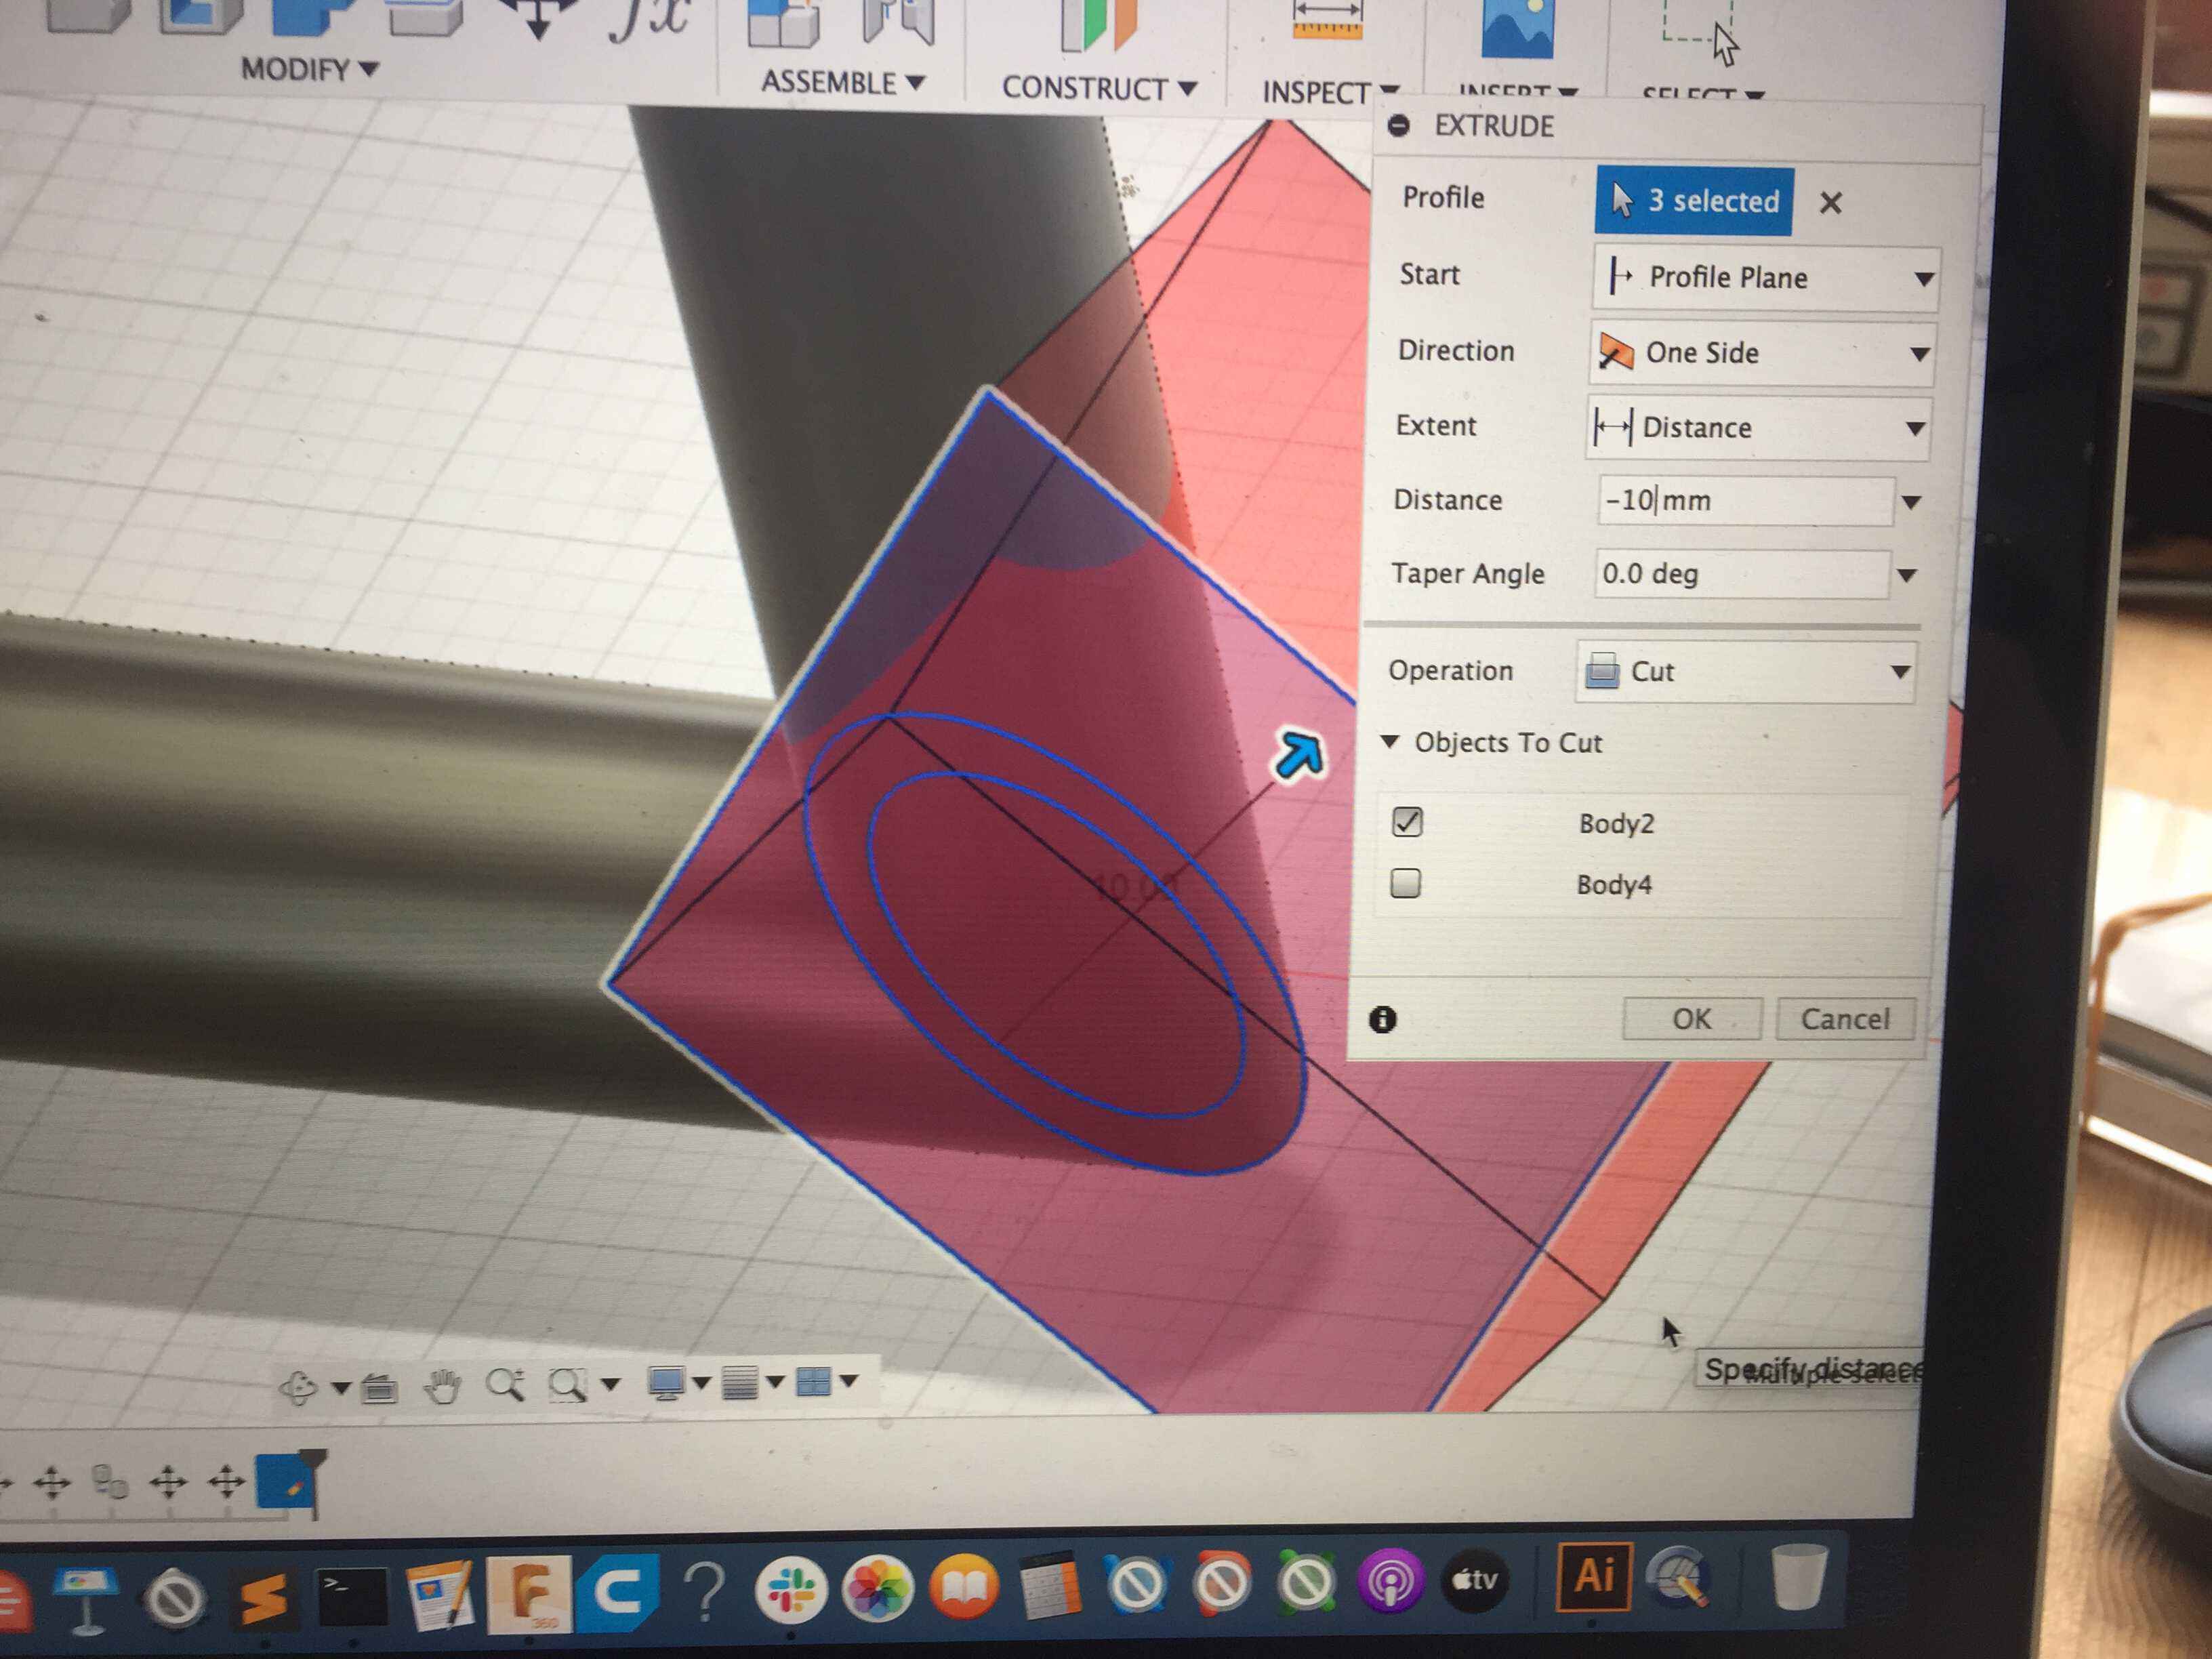
Now there was only one thing left to do: extrude the last part of the horizontal tube under a 45º angle. I did that by making a rectangular first, place it in the right position and the extrude it. I had to make sure to select the inner and outer circle.
What I should remember when working Fusion 360
• First make a paper and pencil sketch. It helps you to go step by step through your Fusion 360 work.
• First decide what you want to do in Fusion 360 and then apply it on an object.
• You can go back and forth into ‘time’ and adjust things you have done.
• Make sure you know that you are in Sketch mode or in Object mode.
Printing
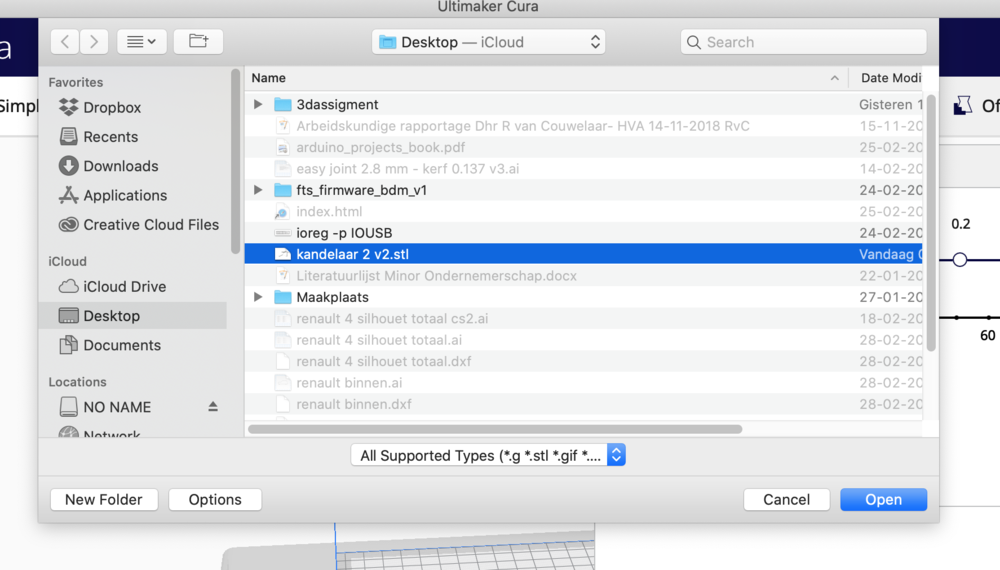
For 3D printing you first have to slice your file and turn it into G Code. I opened the candlestick file in Ultimaker Cura.
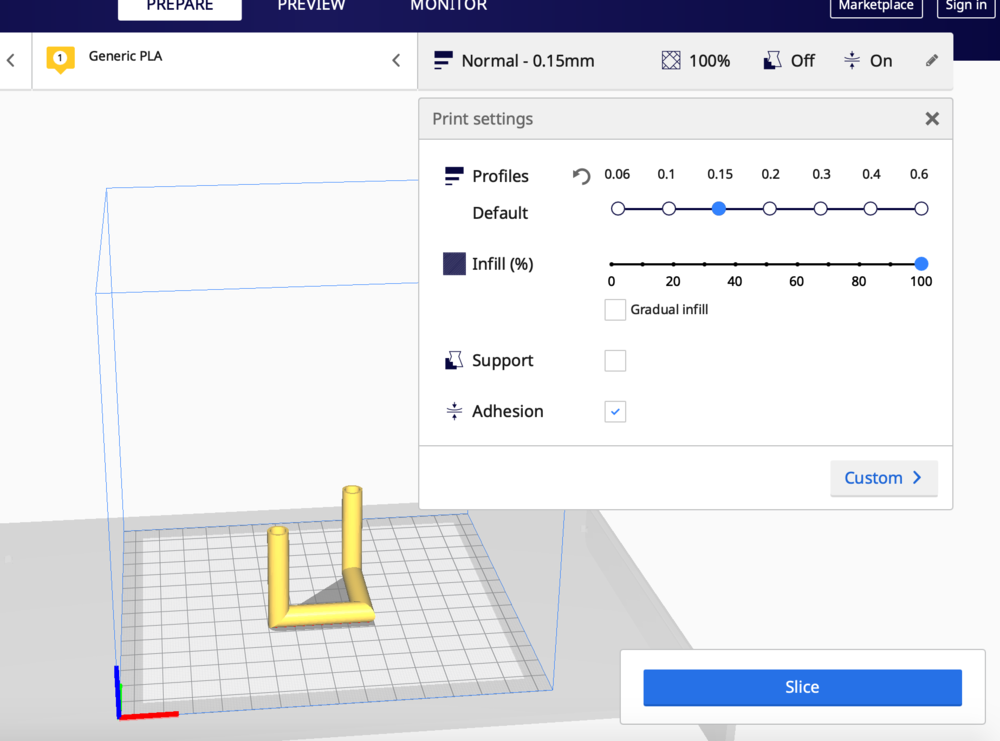
For Print settings I chose ‘Normal’ 0.15, for the Infill 100%. The infill will be in the space between the inner and outer side of the tubes.
Because there is very little contact between the candlestickholder and the bed I chose for Custom > Build Plate adhesive > Brim With a brim the print will be more stable.
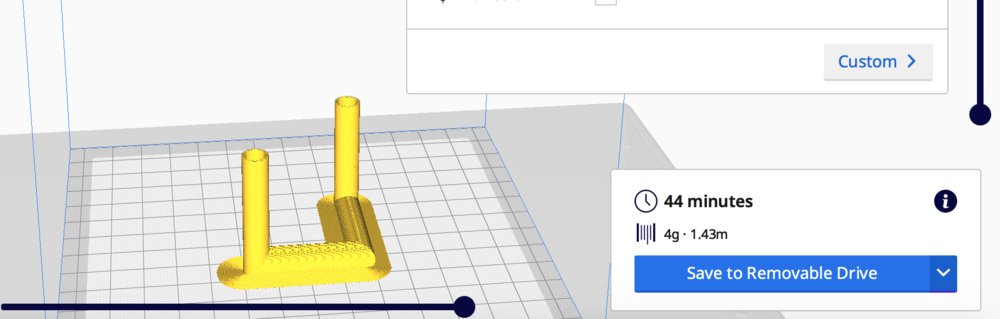
After slicing I saved the G Code file to the SD card
I turned on the Ulimaker 2+, on off switch is at the back
Navigating through the Ultimaker is quite easy: turn the wheel en push it to ‘Enter’.
But still you can make mistakes: see further on
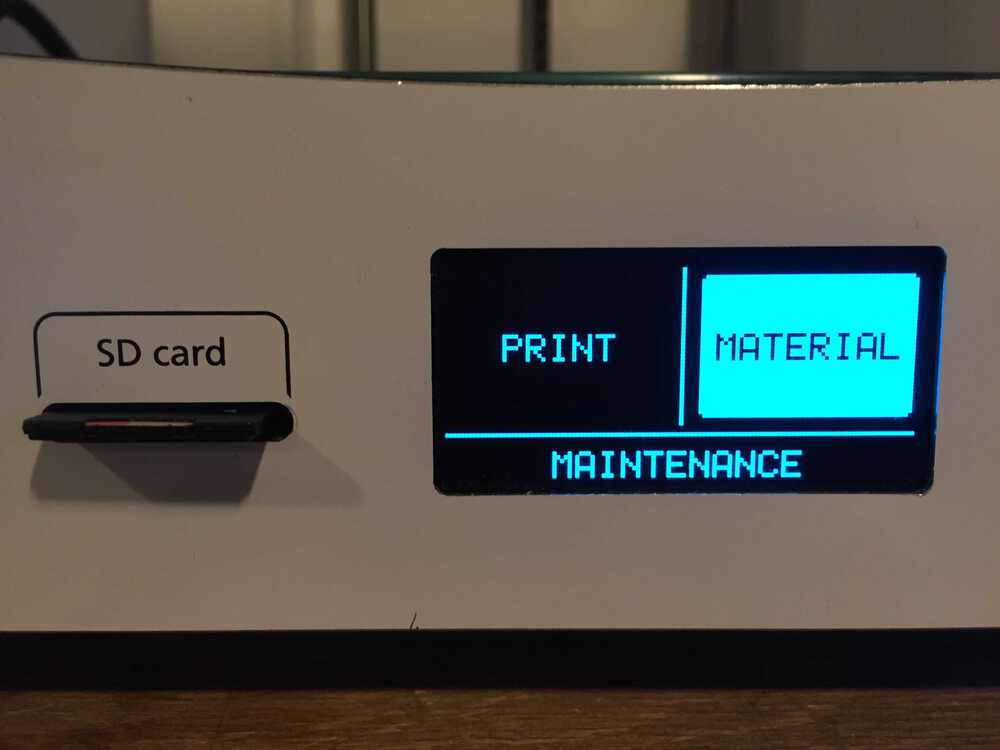
I needed other filament that was loaded, so I had to change that.
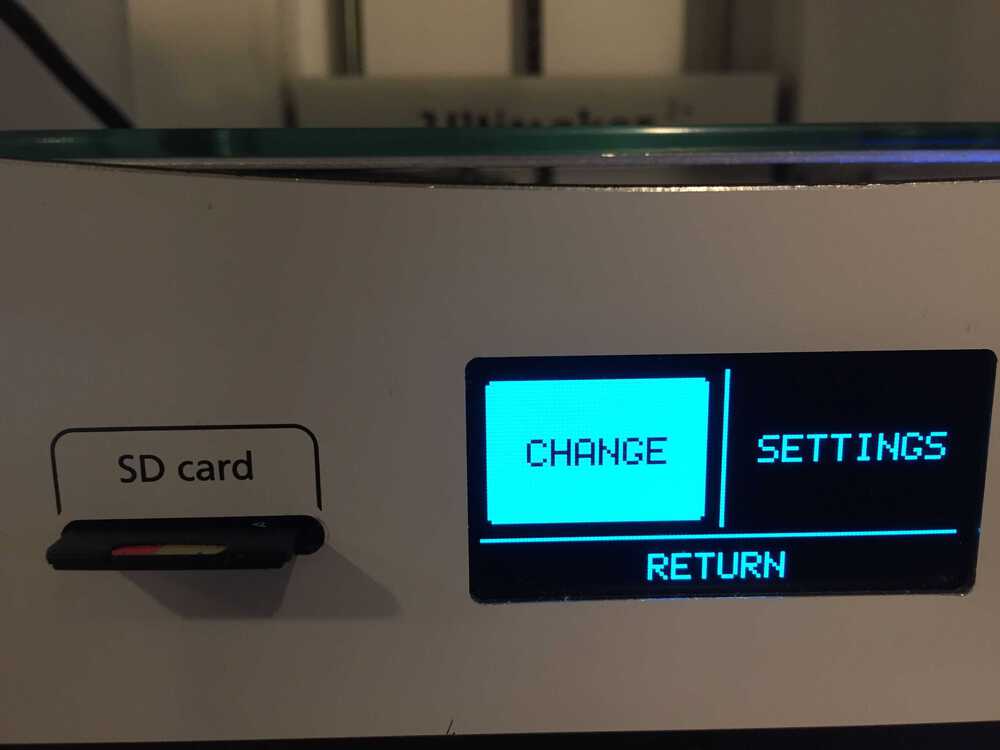
First I chose for Material,
I chose for ‘Change’
The printer heats up the nozzle so that the filament can be changed

When its ready the filament retracts
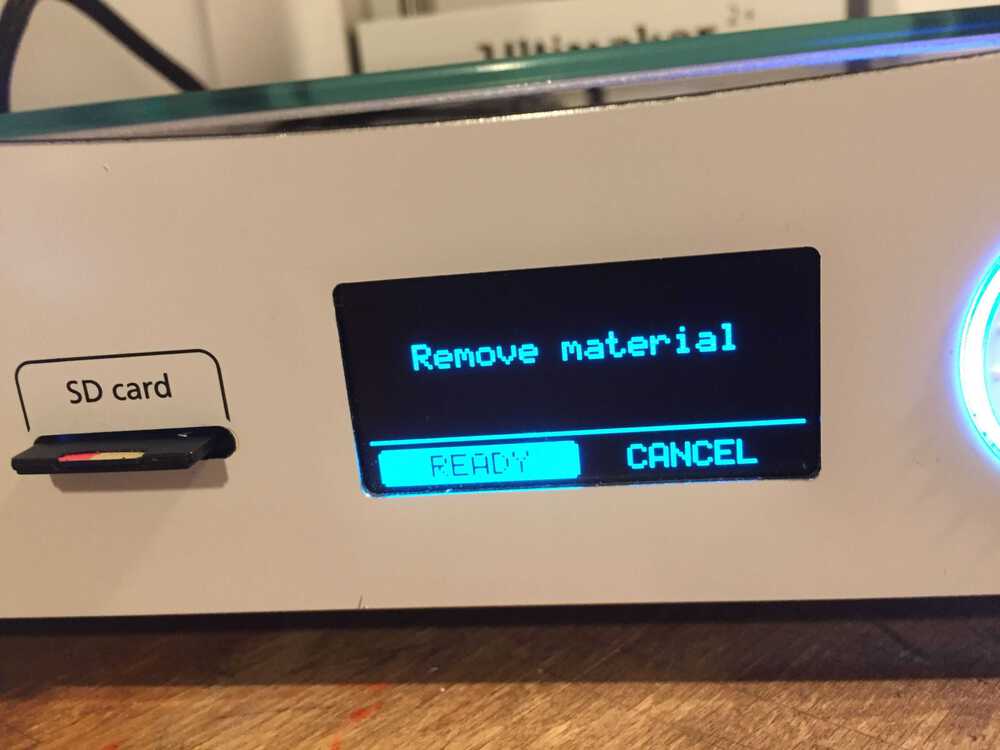
and you can remove it at the back
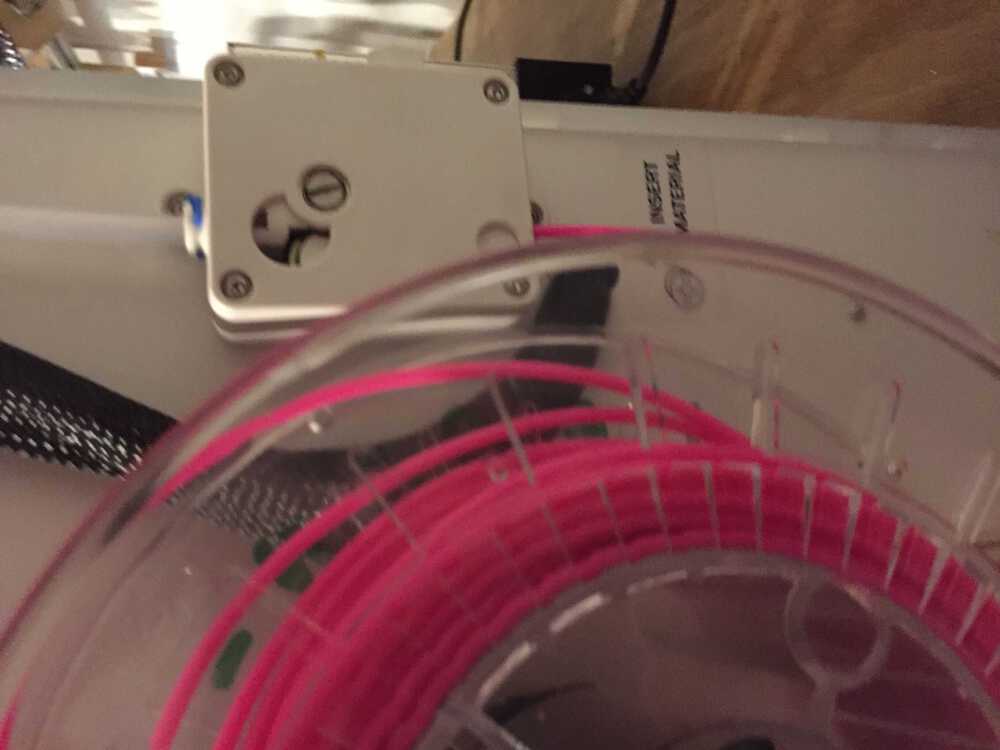
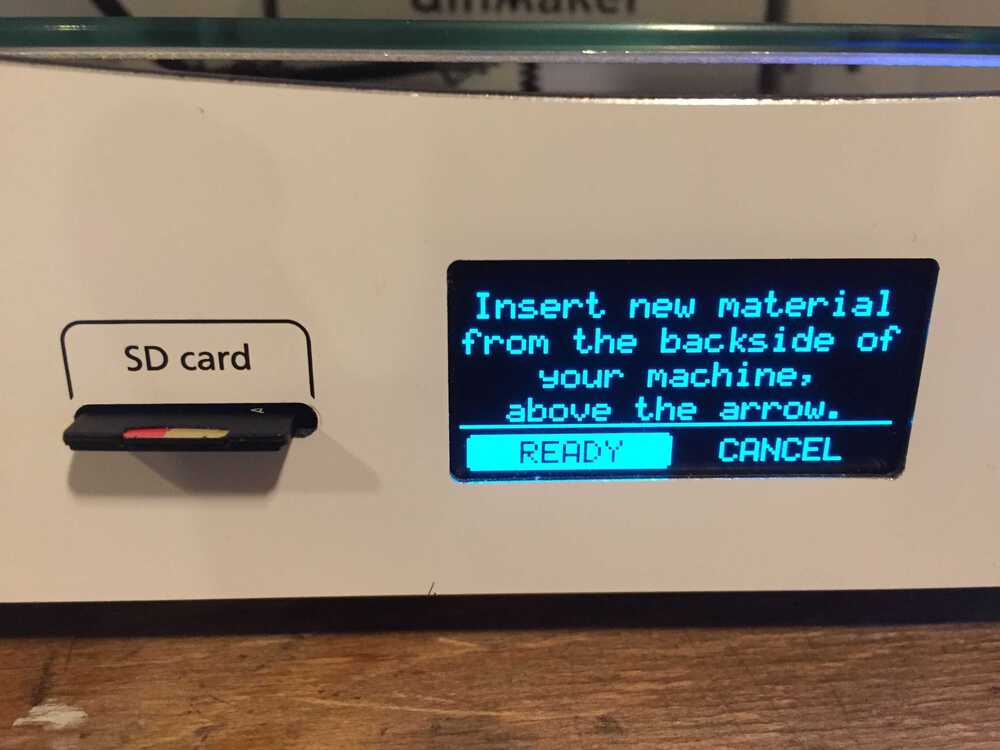
After that you can insert the new filament.
Later I realized I had to cut the filament in a point to insert is easier. But it went okay
I used transparent filament:
I inserted the new filament
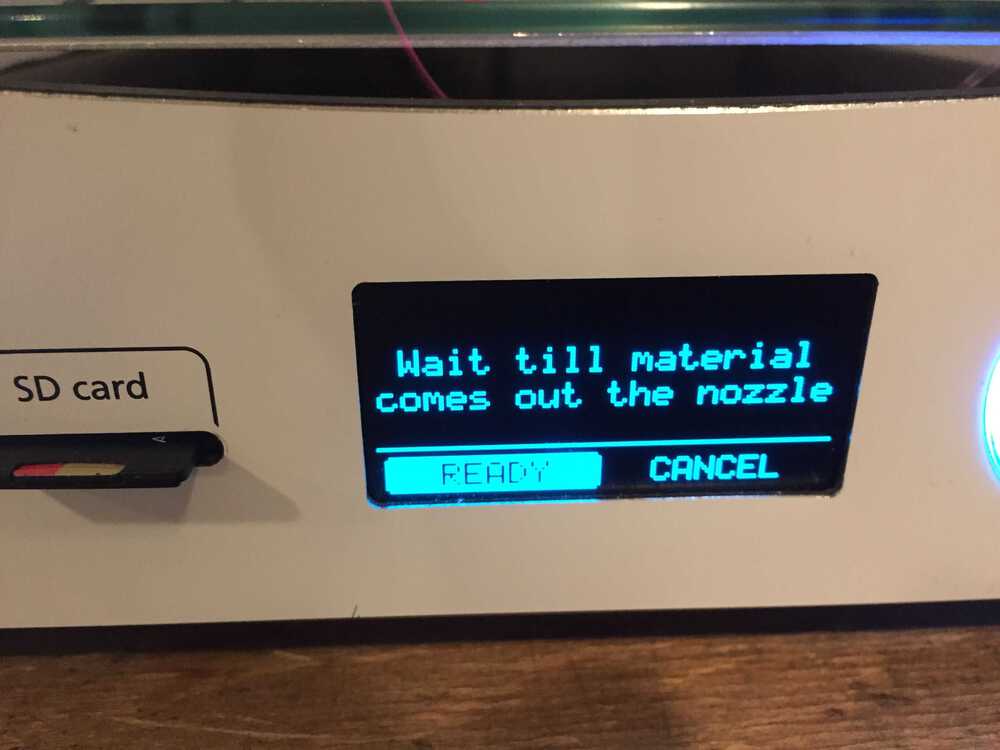
and waited while it verry slowly moved to the nozzle.
Next time press ‘Ready’, than the filament moves faster.
Wait till the new material comes out of the nozzle.
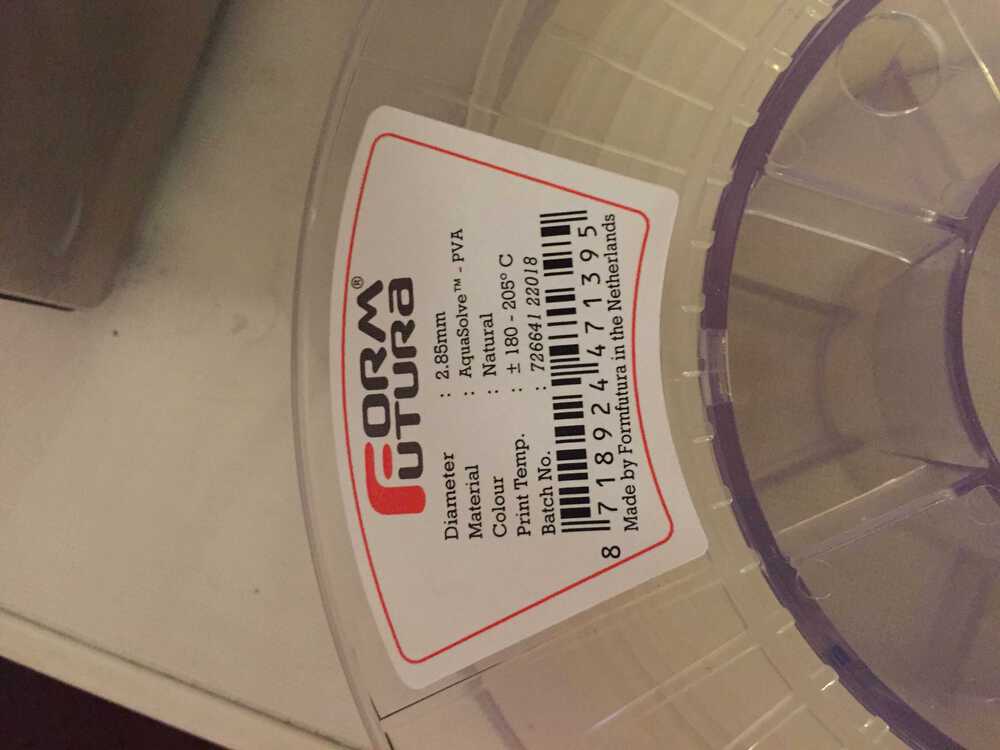
Then I chose PLA for material (Think again!)
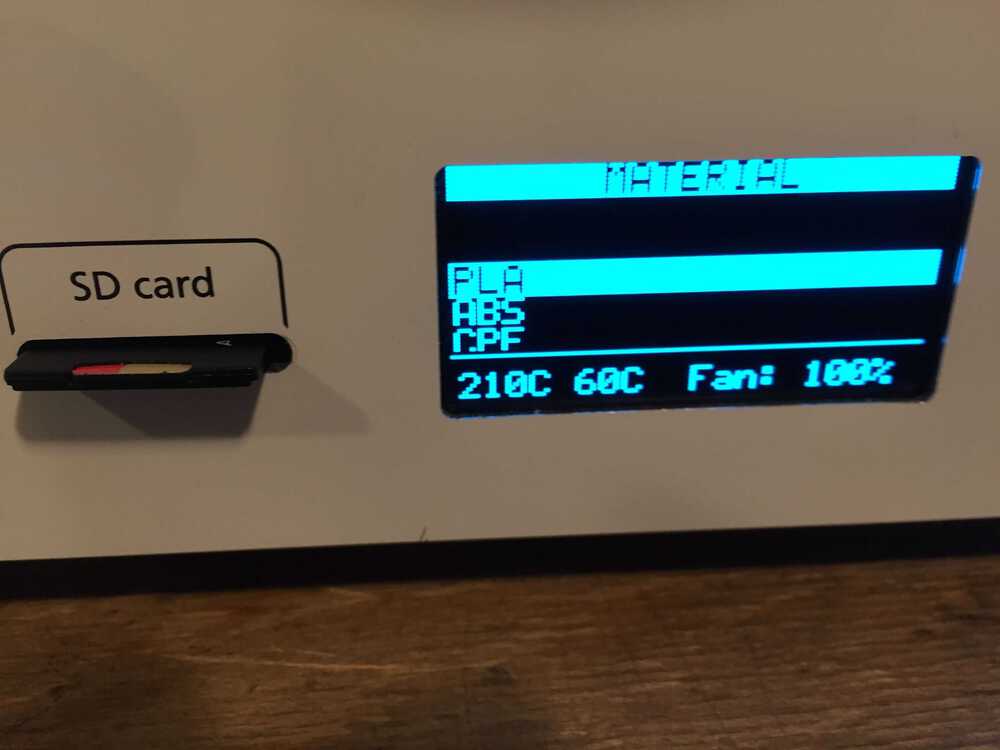
I should haved noticed that the material was not PLA but PVA. I made a big mistake there. PLA needs a temperature of 215º and PVA needs 185 - 205º . I should have looked better on the lable of the spool so I could have chosen the right temperature. During the printing I adjusted the temperature via Tuning.
I cleaned the bed to make the print stick better to the bed.

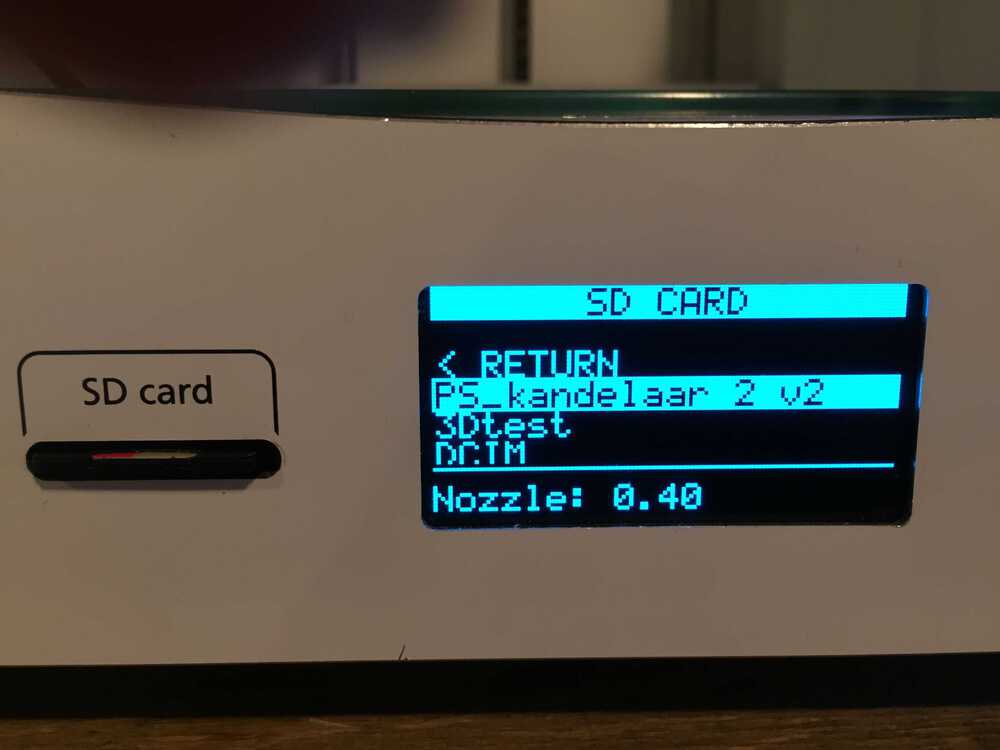
I wanted to send the file from the SD card to the printer so I selected Import from SD. I got a message that no file was found. I did not notice that I was in the material menu and not in the printer menu. Next time read the display better.
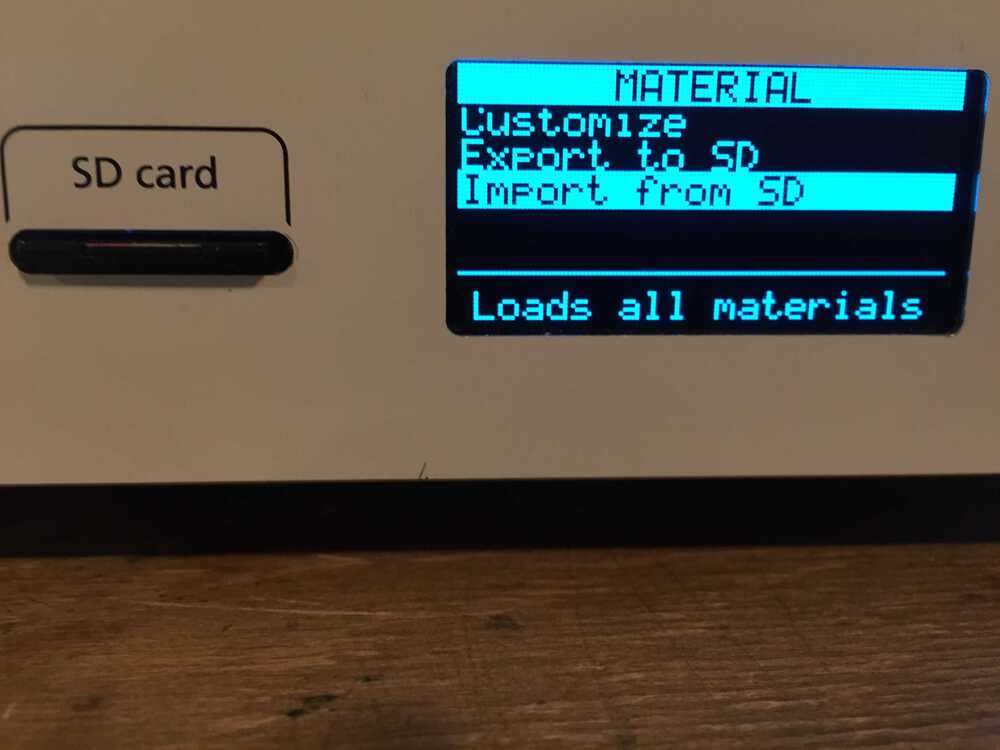
I changed to the Print menu and chose the file
After that I got this message
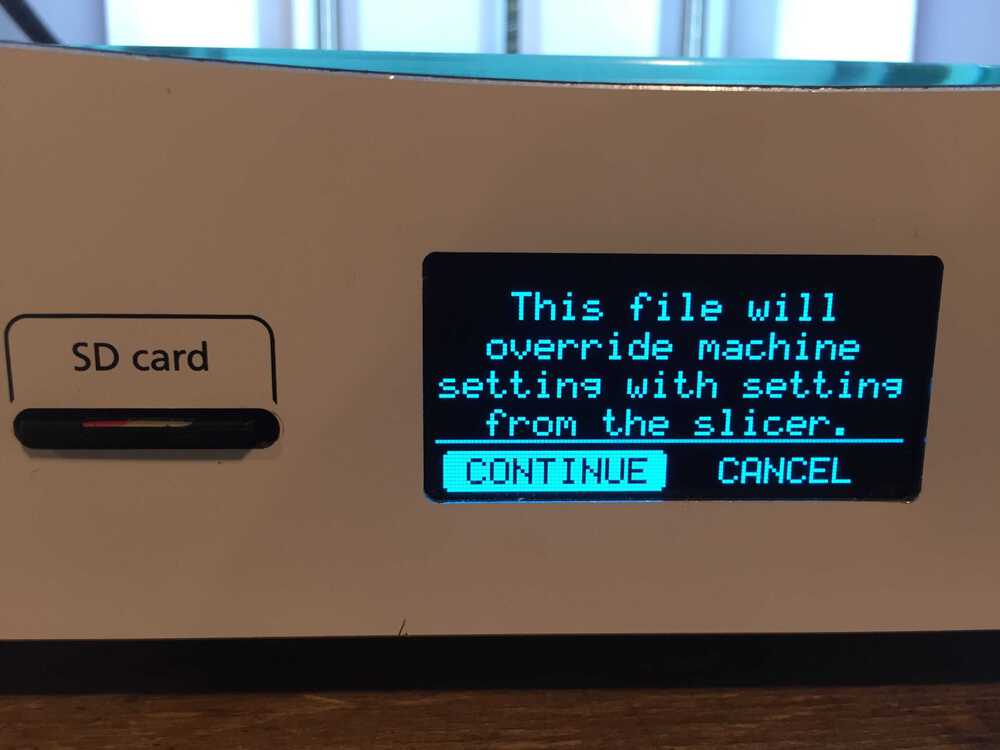
I did not understand why, but I was told I could ignore it. Later on I understood why I got the message. In Cura I did not check what printer I was slicing for. I sliced for the Prntrbot in stead of for the Ultimaker 2+.
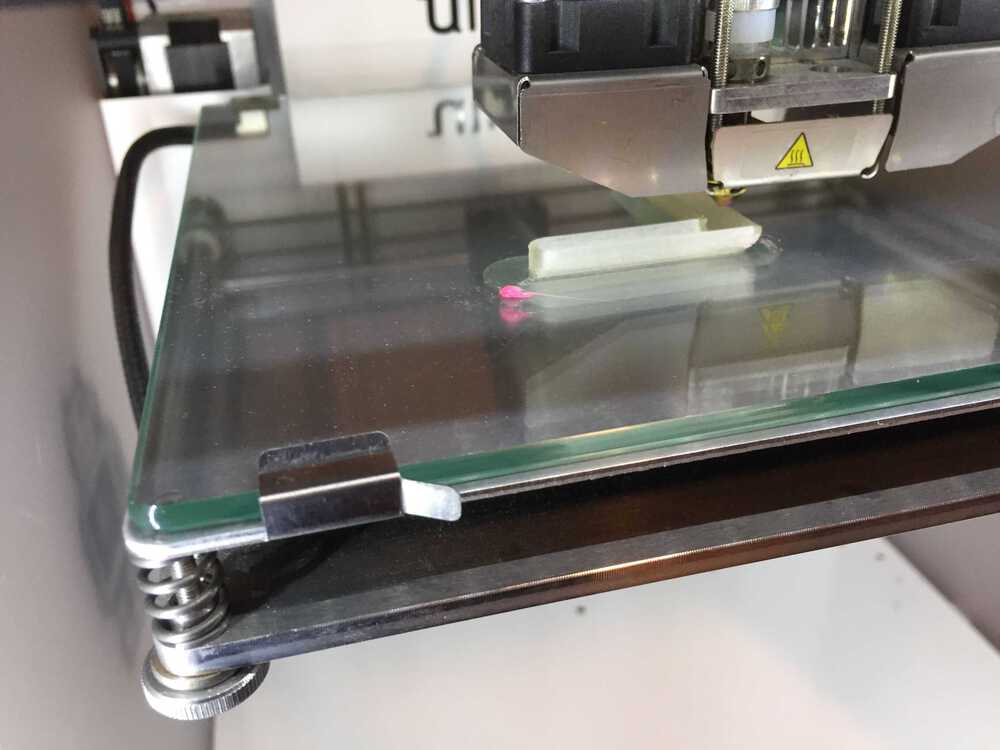
Printing in progress
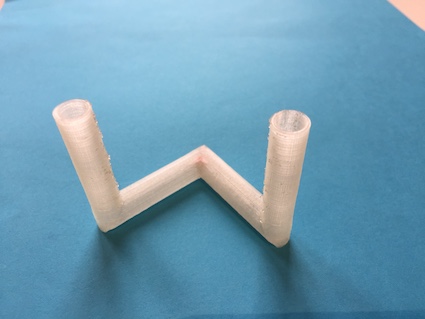
This is the result. Because he printer does the same round over and over again at the vertical parts you can see that clearly. It could be solved by printing spiral or another temperature so that the filament lets go more easy when the nozzle starts a new round.
3D Scanning
The 3D scanner needs a steady hand and lots of patience. I tried several things
• different objects: a cup, a tangerine, a head
• several angles: 0º, 90º and several angles in between
• several speeds by hand
• several distances between the scanner and the object
• placing the object on a rotating platform and holding the scanner perfectly still.
It was very hard to get a result, let alone a good result.
The trick is to scan something that has markers, points for the scanner to focus on. A complete smooth opject like a cup is hard to scan because it has no markers.
Also you have to make sure there is not to much background for the scanner to focus on. It gets ‘distracted’ and does not focus on the object.
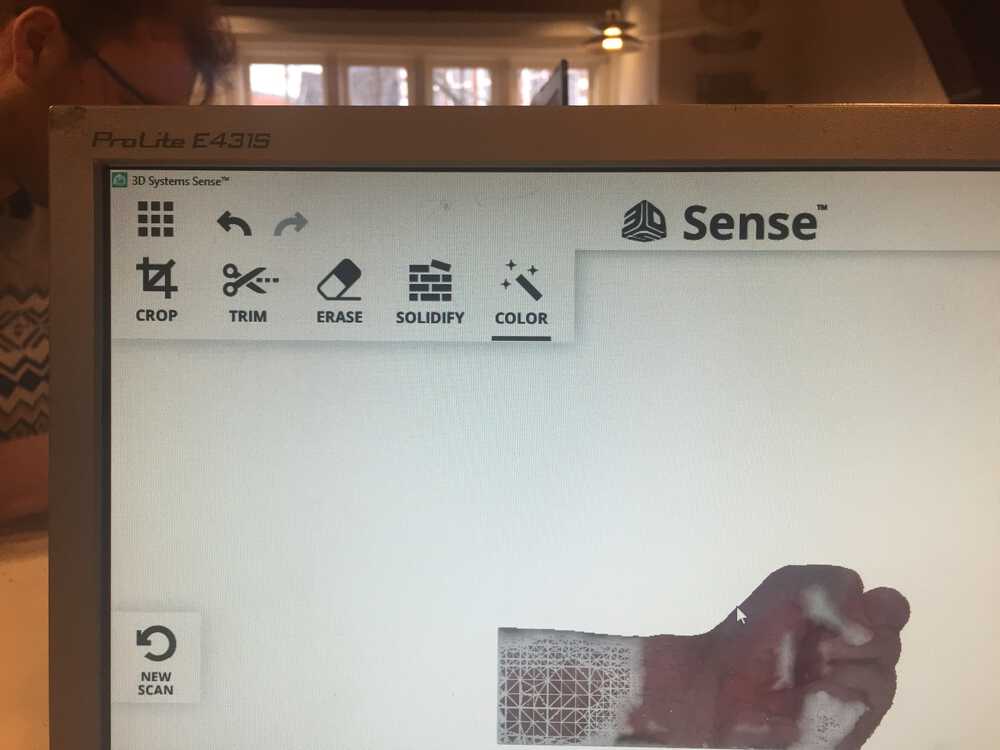
At last together with a co-student we managed to make a scan of my fist. It
This is how it is done:
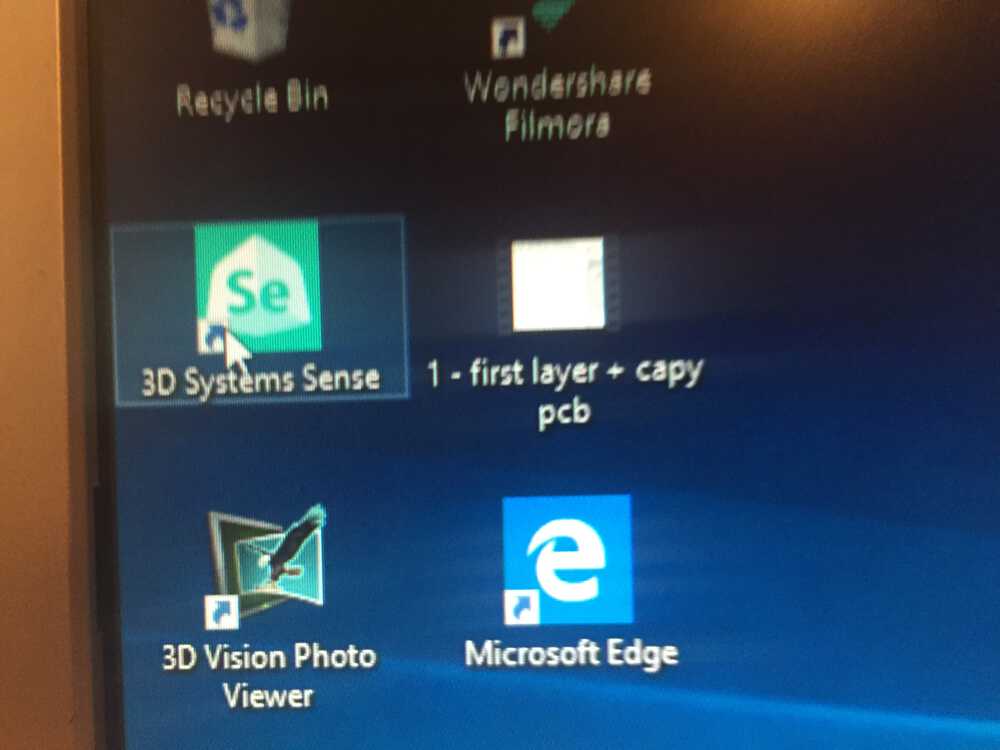
Click on 3D Systems Sense
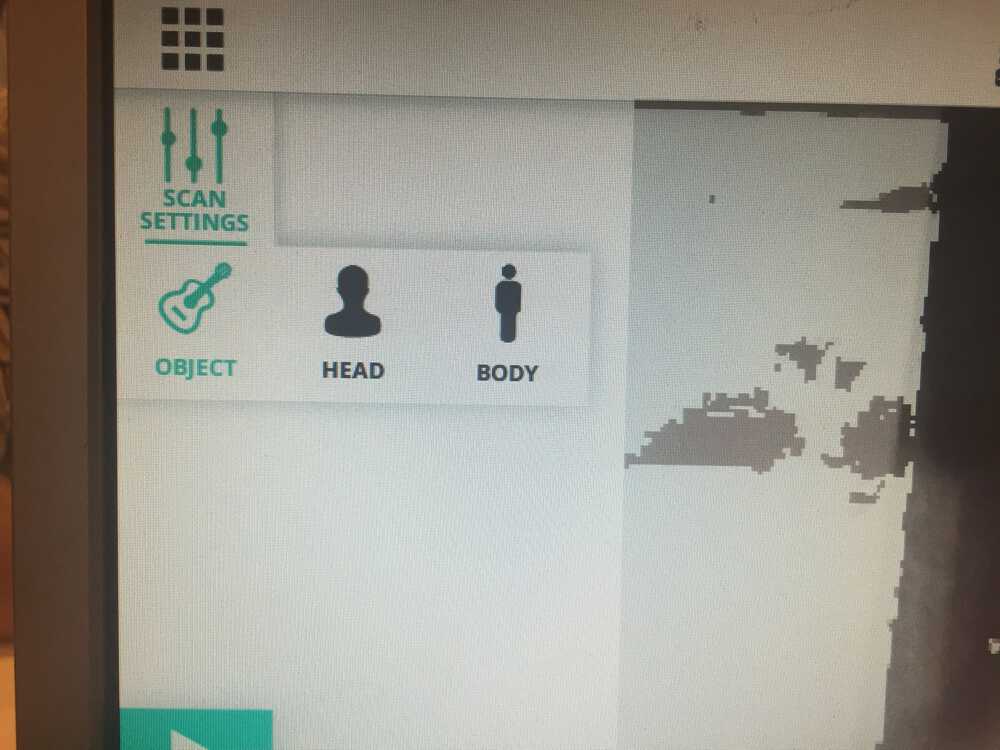
Select what type of object you want to scan: object, head or body
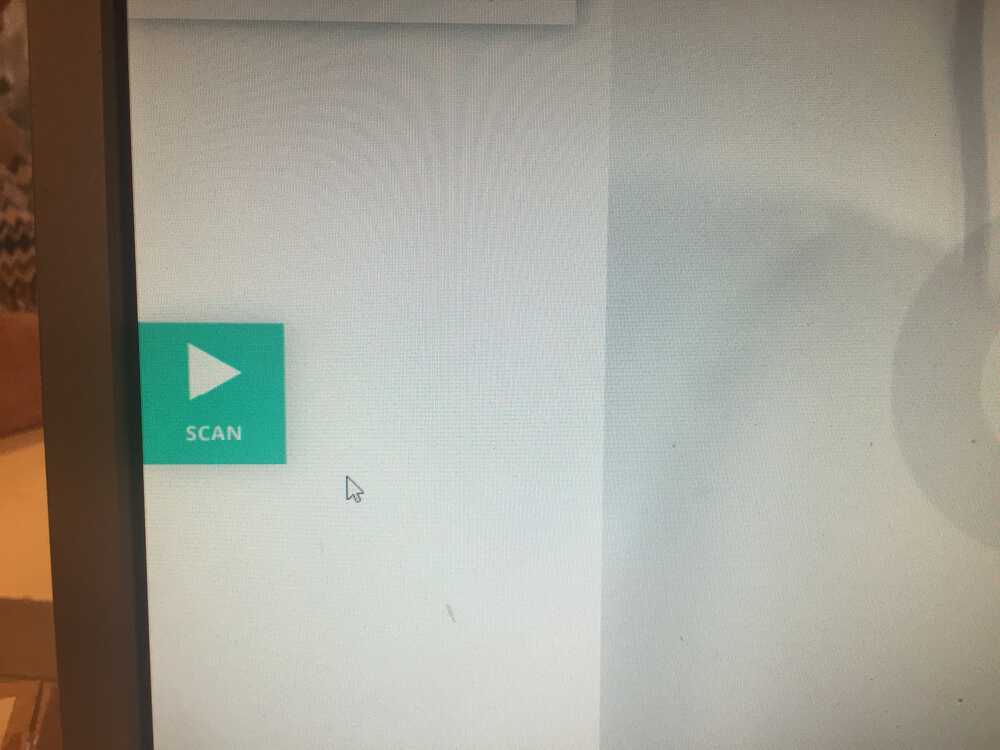
Click on scan. The scanning starts in 3 seconds.
When your scanning is done, click on Finnish
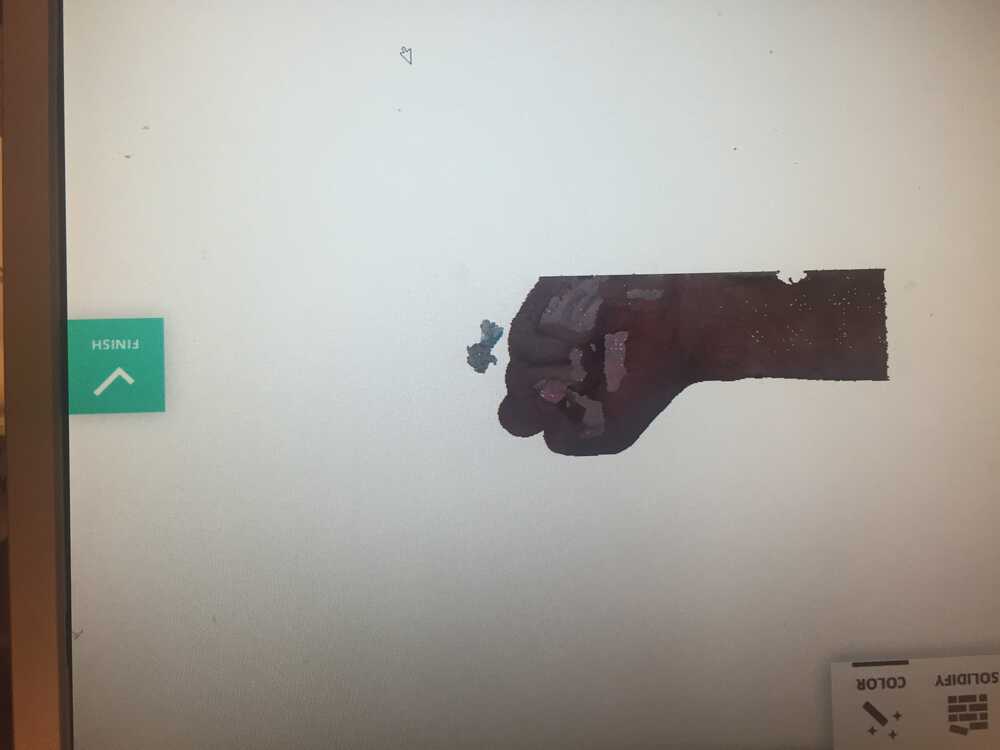
You can now adjust your scan:
• crop: crop your scan
• trim: cut of pieces
• erase: erase unwanted parts
• solidify: make your scan printable
• color: adjust brightness and contrast.
When you are done, click apply
Click on finish to save or export your scan.
