Fab Academy
What i did?
Vector and raster designing

vector image is composed of paths, which are represented by mathematical functions. These mathematical function represents the actual borders and the different elements in the image. Hence the maximum resolution of the image is not limited by the number of pixels. These mathematical functions can scale easily giving lossless ability to zoom to any extent on the image.
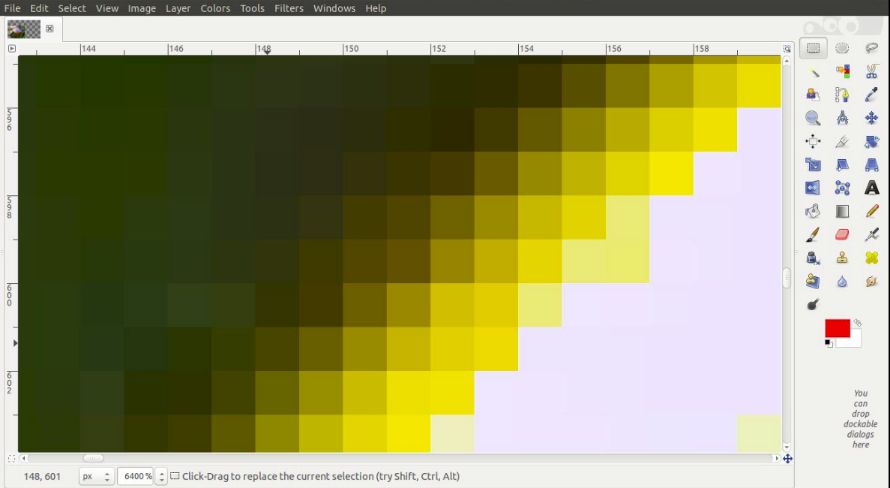
Raster image is made up of individual pixels. Each pixel contains only one colour and is arranged in a certain fashion to make up the image. This is how normal pictures are displayed. The problem with raster image is that the maximum resolution is limited by the number of pixels. That means, when you try and scale the image into a larger size, the quality drops and the edges of lines become fuzzy (staircase effect). This is the major limitation of using raster images.
Krita and Gimp

Using krita was an interesting experinace to me since i am into art. I played around with various tools in krita and i really liked the interface because it lets me be more creative with what i want to do. I tried various types of brushes and various patterns which can be achieved.

GIMP is Free and Open Source Raster Graphic editor used for image retouching and editing ,i feel like it's open source verison of photoshop.There is acutally Three main windows, Toolbox panel , GIMP Window and Layers/Burshes Panel, in default three panels are seprated , but we can manually dock three panels togther, i choosed docked window. There are several tools to use and i tried randomly using some tools. For editing an image i have to open the file from file window. An area can be selected using different tools which can be free hand tools and predefined tools or based on colour. The tools used here is rectangle selection tool.After selecting the area -right click the mosuse and select image crop to selection

To select an area based on colour i used Select by colour tool

After selecting differnt regions differnt colours can be given to region using bucket fill tool and colour can be changed using foreground colour option.

To give it a look of a painting i used filter => Artisitc => cartoon. There several filters which can be used to give the desired effect.
Inkscape
Inkscape is a free and open-source vector graphics editor.it can be used to create or edit vector graphics such as illustrations, diagrams, line arts, charts, logos and complex paintings. Inkscape's primary vector graphics format is Scalable Vector Graphics (SVG), however many other formats can be imported and exported.
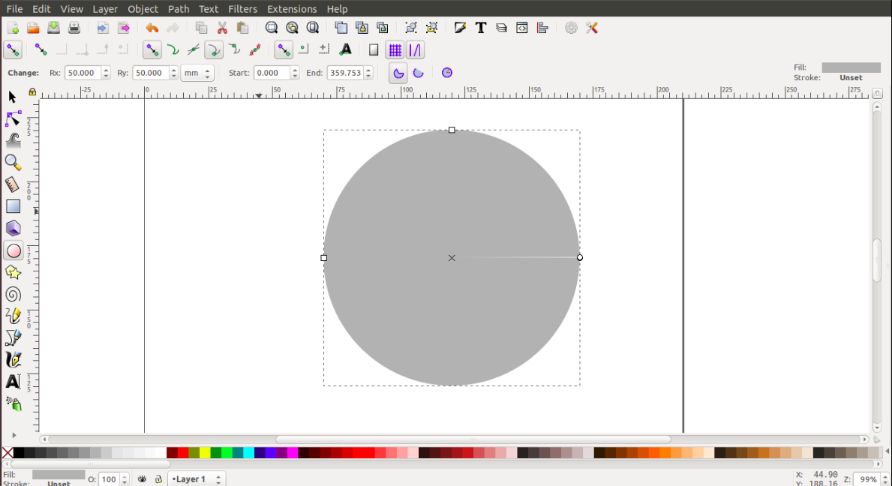
The required tools can be found on the top, right,left and bottom sides of the working space.Initially to draw the shape i used create circles option and to change the colour and colour gradient properties object => Fill and strokes is used.

Different layers can be added for each drawing and according to the requirement opacity of each layer can be varied changing the percentage of opacity
\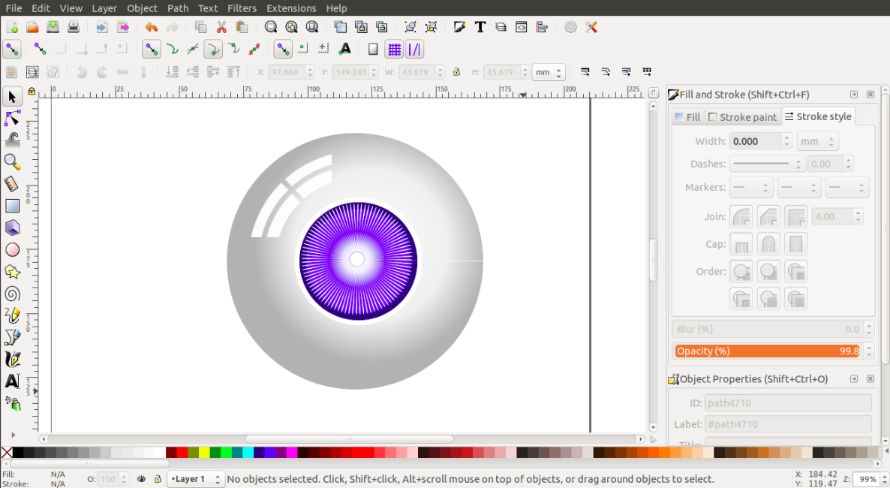
Duplication is important feature which i used a ot for creating differnt shapes and effects.And to create the center pattern i used create star function is used.
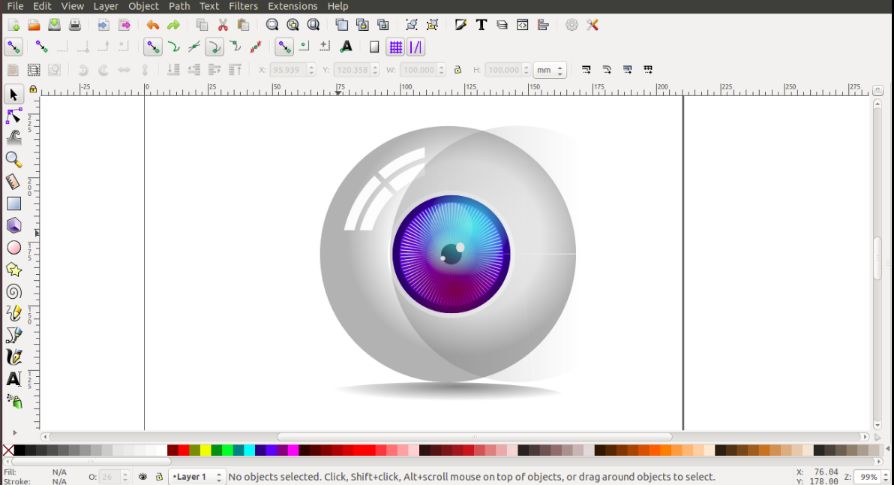

The finished logo. Using inkscape is fun and basically same operations are repeated in different ways.
FUSION360
Fusion 360 is an excellent tool for the precise modeling of 2D and 3D objects, but you can do much more with it, such as animate your designs, render objects, simulate loads, and even prepare models for CNC machining.Its a simple software which can be used to achieve results with varying complexties.Since i am new to 3d designing it would be lot of work to learn different methods.
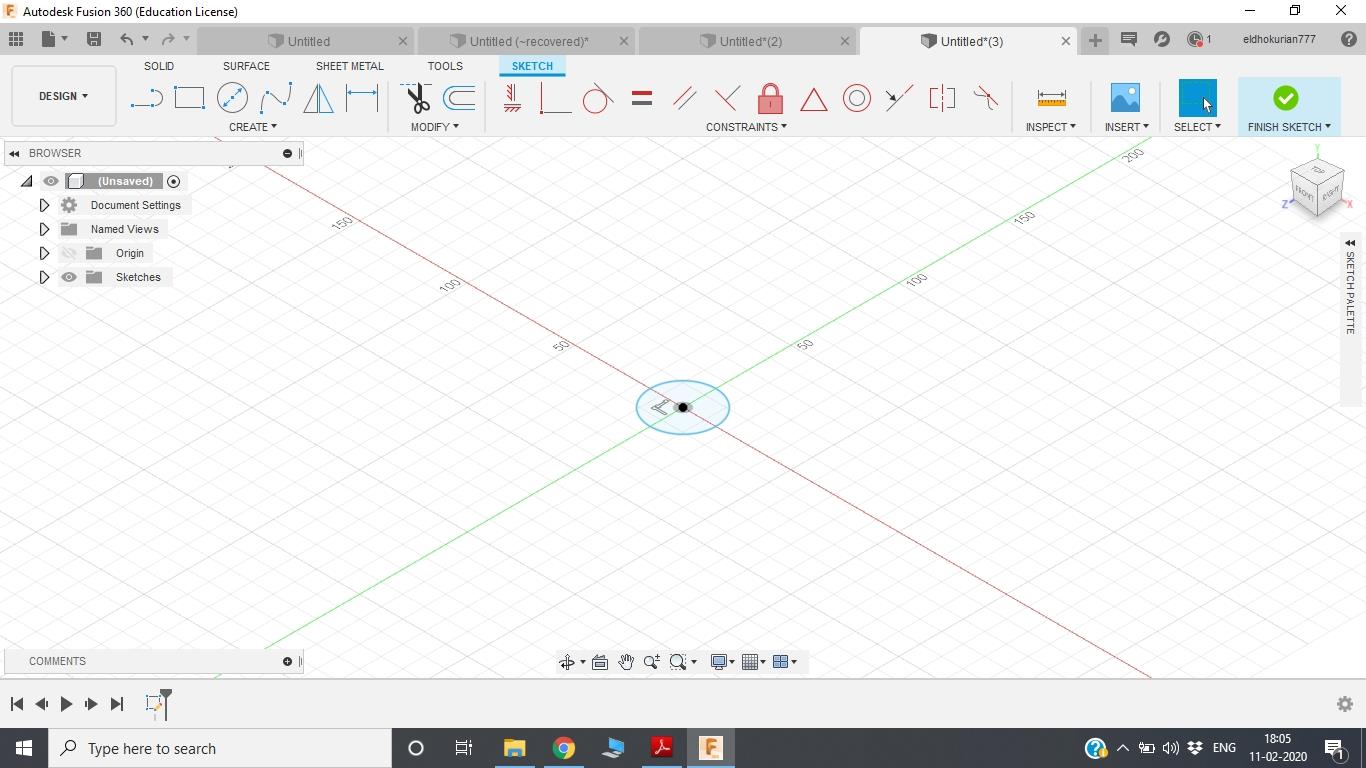
Fusion 360 contains various sections designated for each purpose, my focus is mainly designing and if possible a bit of animation.
Designing Section can be used for 2d sketching, 3d designing etc. Mostly a 3d design is sketched out from a 2d plane and the 3d structure is further refiened using various tools.The hard part is always imagening the 2d to 3d transition. So my aim here is to design a propeller related to my final project. In this case i am starting the process as a 3d sketch.
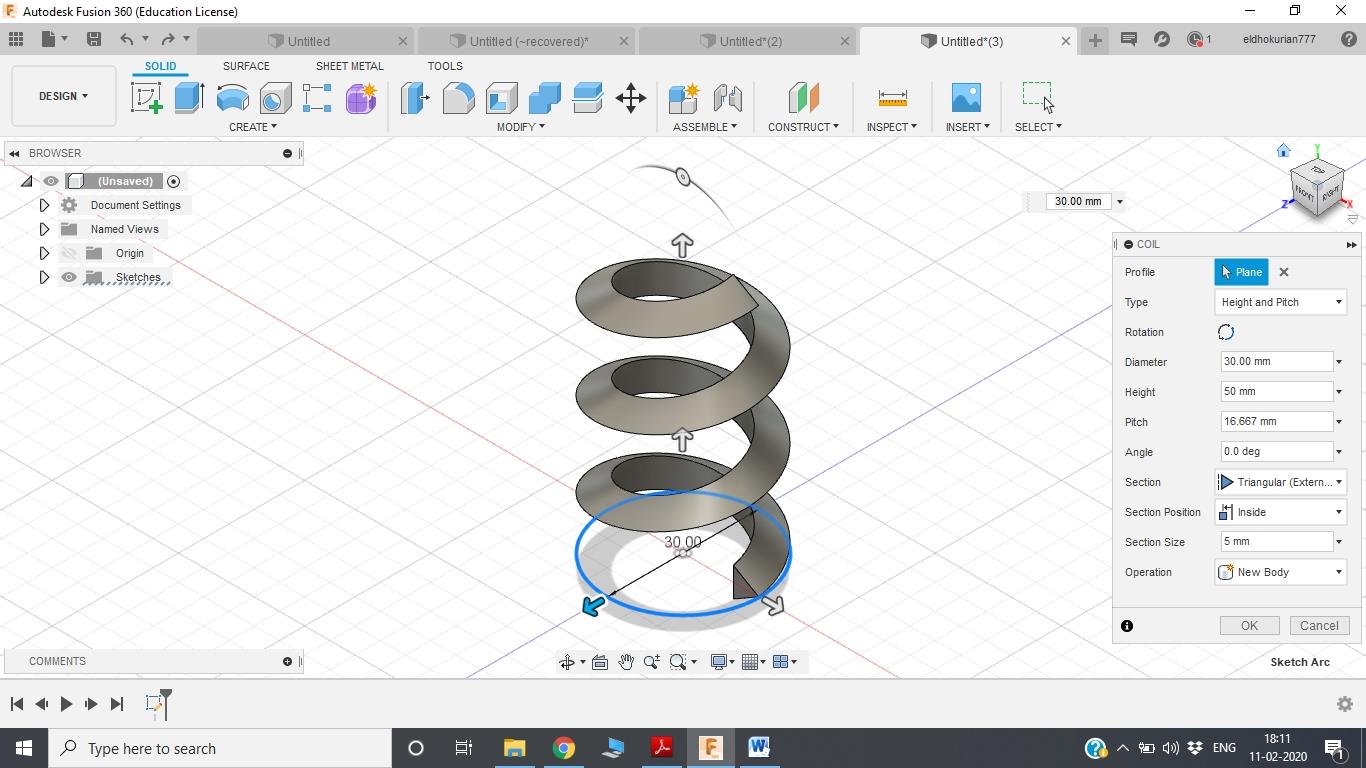
To create any new body or structure Create Section on top left section of workspace is used.Inorder to create the propellar blade i would like to start by creating an angular structure which can created using Coil option. A tab opens up where parameters like pitch, height etc of the coil can be changed.
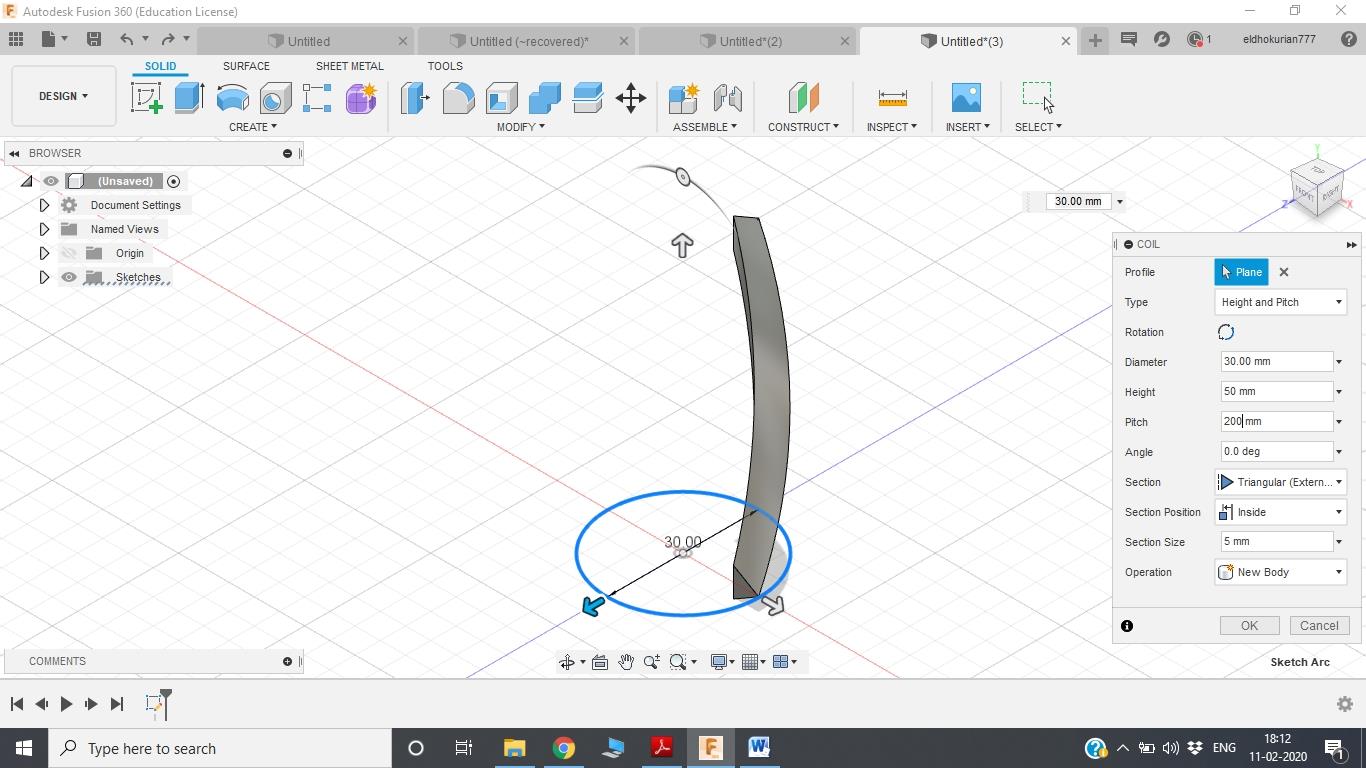
After changing the height,pitch,diameter the coil looks like above structure.
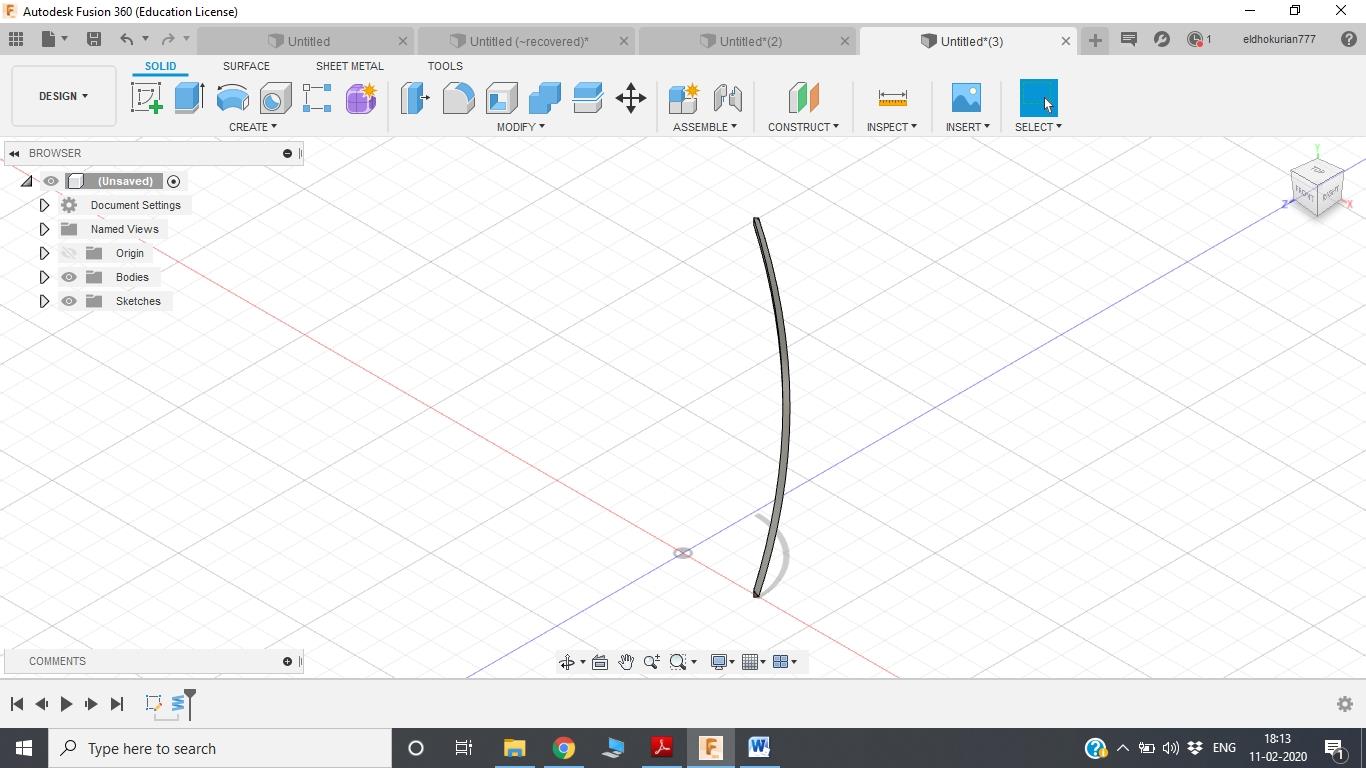
The section is changed to triangular and section size is also changed. I am planing to create an edge of the blade here.
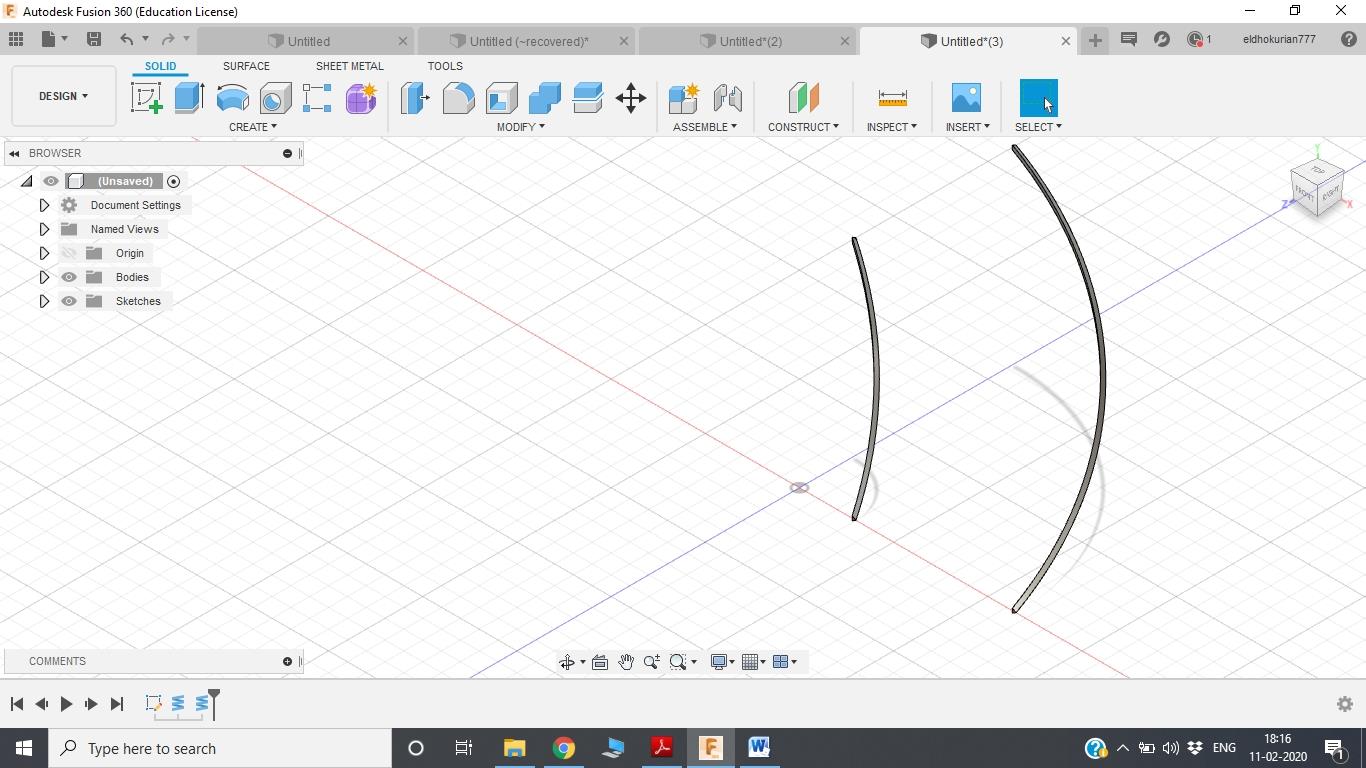
Similaly other edge of the blade is also created.
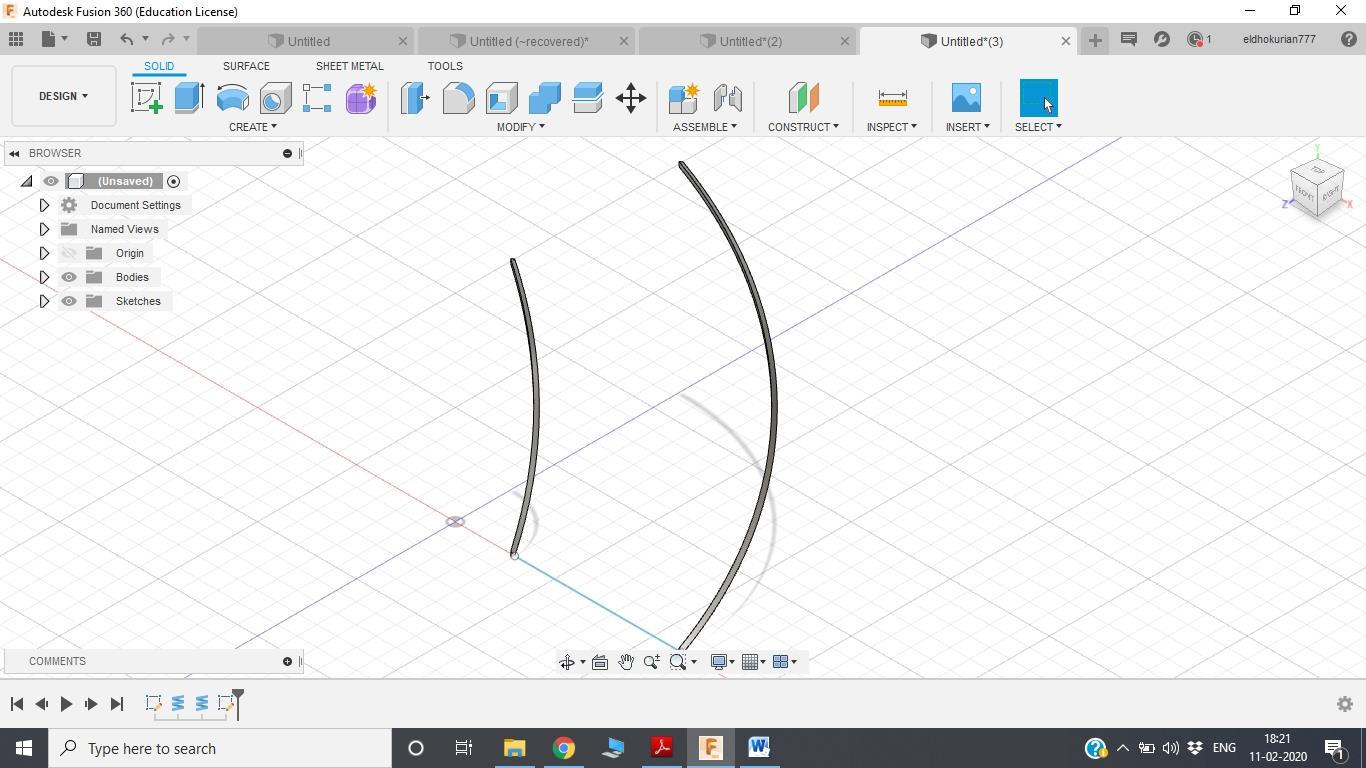
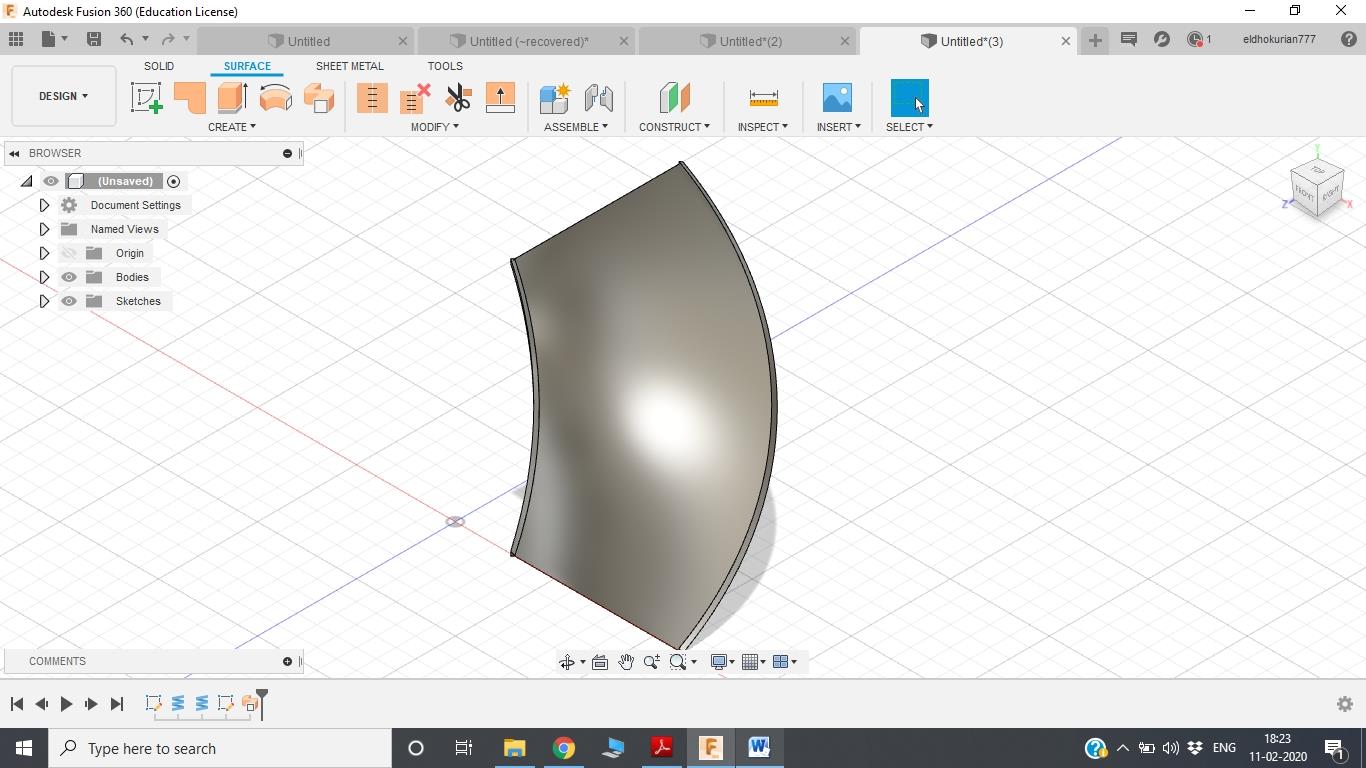
These edges are combined using a process called lofting. A guide rail is constructed between the two edges to define the lofting path.
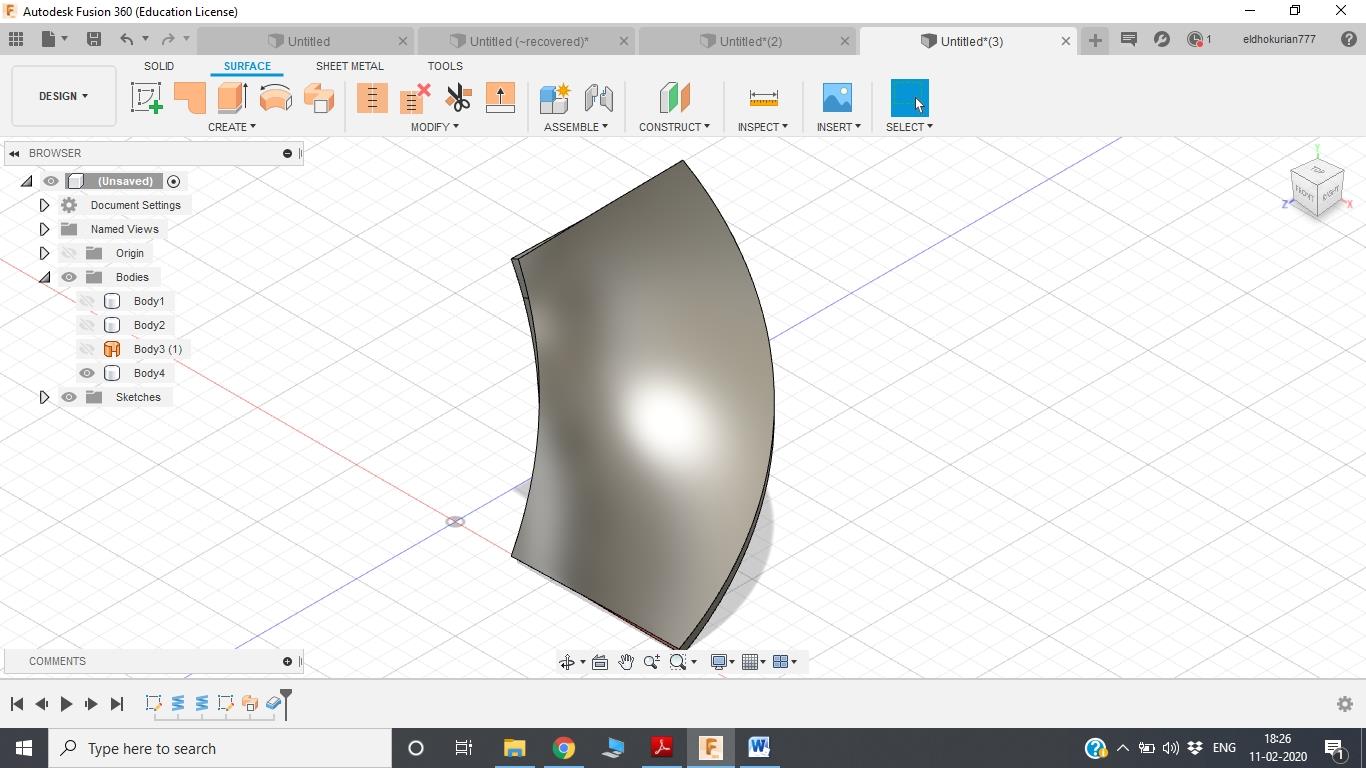
The main function used here is extrusion.
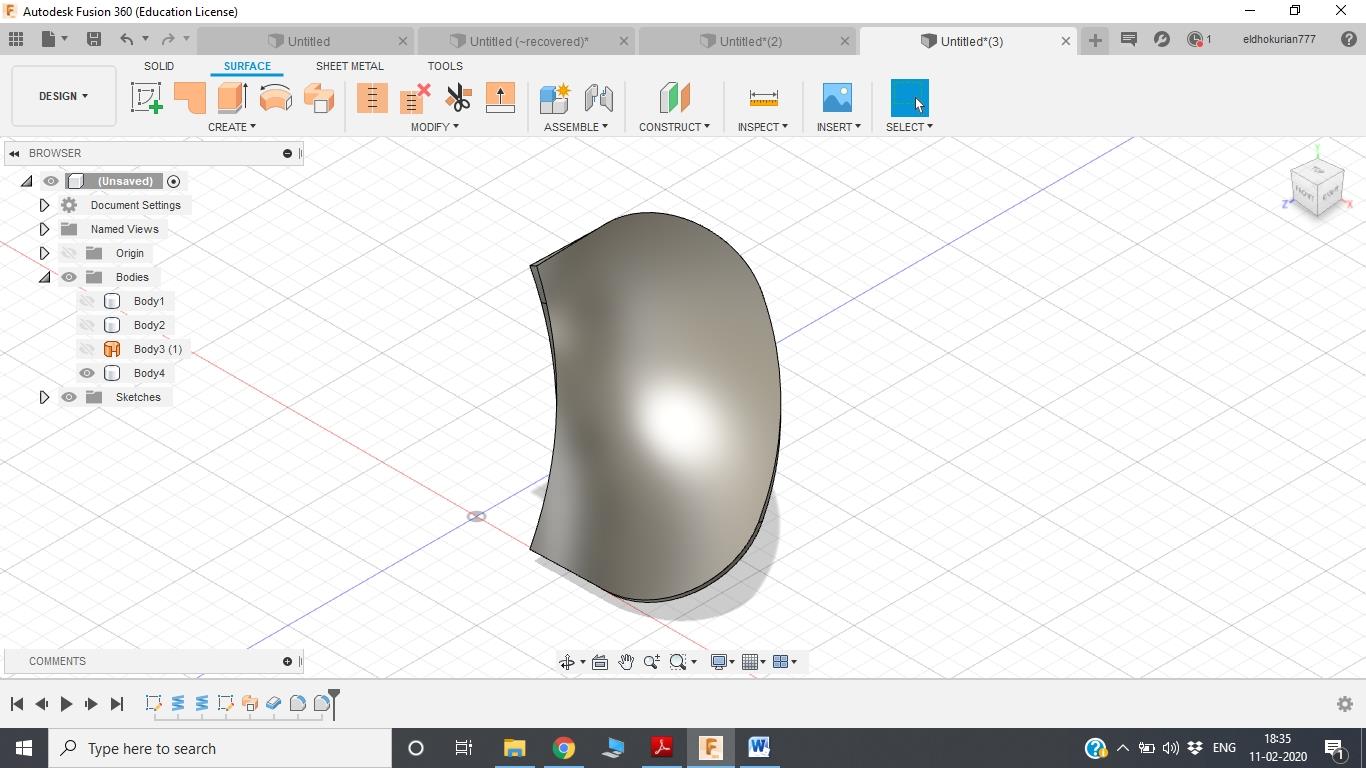
The sharp edges of the blade is removed using modify section by using fillet function
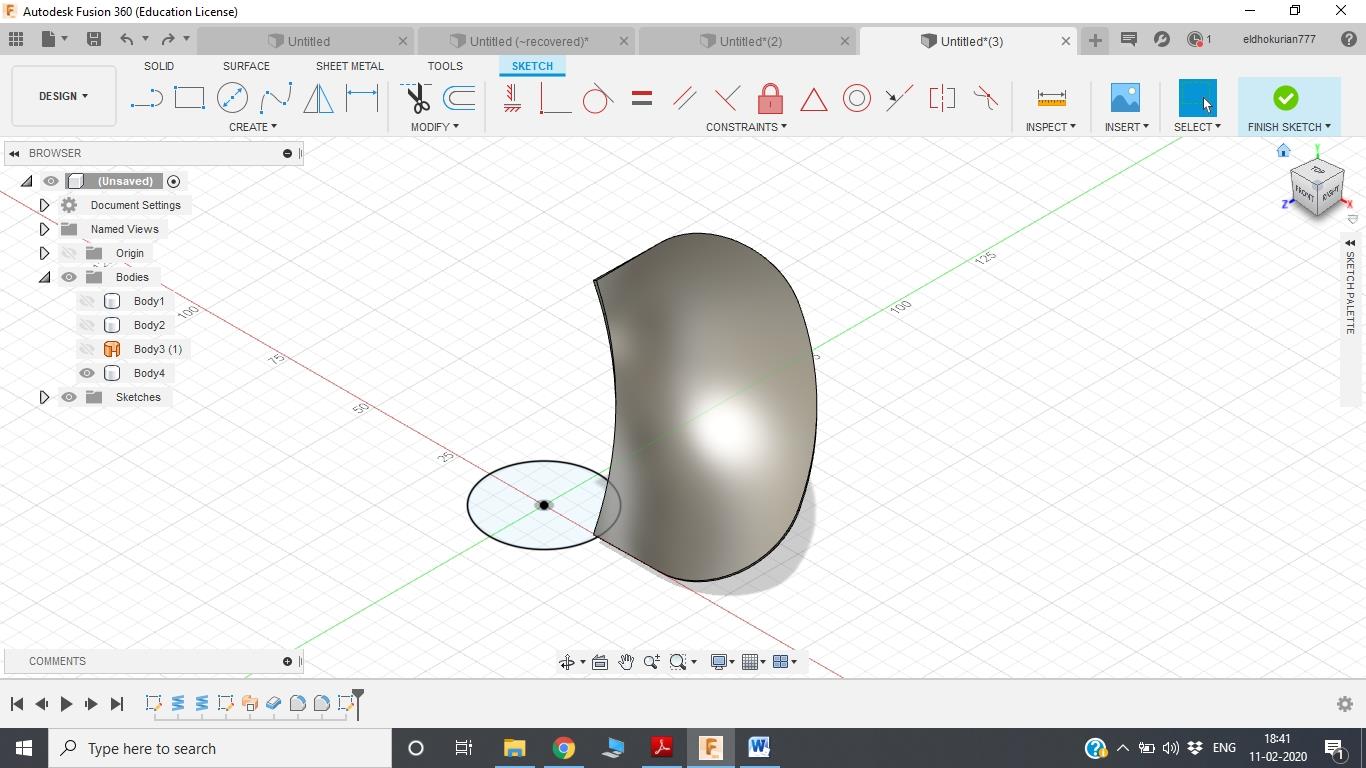
To create the central section a sketch is created in the xy plane.
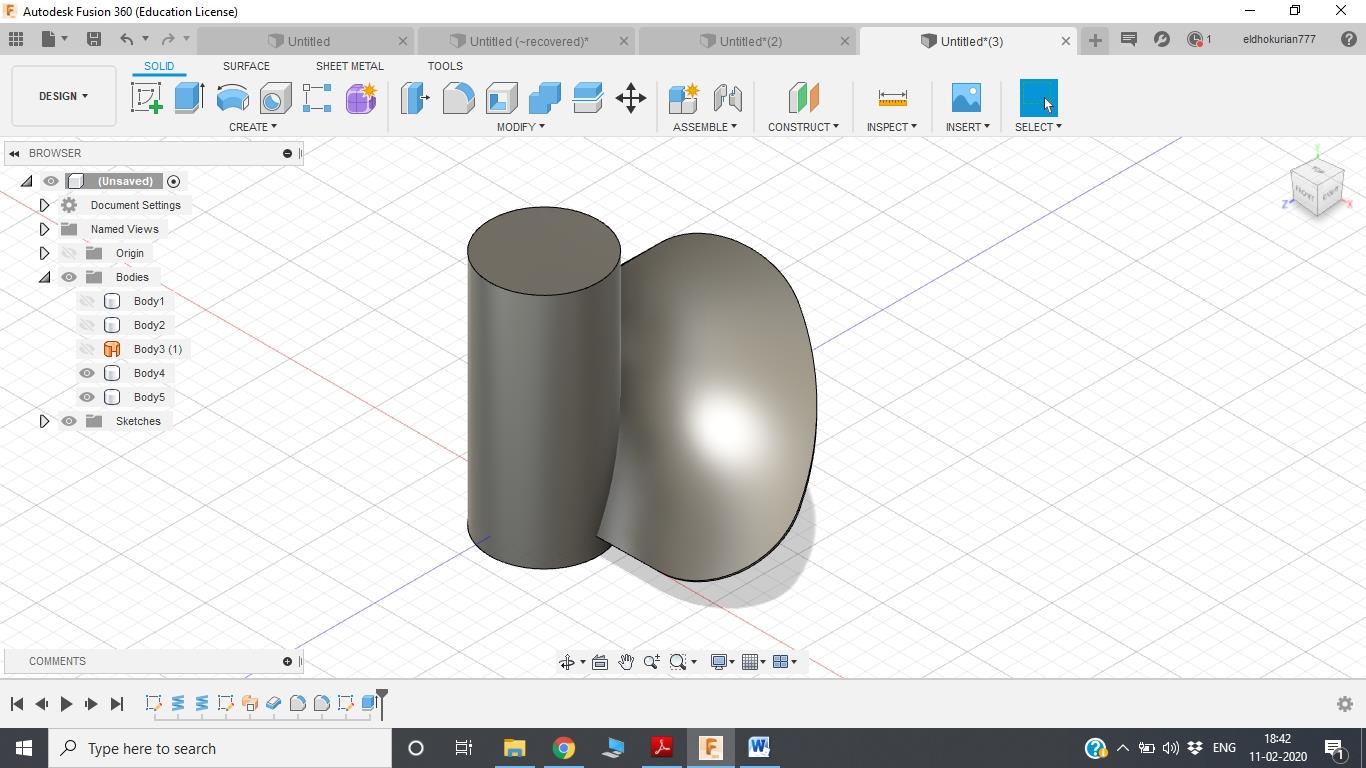
The 2d section is extruded to create a cylinder
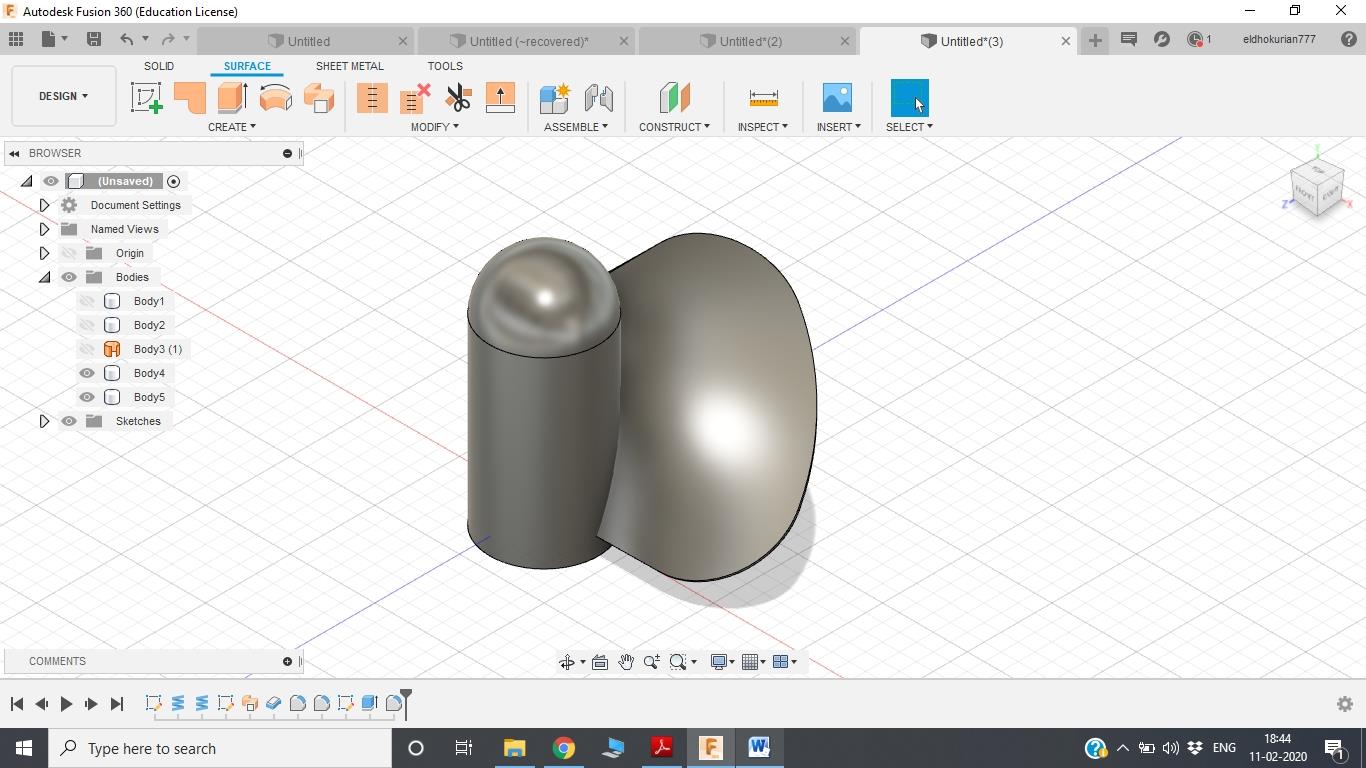
The top portion of the cylinder is smoothened by using fillet function.
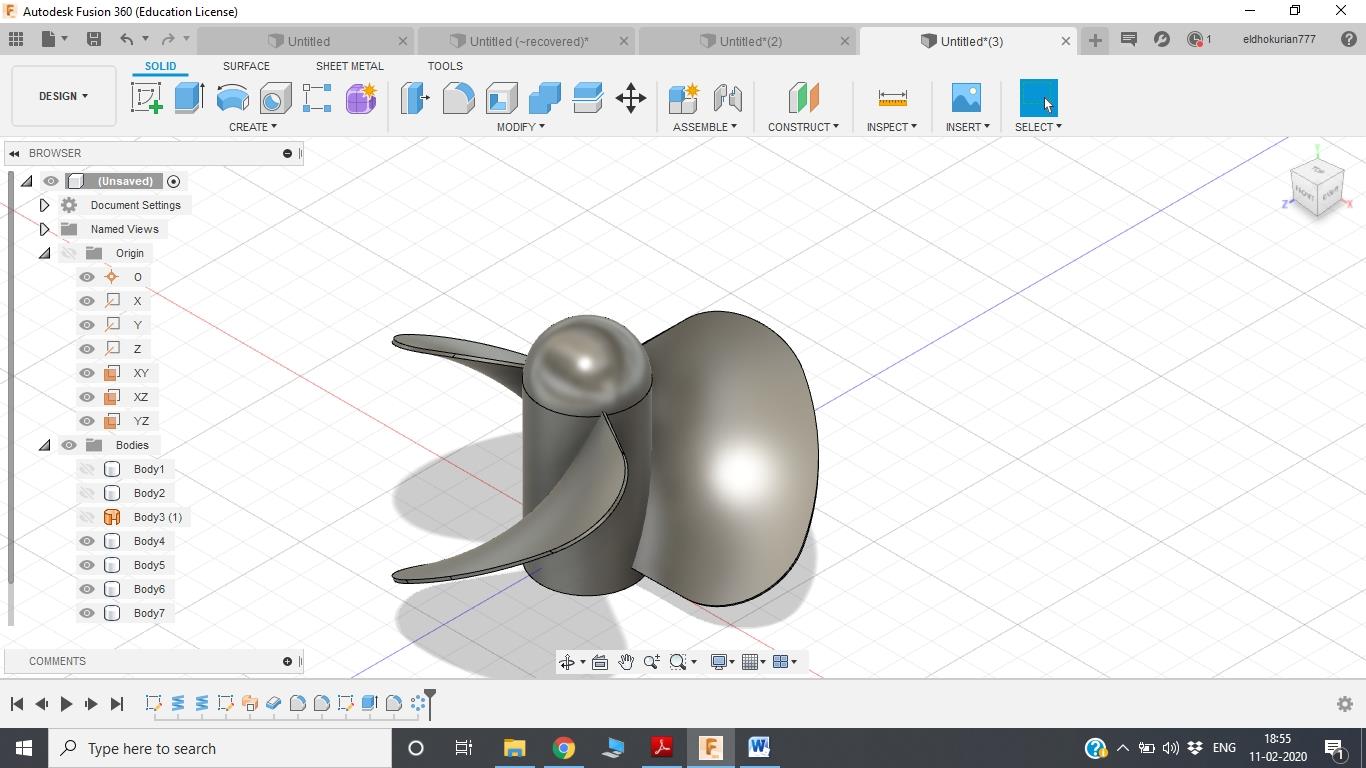
The blade is replicated using pattern function by specifically using circular pattern. The paramters can be varied according to our requirement.The 3d sketch of the blade is complete and based on the requirement it can be exported in various file formats.
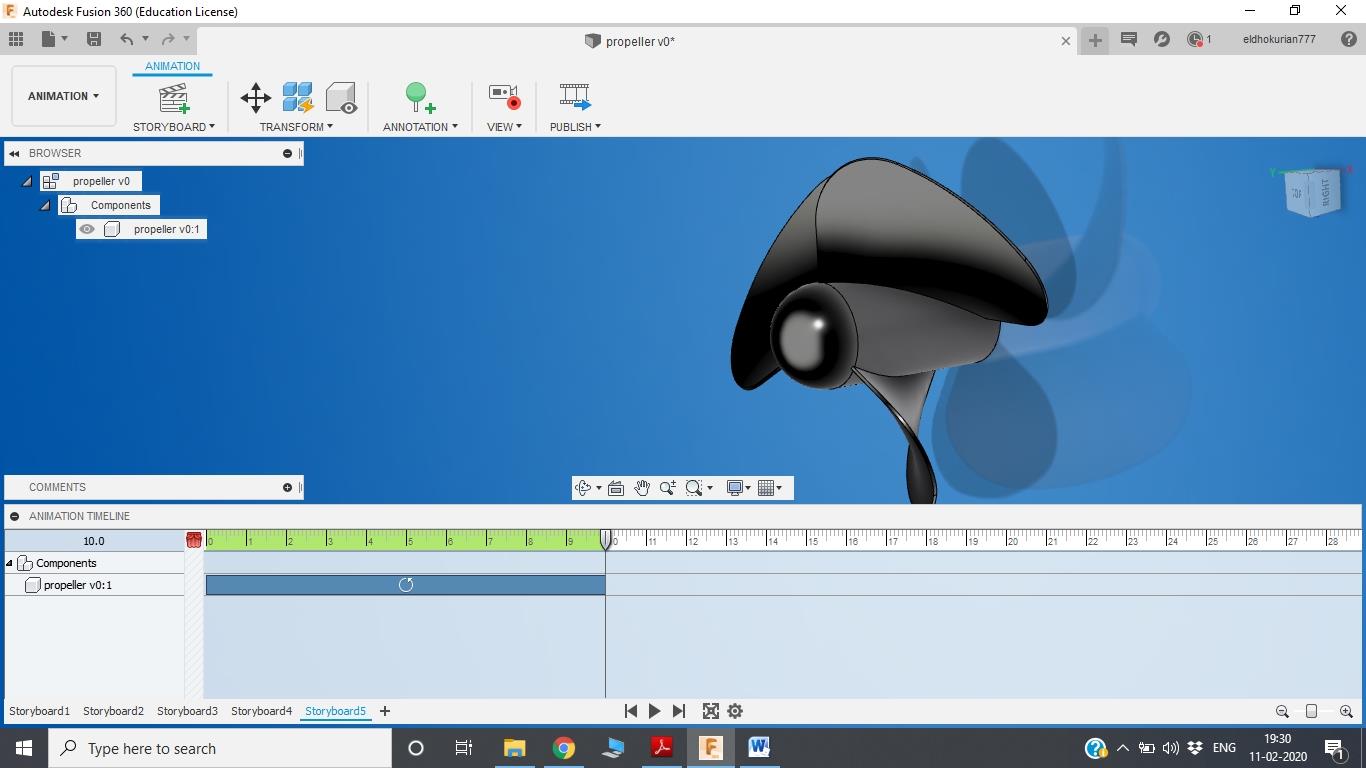
Inorder to perform the movement of propeller animation section is used. The backgroud and material colour is changed and the required action is perfoemed using transform option in a fixed timeline.
.jpg)
The load on the propeller can be evaluted using Simulation section of fusion360.And it shows that there is a posiblity of blade seperation from the body.
Rendering is option in which a finished model can be presented in a high quality enviornment and with a real finish. I did online rendering using fusion360 and it came out pretty good.
All Design files
A small animation on propeller working
This week helped me to understand various designing softwares and also gve me confidence that with practice we could master these softwares.