
Read a microcontroller datasheet
Program my board to do something
.
In Week 7 Electronics design week i had programmed the echoboard in arduino. So in this week i thought i would do something different. I had already made a pendulum clock design in Week 8 - computer controlled cutting weekend with a normal clock. I had bought neopixel leds for converting this ordinary clock to neopixel clock. So in this week i decided to do a neopixel clock with these LEDS
.
Programming and configuring ATTINY 44 in arduino IDE was already done by me in week 7 -elecronics design week
.
.
.
.
.
.
.
.
.
.
.
.
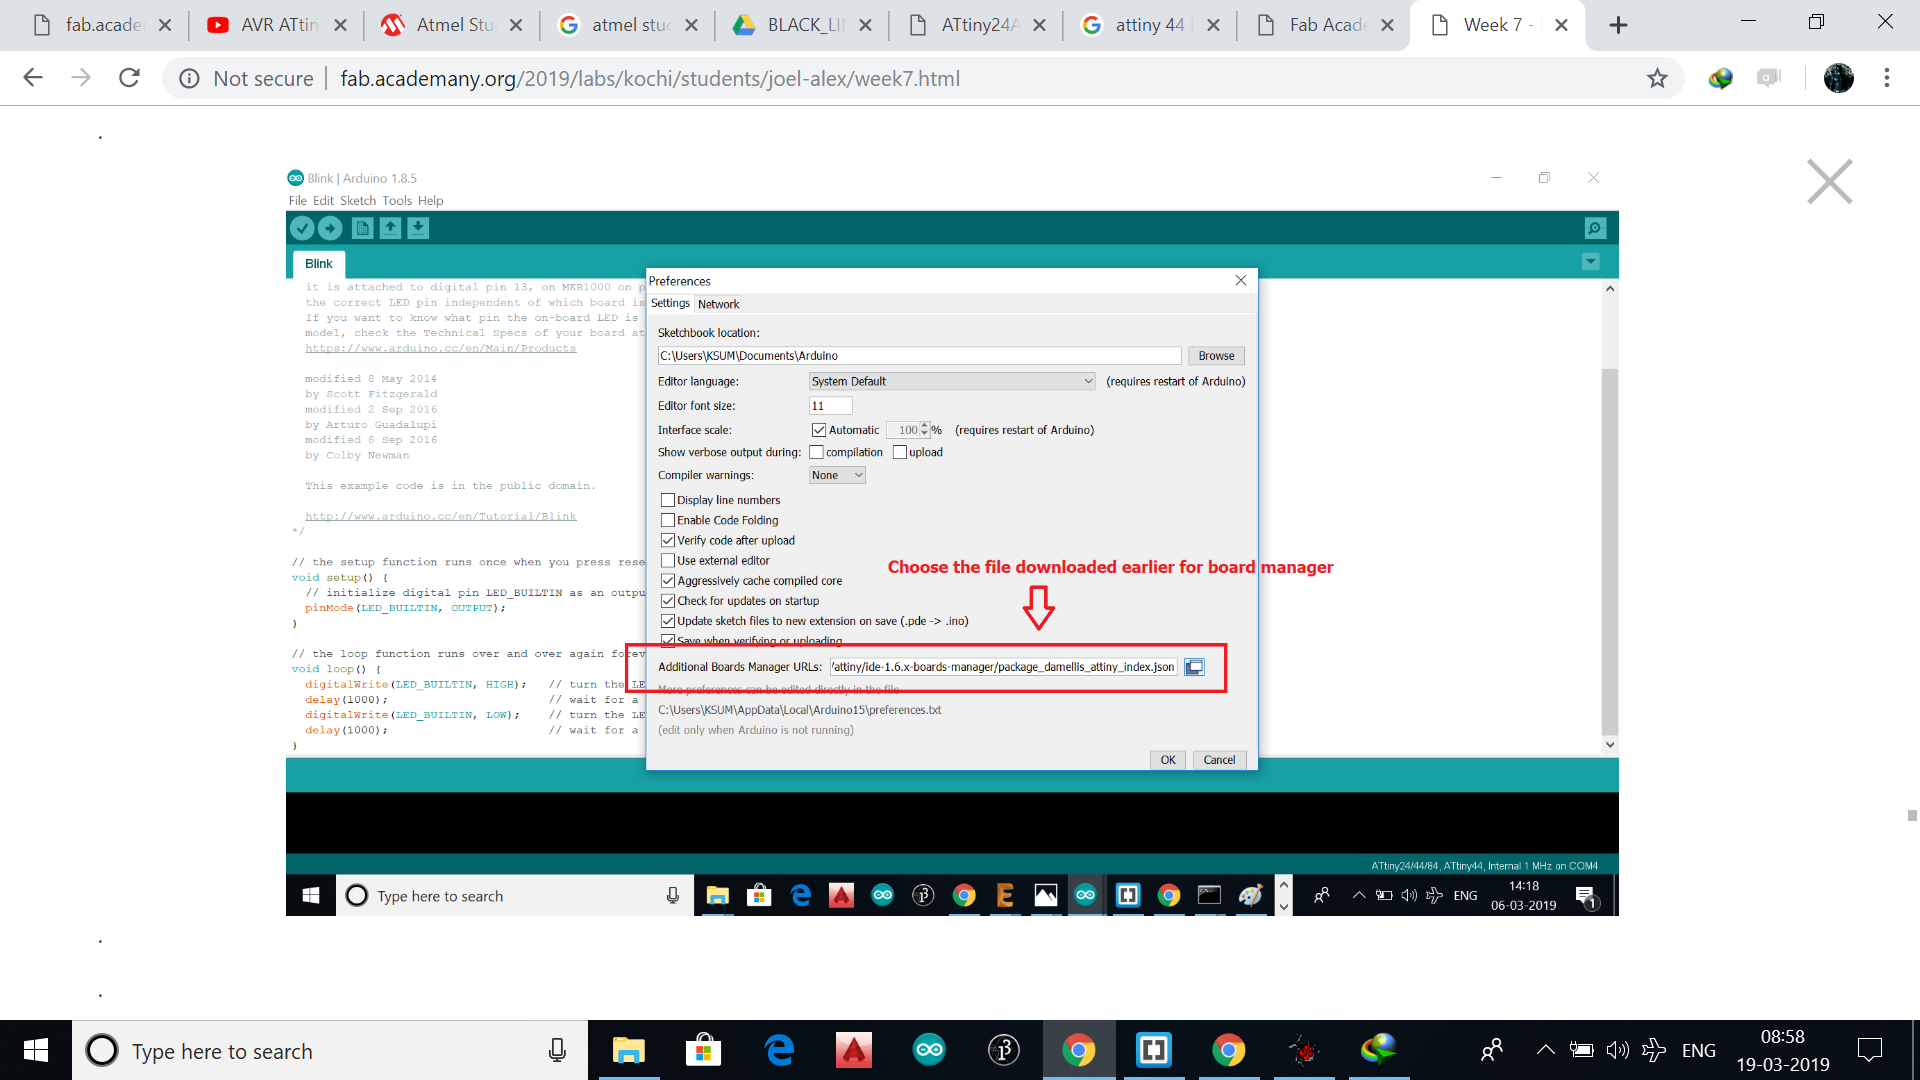
But for a backup for the assignment i thought i would program the board i had made in week 7 using c language. I had an older version of AVR Studio which was going to be used for programming attiny 44
.
.
.
.
Before that i thought i should understand the datasheet of the Attiny 44 microcontroller. I went though some tutorial online for the same
.
.
.

.
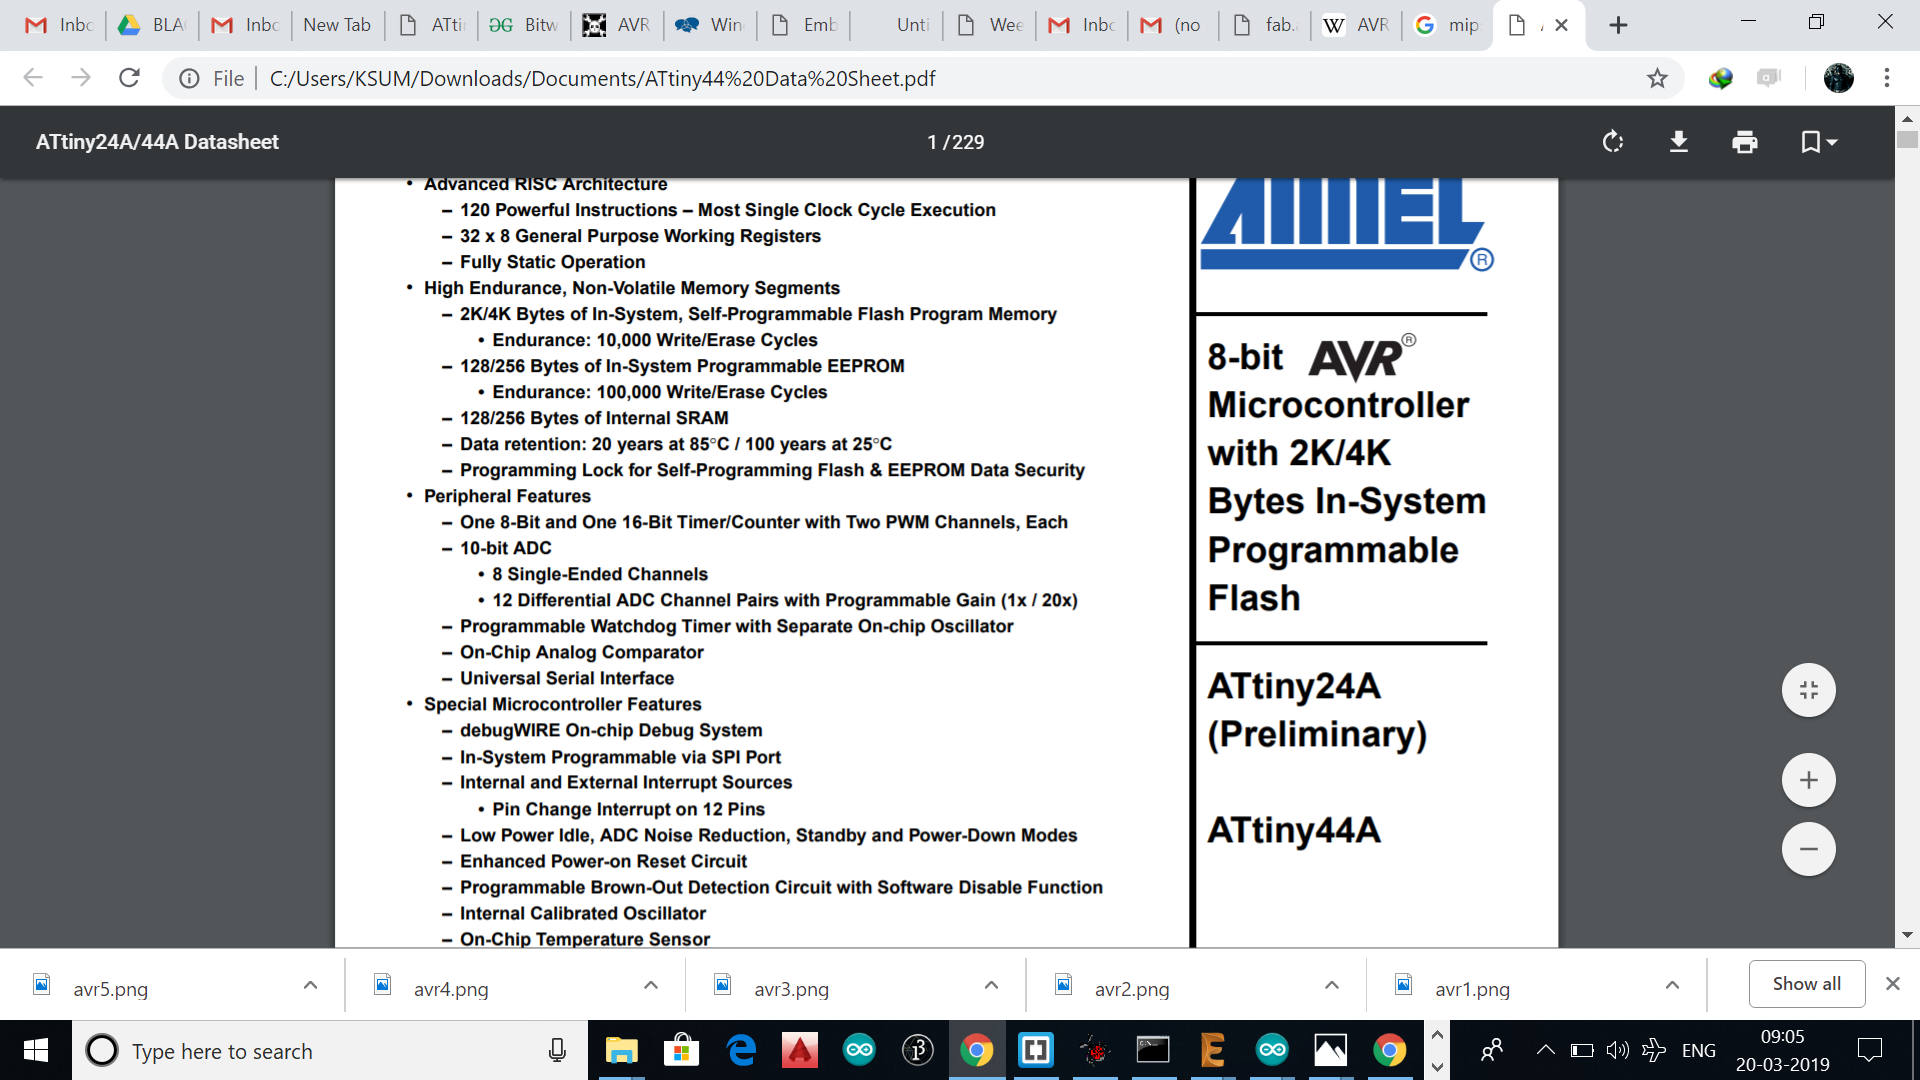
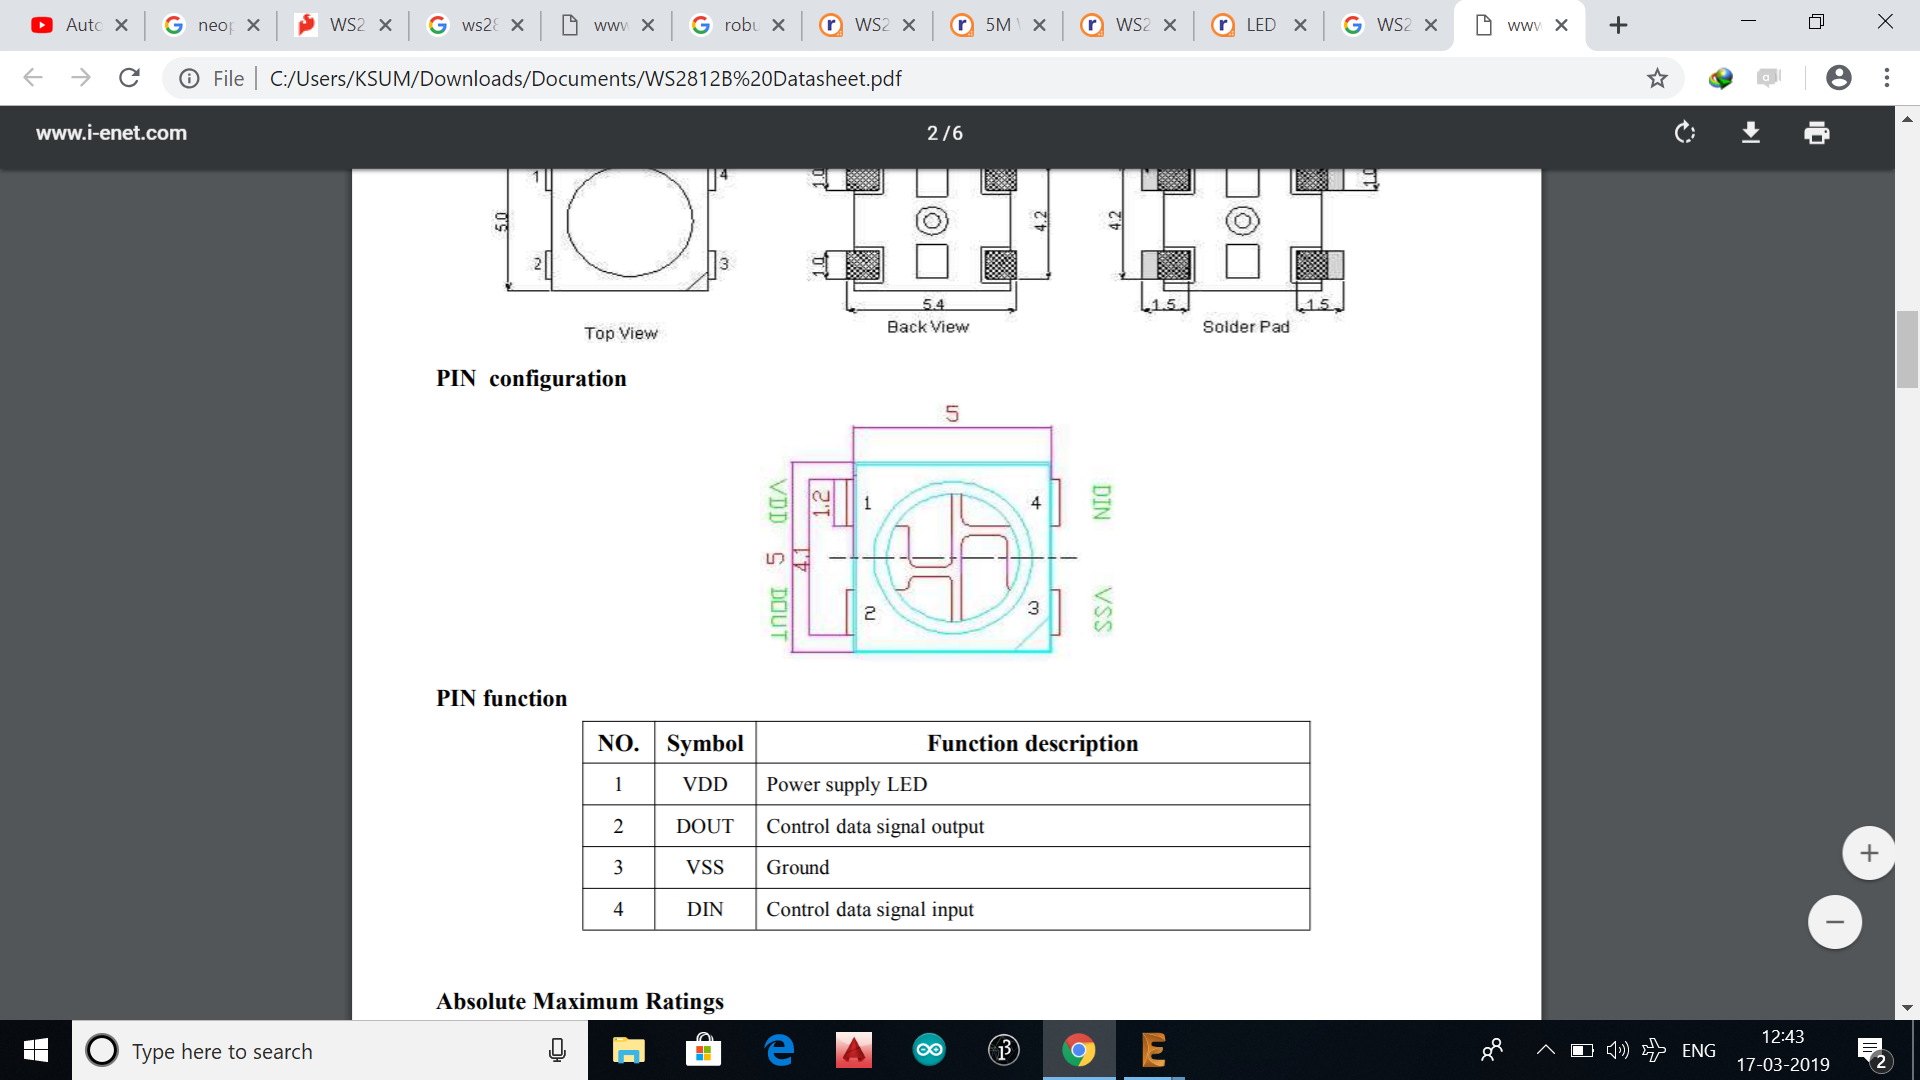
The ATtiny44 is a high-performance, low-power Microchip AVR RISC-based CMOS 8-bit microcontroller.It combines 4KB ISP flash memory, 256-Byte EEPROM, 256B SRAM, 12 general purpose I/O lines .The ATtiny44 consistof 32 general purpose working registers, an 8-bit timer/counter with two PWM channels, a 16-bit timer/counter with two PWM channels, internal and external interrupts, an 8-channel 10-bit A/D converter and a programmable gain stage (1x, 20x) for 12 differential ADC channel pairs. It has a programmable watchdog timer with internal oscillator.The internal calibrated oscillator and three software selectable power saving modes makes it suitable for small embedded products . By executing powerful instructions in a single clock cycle the device achieves throughputs approaching 1 MIPS per MHz .It also balance power consumption and improve processing speed.
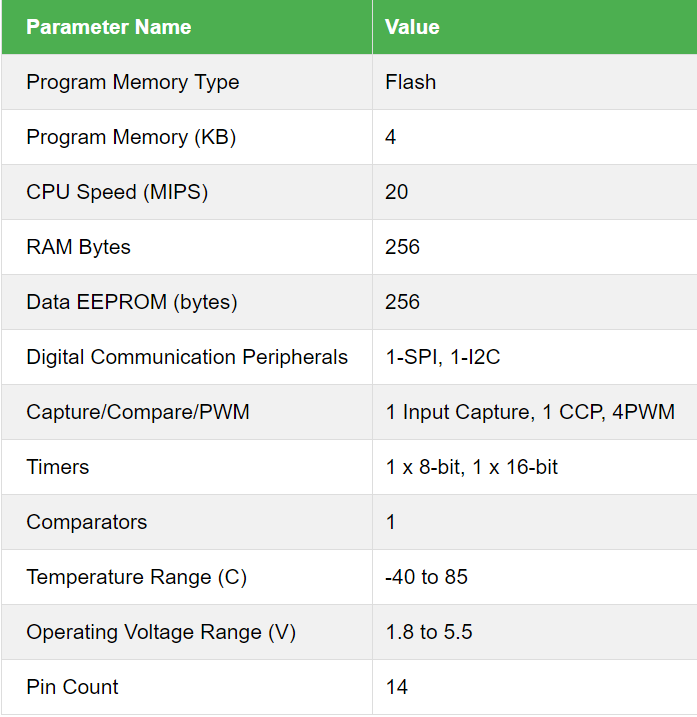
The data sheet can be read and the specifications of microcontroller can be obtained as below
.
.
.
.
.
.
.
.
.
.
.
.
.
.
.
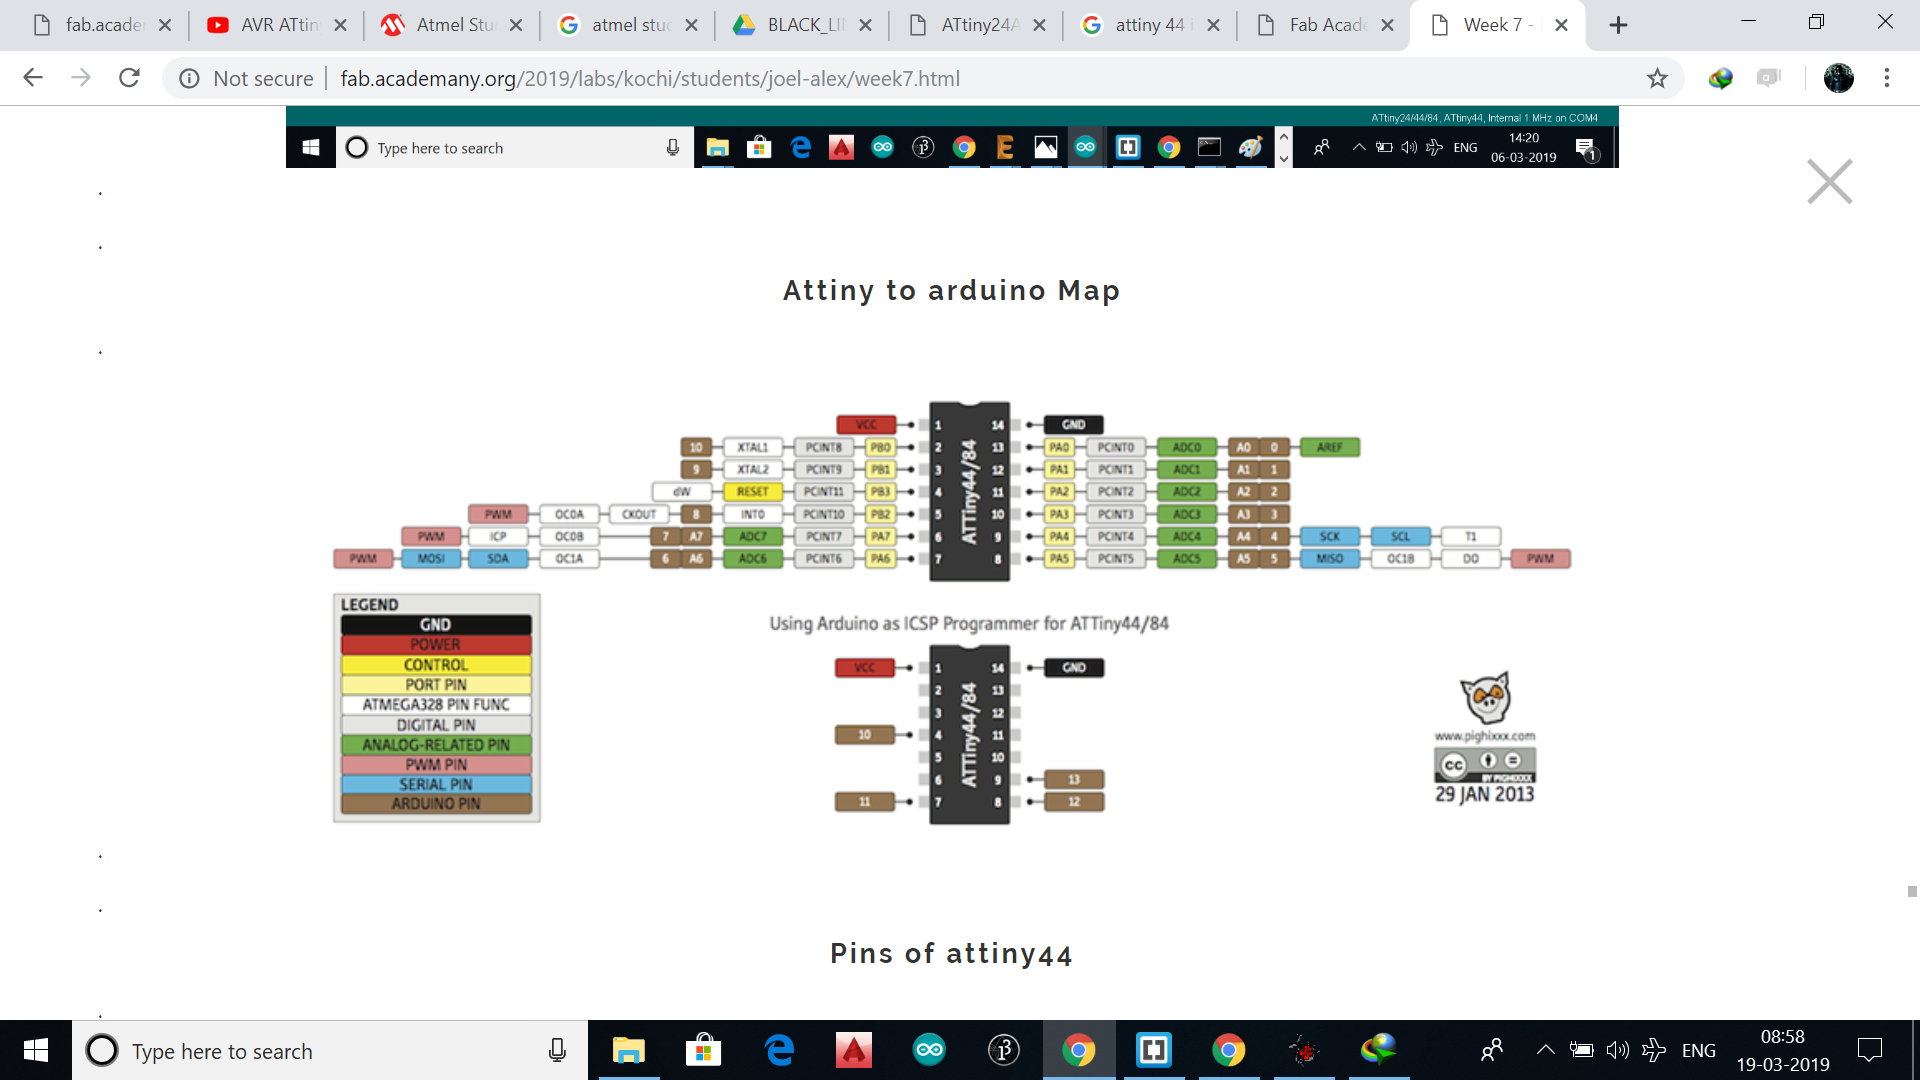
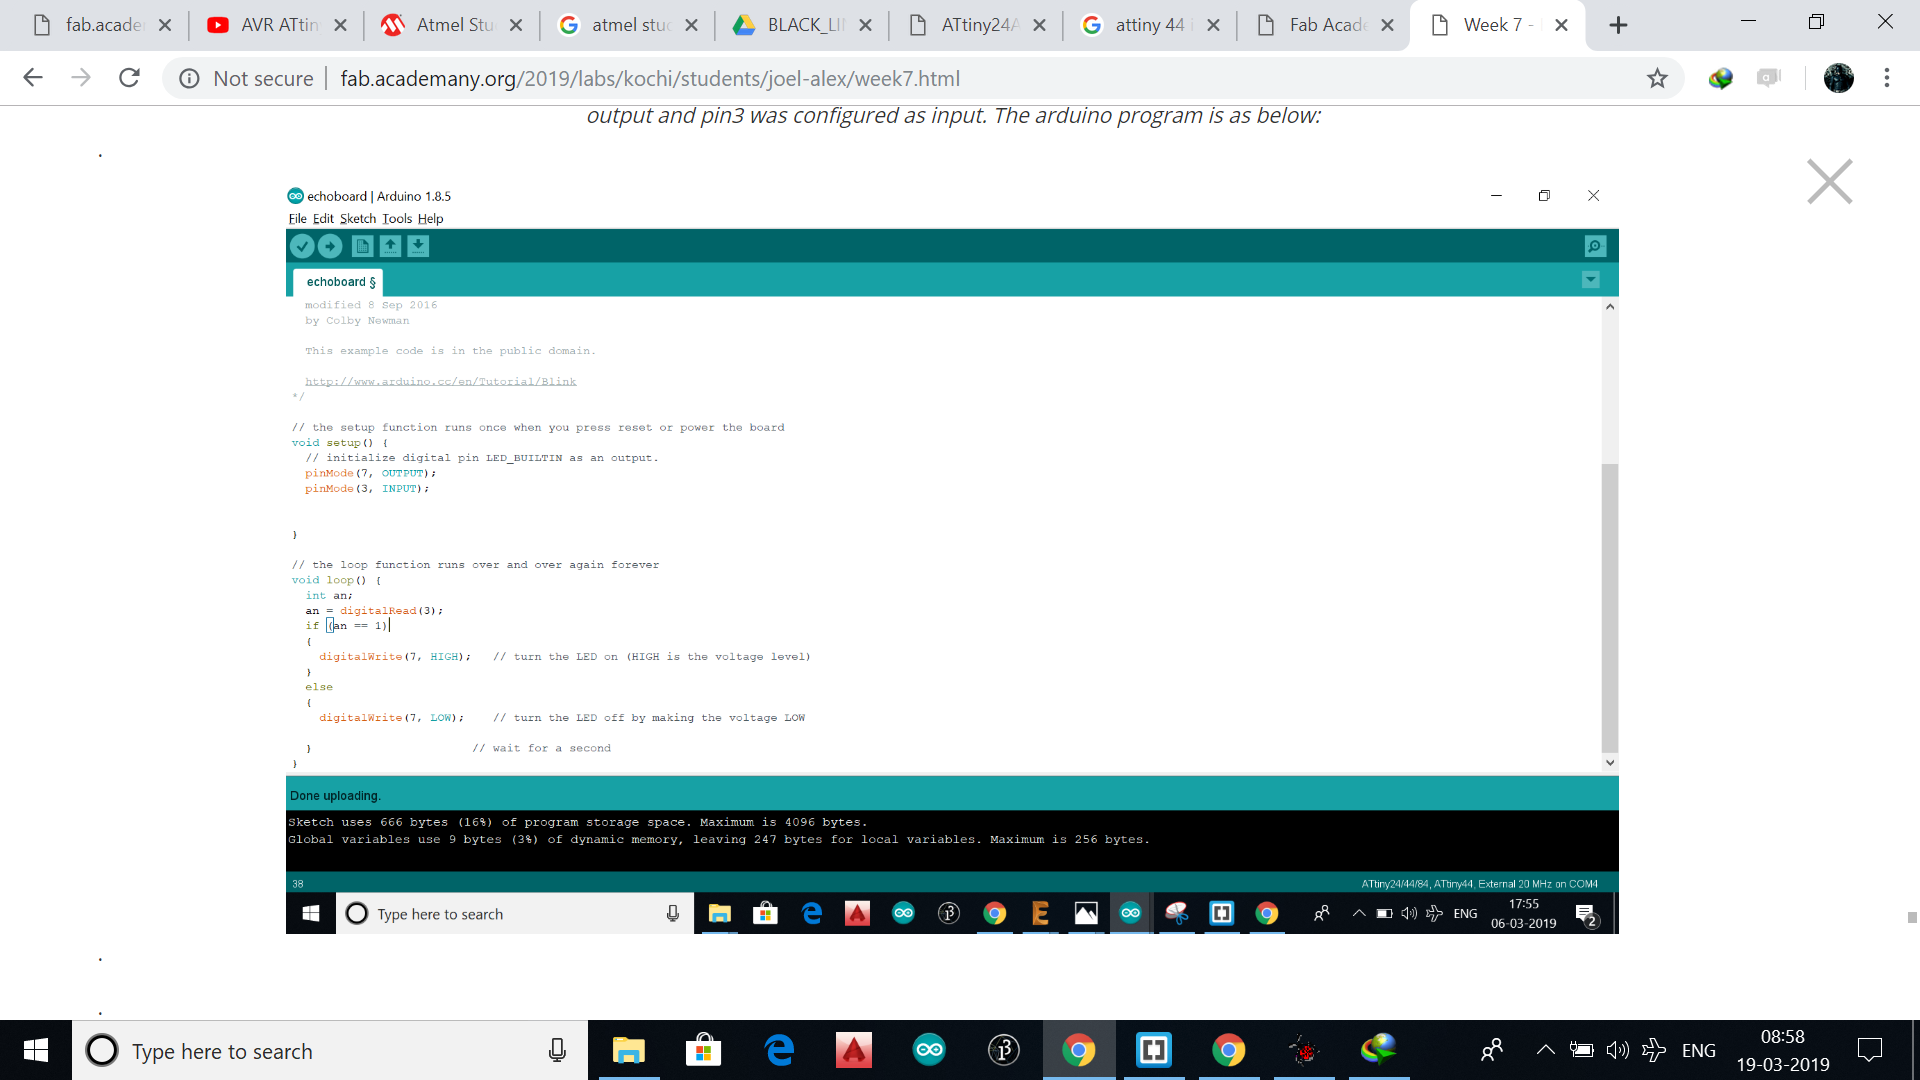
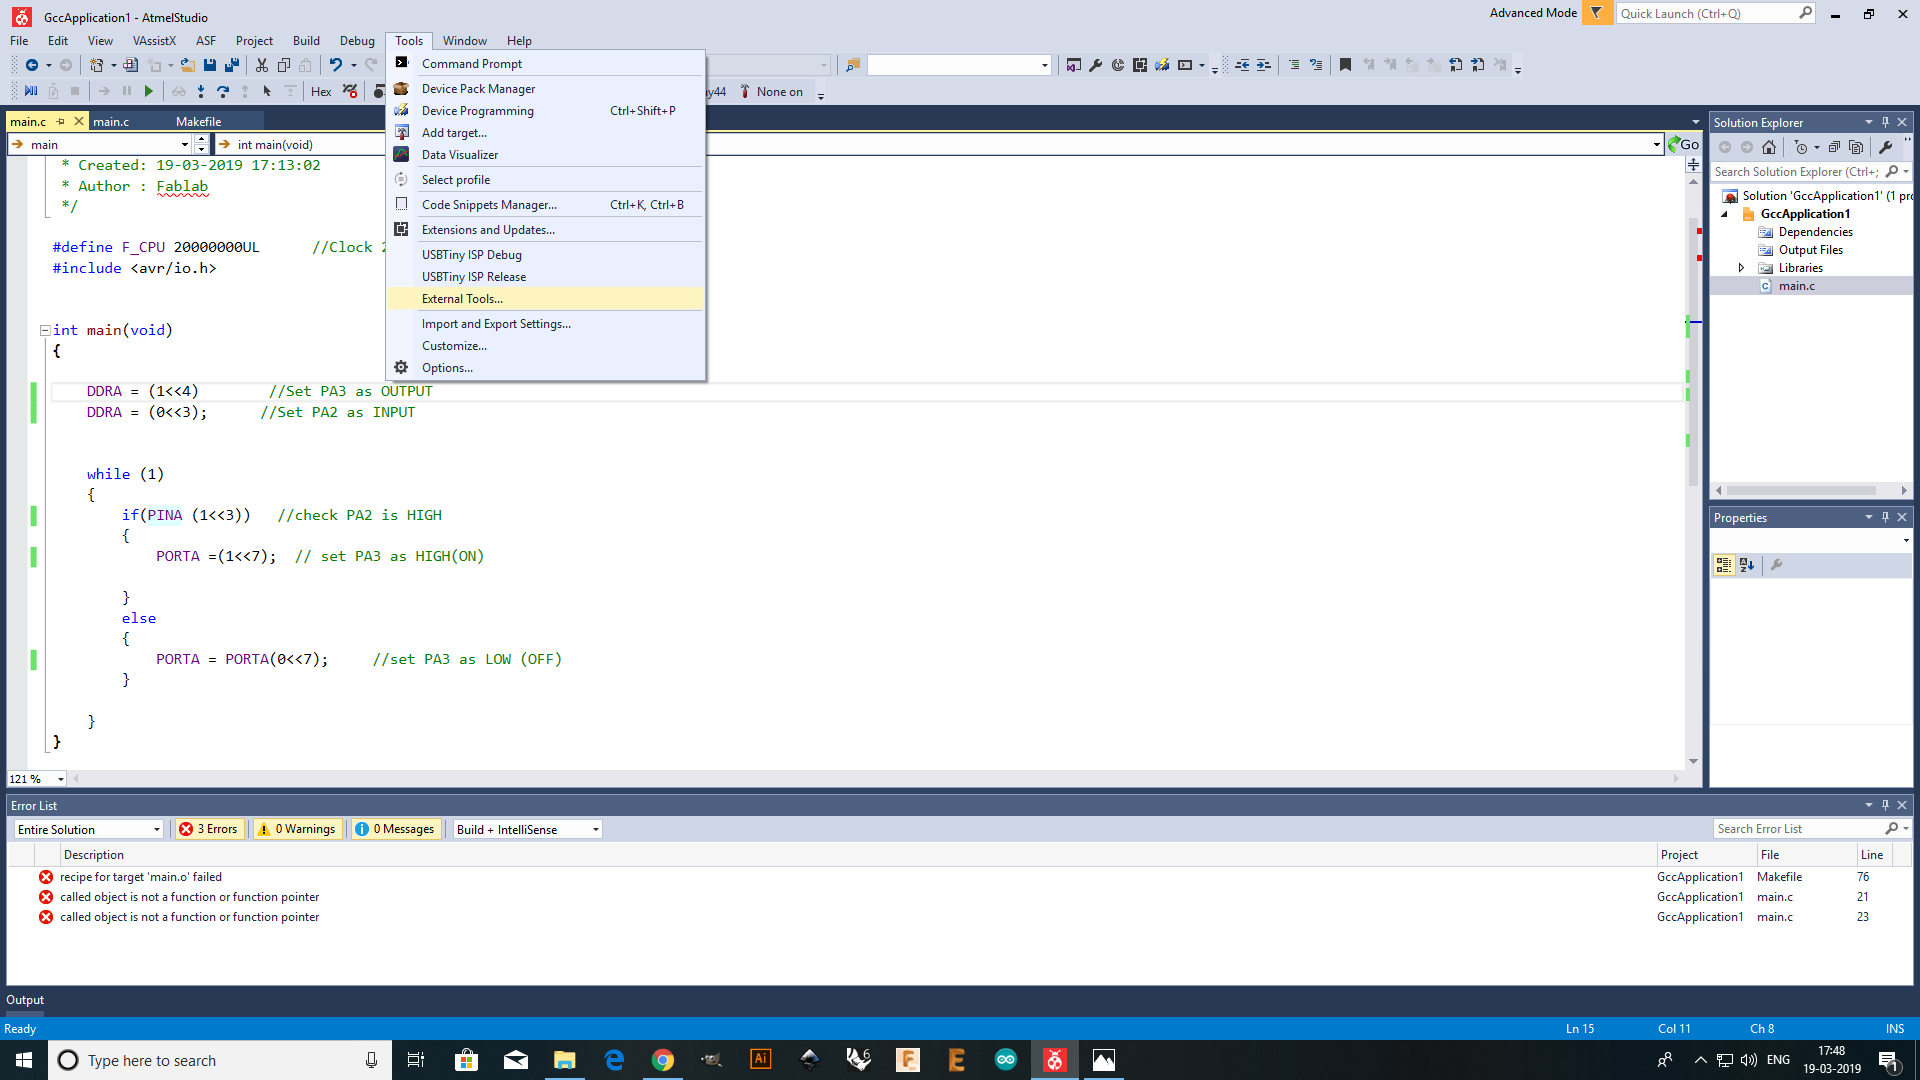
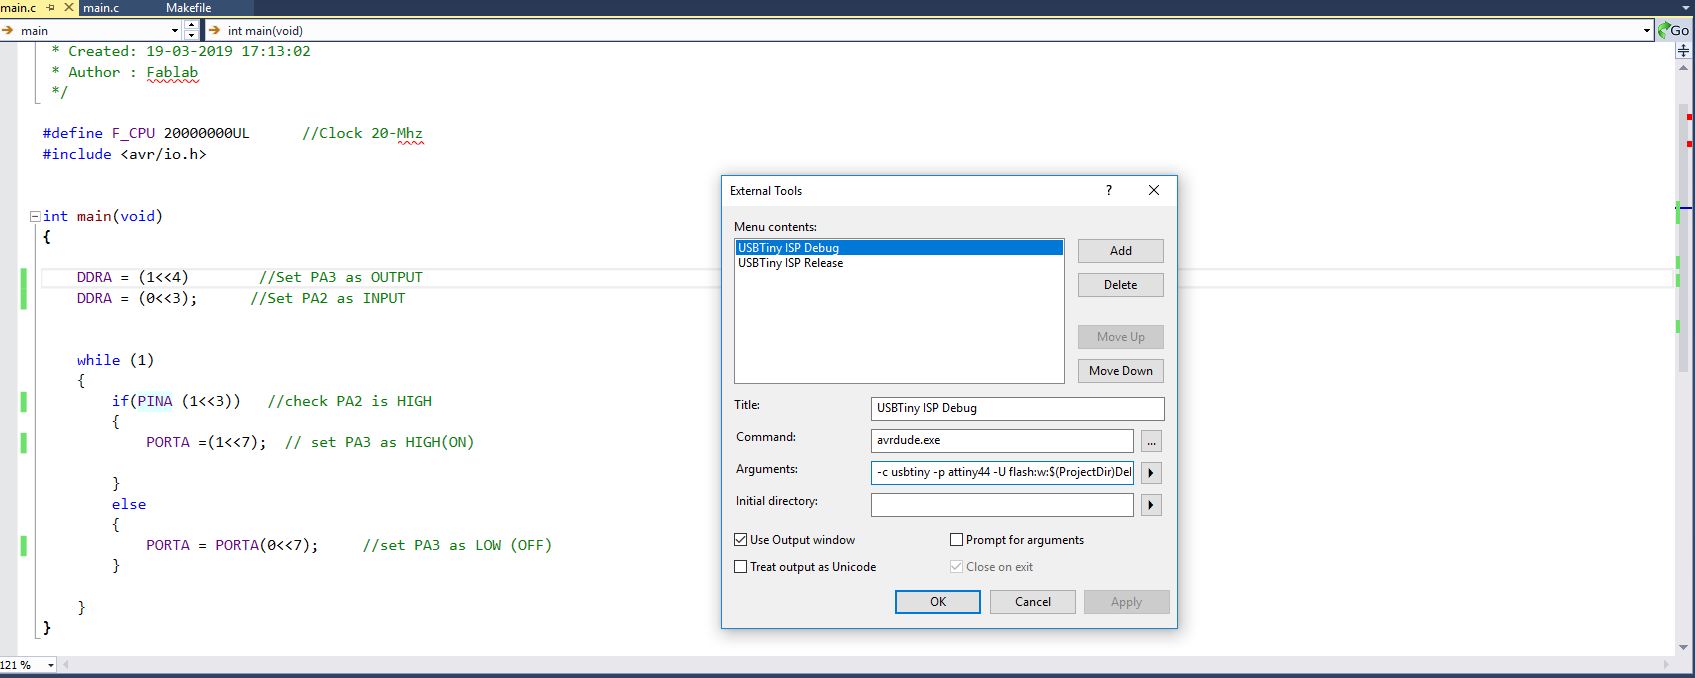
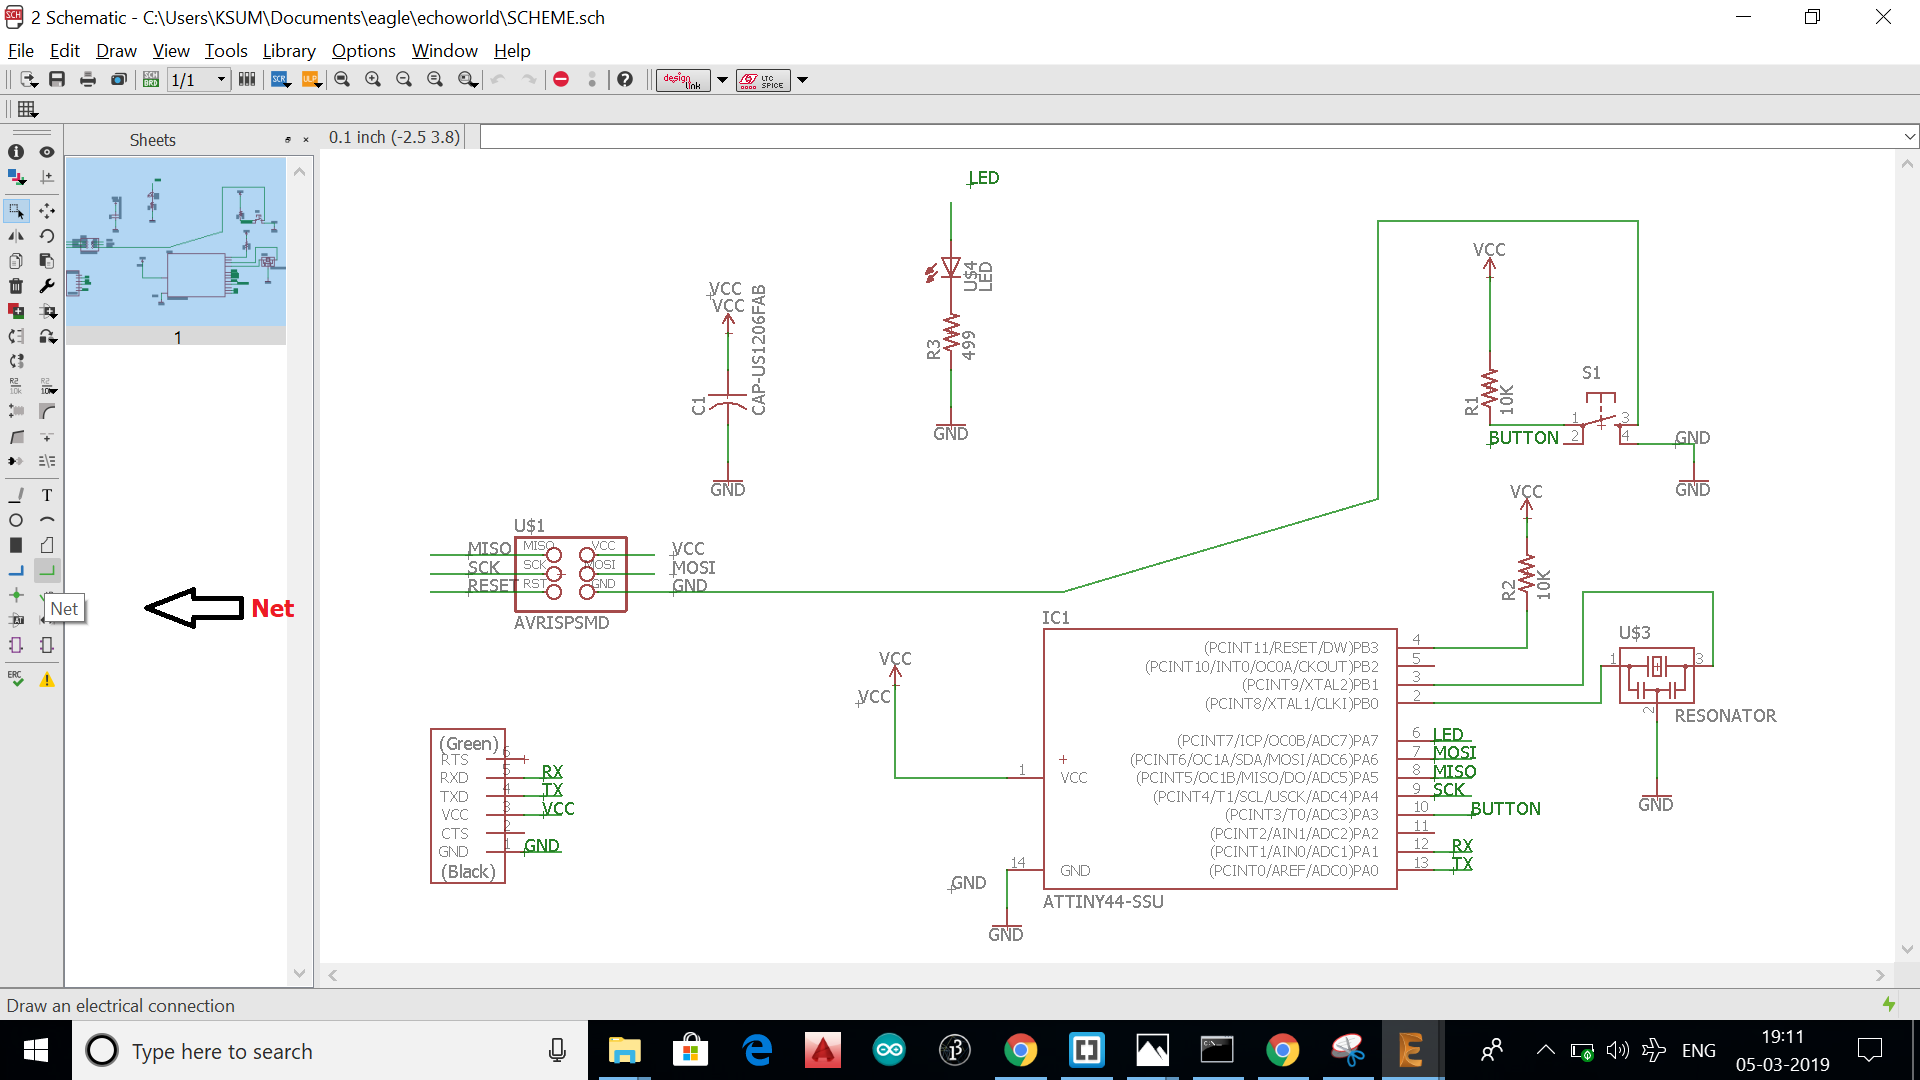
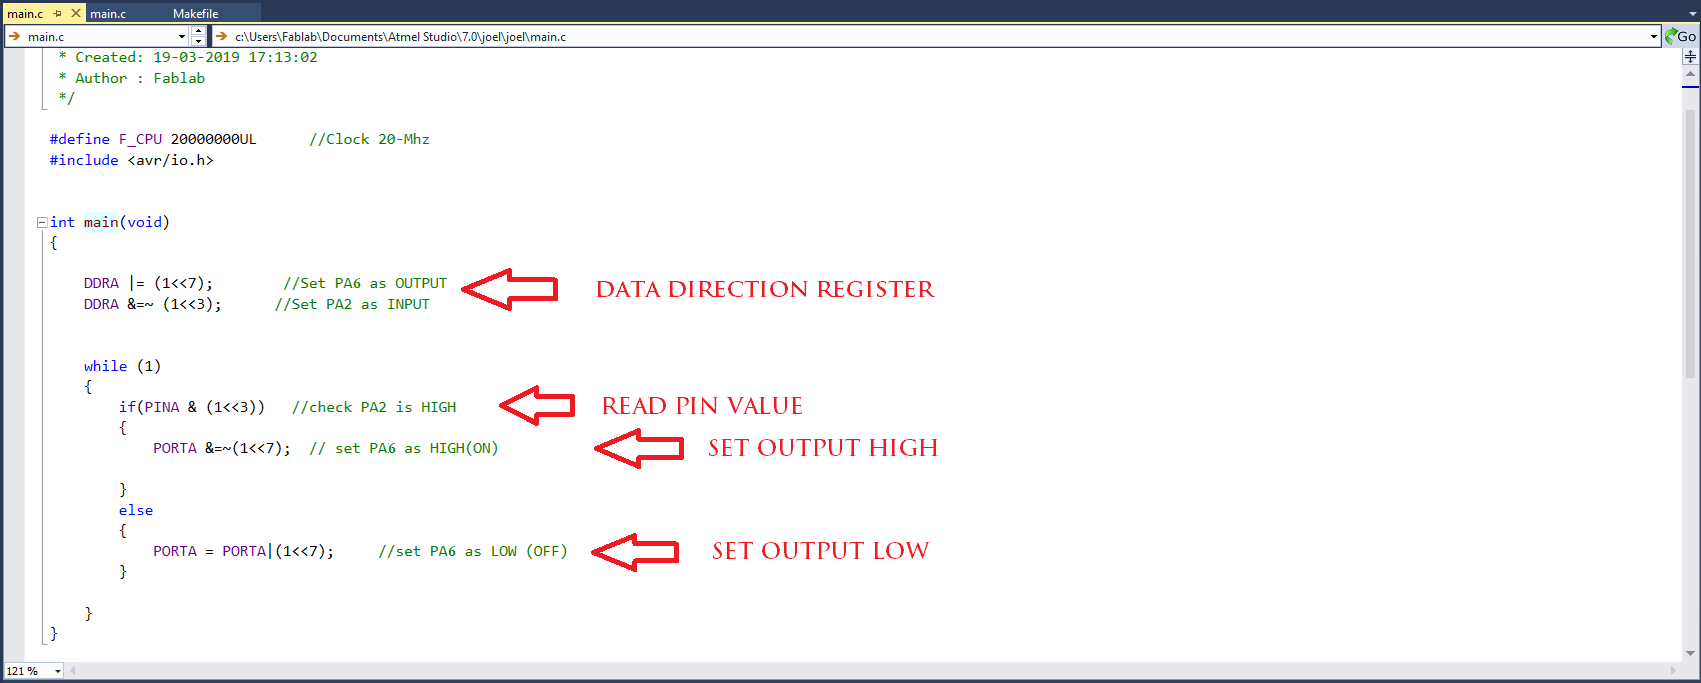
We will get another tool mentioning the programmer 'usbattiny'. Find the schematics diagram and select the check the input & output pins for programming. The program will be a simple one to blink an led when a button is pressed. So as per the schematic the button is connected to pin7 (PA6) and LED to pin 3(PA2)
.
Before that we should understand the basic commands in AVR programming
.
.
.
Build the program and send it to micrcontroller
.

.
.
.
.
.
ARM, previously Advanced RISC Machine, originally Acorn RISC Machine, is a family of reduced instruction set computing (RISC) architectures for computer processors, configured for various environments.Processors that have a RISC architecture typically require fewer transistors than those with a complex instruction set computing (CISC) architecture (such as the x86 processors found in most personal computers), which improves cost, power consumption, and heat dissipation. These characteristics are desirable for light, portable, battery-powered device-including smartphones, laptops and tablet computers, and other embedded systems.] For supercomputers, which consume large amounts of electricity, ARM could also be a power-efficient solution. Most of our mobile phones are based on ARM and now it used on server's and super controllers.Raspberry Pi is Single board computer that based on ARM
STM32 is a family of 32-bit microcontroller integrated circuits by STMicroelectronics. The STM32 chips are grouped into related series that are based around the same 32-bit ARM processor core, such as the Cortex-M7F, Cortex-M4F, Cortex-M3, Cortex-M0+, or Cortex-M0. Internally, each microcontroller consists of the processor core, static RAM memory, flash memory, debugging interface, and various peripherals. In here Fablab Kochi we have the STM32F401 series Nucleo development boards.it's a part of the STM32 Dynamic Efficiency™ device range. These devices offer the best balance of dynamic power consumption (in run mode) and processing performance, while integrating a high number of added-value features in packages as small as 3 x 3 mm. The MCUs deliver the performance of Cortex®-M4 core with floating point unit, running at 84 MHz, while achieving outstandingly low power consumption values in run and stop modes.
.
.
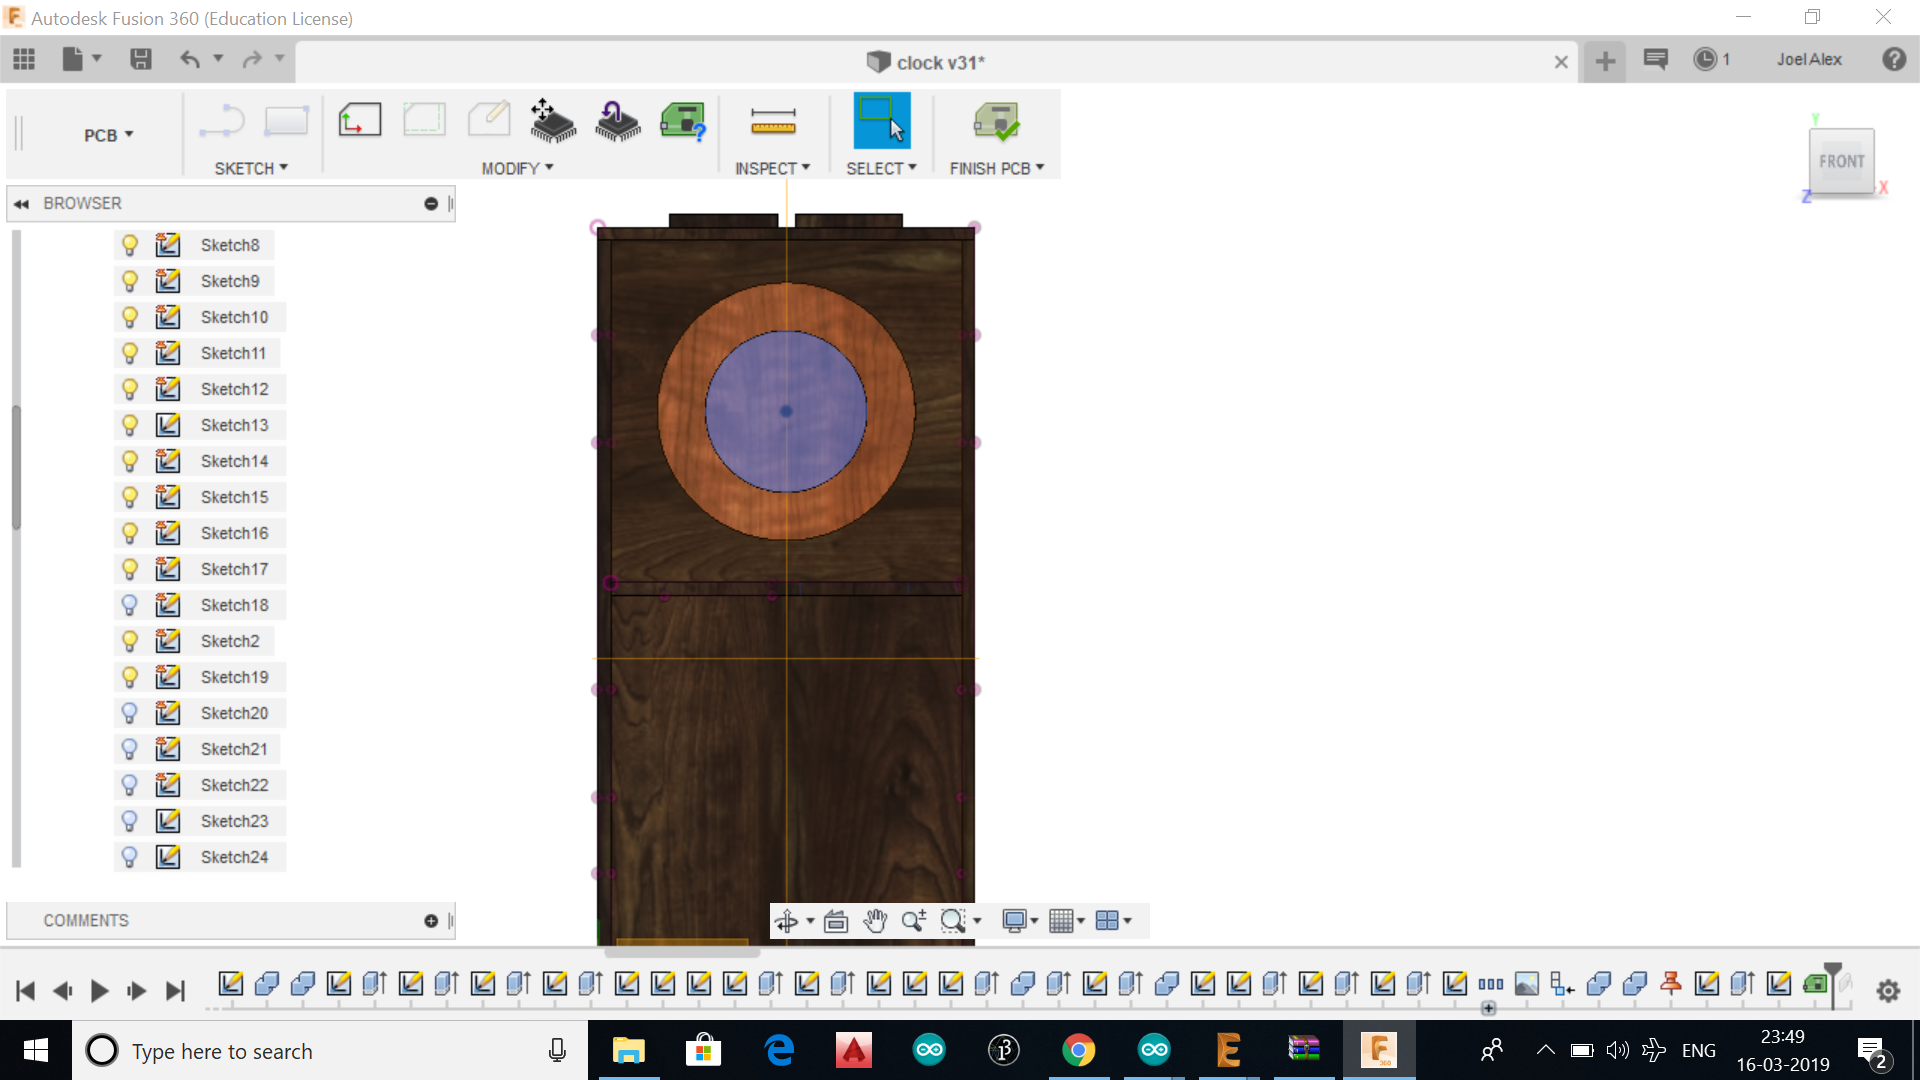
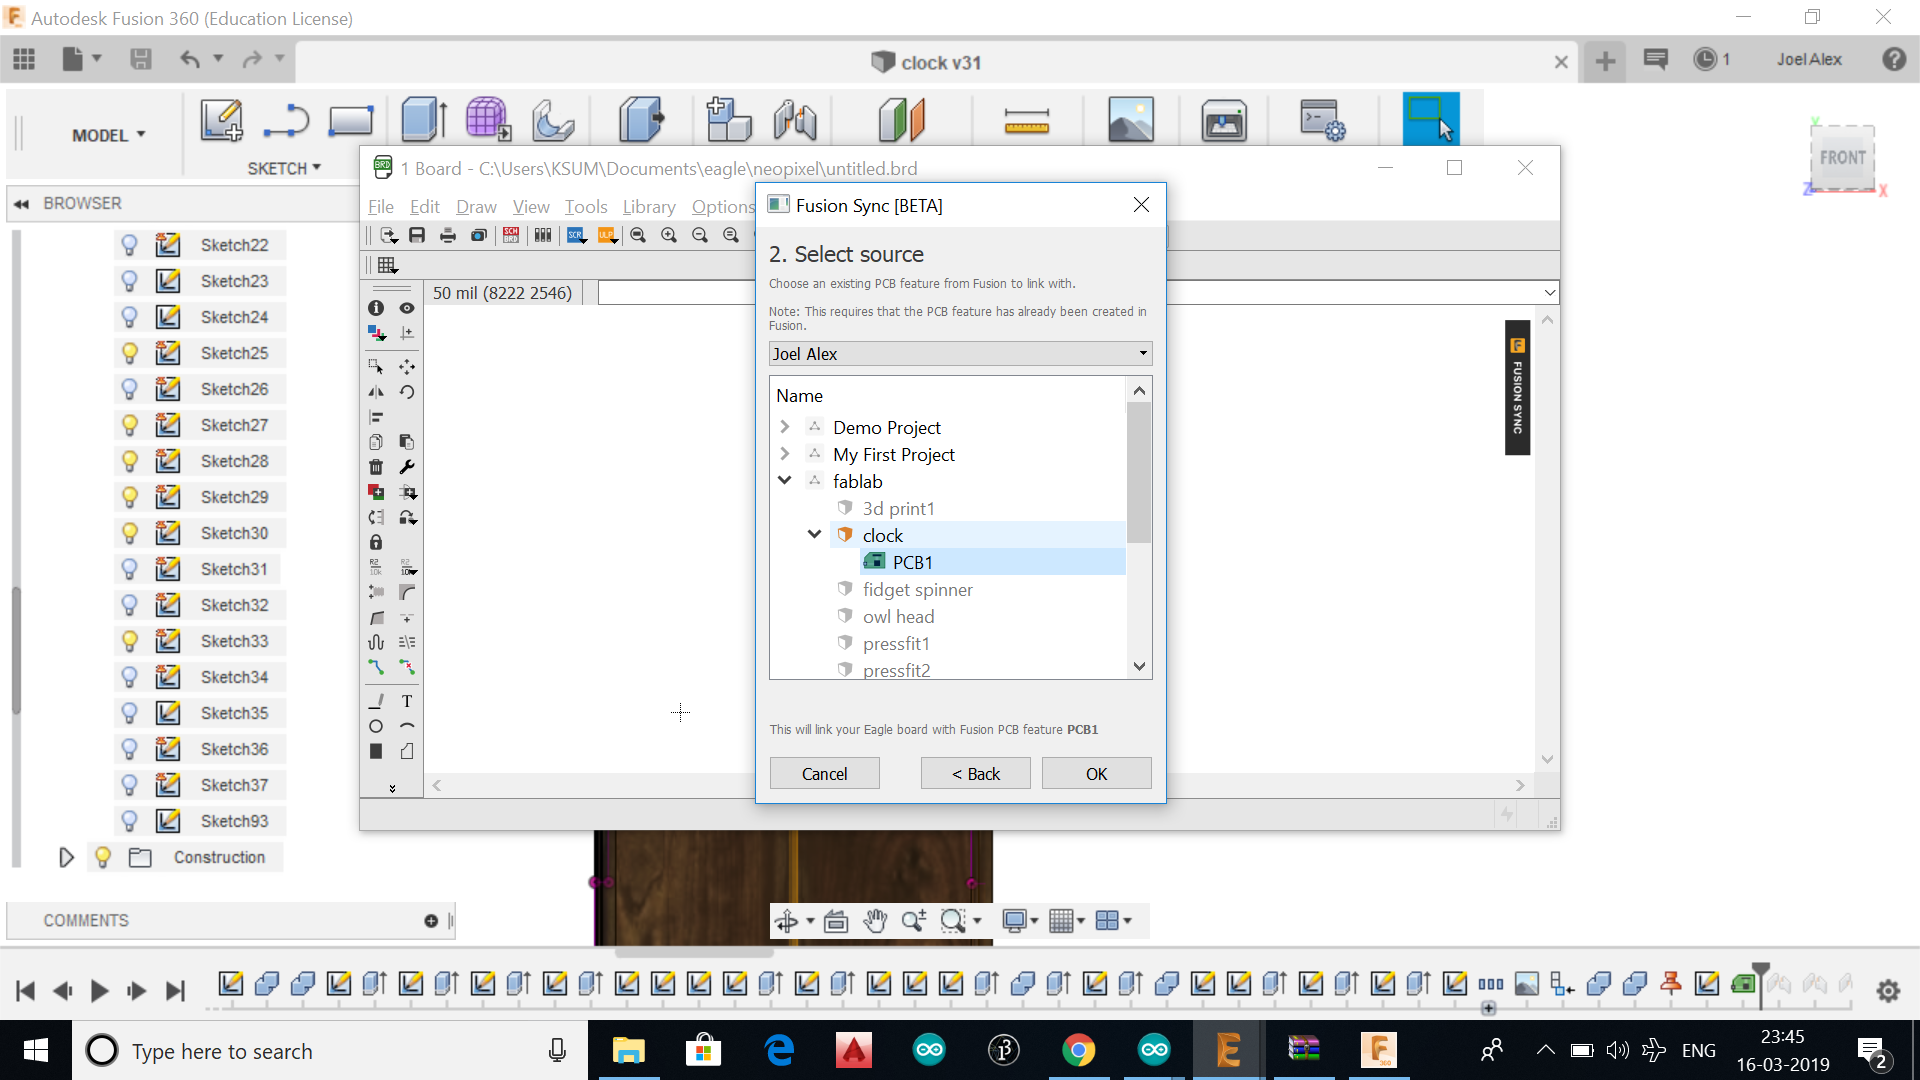
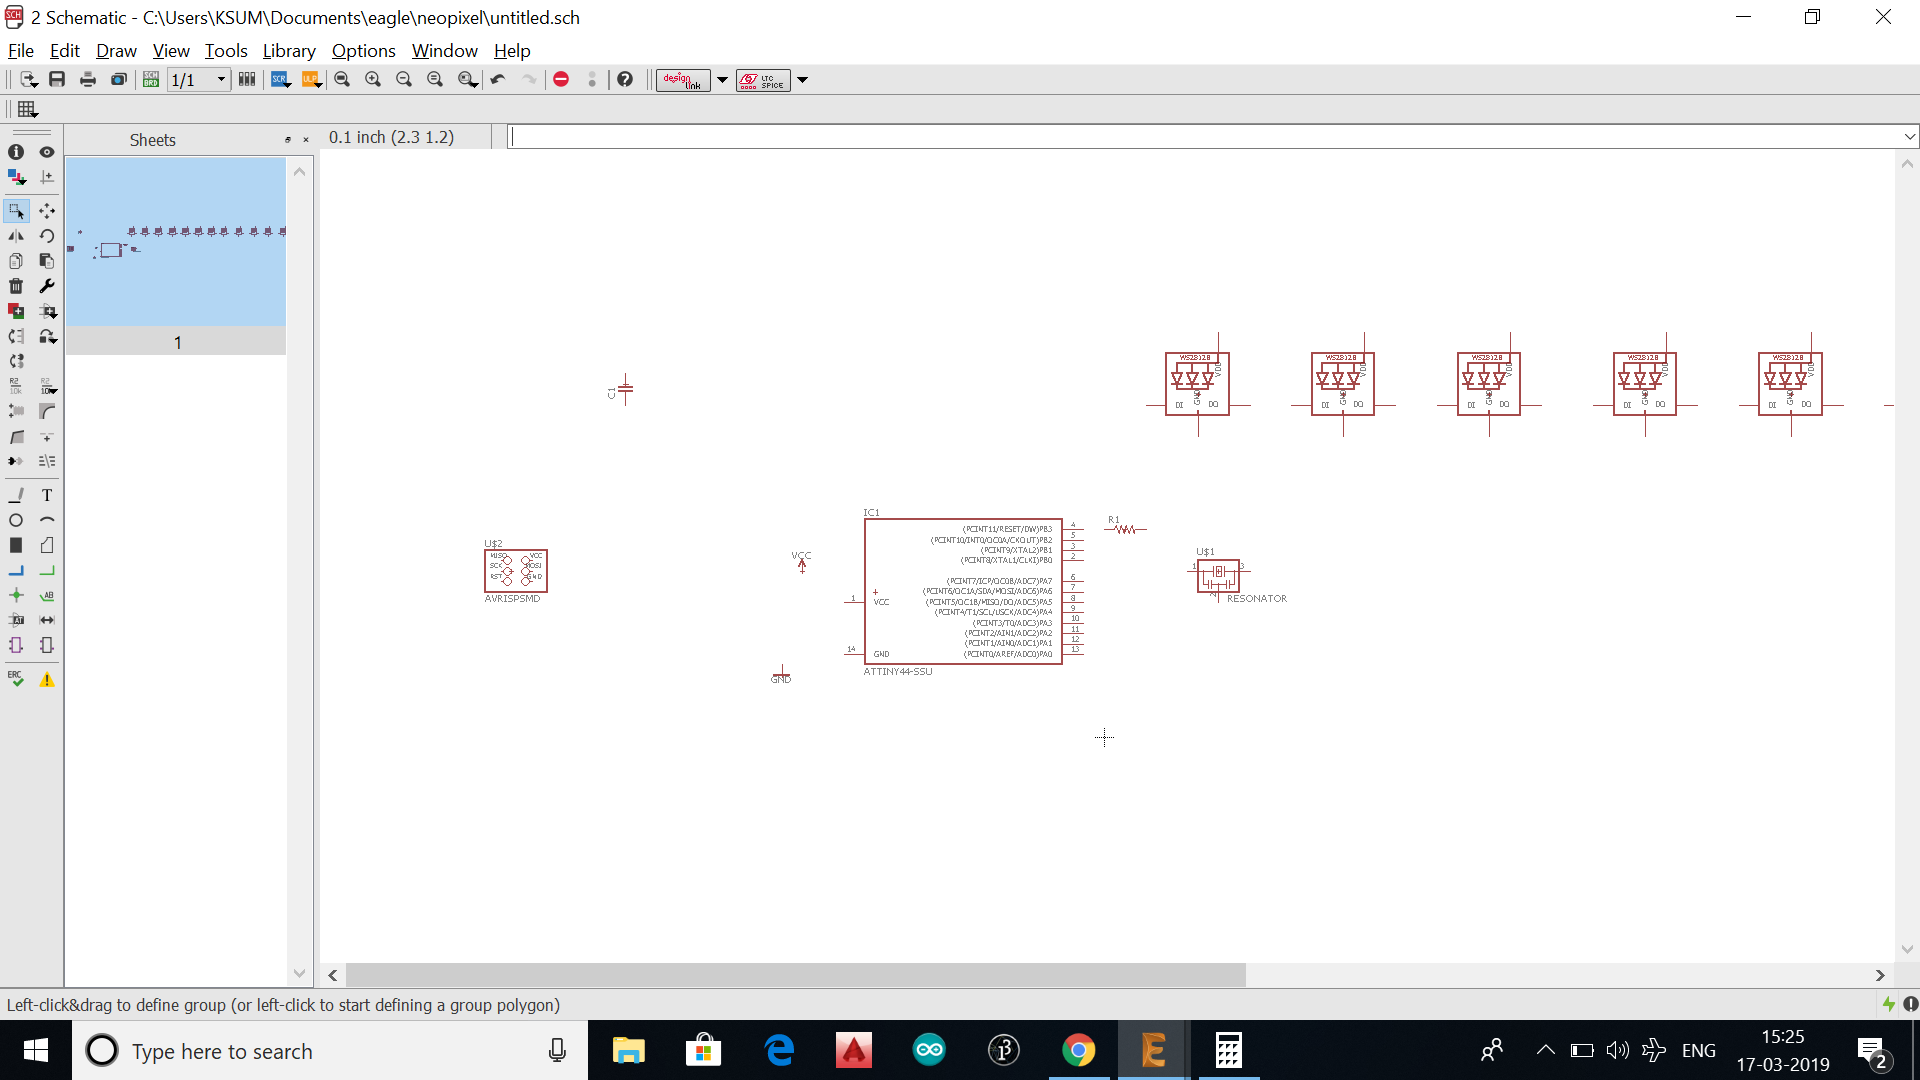
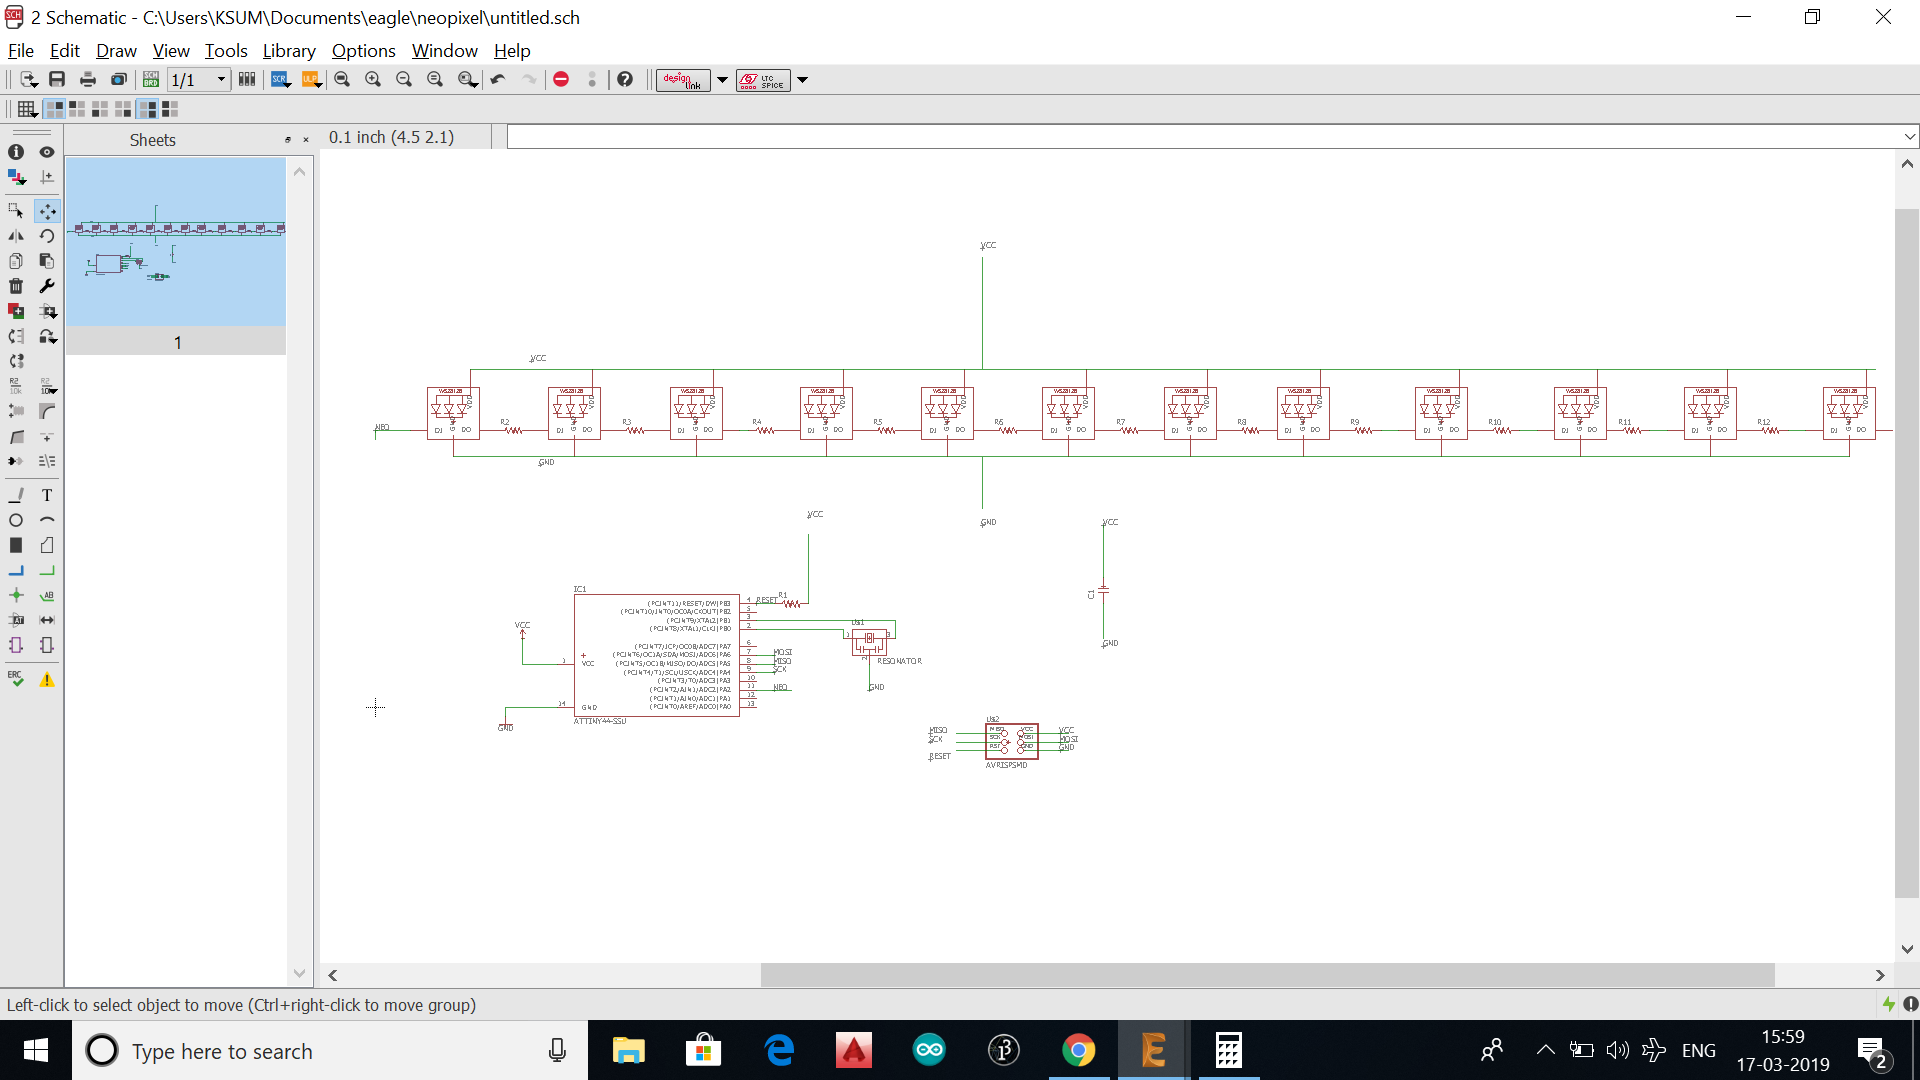
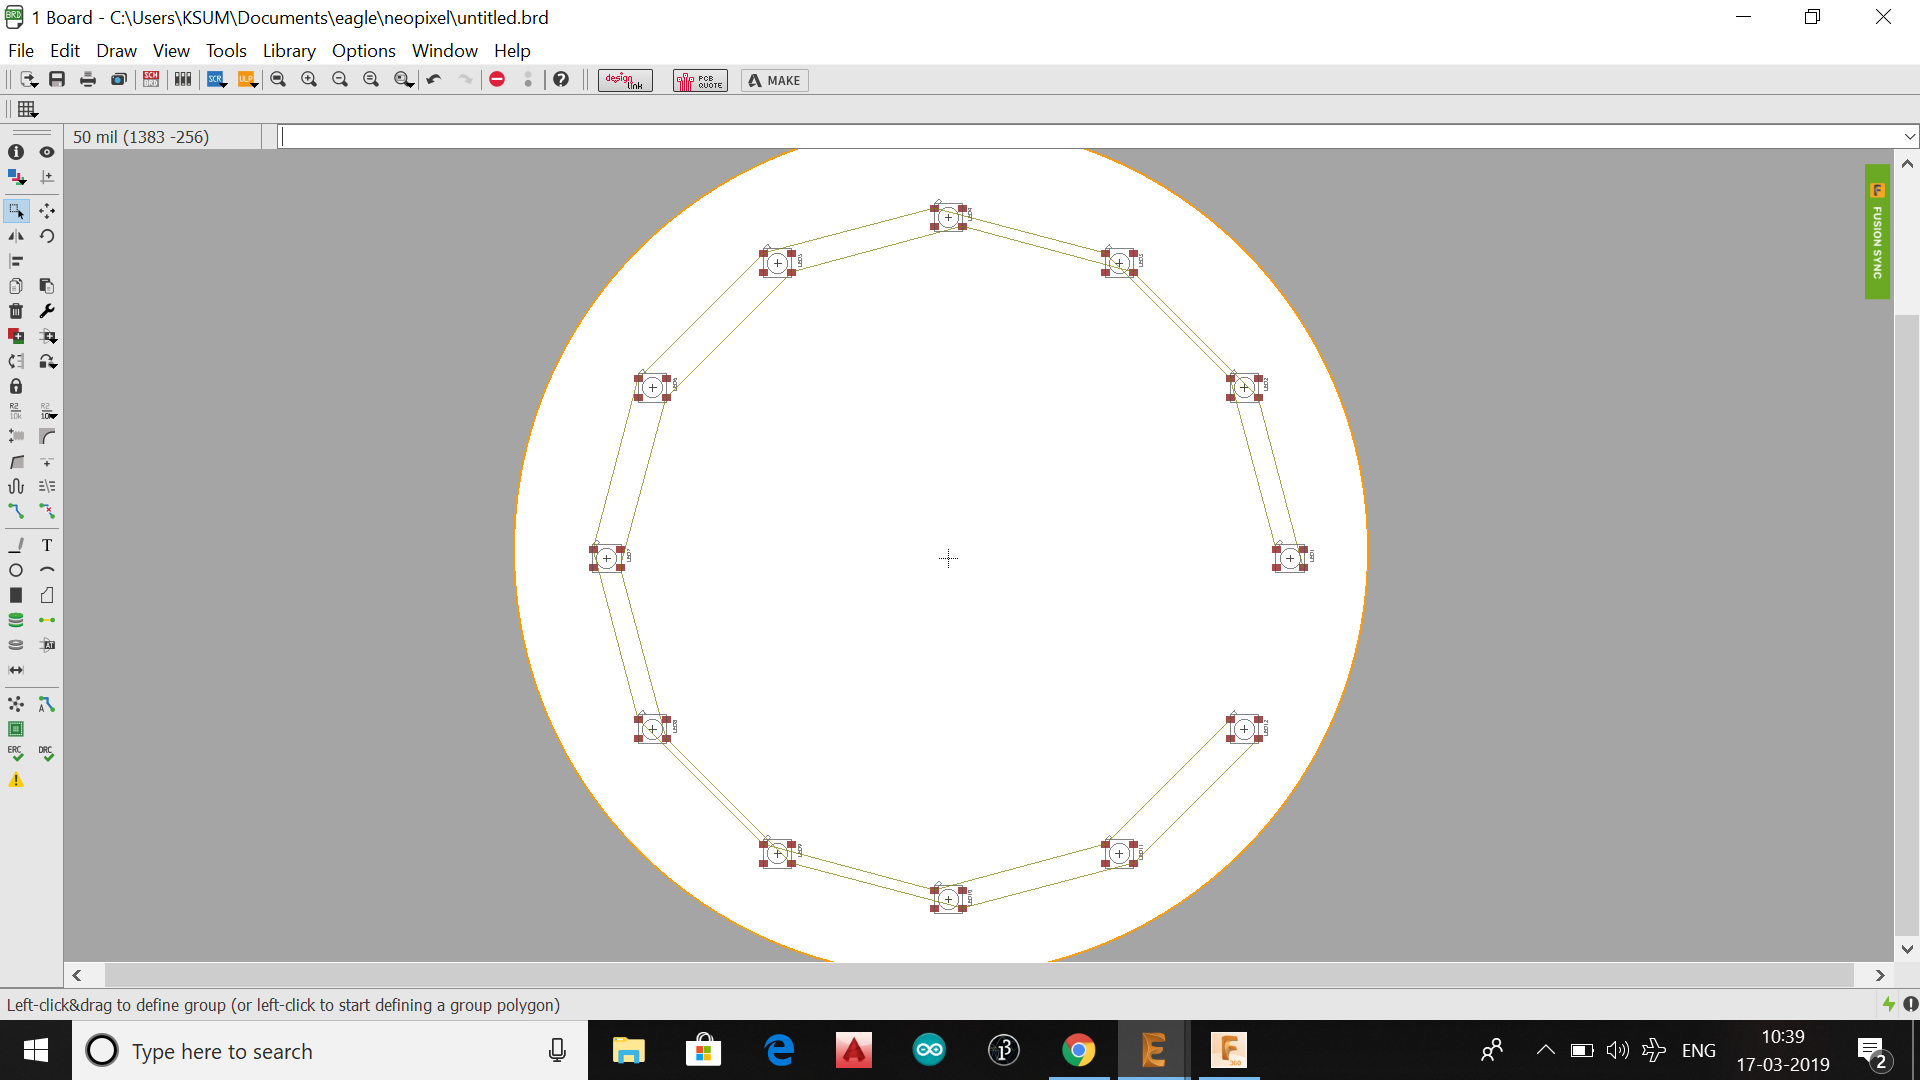
I opened fusion 360 for my clock design. Inorder to accocmodate the neopixel clock inside the space for clock portion in my design, i synced by autodesk eagle and fusion 360 by signing in with the same accounts on both
.
.

.
.
.
.
.
.
.
.
.
.
.
.
.
.
.
.
.
.
.
.
.
.
.
.
.
.

.
.
.
.
.
.
.
.
.
.
.
.
.
.
.
.
.

.
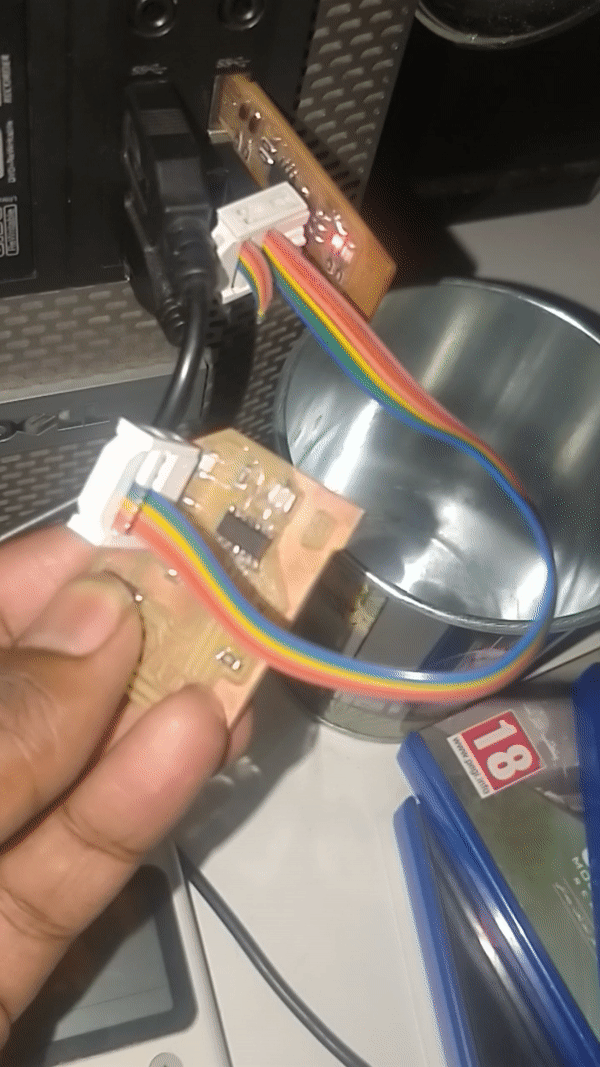
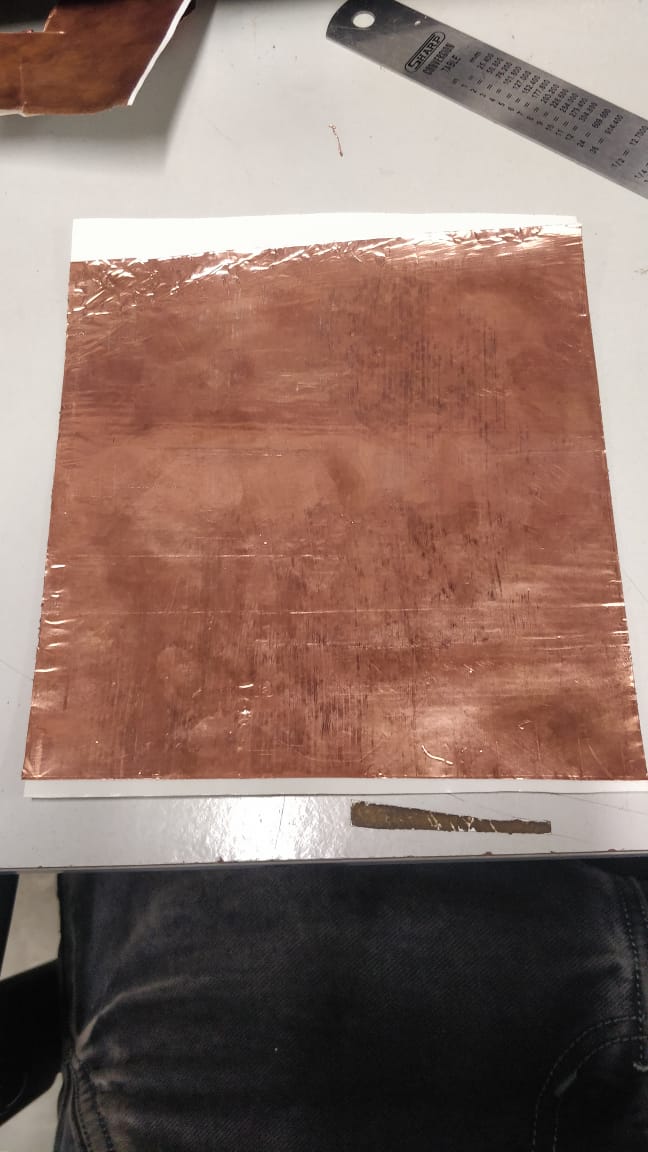
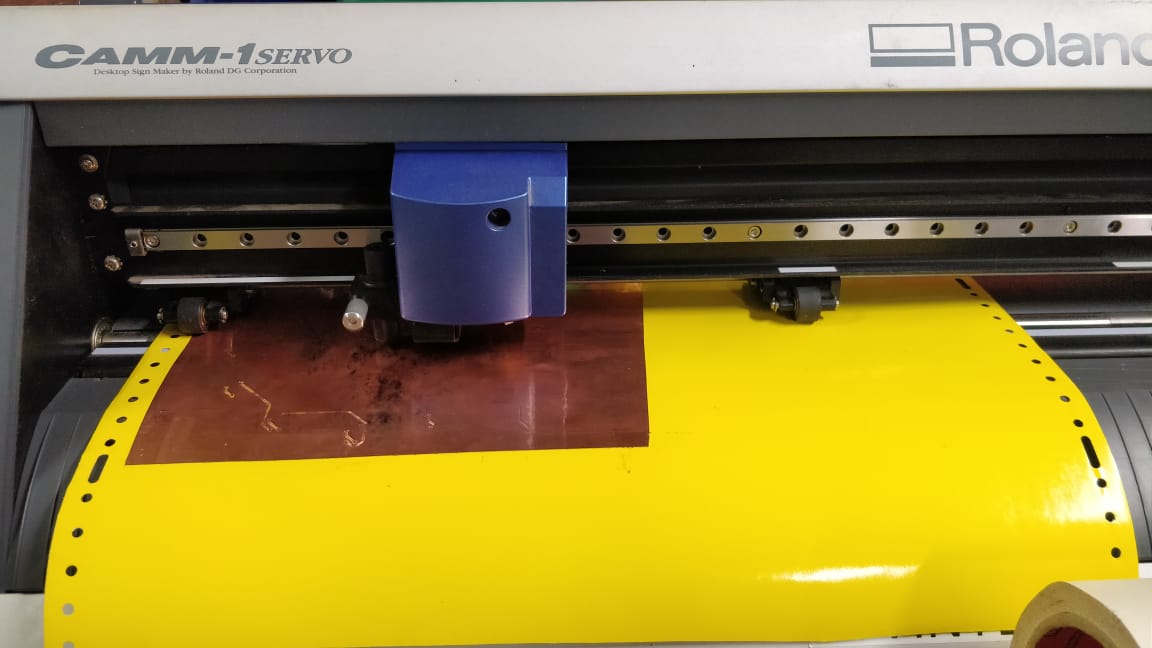
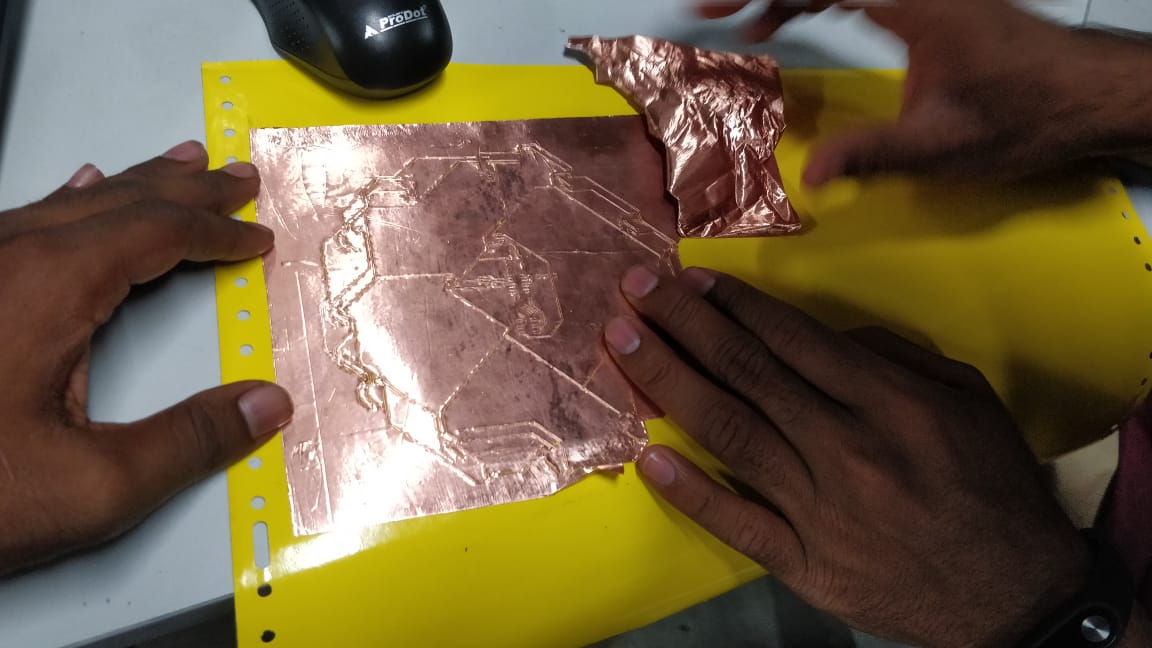
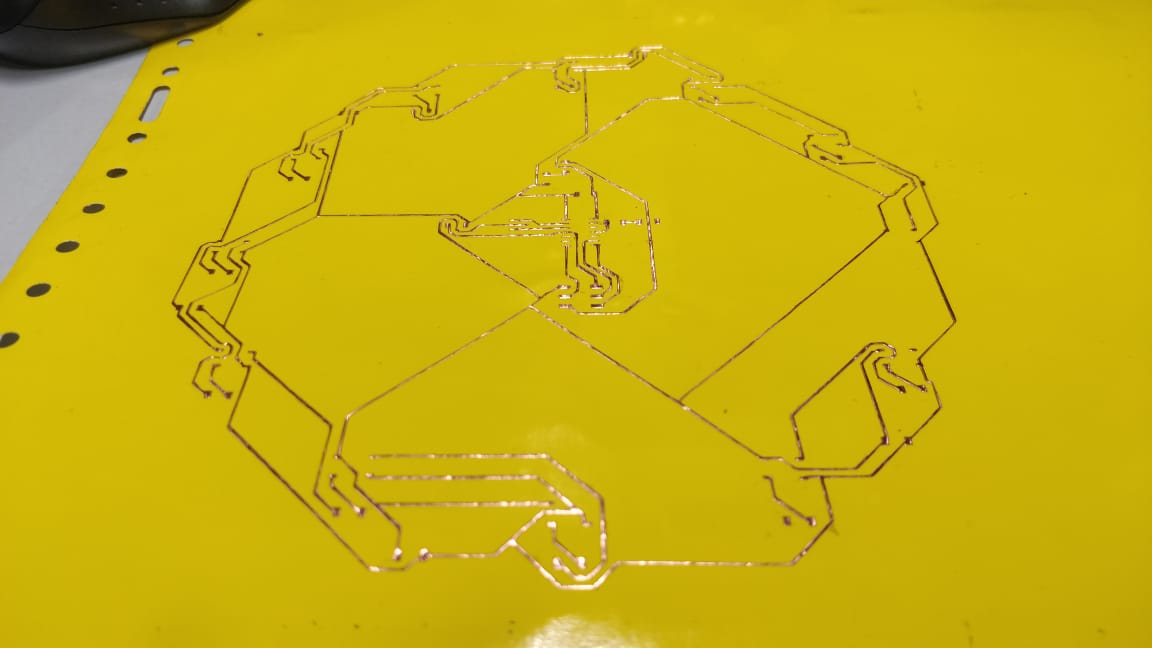
As the PCB we have in our lab was not adequate for cutting PCB of size 120mm, I decided to do it on flexible PCB I knew that it was a difficult task, but i decided to give it a try. Inorder to be sticky on the other side of PCB and to get enoough length for the vinyl cutter to move through the cut piece i decided to stick it on a white transparent vinyl sheet as below:
.
.
.
.
.
.
.

.
.
.
.
.
.
.
.
.
.
.
.
.
.
.