12. Output devices
For this weeks assignment I decided to reverse engineer the photo transistor design. This one’s a little bit more complex than the last one.
Research
The first thing I noticed was that there was a color changing LED that I had to add. So the schematic for this one was a bit more complicate
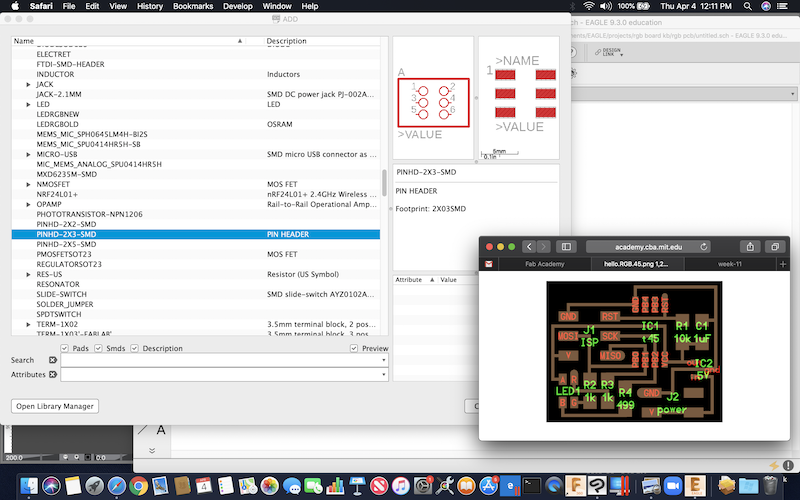

Initially I did the same technique that I did last week where I looked at the board And connected the choices based off the end pieces of the components.
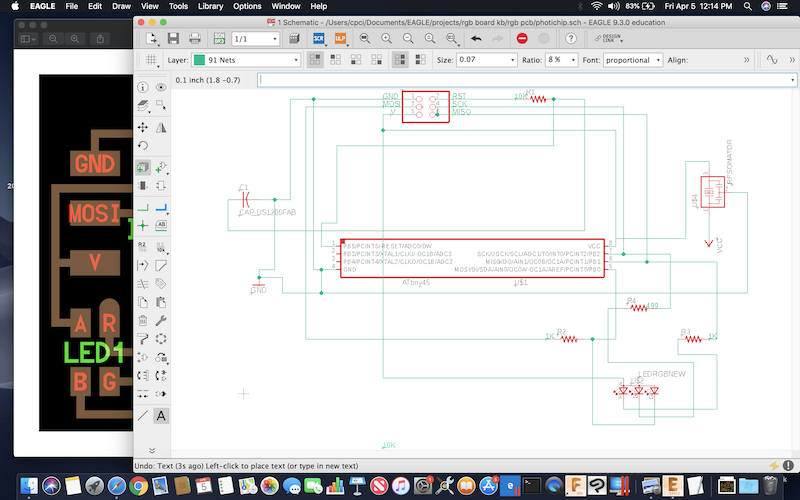
I switched one of the PB ports on the tiny so the design wouldn’t be exactly the same. From there I created a board from the Schematic.
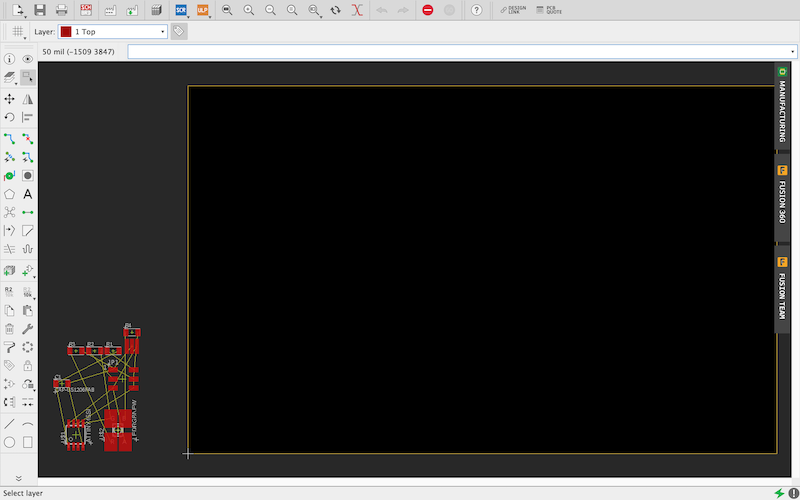
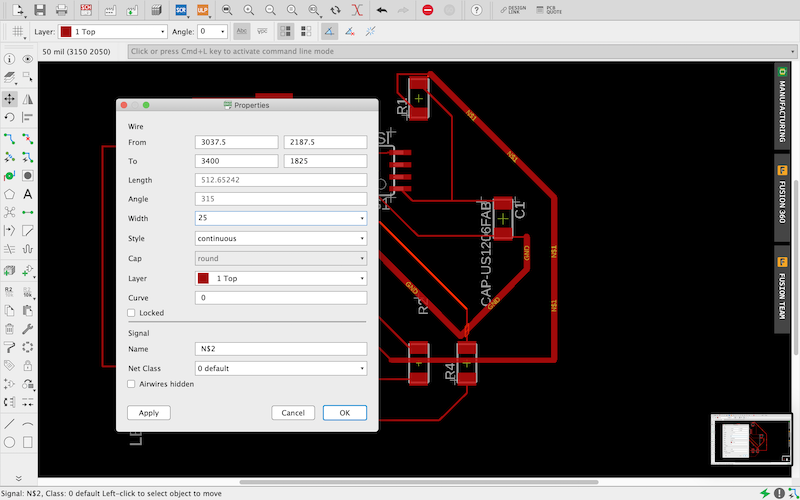
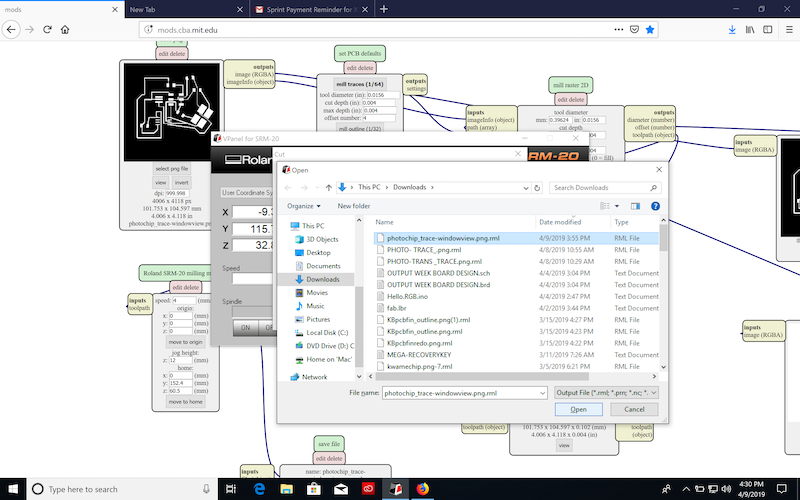
For this one I had to manually connect the traces because the auto router place the traces to close. So what Id did was thick the lines manually. As well as add the traces myself,instead of using the autorouter.
Useful links
Code Example
Use the three backticks to separate code.
// the setup function runs once when you press reset or power the board
void setup() {
  // initialize digital pin LED_BUILTIN as an output.
  pinMode(LED_BUILTIN, OUTPUT);
}

// the loop function runs over and over again forever
void loop() {
  digitalWrite(LED_BUILTIN, HIGH);   // turn the LED on (HIGH is the voltage level)
  delay(1000);                       // wait for a second
  digitalWrite(LED_BUILTIN, LOW);    // turn the LED off by making the voltage LOW
  delay(1000);                       // wait for a second
}
Gallery

Video
From Vimeo
Sound Waves from George Gally (Radarboy) on Vimeo.