3. Computer Aided design
Luckily this session wasn’t as challengin for me. This week I created a few 2d a 3d mock ups of what my final project may look like . I used a combination of Clips studio for 2d design and autodesk 360 for the 3d design work.
Research
I created the design from a 2d rendering program called CLIPS Studio Ex. Then I uploaded the 2d sketch into Autodesk fusion 360. It was slightly challenging. What makes the 3d process most effective is the extrusion process. It’s where you take the surface of a plane and expand or reduce the space it takes up to your specifications. I also learned how to use the chamfer tool and fillet tool to create a bevel around the edges.
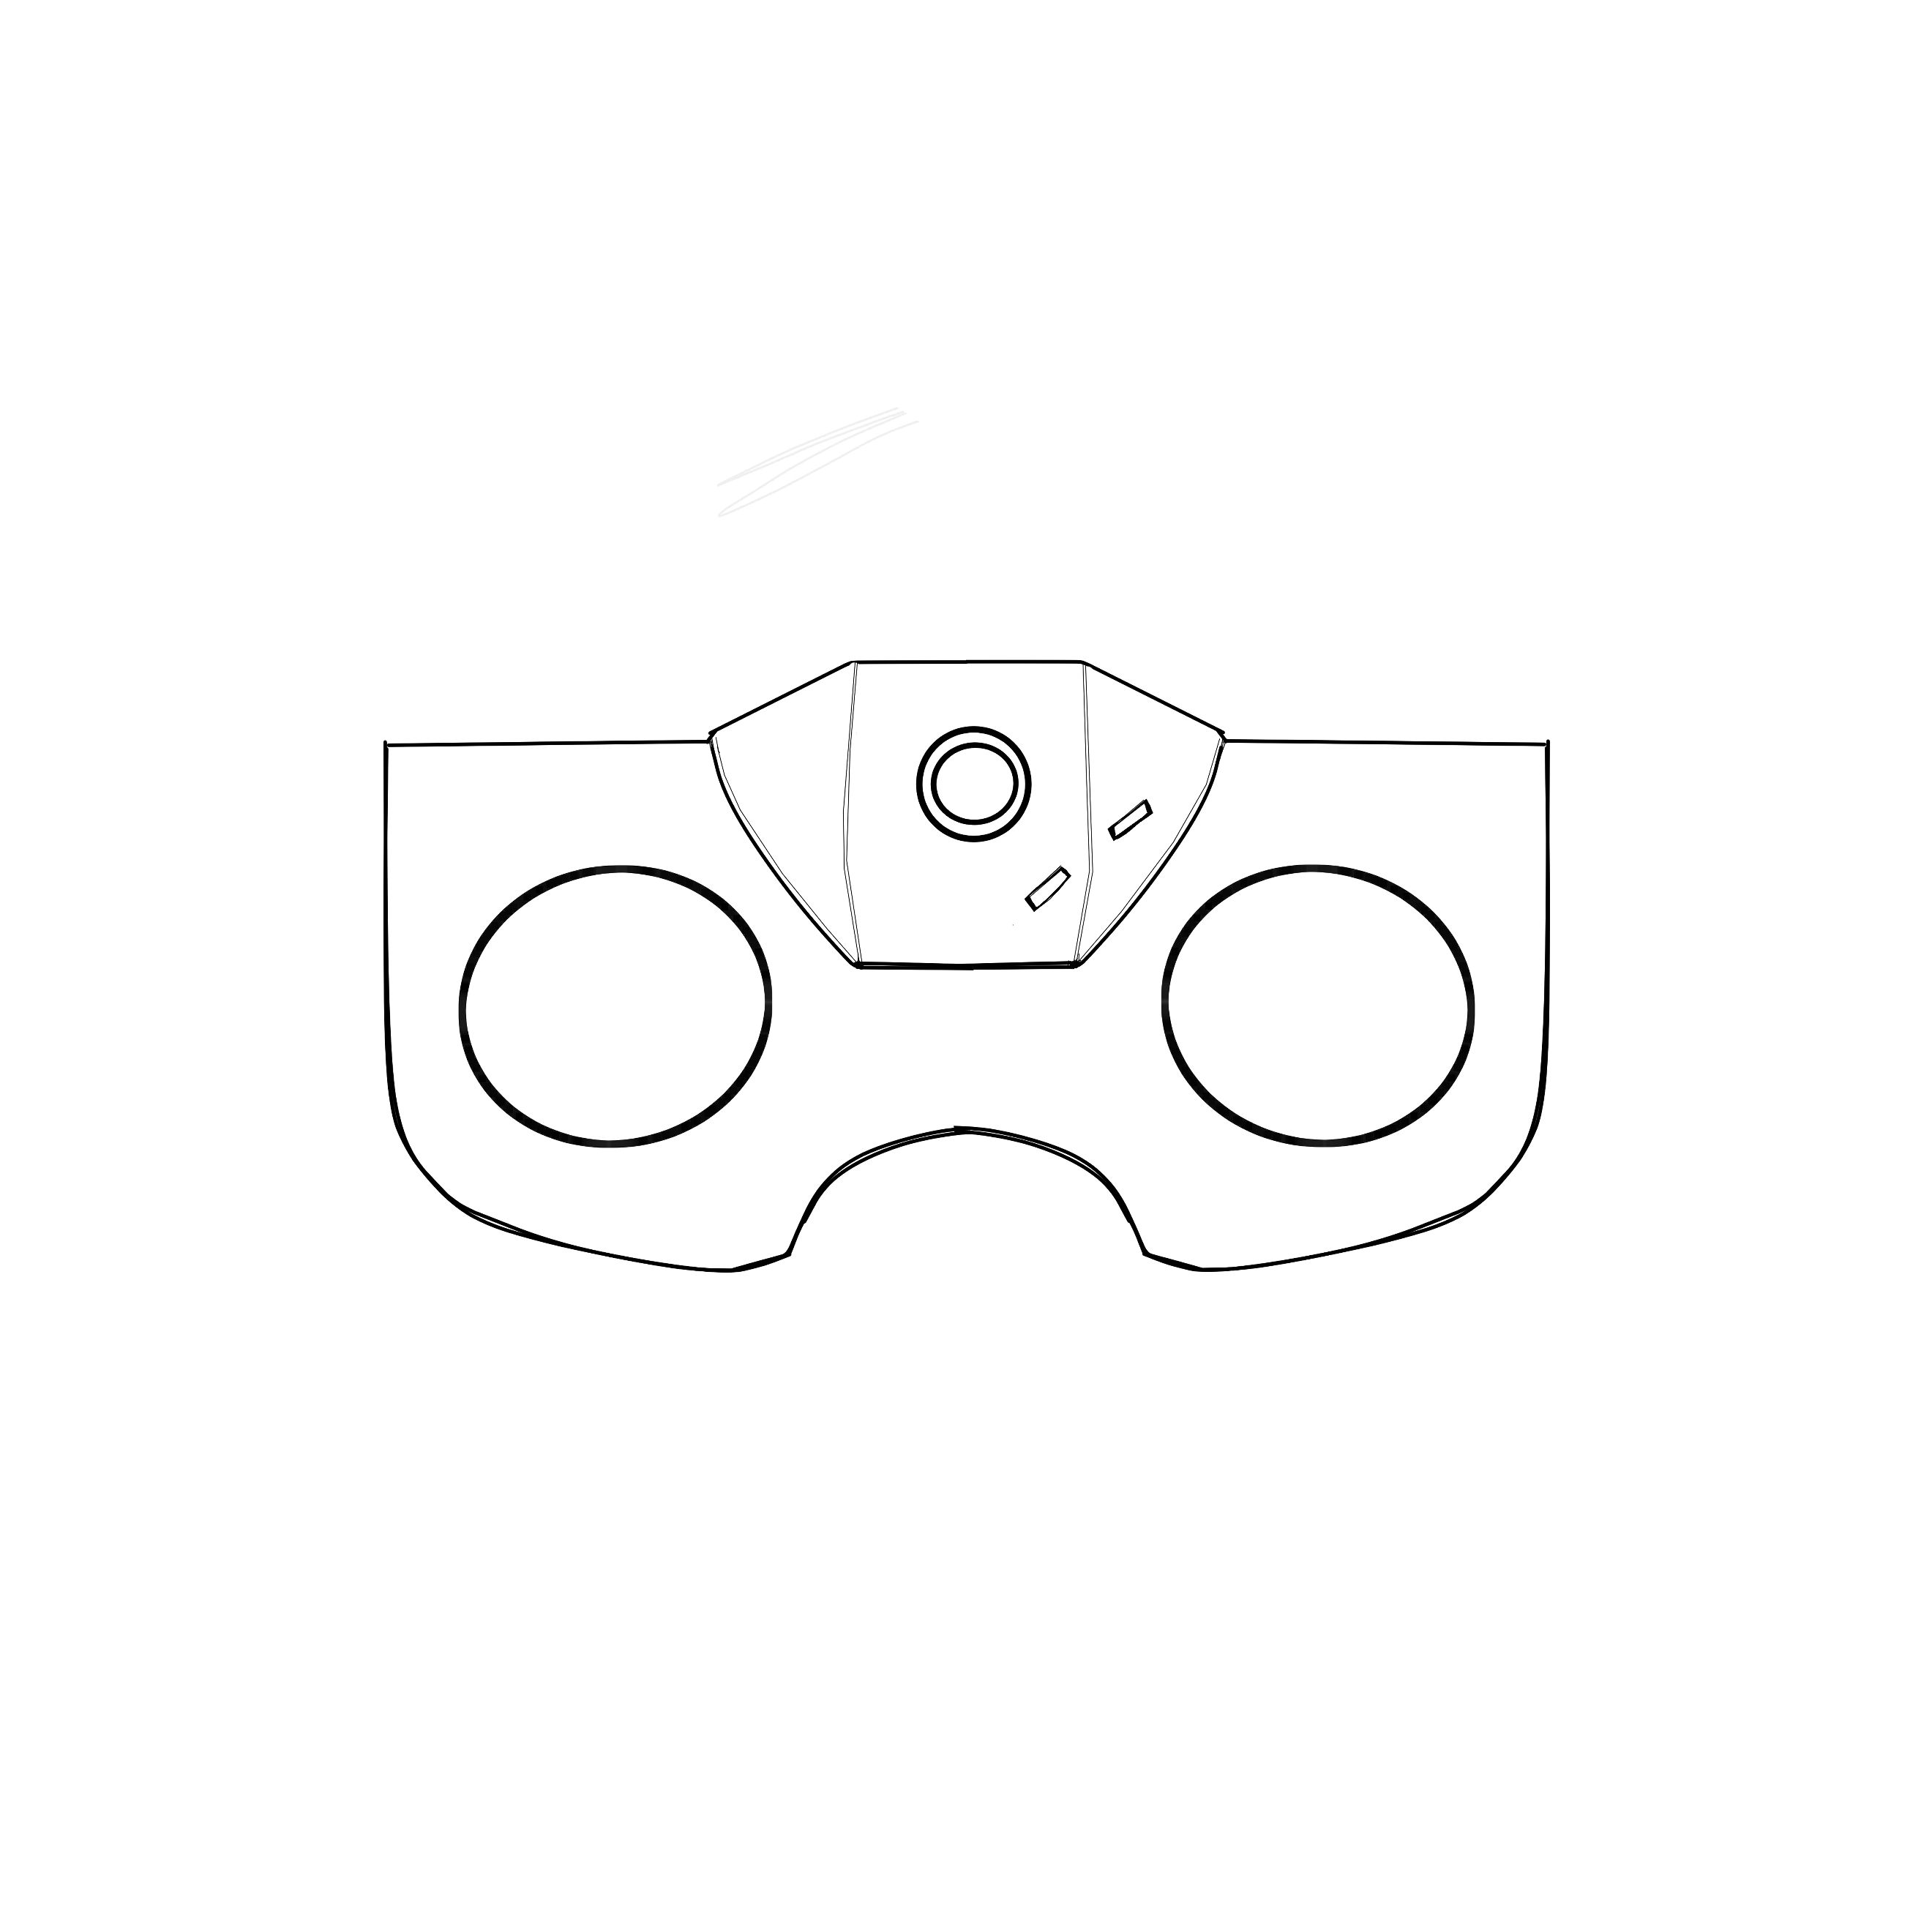
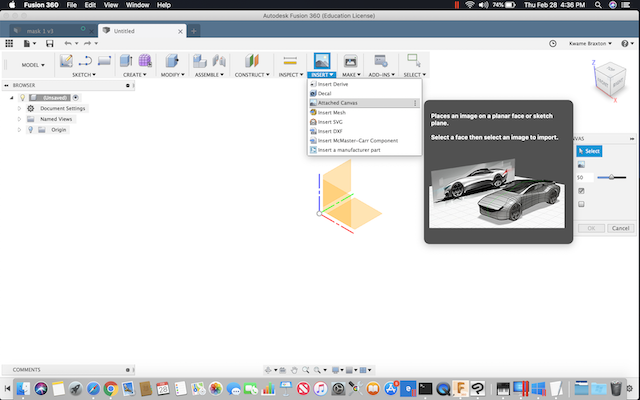
I wanted the design to resemble something a child could play with. So I modeled this concept from some old to projector glasses I used play with as a child. What I did was import the design as a png file.
I then used the line tool trace out the design, I have found its best to key in the demensions as you render the sketch.
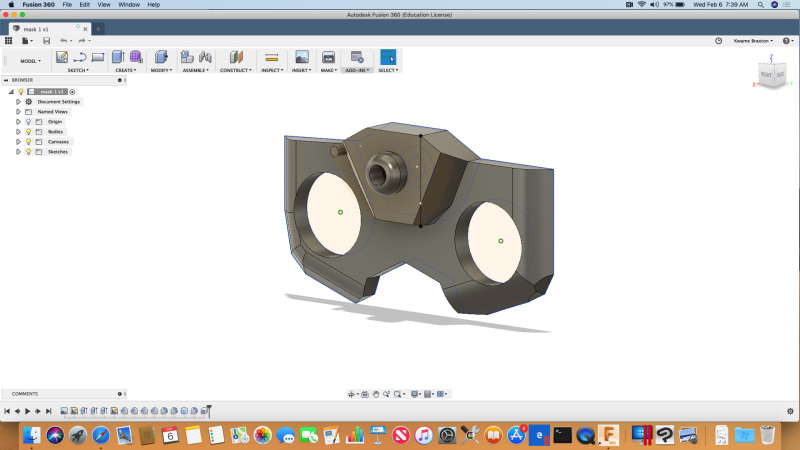
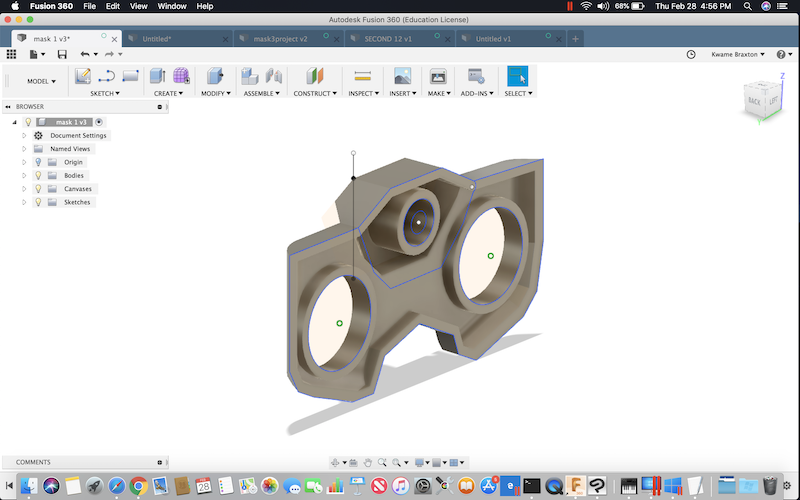
Once I had all of the surface pieces mapped out I extruded them into sections of bodies that are part of one piece. Once I had the general shaped I wanted. I refined the edges using the chamfer and fillet key. In the modify folder
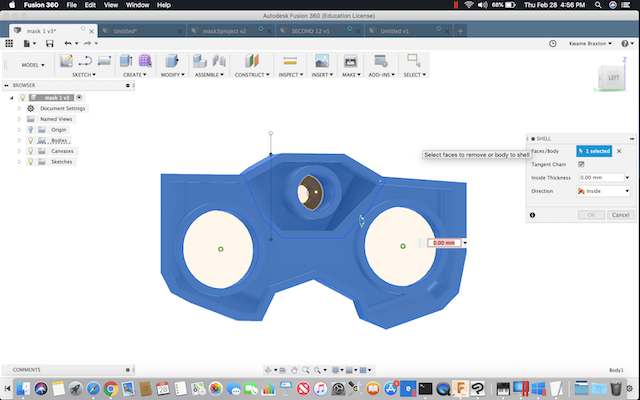
There is also a nifty tool you can use called the shell tool that allows you to excavate the inside of your 3d designs, giving it a hollowed out look.
Useful links
Gallery
Video
From Vimeo
Sound Waves from George Gally (Radarboy) on Vimeo.