Final Project
This pages documents the journey taken from understanding the individual tasks of Fab Academy and integrating it for the Final project.
Introduction
The main idea for this project came from a set of ideas centered around the concept of Bio-hacking. Very specifically, the biohack was to explore certain ways to remove single-use disposable plastic from public use by creating an eco-friendly alternative to plastic.
From the starting page of the project, the idea for the final project was inspired in part by Ooho and in part by the public interest and demand for such a product to be available in the market from events to hotels.
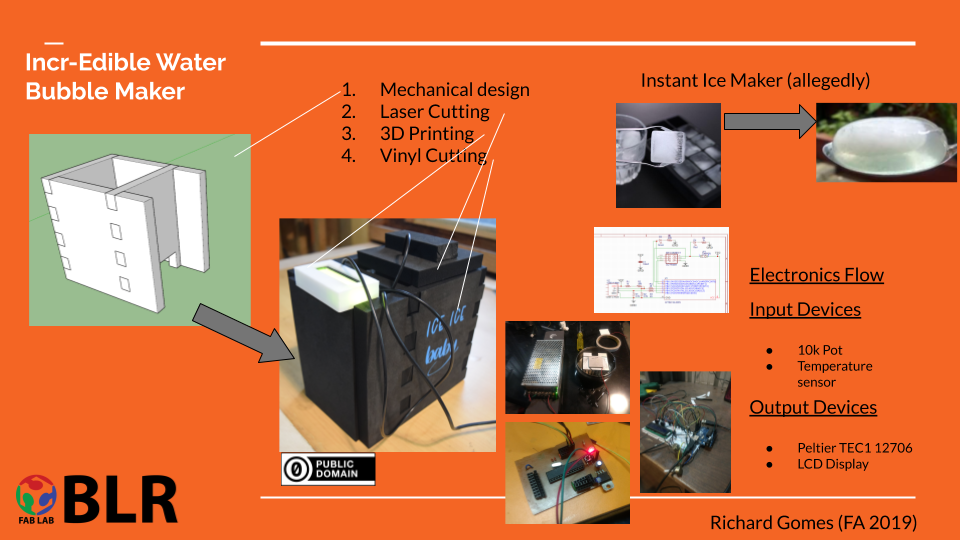
The expectation of the final product is an edible / biodegradable water bubble that can be used to change the way we look at single use packaging.
Since this product is quite known in niche circles in the Molecoular Gastronomy scene, the process for making this and the machine consequently was taken as a reverse engineering exercise
The Process was broken down into the following steps
- Prepare a flavorful liquid base. Begin with a flavorful liquid of the desired consistency. …
- Prepare a spherification bath. Prepare either a Sphere Magic bath or an alginate bath. …
- Remove any air. …
- Organize your work area. …
- Form spheres. …
- Stir and strain. …
- Store or serve.
In the scale up of this process, the most time consuming and rate limiting step in this process was obviously,
Forming of the Spheres by freezing the salt solution
So, using the principle of Spiral development, I chose this step to focus on in the Fab Academy Course and devemop a machine for this to happen.
For this machine, we broke down the project machine subsystems to 7 steps as per the process:
a. Mixer for the Chemical Base b. Mixer for the Alginate Bath c. Vaccuum for the removal of air d. Pumping of Base into pre-formed molds e. Cryo-freezing of Base into desired shape f. Release of base into alginate bath for cooking g. Washing and serving of finished bubbles
The initial render for the machine is as depicted below
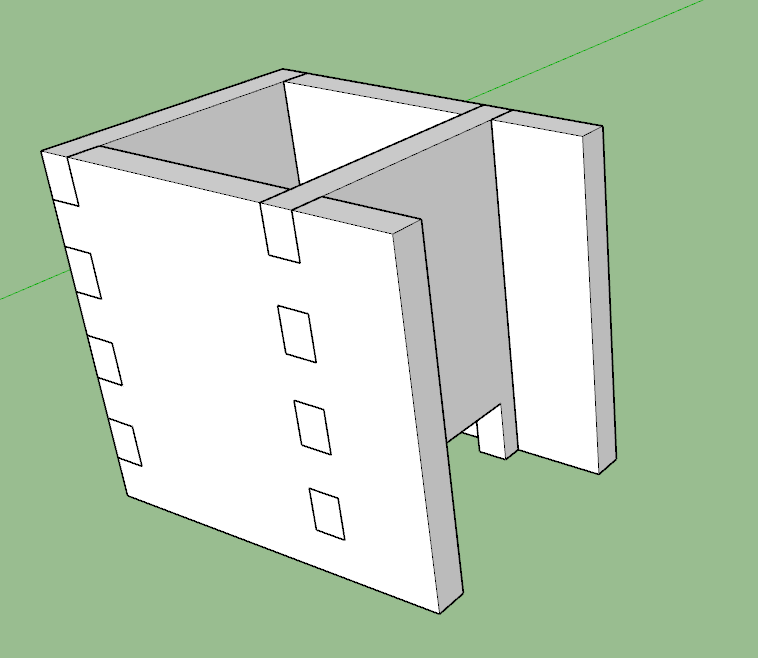
After several iterations, I looked at the various options for the small scale automation of kitchen fnctions and decided to go with the function of a Sandwich Maker but with the primary function reversed, but realised that there would still be much work involved to make it possible.
A brief search online for such machine reveealed that a similar product exists called the Japanese Ice Ball Press and it still requires a block of ice and about 30 seconds to generate the ice sphere.
Given my limitation in machine design and electronics for this project, I decided to make a simple project and only integrate sensing into the project to start with and build capability in to the project as we progressed.
I used a DS18B20 Water Proof Temperature Sensor Probe as the input device and a 4 pin LCD Screen for output device with th following code used to sense the temperature of the chamber and display it outside on the screen
Progress
Principles and Practices
In the first week, I spent time imagning and sketching how the machine should work and the machine did seem much bigger than what 1 person could do especially since did not have the electronics skills to learn in the beginning.
Basic machine Sketch

Sensors to use
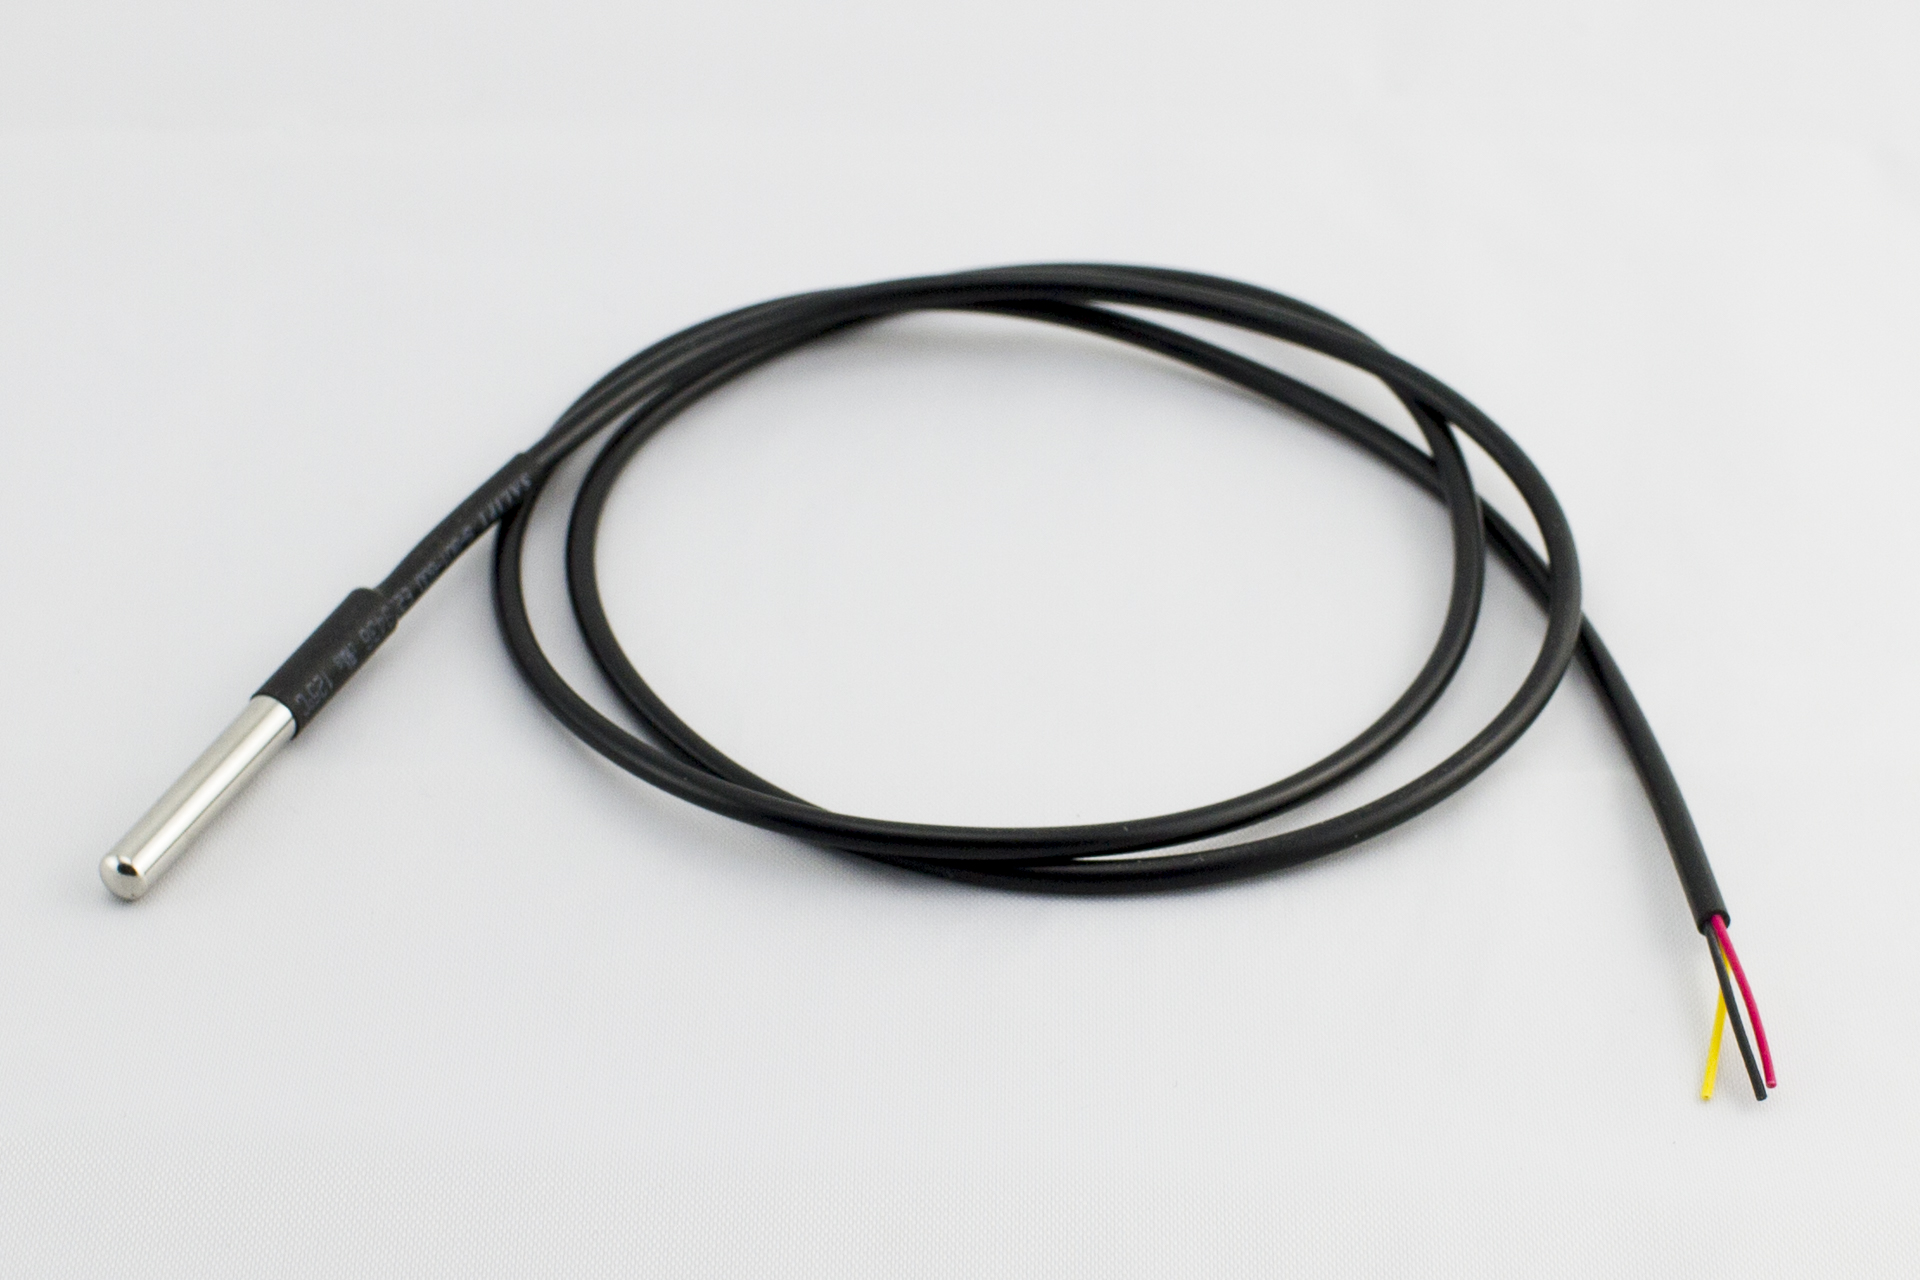 Temperature Sensor - Input
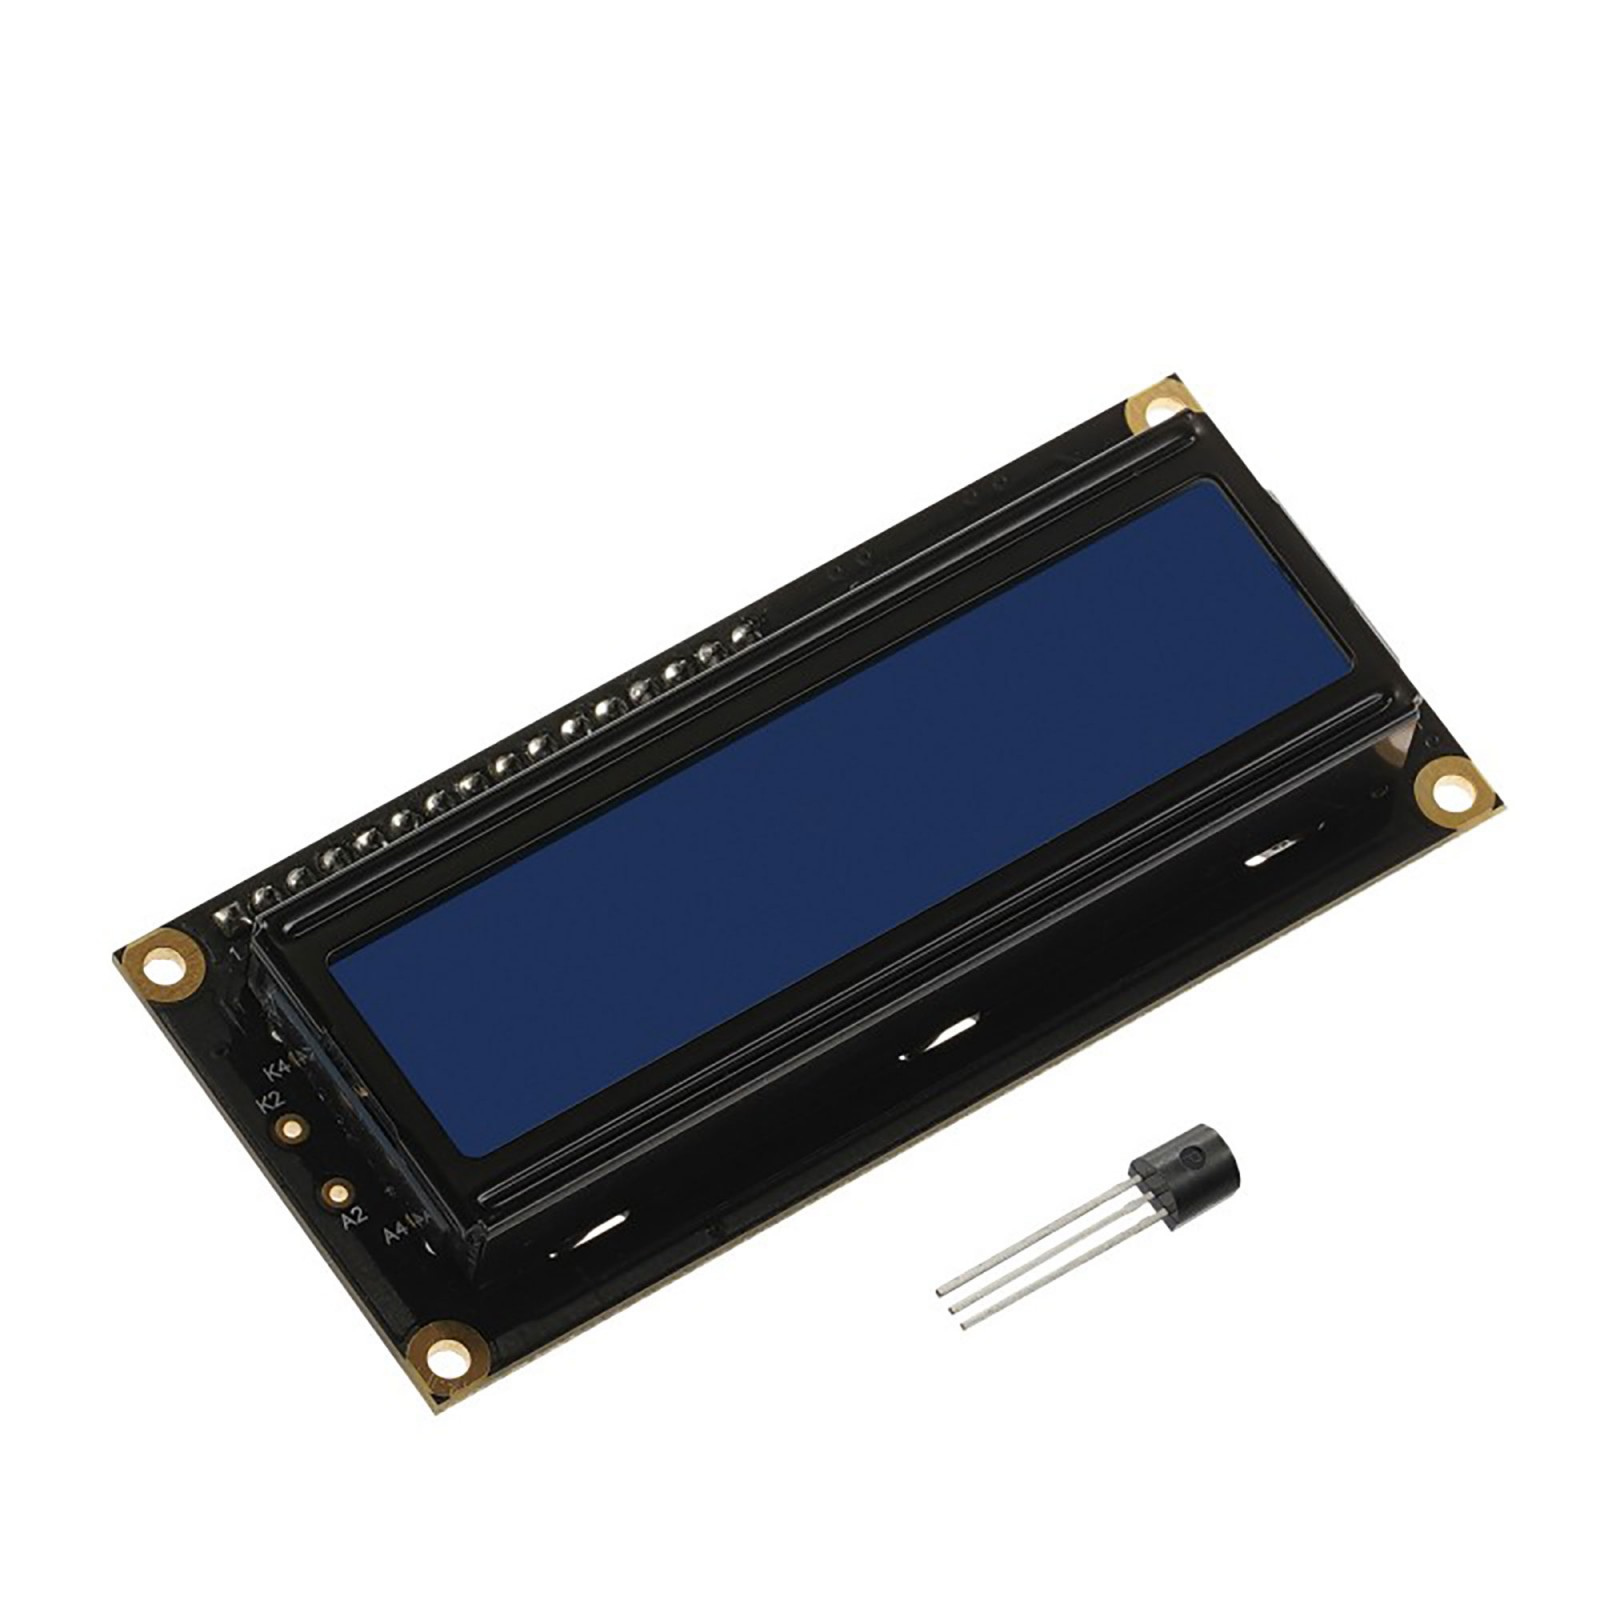 LCD Sensor - Output
Project Managment
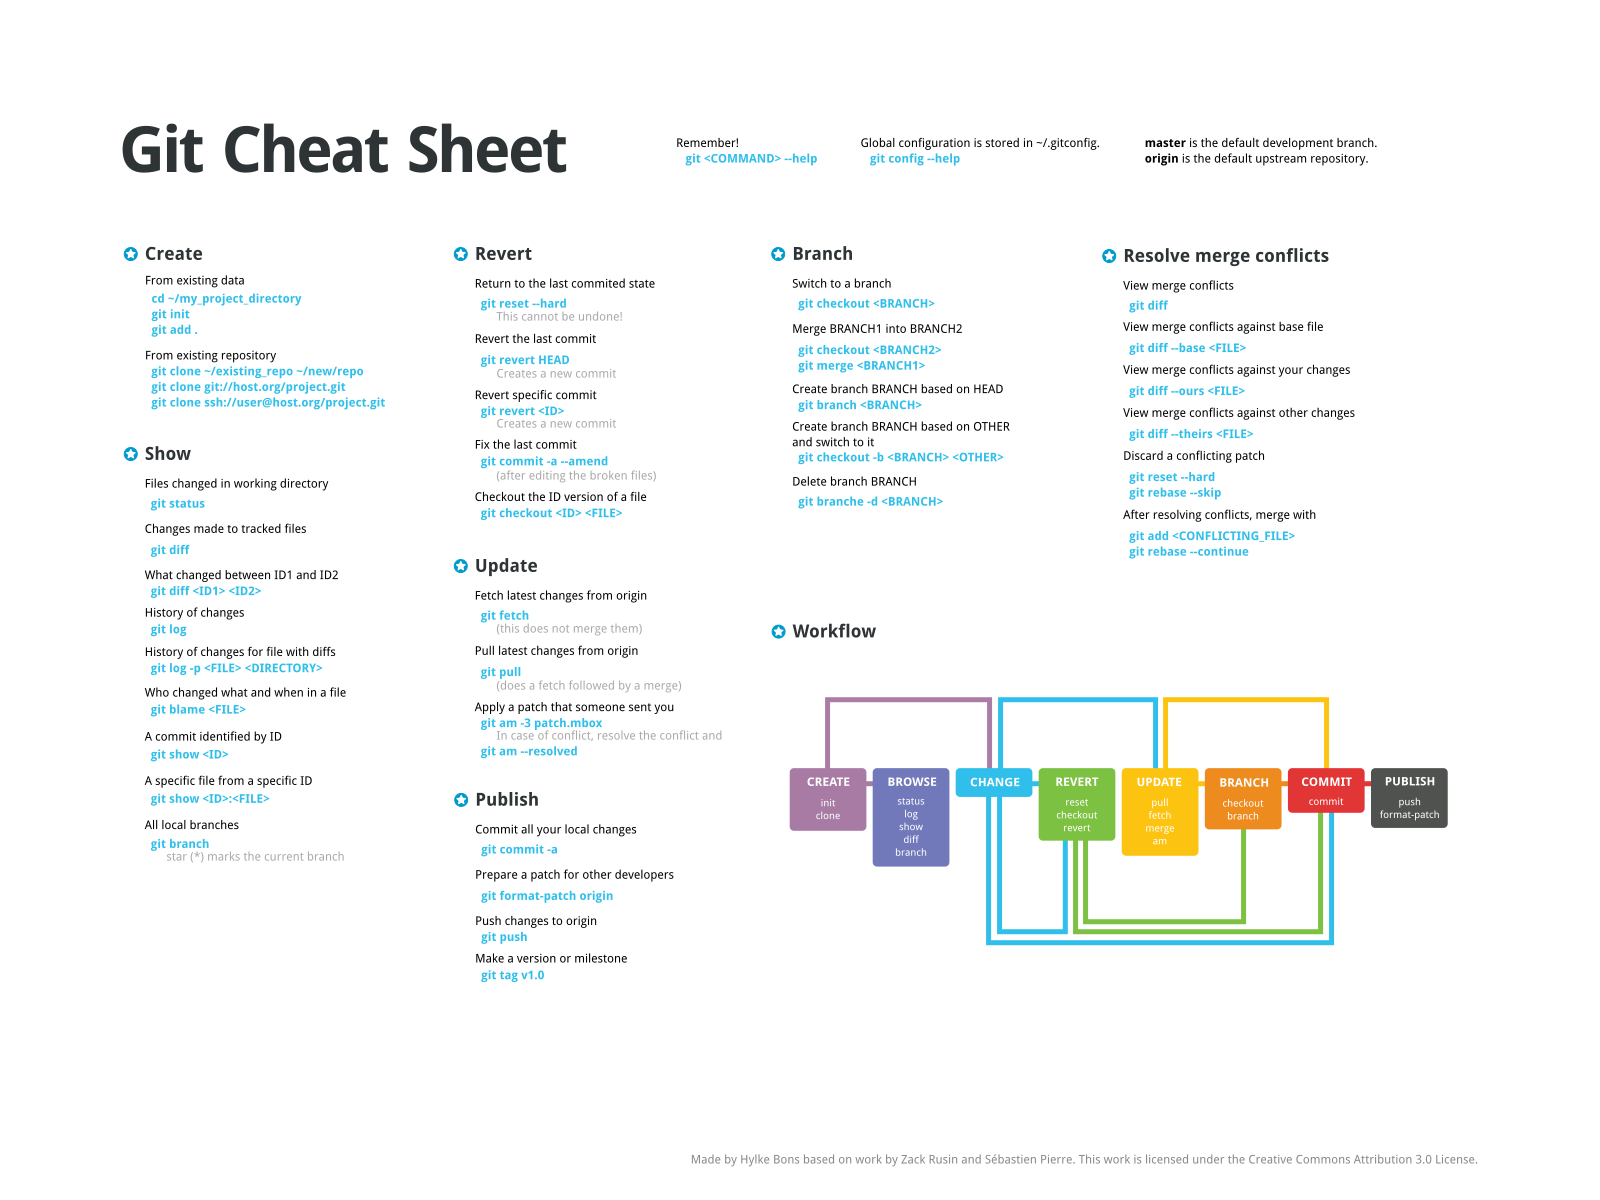
In the second week, I learnt how to manage and document the progress of the course using GitLab and Markdown Language. There was alg i this week as I had to re-learn much about coding and other web page related information after a long time. Needless to say, this was very interesting and worth the time spent as I learned that GitHub could be used to host personal websites for documentation of future projects.
Git Cheatsheet
Sample Website
computer-aided design
In the third week, I was required to learn how to use design software and I explored many different 3D and 2D software for use in the Lab. As I had been operational in the Lab for 2 years, I was using Google Sketchup as a default software from a long time and was very comfrotable usign it for both Digital Fabrication and Design work after upgrading it with the right plugins.
But still, I understood the value of all the other software in design as each one had pros and cons.
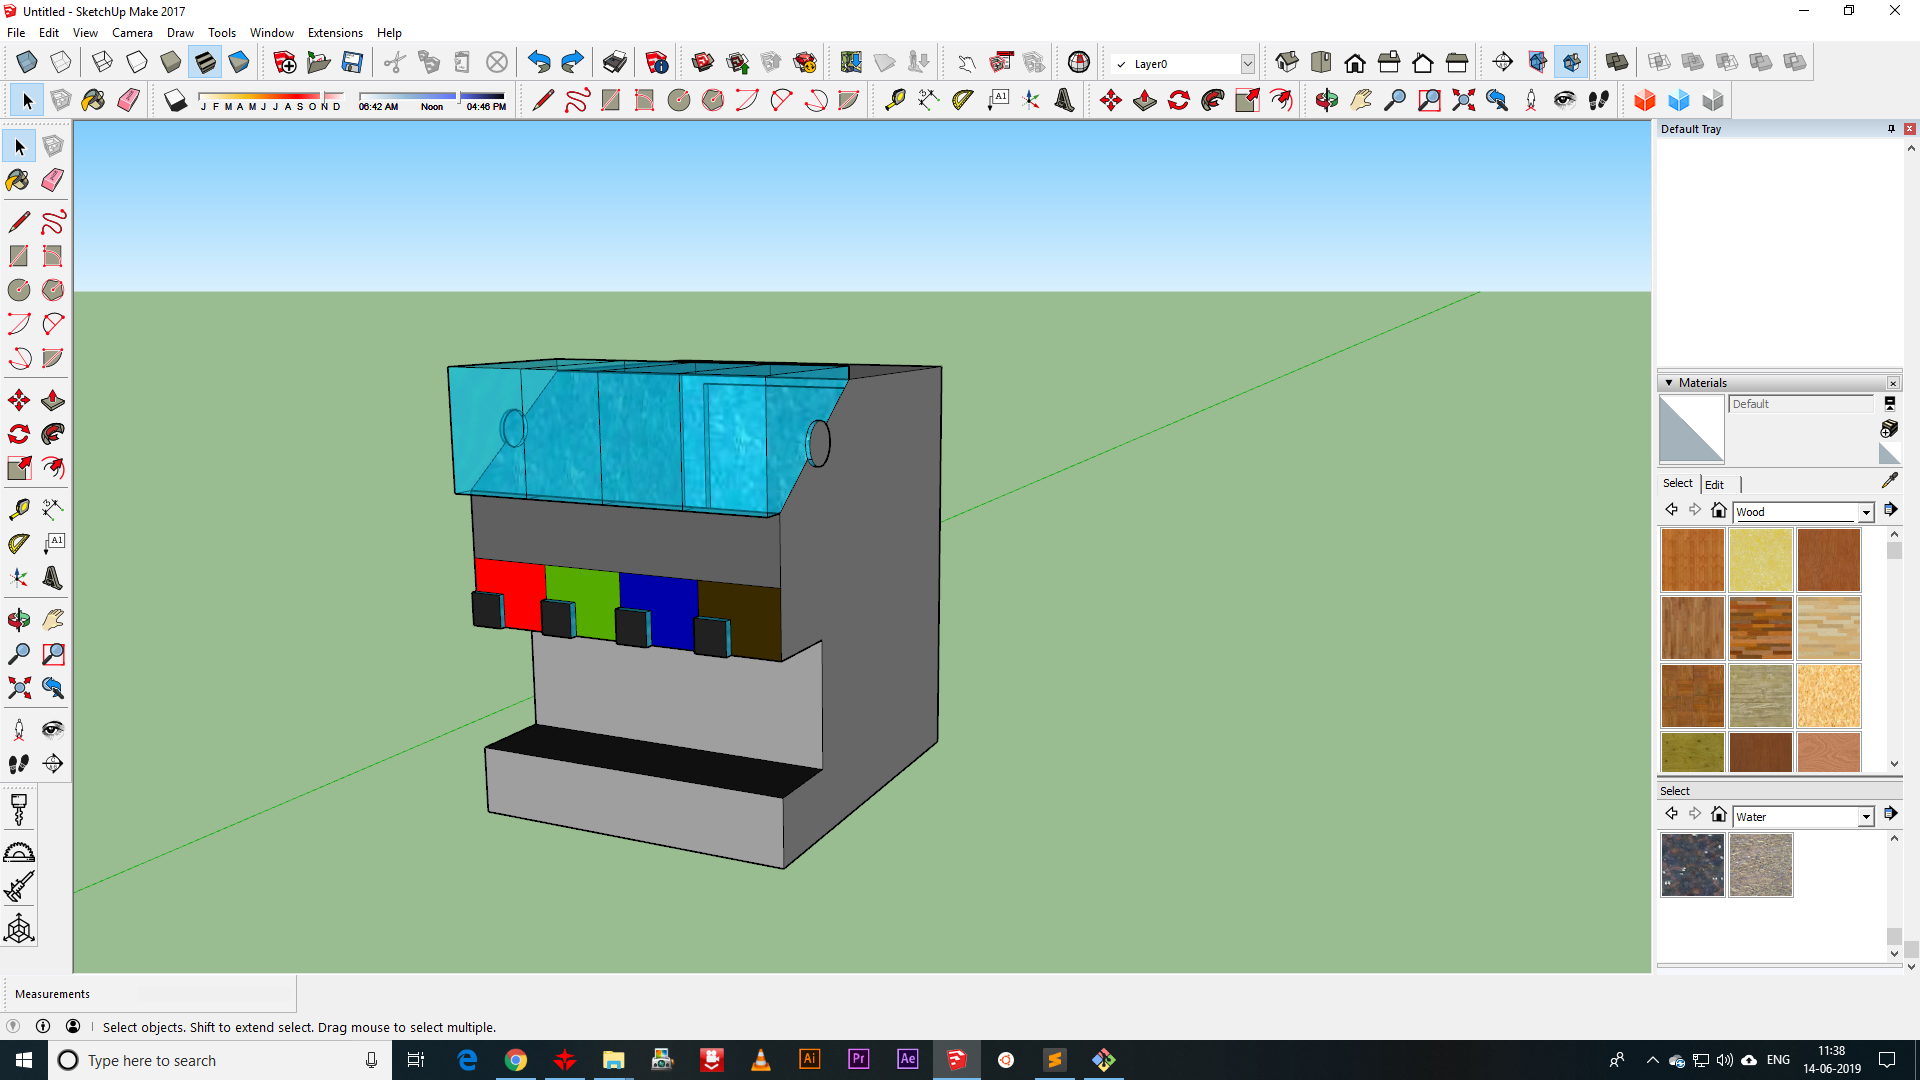
Google Sketchup render and Sketchfab Model
computer-controlled cutting
In the fourth week, I was required to use the Laser cutter and Vinyl cutter to explore parametric design and Press-fit techniques for making models in the Lab, and although I had much experience in this domain, this was still new in the sense of learning new ways to make Parametric and press-fit designs.
I also finally learned a good way to calculate kerf error on the Laser machines as this was only estimated before without any calculation. The greatest learning was in finding new ways to cut on the Vinyl Cutter for new experiemnts
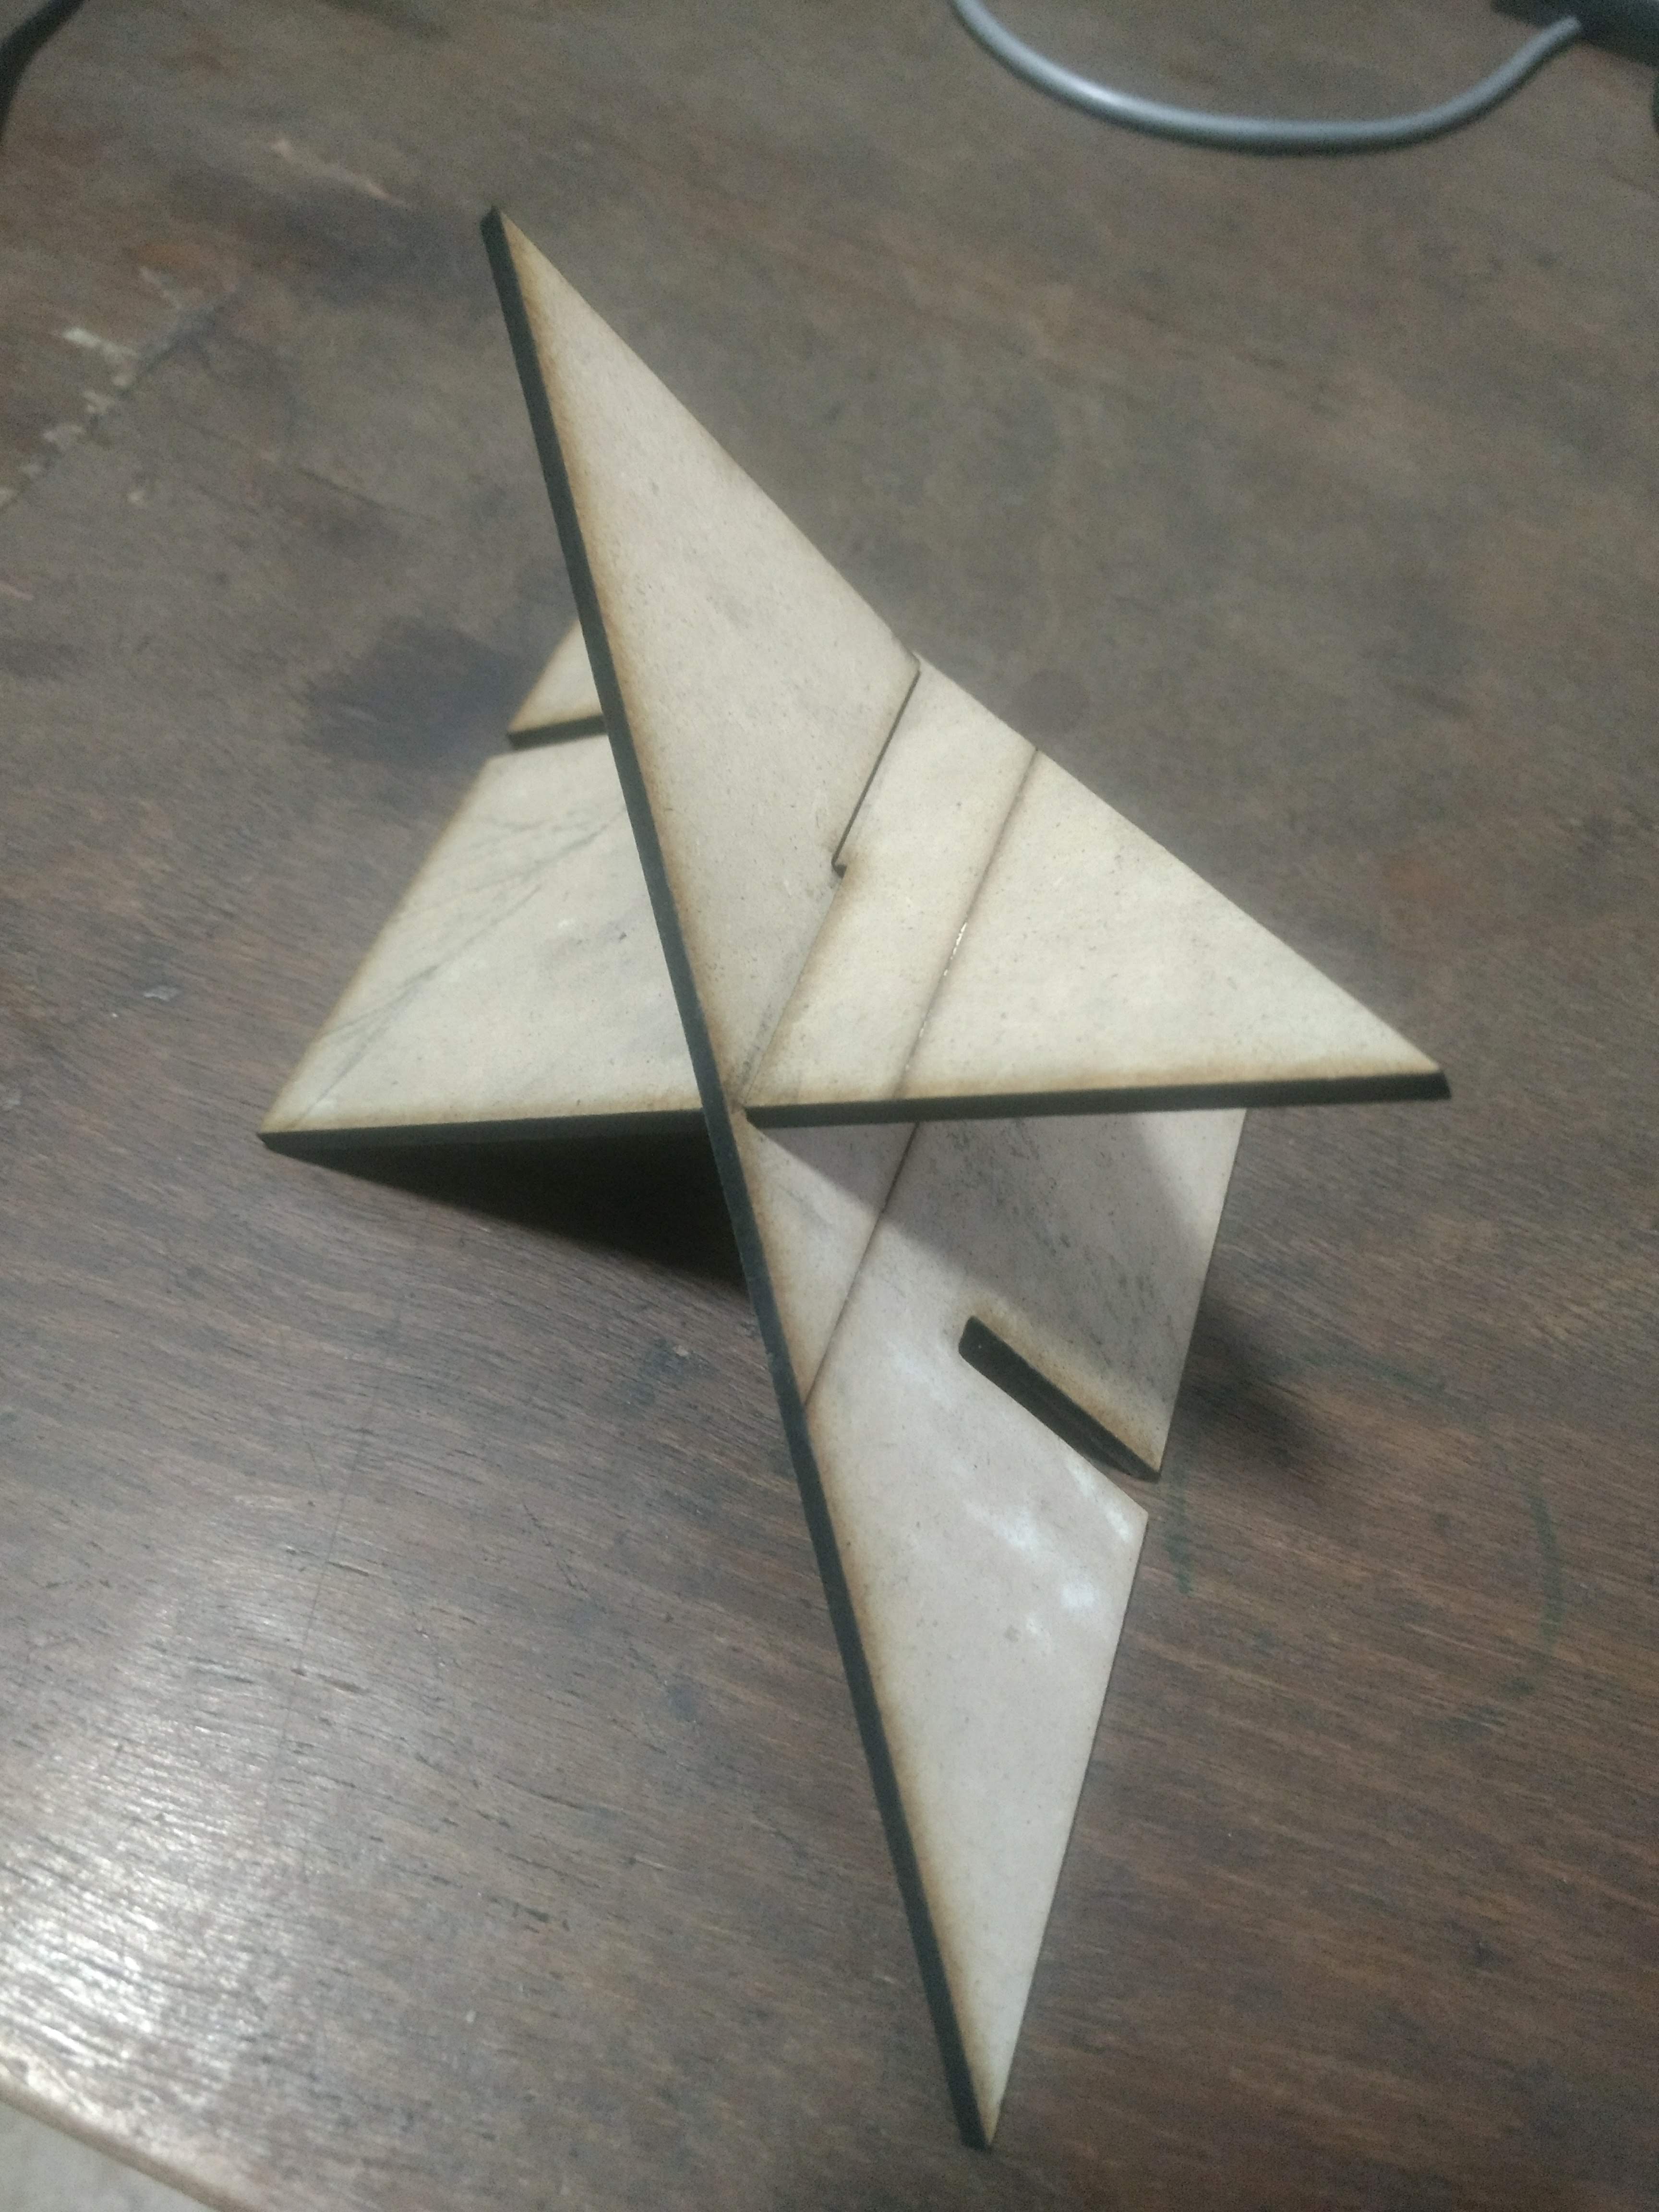 Laser Cutting
 Vinyl Cutting
For my Project
For the Final project, I needed a material that was a good insulator and also machinable in a FabLab for the purose of ensuring that ice could be maintained.
I decided to cut EVA Foam using the prepared design.
Laser cutting of EVA Foam
electronics production
In the fifth week, I was required to make the FabISP and this was the beginning of my troubles as I was not from an Electronics background and the lab operators who were present had great experience in using commercial Arduino boards alone and this was a great learning experience for all of us in the Lab. We were also required to use SMD components which was a bigger challenge
We were required to Mill our boards and we found out that our CNC machine was not equipped to mill SMD circuits due to bed levelling issues and step size on the Spindle motor.
However, we dicovered a simpler way involving Laser Engraving and chemical etching that was able to produce high quality board even for SMD components with no problems. I think that this method should also be added to the Fab Academy Gitbook for future reference.
The second element of the Electronics production assignment was the programming of the circuit boards and this also presented multiple problems not seen before. The main problem with the programming came from the SMD size and I think that for learning and evaluation for electronics beginners, it would be better to include DIP components in the curriculum.
After multiple trials, we finally figured to use Linux system (Native Windows user) and programmed the board. This part took almost 2 weeks. However using DIP components, allowed us to complete this process within 2 hours. Also, I found that the GitBook needs to include documentation for the ATTiny85 MCU as well as the older boards are now harder to get.
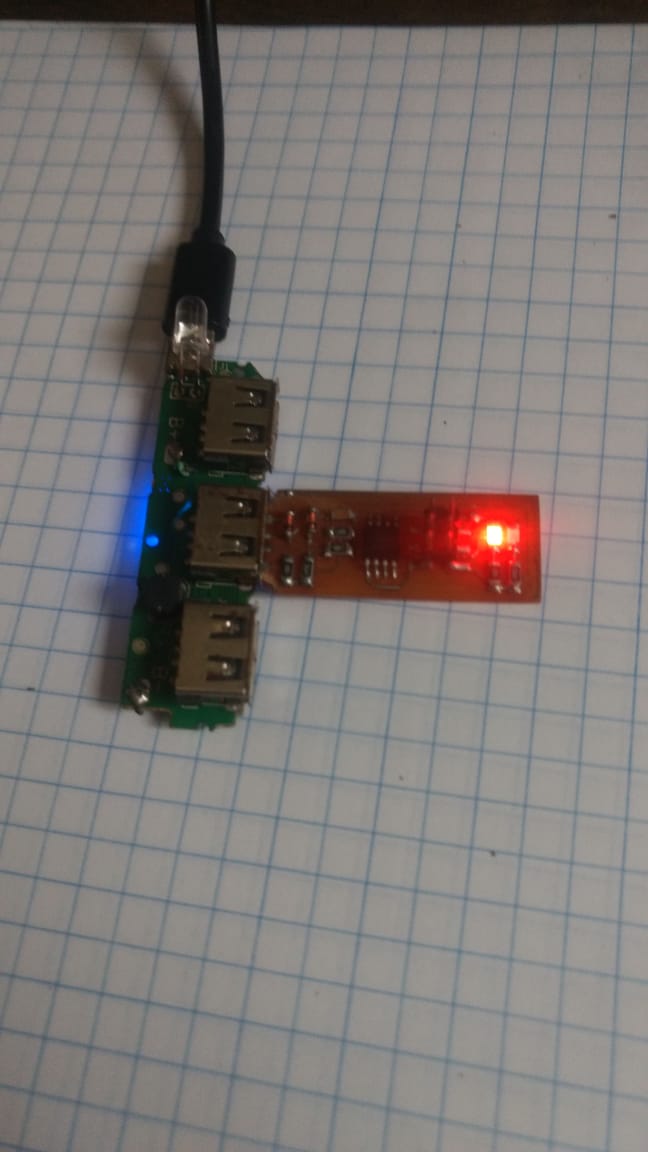 Finally working
electronics design
In the seventh week, the most important learning was how to transfer theoretical knowledge to make practical usable board and basic of programming languages to program all boards for using in the FabLab. The difficulties in this execise was very useful in helping us appreciate the simplicity and beauty of making PCB’s and the great value add of using Arduino for prototyping.
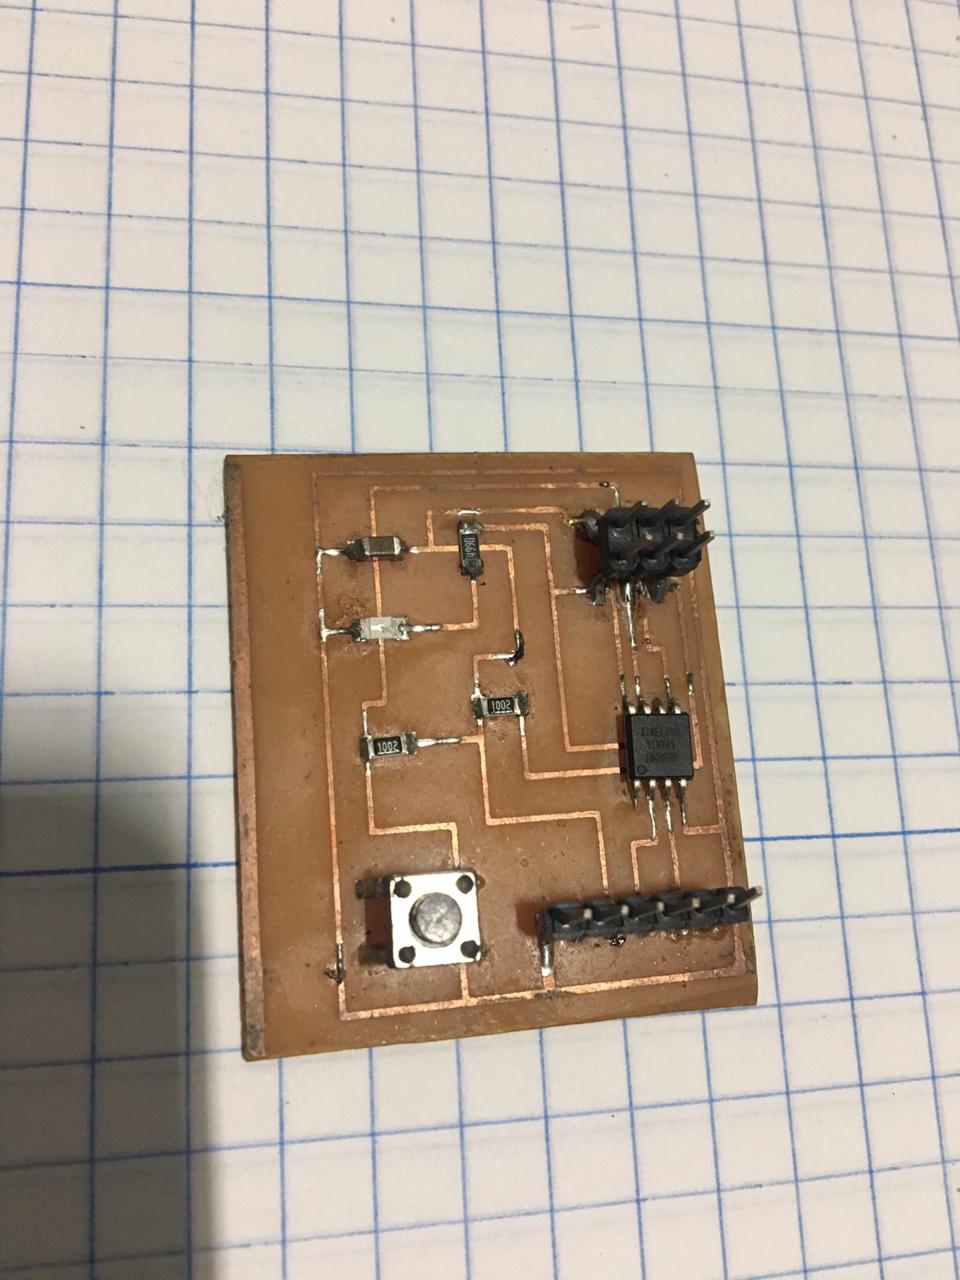 Completed Hello World Board
embedded programming
In the ninth week, I had to learn various programming languages for programming the board that we would use for the boards at the FabLab. This was a very intensive exercise as I had no expereince with any other coding languages. It was difficult to catchup but after reviewing work done by others in the archive, it was simpleenough to do the amount that was necessary for the assignment. I definitely need to brush up and learn more about electronics programming as I go forward in the course.
input devices
In the eleventh week, I got intrduced to control concepts of the machine and realized that I needed to understand if the machine was working correctly and electronics was very important. Fortunately, as per the first spiral of the prototype design, I wanted to keep the control to a minimum and ensure that we could monitor the reaction effectively. I decided to use simple input and output for the monitoring and was able to complete it within the same week.
To make things simpler, I found that the Arduino interface was the easiest to use within the framework ofthe prototpye, but since we were not supposed to use commercial boards, I decided to (on my local evaluators advice) make the Satshakit by Danielle Ingrassia which was a huge improvement over the FabDuino project and easy to use with the Arduino IDE interface.
output devices
Since much of the work for the input and output devices was covered in the same session, I used this time to learn more about programming languages and how the Satshakit was designed to work for other applications.
applications and implications
In the thirteenth week, we started exploring the full application of this project beyond simply the making part of the exercise. This was purely a mental exercise coupled witha lot of discussions with people who were interested by the possibilties of using the final product in their operations.
For example, we found out that: - Hotel Owners wanted to replace their entire line of plastic bottles with this alternative - Event Managers wanted to present these bubbles at all their official events - Individual sustainablility minded citizens wanted to reduce their own carbon footprint and transition their communities to the Water Bubble.
After having a conversation with the founders of Skipping Rocks Lab, we were able to figure out that they had no interest in expanding operations to India as they were quite busy with their own operations in the UK and general EU area. But the market was ready and willing.
After much calculation about parts and material costs, we were able to understand that the cost of this Water bubble at low volume was 12x more expensive than plastic and we realized that there was a severe market mismatch in expectations vs. reality. At this point, the entire focus for this project crystallized and became clear in its offering as an open-source project like Precious Plastic
networking and communications
In the fourteenth week, I started to learn all about how to get produced boards to start communicating with each other and I realized that this feature would not be used in the final prototype, but the learning was still interesting to know as the applications for remote control of such a machine was still quite useful in the FabLab network.
mechanical design
In the fifteenth week, I explored machine design, but as my concept was not much complicated in the design as it was using passive components and since I was not having Mechanical experience, I decided to replicate some existing machines to get the feel for machine and mechanical design rather than do nothing.
interface and application programming
In the sixteenth week, I had to learn how to use MIT App Inventor to connect and communicate the monitoring data from the main board to see it on my phone. Since I was not implementing control functions on my machine, I needed to see the data from the sensors to judge if the reaction was complete.
project development
The project development is continuous and ongoing and detailed below
Basic model
The bare bones of this project is detailed in the Presentation slide and video shown below
Bill of Materials
- EVA Foam and Construction materials - INR 500
- SMPS (12V, 10A) - INR 2000
- Large Heat Sink - INR 250
- Peltier Module (12V, 6A) - INR 250
- Temperature Sensor - INR 150
- LCD Sensor - INR 400
- DIY Arduino - INR 300
- Satshakit - INR 300
- Misc - INR 500
Total Costing - INR 4650 (approx. USD 70)
Replication
Anyone willing to replicate this project is free to do so using the existing model or by any modification to make this more efficient or effective as the case may be.
Video of Operation
Useful links
- https://www.chefsteps.com/activities/reverse-spherification
- https://www.notpla.com/
- https://en.wikipedia.org/wiki/Spiral_model