4. The Cutting of Computer controlled codes
Goal(s)
- Group assignment:
-
Characterize your lasercutter’s focus, power, speed, rate, kerf, and joint clearance
-
Individual assignment:
- Cut something on the vinylcutter
- Design, lasercut, and document a parametric press-fit construction kit (accounting for the lasercutter kerf, which can be assembled in multiple ways, and for extra credit include elements that aren’t flat)
Laser Cutter
In our lab, we have a GCC Laser Spirit Pro with the following details
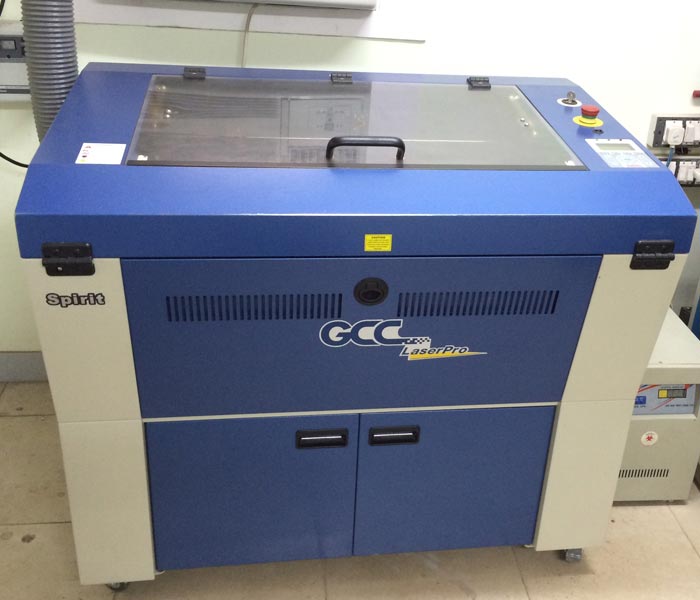
I have experimented using cardboard, vinyl and MDF.
The pressfit assignment was done using MDF.
Engraving/Etching on MDF.
Etching also on acrylic.
Focus: 10mm
Power: 25 Watt
Kerf
Also we studied about Kerf which is important when we make press fit connections using slots. The laser burns away a portion of material when it cuts through. This is known as the laser kerf and ranges from 0.08mm – 1mm depending on the material type and other conditional factors. Kerf is determined by material properties and thickness. But other factors also have an impact on how much the laser takes away like the focal length of the lens, pressure of compressed air both have an impact. Kerf widths can vary even on the same material sheet, whether cutting a straight line or a curve line or from laser cutting in the x or Y dimension. The manufacturing tolerance of the material can also impact the kerf. For some applications (for example a slot together product), we will need to account for the kerf within our drawing by adding or subtracting the kerf width from our component dimensions. With some experiments, we found that the kerf allowance that needs to be given for MDF in our lab is 0.08mm on each cut edge.
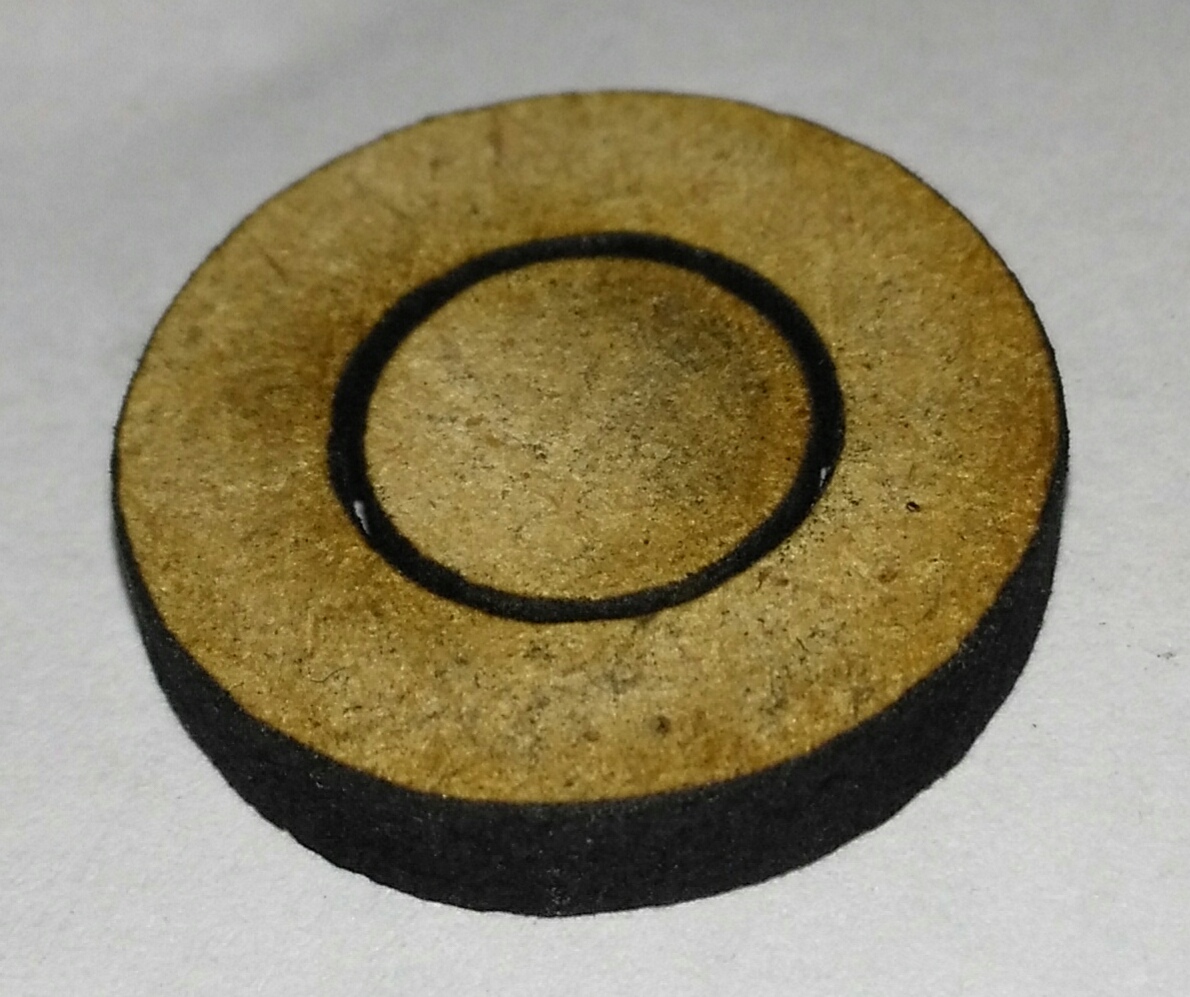
For Finding the Kerf of our machine we have made a kerf circle, which is having a small circle of 20mm OD and 10mm ID
The Sketch of our circle is shown below.
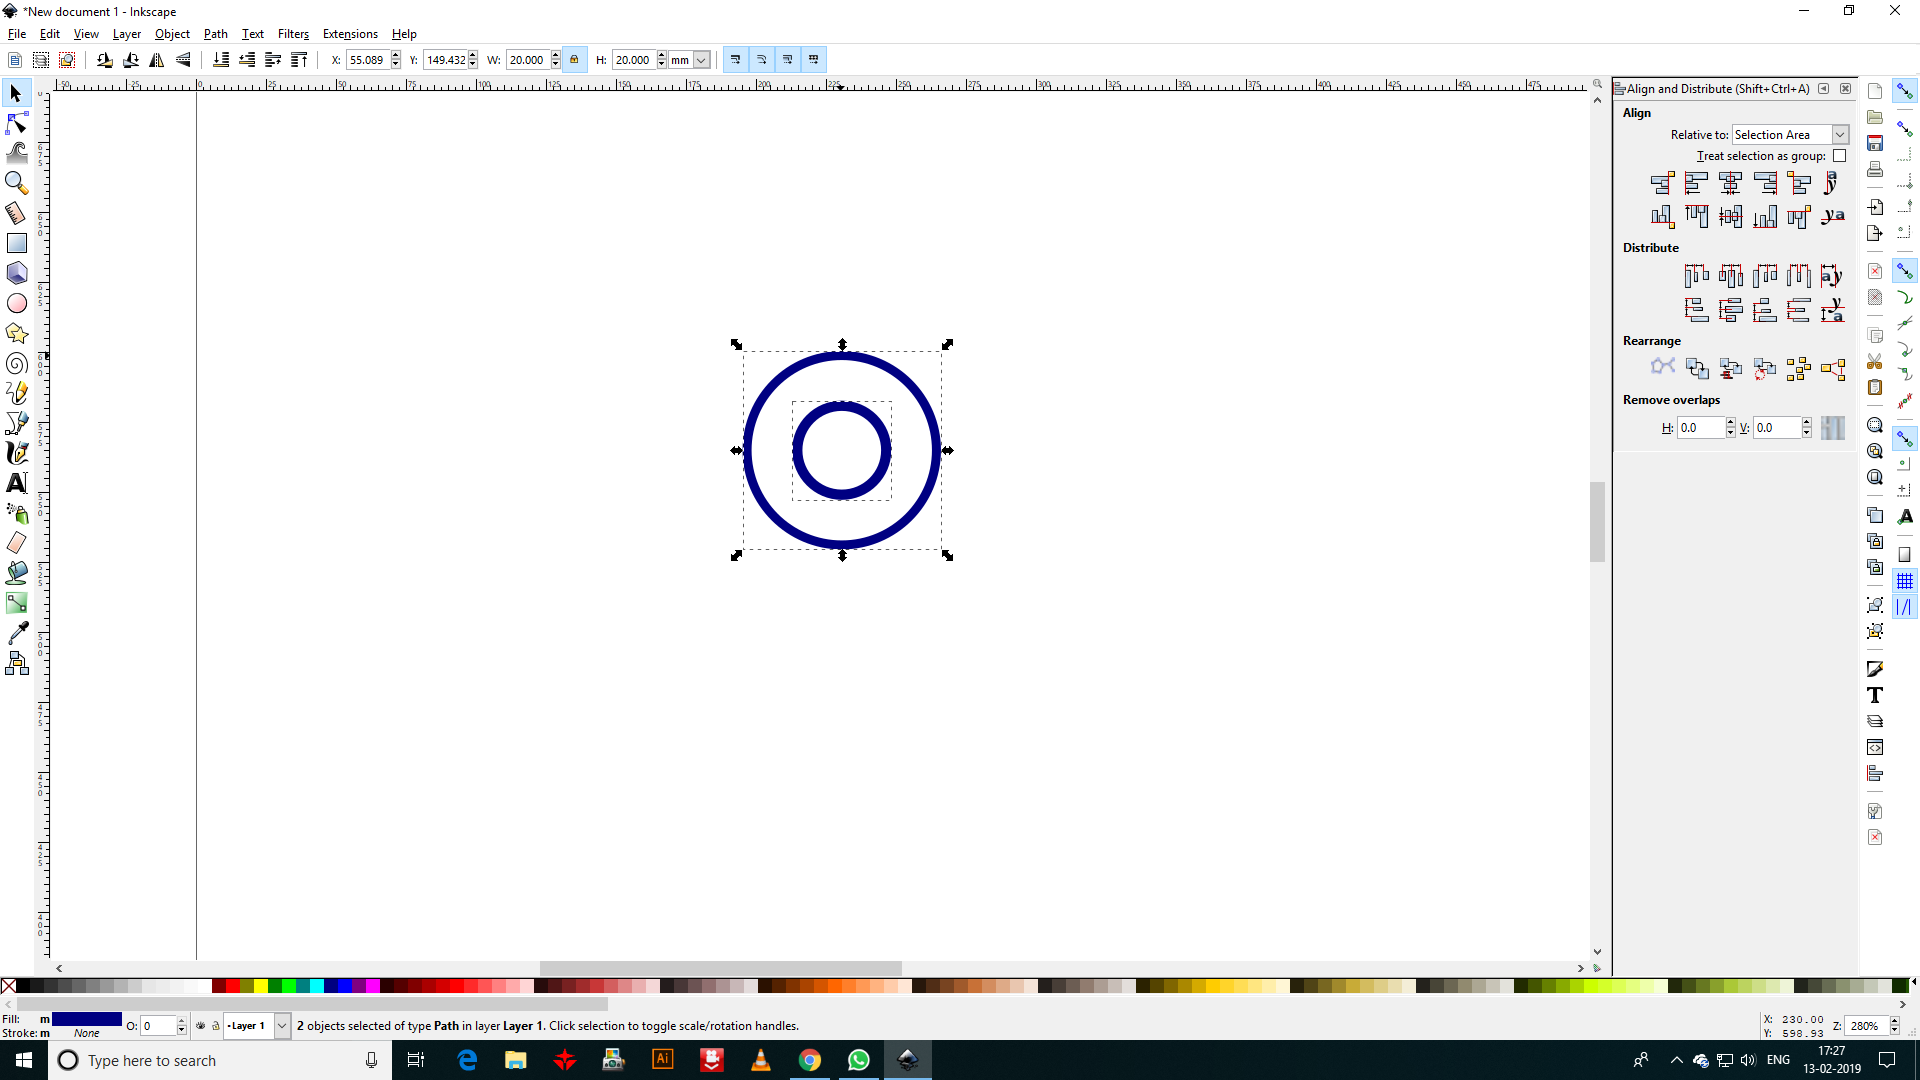
The calculated value of Kerf is 0.16/2= 0.08mm
Parametric Press Fit
For the Parametric press fit exercise, the documentation is of a smaller model of an interesting projects being done at the Shopfloor.

The basic design was made using Sketchup 2017 and exported as DXF for cutting out from 4mm MDF on the Laser Cutter to generate the first pair of the models
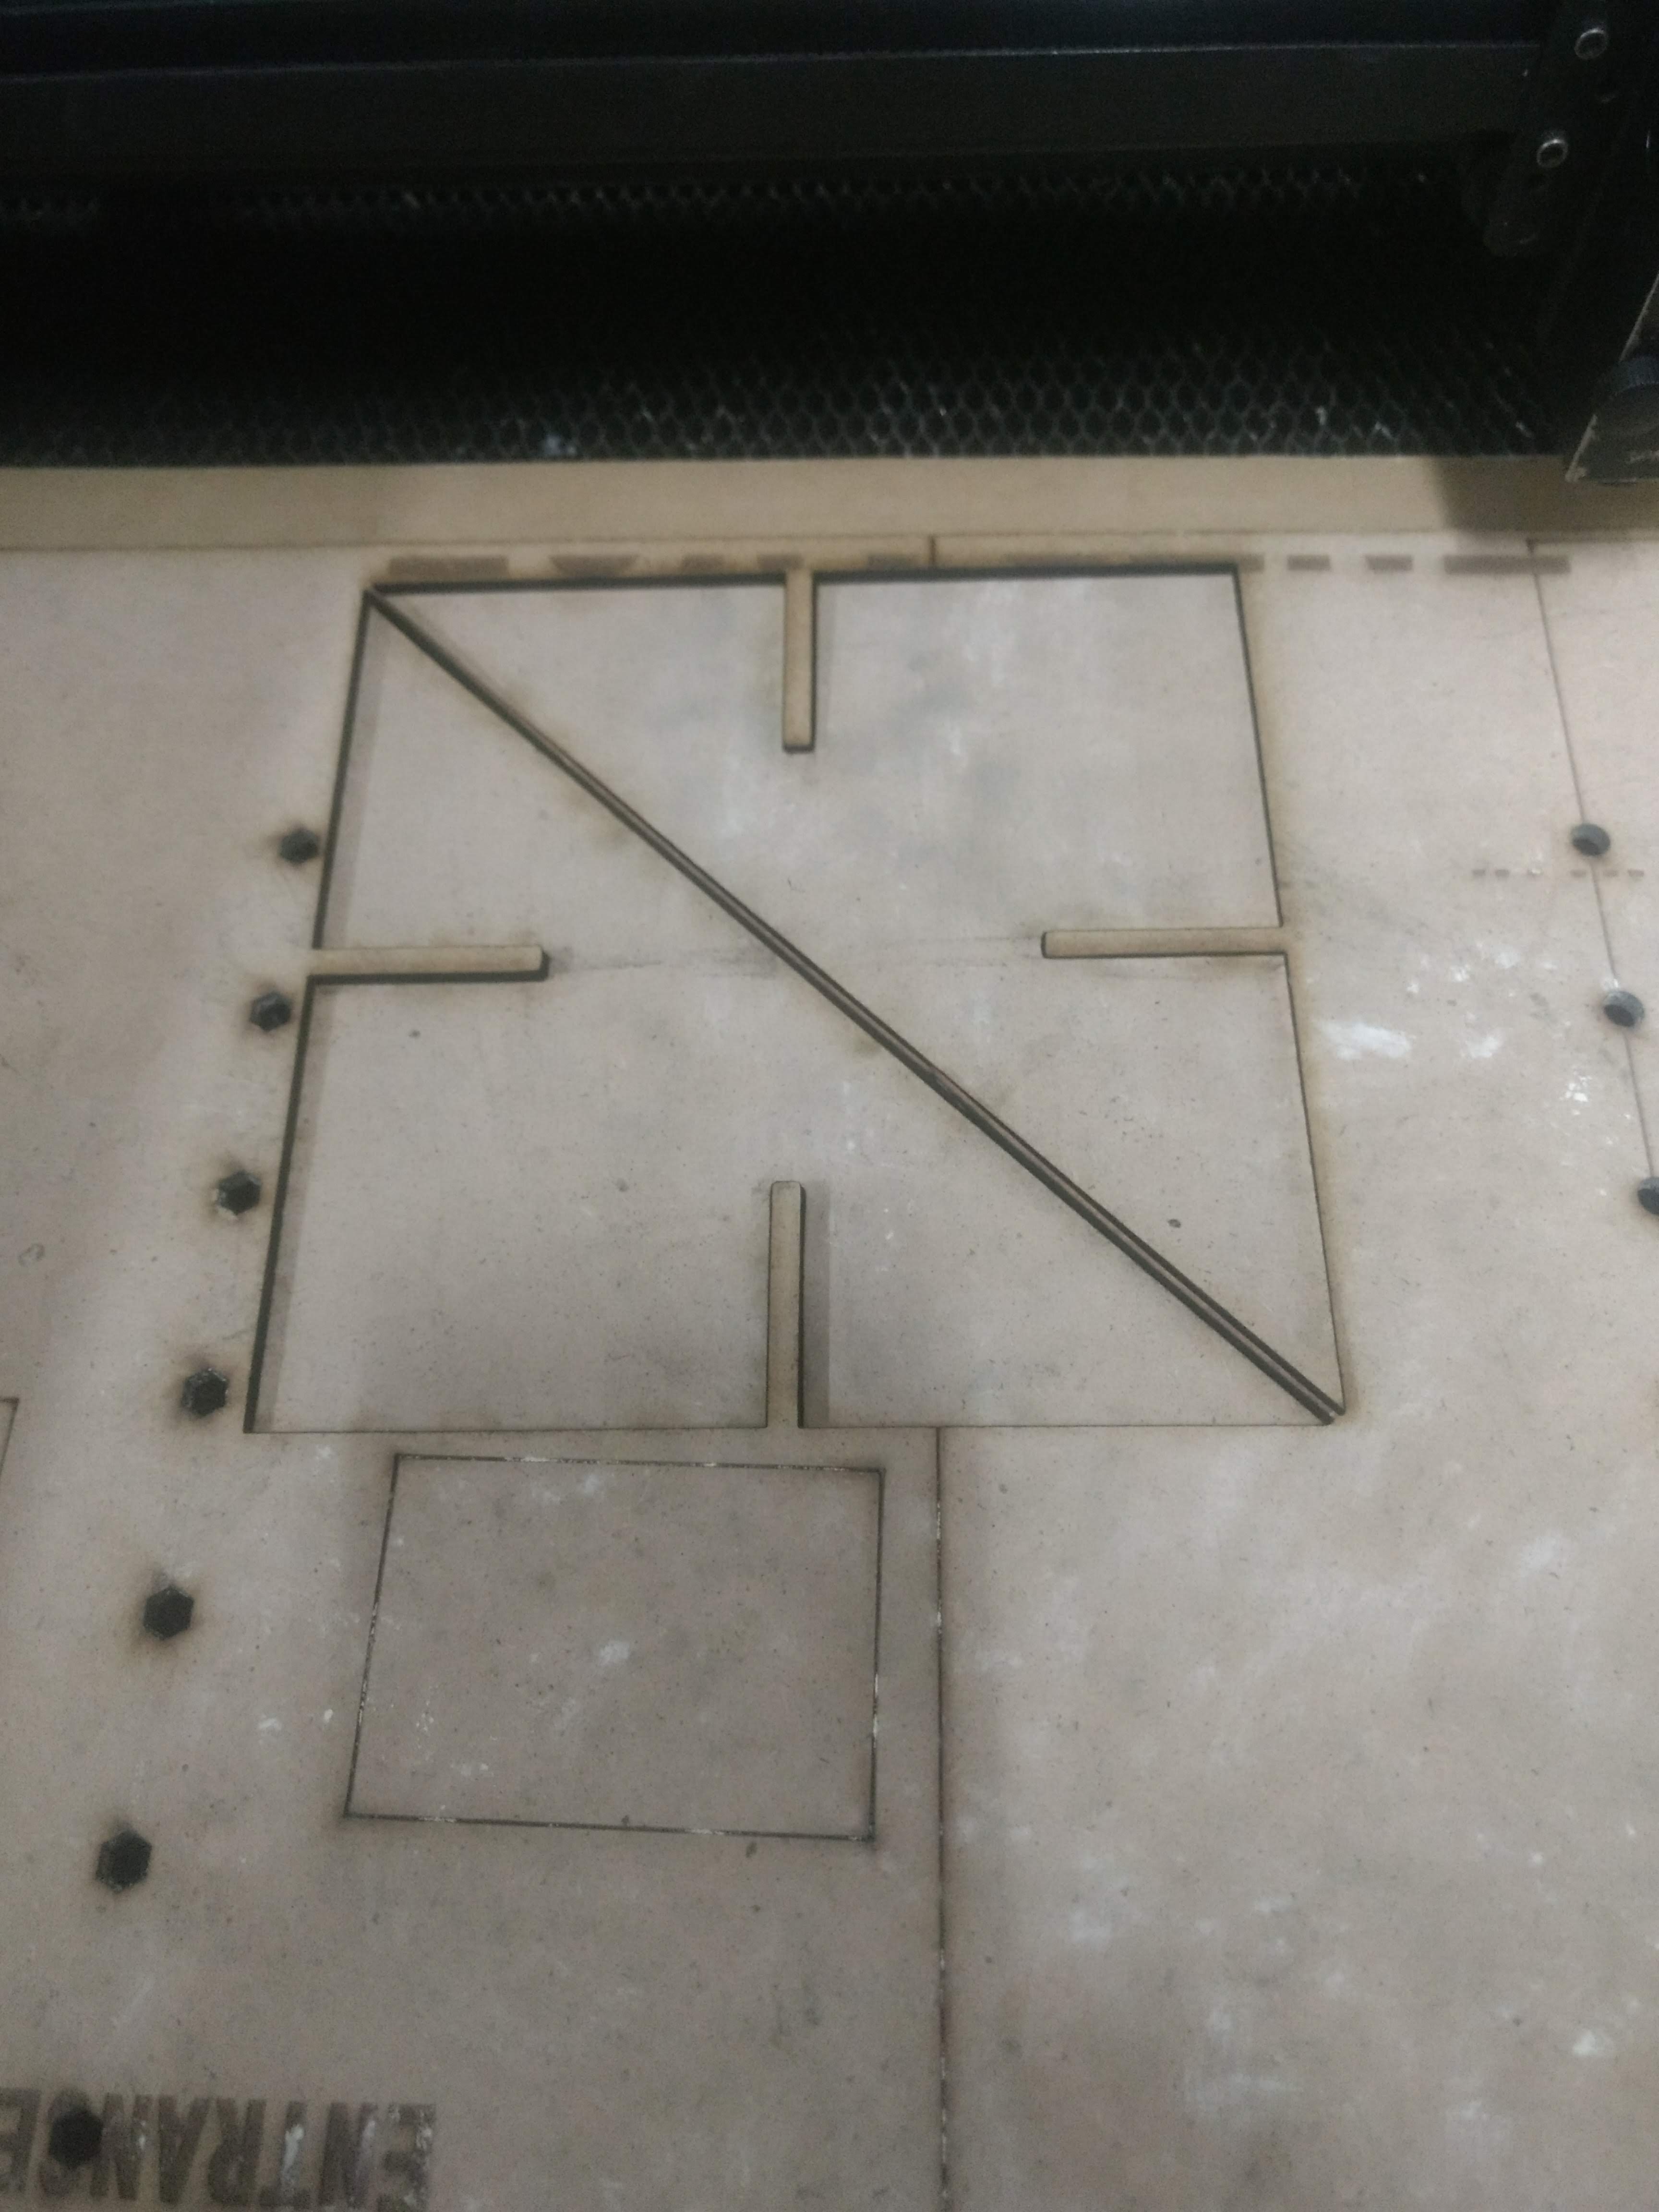
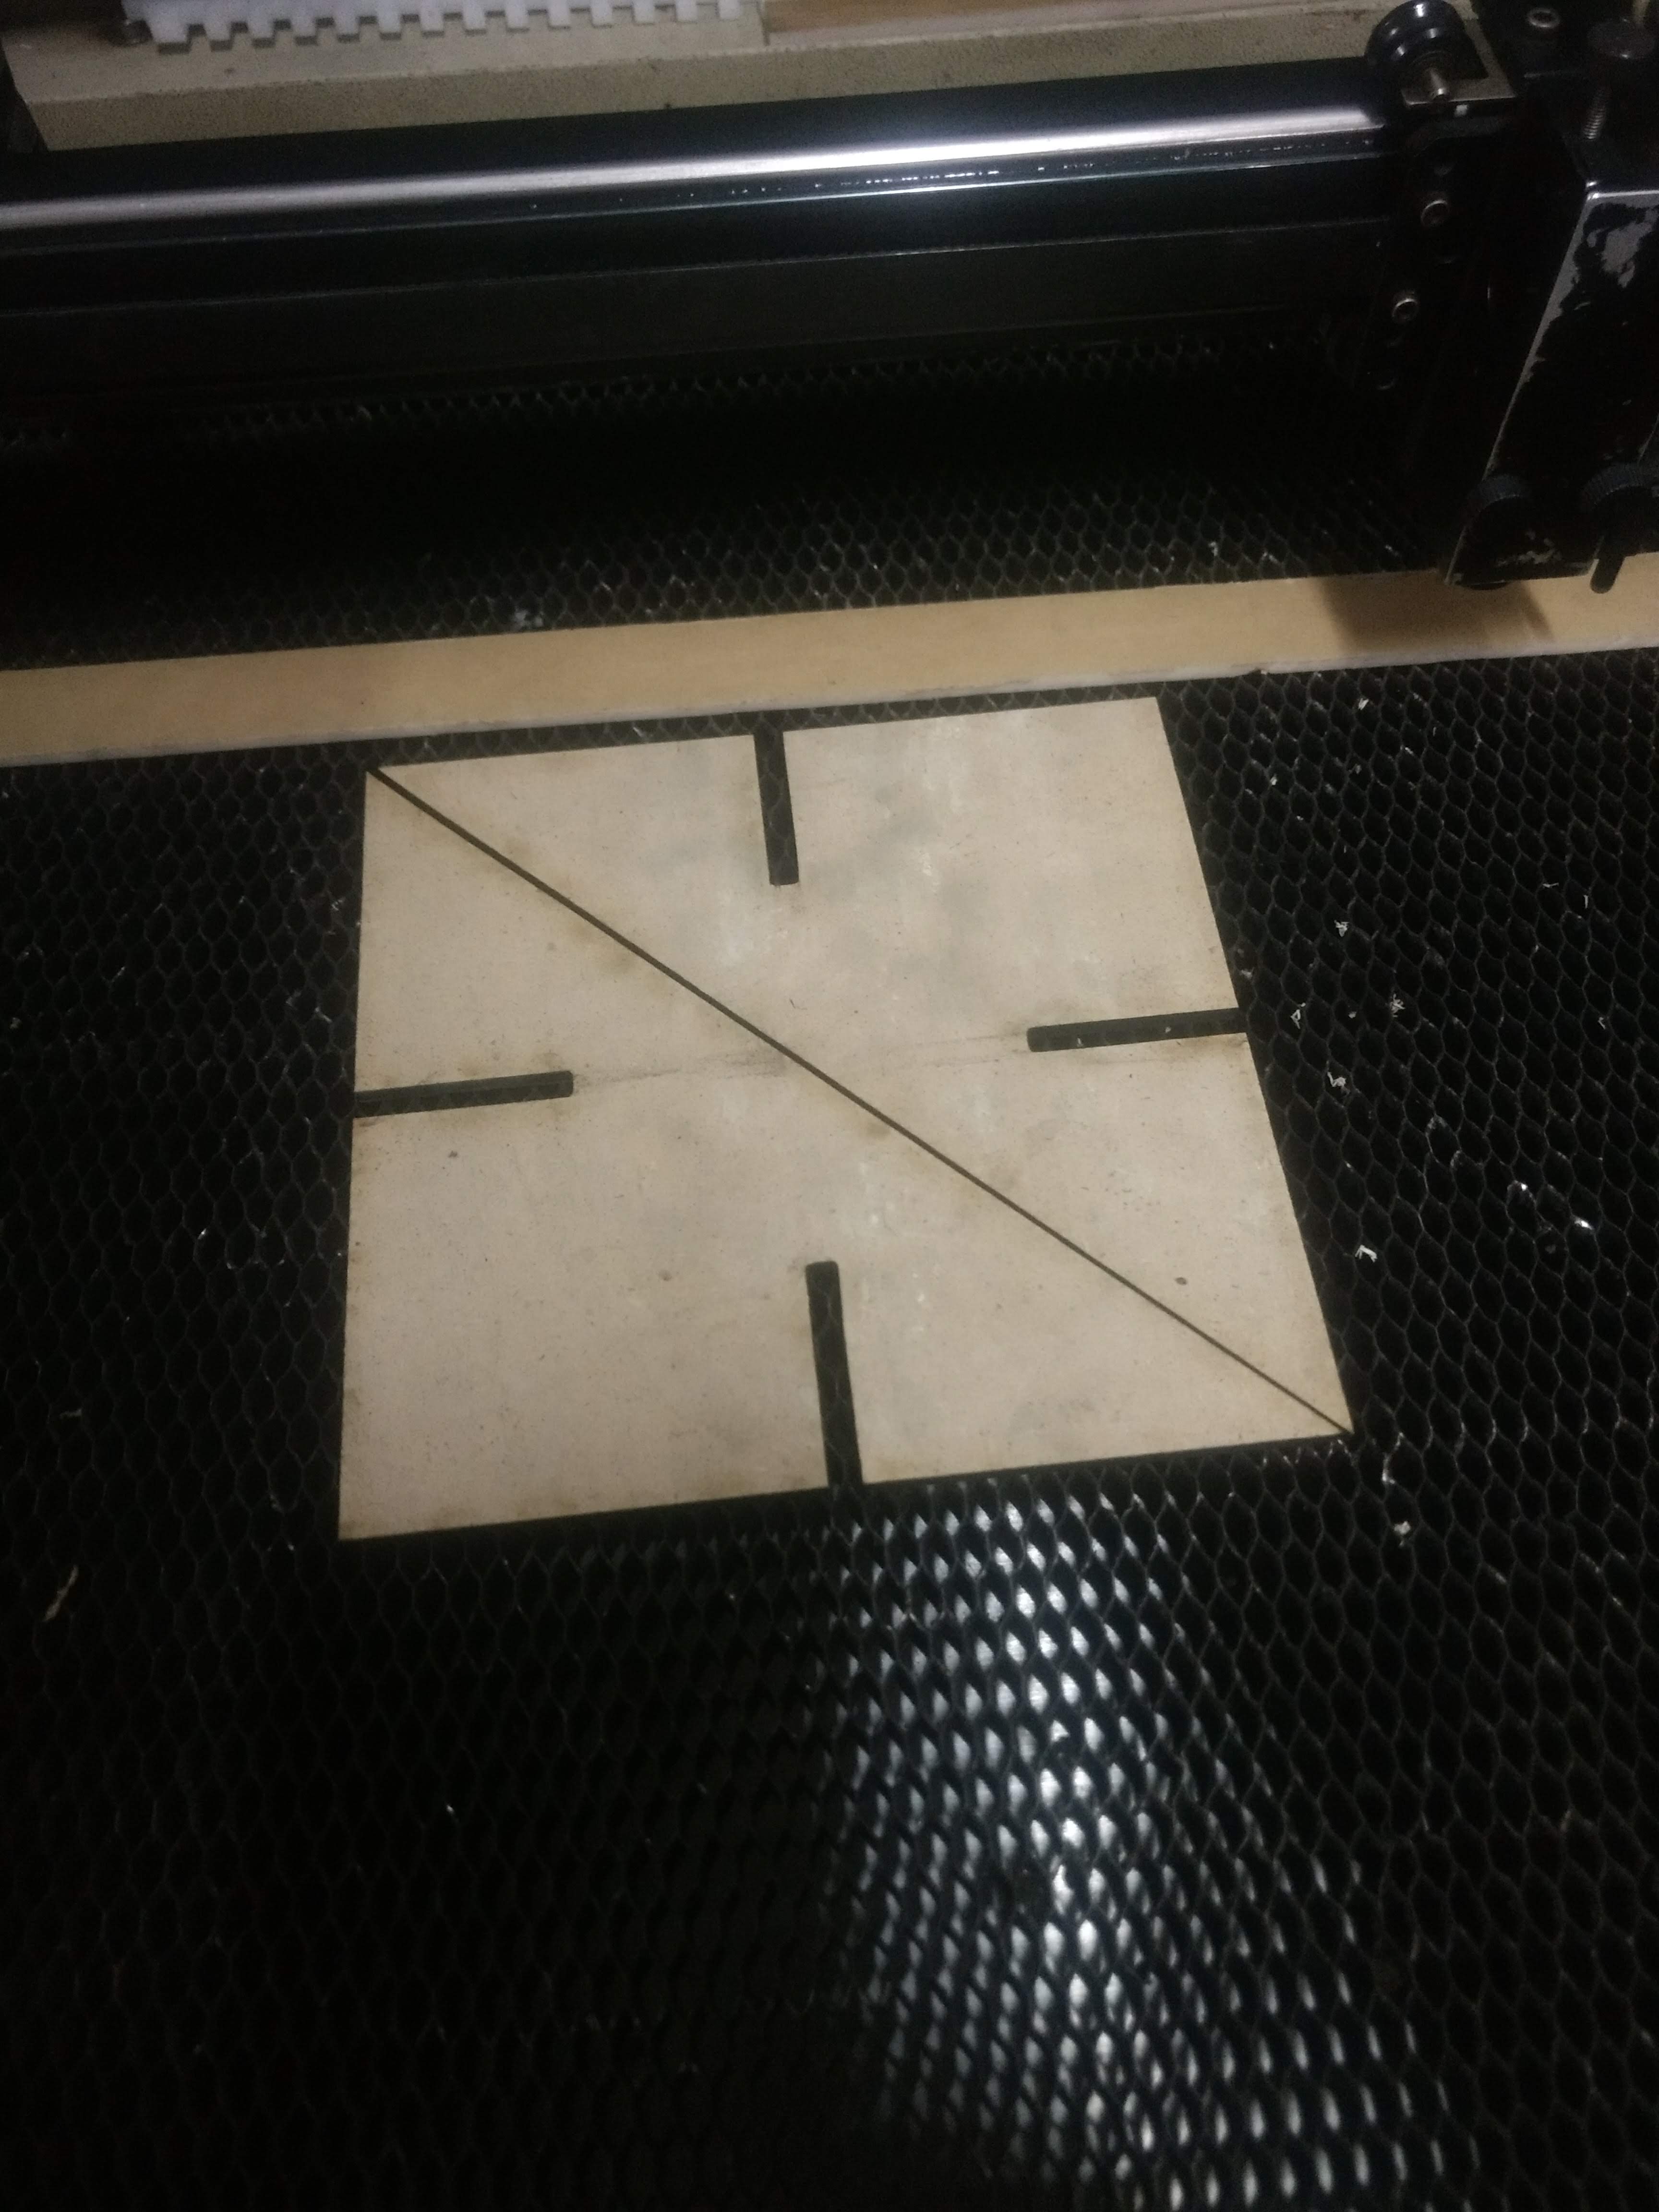
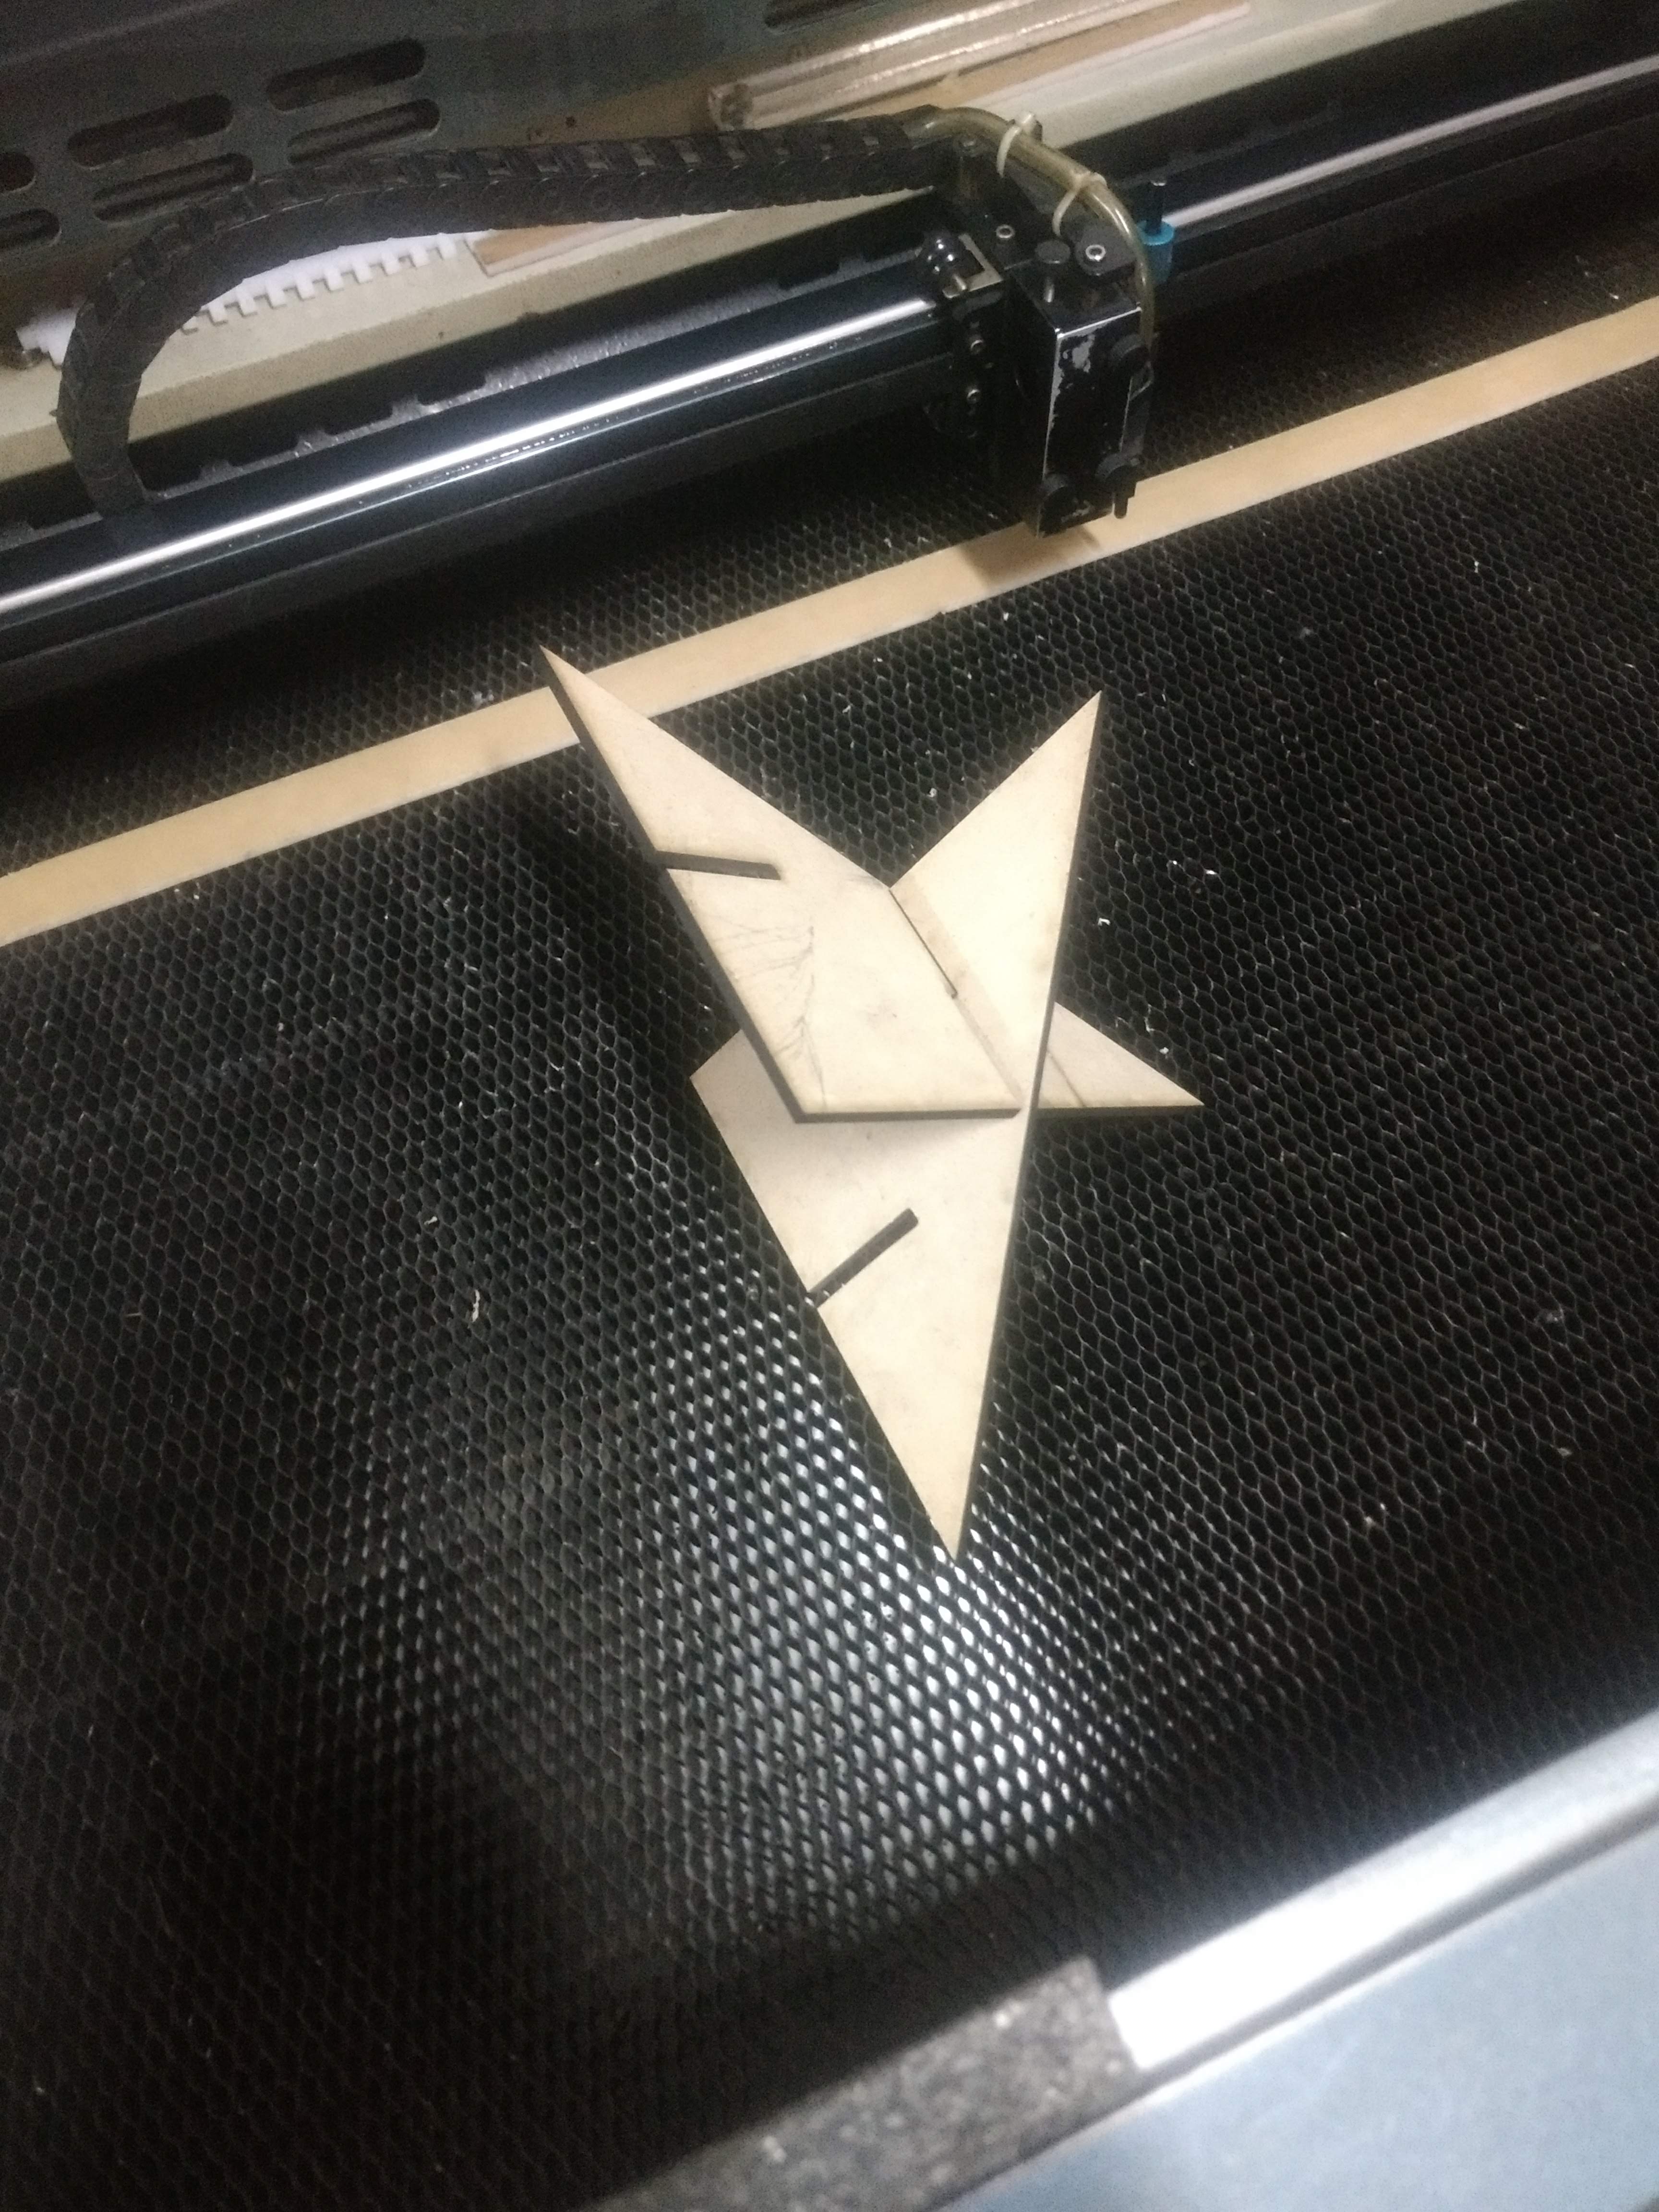
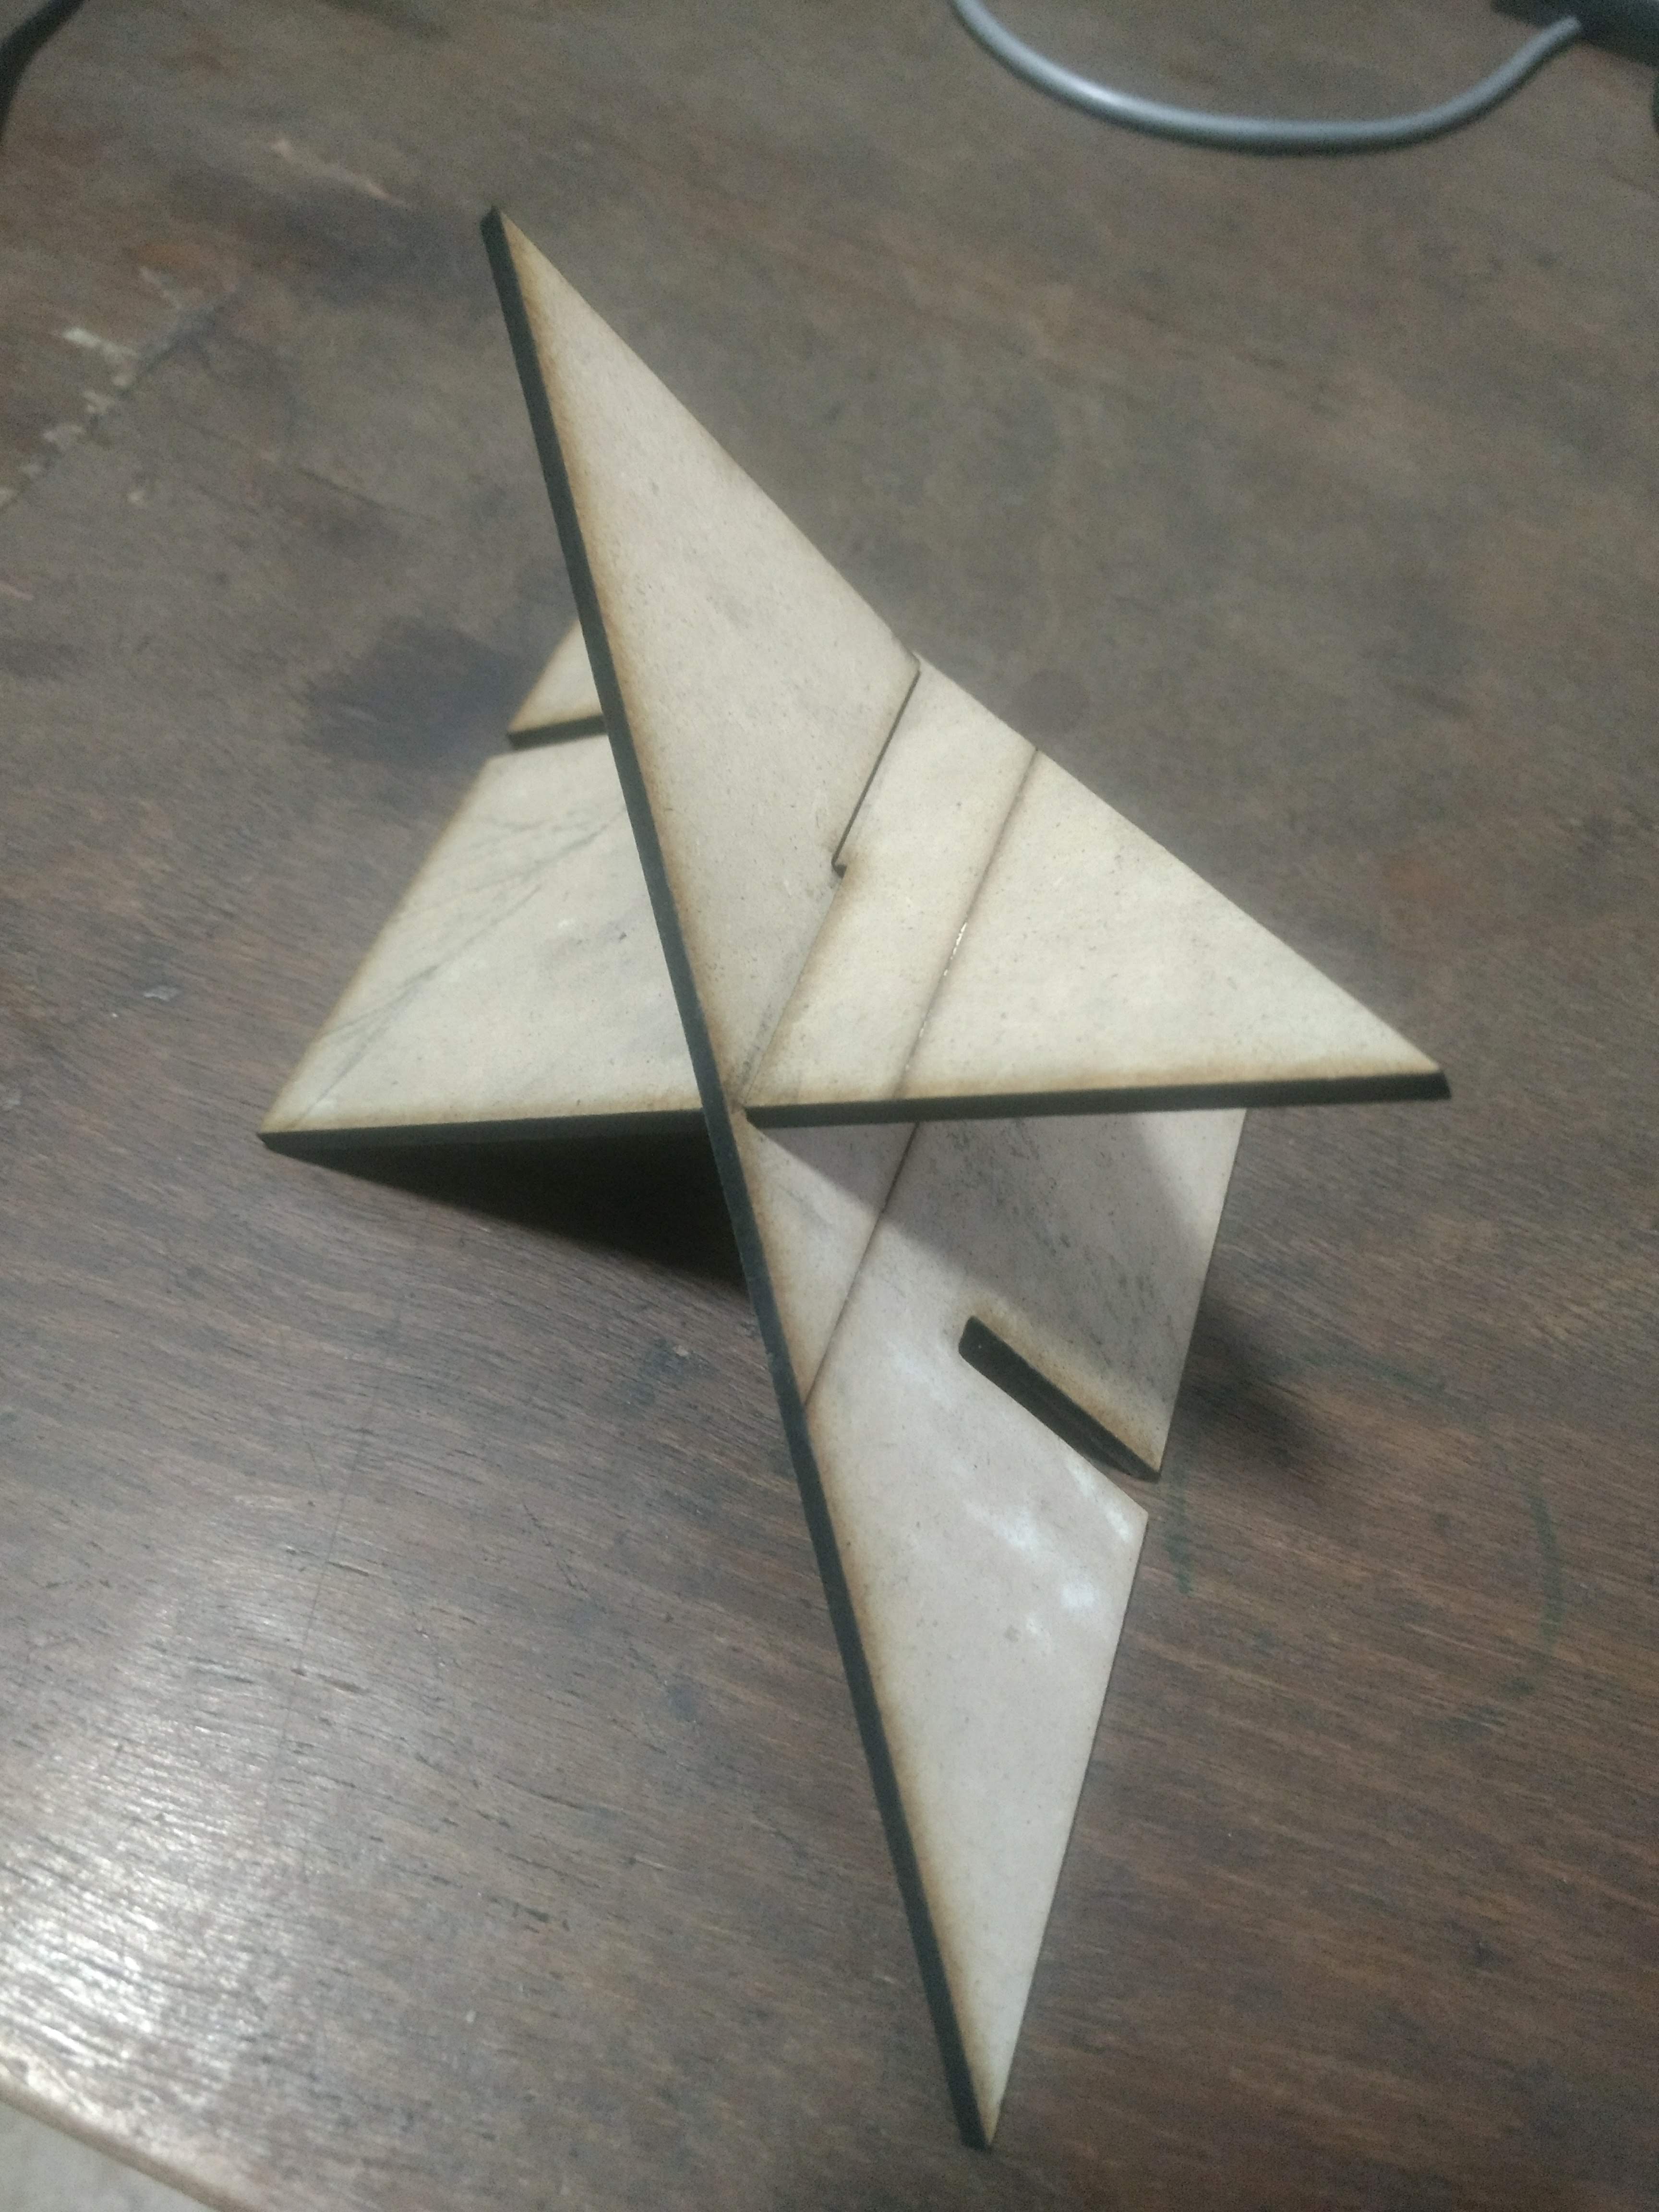
However, this is still a work in progress as there are still some kerf errors and press-fit challenges due to the nature of the material.
Sticker Cutting
The Sticker cutting machine is down due to the age of the blade used for cutting. The blade is scheduled for replacement on Friday post-which this exercise can be completed
Update: The Vinyl Cutter got back online.
The Vinyl Cutter that we use in the FabLab is a GCC AR24 that is extremely conveninet for the beginner to use and the suggested software for this machine is the Great Cut 4 Software which is also extremely simple to use.
The specs are detailed as follows:
The Git Book Tutorial covers the main aspects of operating the vinyl cutter and is a good resource for understanding the machine operations.
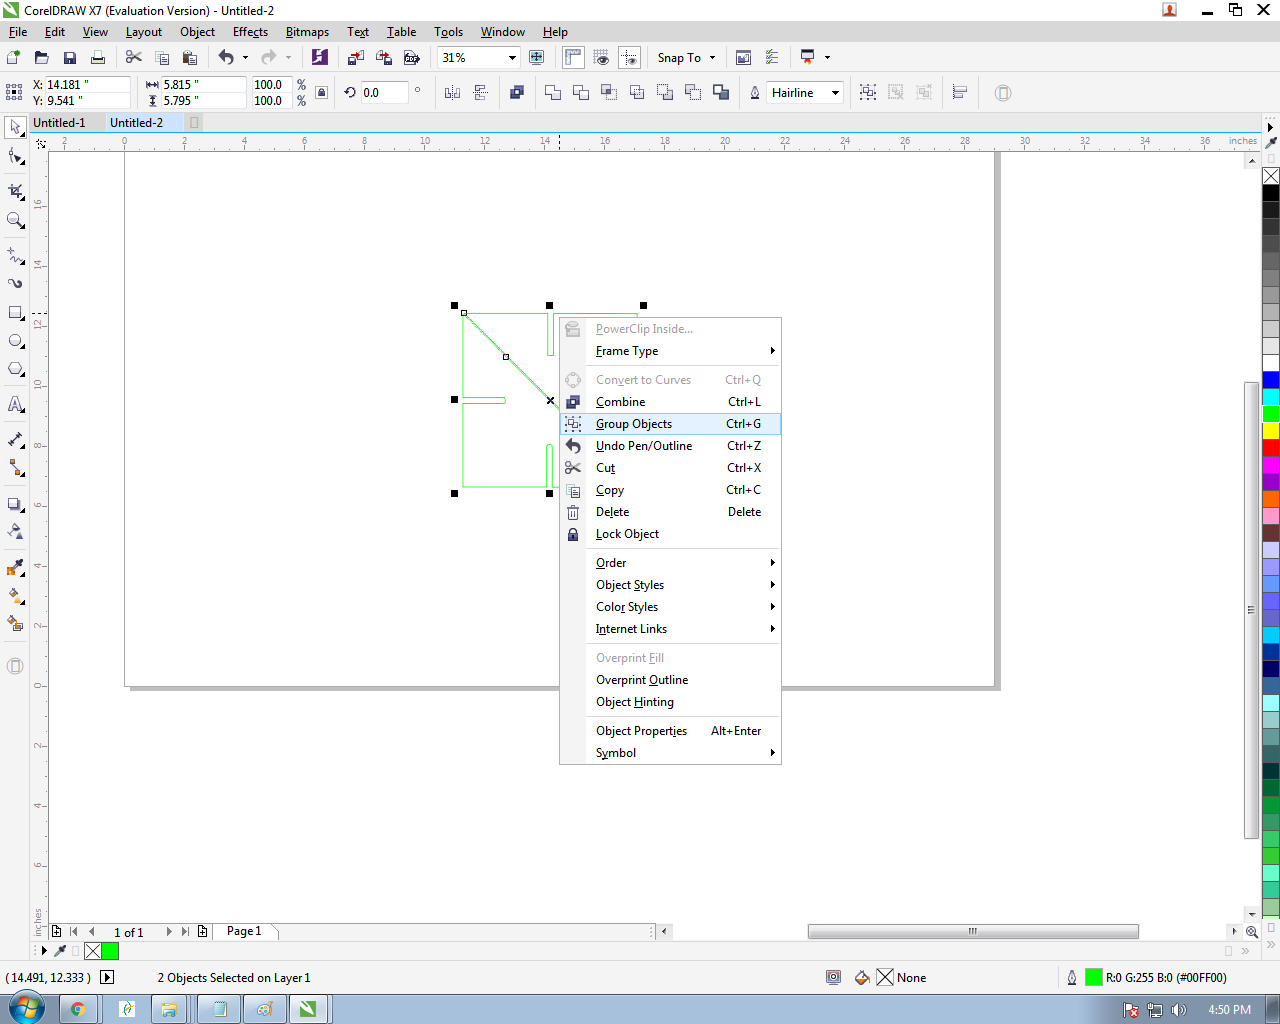
For the Vinyl Cutting exercise, I prepared a basic text file along a curved path using CorelDraw for one of the Startups incubated in the FabLab.
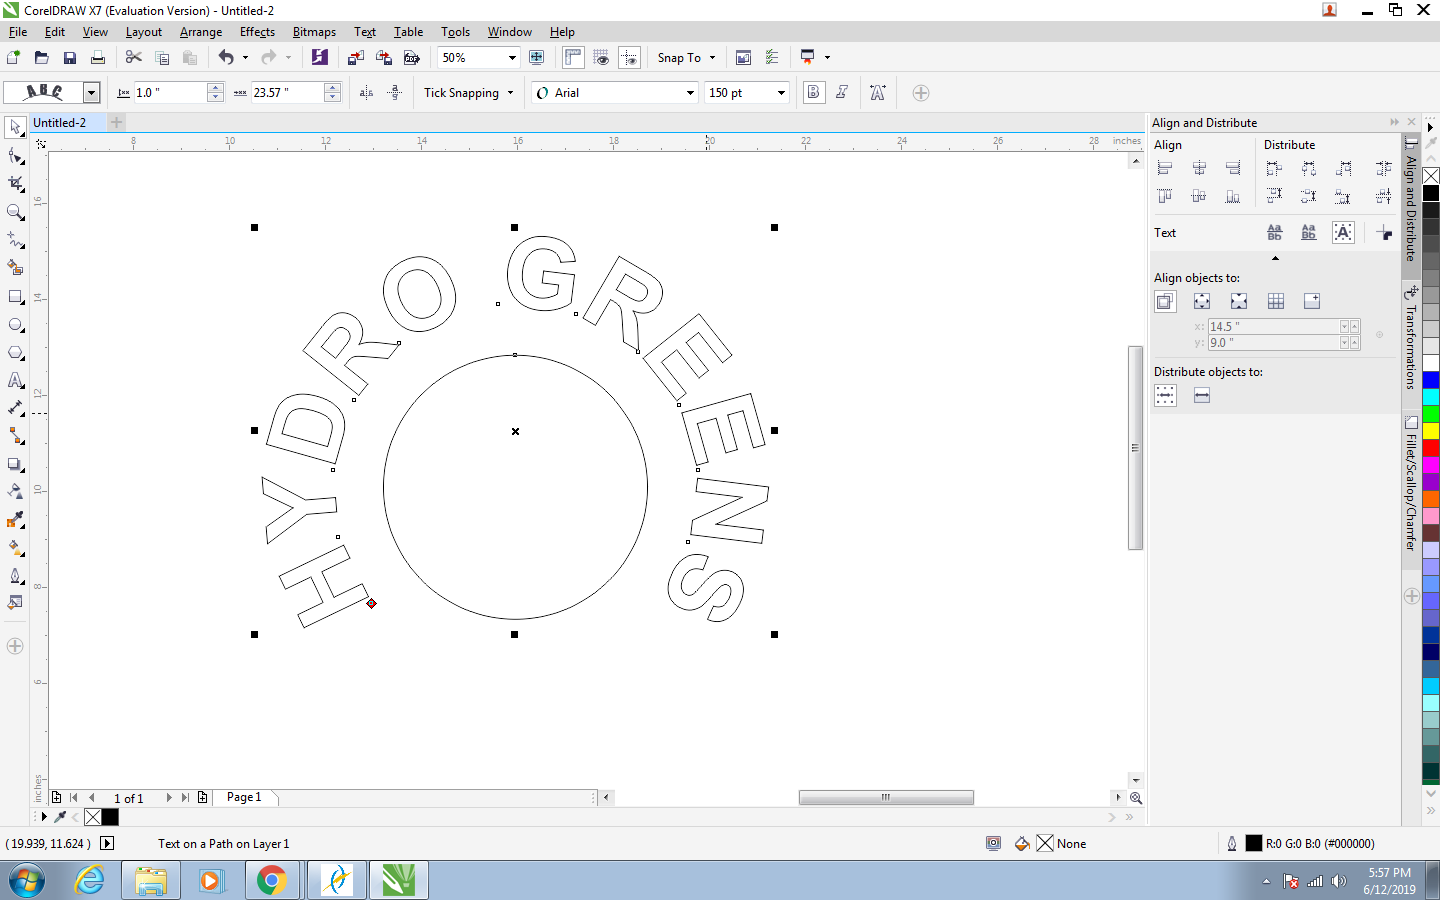
The Black Gloss Vinyl was loaded into the machine and the final result
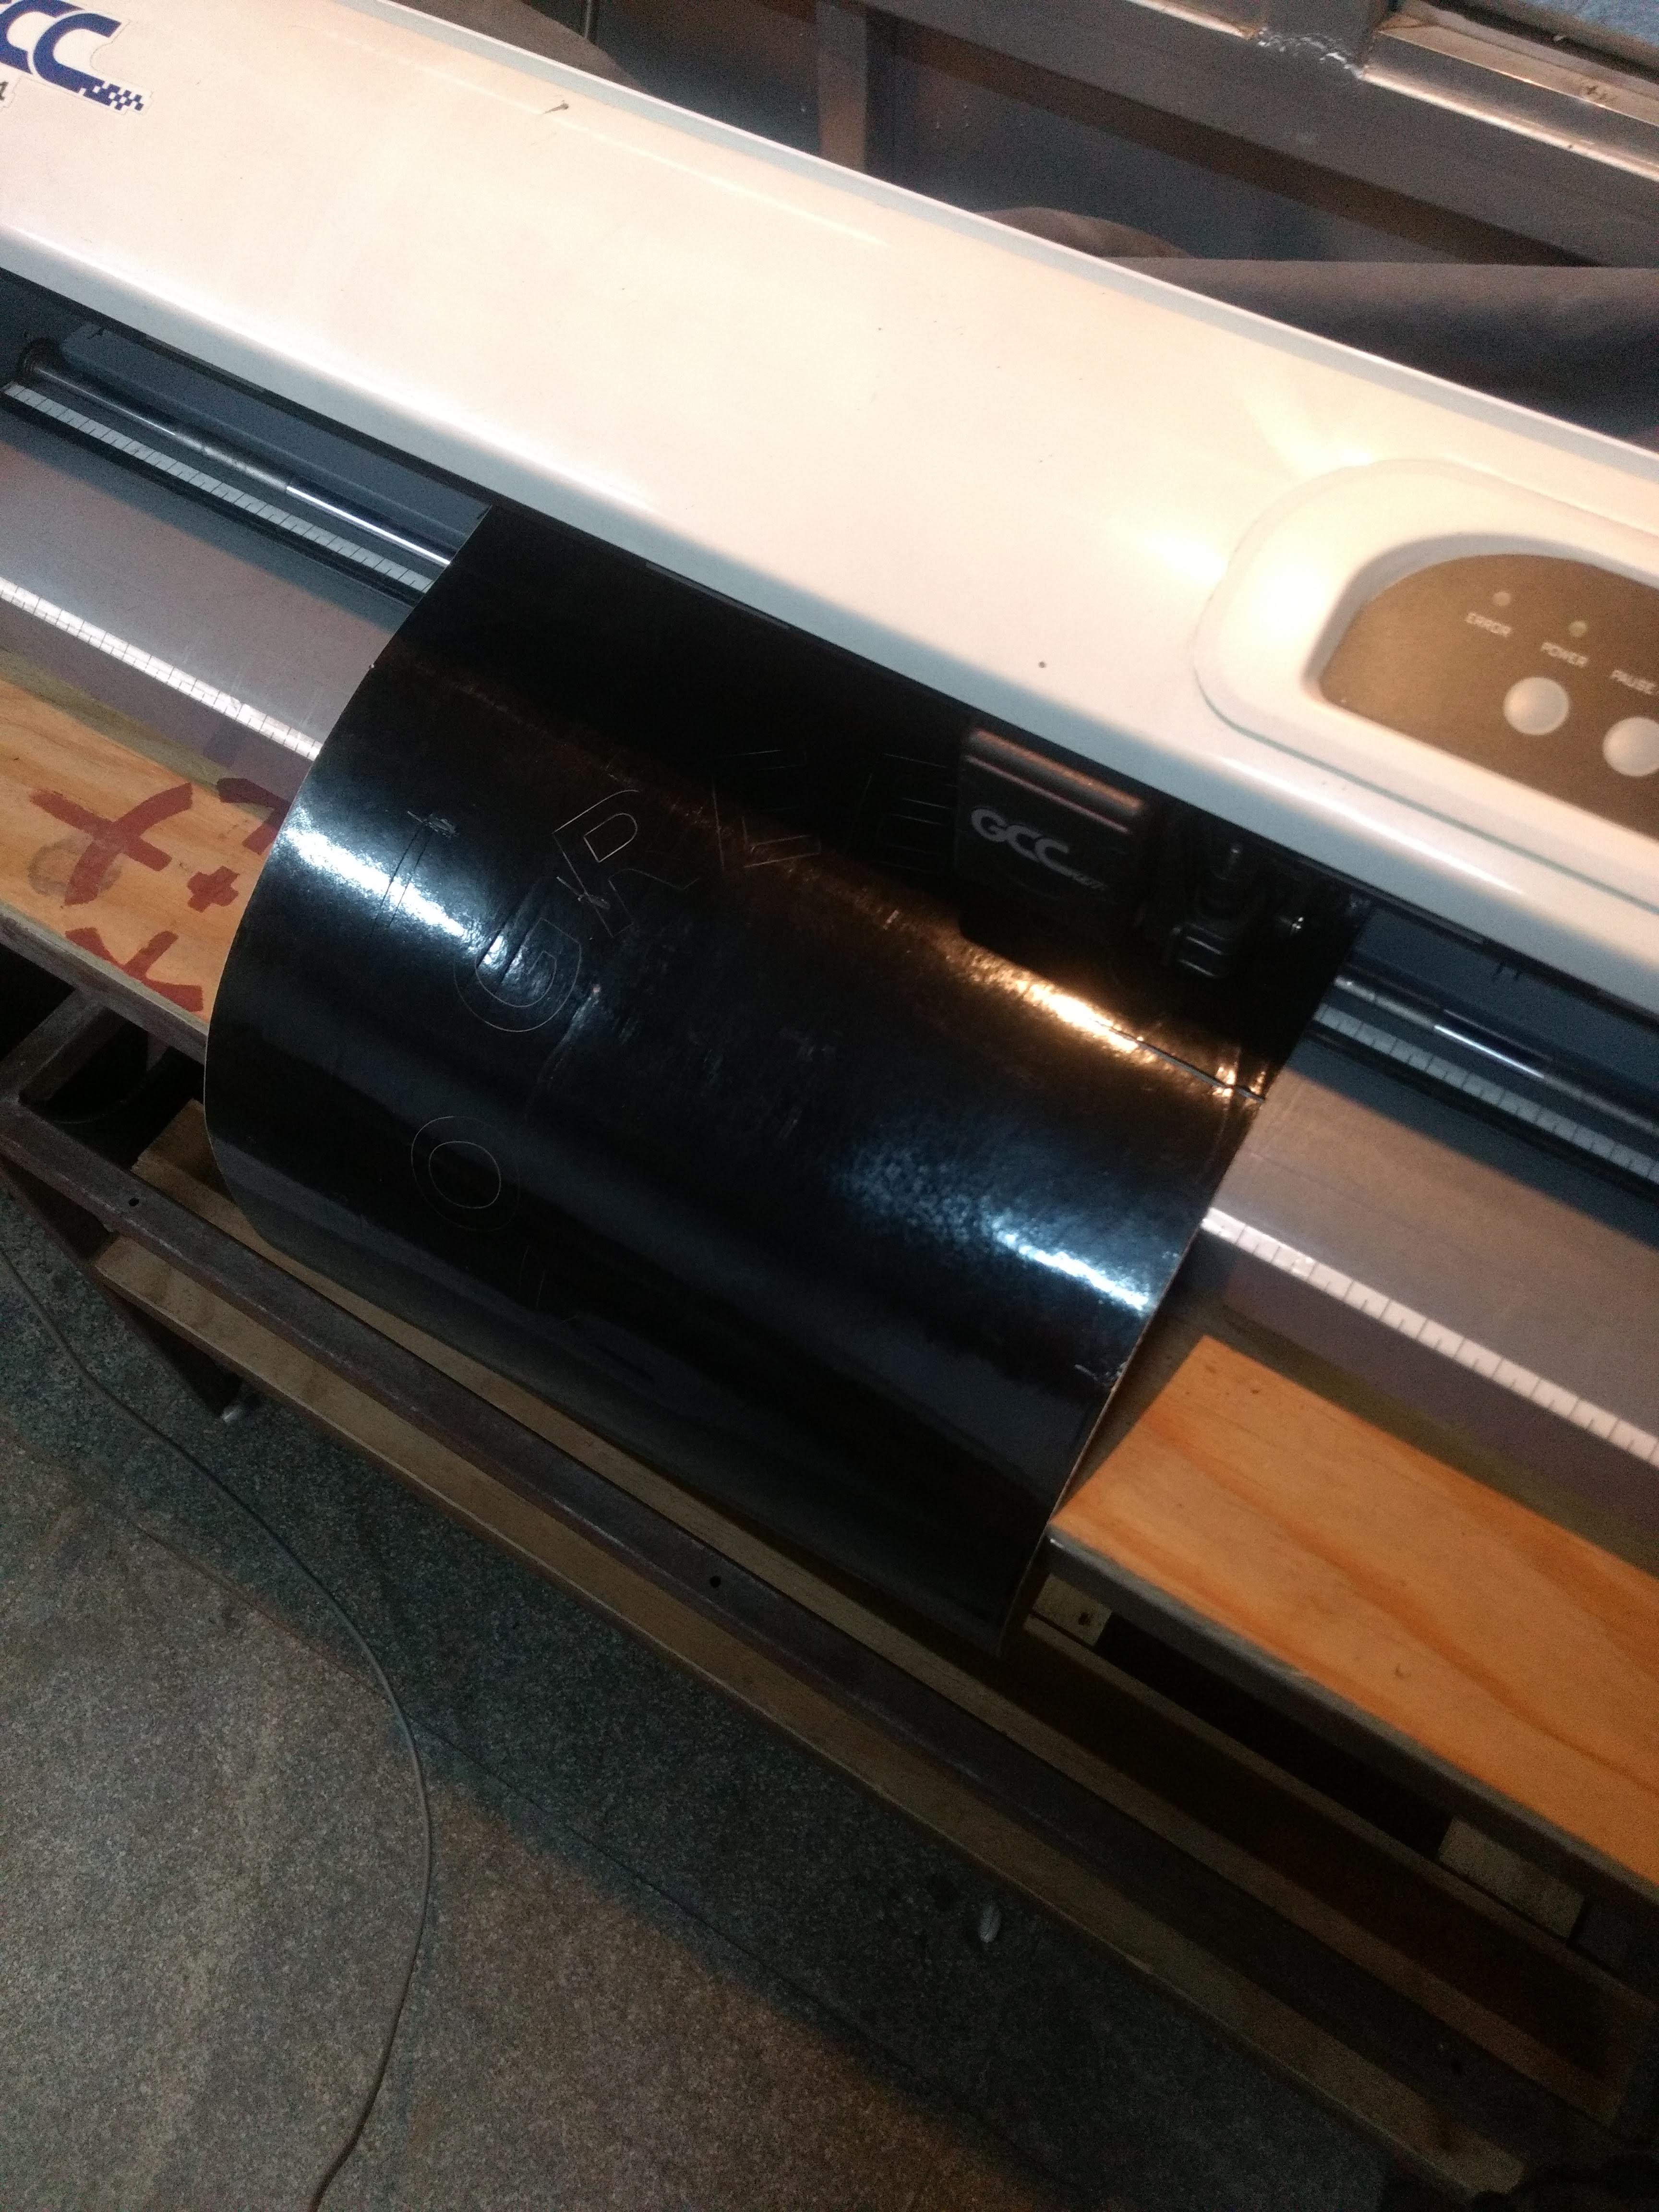
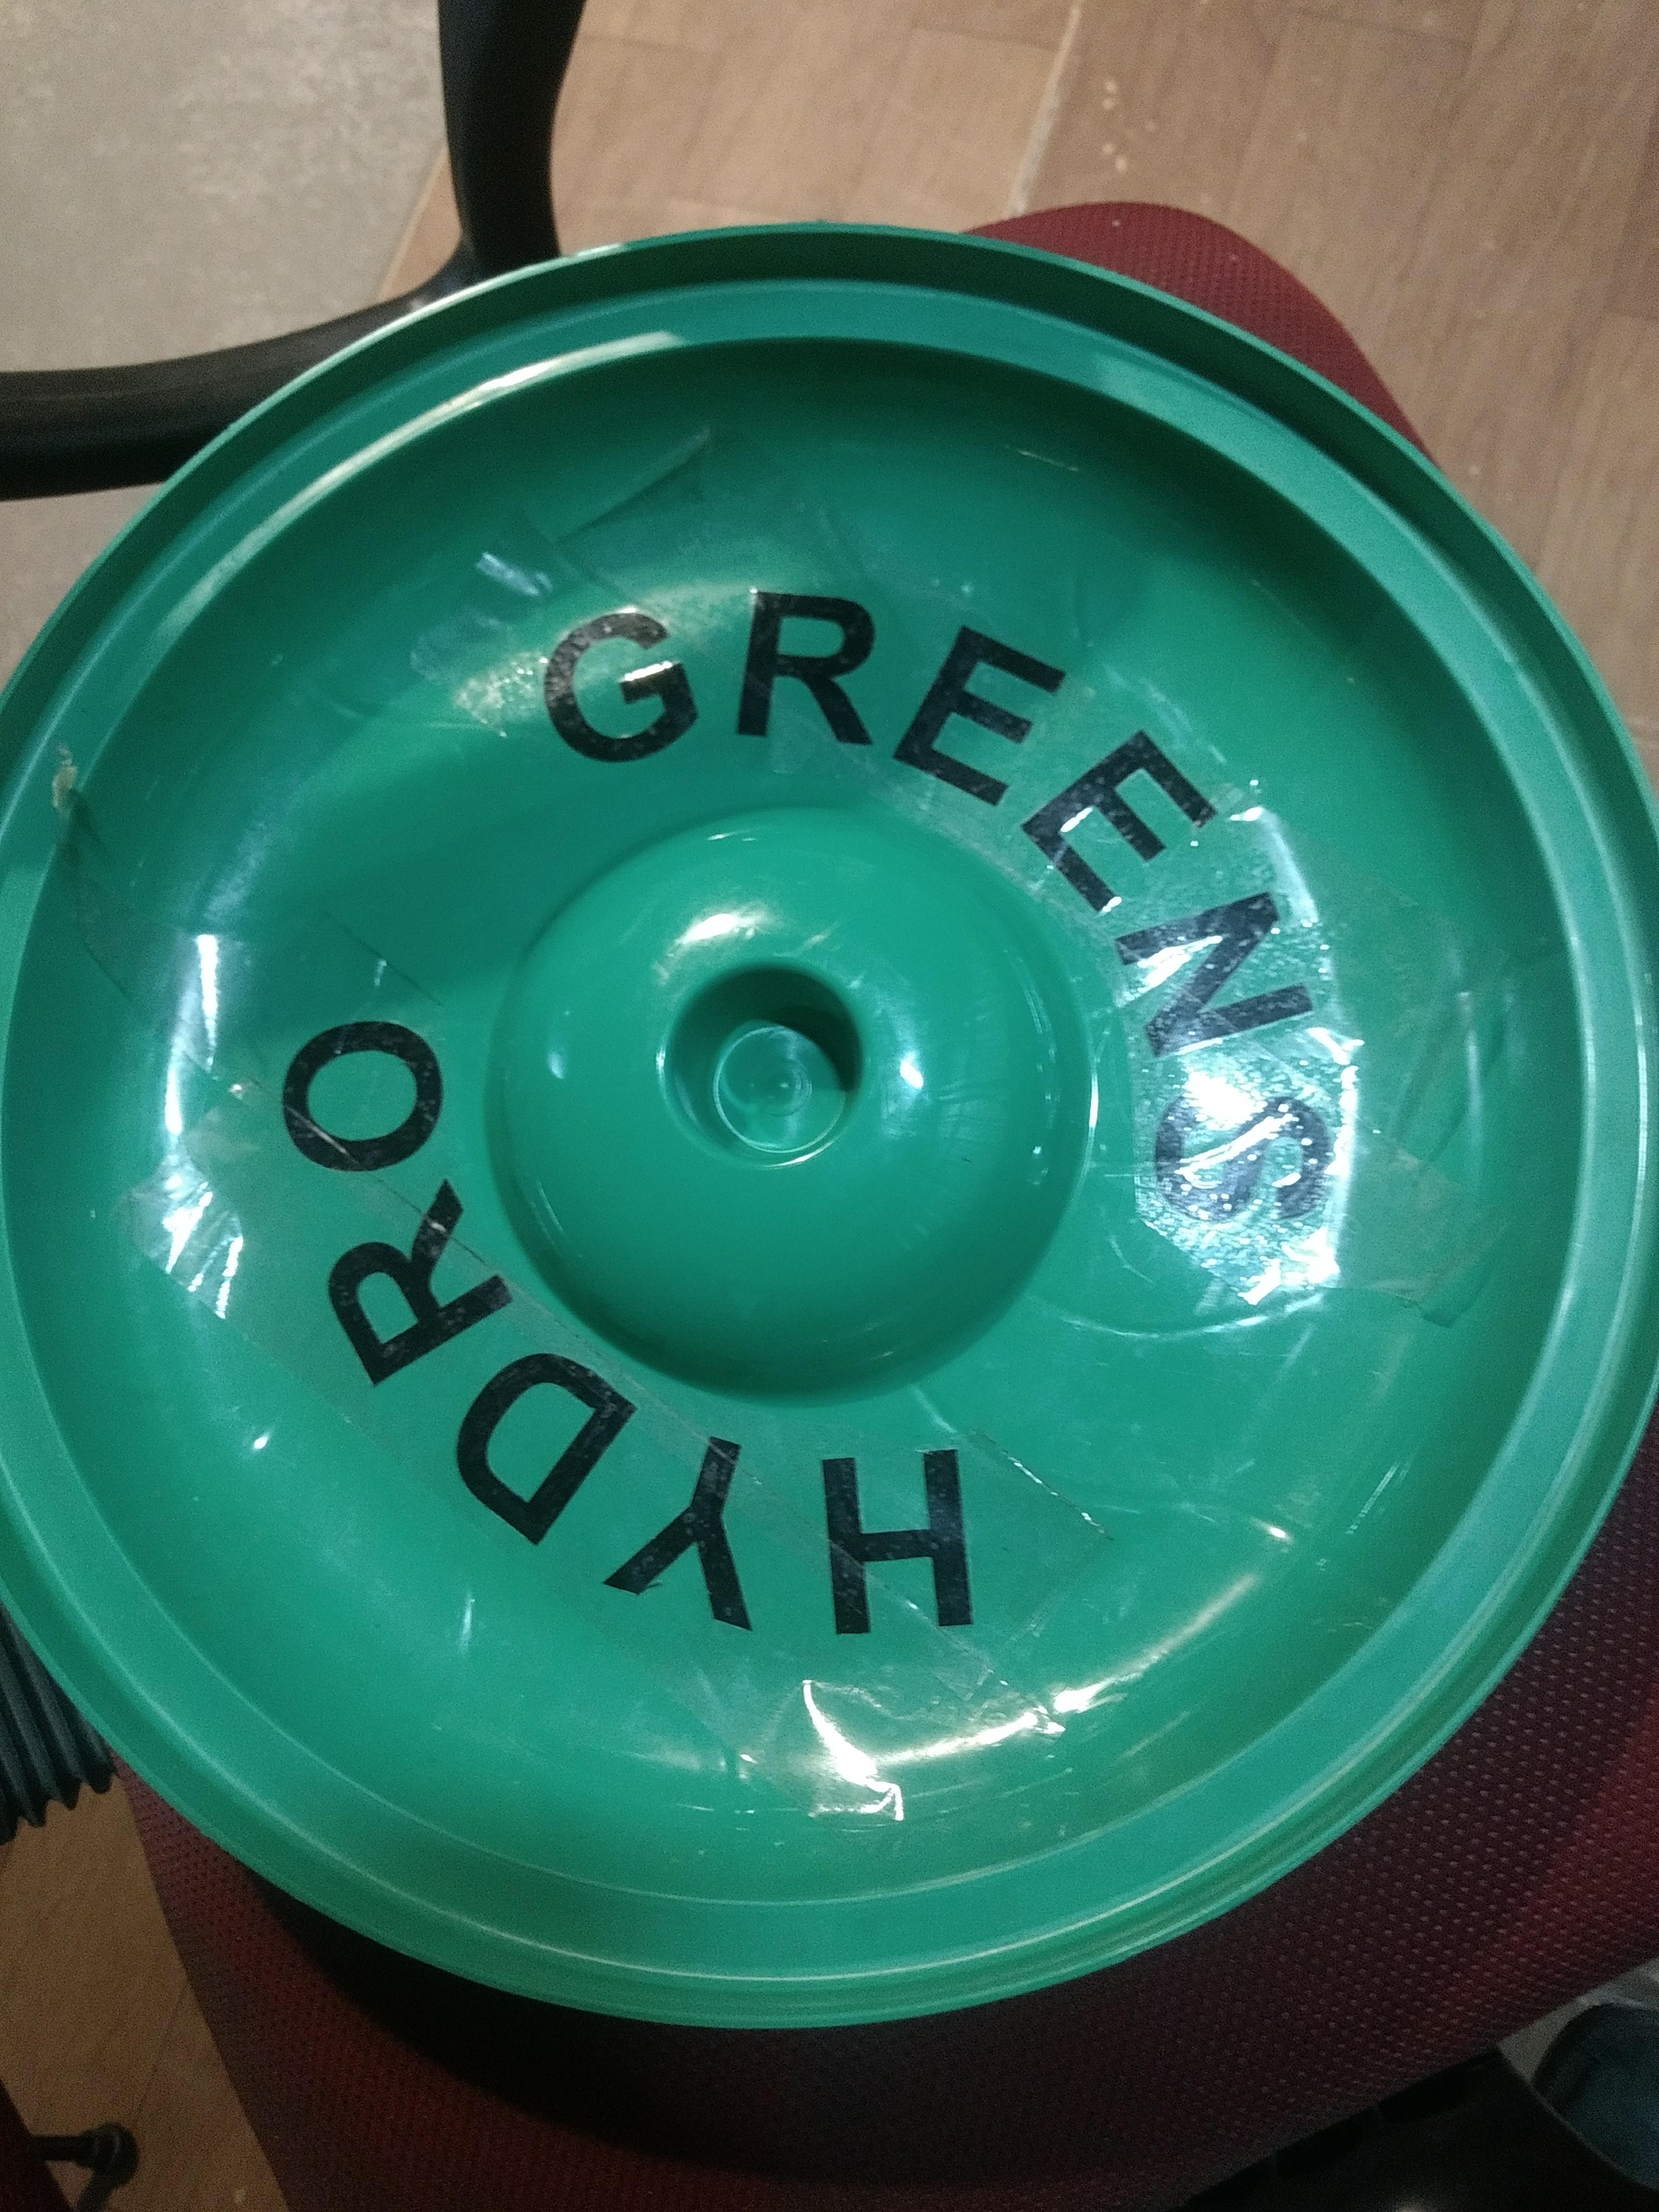
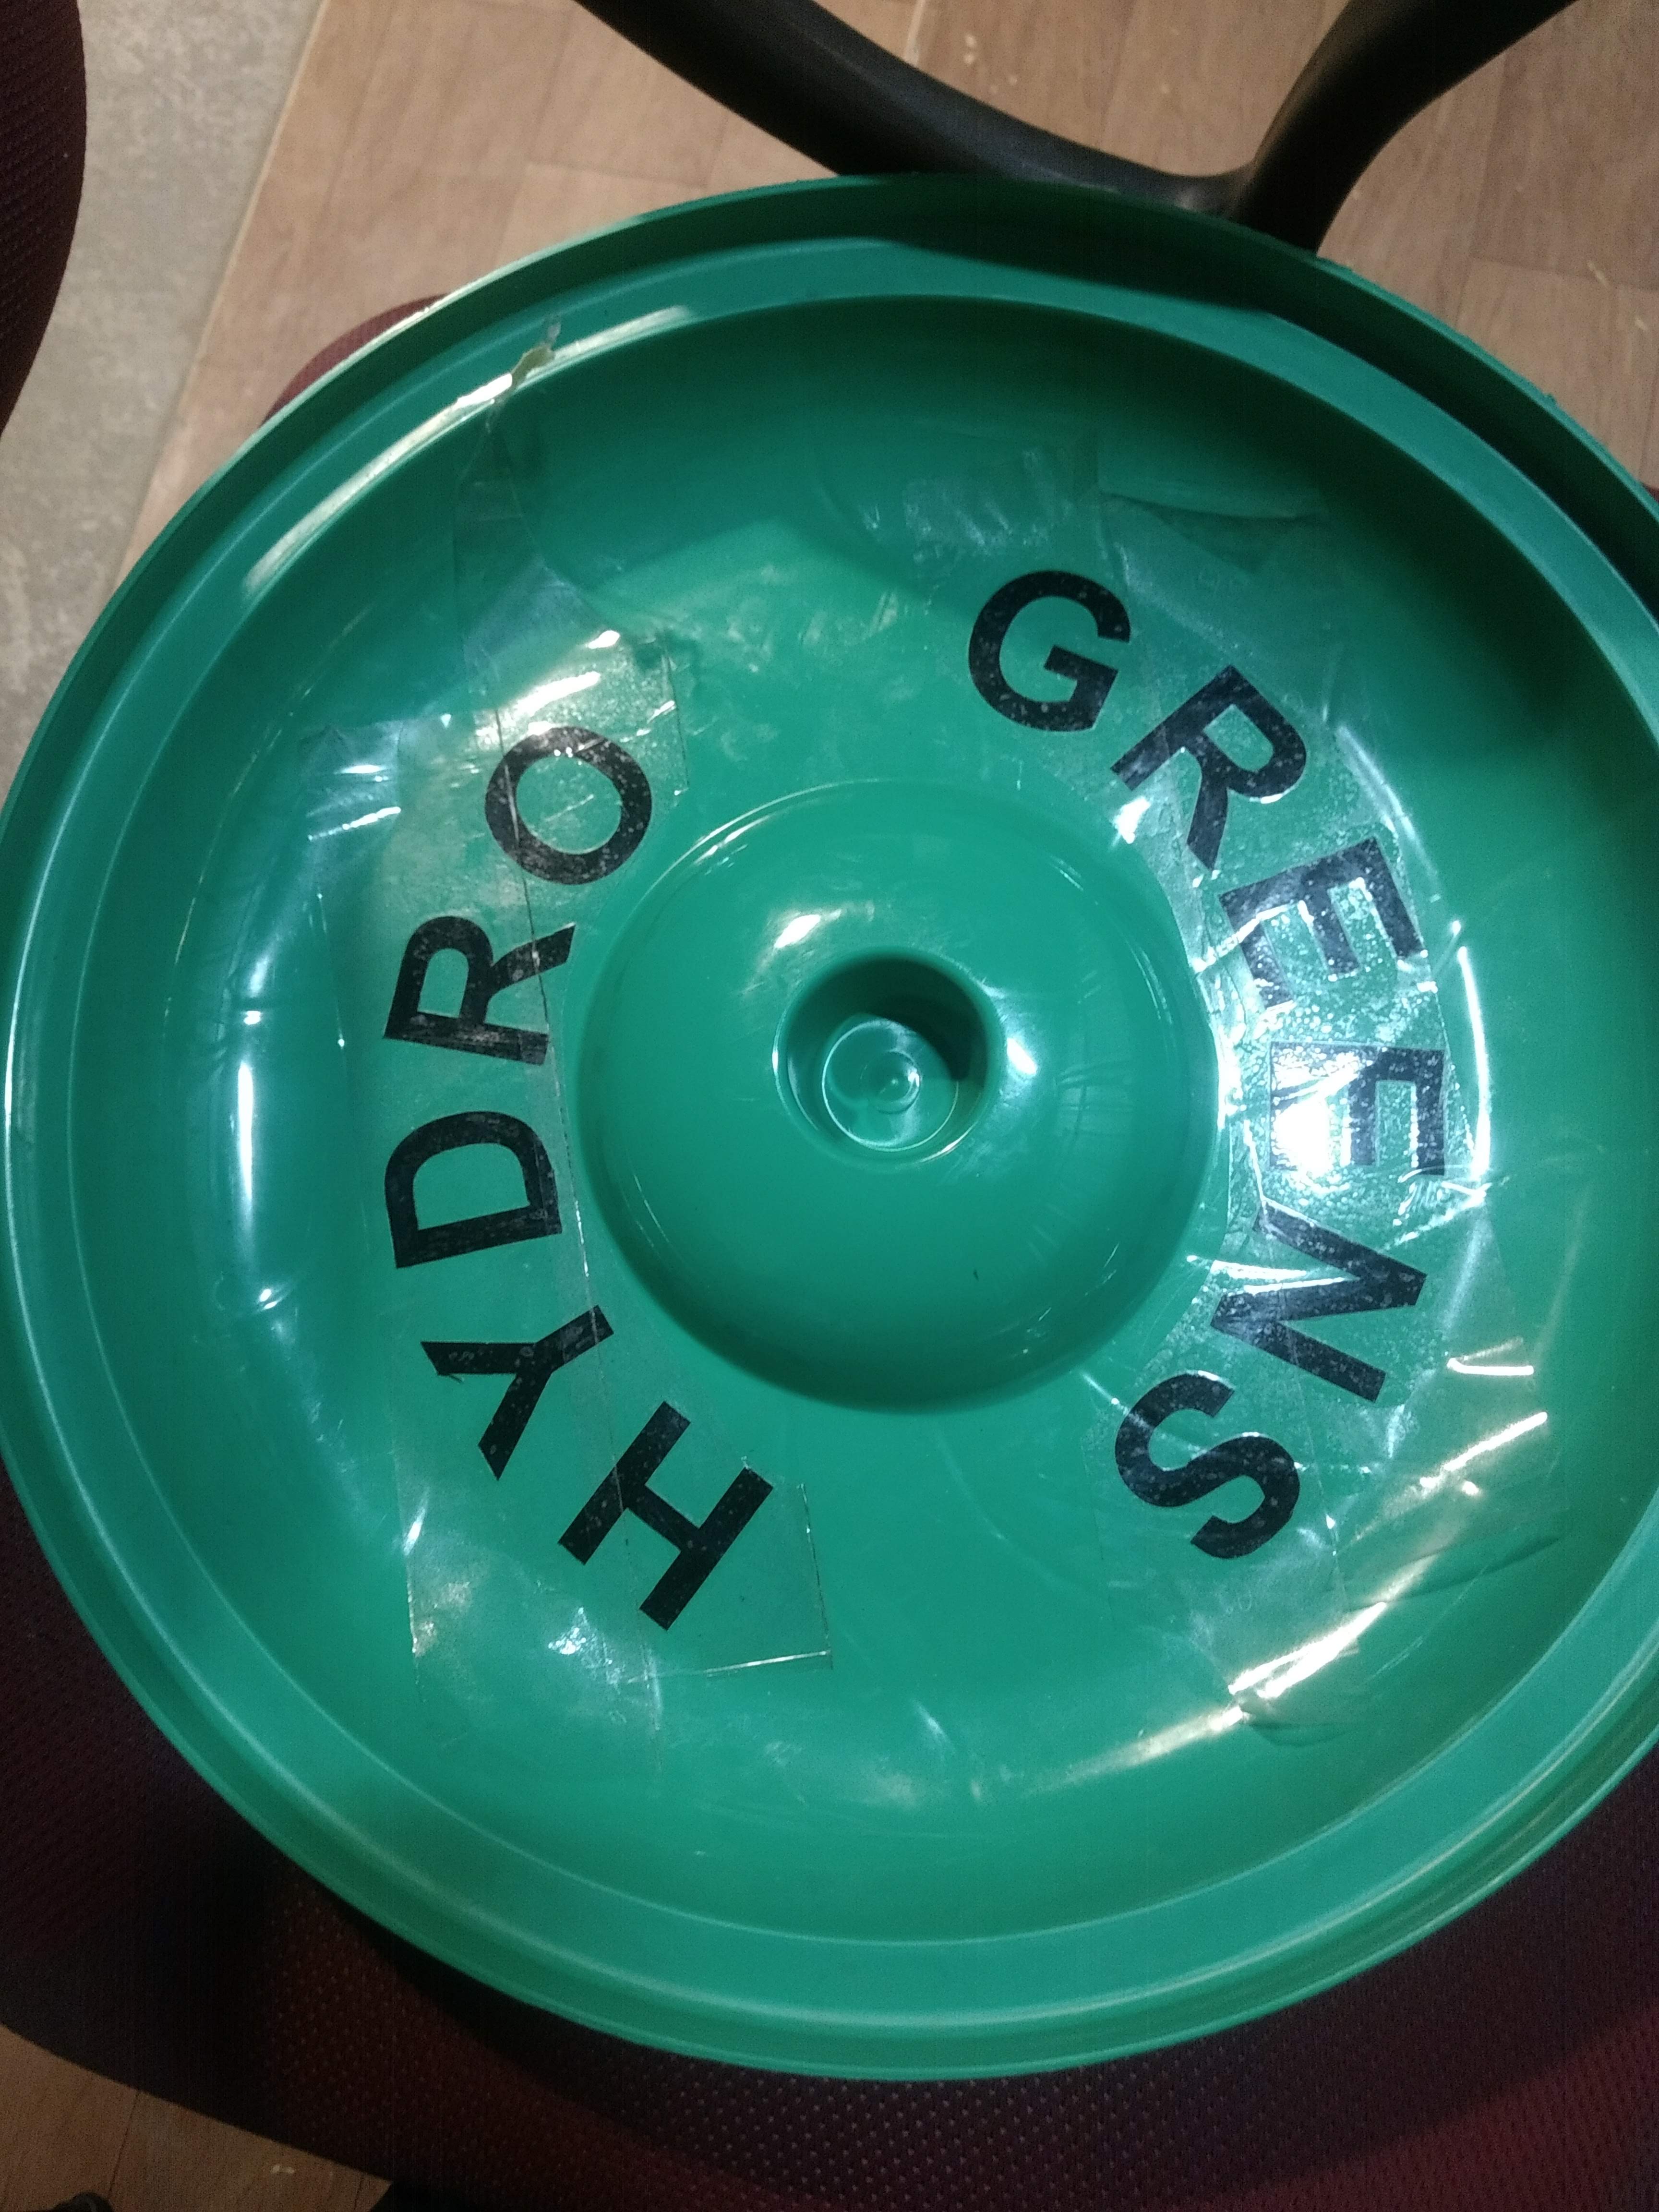
The Final result
Learning
Overall, this was not a very challenging exercise as I have used both machines quite extensively and their operations have been towards simpler customer projects.
Main points to note in Machine cutting
- Always ensure that the machines are well serviced by the local operators.
- For lasers, lenses must be cleaned properly once a week after heavy use.
- For Vinyl Cutters, the cutting blades must always be maintained properly to prevent dulling.
- Always check for cutting material before-hand to prevent last-minute running around.
The major source of any problems with getting a clear output always follwos the same basic flow:
- Design Error: Where the design may have extra artifacts or issues that cause improper machine action (80% of cases).
- Machine Error: Where the machine may not have been calibrated, cleaned or maintained well.
- Application Error: Where the cut piece does not fit the use case because of improper measurements or other issues (Measure thrice, design twice, cut once)
Any errors can always be rectified by following and troubleshooting as per the above list.