2. The Management of Fab Academy Projects
Goal(s)
- Work through a git tutorial
- Build a personal site (in the class archive) describing me and my final project
Introduction
This is the second week of my Fab Academy 2017,where we learn about Git, Github and GitLab for project documentation to our personal website hosted on GitLab.
Being a native Windows user, I had to do all the activities because it is the default but also got to learn that Linux would be very useful as we went along. I have documented that journey here.
Git Tutorial
What is Git?
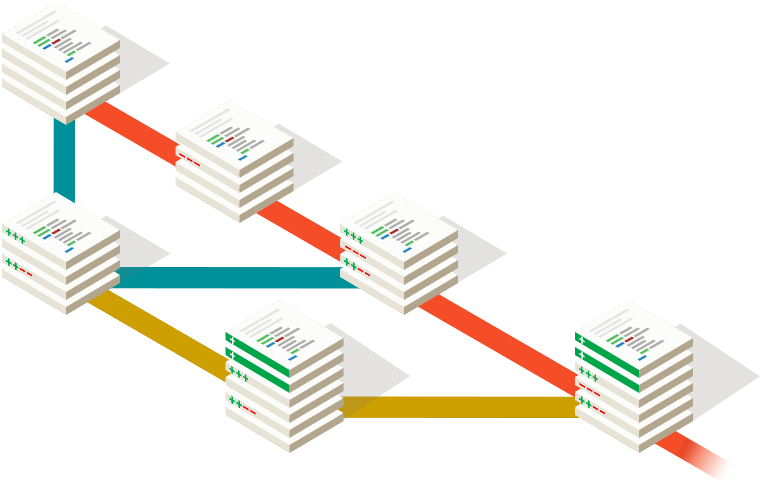
Git is a free and open source distributed version control system designed to handle everything from small to very large projects with speed and efficiency. The purpose of Git is to manage a project, or a set of files, as they change over time. Git stores this information in a data structure called a repository. A git repository contains, among other things, the following: A set of commit objects, A set of references to commit objects, called heads. In Fab Academy all of documentations are stored in a common folder in Git
More detailed info here
Steps
- Installing Git for Windows
- Learning Git Bash
- Creating a Repository clone
- Learning how to Push and Pull
- Basics of Markdown Language, recap of HTML and C++
- My basic site gone live
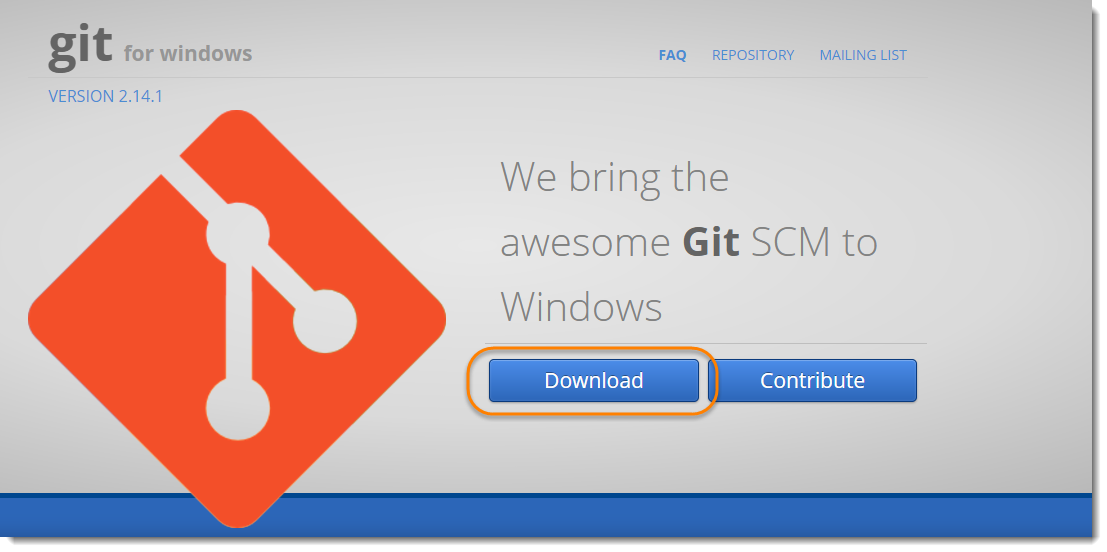
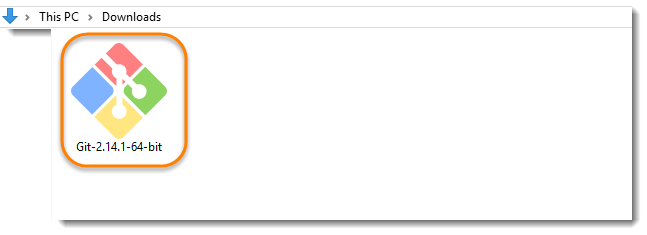
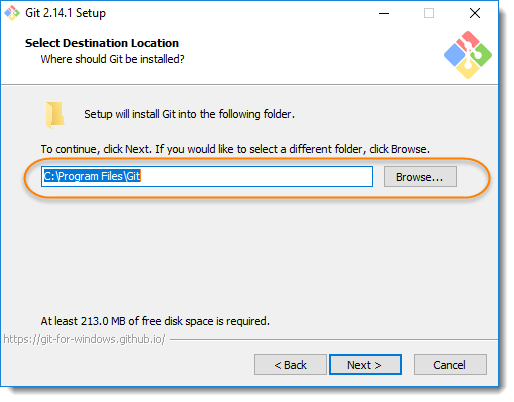
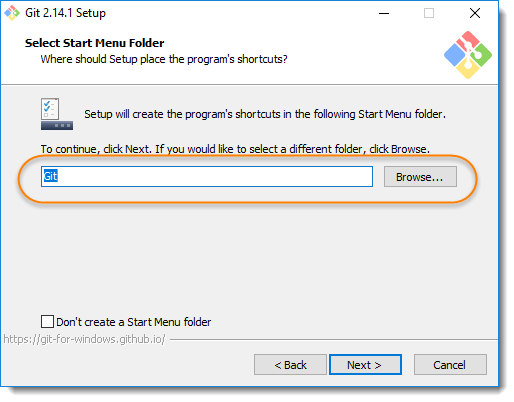
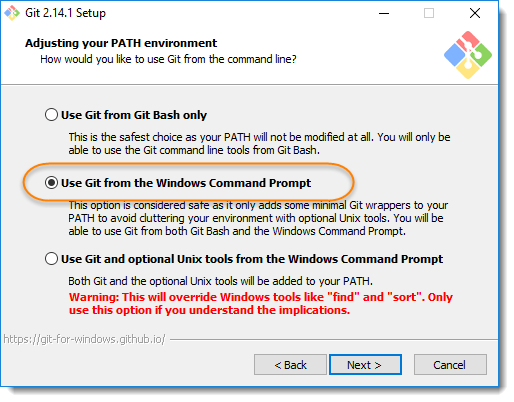
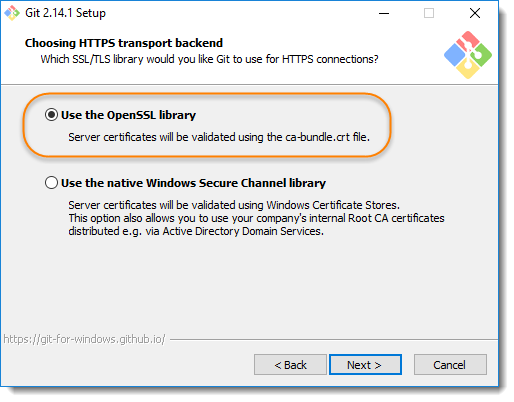
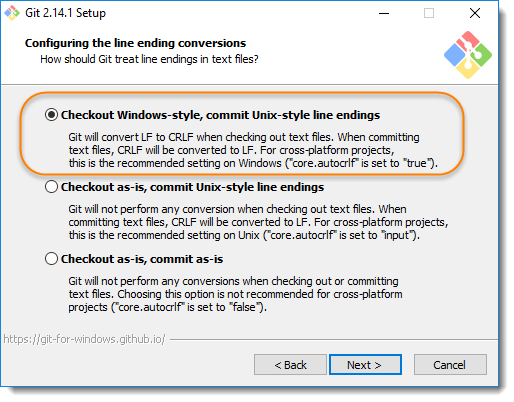
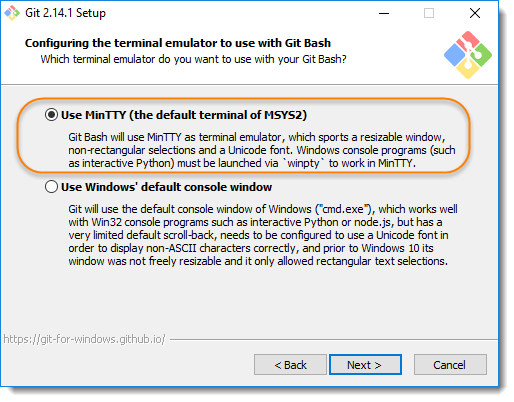
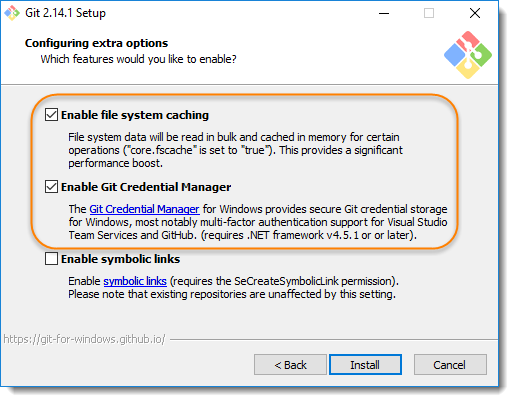
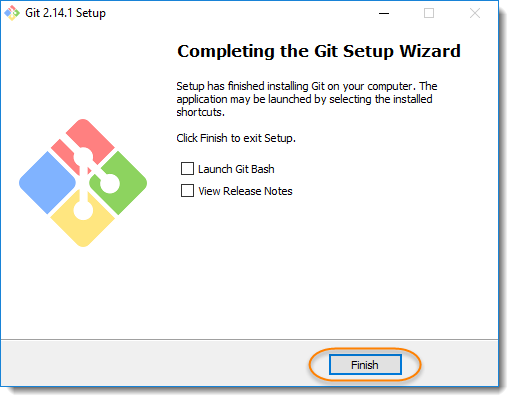
Installing Git for Windows
Installation of Git for Windows was a straightforward affair and the simple tutorial that I followed is shown below

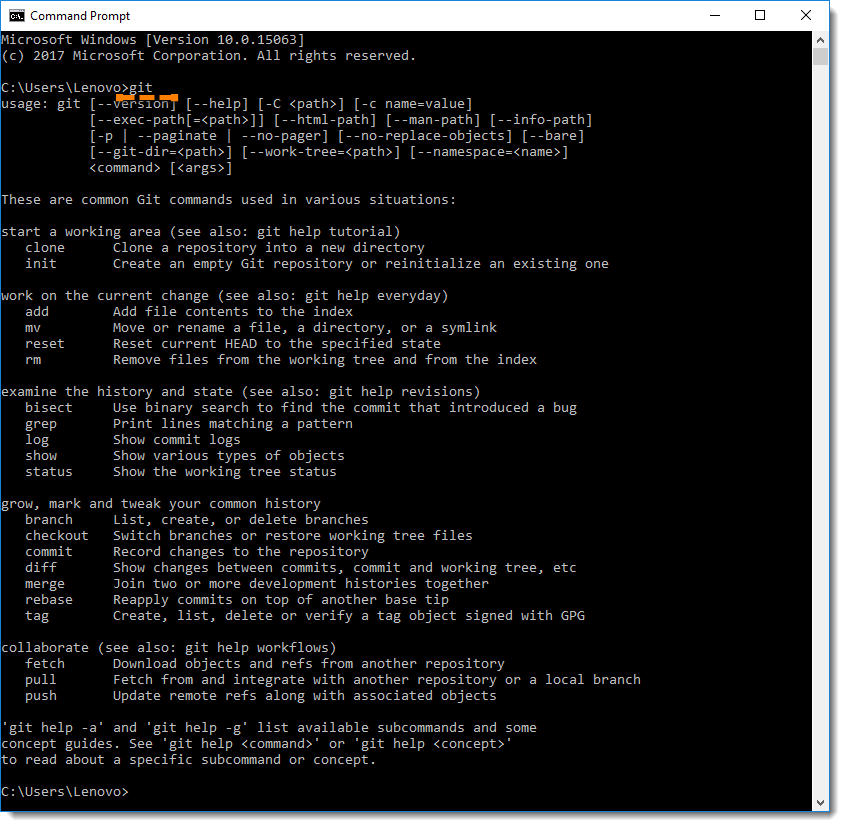
Learning Git Bash
This is the Git Bash Terminal
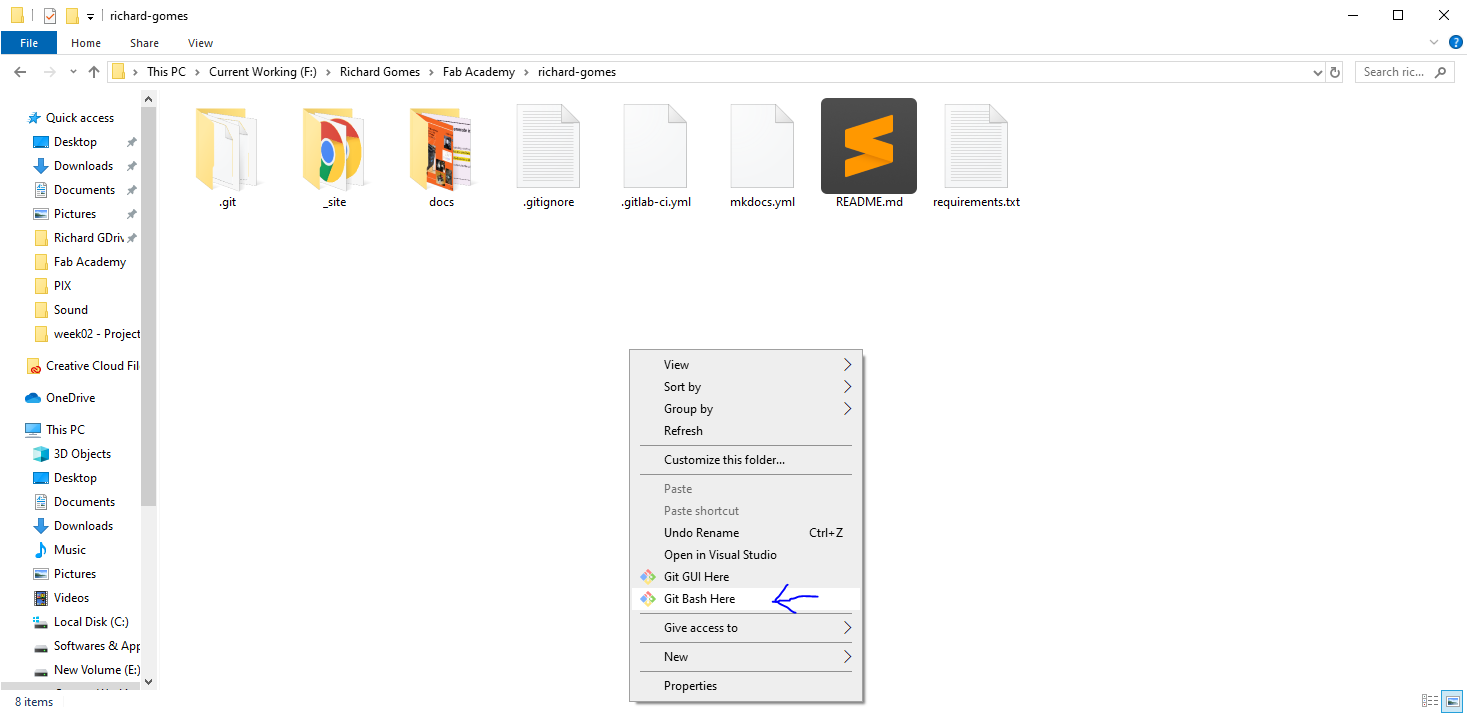
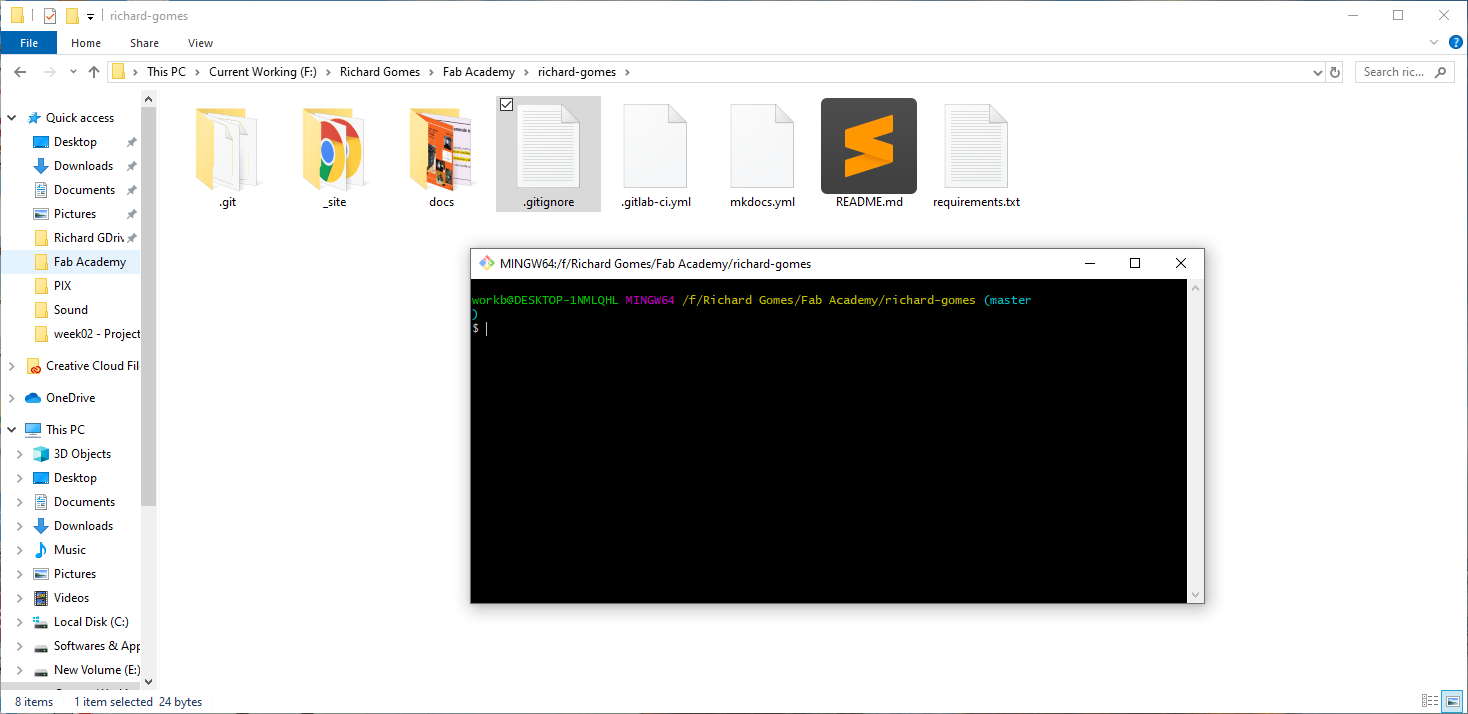
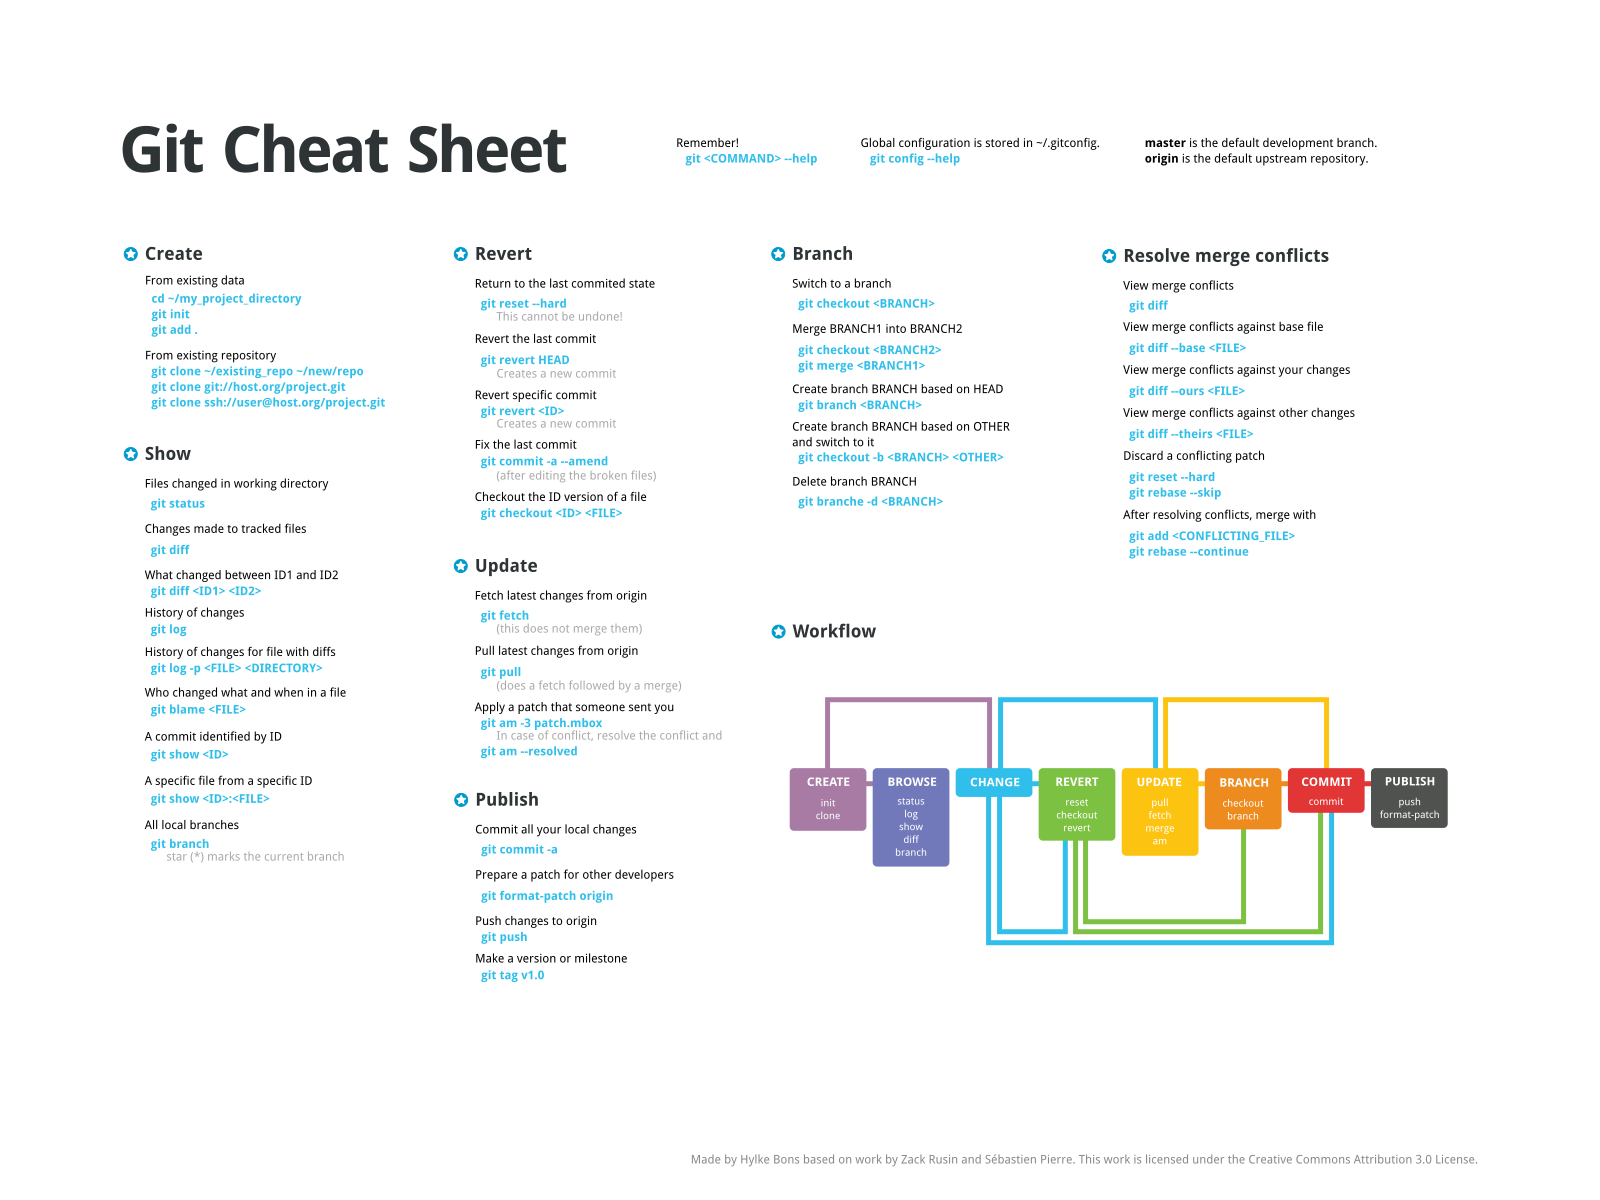
Of course, this was quite new to me to start with and this took a bit of time, but as we had some software development members, they were able to share a simple Git cheat sheet and the basic Git codes that I had to learn to effectively use Git Bash
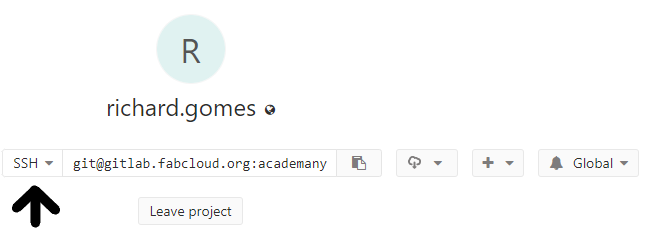
SSH Keys
Secure Shell (SSH), sometimes known as Secure Socket Shell, is a UNIX-based command interface and protocol for securely getting access to a remote computer. SSH keys serve as a means of identifying yourself to an SSH server using public-key cryptography and challenge-response authentication. One immediate advantage this method has over traditional password authentication is that you can be authenticated by the server without ever having to send your password over the network. Anyone eavesdropping on your connection will not be able to intercept and crack your password because it is never actually transmitted. Additionally, using SSH keys for authentication virtually eliminates the risk posed by brute-force password attacks by drastically reducing the chances of the attacker correctly guessing the proper credentials.
Important note: As per the instructor, we were required to clone the repo using SSH keys, but this protocol failed as the accounts were not able to verify each other.
We used the command “init” to initialize the account
git init
And then we used the “clone
git clone <SSH key>
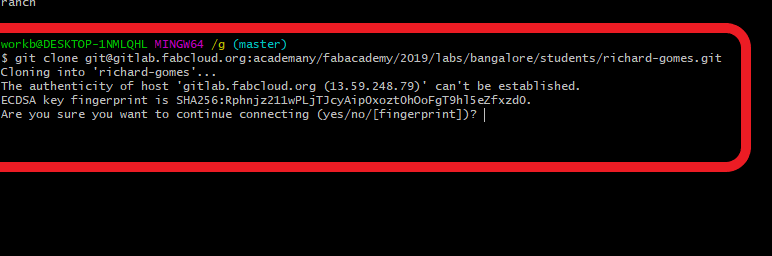
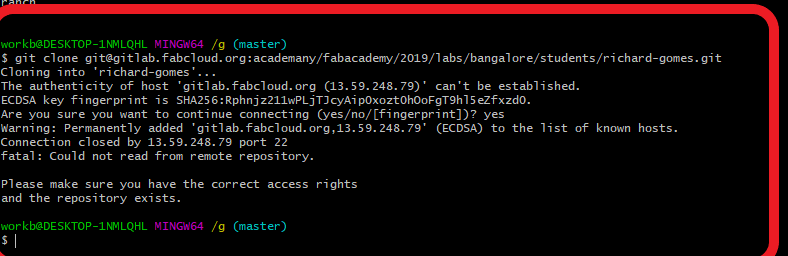
$ git clone git@gitlab.fabcloud.org:academany/fabacademy/*****************
Cloning into 'richard-gomes'...
The authenticity of host 'gitlab.fabcloud.org (13.59.248.79)' can't be established.
ECDSA key fingerprint is SHA256:Rphnjz211wPLjTJcyAip0xozt0hOoFgT9hl5eZfxzd0.
Are you sure you want to continue connecting (yes/no/[fingerprint])? yes
Warning: Permanently added 'gitlab.fabcloud.org,13.59.248.79' (ECDSA) to the list of known hosts.
Connection closed by 13.59.248.79 port 22
fatal: Could not read from remote repository.

Please make sure you have the correct access rights
and the repository exists.
We tried many different methods to get around the error without success, but later we discovered the HTTPS Key option
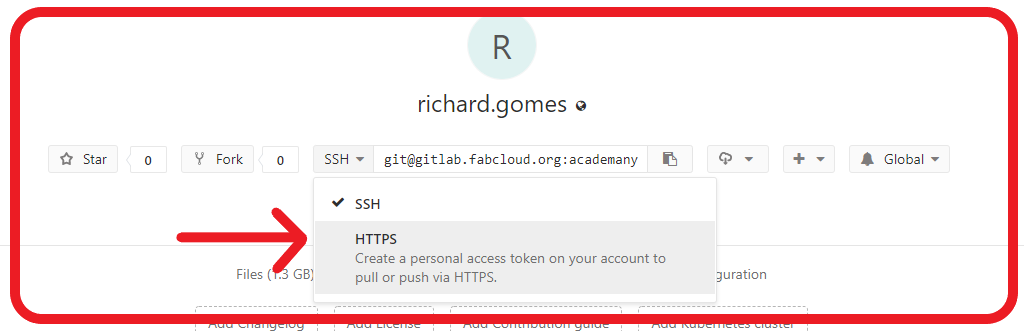
We worked around this by using HTTPS keys which was simpler and only required 1 single step to authenticate
git clone <HTTPS key>

Going forward, we had no issues using HTTPS protocol directly as I spent some time to understand the difference between SSH and HTTPS keys and this was the best explantion that I could find.
1) It's simpler to use from anywhere as you only need your account details (no SSH keys required)

2) HTTPS Is a port that is open in all firewalls. SSH is not always open as a port for communication to external networks

A GitHub repository is therefore more universally accessible using HTTPS than SSH.

In my view SSH keys are worth the little extra work in creating them

1) SSH Keys do not provide access to your GitHub account, so your account cannot be hijacked if your key is stolen,

2) Using a strong keyphrase with your SSH key limits any misuse, even if your key gets stolen

If your GitHub account credentials (username/password) are stolen, your GitHub password can be changed to block you from access and all your shared repositories can be quickly deleted.

If a private key is stolen, someone can do a force push of an empty repository and wipe out all change history for each repository you own, but cannot change anything in your GitHub account. It will be much easier to try recovery from this breach of you have access to your GitHub account.

My preference is to use SSH with a passphrase protected key. I have a different SSH key for each computer, so if that machine gets stolen or key compromised, I can quickly login to GitHub and delete that key to prevent unwanted access.

SSH can be tunneled over HTTPS if the network you are on blocks the SSH port.

https://help.github.com/articles/using-ssh-over-the-https-port/

If you use HTTPS, I would recommend adding two-factor authentication, to protect your account as well as your repositories.

If you use HTTPS with a tool (e.g an editor), you should use a developer token from your GitHub account rather than cache username and password in that tools configuration.
Creating Repository clone
Initial cloning of Repository
git init
git clone "SSH key"
  or
git clone "HTTPS key"
Learning how to Push and Pull
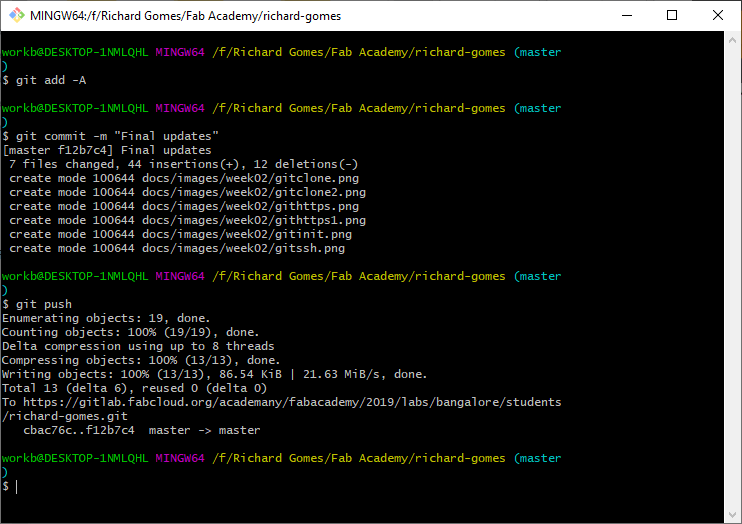
Adding changes and pushing to GitLab
git add -A
git commit -m "Any message"
git push
When making any changes on other systems, I was using the simple “Pull” command to update all work across all systems
Pulling all changes when working on more than one system
git pull

Basics of Markdown
For making the Course website, I simply used the existing format given as I began learning Markdown Language to write the webpage
Since I was primarily using the Windows 10 OS, I was aiming to use all the software and packages for the Windows system only.
For the Git interface, I used Git For Windows, as a stand-alone software for the Windows OS.
For the Text editor, I used the Sublime Text Editor as suggested by the Git Software which allowed me to write in Markdown, save and push using the Git interface alone.
After editing all the code and text in the Markdown Language from the Sublime Text editor, it was a very simple matter to save all the data in the local repository before pushing to the global server.
My basic site gone live
Here is the sample of my first page done after making my first set of changes to the cloned repository