10. Molding and casting
Objectives of this week are:
1- Design a mold around the stock and tooling that you’ll be using, mill it (rough cut + (at least) three-axis finish cut), and use it to cast parts.
2- As group, review the safety data sheets for each of your molding and casting materials, then make and compare test casts with each of them.
Group assignment
Please reffer to the following link to view the group project.
2D & 3D design
I have started this week by designing a simple shape to be milled and produced. The purpose of starting with a simple design was to understand the process of molding and casting. Therefore, I decided to make a medal with a letter A.
1- Using Inkscape, I have drawn 3 rectangles (Black, white and black again). Then, I created a text object with the letter “A”.
.jpg)
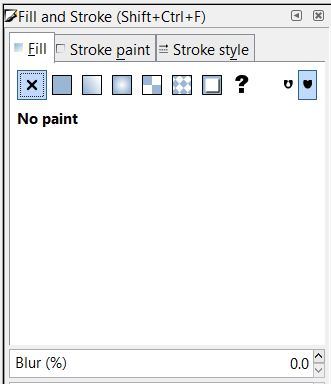
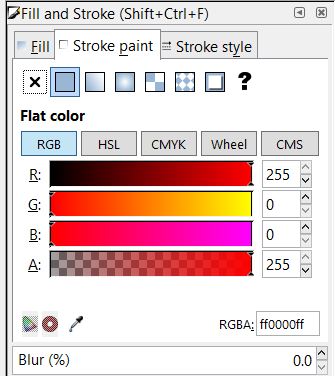
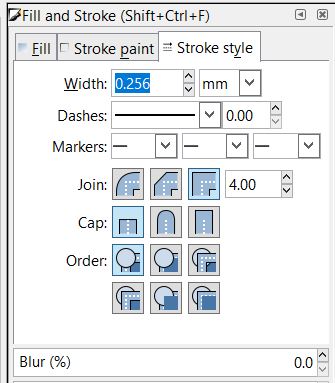
2- Next, I have selected all the objects and from the Fill and Stroke properties, I edited the Fill to be “No paint”, Stroke paint to flat color > (R=255, G=0, B=0, A=255) and the Stroke width to 0.265 mm.
.jpg)
3- After that, I have import the design as .dxf in Fusion 360 to build the 3D model.
.jpg)
.jpg)
When I used Fusion 360, I was planning to extrude each rectangle in a different height (For example, to extrude the frame and the letter “A” with the same height, but the base (the part behind the letter) will be a bit lower). Unfortunately, I was not able to do that in the software and I end up with having float parts.
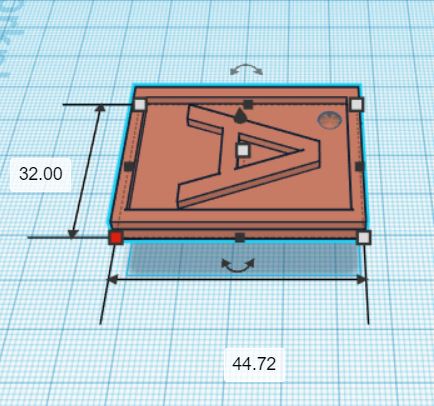
To slove the problem, I saved the Fusion file as STL and I moved to another 3D software which is Tinkercad. With the Tinkercad, I was able to add a base to my design and extrude each part with a different height. I also created a hole for my medal using Tinkercad.
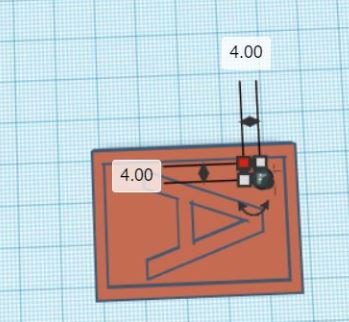
This was the final design, I have saved it as STL and it was ready to mill.
Here is the original file to downlaod:
Wax milling
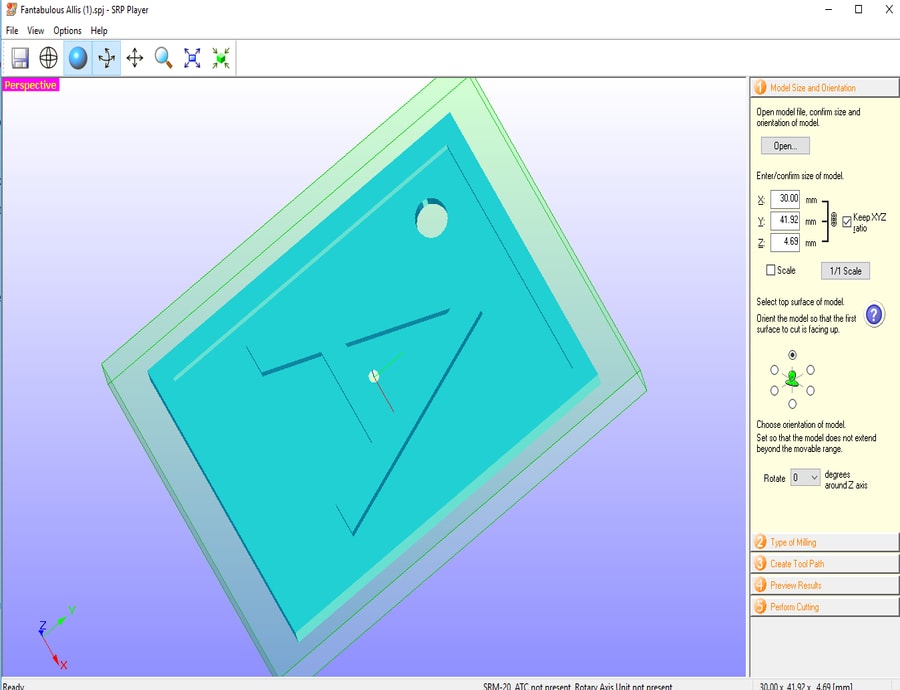
Moving to the milling stage, I have used Roland SRP Player to prepare the file for milling using the following steps:
1- From the model size and orientation, I clicked on open to import the design file.
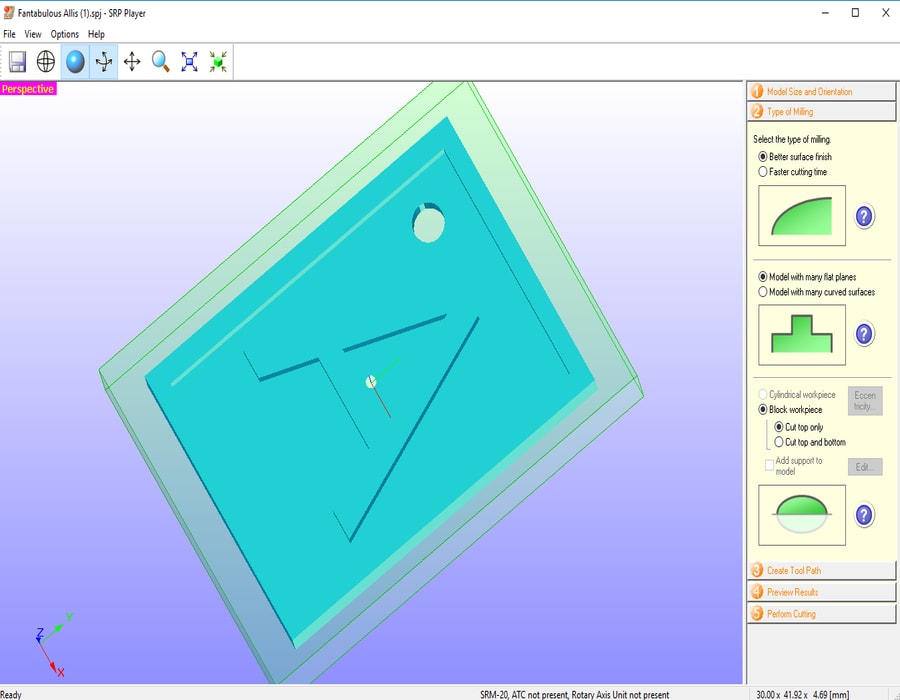
2- Moving to the type of milling, I chose better surface finish, model with many flat planes and block workpiece.
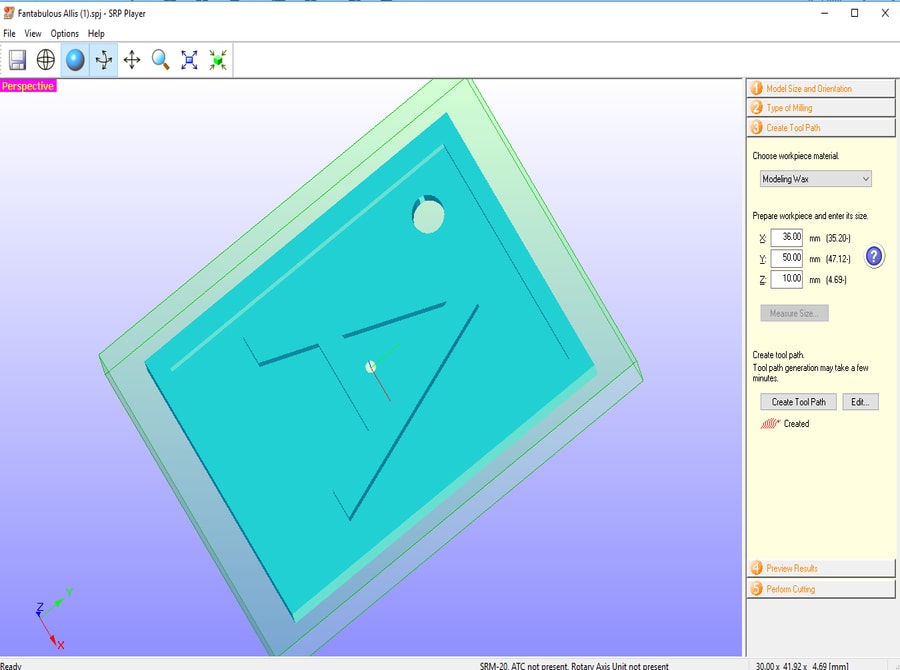
3- For the toolpath, I chose wax as the material of my workpiece.
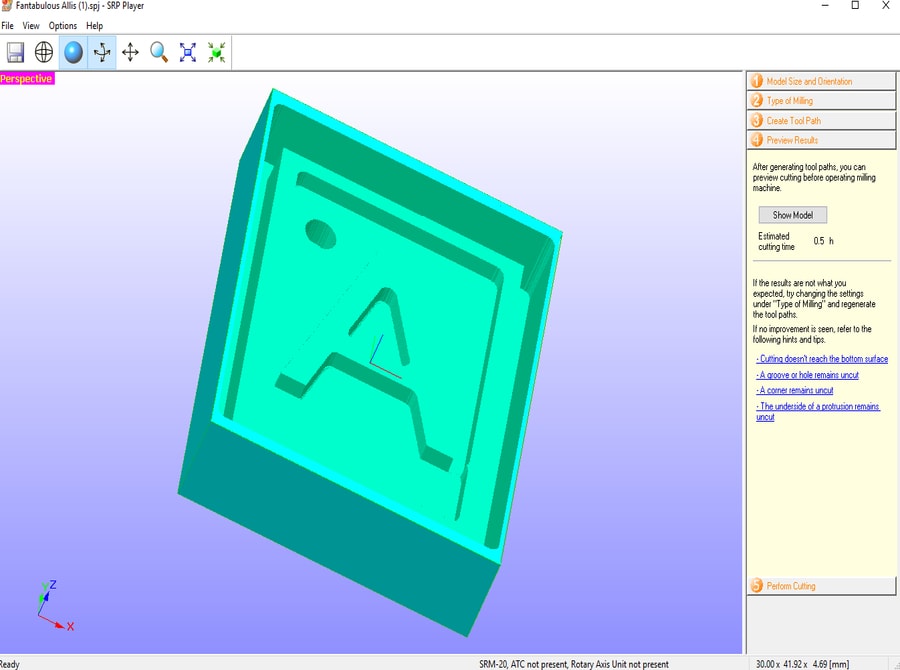
4- Preview the result.
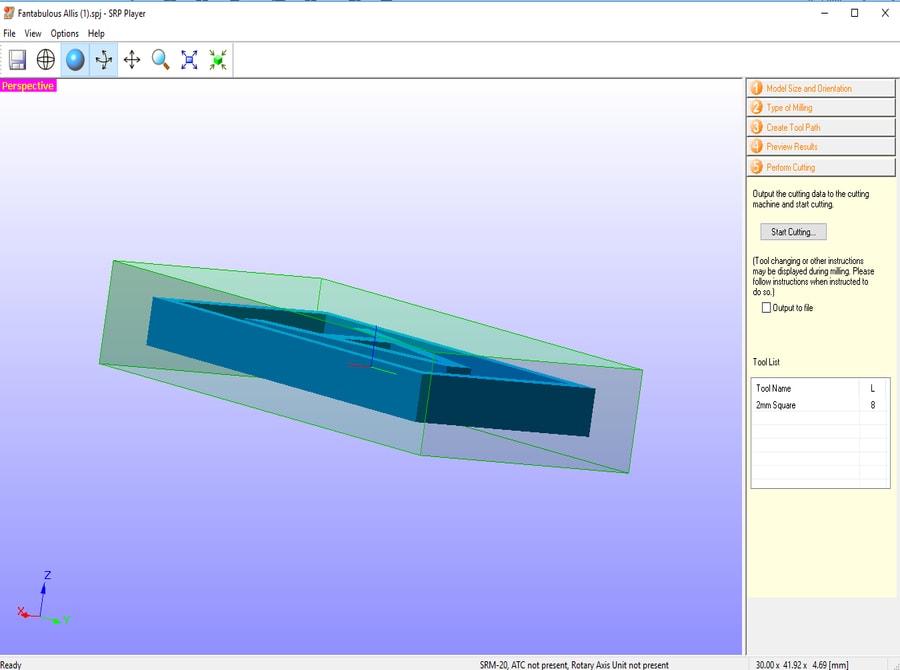
5- Preform cutting to start cutting the object. The tool diameter used is square 2mm as showing below.
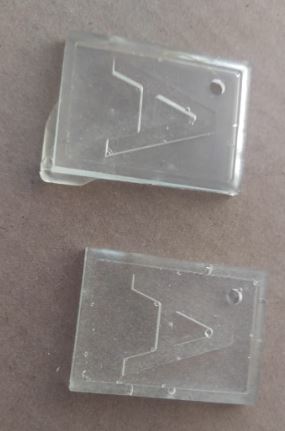
6- This is the final result of my mold after milling.
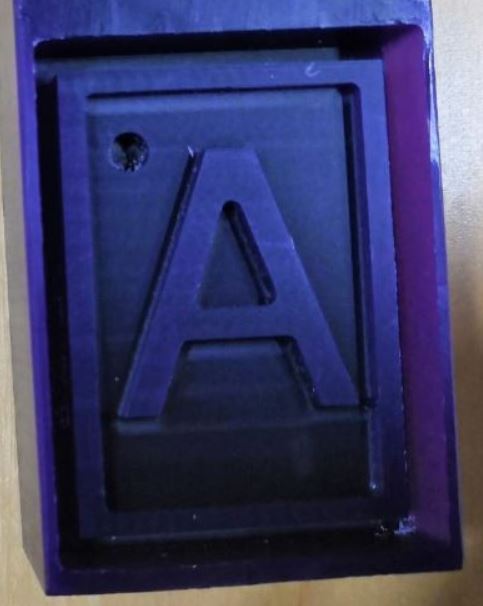
As you can see, the thickness of the wall at the right hand side is little thin, which make it easy to be broken. For the next time, it would be better if I used bigger size of wax block to avoid the problem of the thin edges.
Molding
Steps of molding are explained below.
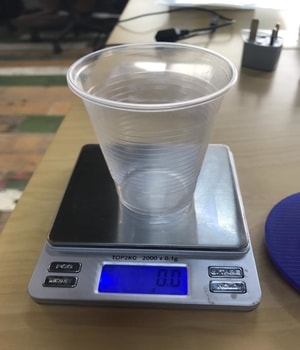
1- I started by placing an empty plastic cup on a balance and zero it.
2- I have created my mold using silicons. I have started by adding the base (the white one) into the plastic cup.
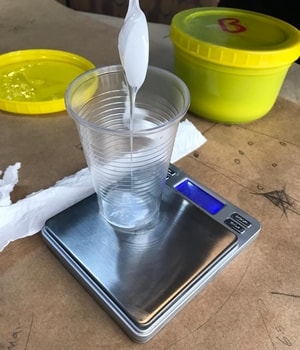
3- I kept adding the base until I reached 11.2 grams, as this amount will be enough to create my mold.

4- Then, I moved to the next silicon which is the blue one (catalyst). To create the mold, the amout of catalyst must be equal to the amout of base. They should have the same percentage (1:1 mix ratio).
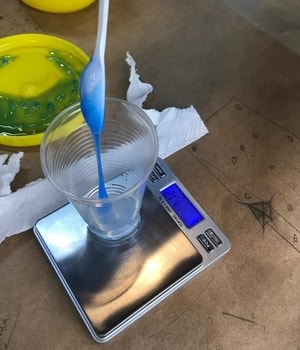
5- I kept adding 11.2 grams of catalyst as well (total of base and catalyst is 22.4 grams)
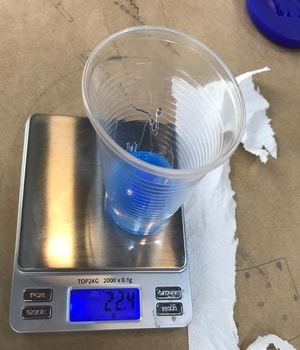
6- I poured the solution to fully covered all the area.
.jpg)
.jpg)
7- I waited till it dry.

8- This was the final result.
.jpg)
As you can see, due to the correct ratios of catalyst and base that I have added, my mold was good. It has a little tiny bubbles but I expect that they will not make a huge difference or distortion at the casting results later on.
Casting
For casting I have tried to use gypsum. Unfortunately, because the ratio of the gypsum and water was not correct, my medal broken.
.jpg)
After that I have tried the resin. Here is the datasheet of it:
To make the resin, I mixed 70% resent and 30% hardner. I have measured the weight of each material (in grams) using the balance. then, I have poured it in the mold and waited around 2.5 hours to dry. And here is the final result after two times of trying.