6. 3D Scanning and printing
Objectives of this week are:
1- Design and 3D print an object that could not be made subtractively.
2- 3D scan an object (and optionally print it).
3D printer
To identify the advantages and limitations of our 3D printer (Prusa i3), we have printed a tested deisgn including different curves, inclinations, thicknesses, diameters etc, to check how accurate the printer prints.
To view the details, check the group assignment of this week by clicking on the link here.
3D Printing
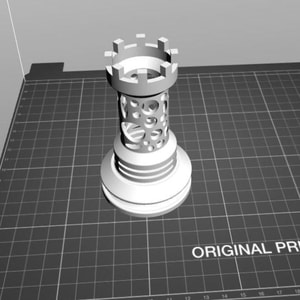
The task of week was to design and 3D print an object from our choice that could not be made subtractively. I have started by doing some research about the difference between the additive designs and the subtractive designs. I have also searched online about some examples of additive designs that have printed before. During my reseach, I get interested by an example of a chess castle. Although my skills in 3D design is very basic, I decided to take this challenge and build that chess rook. Also, my colleagues have helped me alot and taught me how to design it step by step. I did the design using Fusion 360.
Here is the original photo that has inspired me:
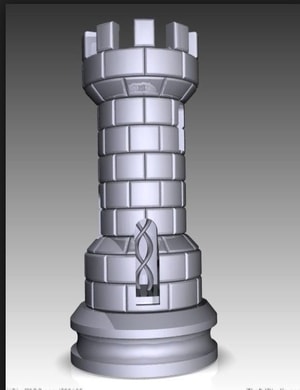
And here is my design:
.jpg)
.jpg)
As you can see, I have made few changes to the original design to meet the requirements of the assignment. You can download the model file from the link here.
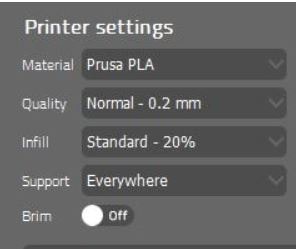
After the design completed, I have saved a copy as STL file so I can print my model in a 3D printer. It is my first time dealing with 3D printers so I was very excited about this assignment. We used the prusa i3 mk2 printer and our instructors have explained to us the printing process.
- I have started by openning the software and import my design
- Next, I have chose the printer settings
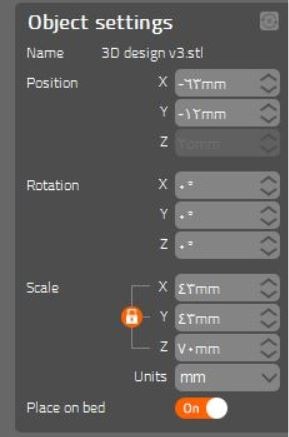
- Then, I have scaled down the object. I have designed my chess rook with a height of 10 cm, but for printing I have scaled it down to 7 cm.
- Then, I have checked where the support will be and where the actual material will be printed. Green color represent the support and orange color represent the actual object. I have noticed that the support is too much but I carried on with the process.
.jpg)
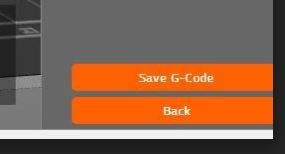
- Next, I clicked on save g-code and saved the file on SD card.
-
Moving to the printer, I have inserted the SD card on it port that is located on the left hand side.
-
Then, I have chose the option of printing from SD card.
-
I chose my design
-
Wait the printer to be heated and printing
-
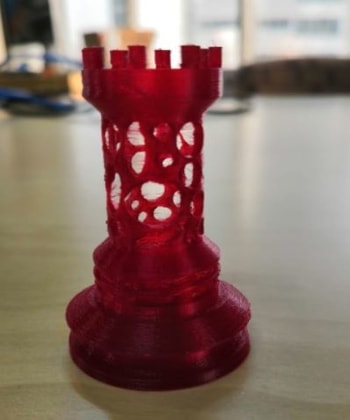
Here is the final result
3D Scanning
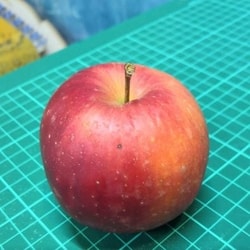
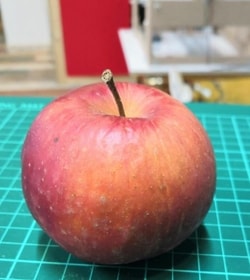
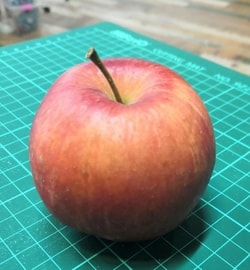
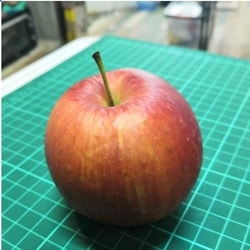
For 3D scanning, I have tried different methods. I have used two different applications one is a mobile application called Sann3D and the other is Recap from Autodesk. Starting with Recap, the software required the user to take many images (at least 20) from different positions, then the 3D object generated by uplaoding those images. I have tested the software by taking many pictures of an apple (around 23 pictures) then, I have uploaded them to see how the 3D model will look like. Here are some examples of the photos that I have taken by my phone.
And here is the final result of the scanning in Recap.
ReCap from Zahra Almukhariq Page on Vimeo.
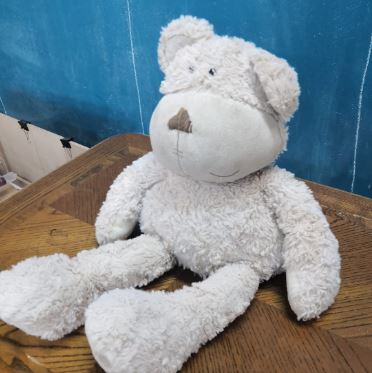
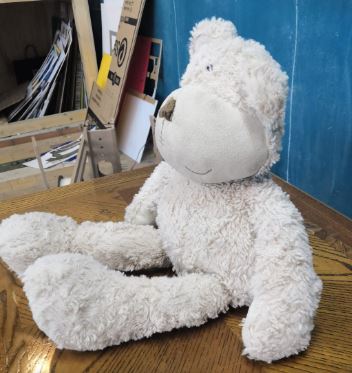
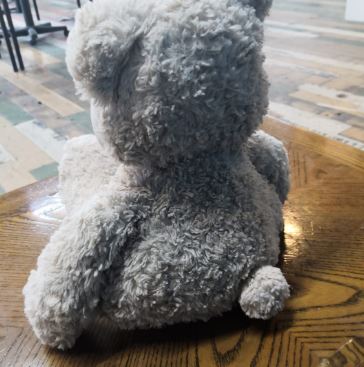
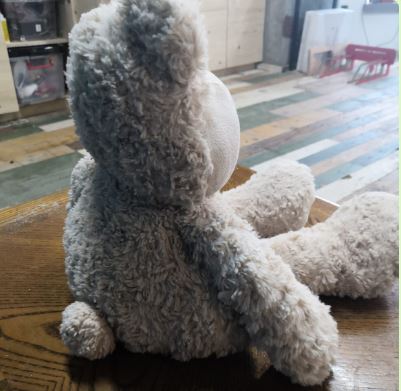
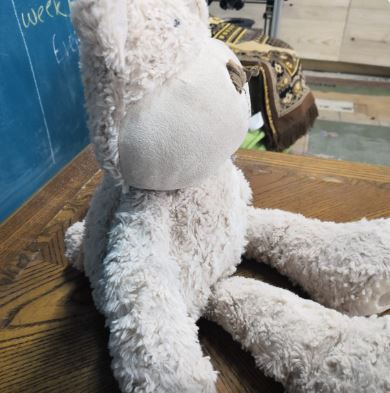
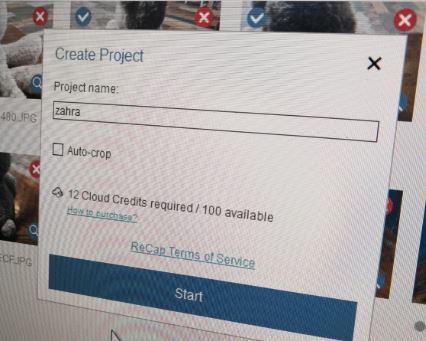
For a non-symmetric object, I have tried the Recap also to scan a teddy bear. Around 27 pictures have been taken of the object from different positions as well. Figures below are shown samples of them:
After that, I have opened the Recap software and inserted all the pictures in it.
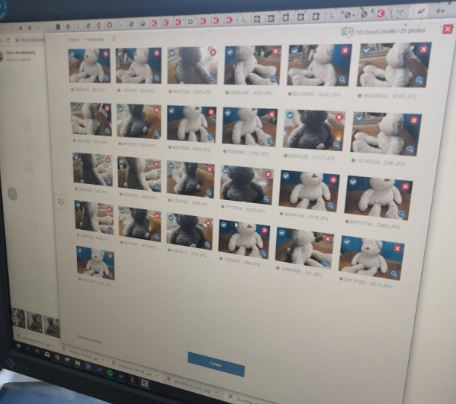
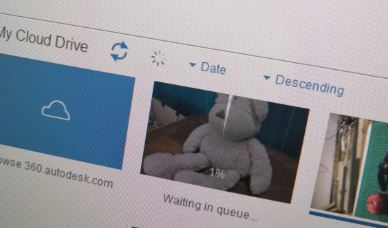
Then, after uploading the pictures, I have clicked on create and created a project called “zahra”.
I waited until it compelet the processing
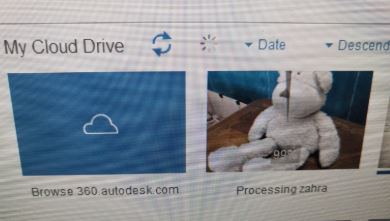
And here is the result! it is awesome! the software was capable to capture even the background showing it detials very clearly.
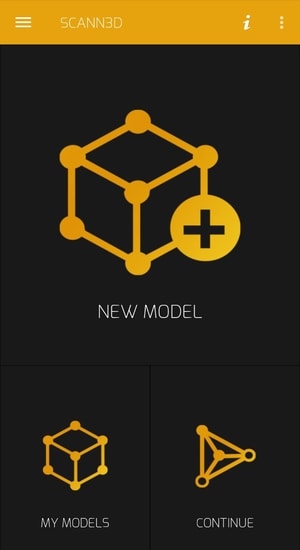
The second application I have used is called scann3D. I have installed it in my phone using play store because I have android OS. This is how the application looks like.
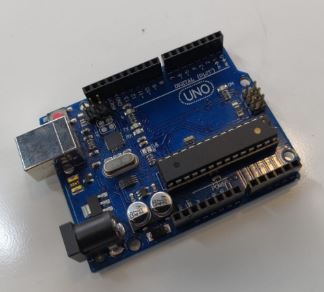
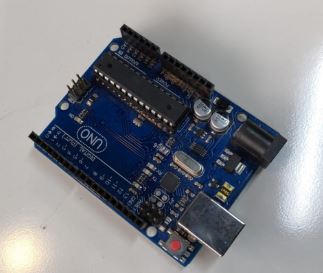
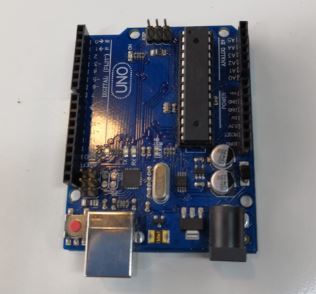
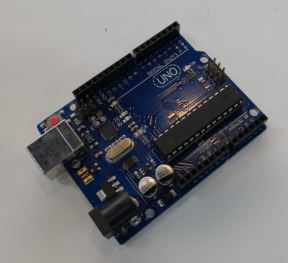
This application works in a similar way to Recap, as you are required to take many images then create the 3D model from those images. I decided this time to create a 3D model of my Arduino uno board. Here are the steps I followed:
1- Open the app and click on “New Model”.
2- You can read all the instructions by clicking on the arrow OR simply click on “skip”.

3- Start taking pictures of the object.
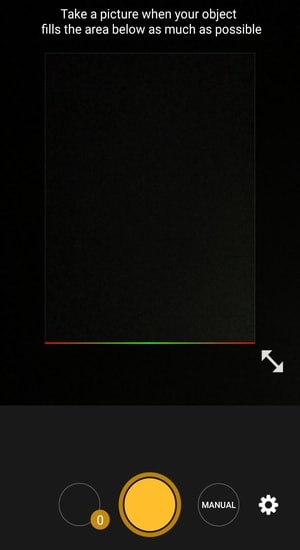
4- Here are samples of the pictures that I have taken.
5- After you take many pictures, click on the tick icon.
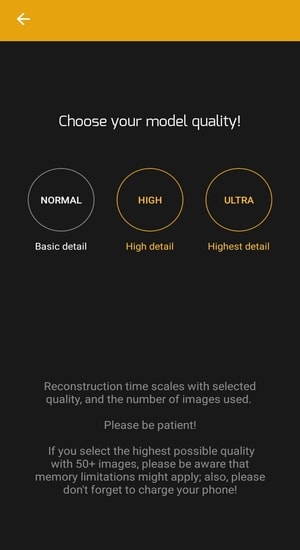
6- Choose the quality of your model.
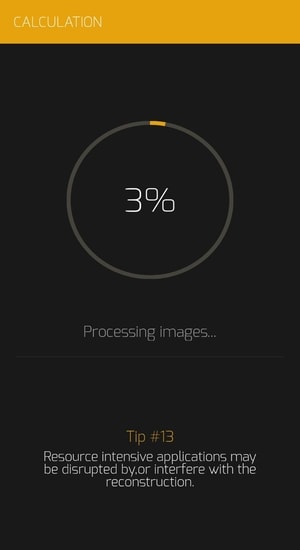
7- Wait few minutes.
8- Your 3D model will be ready!
SCANN3ED from Zahra Almukhariq Page on Vimeo.
You can see that all the details of the board are shown in the model. However, since I was taking all the pictures from the top, the software considered the top side and the bottom side as the same.
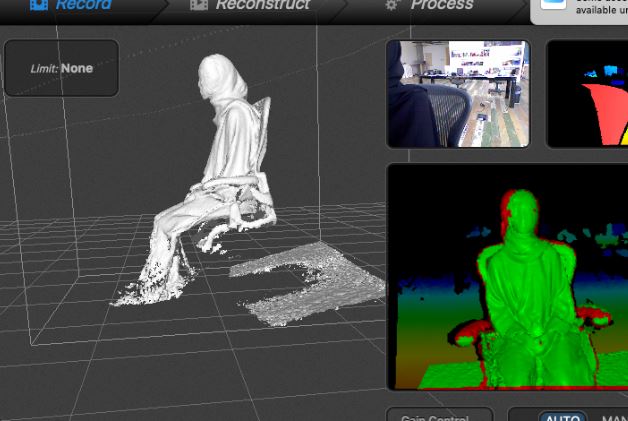
The last scanning method that I have tried is using the XBOX 360 Scanner with it software XBOX 360 KINECT software. I used the XBOX 360 KINECT to scan myself!
Here are the steps of the 3D scanning using the XBOX 360 KINECT:
1- I have connected the device to my MAC through the USB cable and the other end of the device to the power source.
2- I opened the software, it shows that device is connected, I clicked on new and this is the setting
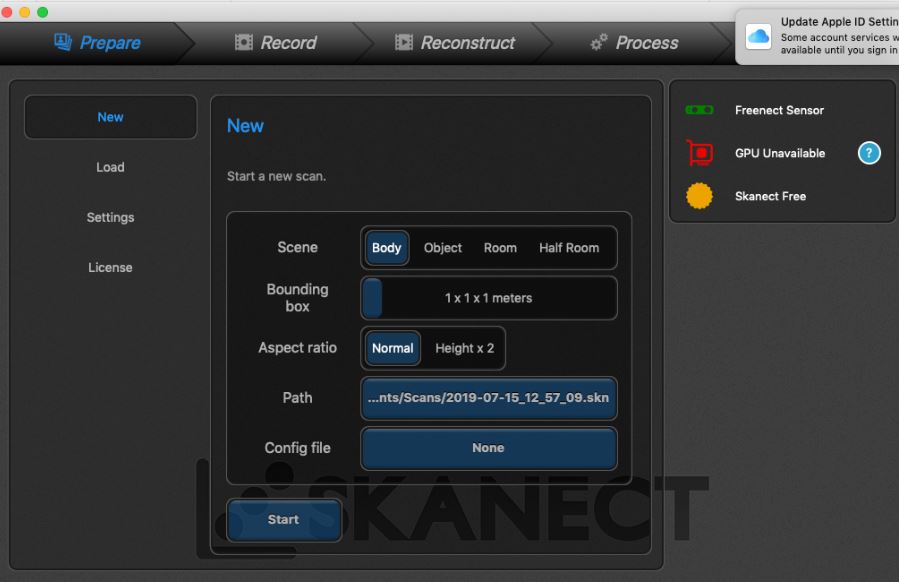
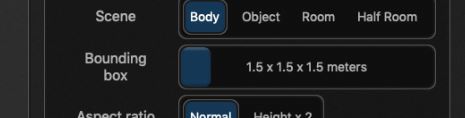
3- I changed the bounding box to the following:
4- I clicked on the “start” button and the recorded has been started.
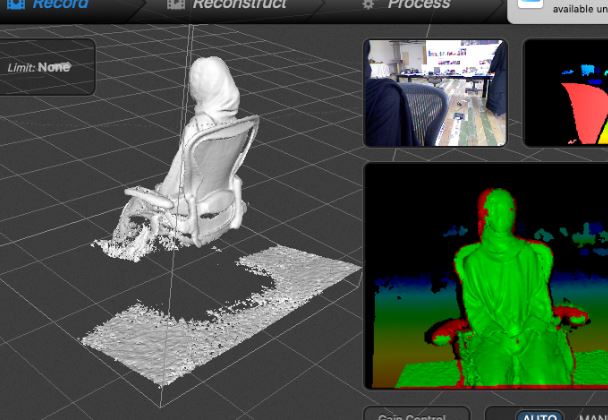
5- I was scanning myself, so I was setting on the chair and rotate it.
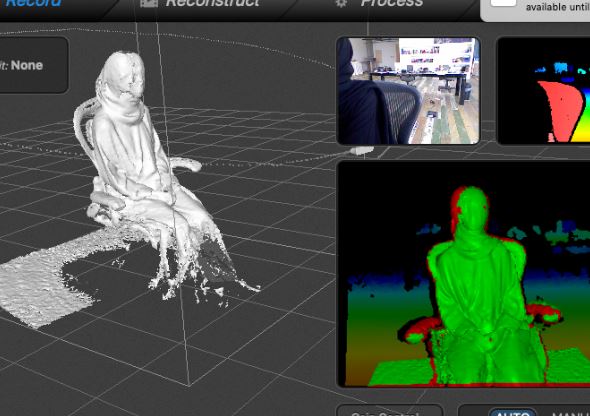
6- The following video shows the result after the recorded has been stopped.
And here are some pictures:
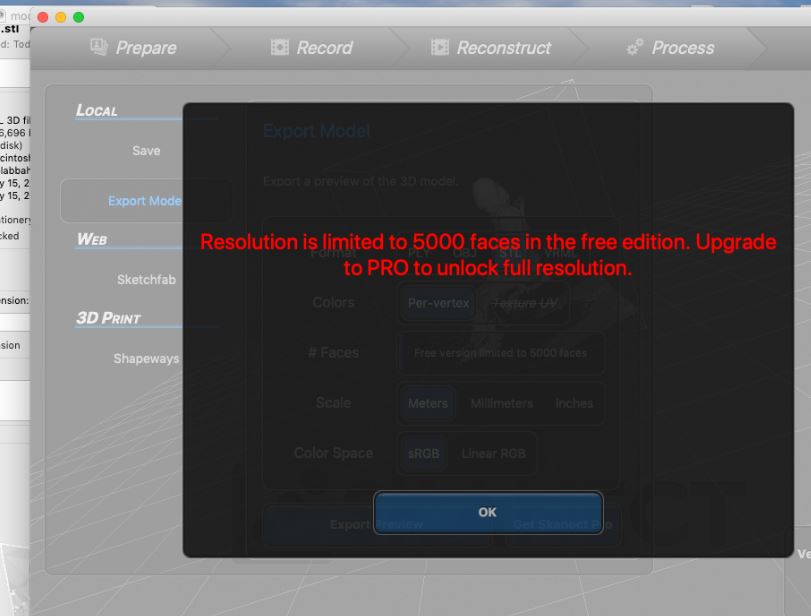
7- Then, I have exported as STL model.

8- As you can see that the STL model is not clear. This is because I am using the free version of the software and it has a limit of 5000 faces only.
However, I liked the experince with the XBOX 360 Scanner. I found it the best scanner method because it can cover a large area (even a room area!). With updating the softawre, the results would be great!