

Must add screenshots taken and notes taken
Things to add to website: Explain GIT and what you were doing with it Make a Git Glossary and add to site Properly add an "about me section"
This was a chaotic week and required me to really think hard abouot ideas. Initially I did not understand what exactly a construction kit was, but after being shown by Luiz, and Jedd sending me to Reddit and sending me a Reddit link to gather some inspiration, I was able to understand what it is and start thinking about what I wanted.
I decided for the constuction kit initally that I wanted to create something that would allow kids to make differently proportioned christmas trees. But after getting down to actually constructing things in Fusio360, I changed my idea to something that would allow people to make different shapes (my ideal one producing a house with the construction kit).
I spent some time with Luiz to properly understand Fusio360 more and the difference between it and Rhino and their pros and cons. I do see the benefit of Rhino, however I think for now I will stick to Fusio360, and use Rhino when I want to create more abstract looking shapes.

I managed to get two structures done, but the last structure I still need to work around as the parameters and constraints in Fusio360 still confuse me a bit and I need to figure out how to work around it. The way my current two pieces work is that in order to slot in tighly, they are different outer and inner sizes, the third piece will have an outer side on one side, and inner on the other, which means that the opposite sides will be different proportions/sizes to each other.

I'm hoping to solve this beacuse it will allow for more creativity with my construction kit.
I continued to work on the construction of the last section. Unfortunetly I have discovered it only works on one side. This is because of the fact that it requires two different lengths on the ends. This is because in order to tighten the initial two bits, I had to make one bit smaller than the other. However when stuck it does work so it is nice to see it might have worked. The way I could see it working is it I made two separate small bits, but it moves away from what I was hoping to create so I decided to stick to my first two bits


To make my construction kit I began first by making my own comb tool in Fusion 360. I wanted to just so I had an idea how to do them myself as I tend to be more of a hands on learner than a sit and watch or theory. To do this I created a box and then extruded different sized rectangles from it. My first comb proves why it was important I made one myself haha. See image below.

As you can see, the comb needed to be inverted and resized. The gaps weren't done correctly. After laser cutting it and figuring out which size worked best, I began on my first shape. I wanted my piece to consist of a totle of 3 different pieces to allow for more flexibility and creativity in the construction. I was thinking of it being aimed more at kids, kind of keeping a mixture of a leggo meets stack of cards picture in my head.
I made a new sketch within the same one as my comb so that I had to details and figures at hand easily. I created a rectangle with 2 outer slots on each side. Knowing that I could get my sides the same not only by using a list of parametic sizes, but also by getting the letter title from the side, I used a combination of both skills and would later refine the parametric ones as I progressed and had decided on a size. After creating the rectangular shape, I extruded it by the width of the wood - 3.2mm
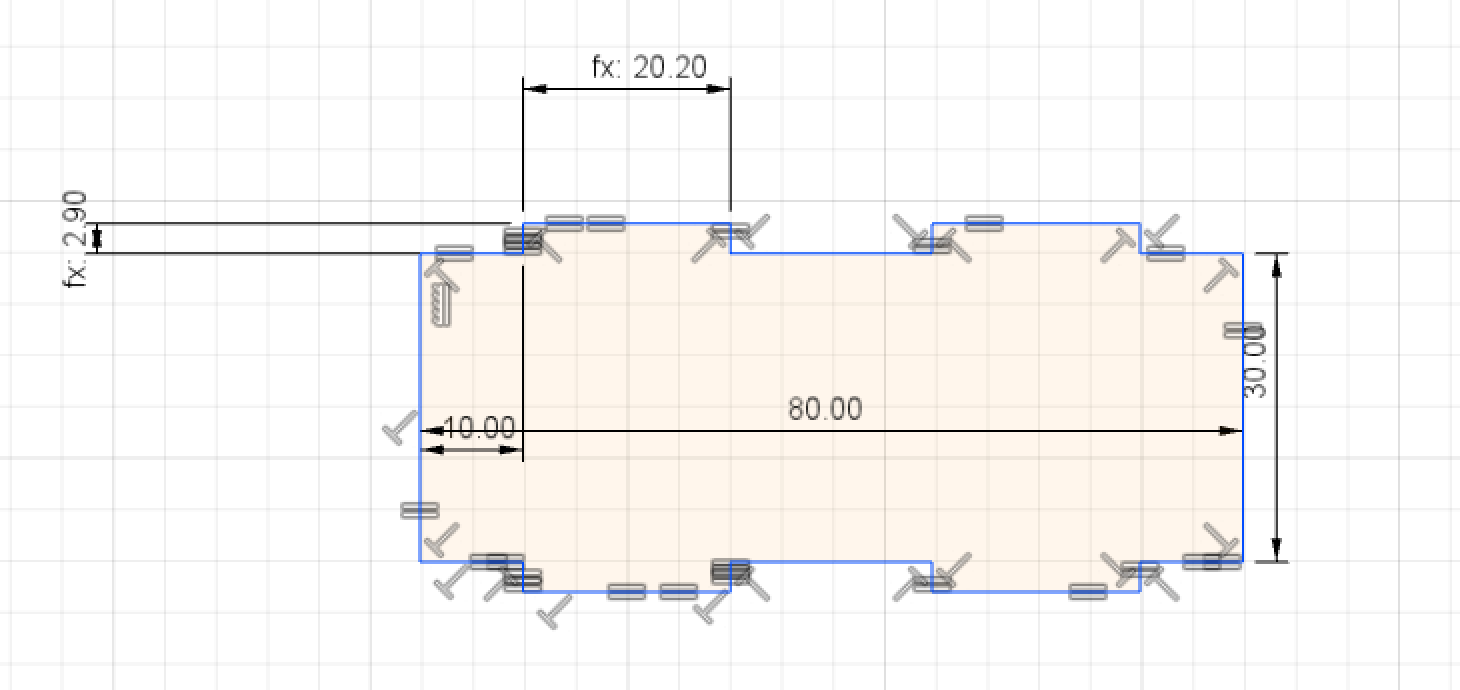
I then did the same thing again, this time however, I made the slots on each side inwards. This would serve as the point for the two pieces to connect.

One thing that Kyle and Luiz taught us was the use of the parametric table feature in Fusion. Here one can store alle the size details so that instead of having to later comb through every sketch to alter something, one can just do it from the "hub" and it would apply to all. It also allows for alteration. Say if I were to build a table but then wanted to make a smaller version of it (from a tabe for 8 to a table for 4), using the "change parametric" feature, I can easily do so with little to no effort.

I made a new piece close to the first one so that I could compare the two much more simply without hassle of having to pan around my work space and also to see if the slots would fit into each other. It also served to help point out any glaringly obvious issues.


I had initailly attempted to make the second piece by using a box shape and extruding the slots, but as I was still fresh to Fusion, I ran into too many problems I could not figure out how to solve in terms of making sure all the slot holes would align perfectly with the other shape.

Then came the last shape. The hardest one. It took a lot of takes because I initially could not work out why ti was not working the way I wanted it to. It wasn't until much later that I realised the shape was not possible because of the constraints. In order to make one shape fit into the other (piece 1 into 2), I had to make one or the other slots bigger or smaller to make the fit a tight one. The third piece I was trying to create was a half and half of both pieces, so obviously (I say obviously now that I know but I didn't then), that isn't mathematically possible. What it should've been is a smaller version of one or both of the pieces 1 and or 2. I wanted the smaller piece because I felt that it would expand the possibilities of creation.

Another issue, though much more minor, that I had run into was that my sizes for all the shapes was very much off. The small issue about working on a computer on a software is that size is hard to gauge unless you check them. Which is NOT what I had done. So my first attempt at my first two pieces for my construction kit ended up being massive


(See video below for referencing)
Setting up the Printer...
Later on, Andrew and myself laser cut my star shape again but used a different material just to experiment with material cut settings. Turned out lovely. (see image below) we used felt.
My initial idea for the vinly cutting stage of this project was to make a keyholder. At the moment in my room I use a pin on my board and hang my keys around the pin. It works but isn't asthetically pleasing to look at.

It was going to be a tree of life branch that I could pin to the board and then stick the vinyl sticker to the sides, but as I am not yet as "fluent" in Fusio360 as I want to be, I decided to revisit this idea later.
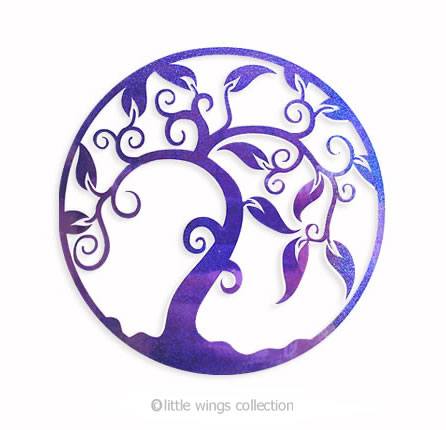
I then thought of cutting arcylic and then sticking a stick on to create a keyring, but it didn't seem like a usefull thing to create as I already have one and didn't want my keys to end up being bulky.
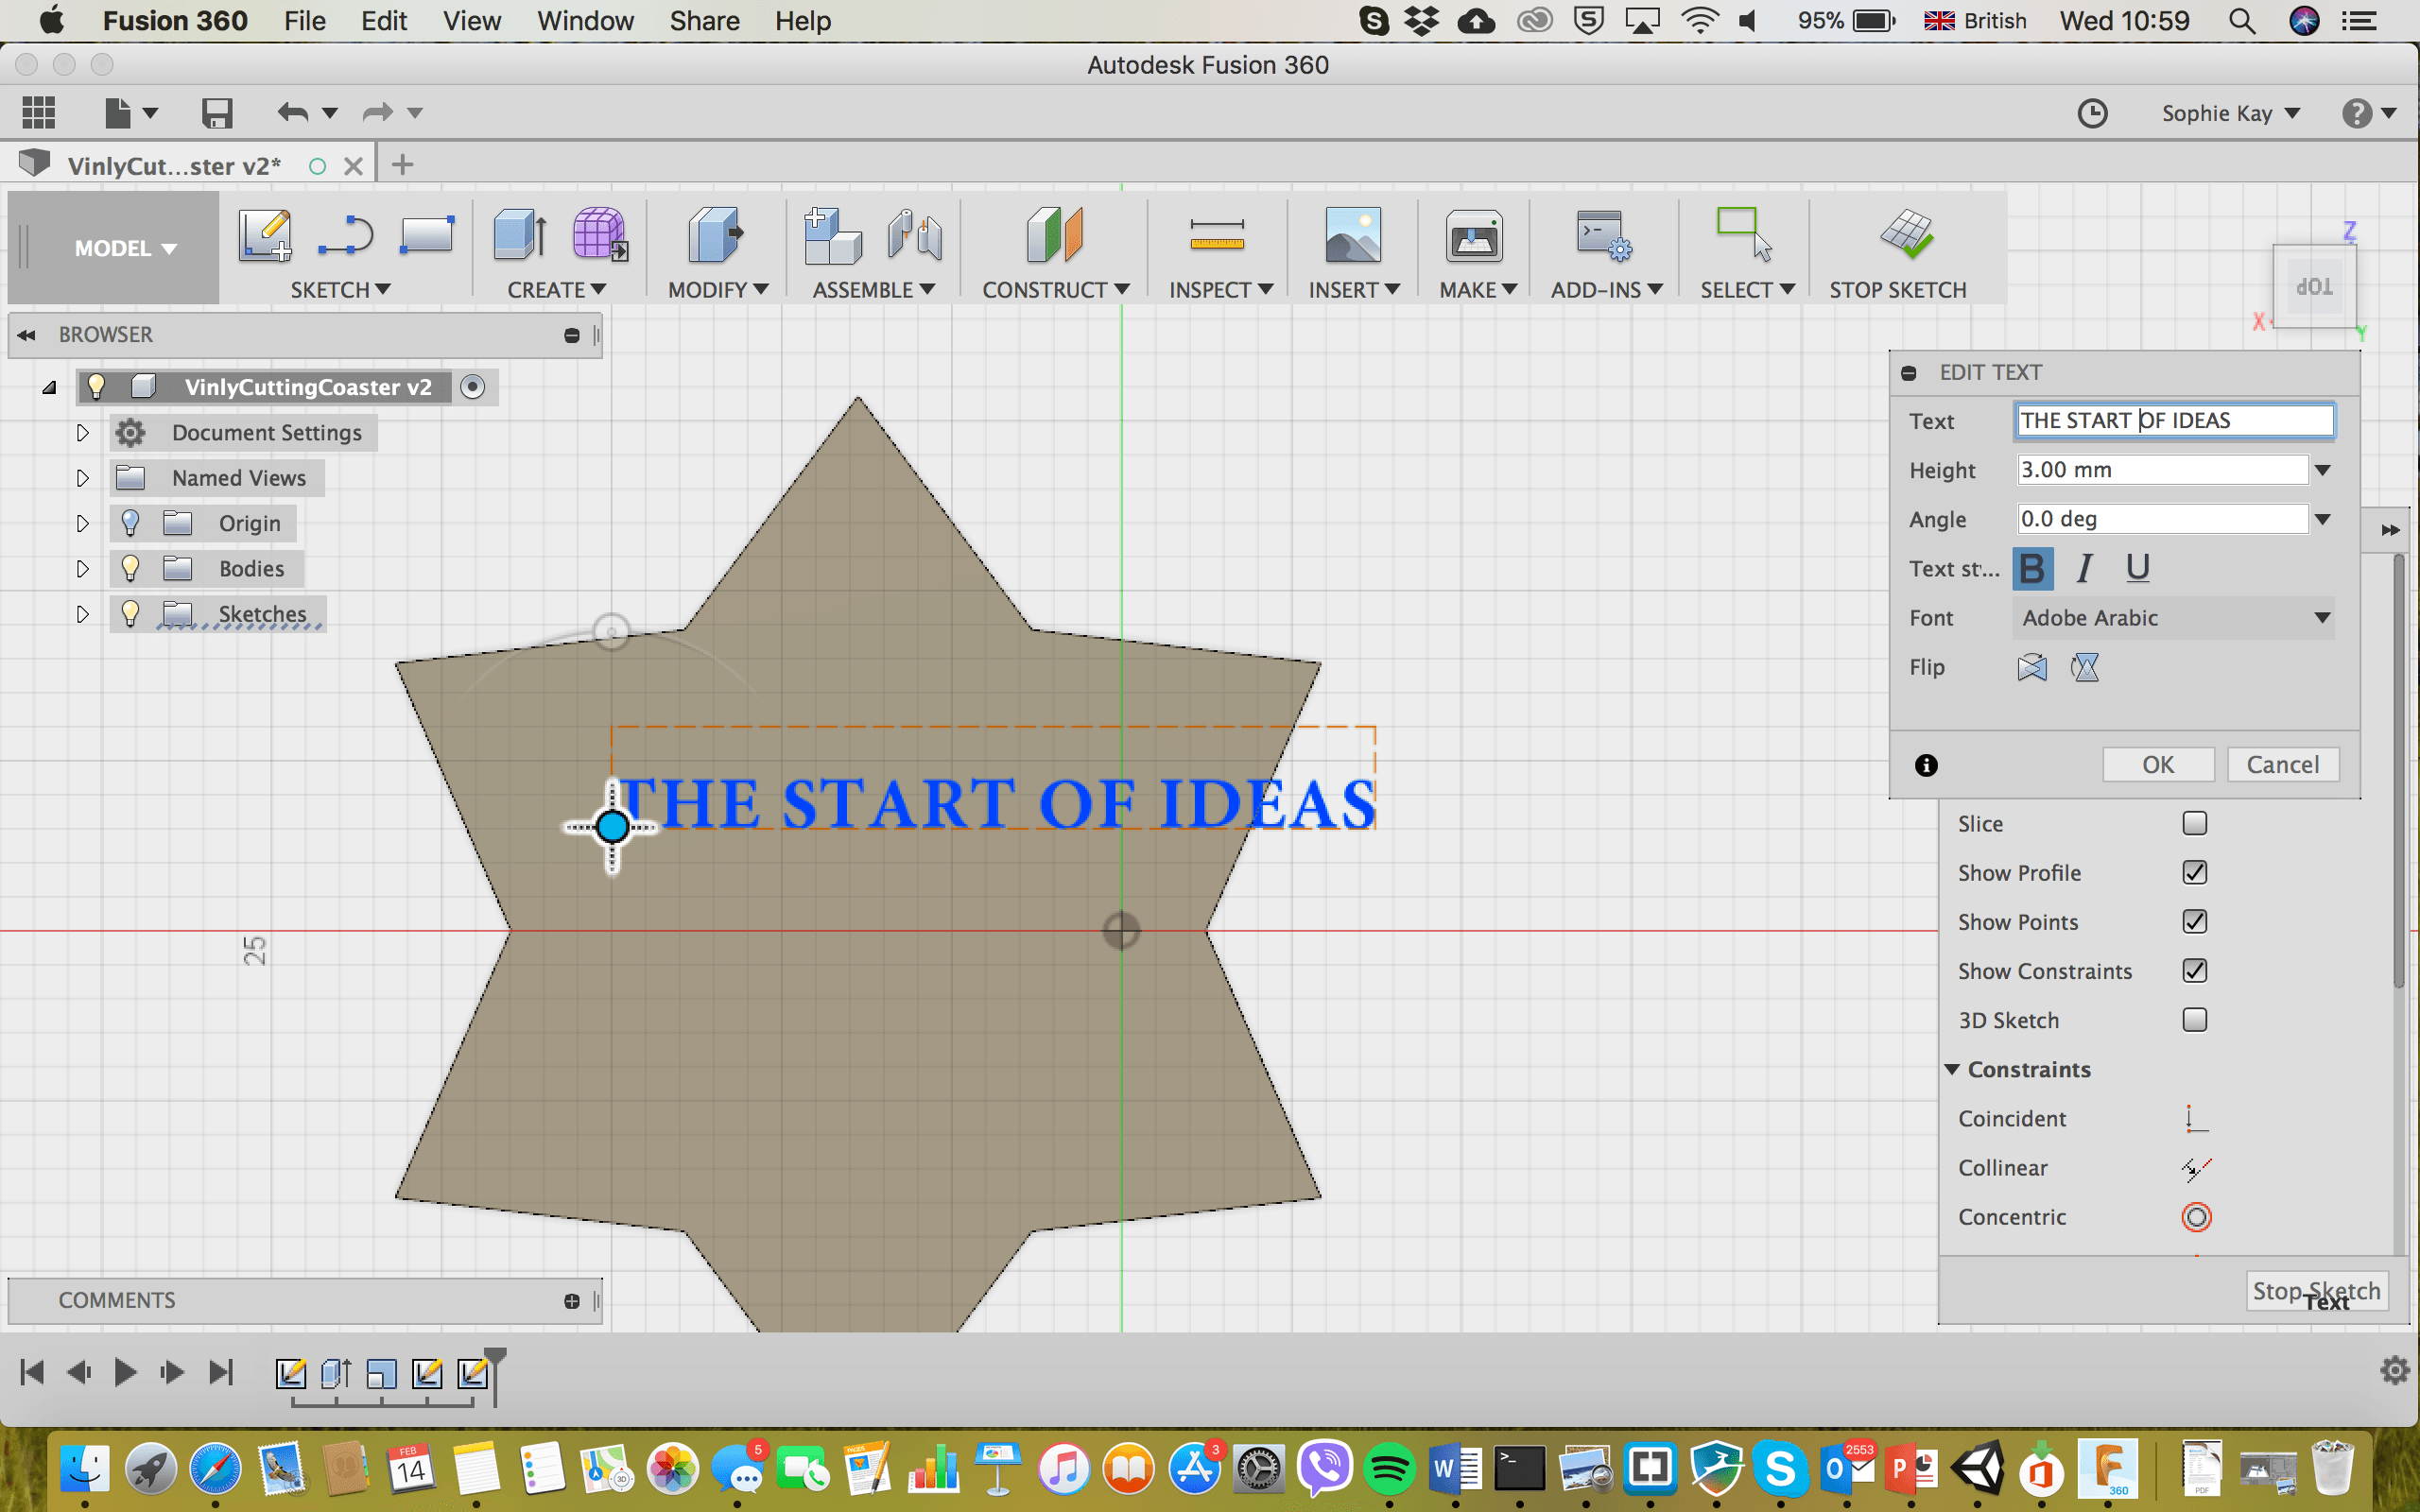
Finally when I was just messing about in Fusion trying to create different shapes using tools that I had not used before, I decided to make a cool looking tea coaster with a little saying on it.
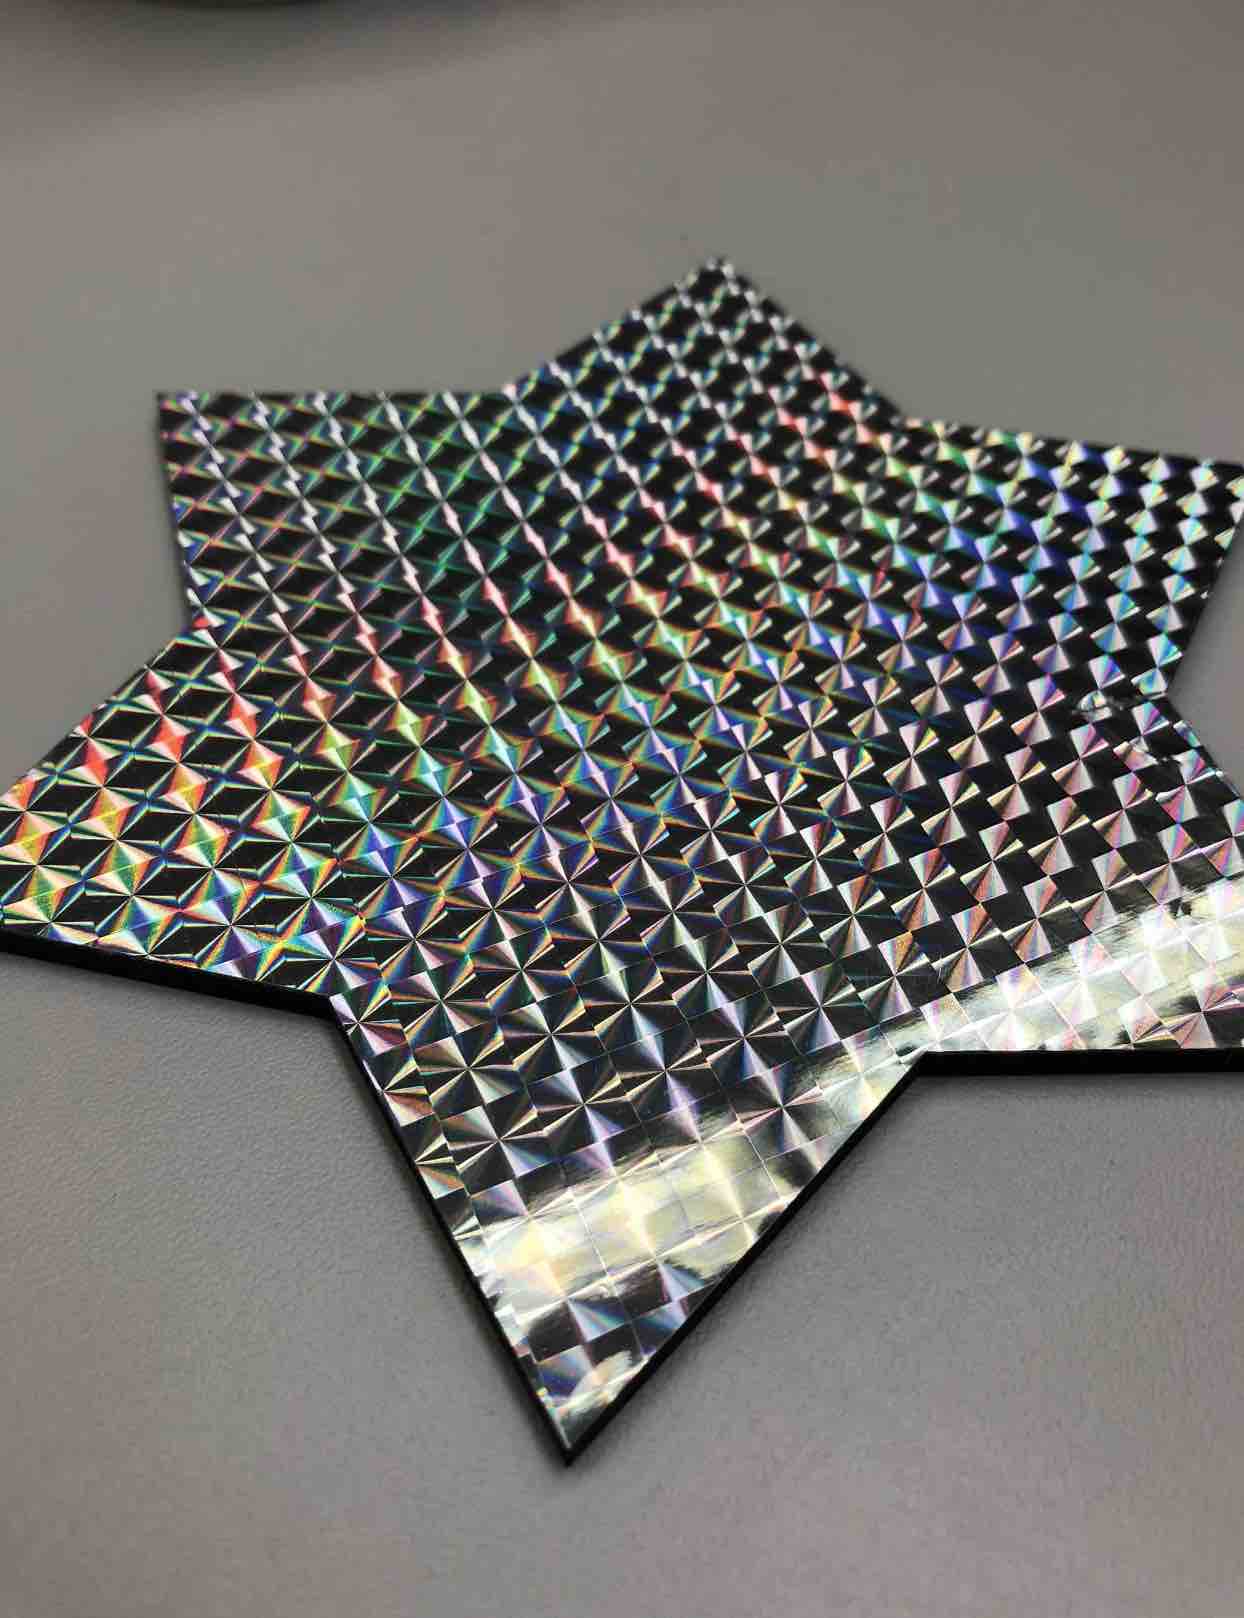

However, because of the star's dimensions, and time I would have had to spend cutting out every letter (and not to mention time constraint on projects), it didn't make sense to. The letters would be too weird looking and thin to properly see and I didn't want to have them on separate lines but the same line. -.-
Instead I decided to vinly cut my star and stick it ontop of a star shape I had lasercut using the laser cutter. I'm very proud of the outcome and think it looks just like I was hoping it would. As I write this I am currently using it.
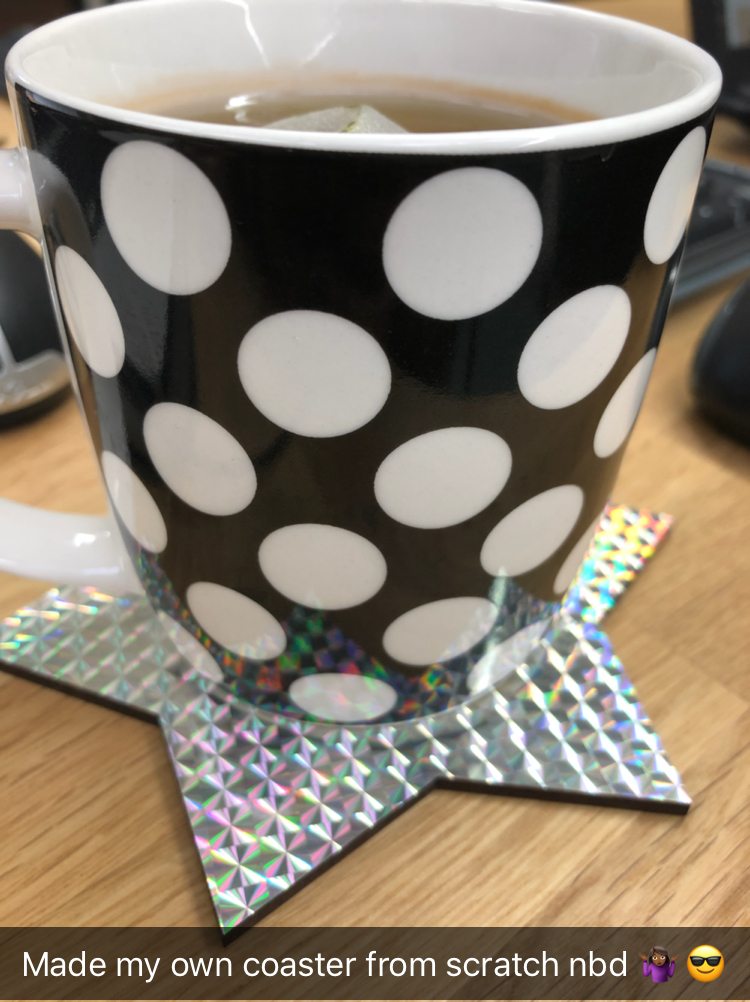
In order to stick the sticker on the laser cut star, I had used tape to both peel it off and to help me put it onto the wood. It was a very hard job that required precision but it worked out. There was only a little bit that had overflown but I sorted that out by using a knife.
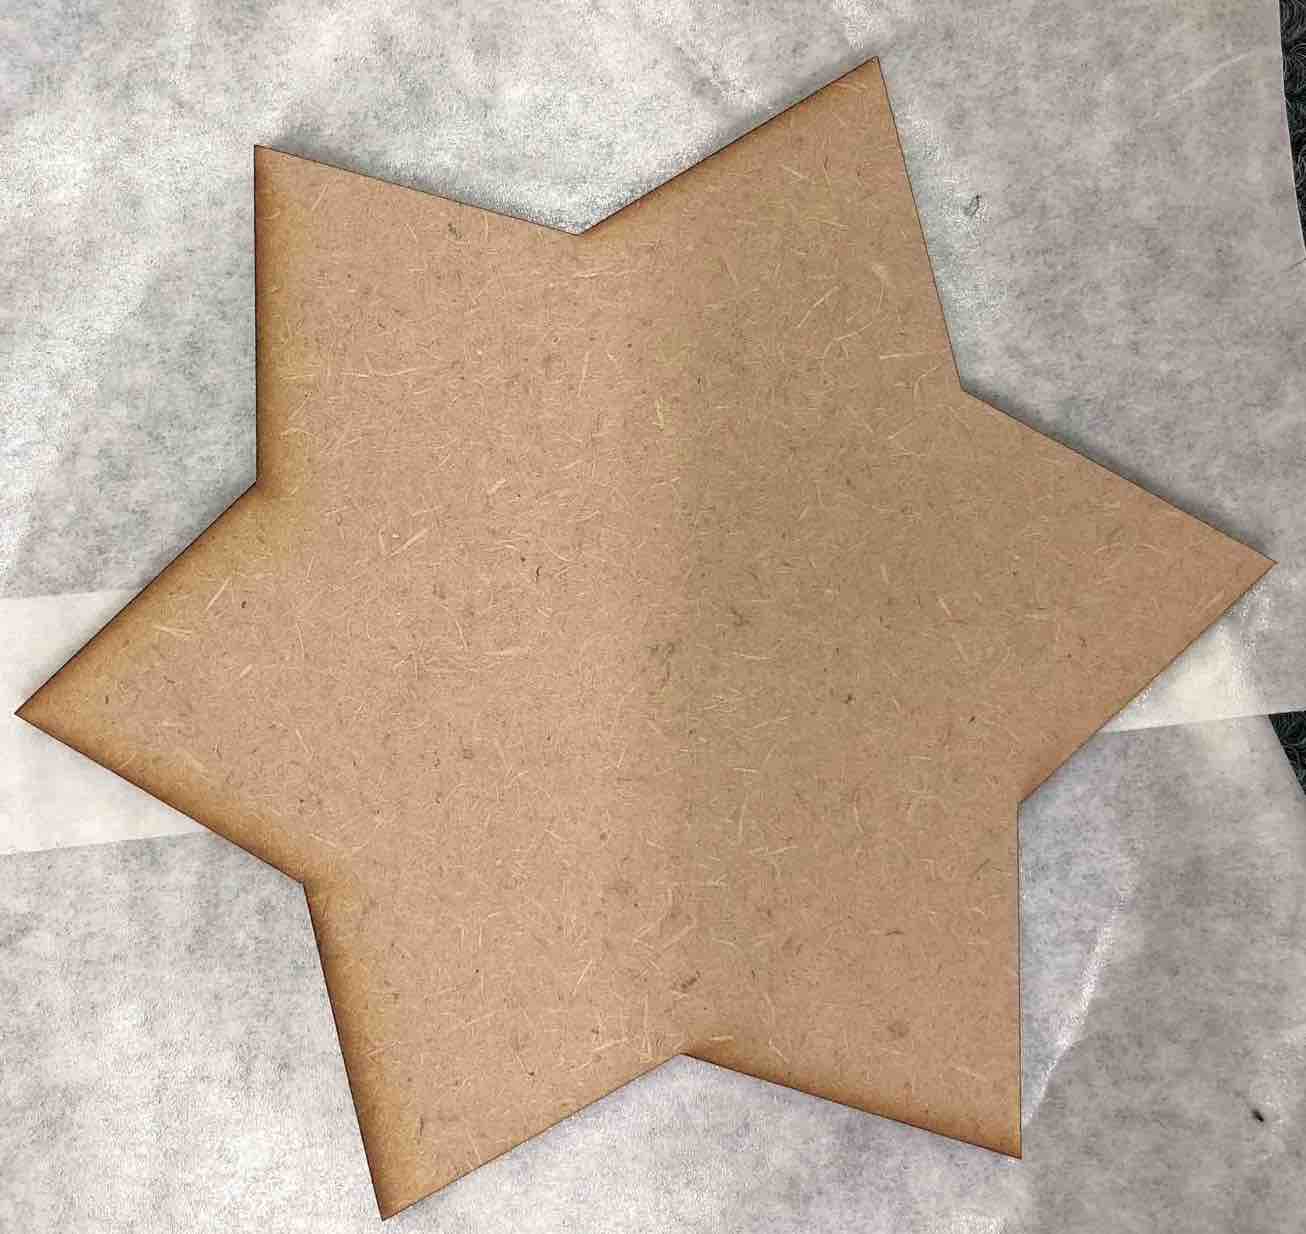
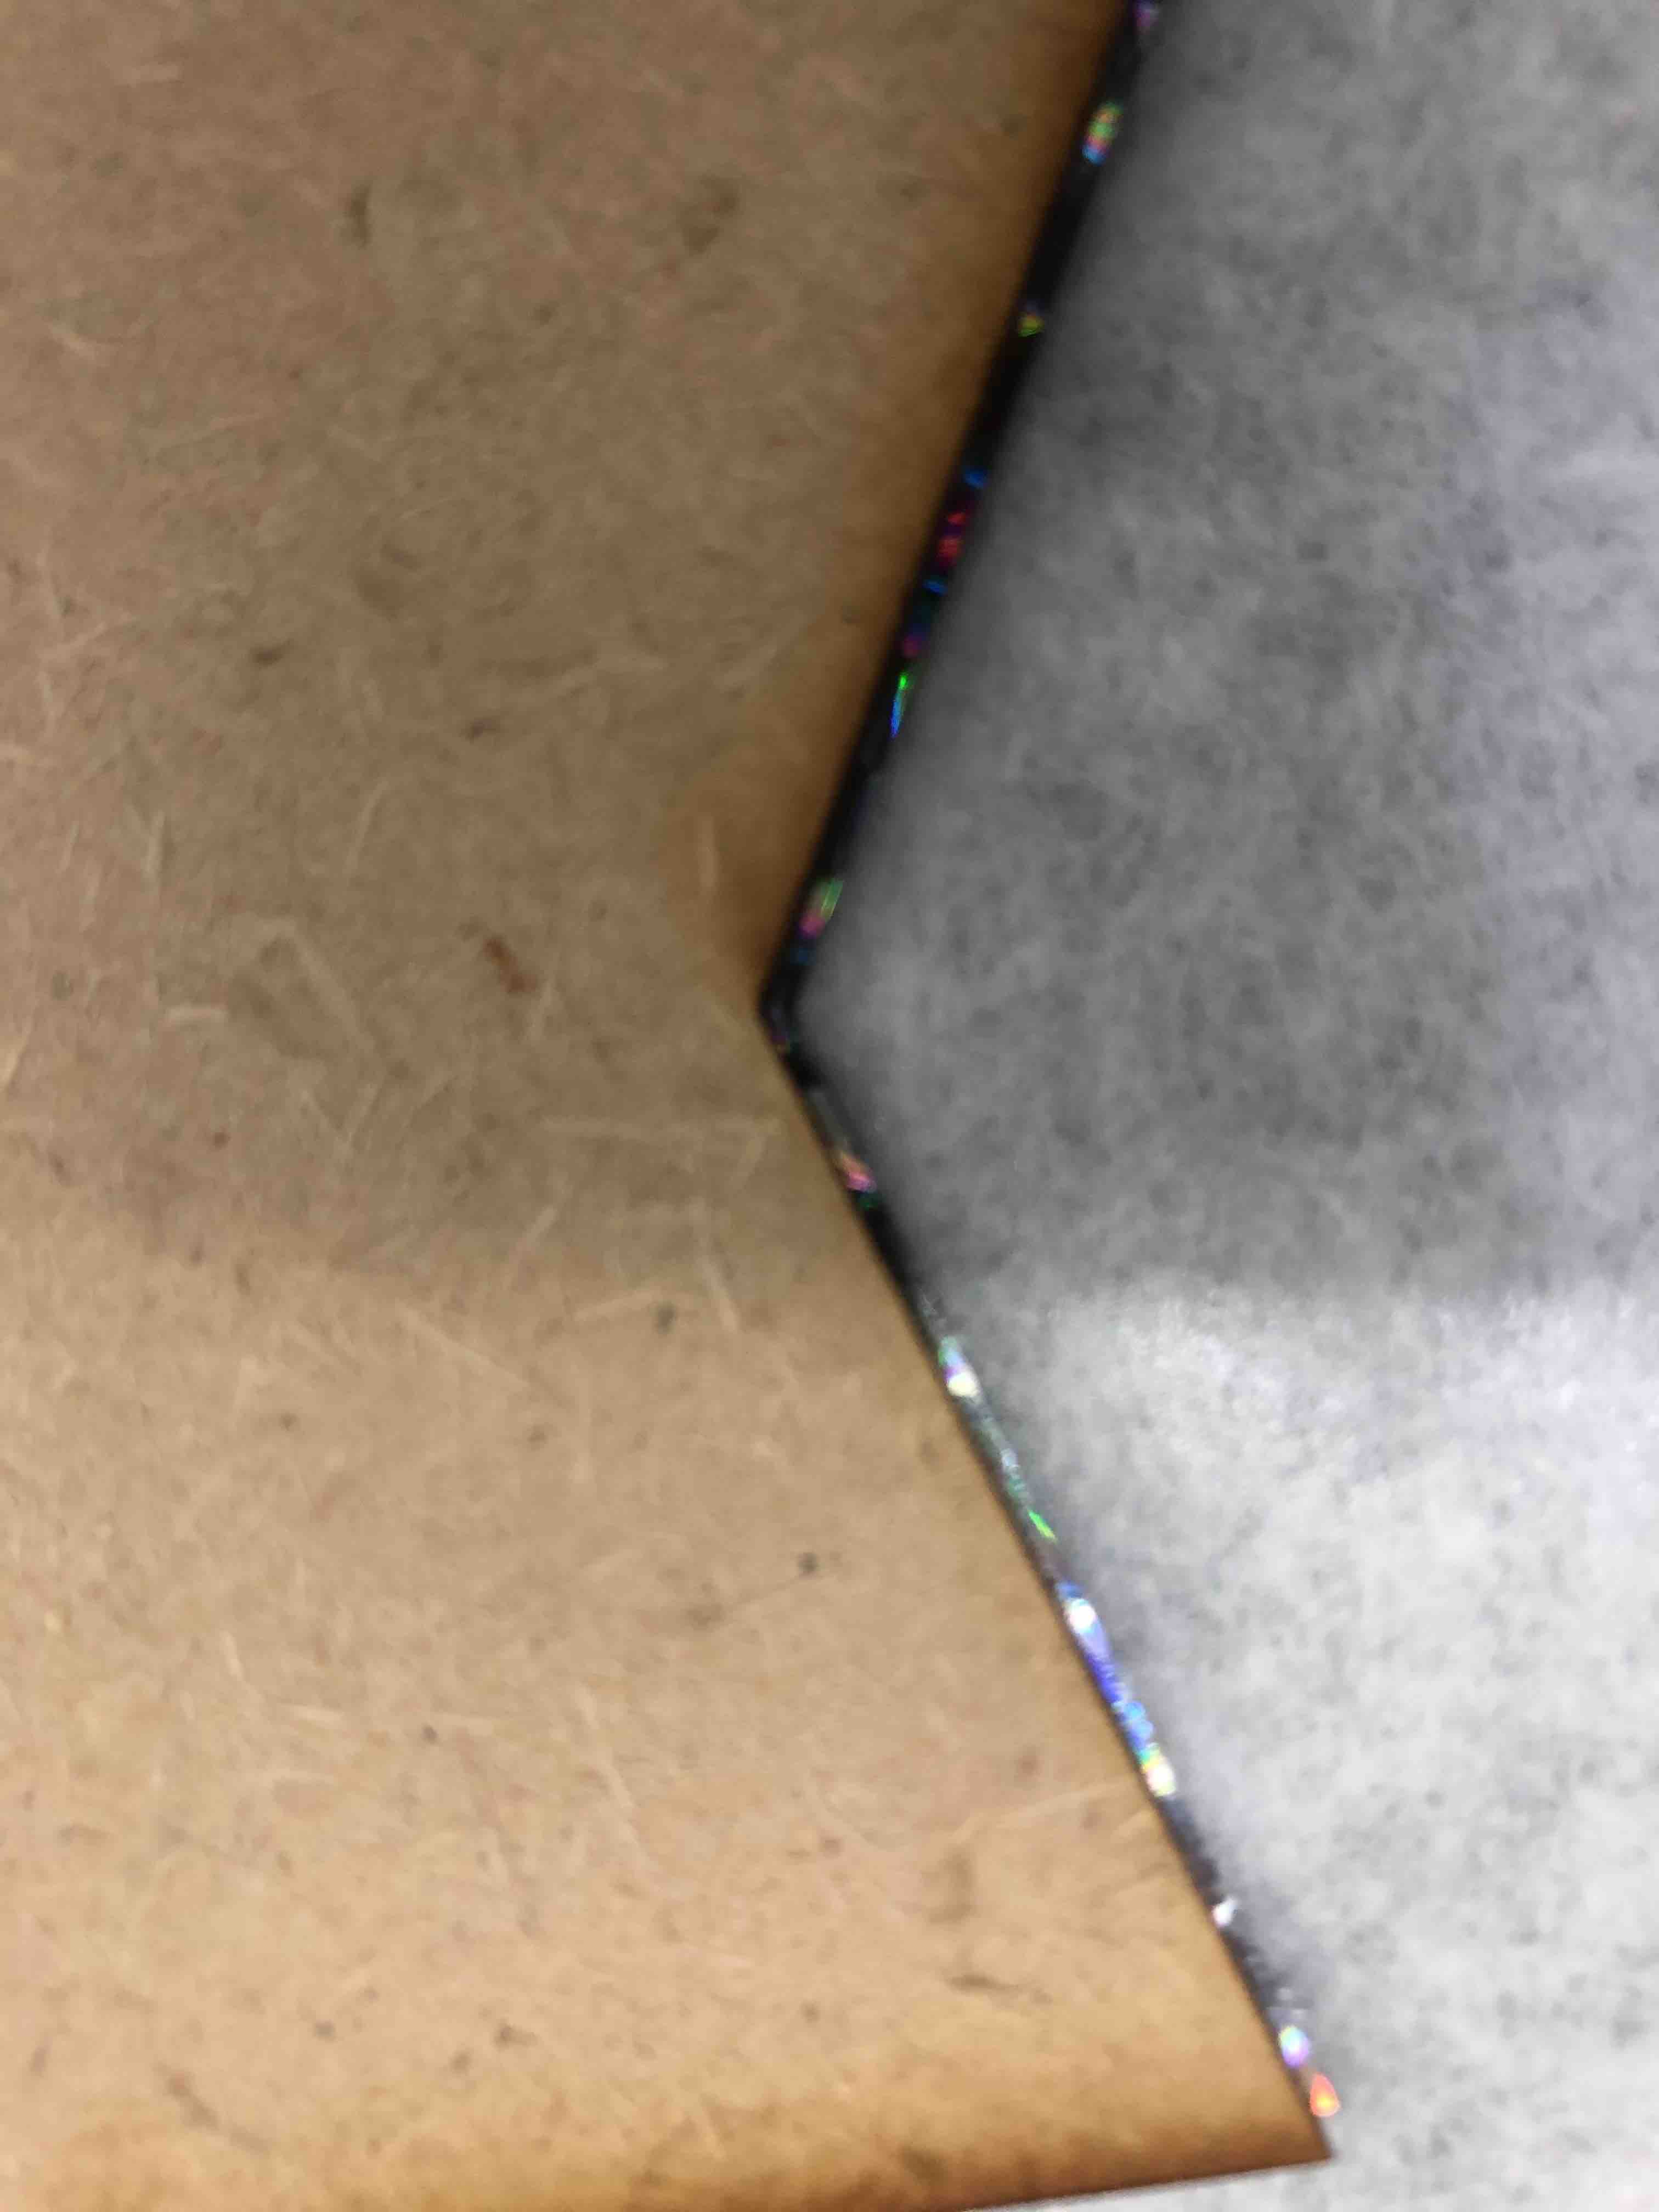
To make the star in Fusion I made a new sketch and made a "Circumscribed Polygon". From there using the line tool I made a very rough version of the points of a star. I then made one stars corner the way I wanted it to be fored. From there I used the "equal" in the "Sketch Palette" tools list to set all the other corners equal to the first corner. Initally I had attempted setting them equal to the corner before it, but it set me up for too many issues as sometimes they weren't the same. I am not sure how, but it made more sense in the end to just do it from one point rather than multiple ones


Outcome


Note: Pinch rollers must align with gir marks (no overlap!) You can use the guidelines on the machine to help align your material

This will start the automatic cutting area determination. The cutting width and length will appear on the screen once the machine stops. Make sure it is accurate

If a popup appears, press "Continue"
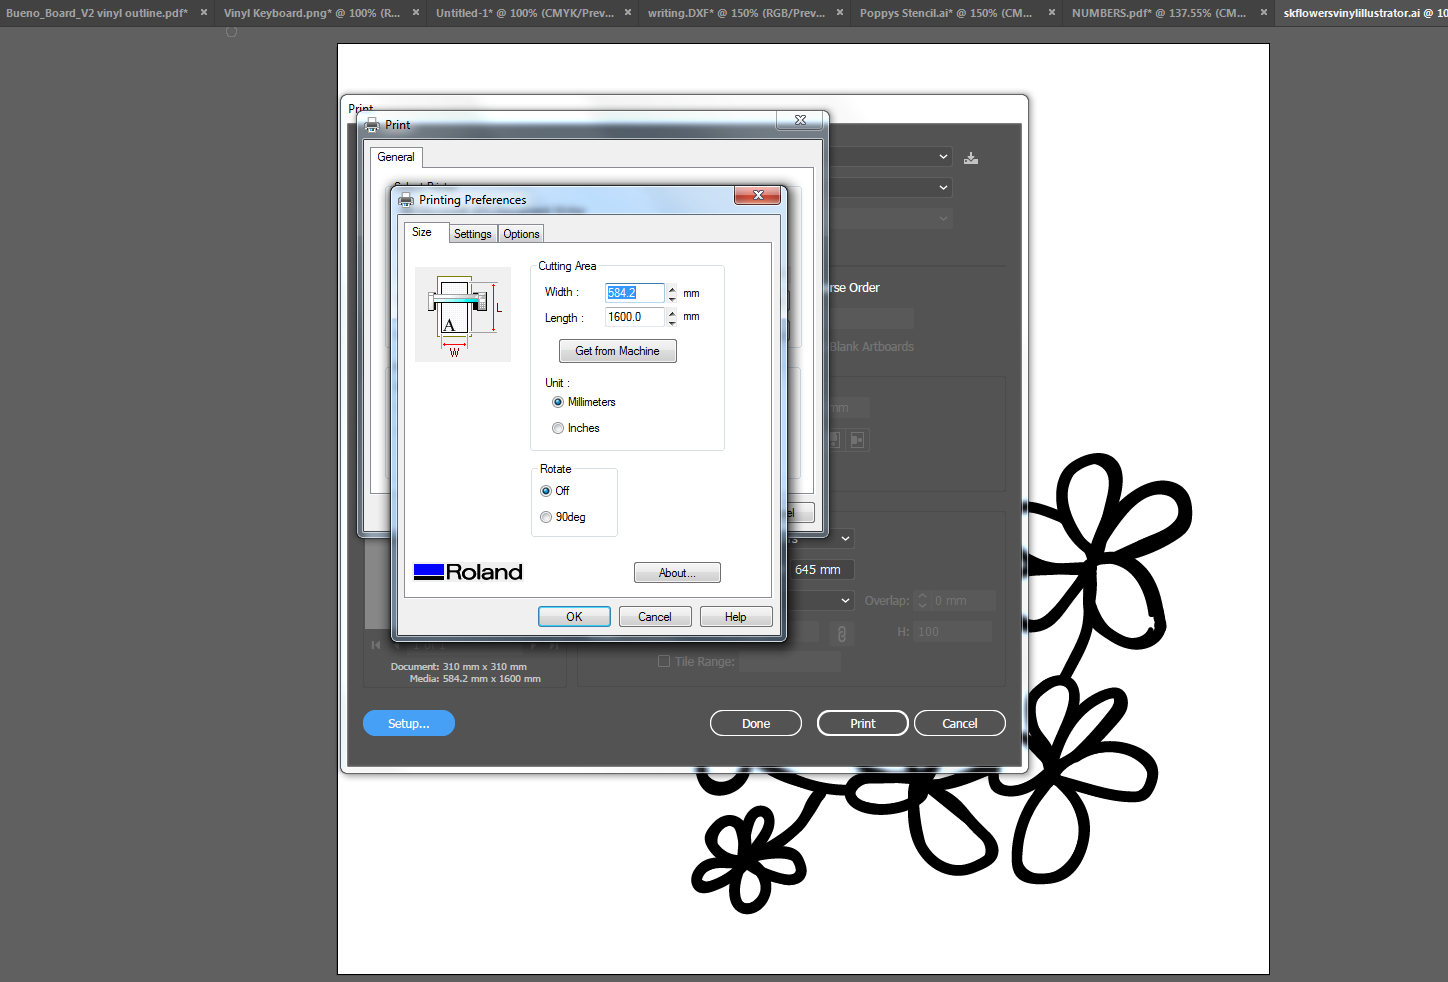
This will make the cutting carriage return to the home position
To find out how I made the flower sticker, head over to Week 2
We were taught how to use Fusio360. I have never used anythign like it before (Blender is not really all that similar). It is really cool to see what others were making both in the Brighton Fab Lab and across the globe in previous years. We proceede to make combs to test the size of the MDF we were going to use. I Initially had a problem creating mine, but as it turns out, the only issue was that I had cut out my piece the opposite way round in Rhino.(INCLUDE IMAGE) (INCLUDE IMAGE)
We also created a document to use to help ourselves if we forget certain steps or settings when we use the lasercutting machine.
This weeks homework: