Wildcard
Introduction
The topic of this assignment is designing and producing something with a digital fabrication process (incorporating computer-aided design and manufacturing) not covered in another assignment. In our Aachen FabLab we have the Bernina - the Ultimate in Sewing, Embroidery and Quilting. For this week I decided to get to know this machine and create a birthday card.
We asked the person from our FabLab, who works with this machine, to explain how the machine works. The mschine's guide can be found here. So, then we had our first try with the machine:


Quick intro
So, basic steps you need to do in order to work with Bernina:- Turning On/Off on the right of the machine

- Lace the upper and lower thread into the machine, which looks complicated in the first place. The machine provides nice video instructions for that.


- Double check that the tool and the base are correct(depending on what you want to do, sewing or embroidery). The nice feature of Bernina is that it will show you the mistake message, if you have something wrong. For example, if from the beginning you selected sewing, it will let you work only if the head and base are the sewing ones. Since I did the embroidery, I used the head number 26 and the base 0 mm(with orange sign) base. For normal sewing the recommended head is 34 and 9 mm base.


-
That is it. In order to do sewing(make macine actually work) you will need the pedal.

Design
Since I made a card, I needed to have only text. For that no extra design is needed. But still, in order to put all my ideas together I created design .SVG design (can be downloaded at files section). Here is my steps in order to create the card:
- Choose the embroidery and double check that all the settings(base, head) are correct:

-
Select the size of you working space(I had medium):

- Create a new design. I decided to use letters. I also used a font I liked the most(the name of it is 3D Drummon from Reference Manual ).


- Rotate, move and scale it. use the wheels on the right side for it:


- Now you are done, enjoy the process:

-
Next step was more electronic. First I did a schematic of my future electronics. In order to have a parallel connection between diodes, I used unconductive lower thread (that way it is easier to connect them in parallel). I used the breadboard and Arduino(just for 3.3 V supply) to test my connection and find the proper resister for my scheme. So, I connected the 4 diodes in parallel and found a safe resistor for them (around 150 Ω).


-
Then I found the same resistance from the letters:

-
And I sewed all the diodes in parallel(it was easy, since the "Schatz" word was made without any conductive threads):


-
Last step was adding the button and batteries, to switch it the diodes on and off.
Demo P.S. Because of the lighting conditions it is not that easy to see that actually all the LED are lightning. There is a picture of it working:

-
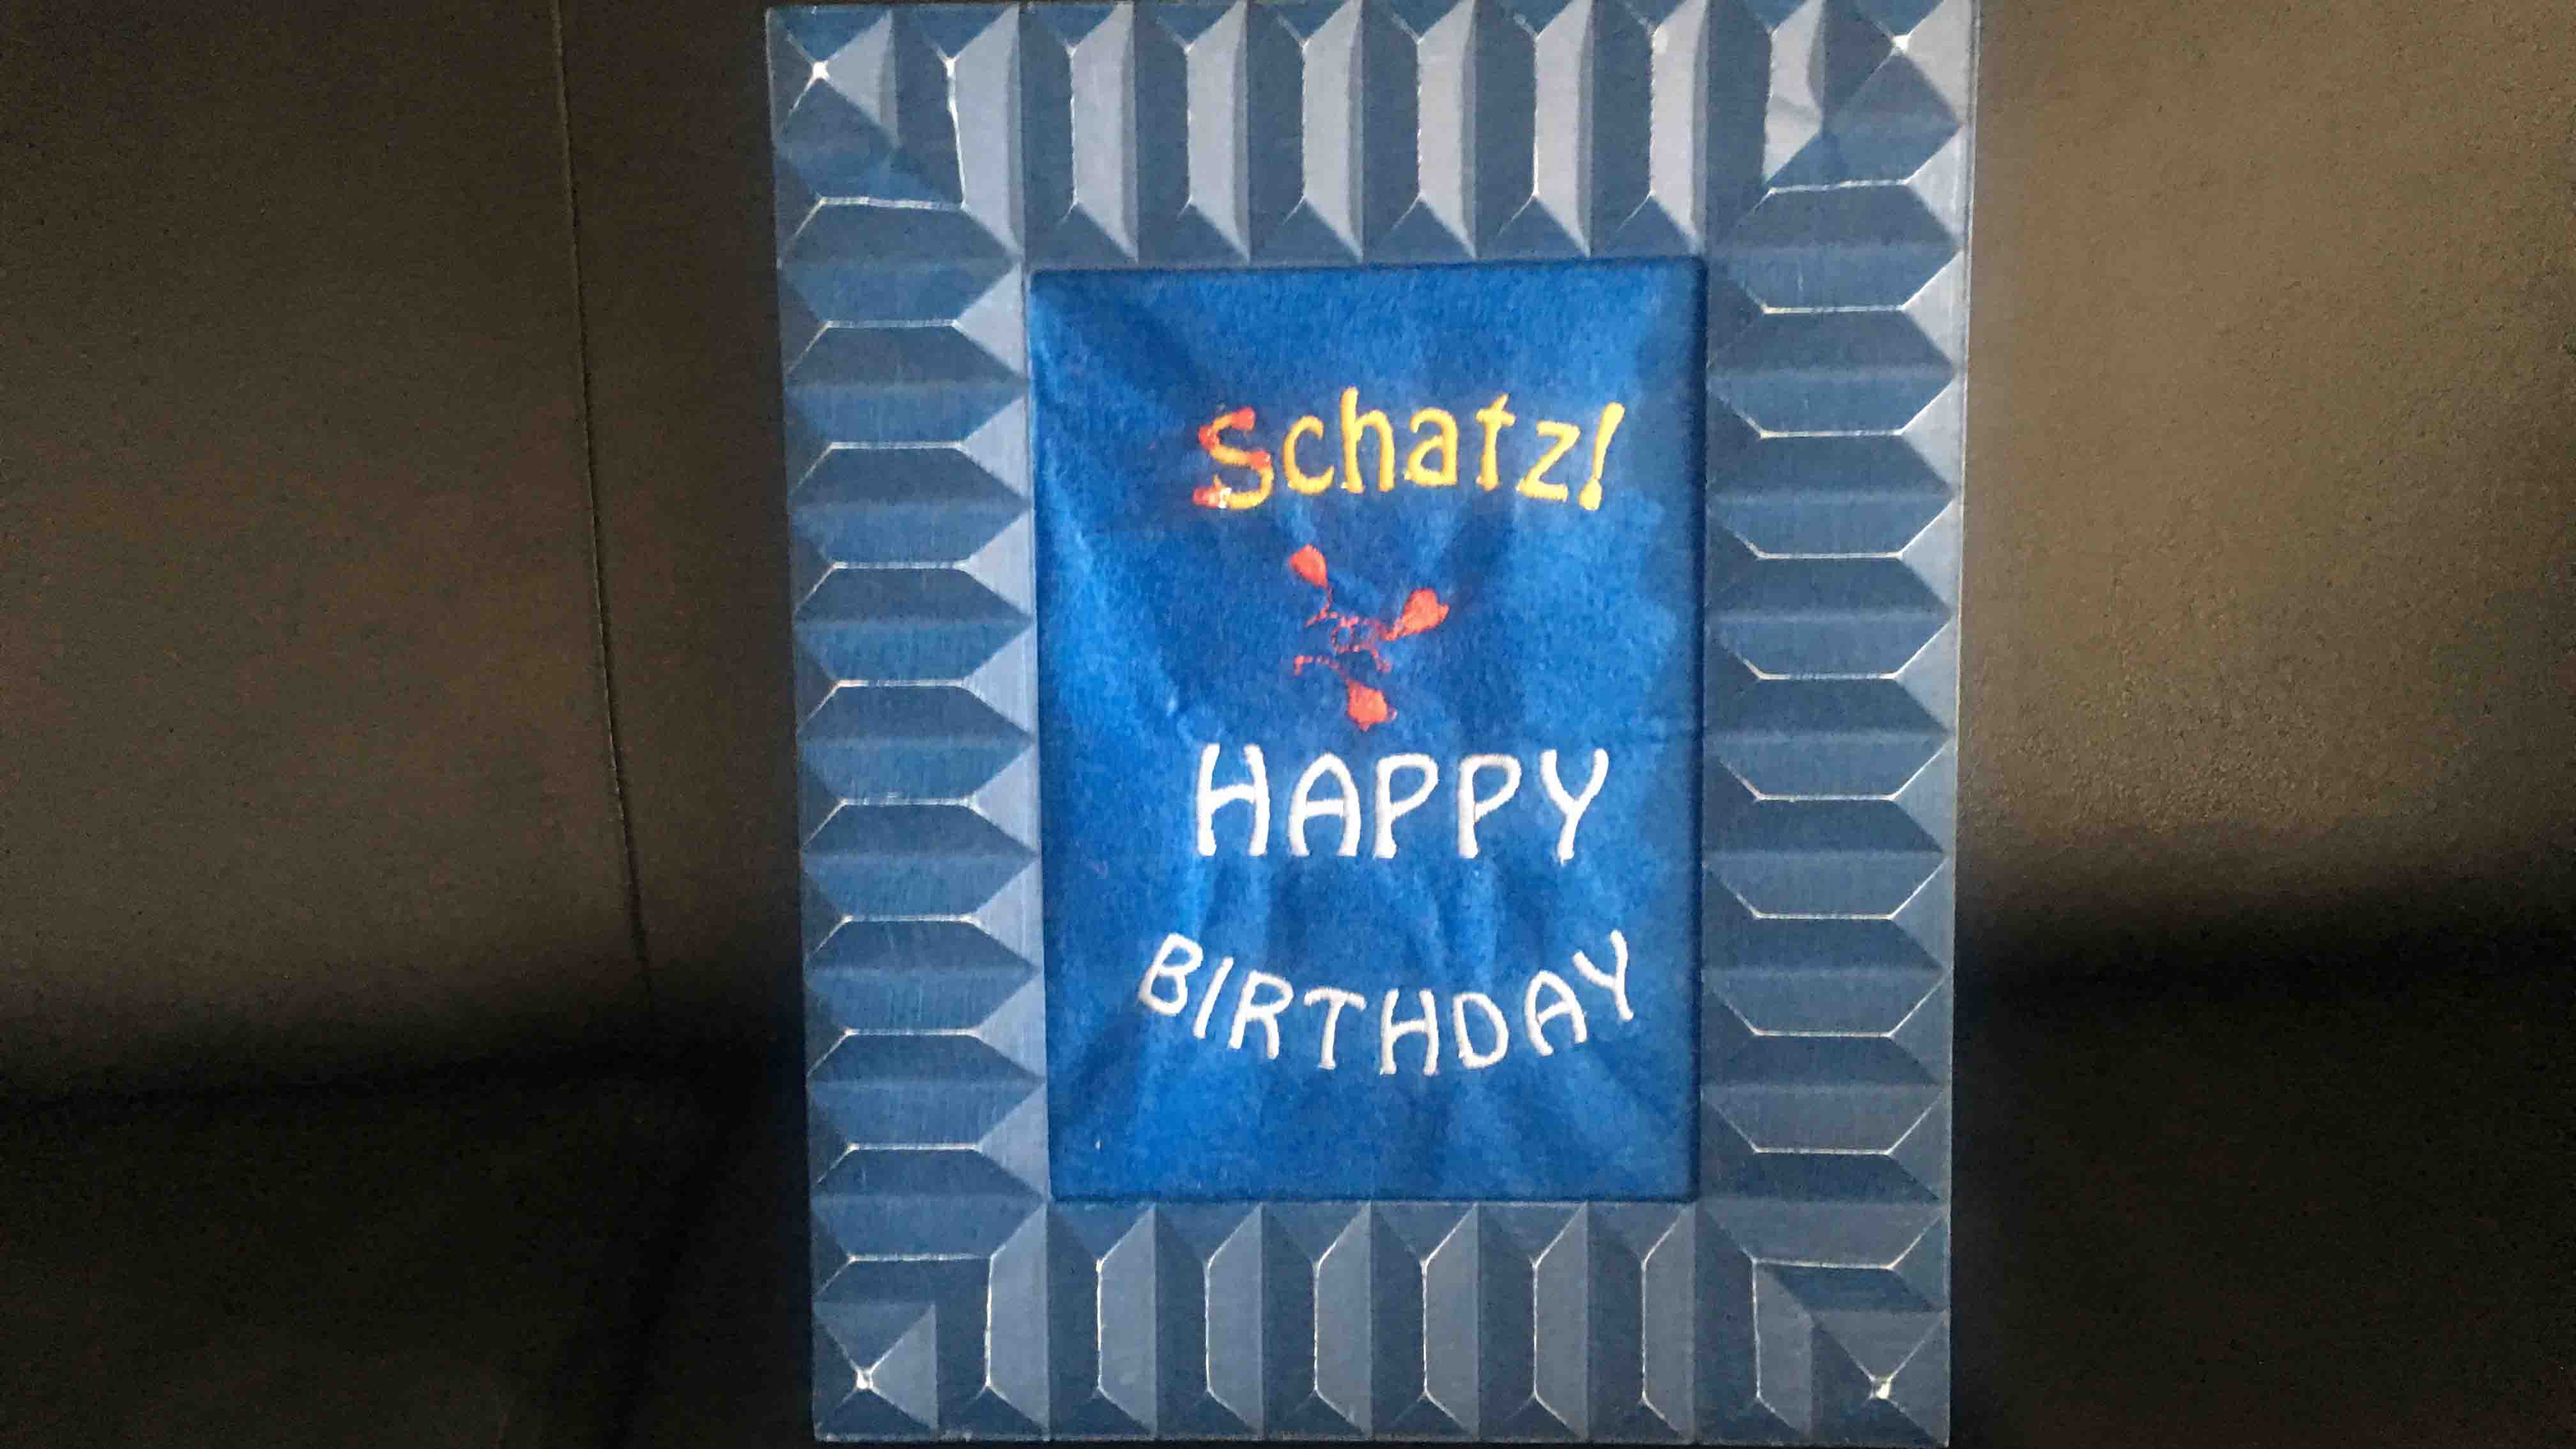
At the end I put it into a frame: