Group Task
3D Scanning and Printing
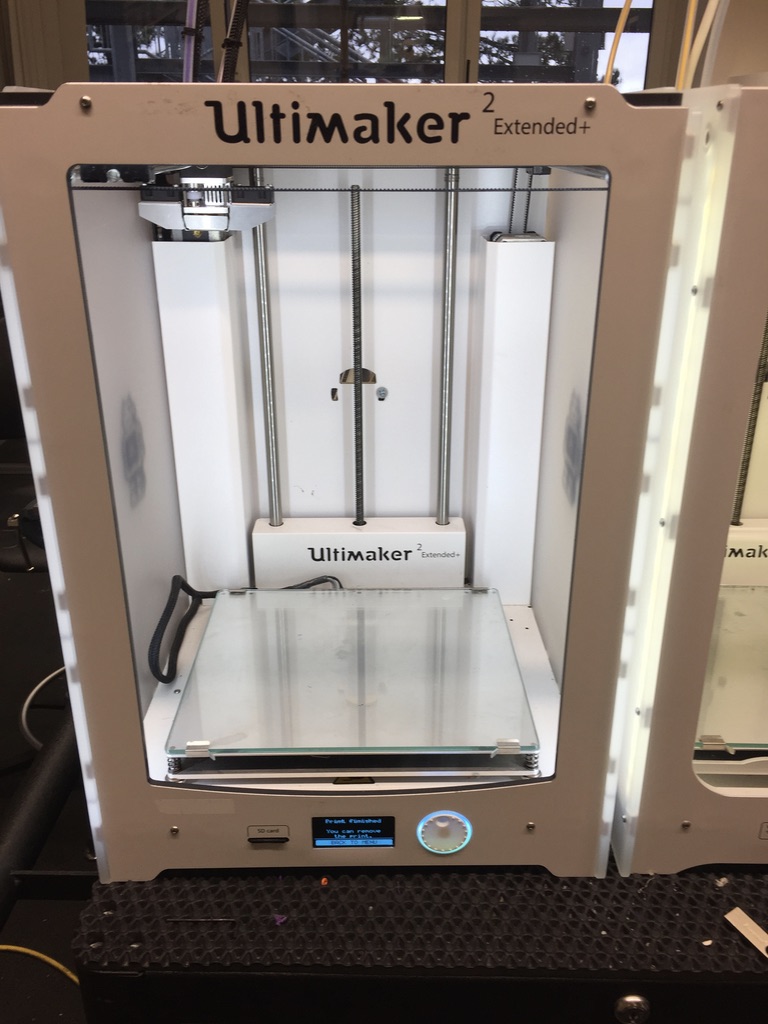
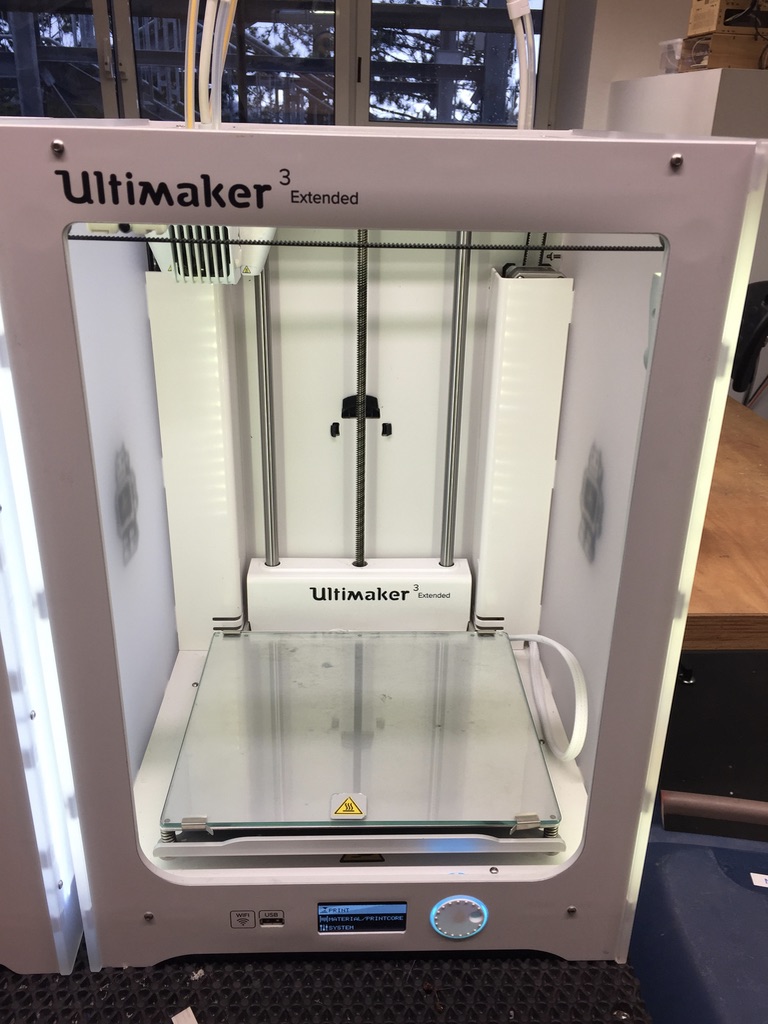
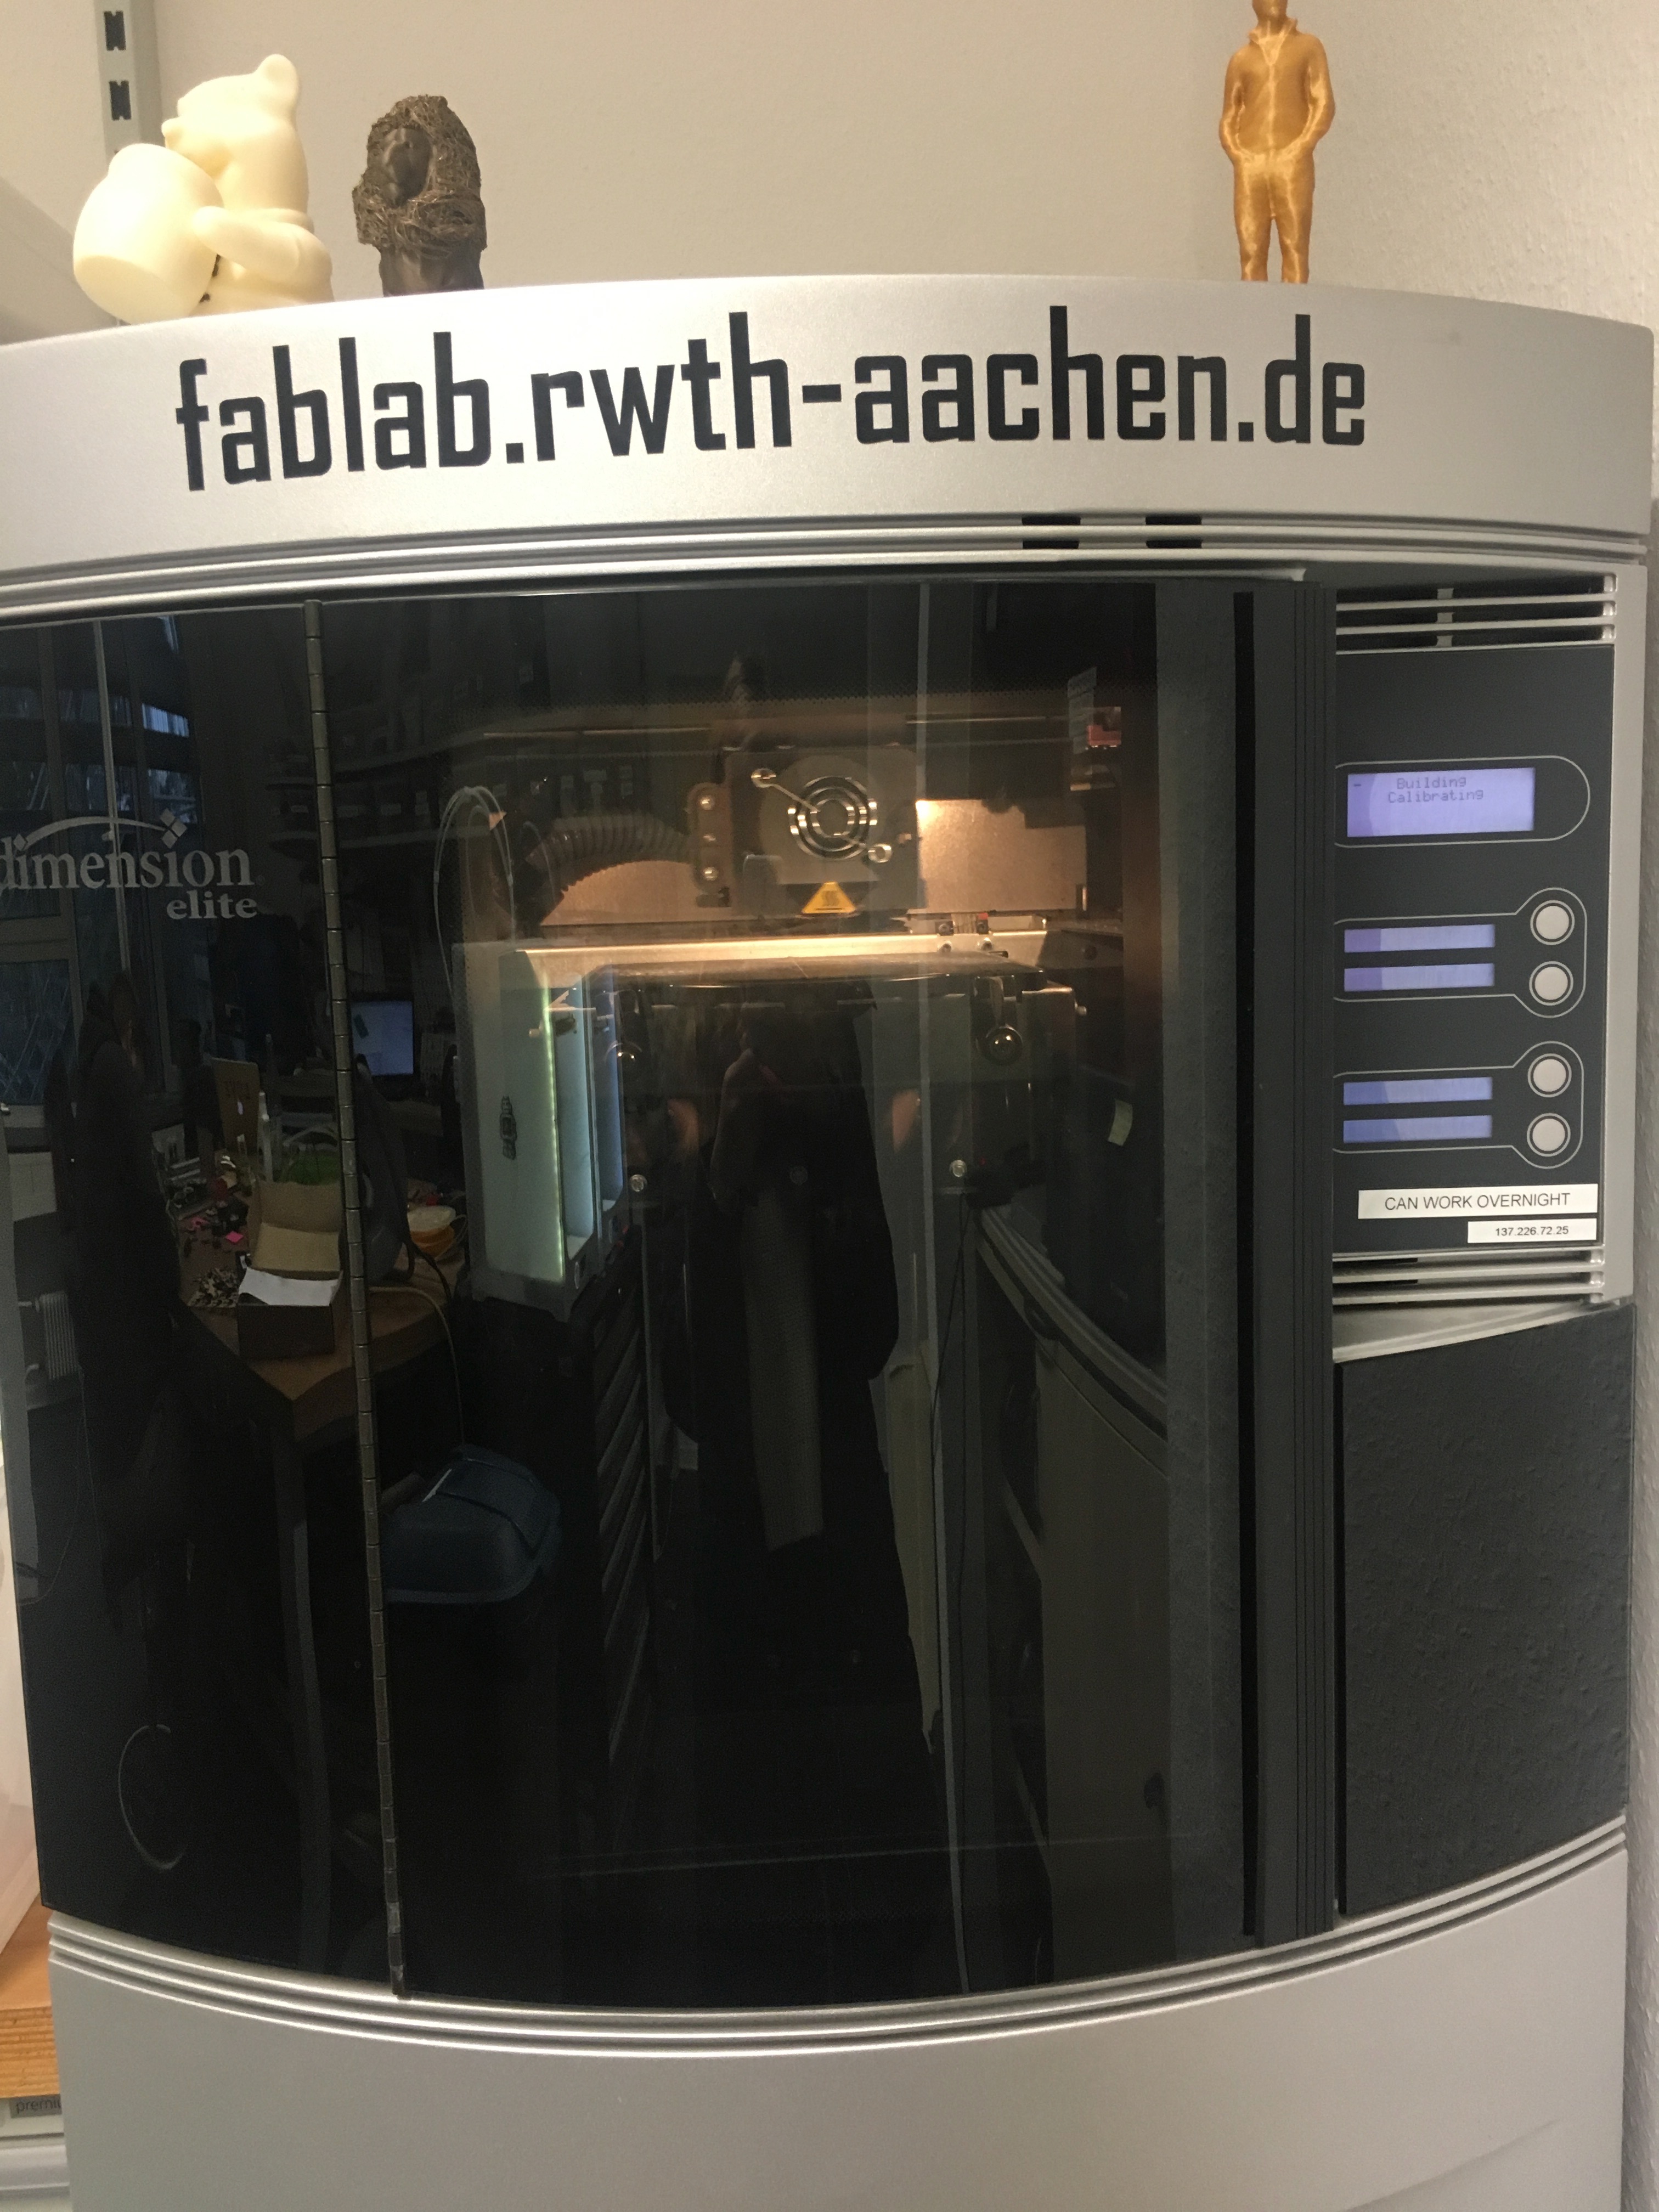
The printers
At our FabLab there are 5 different 3D printers available:
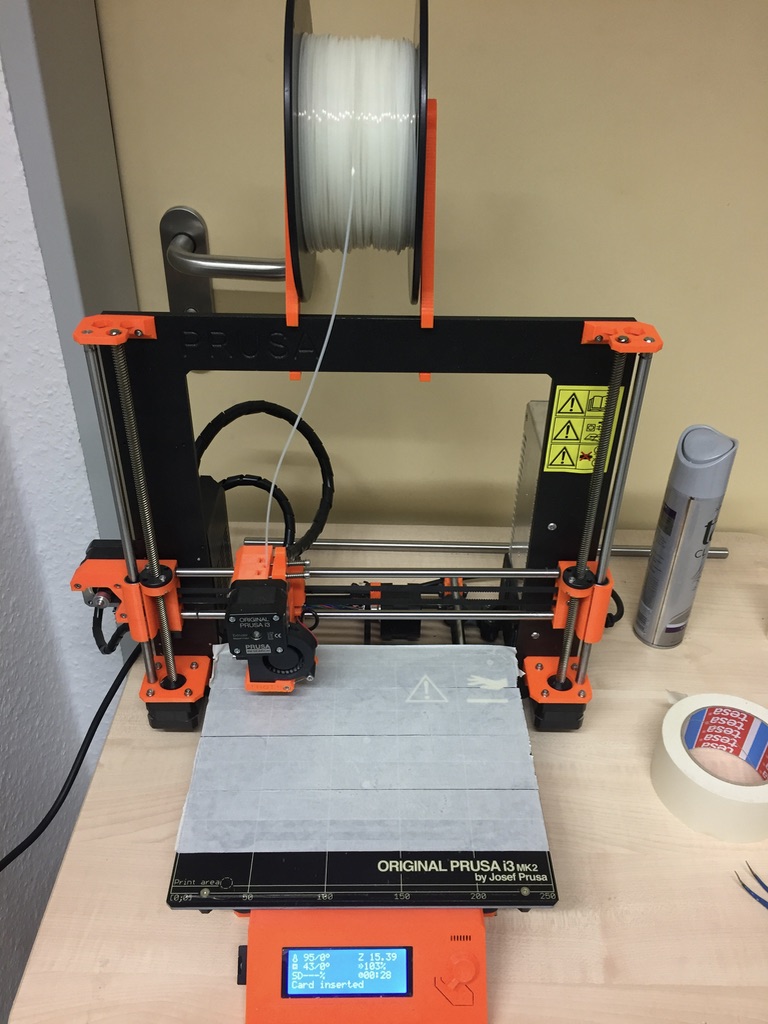
Both Ultimakers, the Dimension and Prusa are so called FDM printers. FDM stands for Fused Deposition Modeling which is the most common 3D printing technique. The central element of an FDM printer is the 'hot end' where the filament is molten and extruded through the nozzle. The plastic binds to surrounding material, cools down and hardens. By moving the nozzle appropriately along X-, Y- and Z-axis the printer constructs the model.
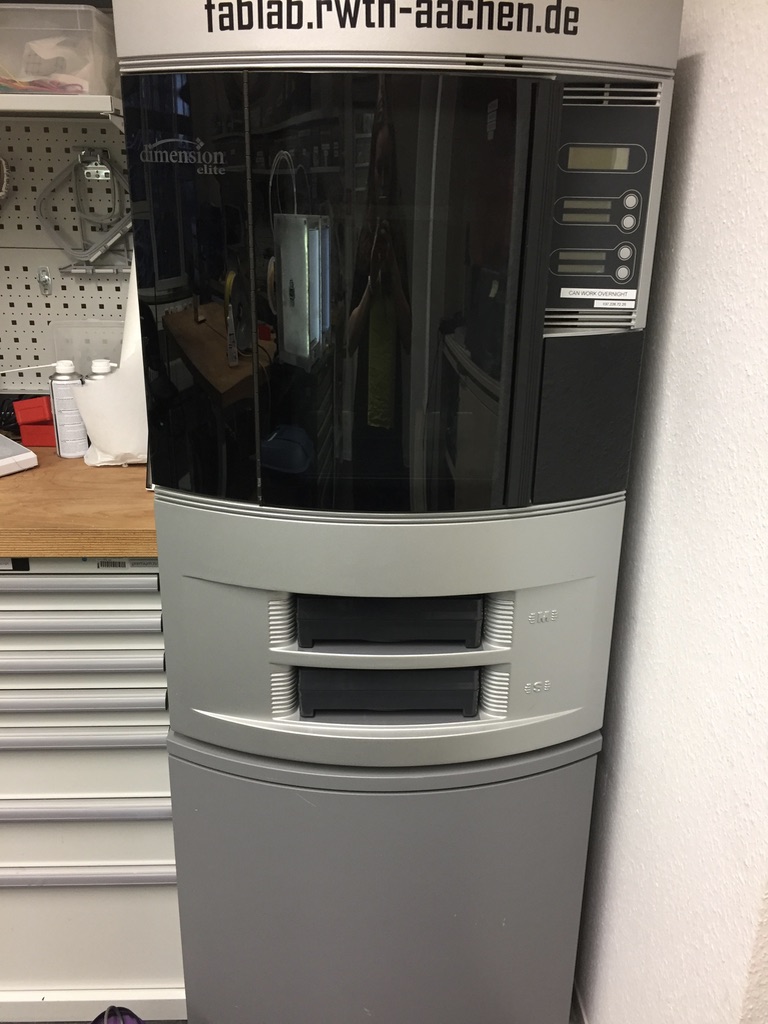
The Formlabs is an entirely different machine and grouped under the abbreviation SLA or StereoLithography
Apparatus.
This printer uses a liquid resin which hardens when exposed to UV light.
The model is constructed upside down by slowly pulling it out of the liquid
while a laser hardens the desired new parts out of the resin.
This technique is significantly more precise than FDM printers
but the printers and the resin are also way more expensive.
Furthermore, the resin is toxic and there are multiple nasty steps
required when printing with this technique.
Therefor we decided not to work with this machine.
Preparation
During the second week we designed multiple three dimensional objects with different CAD software tools.
The next step in order to 3D print those objects is to export those CAD models to an STL file.
An STL file stores an three dimensional shape/object.
Unlike the previous construction file format (e.g. .scad)
this file includes no parameters but only the final shape desired to print.
Also, these files are not meant to be manipulated and generally only serve as
common intermediate format towards the next step.
The next software tool we use is the slicer.
In the slicer printing parameters are defined and
finally machine instructions are generated to consturct the model.
These instructions are interpreted by the printer and
control the motors in order to reproduce the model.
While the Dimension uses a unique commercial software,
many slicers for FDM printers produce GCode. You can find information about the Dimension software here on the lower part.
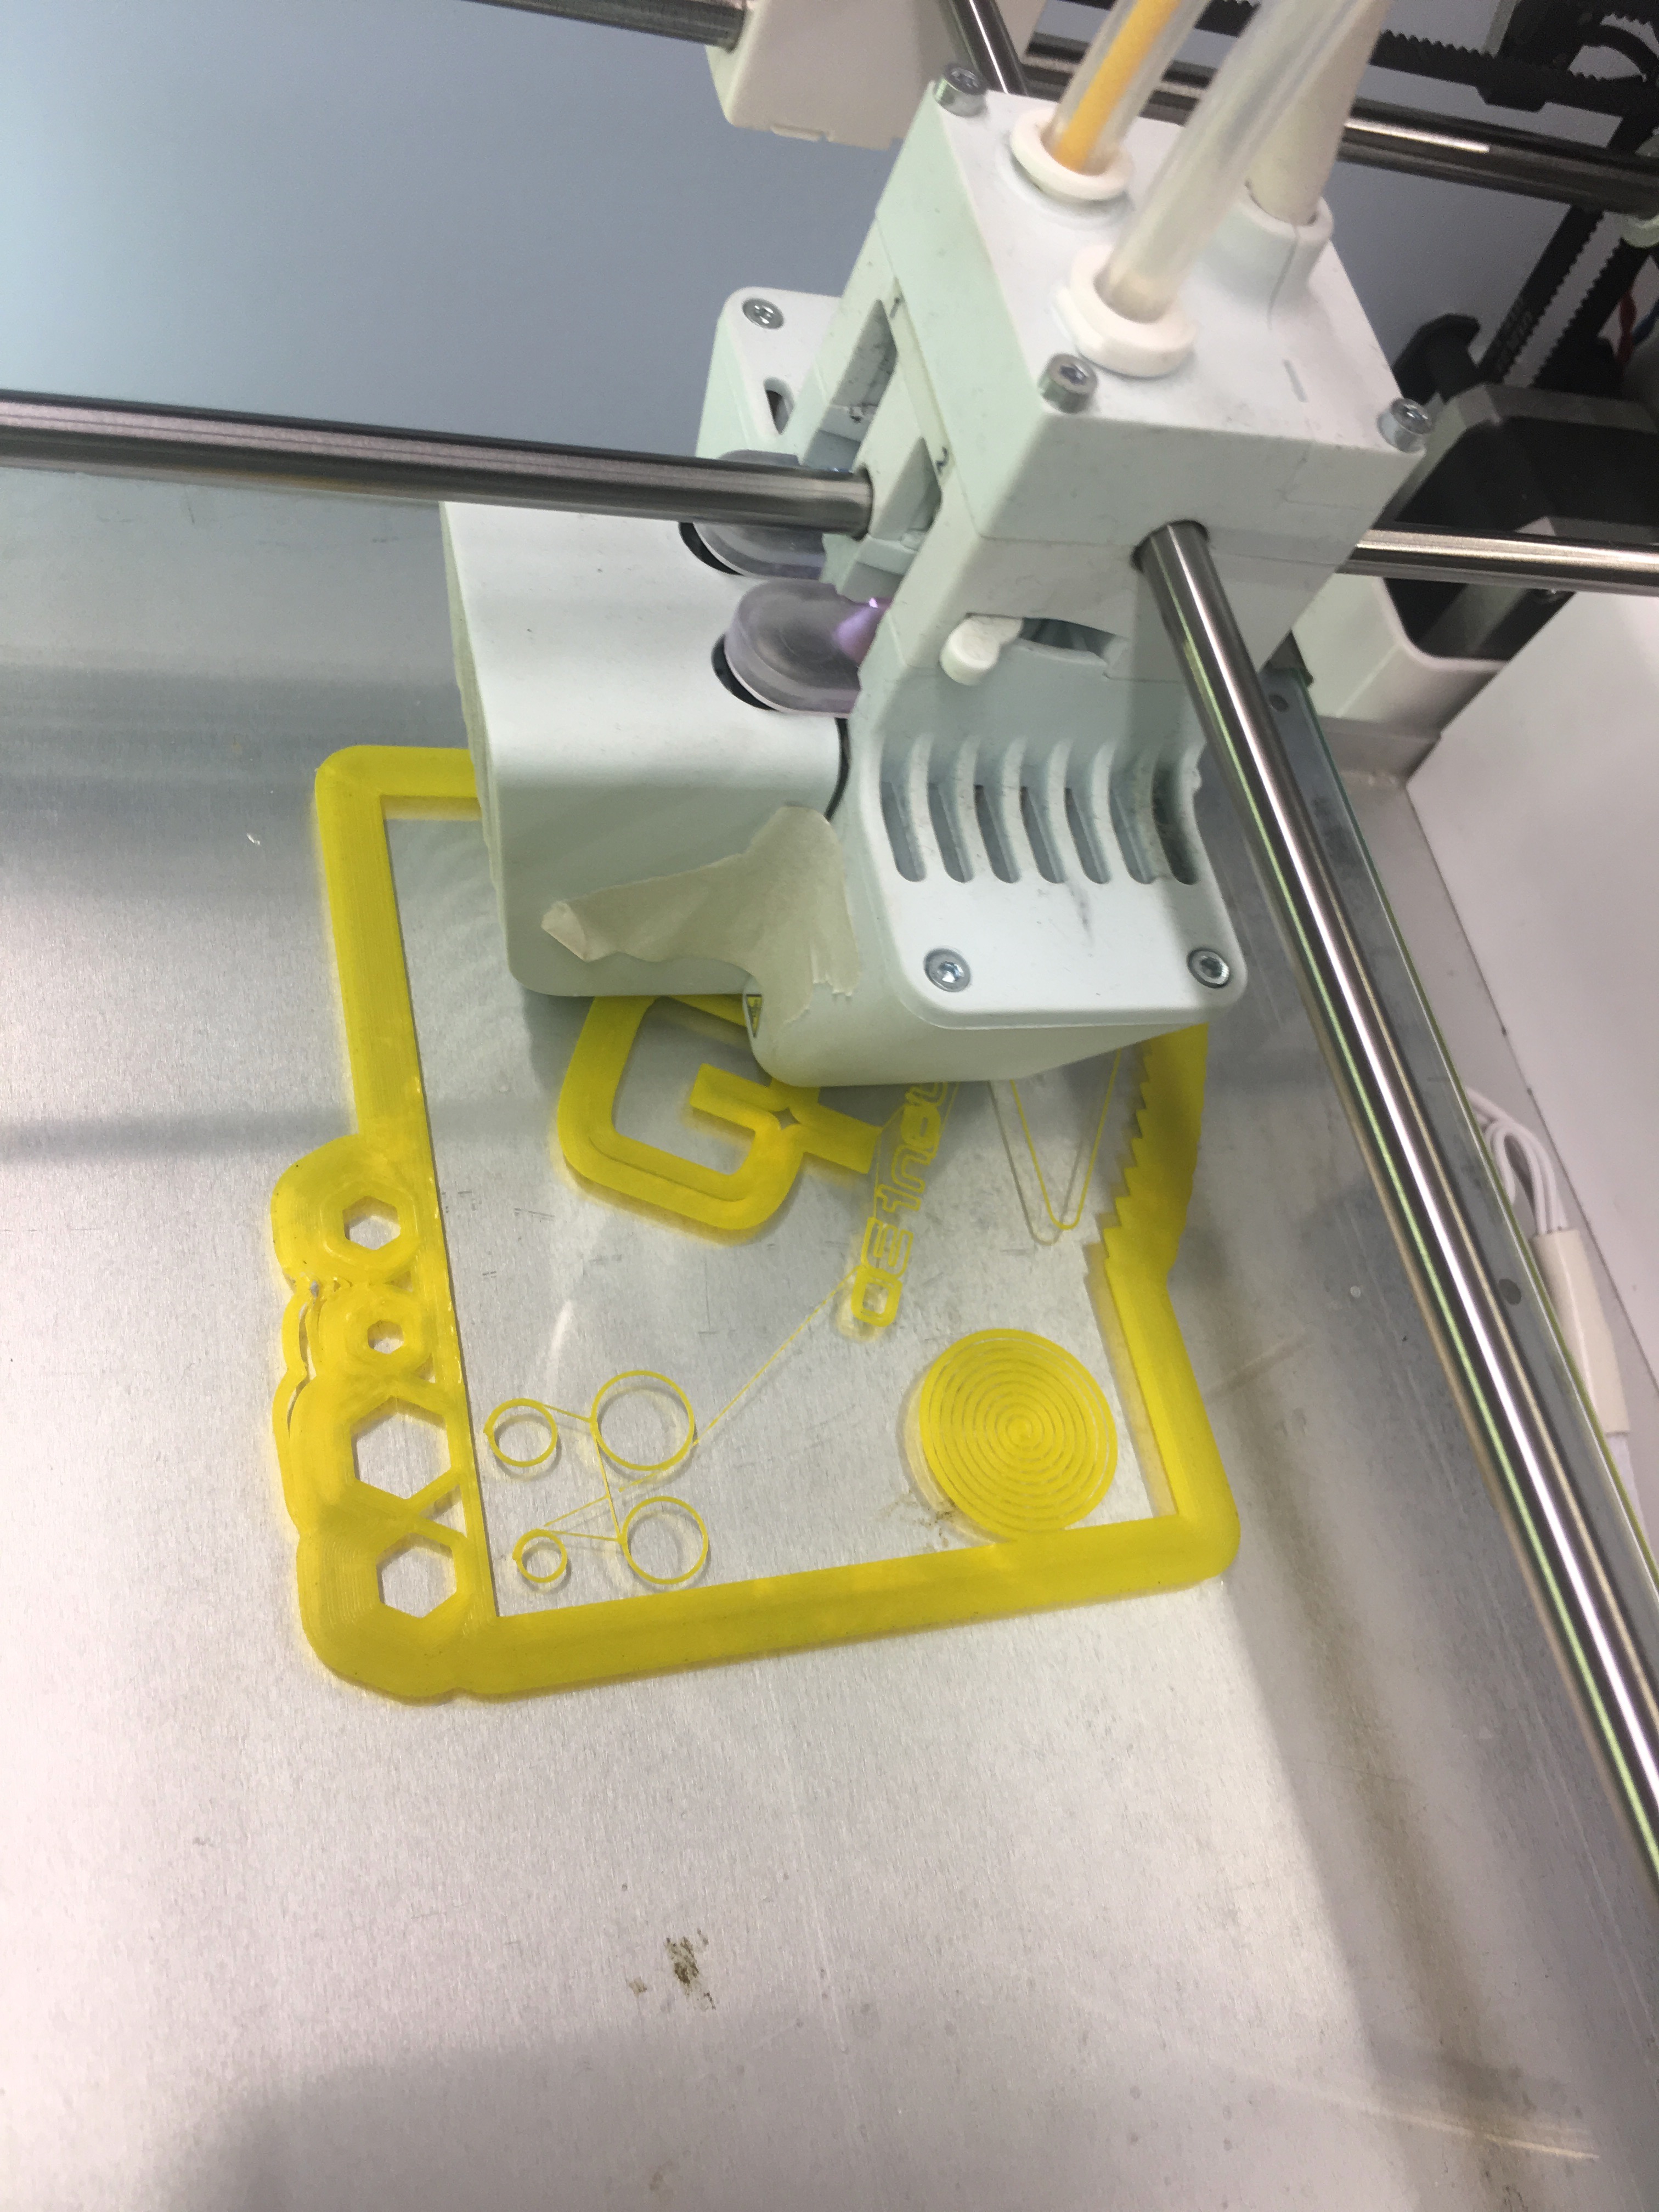
Here we will go into more detail on Cura,
a free slicer software from Ultimaker that we used for all printers besides the Dimension.
After starting Cura and opening the STL file one is presented with a visual representation of the model
and a list of parameters on the right.
Here one can adjust printing temperature, layer height, printing speed, activate support material and
add features for buildplate adhesion.
In general we recommend to stick with the predefined values.
Most of these settings are specific for the printer and changing these
requires deeper knowledge of the hardware.
The most relevant value is certainly the printing temperature as this has to
be adjusted for different materials. We printed in PLA and advice
for which the recommended value is 200°C. Most other materials print at higher temperatures,
e.g. ABS around 230°C.
Another interesting option when printing small parts is the 'build-plate adhesion'.
Here one can add a brim around the object.
This feature adds a few rings around the first layer of your object and binds it steadier to the build plate.
This way it will not come loose and prevent failure.
Dimension 3D printer
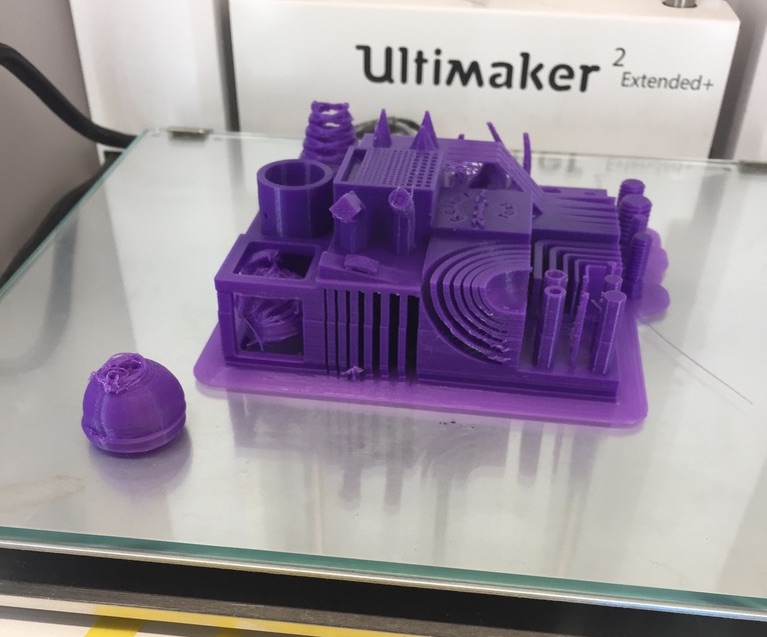
To test the 3D printers we used a given test object of the website thingiverse.com.
Printing it on the dimension needs using the unique software. Thanks to the FabLab Hiwi Ceyda who explained to us how to use the software properly.
1. Load the stl file into the software
2. Click the button 'Add to pack' to prepare your model for printing.
3. Move your stl file in the software to position it at the desired position. As the printer head starts at the right side of the back it is clever to position the object near to that.
4. Recheck if the material left in the printer is sufficient enough. The software shows you how much material you need and how much is left in the printer. This way you can compare those values.
5. Click the button 'Print' and walk over to the printer.
6. Assure that the platform is in place. The two knobs in front should be pointed upwards.
7. Press Start Model.
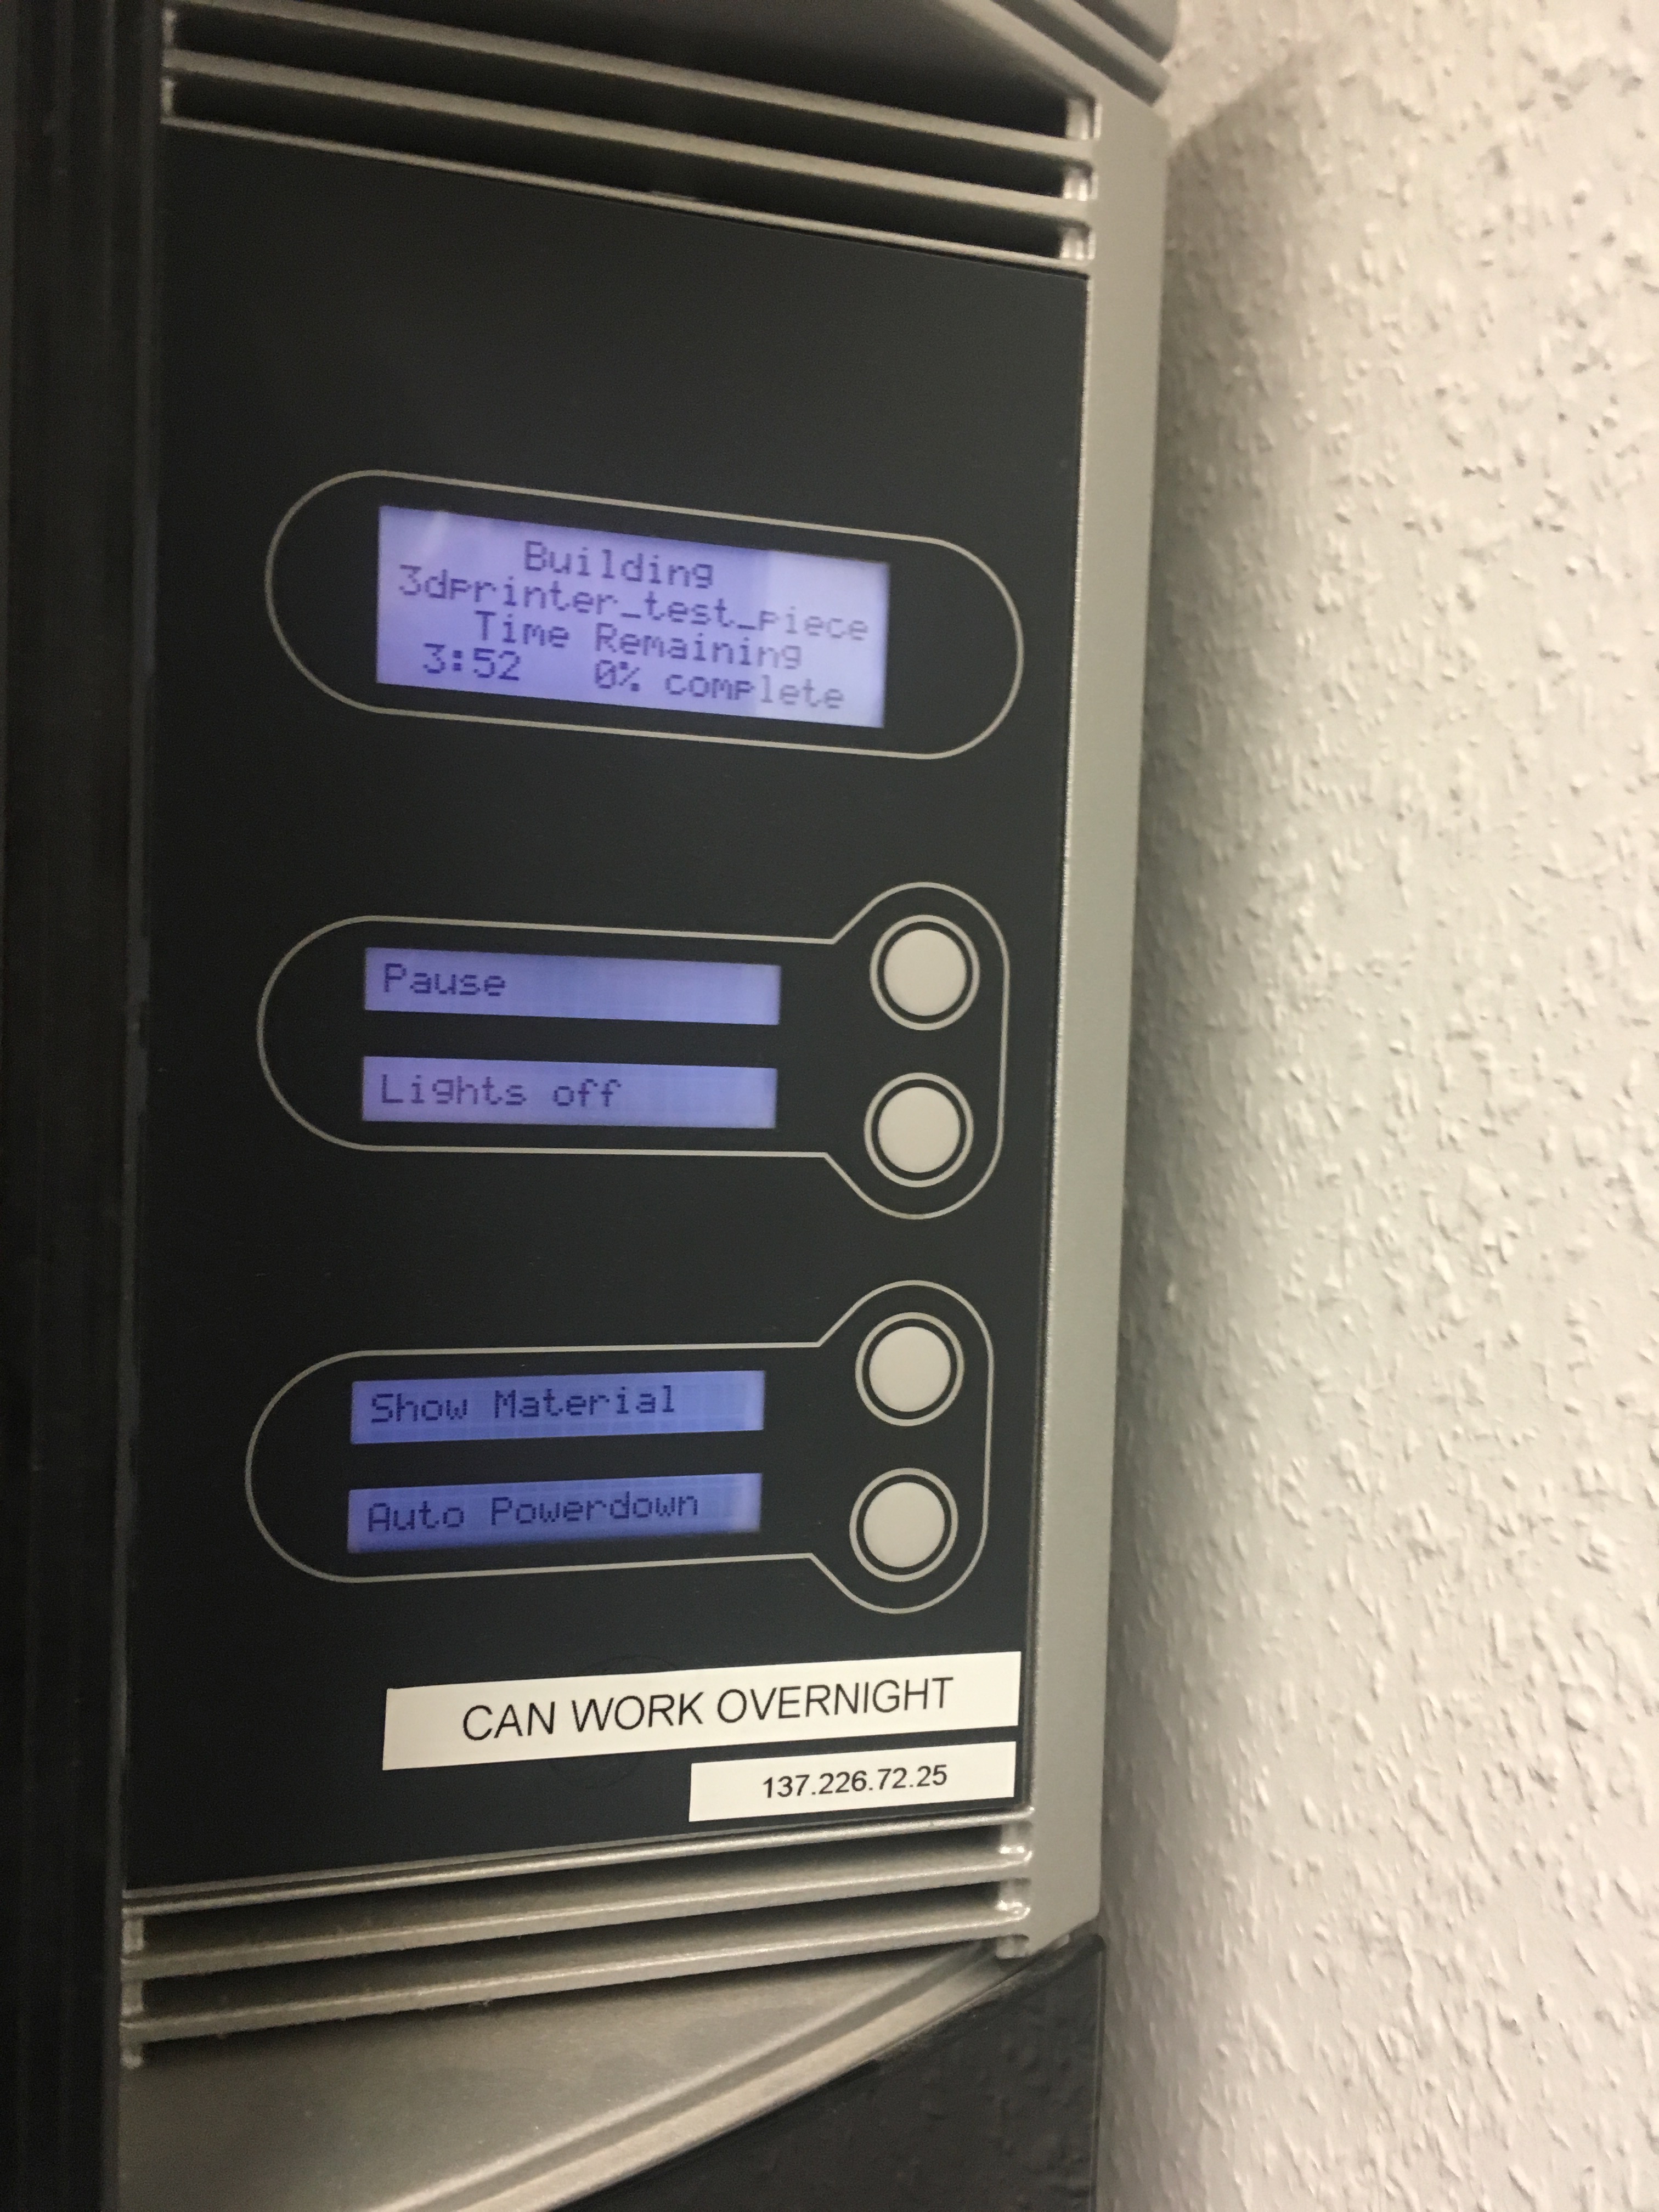
8. Svetlana and Anke started the print. It took quite long that the slicer calculated the time for the print. As we realised that the material was not sufficient enough for the original size if the model we decided to resize it to 50%. The material was enough for that size.
The print took about 4 hours.
9. As we started the print in the afternoon Anke looked after the model the next day. She took the platform out of the printer and took the print of it.
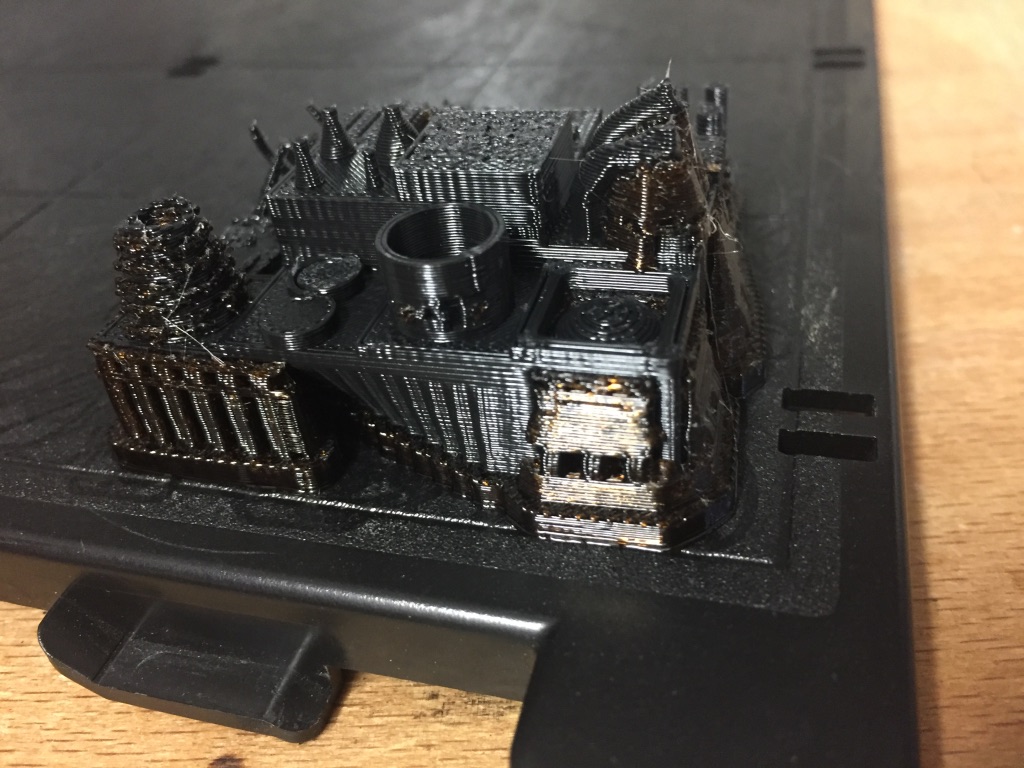
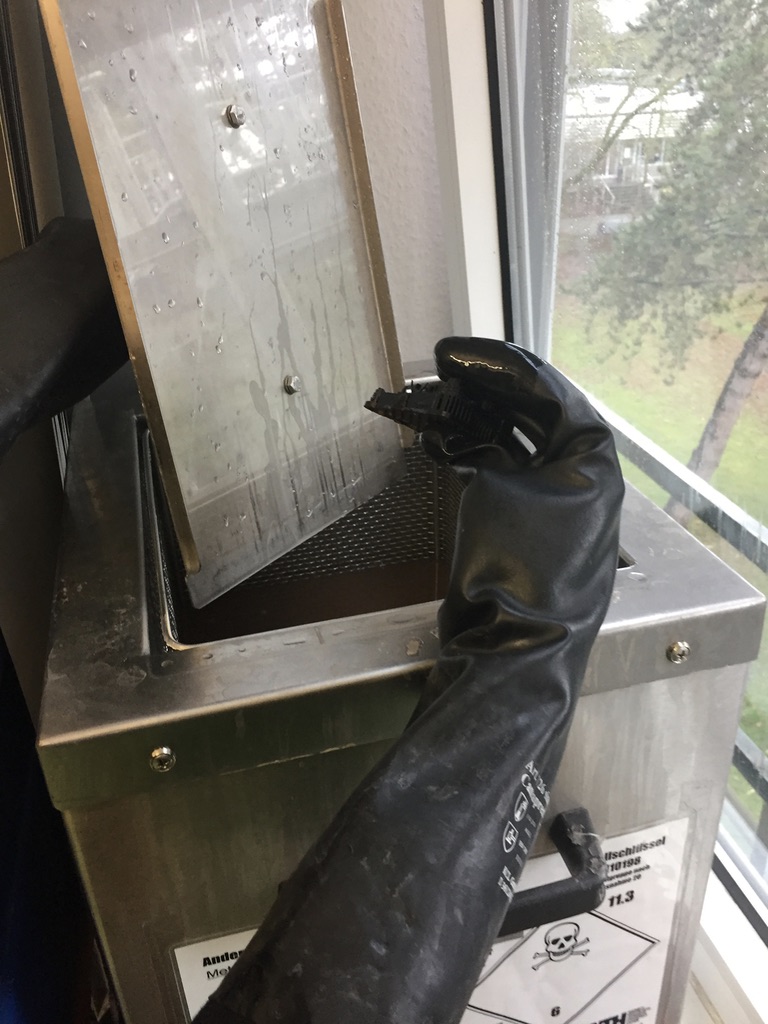
10. We printed the
model with support material. Therefore, the print needs to be put into the vat of base. It is important to wear provided gloves during working with the vat as otherwise your hands will burn when getting in touch with the liquid.
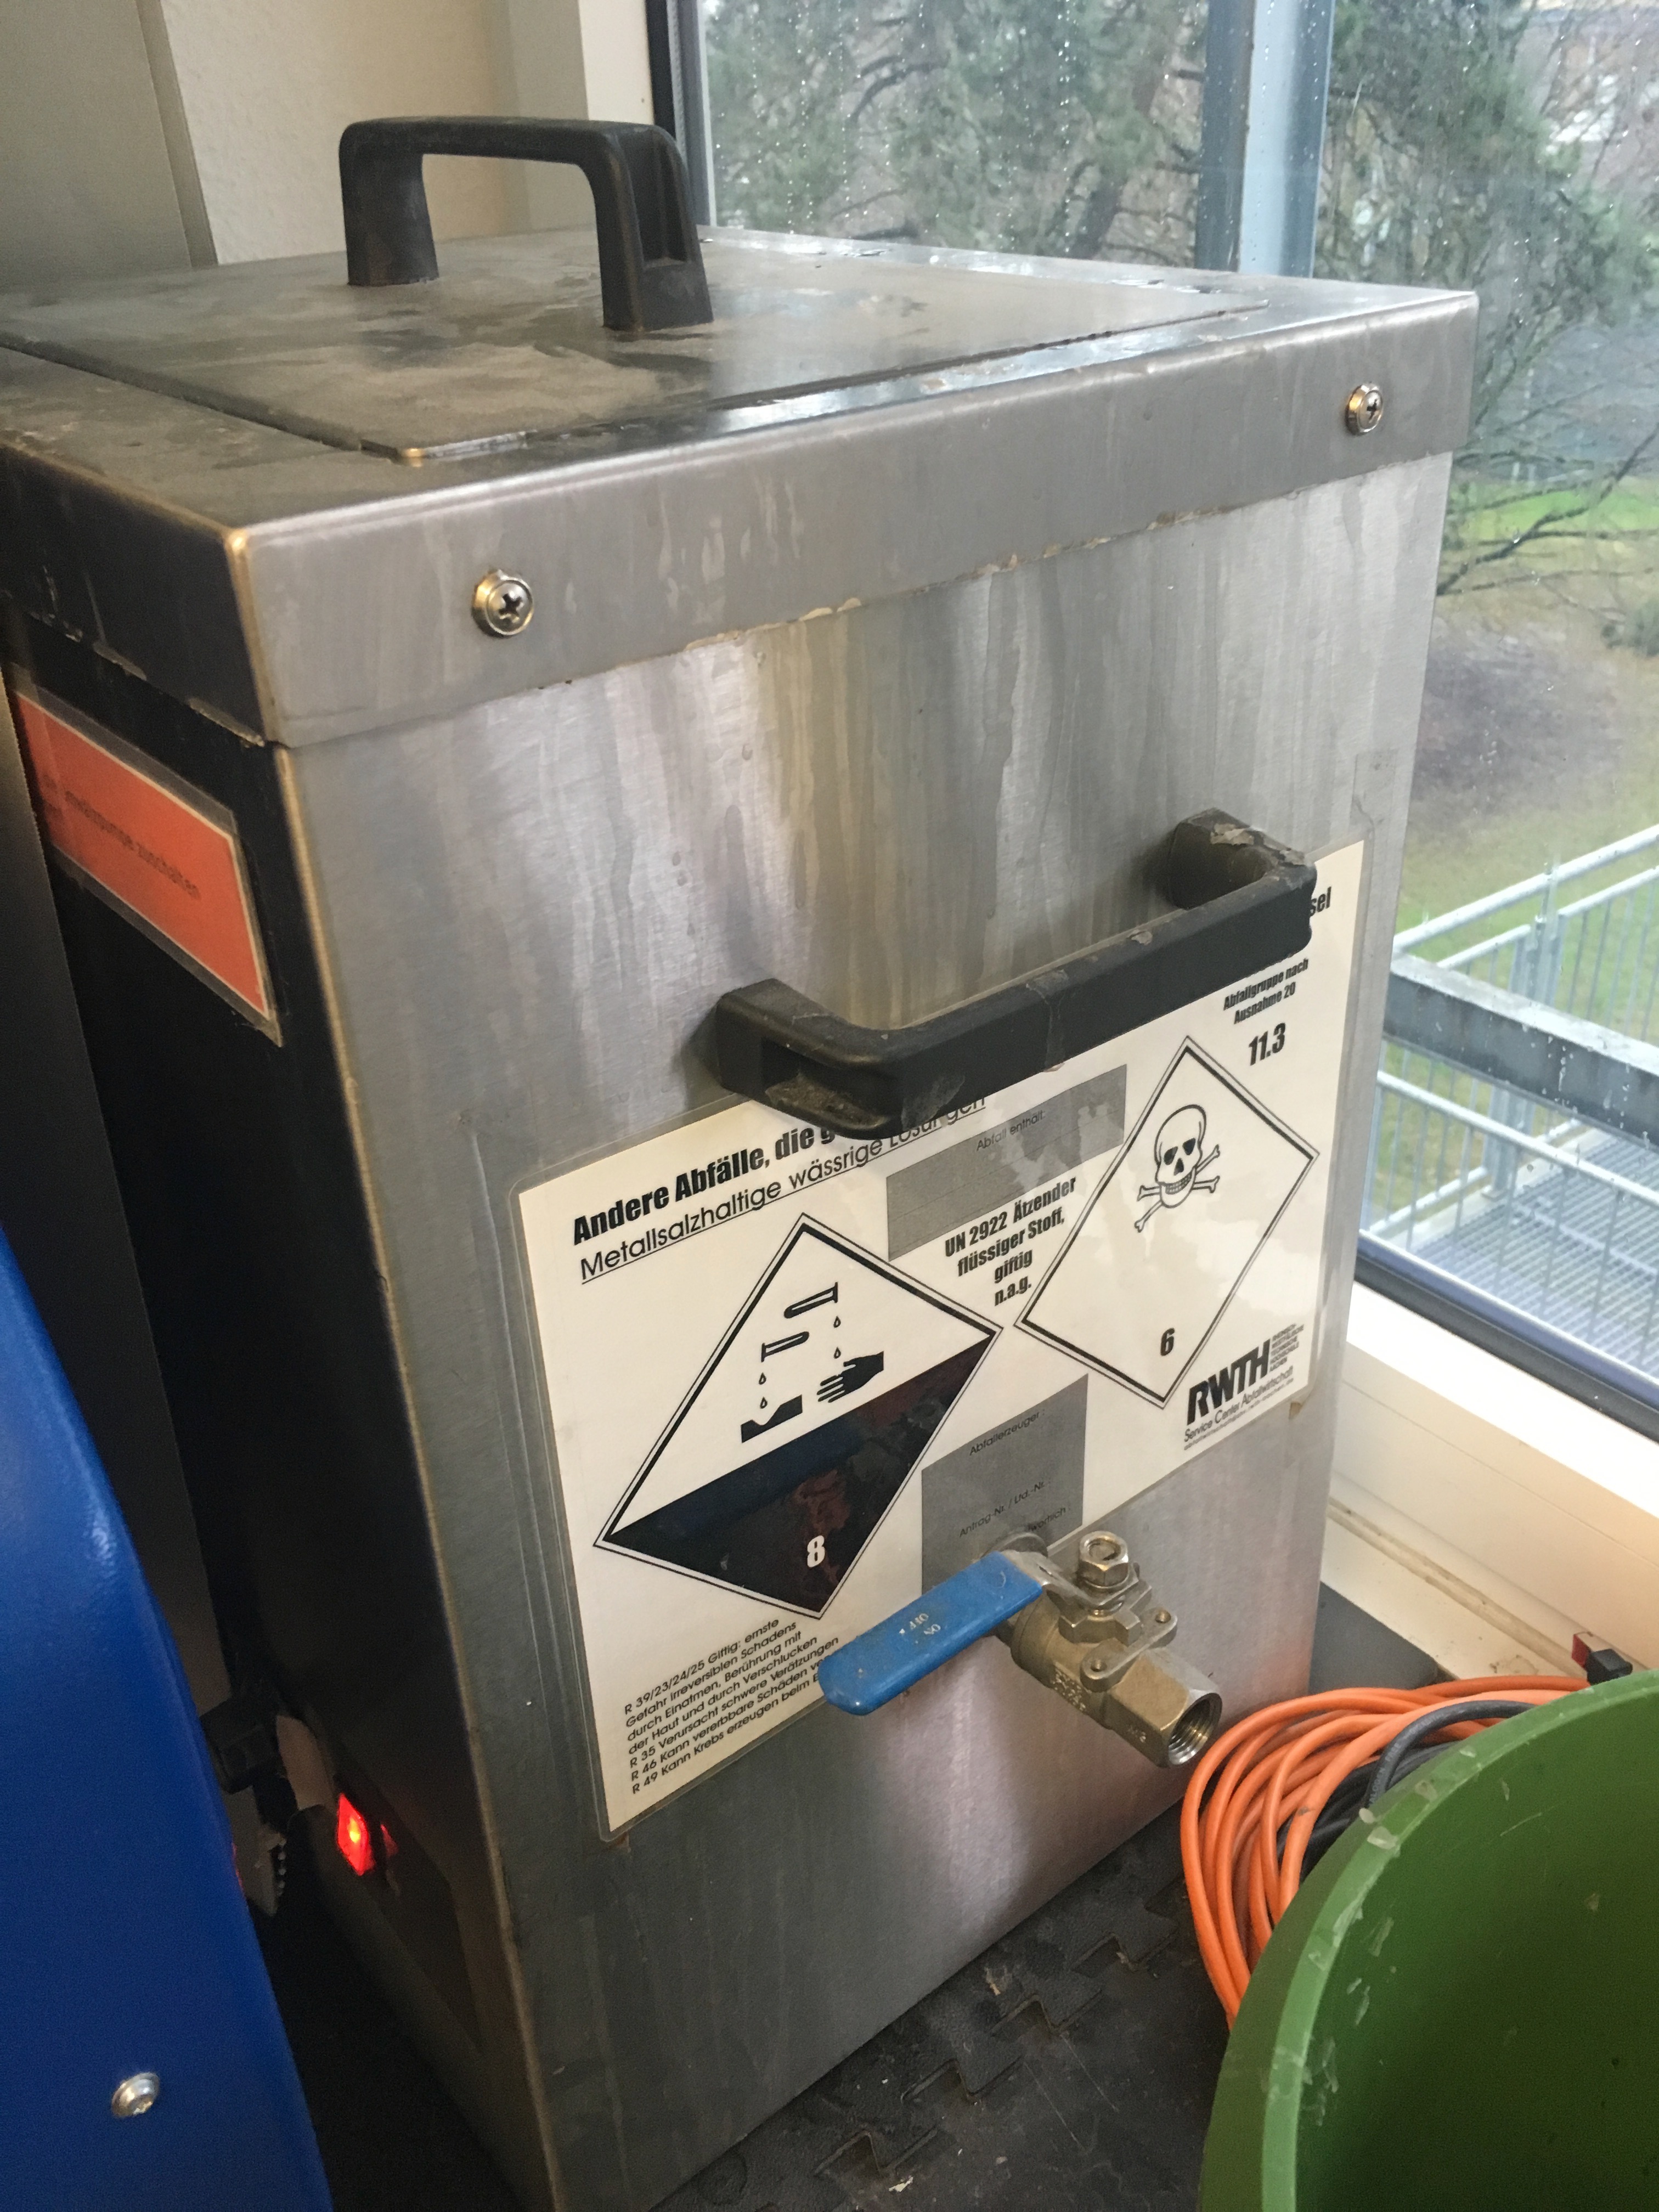
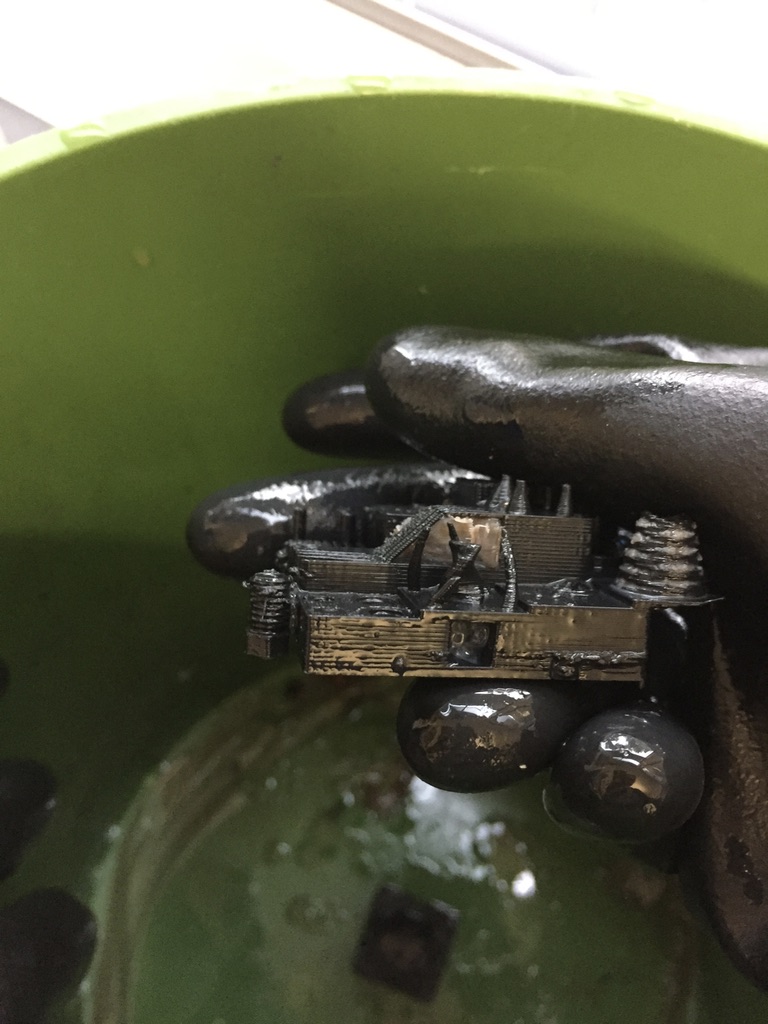
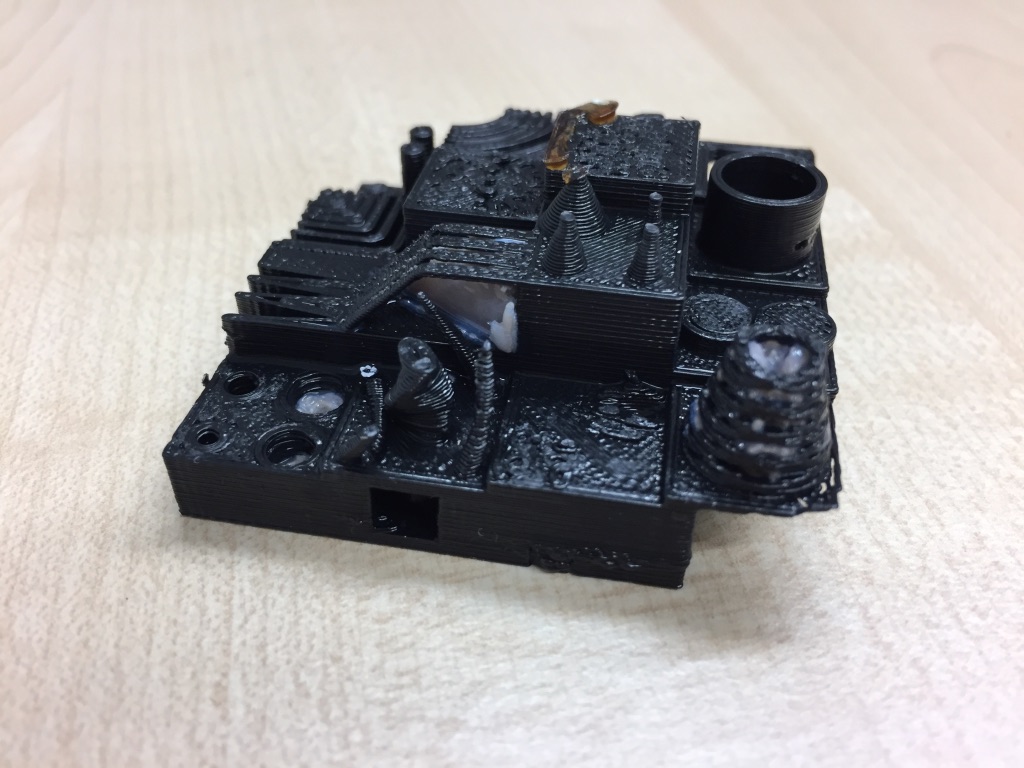
11. It took about 36 hours until the whole support material was vanished. Anke checked it twice in between to watch the status.
12. After in total 42 hours we had our finished 3D model printed with the dimension.
General comments:
The dimension software needs some time to adapt. Apart from that using the printer itself is easy. But having to use the vat to achieve your final model puts a bad effect on that printer. It is nicer to not be pushed to use somehow toxic materials.Ultimaker 3D printer
To test the 3D printer we used the same model as with Dimension. So, our steps were:
1. Load the stl file into the software Ultimaker Cura
2.Load the stl file into the software
3. Made general settings(size, material)
4.Started printing
However, it is really hard to make things work properly from the very beginning, especially with 3D printers. So, our first printing did not stick properly to the surface (even thought we cleaned it before), so we had to restart:

With this try not everything worked either. First, there is an offset, that happened with all 3D printers that night. We are not sure, but probably there was some electric racing, that caused the offset but did not turned off the printers.
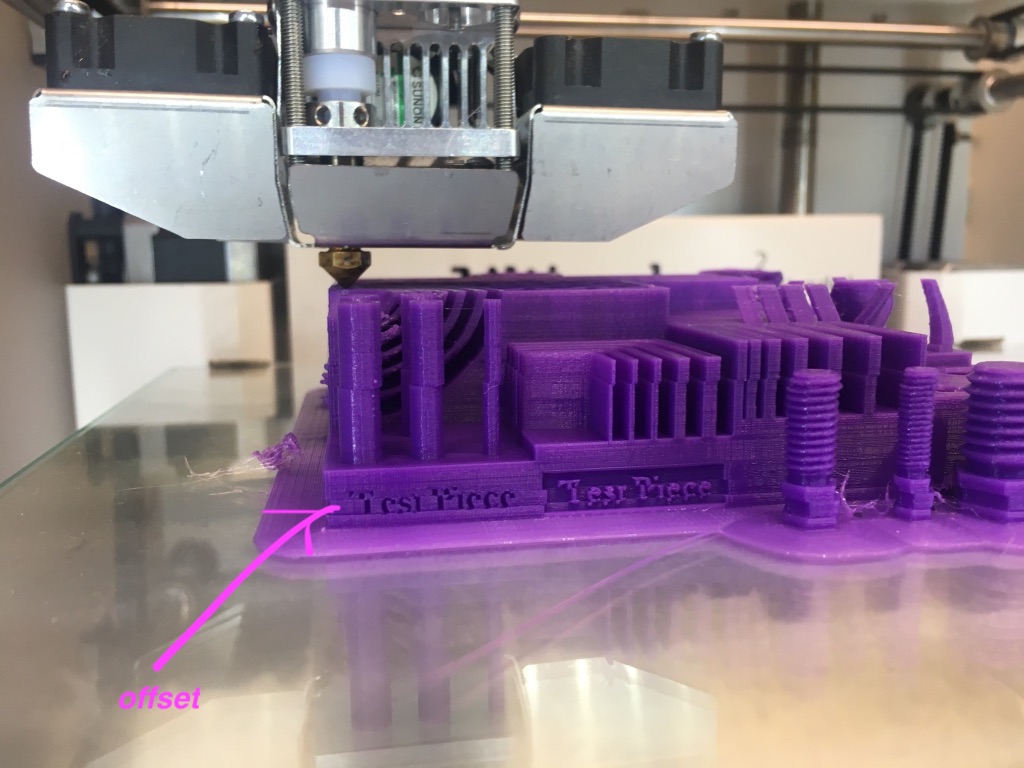
Here is a process of our printing:
In addition, the sphere peace did not stick properly to the model. So, finally we got that as a result: