Group Task
PCB Production Specifications
Setup
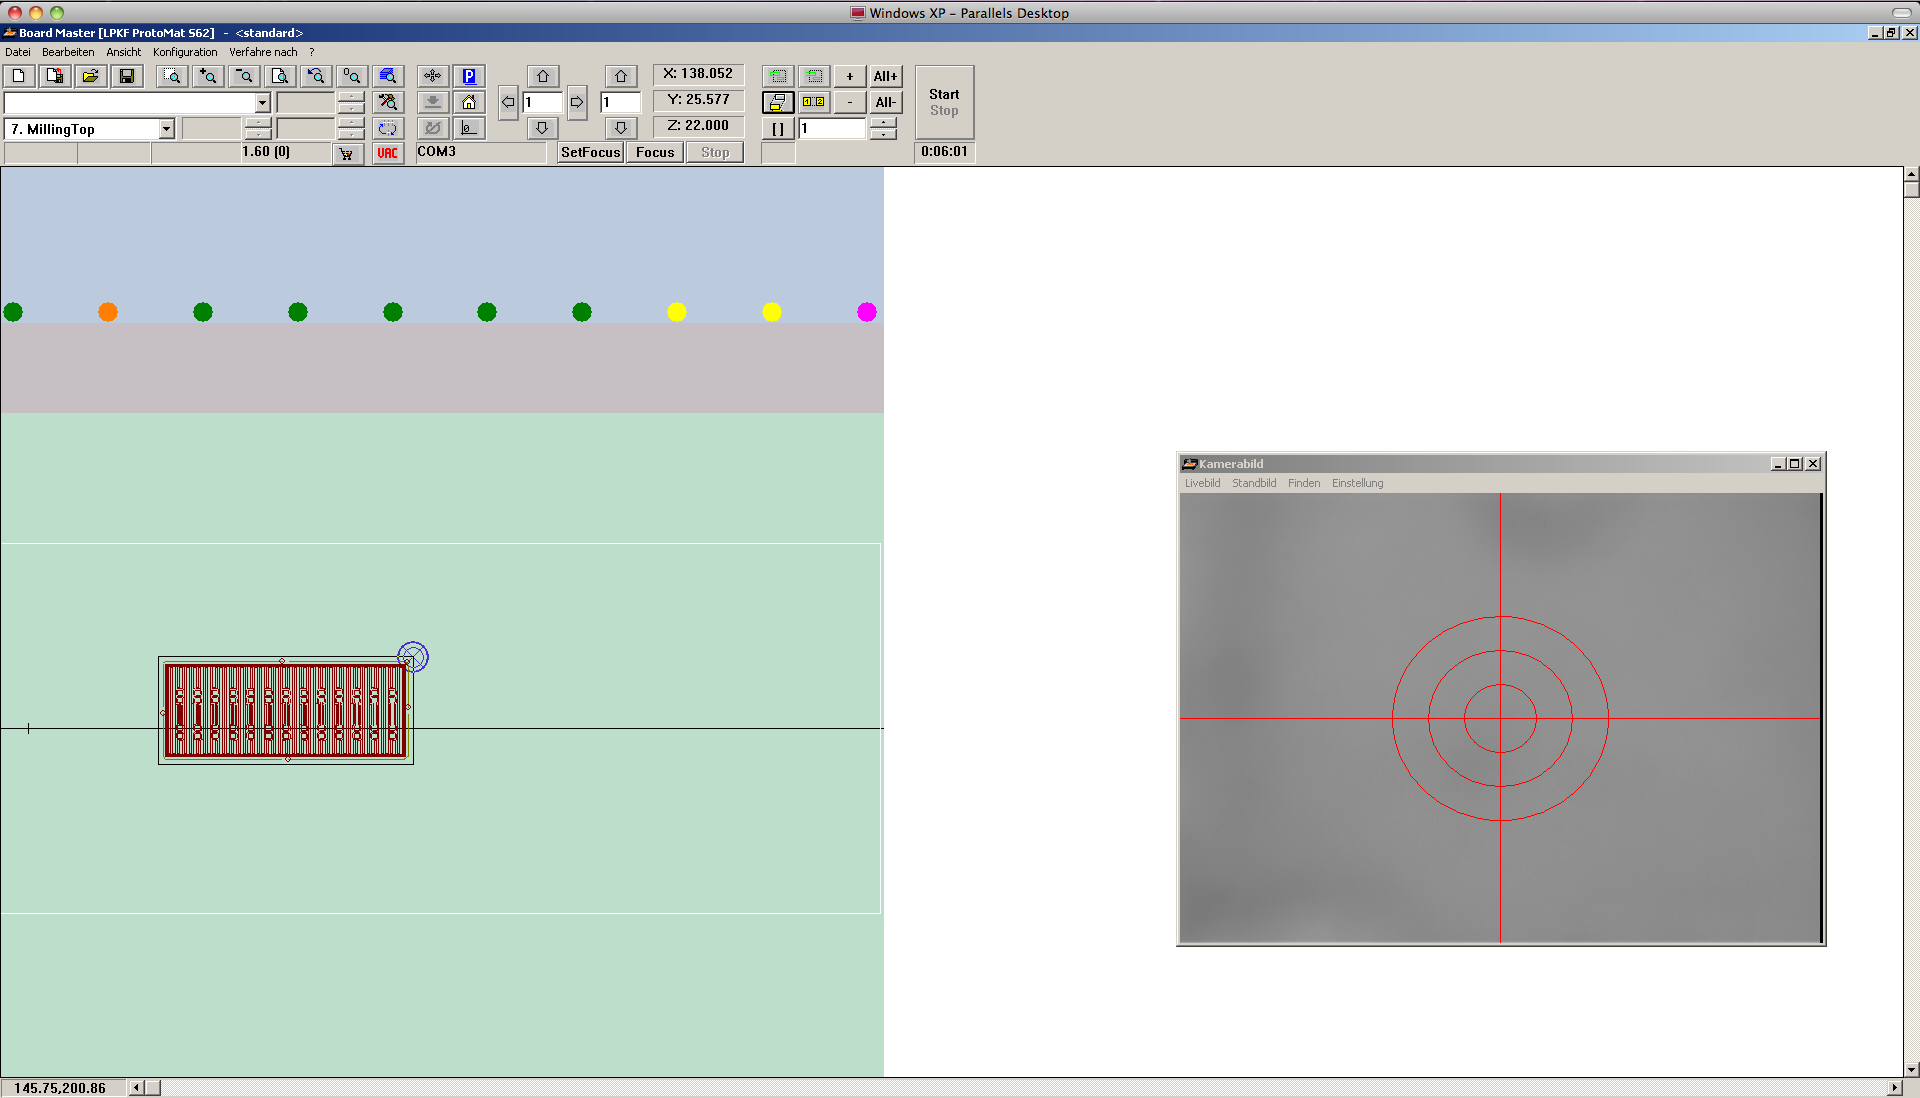
In our FabLab we have a LPKF Protomat S62 PCB milling machine. With the software suitable software you can control the milling machine. Please follow the advices to assure that the production of a PCB feasible:
-
1. Turn on the milling machine first, otherwise the software cannot connect to the machine.
2. Do not open the milling machine while it is milling your PCB!
3. If the machine stops working or looses connection without any obvious reason the easiest way handling this is: Closing down the software, turn off the machine, turn on the machine and open the software again.


Specifications for Production with the Mill
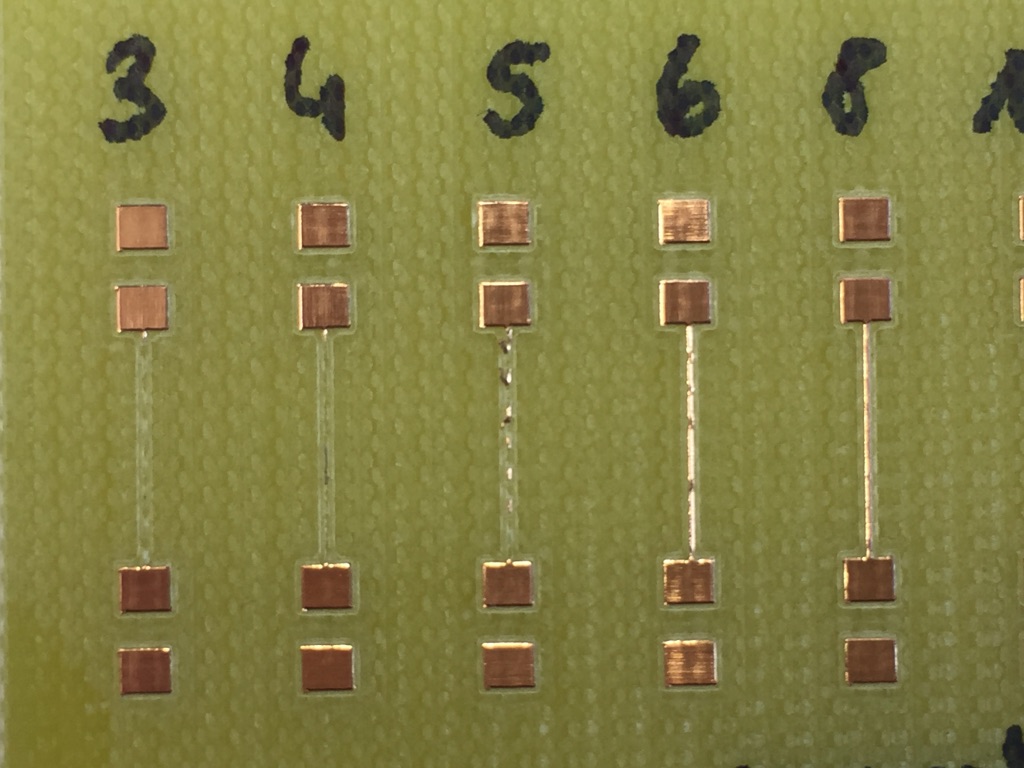
- During the assignment 'Electronics Production' in which we produced our own FabISP we already encountered the problem of the usable width for the routes on our PCB. Our local tutor made us aware of choosing a width that we can work with. E.g. for people that are new to the field of soldering thicker lines are helpful as they are easier to solder. Furthermore, each mill has a point at which it cannot mill the line properly anymore, i.e. the line is to thin to get milled properly.
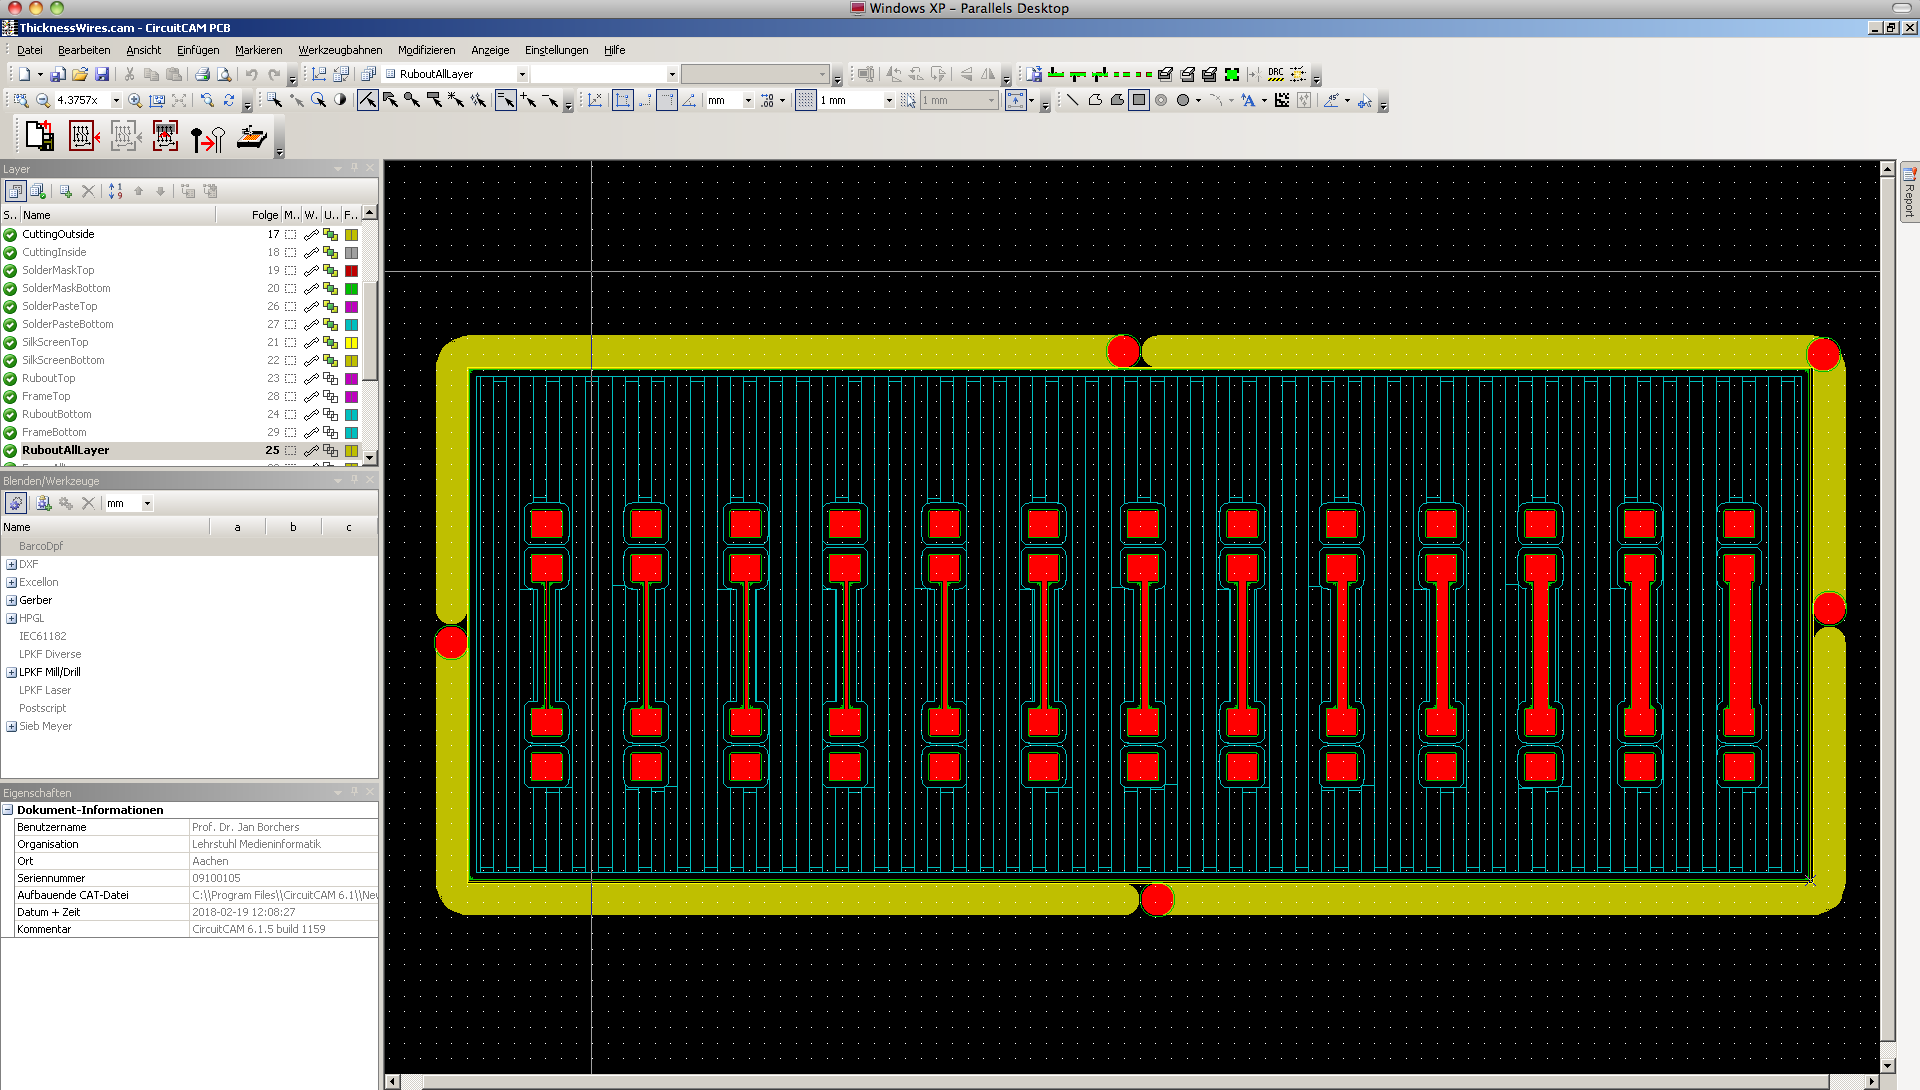
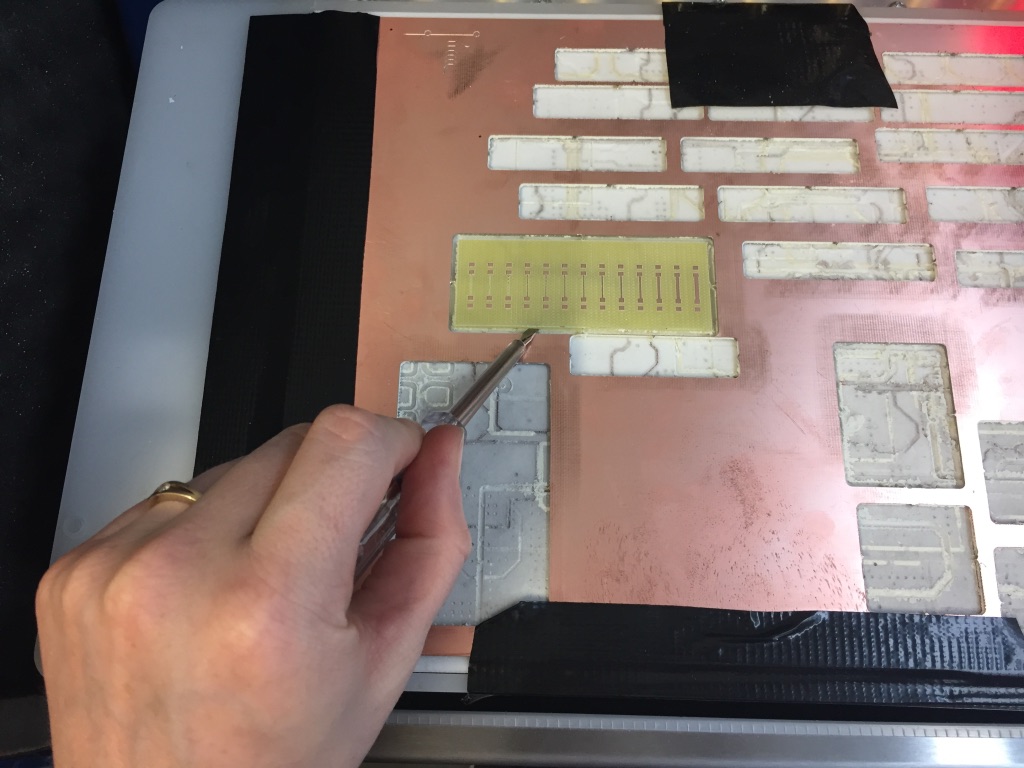
- To test the mill in our lab we designed a board with different width of the routes (from 3mil up to 50mil in the eagle software). We milled this test board and the result looks like this:


