Computer Controlled Cutting
Assignment
Design, make and document a press-fit construction kit. Additionally, explore the vinyl cutter.
Process
Using Inkscape, I focused on on using the clone feature to save time when tweaking notch widths and adjusting for kerf. I found the clone feature quite handy - allowing me to adjust the cuts based on the size of the material quite easily.
For my project, I was inspired by the K’NEX building system, and set to create a building system my three-year old son could enjoy.
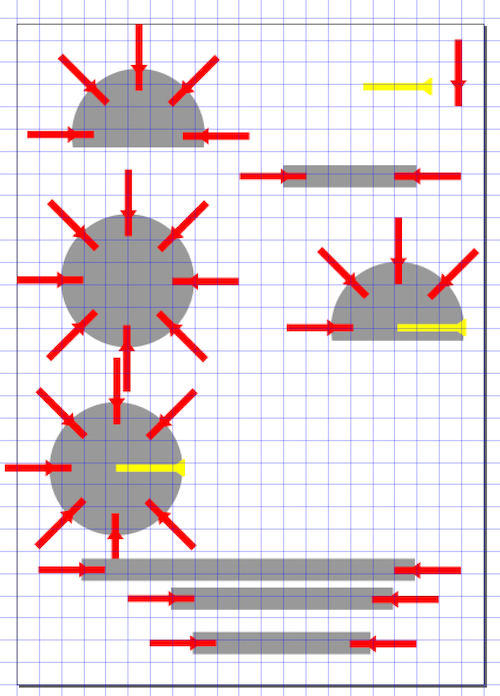
After creating my design in Inkscape, I found that I couldn’t use the difference feature to ‘knock-out’ the cuts as I would expect.

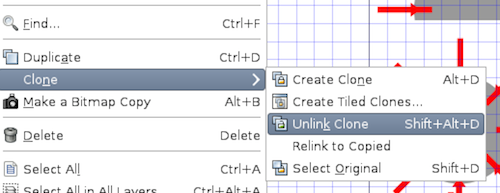
I found that I would have to unlink the clone from the original, parent object before I could use the path tools.
I also found that the standard dxf export in Inkscape on the mac uses a newer dxf version than used by many systems, including the epilog laser cutter. By installing a better dxf plugin, I was able to create R12 dxf files which, in addition to being compatible with the laser cutter, are more compatible with other opensource software that accepts a dxf file.
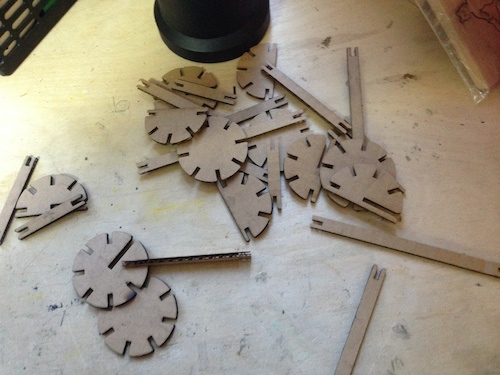
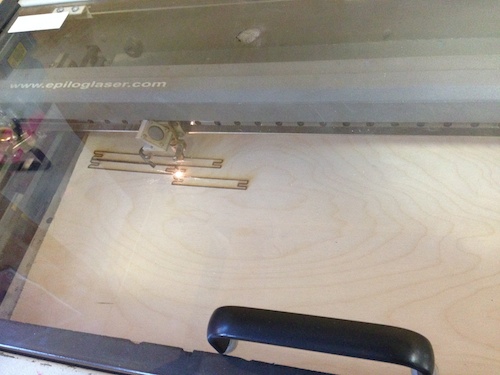
After adjusting for the material, I set the laser cutter to cut a test run on cardboard. However, I found that the power and speed had to be set much higher and slower than expected. I was able to use the laser cutter for the remainder of the project, but had to run the same job multiple times to fully cut the material. After I left the lab, I did some research and believe that it’s possible the optics were not clean, resulting in the weakened power.
After cutting the pieces and testing, I created a small box to house the kit.


I then decided to experiment with the vinyl cutter. I had used the Roland GX–24 quite often before with the Roland print driver, but decided to try the fab modules CAMM controller.
I created two fairly complicated illustrations - one using Stipple Gen and another using the circle halftone feature in PixelMator
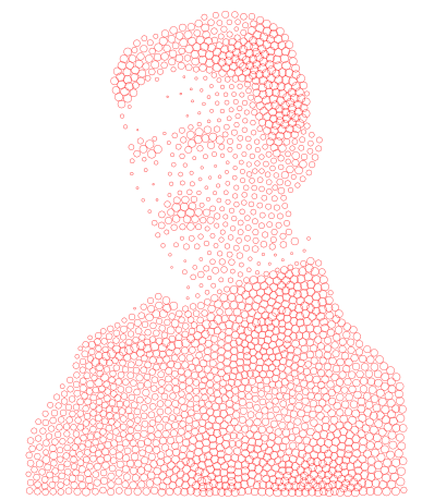

I then used fab modules to cut the illustrations. During weeding, I noticed that fab modules didn’t handle the overlapping circles in the stipple illustration as expected. It cut only the intersections, resulting in the darkest areas of the illustration becoming the lightest. I’ll need to experiment more with why this was the case. The illustration was quite complicated, and it did handle the circle halftone very well.


Upon arriving home, the all important play testing confirmed that the kit was a hit.

It wasn’t until later that evening that I discovered that my K’NEX inspired kit is a common first cut as I found many other projects with similar concepts. A good reminder to look to see what has already been done before embarking on a project!