| HOME | ABOUT ME | FABLAB UPM | FINAL PROJECT |
| week 1 Principles and practices, project management |
| week 2 Computer-aided design |
| week 3 Computer-controlled cutting |
| week 4 electronics production |
| week 5 3D scanning and printing |
| week 6 electronics design |
| week 7 computer-controlled machining |
| week 8 embedded programming |
| week 9 molding and casting |
| week 10 input devices |
| week 11 composites |
| week 12 output devices |
| week 13 networking and communications |
| week 14 mechanical design, machine design |
| week 15 interface and application programming |
| week 16 applications and implications |
| week 17 invention, intellectual property and income |
| week 18 project development |
| week 19 project presentation |
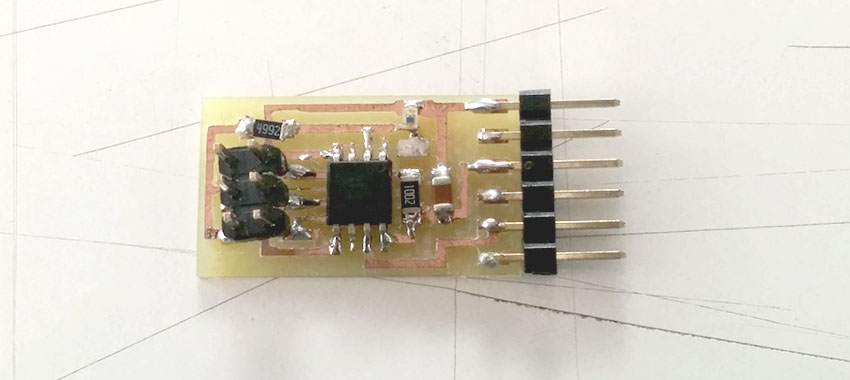
Week 10: Input devices Goal: measure the light with a phototransistor in a Hello.Light board For the assignment of this week I'll make a Hello.Light board to measure the intensity of light. The first thing I do is download the documentation I need from web of the class of this week. Here I find the components of the board, the traces, the c code, the makefile and python file for visualizing the data. To work in Python first I have to install it on your computer, and install the pyserial for python to communicate with the board through the FTDI wire connected to the USB. For display the data in graphics, Python is going to use Tkinter, so I also have to install it.
step 1: making the board From the image of traces I get the paths to drill de board and I weld the components as we made in the previous assignment.
Step 2: programming the board In the windows console (for windows users like me), go to the folder where you downloaded the makefile and the c code and run them. Important: add the port where the FabISP is installed, if we don't do it, we will get an error and we will be asked to specify the serial port.
If it works, the console will show the following text:
Now we have our board programmed. Step 3: visualizing the data To view the data I need to install python and Tkinter on my computer. Now from the console in windows, placed in the folder where the downloaded file hello.light.45.py are, I write in the console:
If Tkinter is successfully installed, a window on the screen with a blue and red bar that increases and decreases appear as the light sensor get in the board.
|