Home
About Me
Final Project Ideas
Computer-aided design
Computer-controlled cutting
Electronics Production
3D scanning and printing
Electronics Design
Molding and Casting
Embedded Programming
Computer Controlled Cutting (Router)
Input Devices
Composites
Interface & Application Programming
Output Devices
Networking and Communications
Mechanical / Machine Design
Applications and Implications
Invention, IP, Income
Project Development
Final Project


3D Scanning and Printing

This week I did some scanning and rapid prototyping. 

Scanning:
The last time I used a scanner was about 6 years ago.  Scanners are useful for complex shapes that are not easily measured. 

We don't currently have a scanner in the lab, so we borrowed one from another.  Since I didn't have a direct need for a scanned object, I explored the options of the NextEngine scanner.

The first object I scanned was a Zcorp model of a chess piece.  I changed the settings to 5 scans, low resolution for point cloud and the closest focus point.


After the 5 scans, the data on the screen was poor.  I tried aligning the objects, but the program crashed on my computer.

I scanned the chess piece a few more times, without good results.  I determined that having a white object with minimal texture didn't help in aligning the point clouds.  So I switched objects.

2nd try:
The second object I scanned was a pain reliever bottle (fitting for the troubles I ran into with the scanner).  I found the bottle while searching for an object with text or other alignment features on it.

I scanned the bottle with 8 scans and increased the resolution a bit.  The scans didn't align themselves automatically (did self align once with the Zcorp part).

I had to apply alignment pins to line up the surface scans.  For the most part, they lined up well.  Since the outside of the bottle is filled with text, it is noticeable where a few text lines do not line up. 


Once the scans were aligned, I tried to fill in holes.  The software seemed to lack abilities in hole filling options, only made a mess.  The cap was a separate from the bottle shape, and I could not figure out how to bridge the gap.  The more I selected edges and tried to fill holes, the more the object morphed into a tube with a wall thickness. 
 

3D Printing:

3D printing is like second nature to me.  I am very familiar with fused deposition modeling; have build 12k-13k parts. 

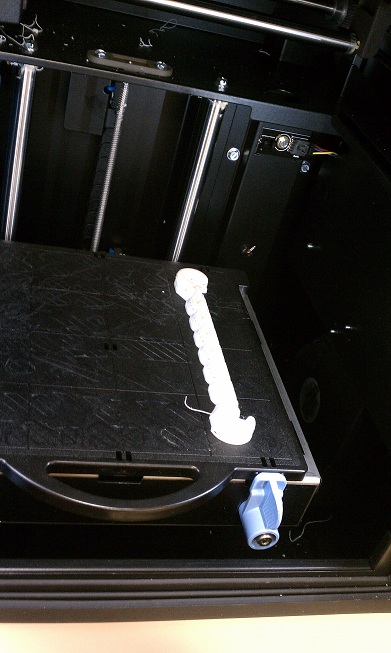
I didn't have a specific part to build this week that was interesting, but knew I wanted to build something visually appealing that would showcase some of the capabilities of the machine.  So I drew up a chain with hooks using Pro/E:


To get to an assembled file, I drew two files: a single chain link and a hook.  I created an assembly drawing of a series of links and added the hooks to the ends.  I had to create a STL file to use in the 3D printer, which is 'save a copy' in the software.  When creating a STL file, I always adjust the 'chord height' and 'angle control' to the smallest values it will allow.  This creates the finest triangles, yielding round features.

In the lab, we have a uPrint SE Plus machine.  I used CatalystEX to slice, generate supports, and create toolpaths from the STL file.

The part took 1hr 5min to build, size is about 7" long.


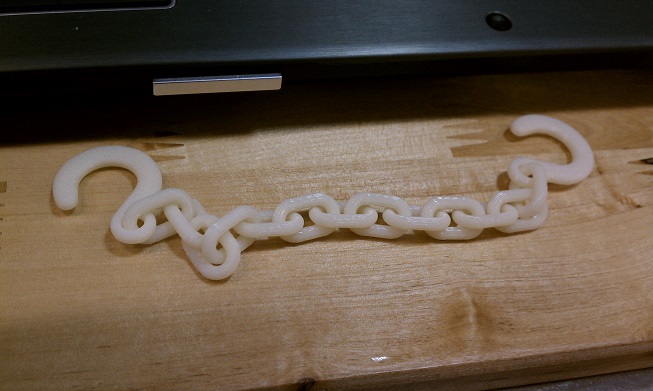
After the soluble support was removed, the chain moves freely. 

Final part with support removed:


Now I just need something small to tow....