project development - Part 3
Continued from project development part 2
Step 9:
Fabricating the Housing for the installation
For housing the speakers and electronics I actually made 2 different enclosures.
I made both of these using 6mm ply on the laser.
1) Firstly, I made a small portable prototype box to house the electronics and buttons for testing. This is really useful
because I can bring this to a location outside of the lab and connect it up to other speakers.
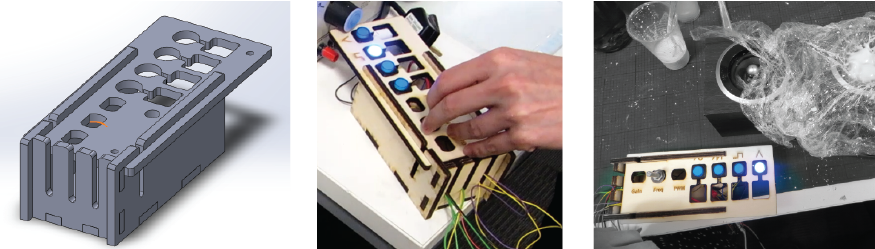
Download the files for the prototype box model
here
2)Secondly, I made an enclosure to house the electronics and speakers. As I'm using speakers owned by the lab I didn't want to make
an enclosure that would be permanent. So I made an enclosure that would use the least materials as possible and re-use
the control board from the proto box.
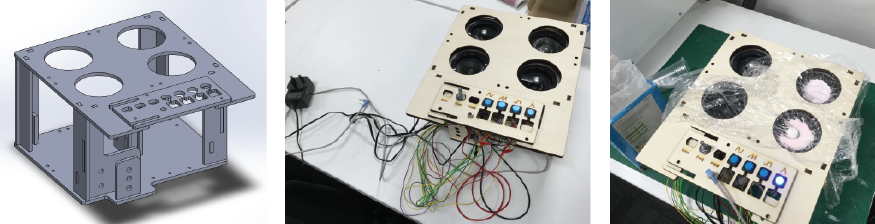
Download the files for the speaker & electronics enclosure model
here
Step 10:
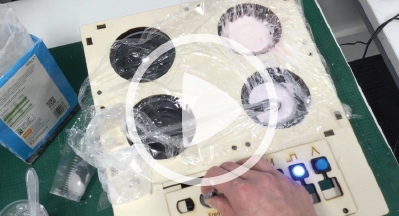
Final Piece
Delighted I got it working. See it in action in the video below.
If I were making it again a few changes I'd make:
- A visual output to see the frequency being output, maybe with an LCD screen.
- When you change from a wave at the moment the frequency isn't the same. I would change this.
- There is an amp on the speakers I used but I think I'd add an amp to the circuit if I was doing it again.
- I would buy speakers and build a dedicated enclosure so I could have this permanently. It would be nice to use this for school groups or in museums workshops
- it would have been impossible to carry out this project without an oscilloscope. Just a note for anyone who's thinking of doing this type of project in the future.
Design Files
- Download the first tester Code I used for communicating with the DAC
- Download the schematic
- Download the board
- Download the board gerber file
- Download the Drill file for the Denford-PCB-Engraver Software
- Download the FNC file for the engraver
- Download the final code I used
- Download the files for the prototype box model
- Download the files for the speaker & electronics enclosure model
Bill of Materials
- DAC - Microchip MCP4921-E/SN, 12 bit Serial DAC, 8-pin SOIC
- 220uF capacitor - Panasonic 220μF 35 V dc Aluminium Electrolytic Capacitor, FC Radial Series 3000h 10 Dia. x 12.5mm
- 5 x 1k Ohm resistors
- 1 x 2.2k Ohm resistor
- Audio Jack - Stereo Metal In-line Jack Socket 3.5mm
- 4 x Buttons (http://www.mouser.co.uk/ProductDetail/Shin-Chin/R13-508AL-05-BRR-L3/?qs=42TdBvIR%2FY7CICgBh63Xlg%3D%3D)
- 1 x Potentiometer
- Arduino Uno
- Header pins
- 2 x 6mm ply sheets 600mmx450mm
- Speakers with built in Amp
- Cling film
- Cornflour
- Water