Week 18. Project Development. The assignment is to complete your final projects, tracking your progress:
- What tasks have been completed, and what tasks remain?
- What has worked? What hasn't?
- What questions need to be resolved?
- What will happen when?
- What have you learned?
- Documentation during development.
- Demand- vs supply-side time management.
- Spiral development.
Mechanics
I drew the machine with Solid Works.

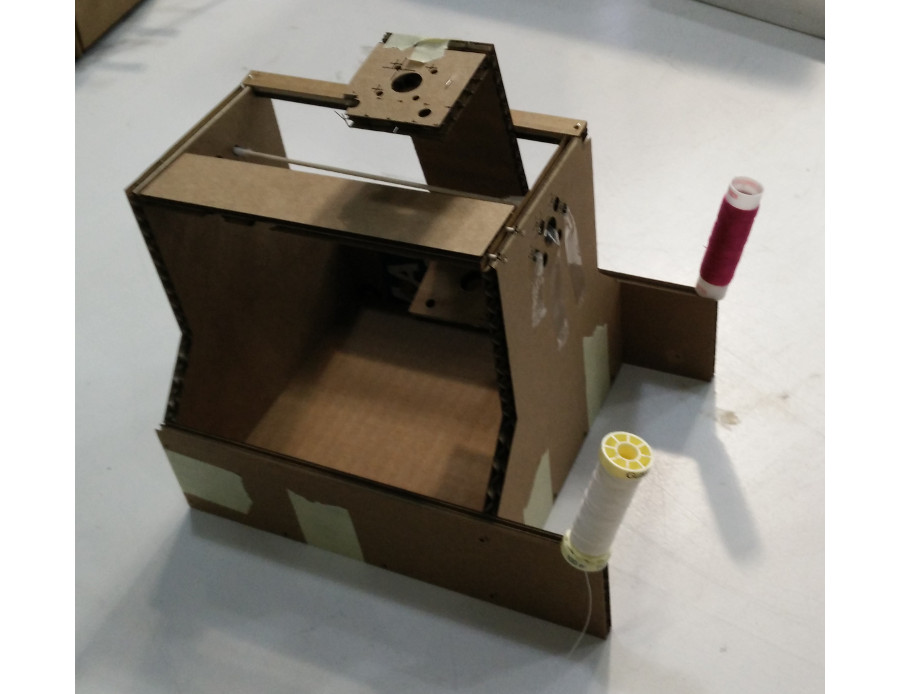
I scaled the size of the frame and built a laser cut, half sized model of the machine. The scalability was to achieve, so this is an important test using 7 mm cardboard to confirm the functionality and find out any errors in design.
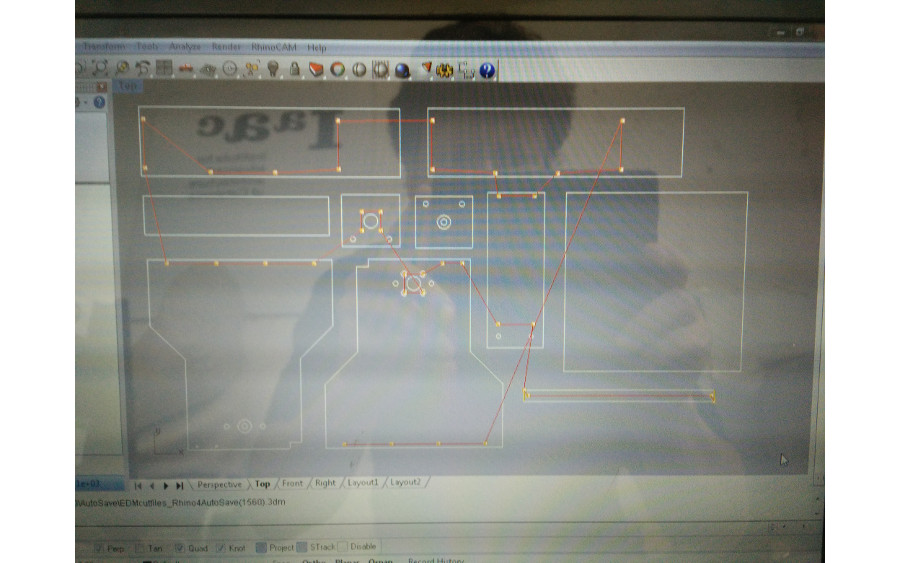
Since all seemed to be in order, I used RhinoCAM to make cut files for Shopbot.
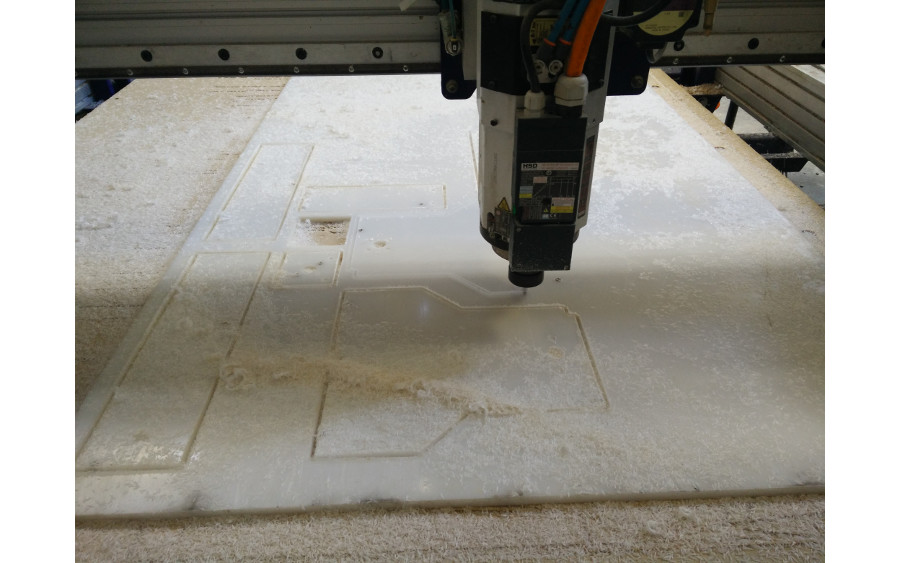
The parts were cut.
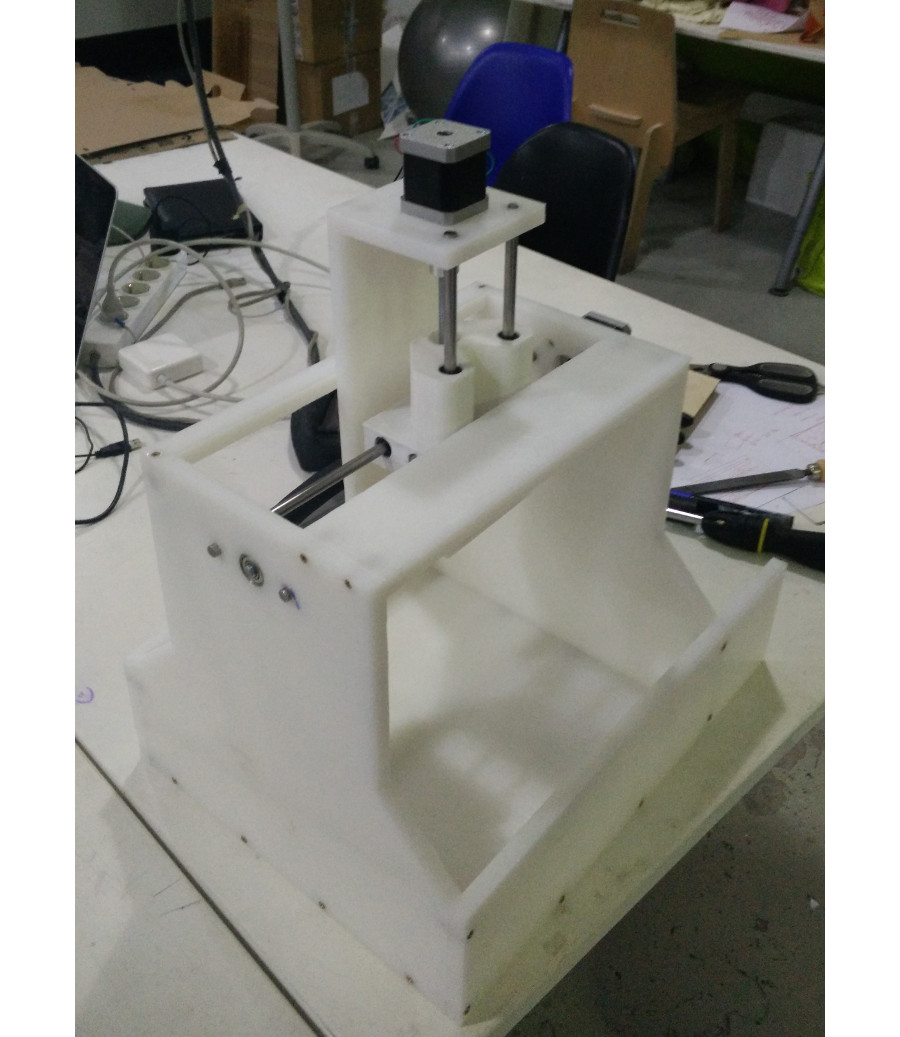
The cross section was 3D-printed. First try with Makerbot printed half way. Since I was really in a hurry and not able to reserve Makerbot anymore, I draw the rest of the part that was not printed and printed it with Milena Orlandinis Reprap+ machine. I was able to reduce printing from 20 hours to 3.5 hours by gluing these parts of the parts together with rapid epoxy. I used Y-axis support and guides as a jig to ensure the right position.
After getting the motors, motor couplers and bearings, I was able to assemble the mechanical parts. The guides are exactly parallel and right. The movements are really smooth and effortless. X-axis is missing a spring under a nut to reduce unwanted free movement. I couldn't find a suitable spring or spring washer from the lab, so I put a rubber under a nut. That was a big mistake. The rubber stuck between the nut and the threaded rod and the whole machine stuck so hard, I was barely able to disassemble it to remove the rubber. Other than this everything worked nicely.
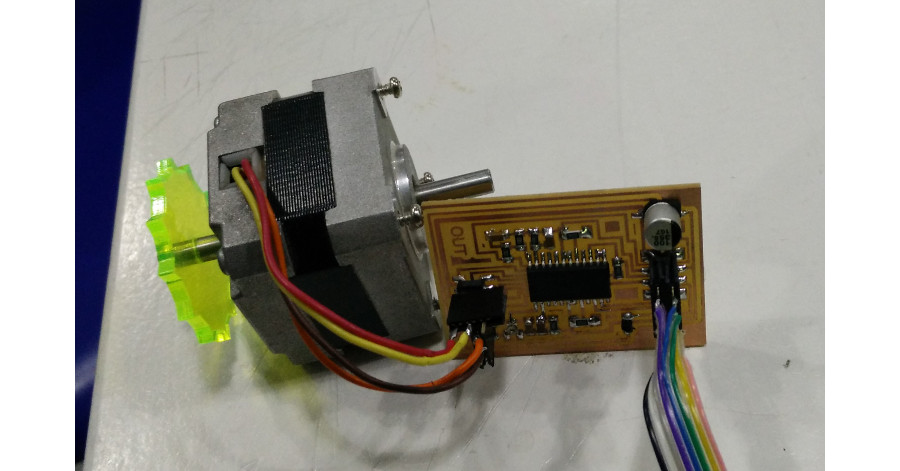
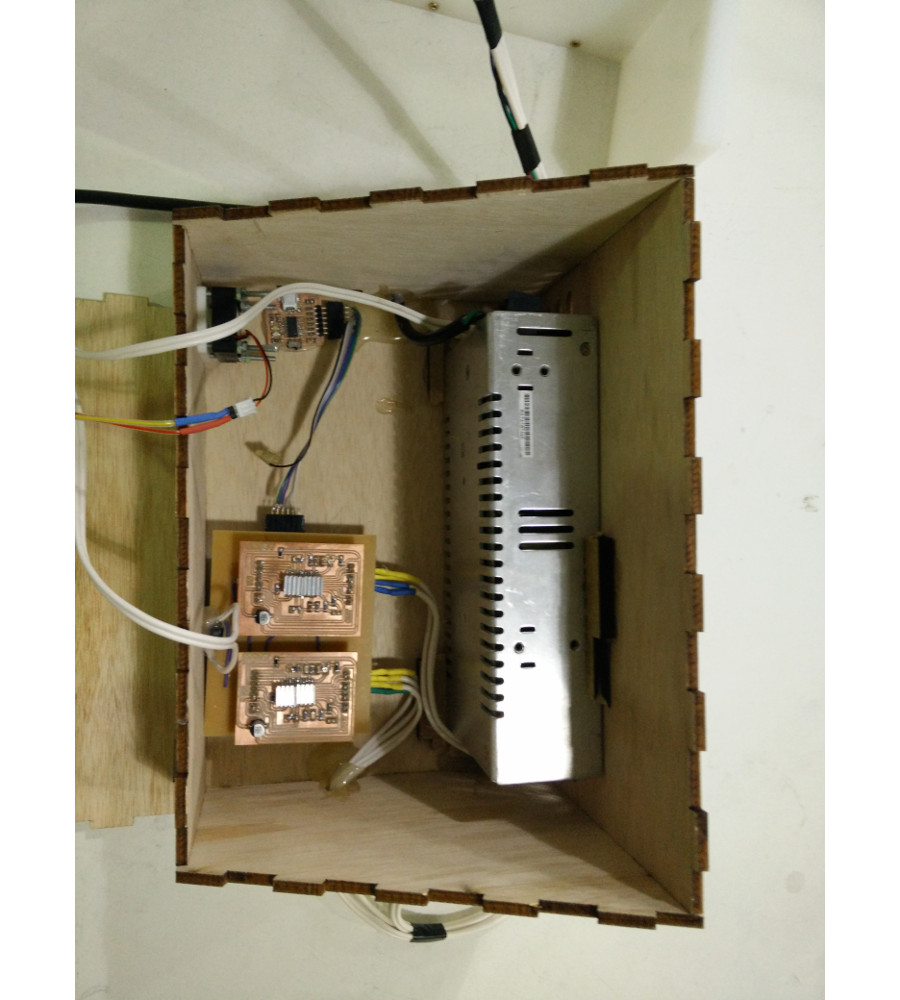
Electronics
I made a stepper motor driver prototype based on Fabinabox using components at hand and tested it with a very simple Arduino code I wrote.
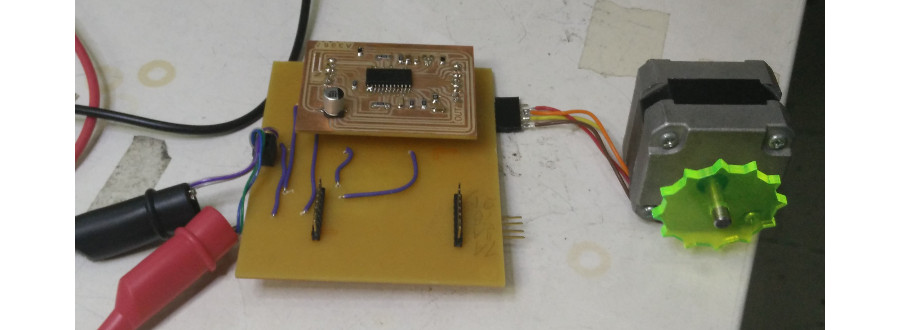
Gabrialla Gardosi changed the inputs and outputs through hole pin headers, and I designed a control board and made two stepper motor controller shields.
I added an USB to serial board of my own modification I made earlier, a power source, a laser cut casing with a tilted control panel, a fan, a 3D-printed fan grill, a power LED, a power switch and assembled the electronics and connected motors.
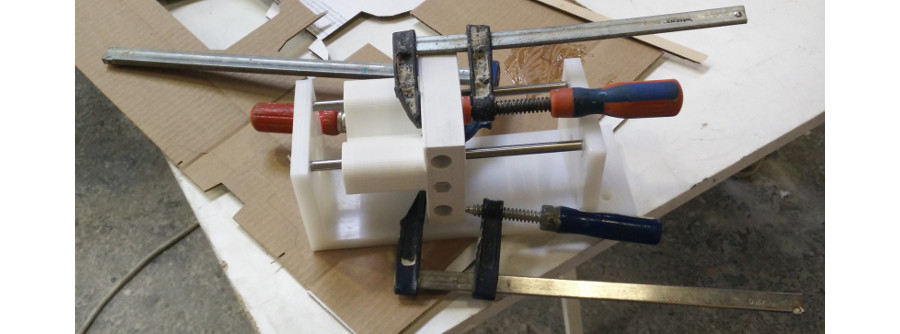
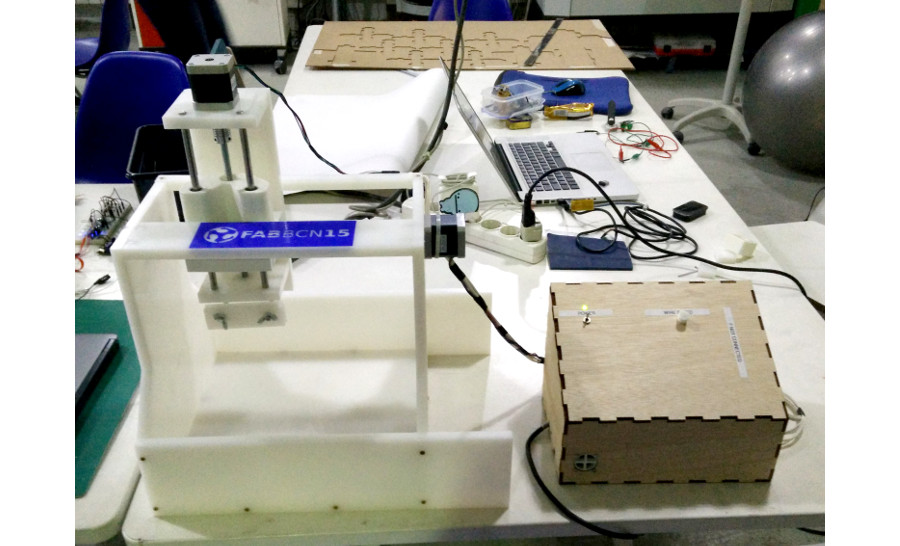
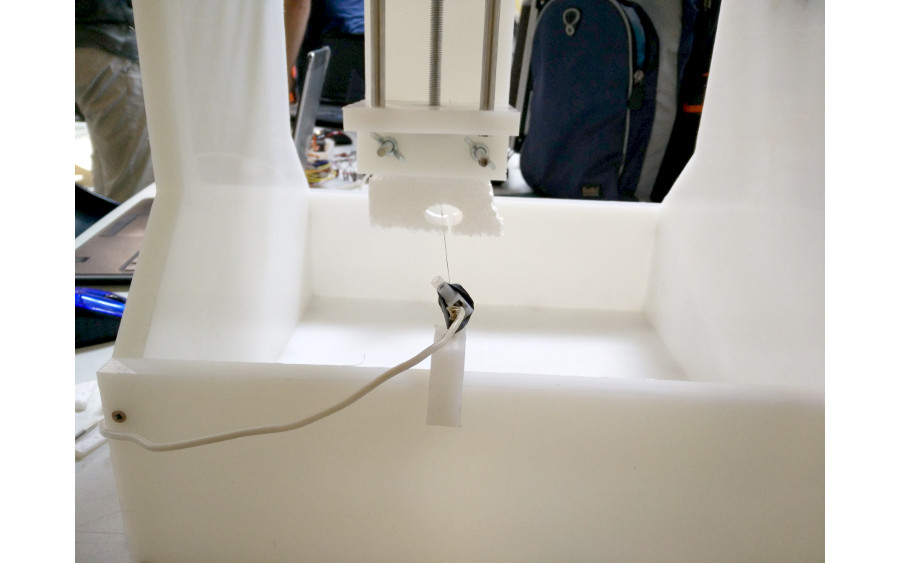
Machine
I made the vise and hot wire holders. I assembled all together and added a sticker on the frame and the machine was ready to be tested.
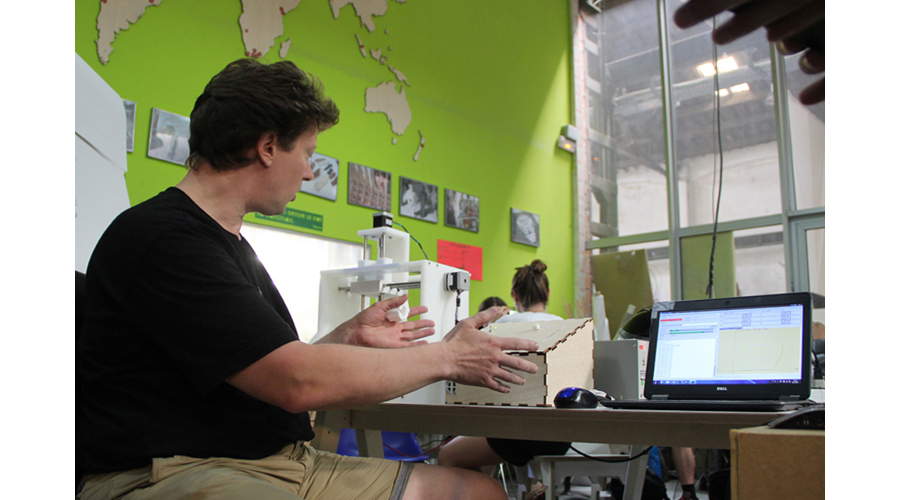
This is supposed to be a circle. The machine needs to be calibrated.
I calibrated the machine first via terminal and adjusted final values with the GUI. The machine is ready to be presented. (Picture Francesca Perona.)
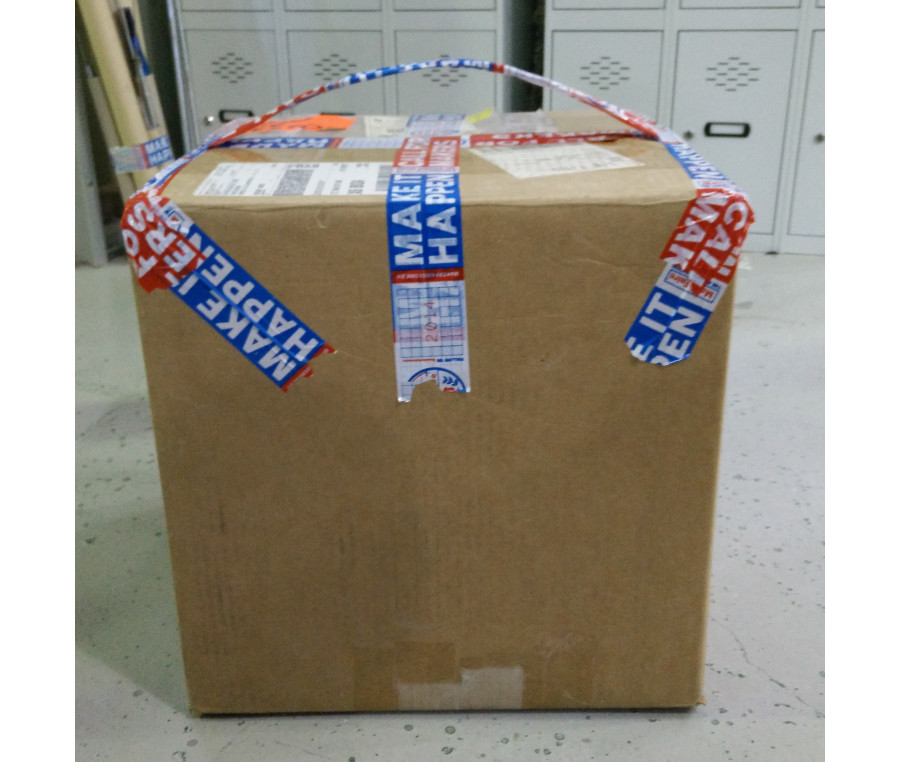
After a presentation, I packed the machine and took it with me to continue with the EDM part on another occasion. I call this Fab suitcase.