Week 16. Mechanical design and machine design. This week we had a group assignment to make a machine, including the end effector, to build the passive parts and operate it manually, automate the machine and document the group project, as well as our individual contribution.
In our group, A-team, there are four members:
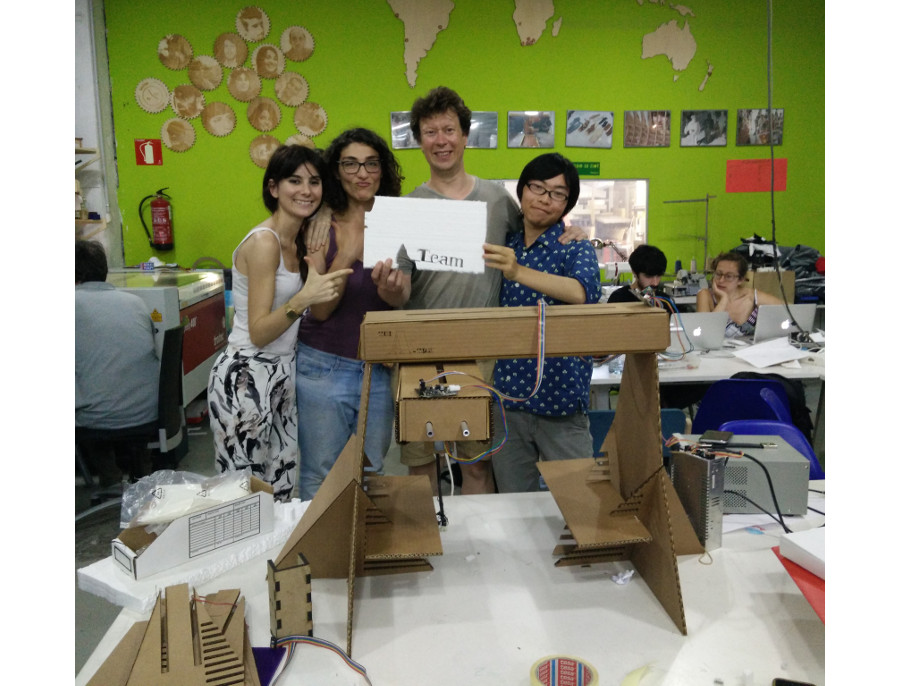
From left to right Mery, Lina, me and Taichi
The A-team decided to use MIT's cardboard stages and Gestalt nodes to build a 2D machine. Originally, we thought it would be a hot wire foam cutter, but then we decided to go for a multi tool machine.
Electronics
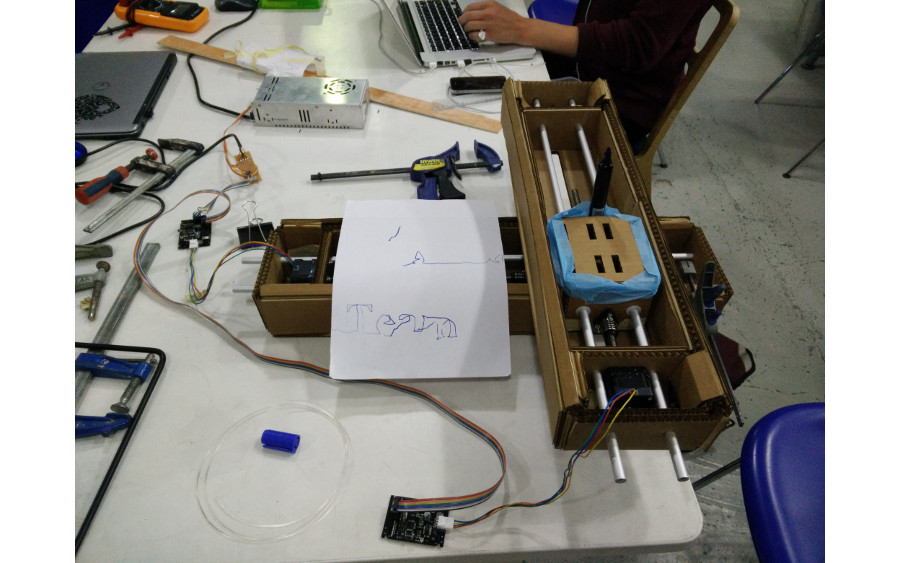
So, while Mery and Lina started to figure out how to cut the cardboard stages of 7 mm cardboard with a laser, instead of the original 4 mm one and how to construct an arc for the hot wire and Taichi started to tackle Python, I started with the electronics. I followed a link from MIT's page to github and picture (076-000Ar1.png) of a fabnet adapter.
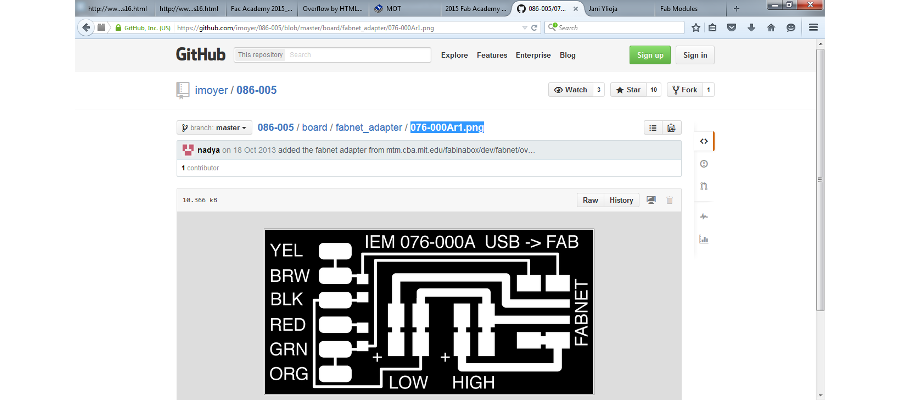
I made the Fab Modules ready files of it with Gimp and, milled it with Roland SRM-20. I soldered pull-up resistors, pin headers and RS-485 cable onto it and made a cable from the adapter to the nodes with the connectors in the package. Or so I thought until I checked the schematic. It turns out, a special cable is needed. This is NOT how to do the cable:
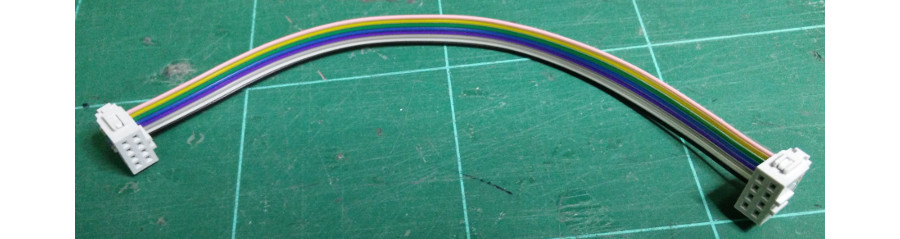
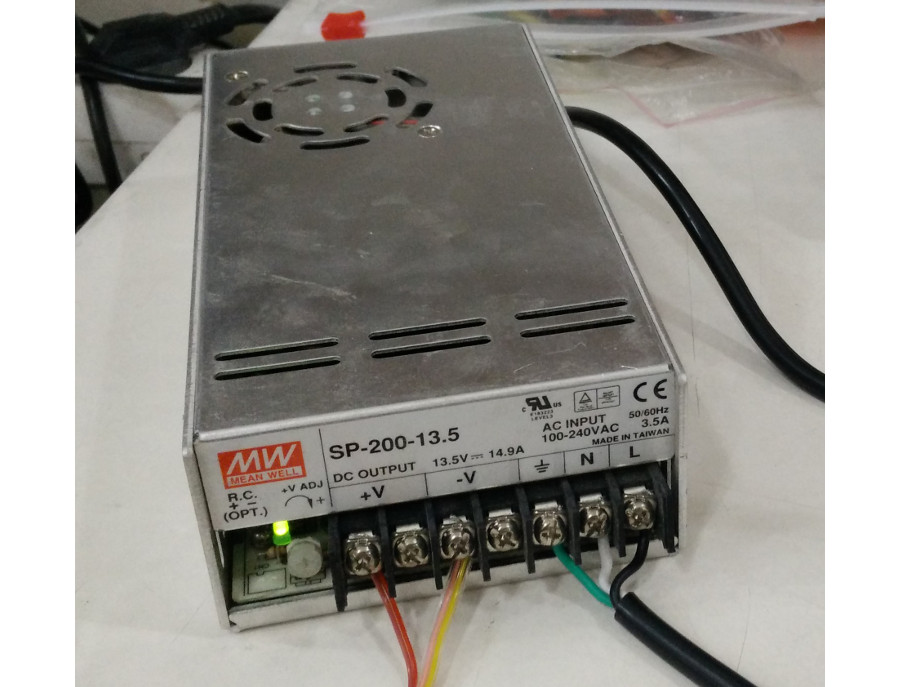
So I rewired the cable. The next step was to wire the power source found in the lab.
Then it was time to put all together and program the Gestalt node with the latest code from Github.
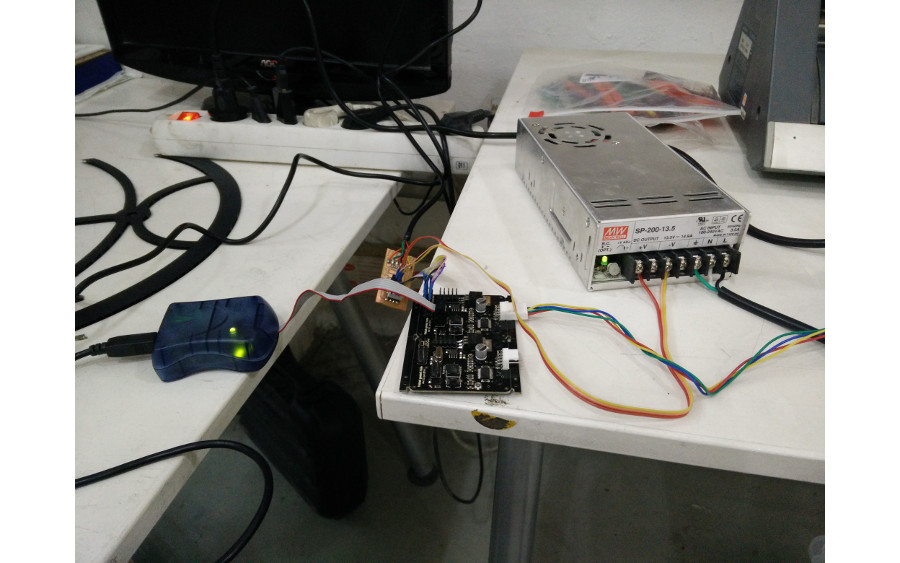
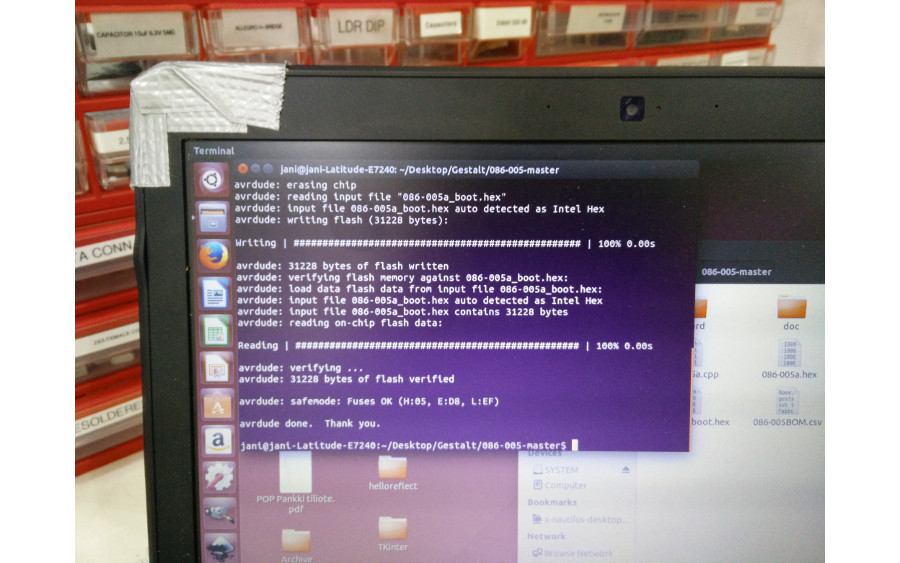
The programming broke the node. By chance, Taichi just tested one of the unprogrammed nodes and it worked. By next morning, the tutorial had also appeared to state the same: nodes are programmed out of the box. Luckily, we had a spare one so the next two we used were not reprogrammed and we didn't have to use much time to try to fix it. Then I just made a cable between nodes and the electronics were ready. Taichi was able to move both motors with the python interface.
Mechanics
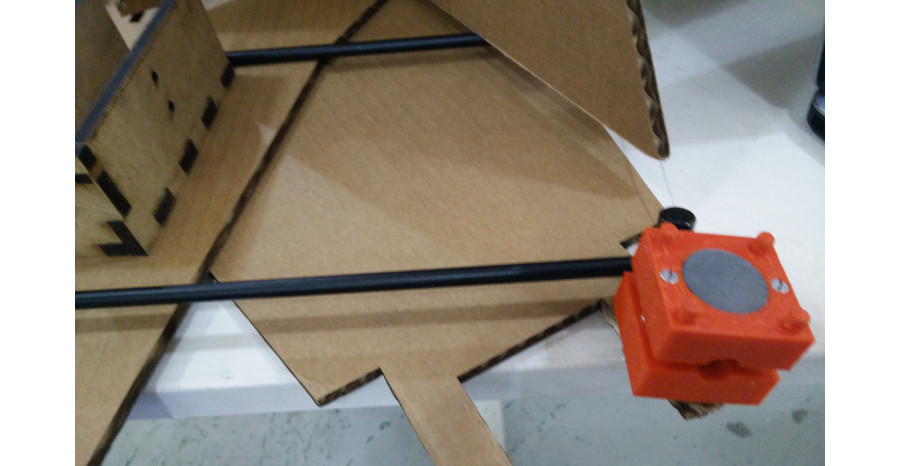
Multitool machine needs an easy switch toolholder. I drew it with Solidworks and printed it with Makerbot. The part most right, in the picture, the tool base, is attached to the machine. Pockets in the middle of the parts have magnets. Parts in the middle have guides in the corners fitting the pockets of the tool base. The tool fits between parts in the middle and parts on the left. There are two different tool holders in the picture for different sizes of tools. Magnets and guides allow easy tool change. Although heavier tools require stronger magnets that we had. Screws to attach the tool base are sunk at the bottom of the guidance pockets. These easy change tool holders allow us to use almost any 2D compatible tools such as cutting blades, pens, hot wire, etc. by just pulling the old tool off and putting a new one close enough for the magnet to attach the tool holder.
Attaching the tool to the tool holder. The magnet is in the middle.
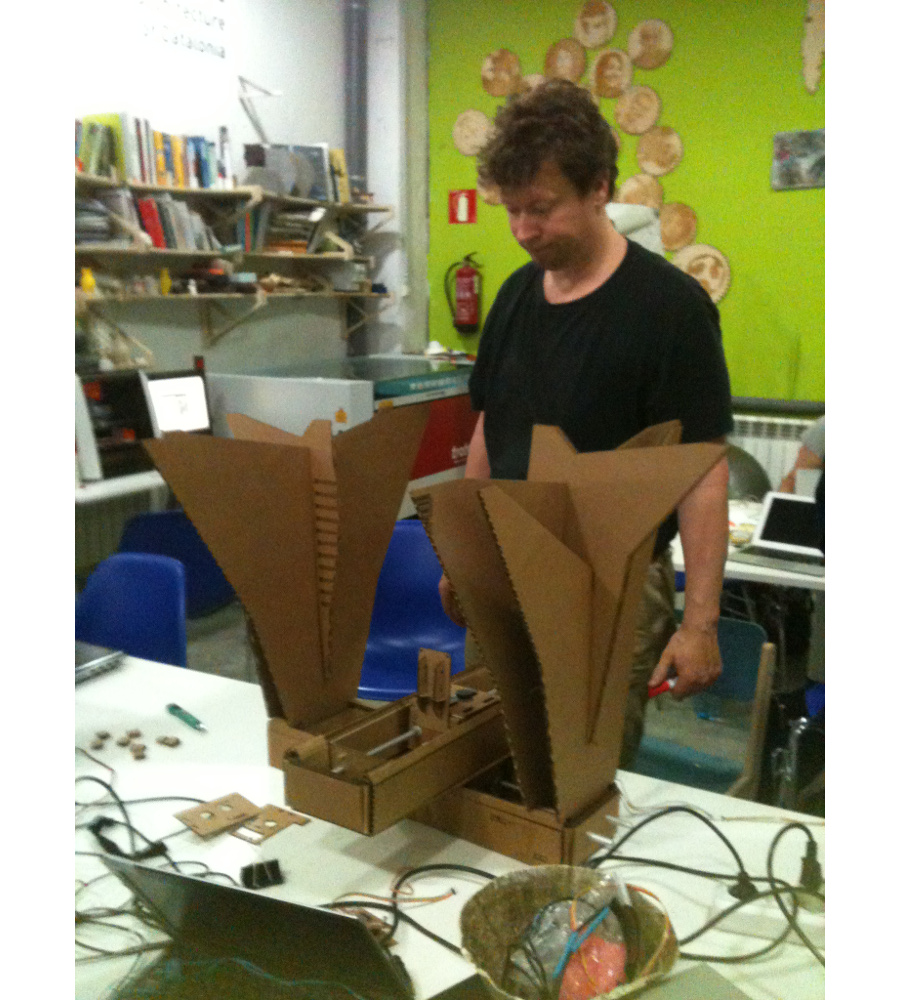
Mery and Lina designed beautiful arcs for the hot wire, but in a rush we ended up buying a cheap fretsaw. Hot wire was attached to the fretsaw. The parametric model of the cardboard linear stage needed quite lot adjustments. Even after changing parameters and after Lina made some fixes we needed lots of tape, glue, nuts, bolts, washers, scissors and cutters to assemble the stages. Mery and Lina laser cut cardboards and we assembled them all together. Is this a hedgehog or moving part of the linear stage?

First test of the system, only the frame and toolholder are missing. It works!
Lina and Mery designed beautiful new legs and we assembled it all. It also took some thinking every now and then. This is first version, second one was more stable.
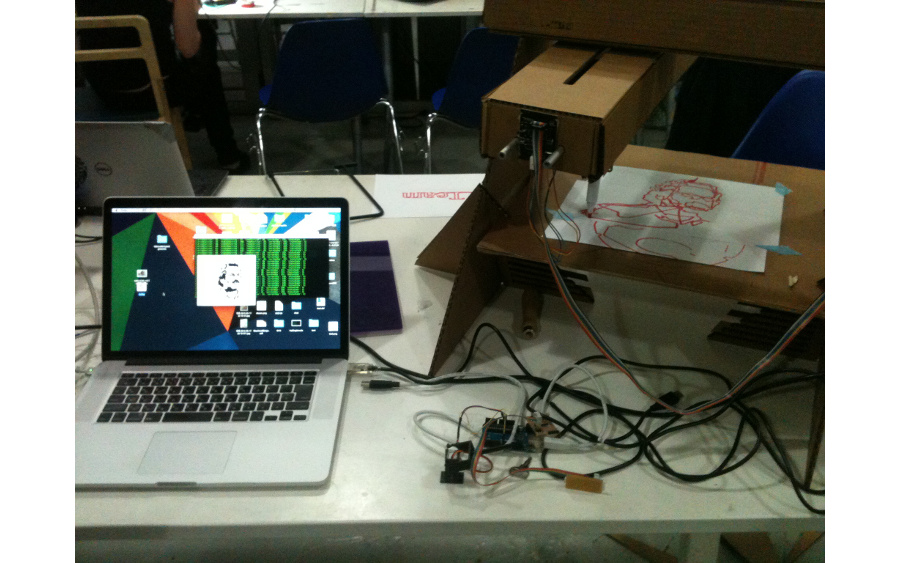
Taichi installed PyGestalt and PySerial libraries and tested the given example. Then he made a simple parser to translate G-code for the nodes. He also added a graphical interface written in Python. These added to the amazing ensemble the total result of the machine design week is astonishing!
We tested the machine using a marker. We made texts and we draw pictures. We draw Neil!
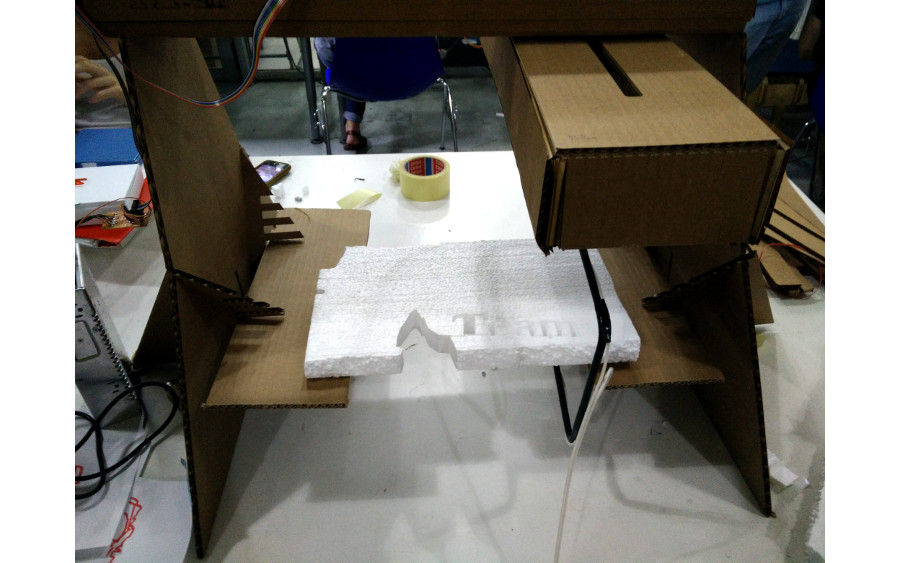
We also tested the hot wire foam cutter.
If you see a man taking pictures in this video, he is a reporter from Belgium reporting A-teams 100$ CNC-machine. Thanks for the video Mery!
A-Team, the best team ever!!!
