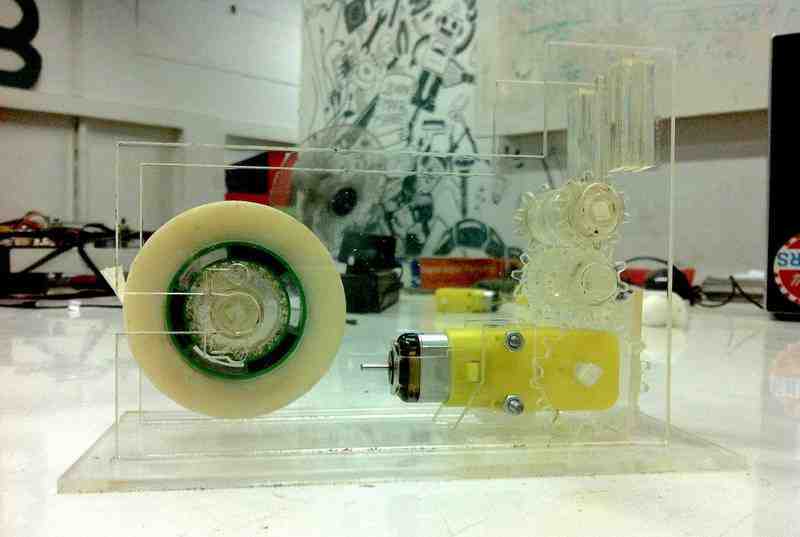
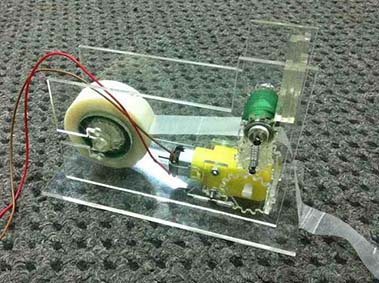
The image below presents the first trial of the implementation of the 3D design project
 |
 |
 |
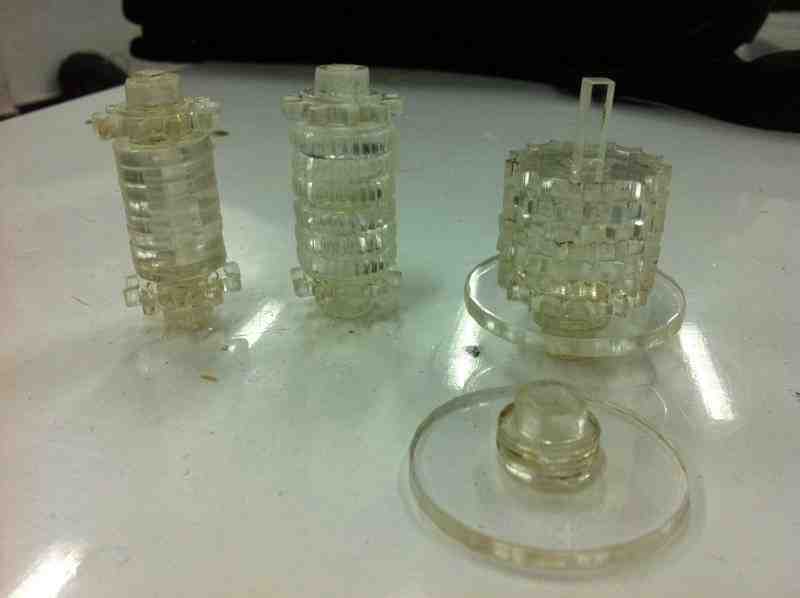
Modifying the first prototype
This required to cut the parts once more with some adjustments in the design to solve the problems met while prototyping for the first time.
Problems of the prototype version #1:
Changes:
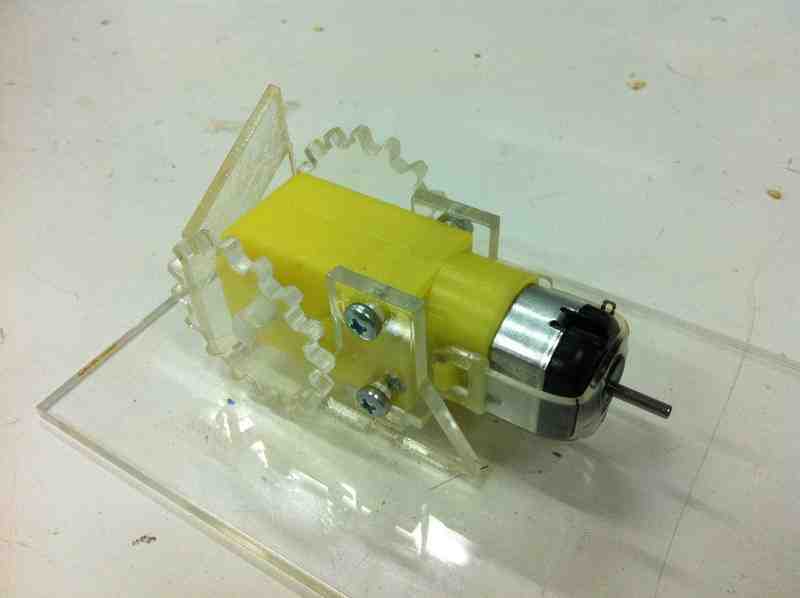
Because of the torque problem and the friction between the acrylic parts, i needed to modify the design.
Changes:
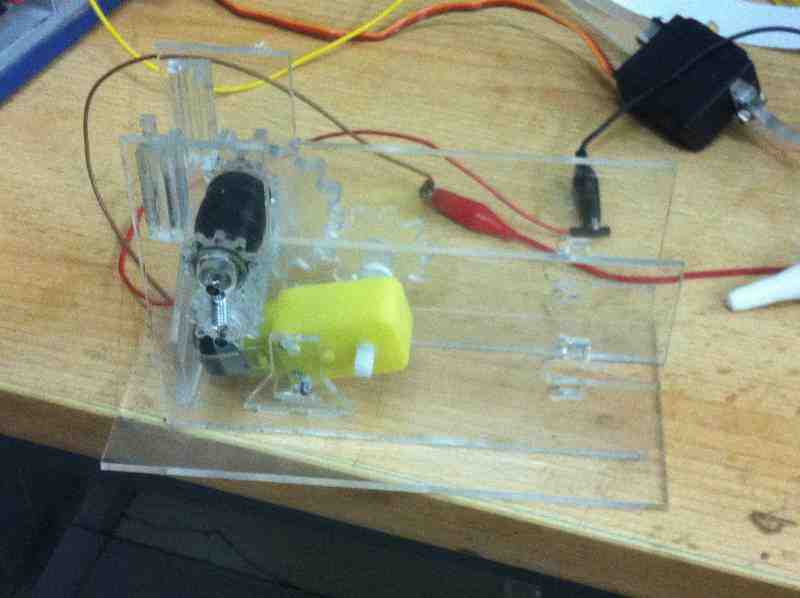
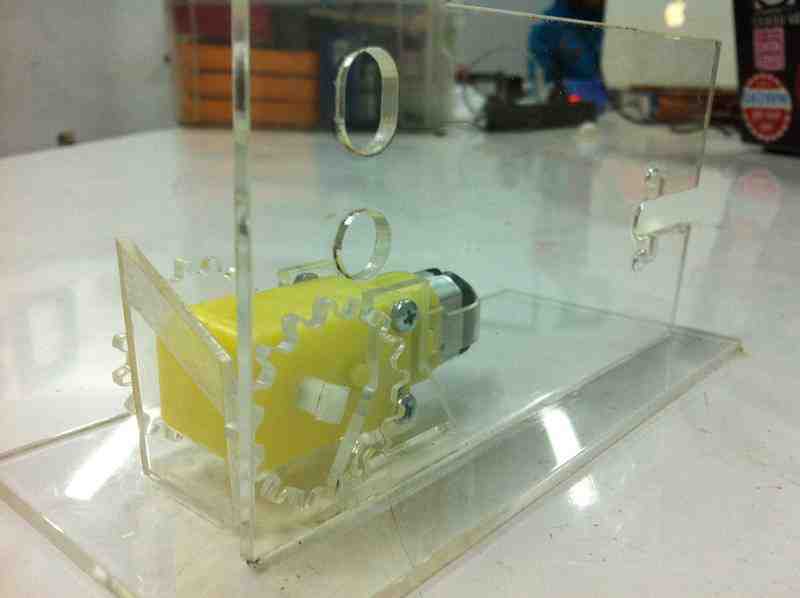
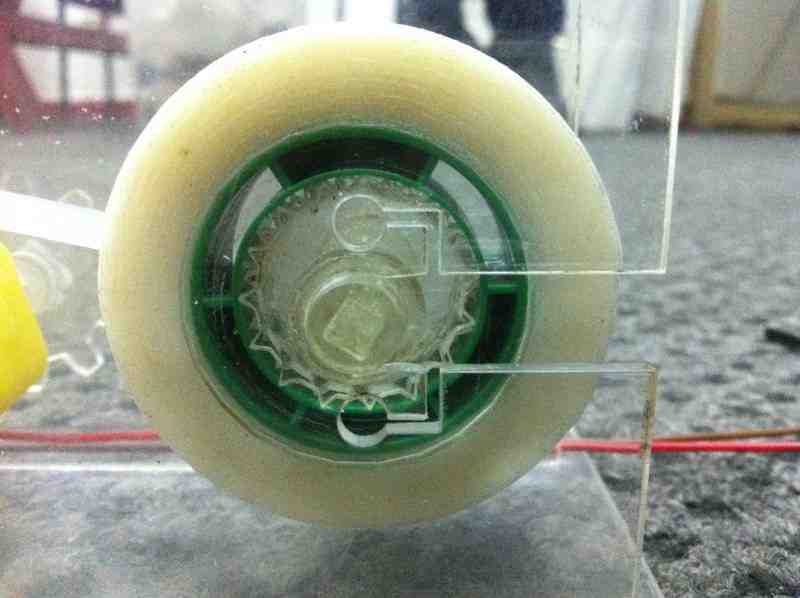
Image A shows the tape holder at the end on the sides of the dispensing machine. This is a technique to keep the area holding the tap flexible when pulling out or inserting the tape into the dispenser.
Image B shows the cutter that cuts off the tape after the motor dispenses the desired part given by the controlling board (developed in the electronic part of the final project)
 |
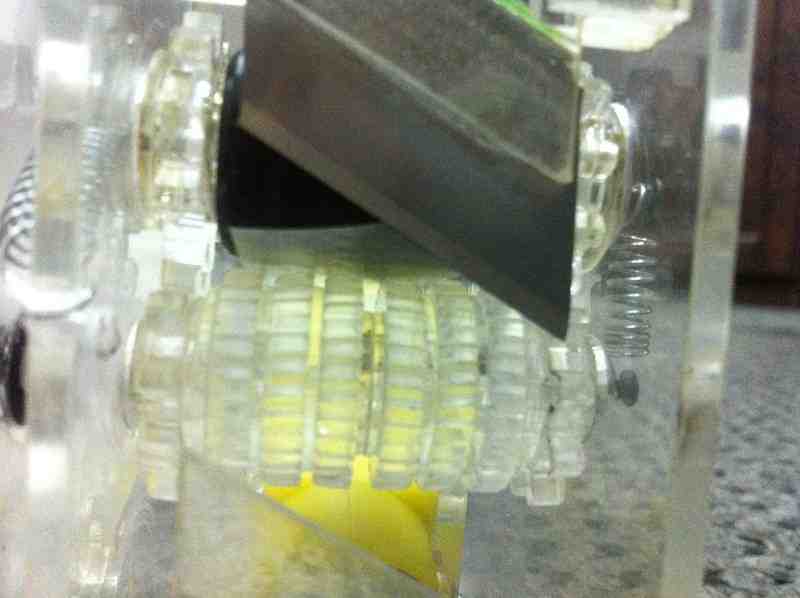 |
| image A | image B |
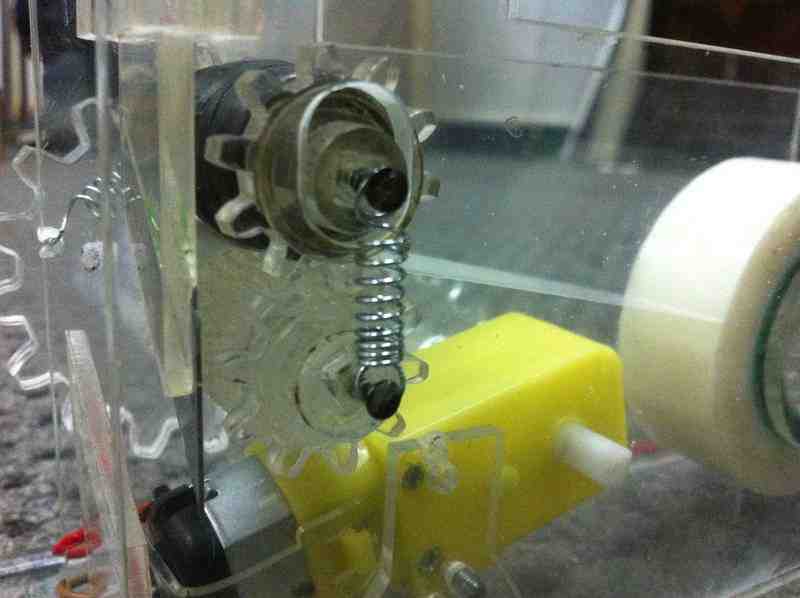
Creating the tension was one of the challenges I have faced at the beginning. Firstly I thought of creating the tention between the two drums using rubber bands; however, since the two drums are in motion, it is the rubber bands are obviously not the right technique to go with. So one of my colleges at Fab Lab Egypt suggested creating the tension between the drums using a two springs for both sides of the drums as show in the picture below.
Therefore adding four nails, one on each base of each drum, was the perfect hook for the springs.
 mariamwaelgado@gmail.com mariamwaelgado@gmail.com |
 http://mariamwaelgado.wix.com/ http://mariamwaelgado.wix.com/mariam-wael |