This assignment was more on the technical side, getting new skills .
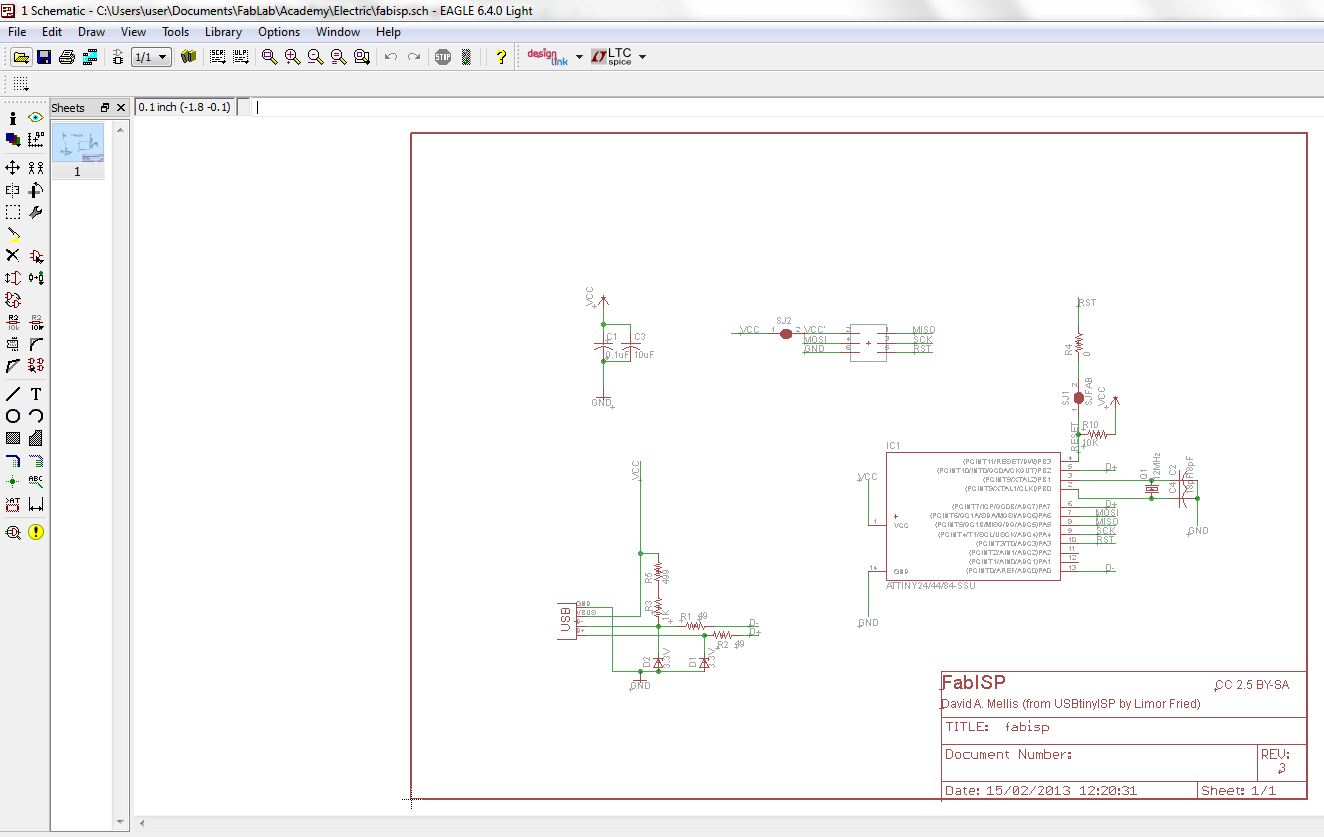
i started with downloading David’s design for the board (http://fab.cba.mit.edu/content/projects/fabisp/) :
Downloading the .sch file, you get the schematics for the board. in Eagle it looks like this :
then, downloaded the .brd file you get the board :  in view— layer setting, you keep visible only the layers containing the path (Top, Pads, Vias Dimension), and then export it to an image file :
 in the milling machine, you then mill based on the generated image file. the dimension is 1/32”, and the board itself is done with the use of 1/64” V shape
milling it :
once the milling is done, to start mounting you go over the design, component by component, check its info and find the matching physical component for mount:
 first stepts in the souldering process….
 after the souldering of each component i check that neighbouring legs do not connect and shortcut and that the leg is connected to the circuit
once the board is all mounted , i plug it into the AVR,, and to the computer . YES!! a light appears, first a red, then it’s green !!
 well,,,,, not too soon, error message for the writing of the component- whether done by mac or PC. problem is not resolved yet…
I get the power on (green light), nothing burns or smokes. I managed to make clean, make hex, it gets stuck once i try to make fuse
To be continued!
OK, Take 2.
getting installed the AVR was a bit of a pain for Windows 64.
after downloading and installing the WinAVR , when connecting the AVR and checking in my Device manager, i still got this yellow triangle, signifying my computer still does not recognize the device.
I have downloaded avrispmkii_libusb-win32_1.2.1.0.zip, unzipped and saved as a folder.
then, i had to updated the device:
RightClk on the relevant port in the device manager, there


