Fab Labs. Advanced made simple.
Local Solutions for local problems.
Posted by James Akumu | For Fab Academy
Press Fit Project
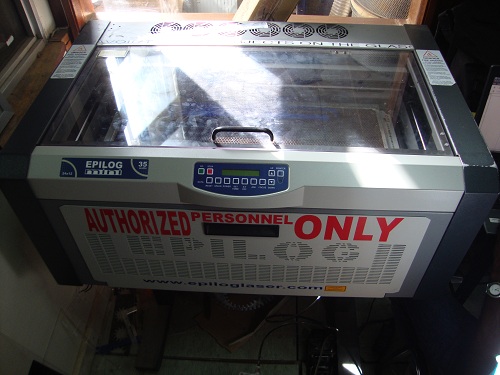
For my press fit project, I decided to make something simple to familiarize myself with the Epilog lazer cutter above. I first wanted to create a bird house, but that turned out to be more complecated than I thought. I therefore searched for a simpler design, and came up with a business card holder.
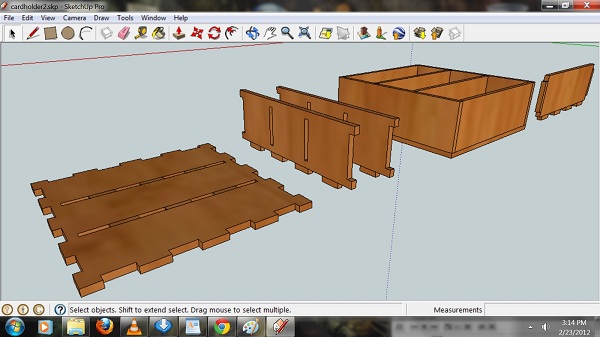
I designed the project on Google SketchUp, as I was told it is very good for beginners, as this was my first time using 3D design software. I got some help from an architect friend of mine to start.
After watching a few tutorials on youtube, I became a lot better a lot quicker than I would have imagined. I strongly recommend that any student having difficulties using Google SketchUp, should watch the tutorials on youtube.
To cut the project on the Epilog Laser cutter, I had to convert the SketchUp files (.skp) to .dxf format for compatability. To do this, I had to download a SketchUp plugin for conversion to a format compatible with the Epilog Laser cutter.
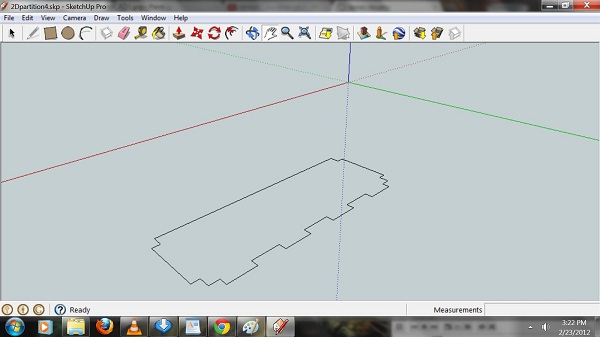
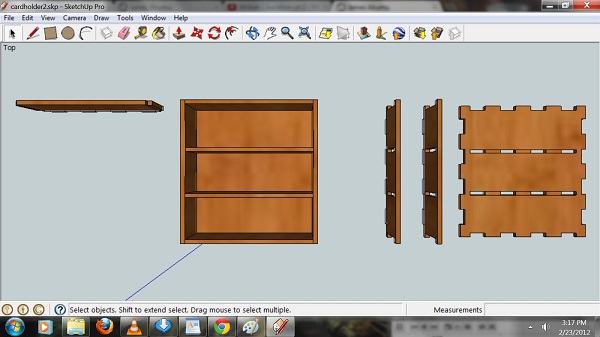
On top of that, I had to turn the 3D design into 2D drawings as the Epilog laser cutter can only read the x and y axis.
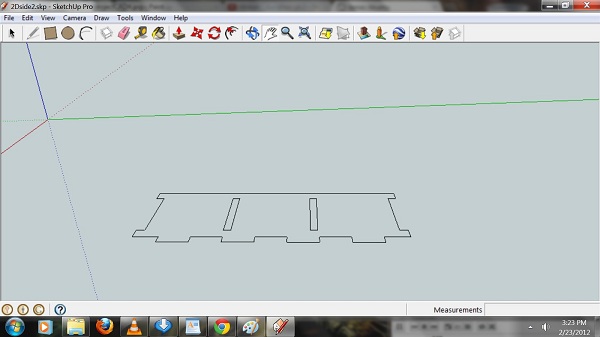
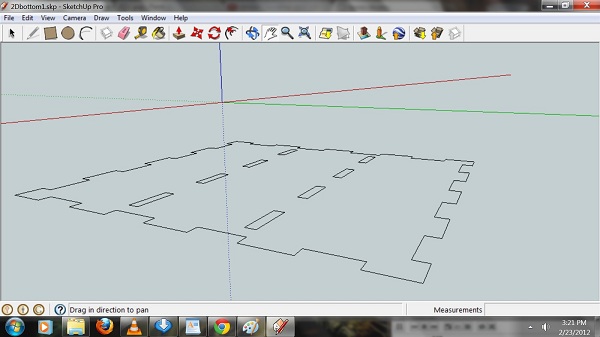
I therefore copied outlines of each of the parts to new pages on SketchUp. After that, I exported each one to .dxf format using the plugin I had previously downloaded. The parts are now ready to be cut.
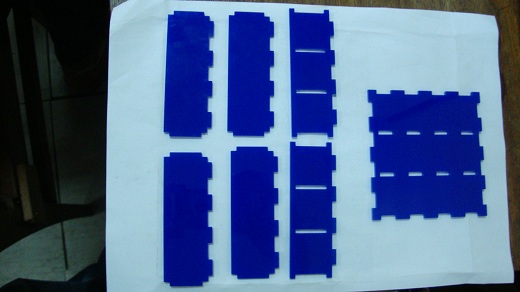
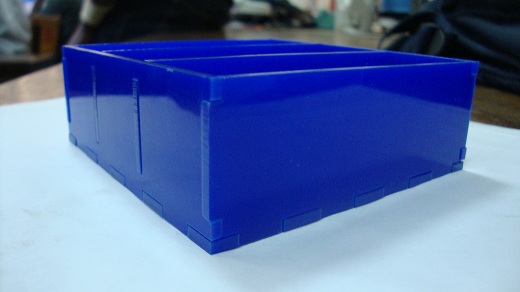
I decided to go with 3mm thick, blue acrylic. The project is cut in less than 2 minutes and is ready for assembly.
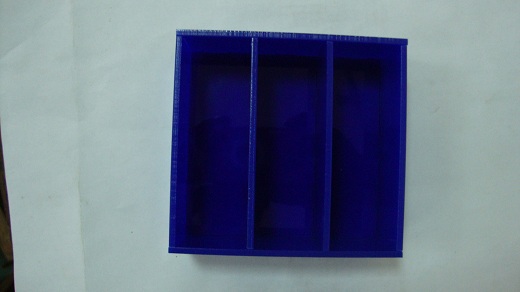
The card holder assembled.
The card holder assembled.
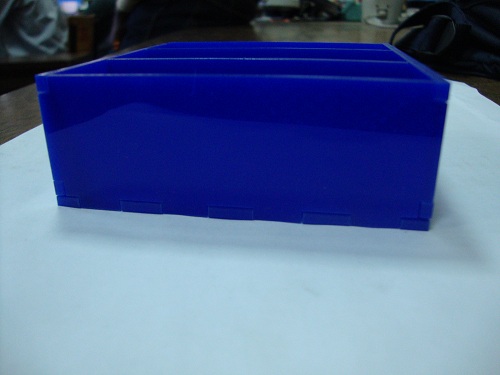
The card holder assembled.
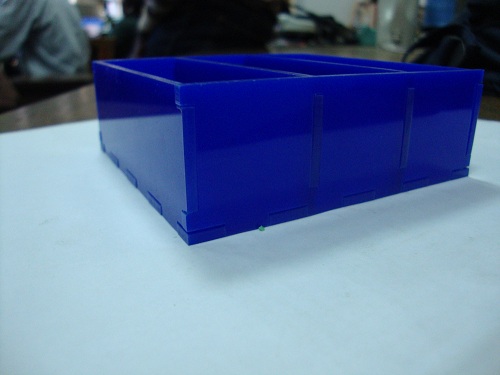
The card holder assembled.
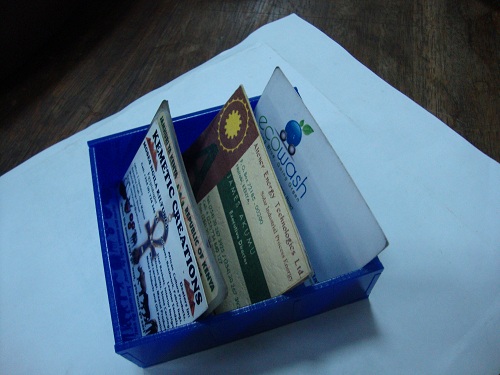
The card holder assembled and functional.
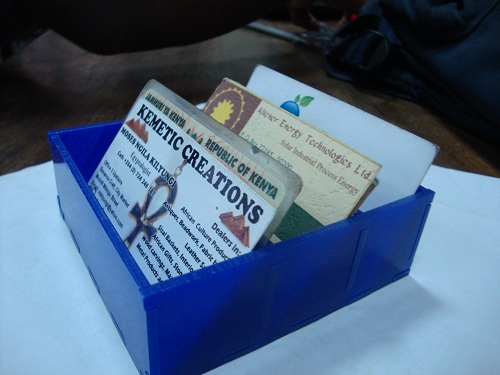
The card holder assembled and functional.