Assignment Tasks
👤 Individual Assignment
- Design and produce something with a digital fabrication process not covered in another assignment
- Document the requirements that the assignment meets
- Include everything necessary to reproduce the work
Project Idea — A Najdi Flower in Clay
For Wildcard Week I chose to explore a process I have been drawn to throughout Fab Academy: clay 3D printing. It combines a relatively new digital fabrication technique with one of the oldest making traditions — ceramics — and demands attention to material behavior in a way that filament printing does not.
I wanted the piece itself to be culturally meaningful, so I designed it around the Najdi Flower, a six-petalled motif from central Saudi Arabia that appears on traditional wooden doors, carved gypsum walls, and architectural details across the region. Translating a flat symbolic pattern into a freestanding 3D ceramic object was the challenge I set for myself.
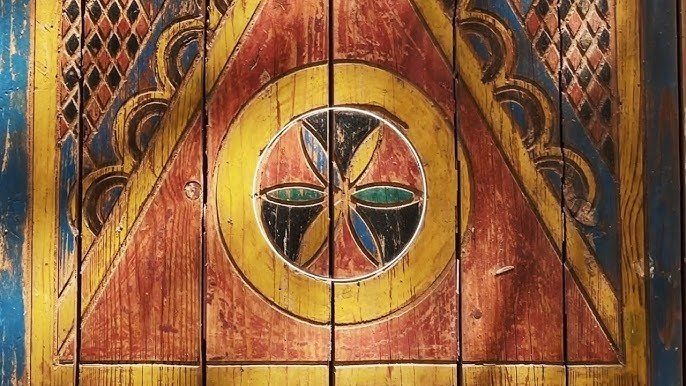
The Najdi Flower motif — a six-petalled symbol traditionally painted and carved into Saudi architecture (reference image)
Step-by-Step Documentation
Designing the Flower in Rhino
I modeled the form in Rhino 7, starting in the Top view. Using the Polyline tool I drew a single petal outline, then mirrored and rotated it around a central point to build the full six-petalled Najdi Flower as a flat 2D curve set.
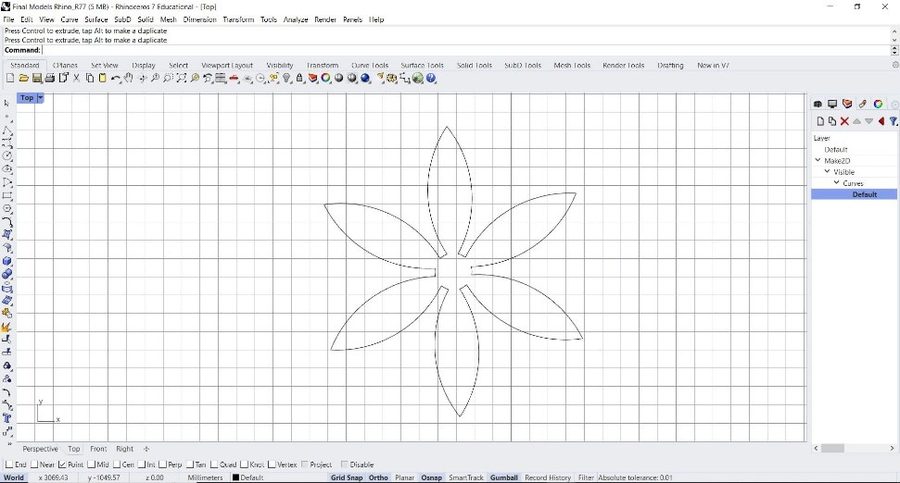
Step 1 — drawing the flower outline in 2D using the Polyline tool
Each curve was then turned into a vertical wall by selecting it and pulling the Gumball Z-axis arrow upward to extrude the line into a thin surface. The result is a freestanding flower-shaped vessel made entirely of vertical petal walls — exactly the kind of geometry that prints well in clay because every layer sits directly above the one below it.
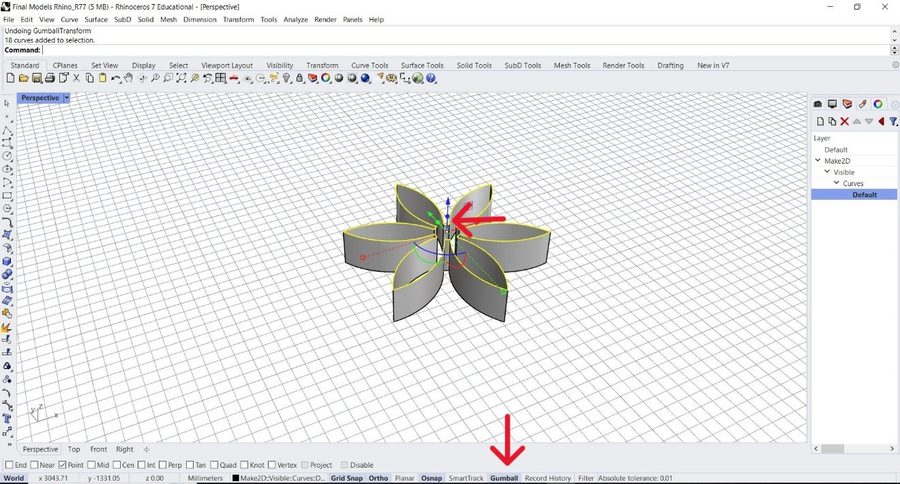
Step 2 — extruding the petals curve vertically with the Gumball tool
With the model complete, I selected the geometry and used File → Export Selected to save the file as STL — the format the slicer needs.
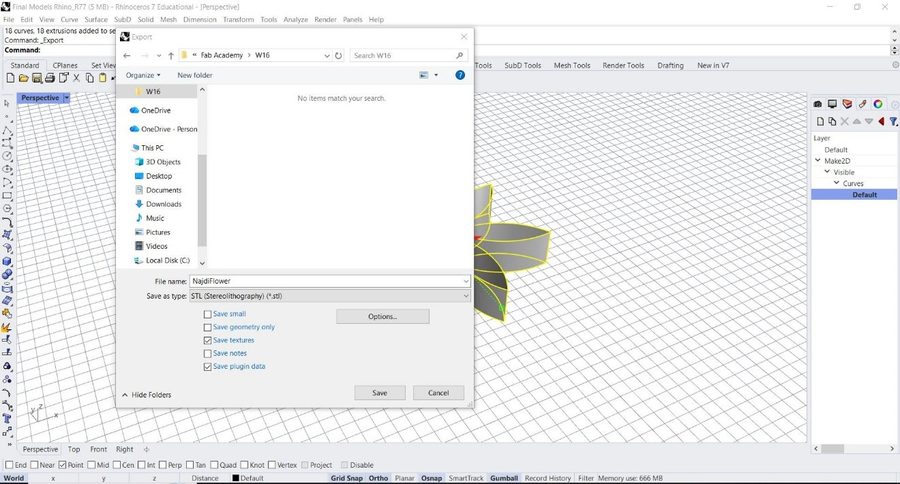
Exporting the flower geometry as an STL file for slicing
Download the STL file to print or explore the Najdi Flower design yourself.
Printer Setup & Slicing
For the print I used the Tronxy Moore 2 Pro ceramic clay 3D printer machine with a pressurized canister and a brass nozzle that extrudes prepared clay layer by layer.
Slicer Settings (Cura)
Slicing clay is very different from slicing PLA — the layers need to be thick enough that the wet clay can support the weight above, and the printer needs to extrude a generous bead. I used Cura's Extra Coarse profile as a starting point and tuned the key values for clay:

Cura — sliced model settings
A single wall with zero top/bottom layers is correct here — the petals are designed as standalone vertical walls, not as enclosed solids. Adding infill or tops would jam the nozzle with clay it can't extrude.
Preparing the Clay
Clay consistency is the single biggest factor in whether a print succeeds. The clay needs to be soft enough to flow smoothly through the nozzle, but stiff enough to hold its shape once a layer is laid down. I mixed the clay with water and worked it until it reached a thick, slow to pour but not crumbly.
Clay mixed to a smooth, even consistency — the key to a continuous extrusion
Loading the Canister
The prepared clay is packed into the canister. The most important rule here is to eliminate air gaps — even a small pocket of trapped air will interrupt the flow mid-print and leave a visible break in the wall. I pressed the clay down firmly as I filled the canister, layer by layer.
Canister is loaded with no air gaps
Air pockets are the most common cause of failed clay prints. Pack the canister in small portions and tap the sides as you go to release any trapped air before sealing.
Printing the Flower
With the canister mounted, I loaded the sliced G-code onto the printer and started the job. The printer lays the clay down at a slow, steady pace — each petal wall builds up bead by bead, and the relatively thick 1.8 mm layers give the print enough wet-strength to support the next pass.
Mid-print process
Once the printer finished the print, I carefully transferred the print on its wooden board to a drying station to keep it stable while the clay set.
The flower fresh off the printer — still wet and fragile
Drying, Firing & Glazing
The print then has to lose every trace of moisture before it can go into the kiln. Firing a wet piece causes the trapped water to flash into steam and shatter the clay. For my print, two days at room temperature was enough to reach the bone dry stage — the clay turns noticeably paler and feels cool but not damp.
First Fire — Bisque
I am using a low-fire clay body, so the first (bisque) firing was done at Cone 04. This converts the soft clay into a hard, porous ceramic that is strong enough to handle but still able to absorb glaze.
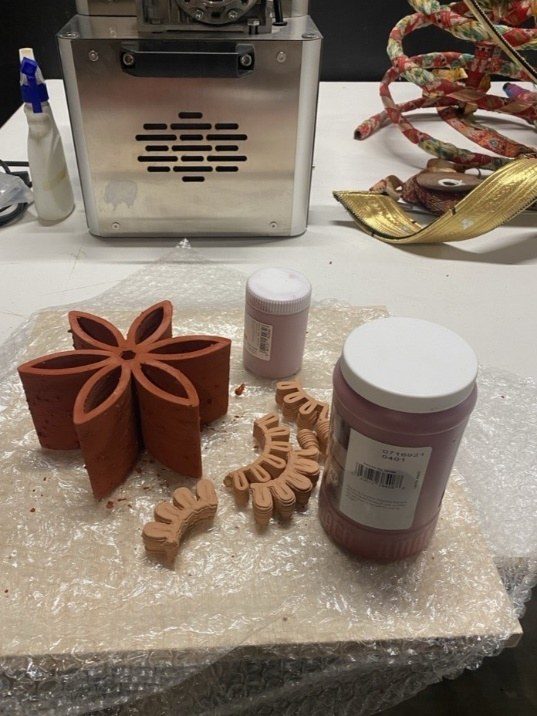
After bisque firing — the flower is now durable and ready to be glazed
Glazing & Second Fire
I brushed glaze across the surface of the bisqued piece, then loaded it back into the kiln for a second firing at Cone 06. The second firing melts the glaze into a smooth, glass-like coating that bonds permanently to the ceramic surface — finishing the piece.
Cone numbers are a ceramics convention for kiln temperatures. Cone 04 (~1060 °C) is hotter than Cone 06 (~1000 °C) — confusing at first, but the higher the number after "0", the lower the temperature.
Final Result
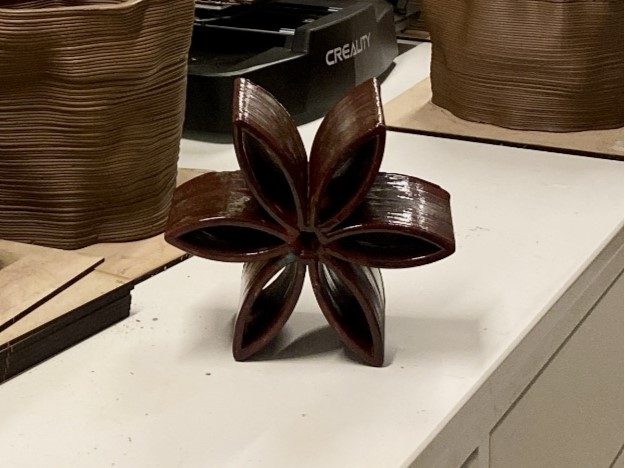
The final result — glazed and fired, ready to display
Lessons & Common Issues
| Problem | Cause | How to Avoid It |
|---|---|---|
| Breaks in the extrusion | Air pocket trapped inside the canister | Load clay in small portions; press down firmly and tap the canister between fills |
| Print sagging or collapsing | Clay too soft, or layer height too thin for the bead | Stiffen the clay slightly and keep layer height around 1.5–2.0 mm so each layer can support the next |
| Cracks during drying | Drying too quickly or unevenly | Let the piece dry slowly at room temperature, away from direct sun or drafts |
| Cracks or explosions in the kiln | Residual moisture still inside the clay | Wait until the piece is fully bone-dry — pale, cool to the touch, no damp feel — before firing |
Reflection
Clay 3D printing turned out to be one of the most rewarding processes I have tried during Fab Academy — and also one of the slowest to learn. Unlike filament printing, where you click Print and walk away, every successful clay print depends on a chain of physical decisions made before the printer even moves: the moisture of the clay, how it is packed into the canister, the layer thickness, the drying schedule, the kiln cone.
Designing around the Najdi Flower made the technical work feel personal. I wanted the geometry to come from a motif I grew up seeing on doors and walls, so the final object would carry that meaning into a fabrication technique that is still very new.
If I were to repeat this project, I would test a few different clay consistencies side by side before printing, prepare a second canister in advance so I could swap mid-print, and try a more saturated glaze to bring out the petal edges more strongly. Wildcard Week ended up being less about learning one machine and more about realizing that digital fabrication and traditional craft are not separate worlds — they can absolutely belong to the same workflow.