Assignment
Design and produce something with a digital process (incorporating computer-aided design and manufacturing) not covered in another assignment, documenting the requirements that your assignment meets, and including everything necessary to reproduce it. Possibilities include
Summary
For this wildcard week, I explored plasma cutting, a digital fabrication process not covered in previous assignments. My project involved cutting a decorative design from a 3mm thick iron sheet using a plasma cutter. This experience allowed me to understand the workflow from digital design preparation to physical fabrication, as well as the practical considerations involved in working with metal materials such as thickness, cutting precision, and machine operation
For design
I used CorelDRAW to convert an image into a vector design, which was then prepared for plasma cutting. This vector file was used to generate the cutting path for fabricating the final design on a metal sheet using the plasma cutter
I started by importing a photo into CorelDRAW
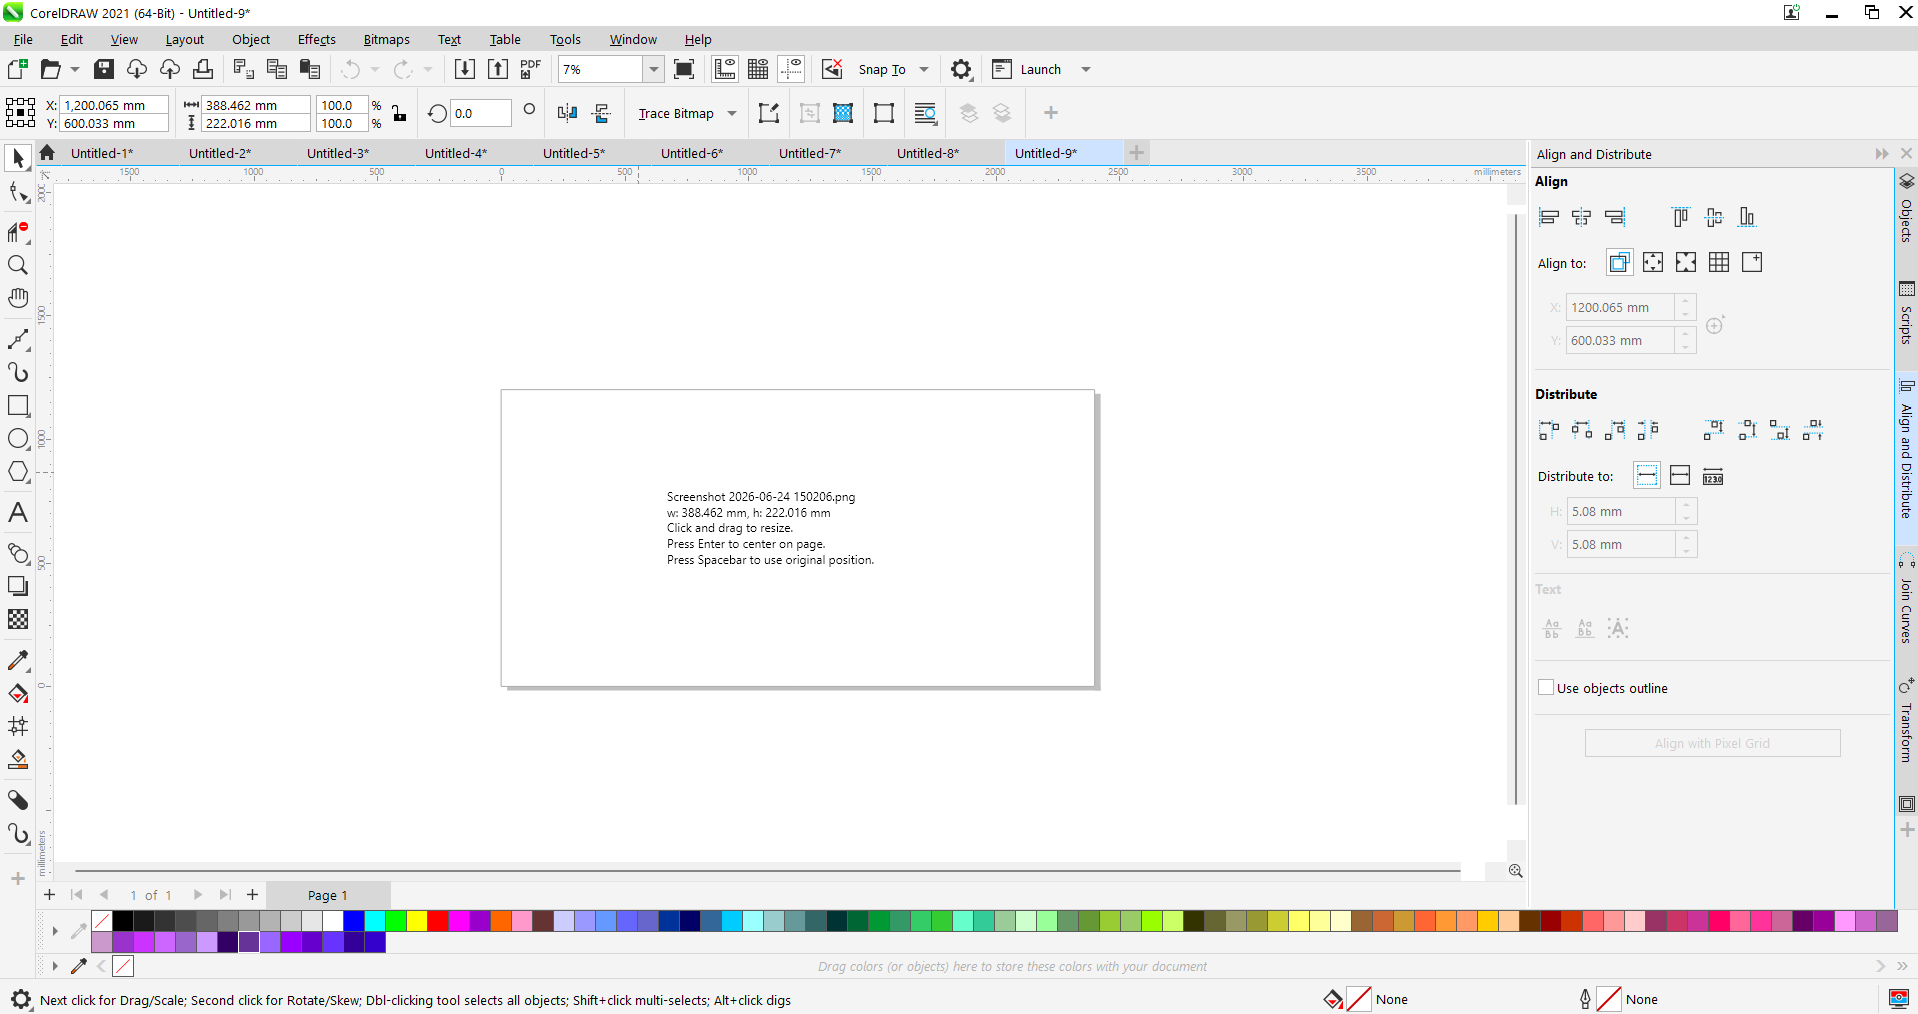
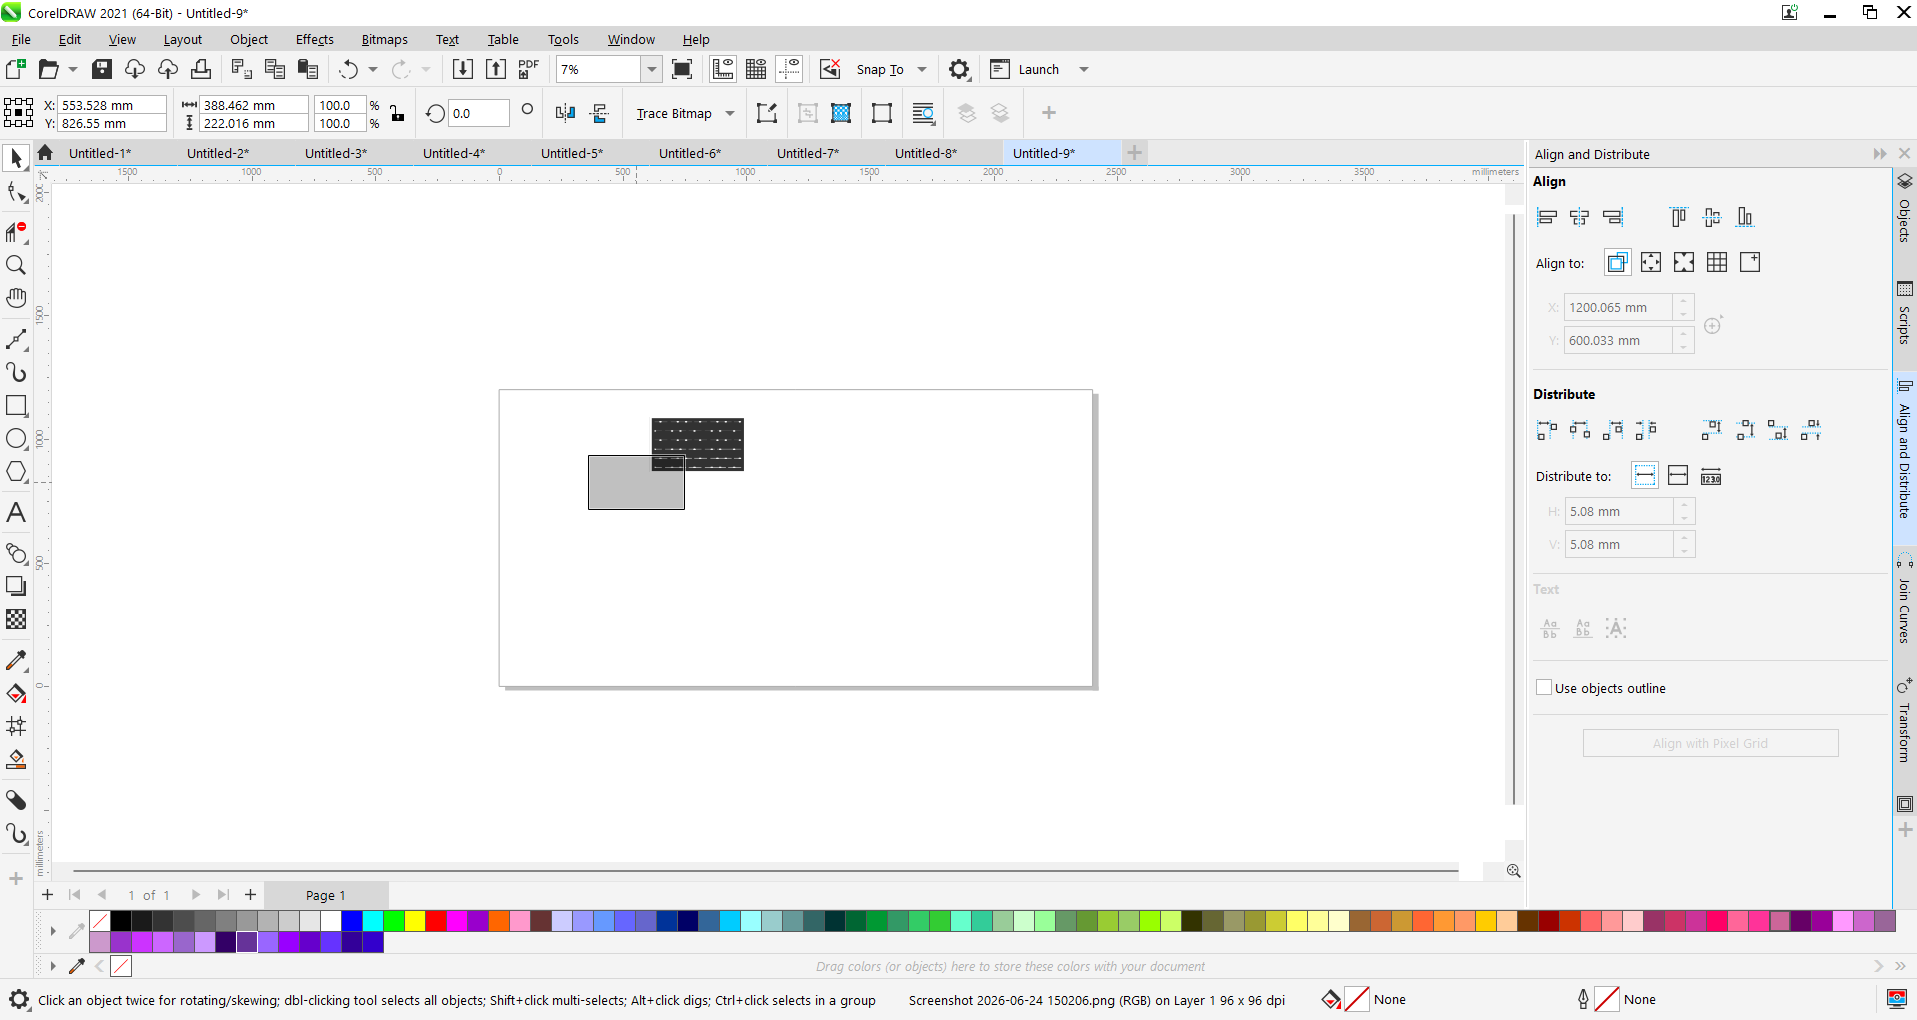
Next, I used the tracing tool to convert the imported image into vector paths
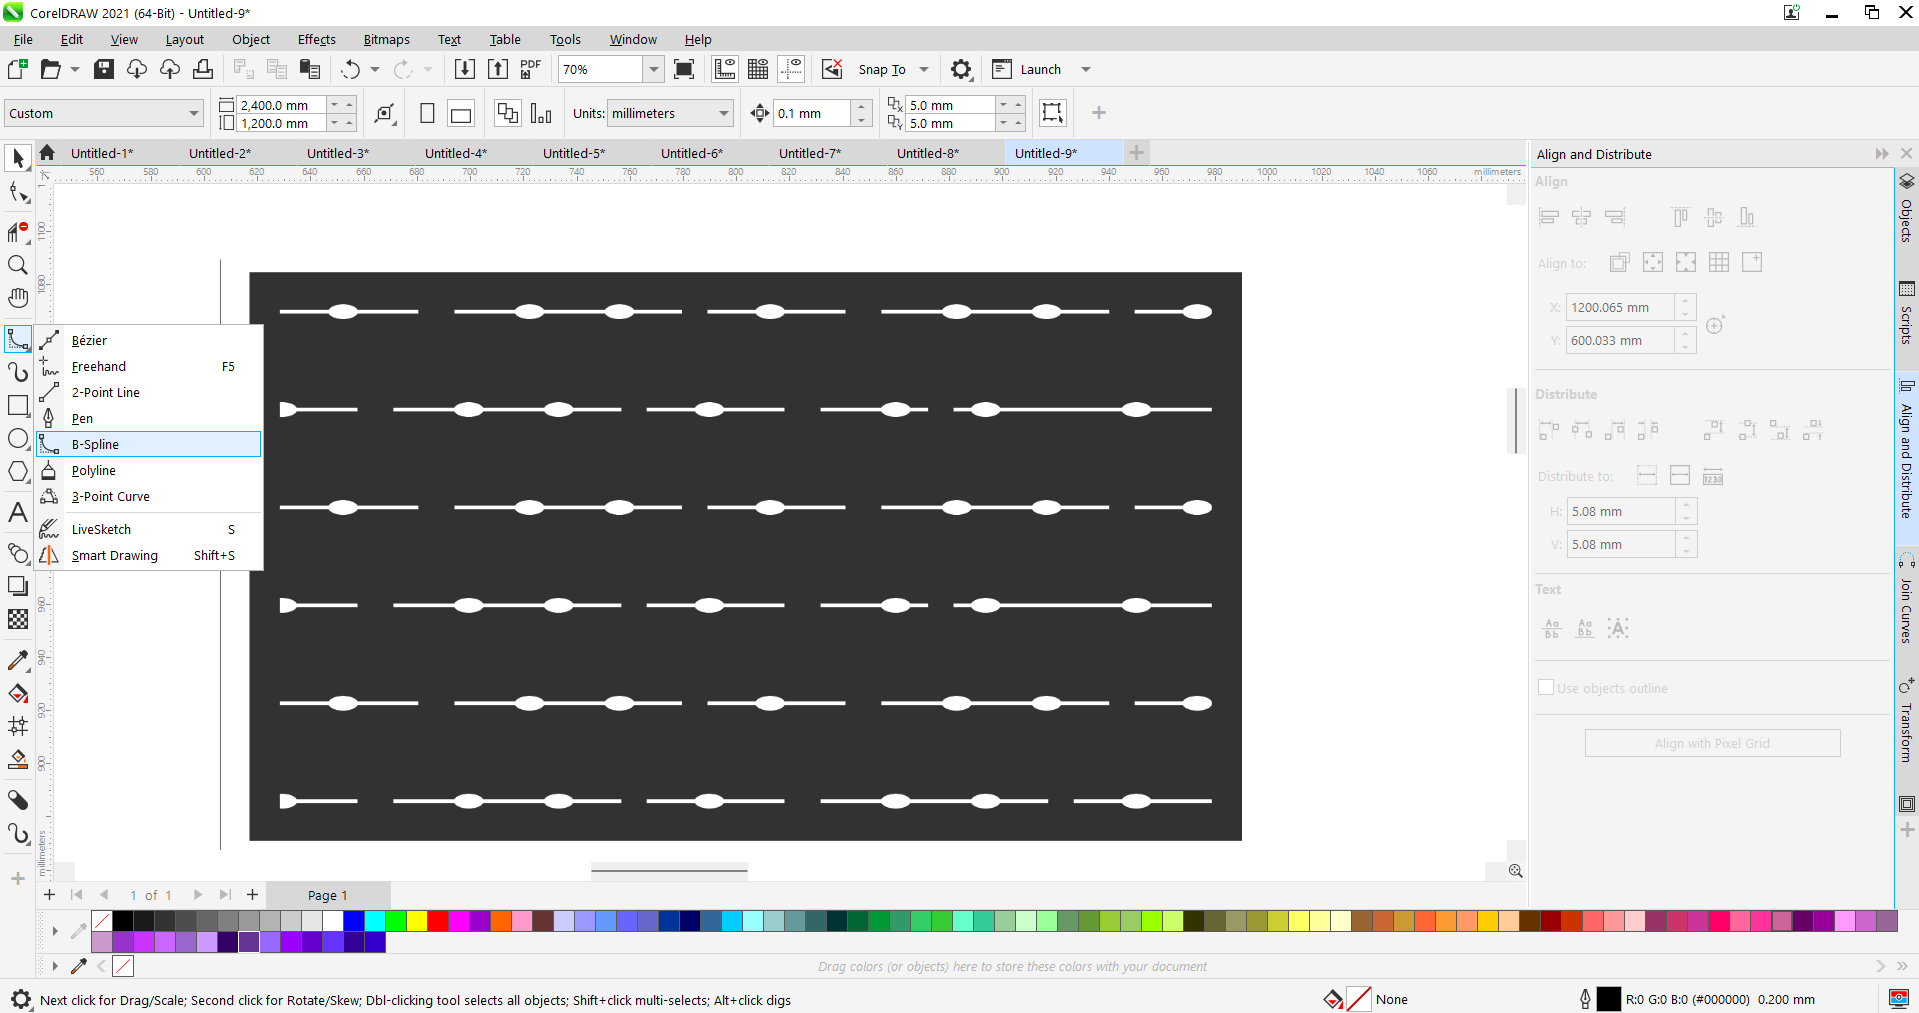
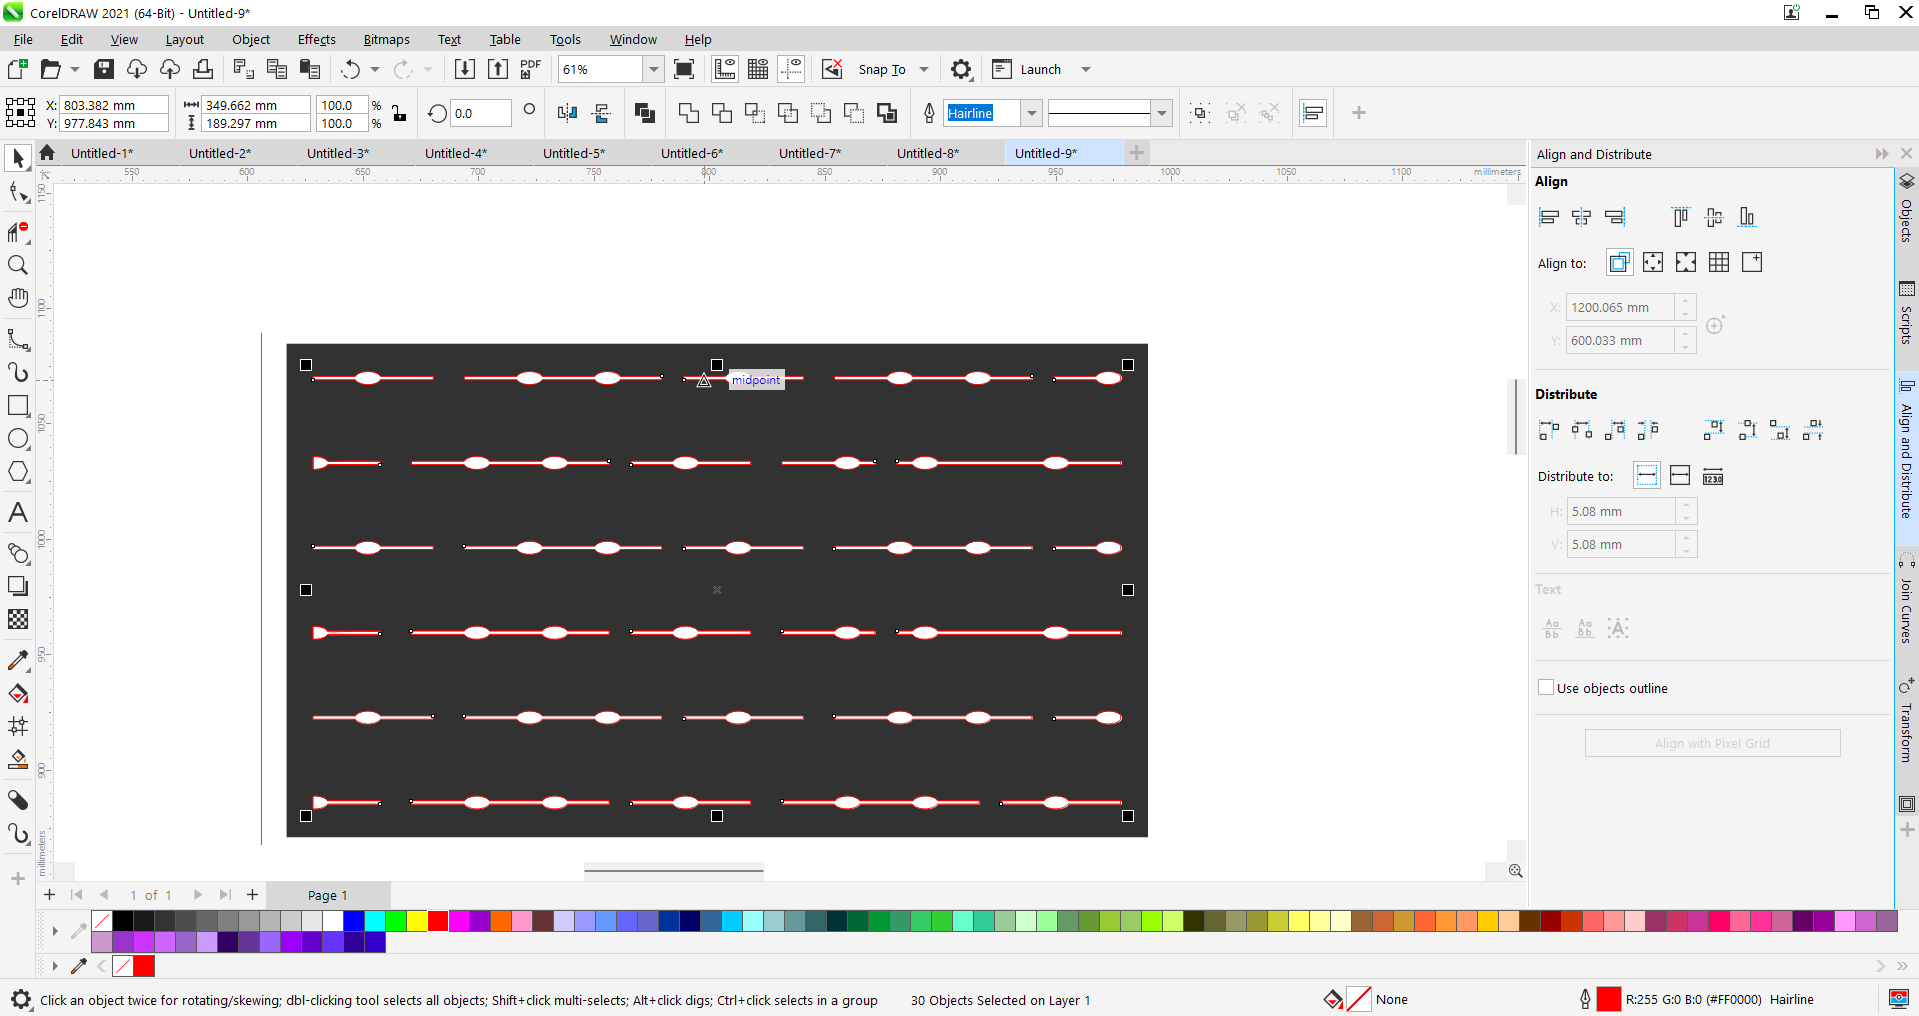
After tracing
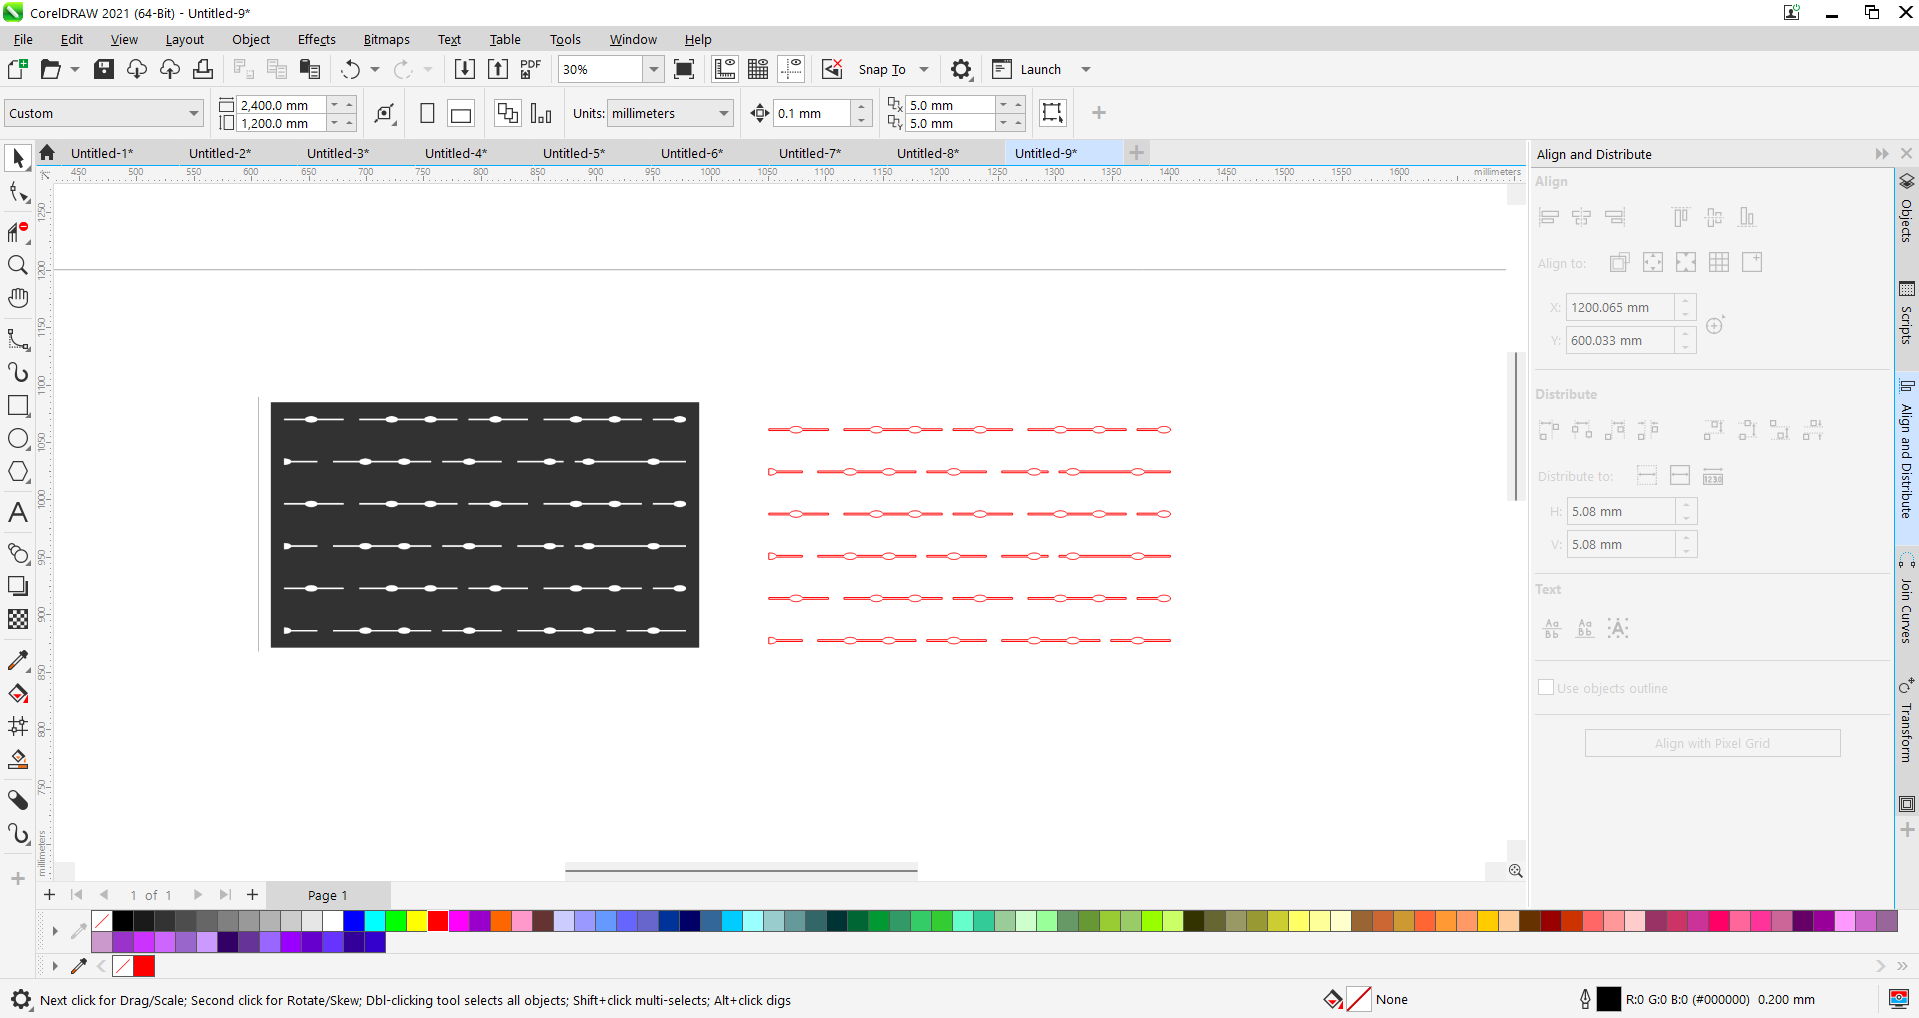
After that, I saved the design as a PDF file for use in the plasma cutting process
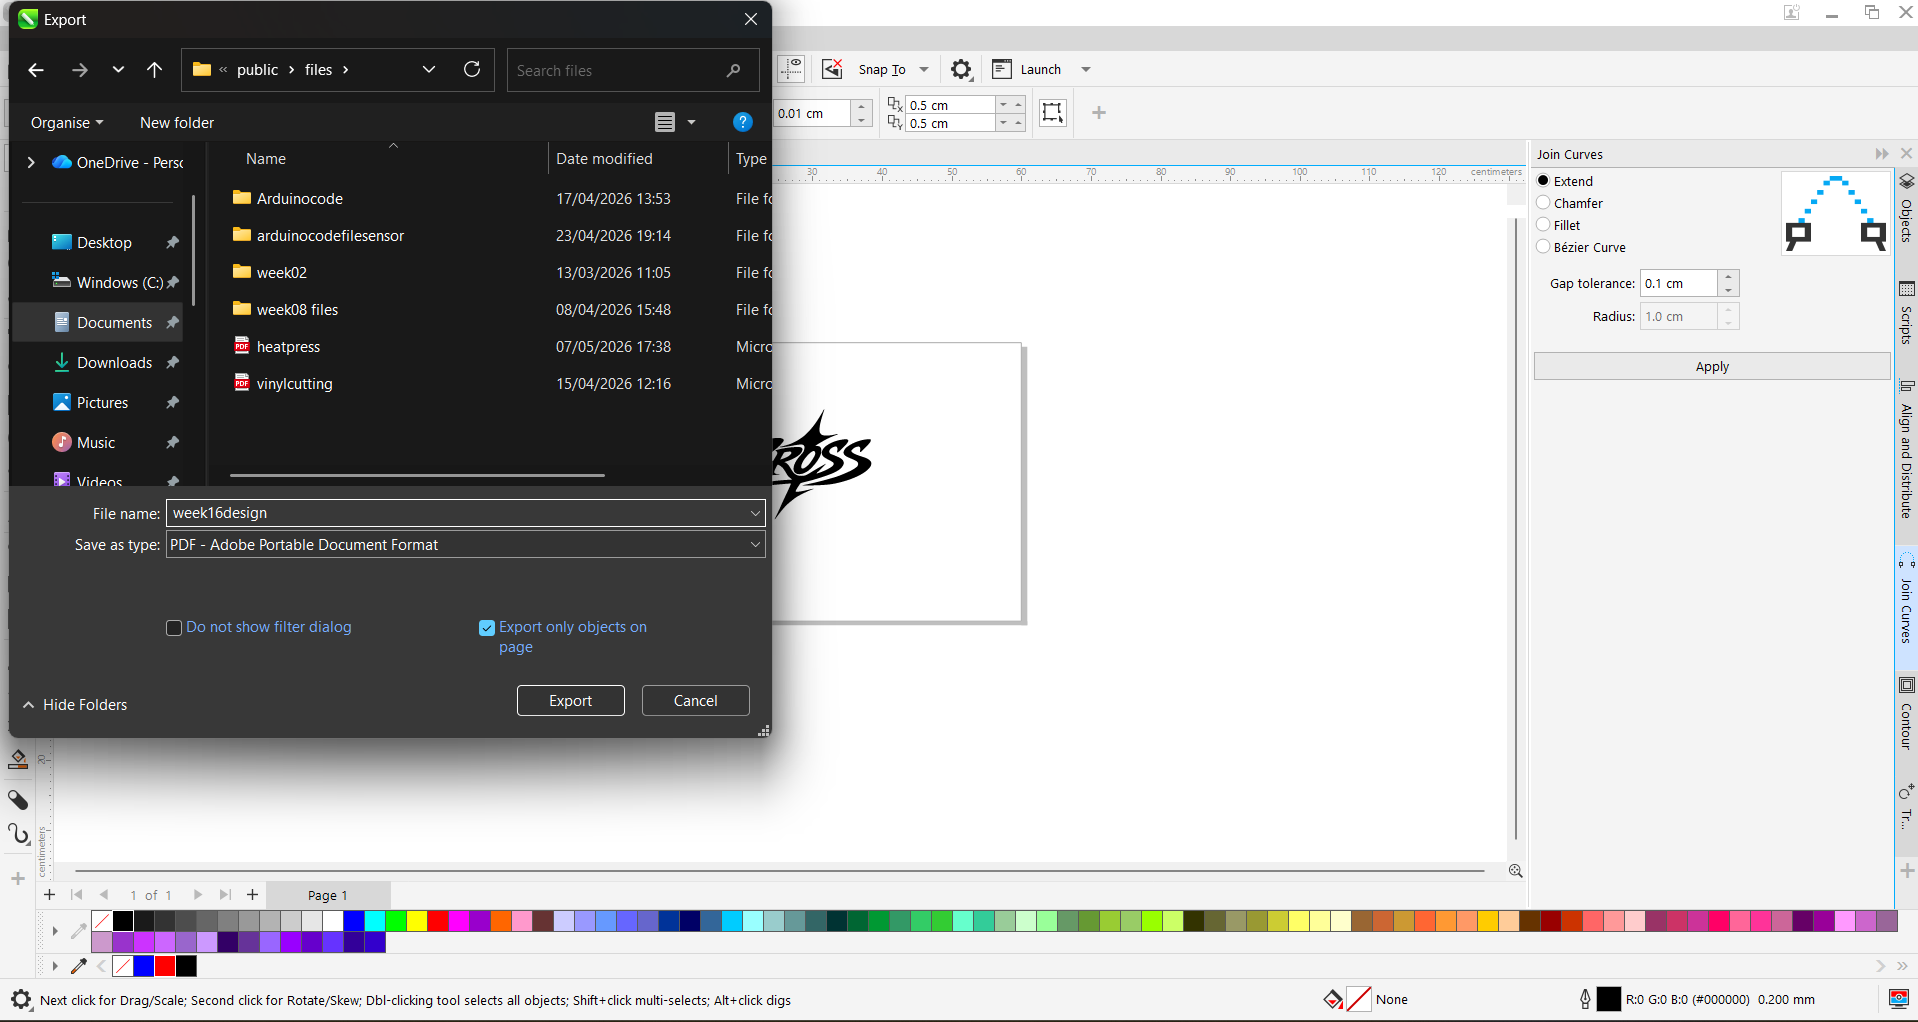
After saving the design as a PDF, I imported the file into ArtCAM software to prepare it for the plasma cutter
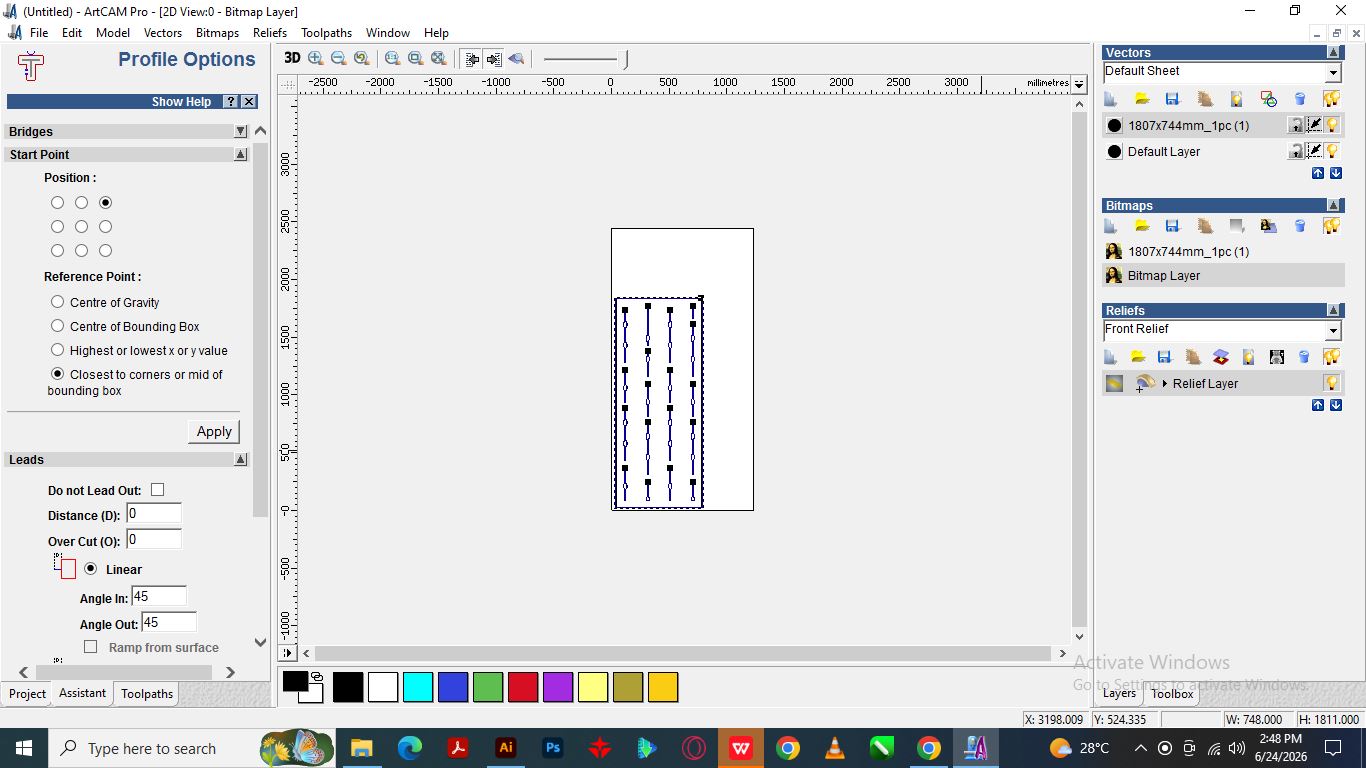
Next, I cleaned and resized the vectors to prepare them for cutting. Then I created a 2D profile toolpath and set the cutting parameters according to the material thickness After that I simulated the toolpath to verify the cutting path and exported the G-code Finally I loaded the file into the plasma cutting machine and cut the design on a 3 mm iron sheet
Plasma Cutting Process
At the workshop, I prepared the plasma cutter before starting the cutting process. I verified all the machine connections, including the air compressor, cutting head, and power cables. Then, I set up the machine parameters and positioned the 3 mm iron sheet correctly on the cutting bed After confirming that everything was ready I loaded the G-code file and started the plasma cutting operation while following all safety procedures
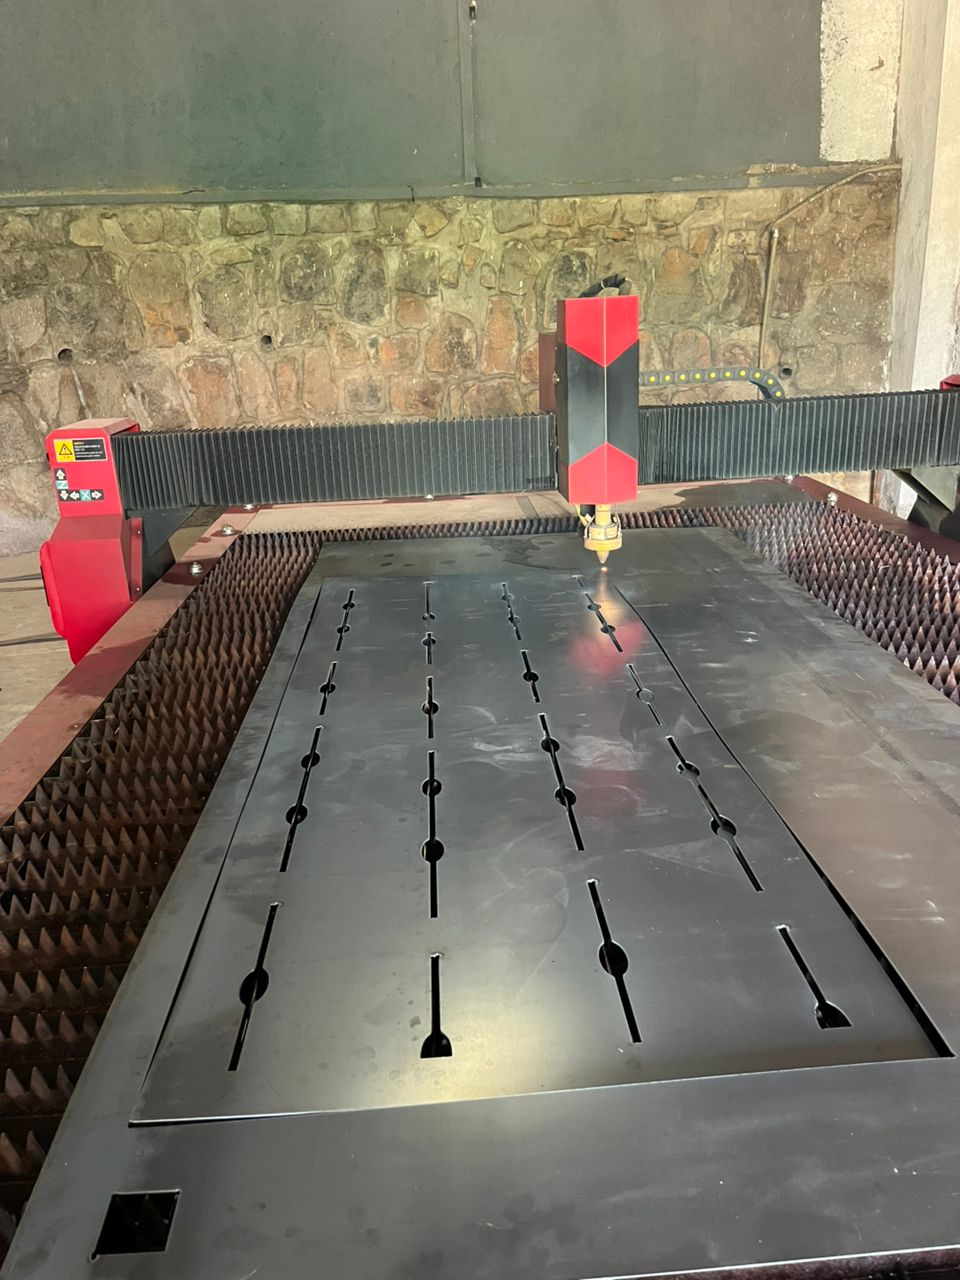
After the cutting process was finished, I removed the artwork from the metal sheet and inspected it to ensure that all parts had been cut correctly
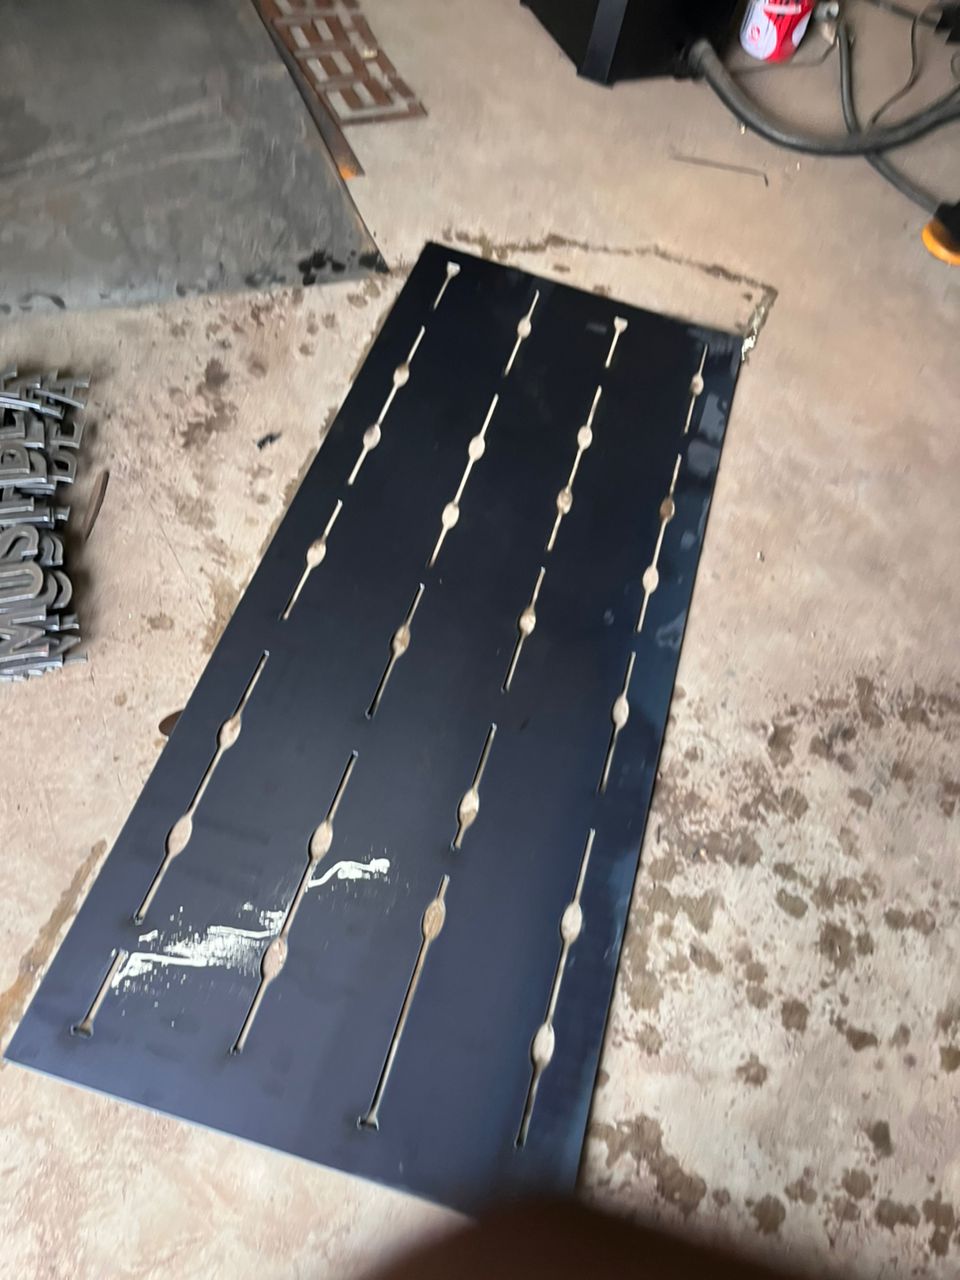
The plasma cutter successfully cut the wall decor and its outline from the 3 mm iron sheet. After completing the cutting process, the next steps involve finishing the piece by removing rough edges, cleaning the surface, and applying paint to improve its appearance and protect it from rust
Safet First
During this wildcard week, I learned how to use plasma cutting to fabricate a metal wall decor. I created the design, generated the toolpath, and cut it from a 3 mm iron sheet. This assignment improved my skills in digital fabrication, machine operation, and workshop safety
Acknowledgements:
I would like to sincerely thank Albert UWURUKUNDO for his guidance, for providing the plasma post processor and for sharing best practices on how to operate the plasma cutting machine safely and effectively His support was invaluable throughout this assignment