Group Assignment
As a group we probed an input device with a multimeter and an oscilloscope. With the multimeter we read the voltage levels, and with the oscilloscope we watched the signal change in real time, so we could see the difference between a continuous analog level and a digital on and off signal. The results are on our group page: group assignment page.
individual assigment
measure something add a sensor to a microcontroller board that you have designed and read it
Summary
This week on input devices explored the capacitive touch sensor, focusing on understanding its working principle and using it to detect physical contact as an input signa
A capacitive touch sensor
is an electronic device that detects physical contact or proximity from a human finger and sends an electrical signal to a microcontroller
How it works
The sensor creates a small electric field on its surface When your finger touches it, the capacitance increases The sensor circuit detects this changea capacitive touch sensor acts like an invisible button that detects your finger using electricity instead of force
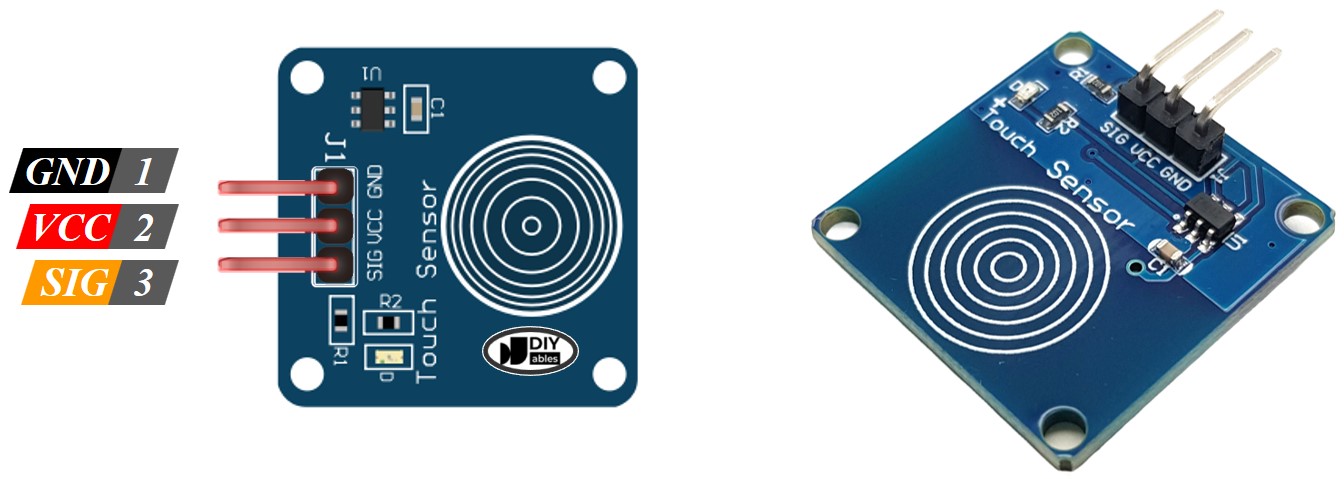
Connections
VCC Connect to 3.3V
GND Connect to GND
SIG Connect to a digital pin D9 on Xiao RP 2040
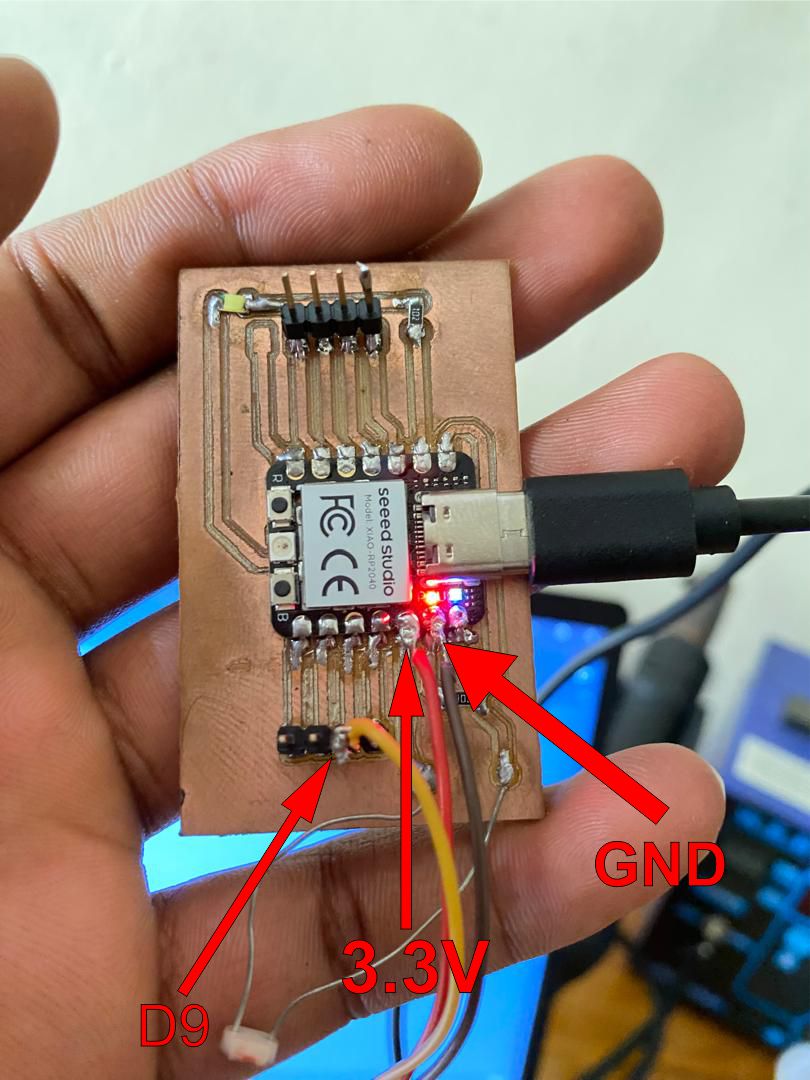
I start, solder the TTP223 touch sensor by connecting VCC to 3V3, GND to GND, and out sig to a GPIO pin D9 on the XIAO RP2040 to provide power and send the touch signal to the board
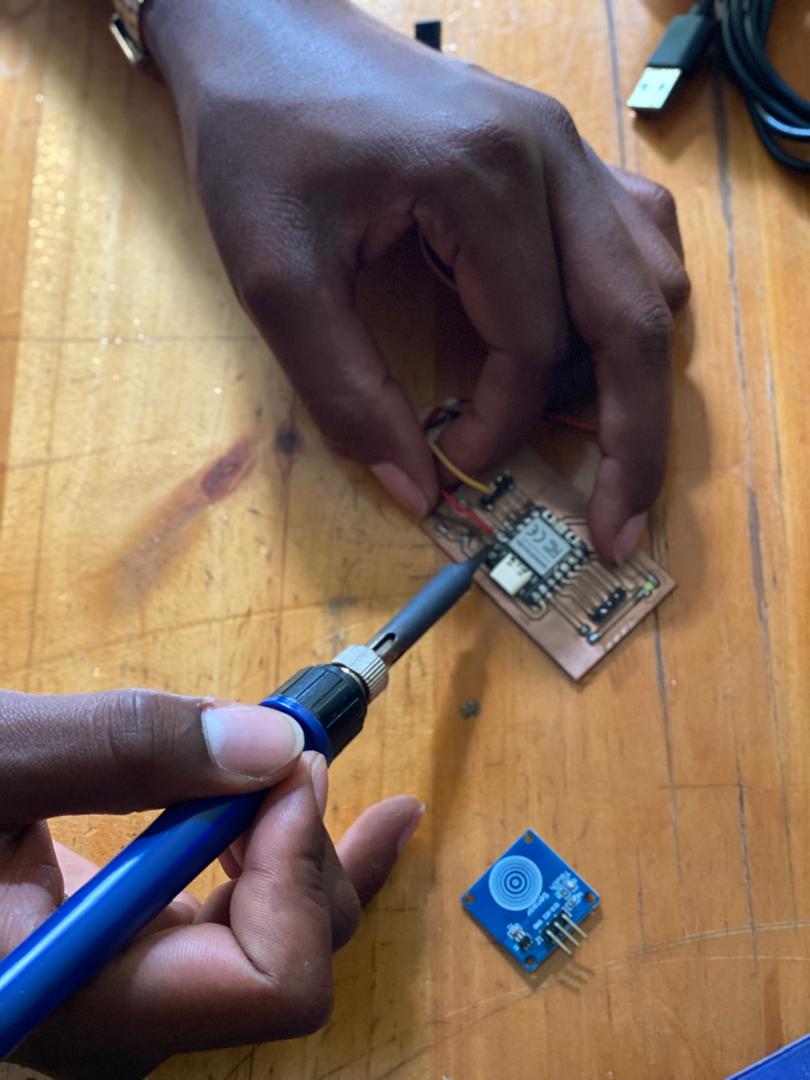
I connected the touch sensor to the XIAO RP2040 by soldering the power, ground, and signal wires
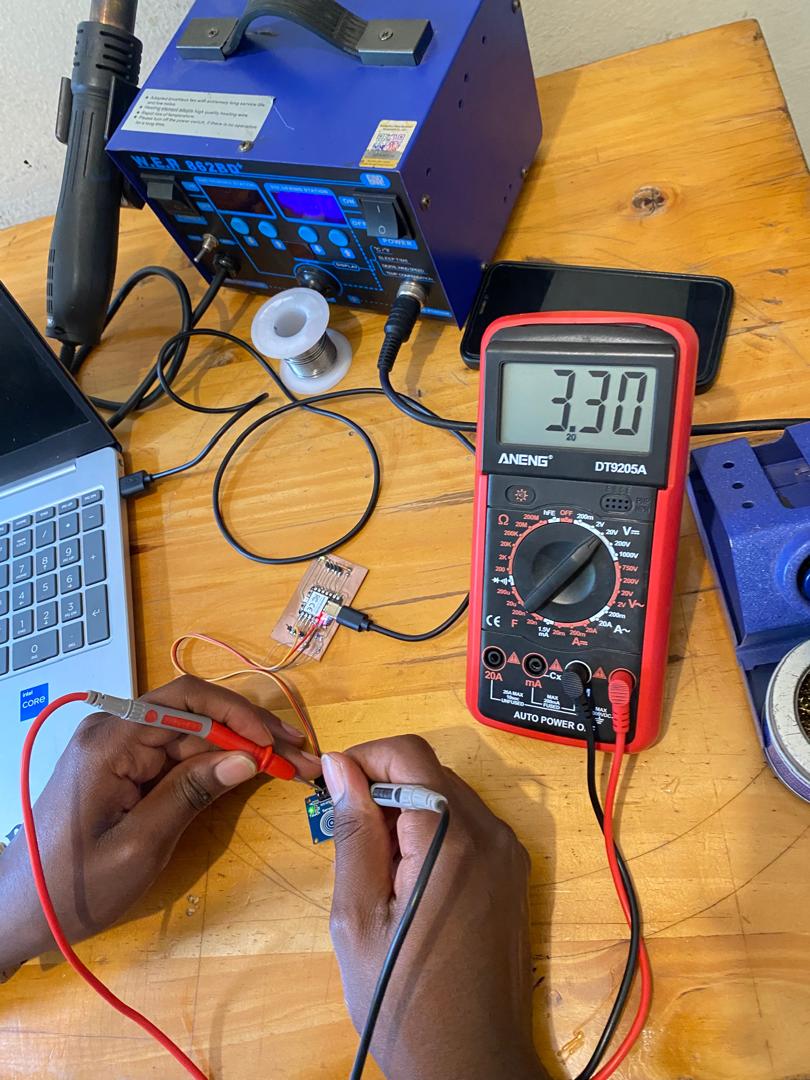
After connecting, I used a multimeter to check that power was flowing through the sensor
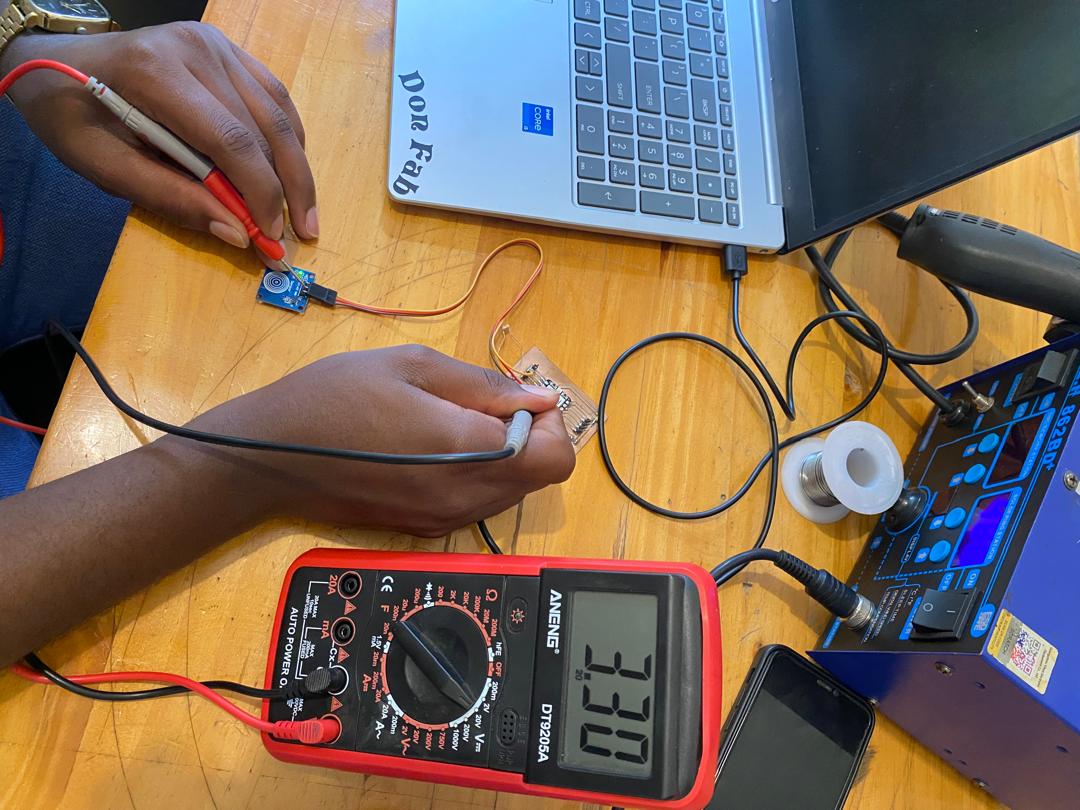
I wrote the Arduino code so that when I hold the sensor, the LED turns on.the LED that was already installed in the circuit during the electronic production week
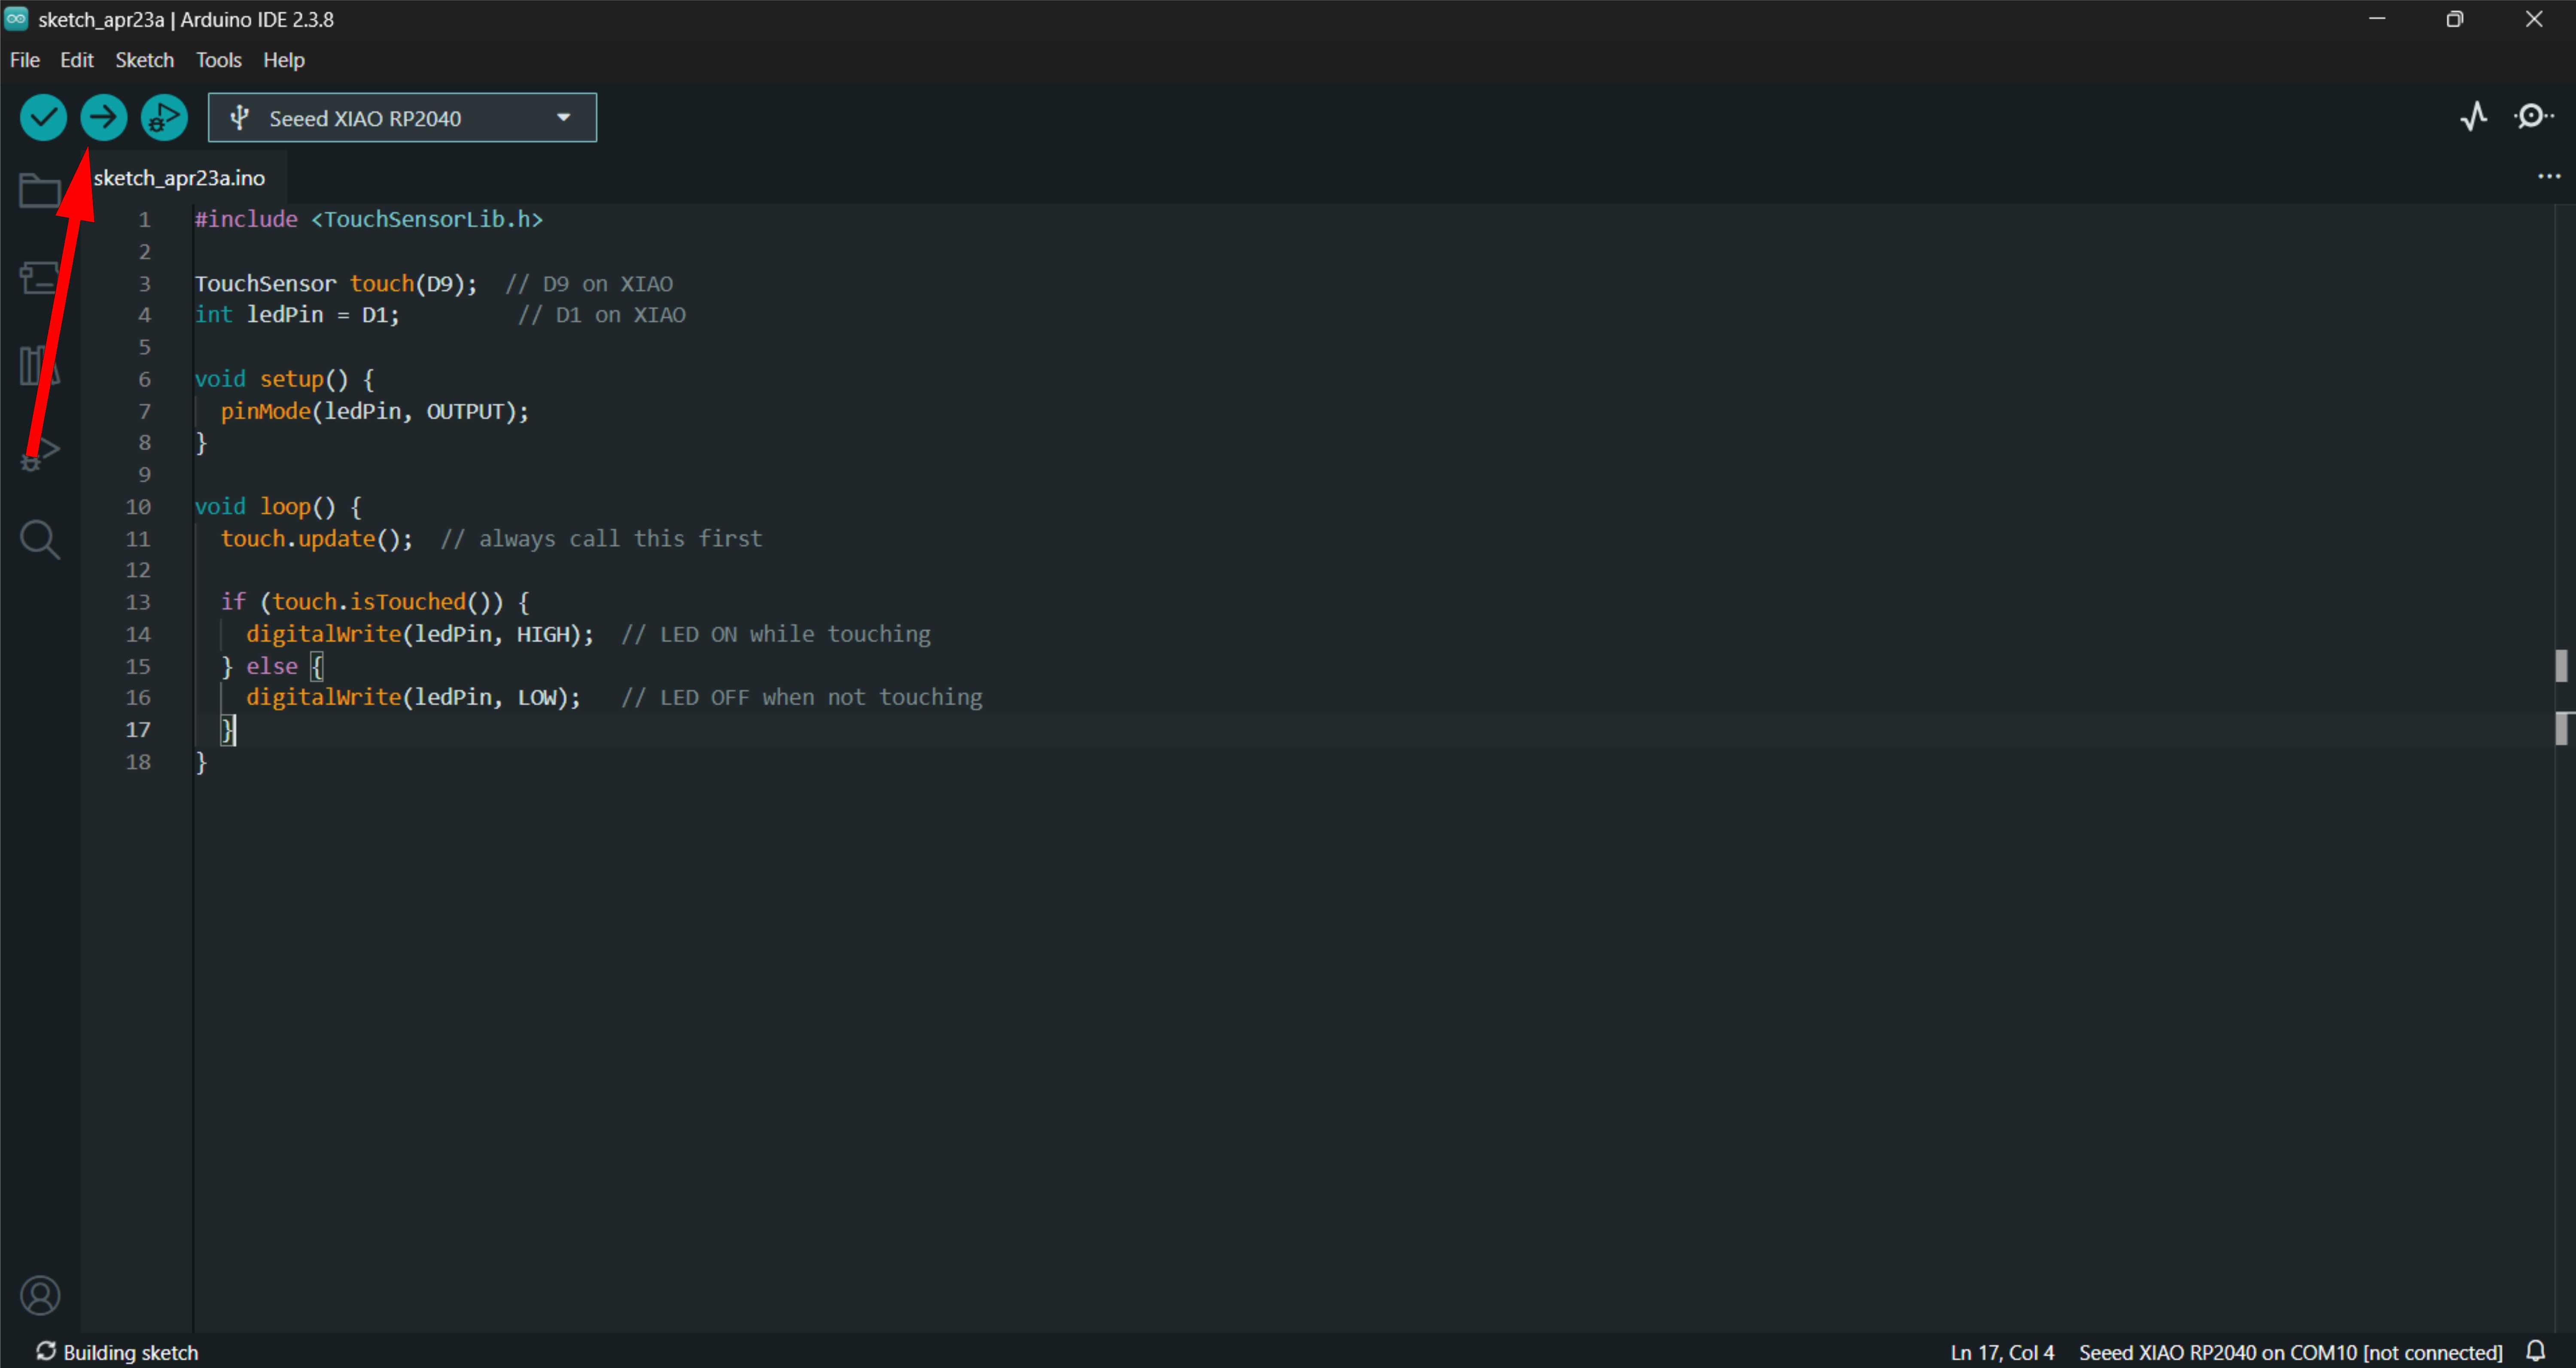
Below is the code I used
TouchSensor touch(D9);
int ledPin = D1;

void setup() {
  pinMode(ledPin, OUTPUT);
}

void loop() {
 touch.update();

if (touch.isTouched()) {
  digitalWrite(ledPin, HIGH);
  } else {
digitalWrite(ledPin, LOW);
  }
}
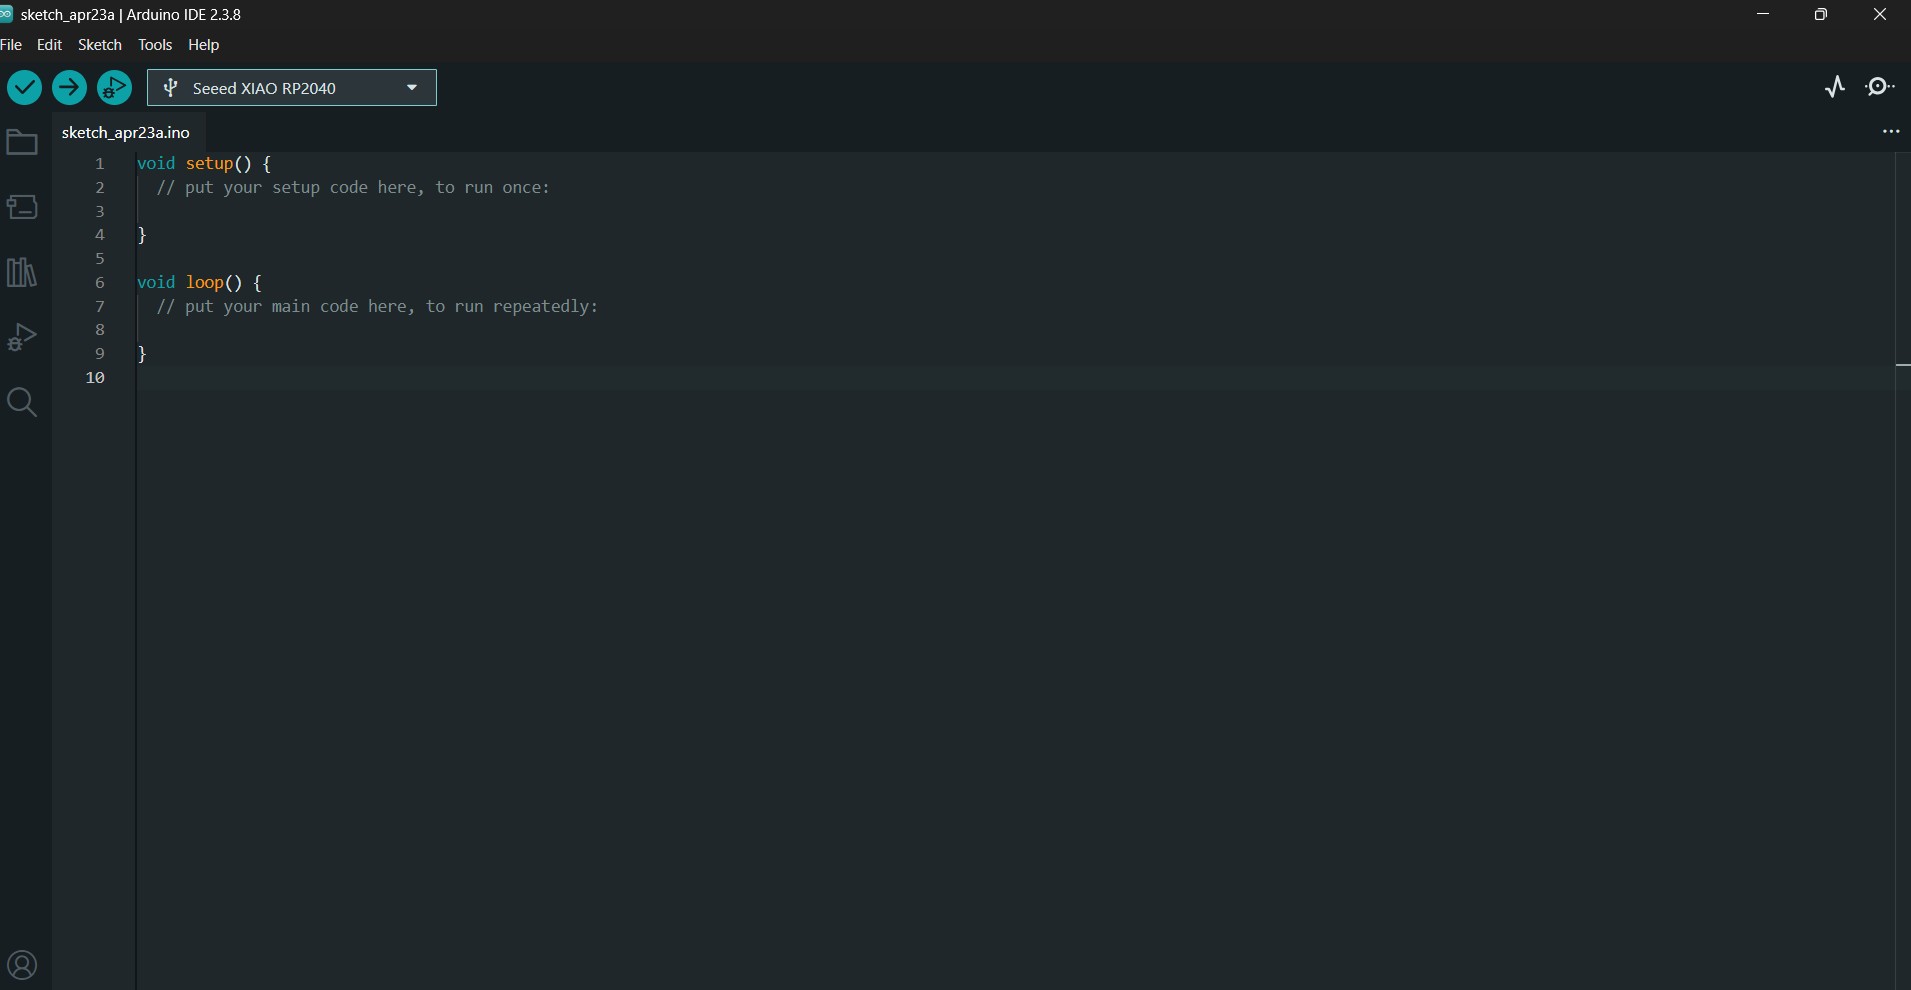
after, I opened Arduino to write the code
Then I clicked the upload to send the code to the board
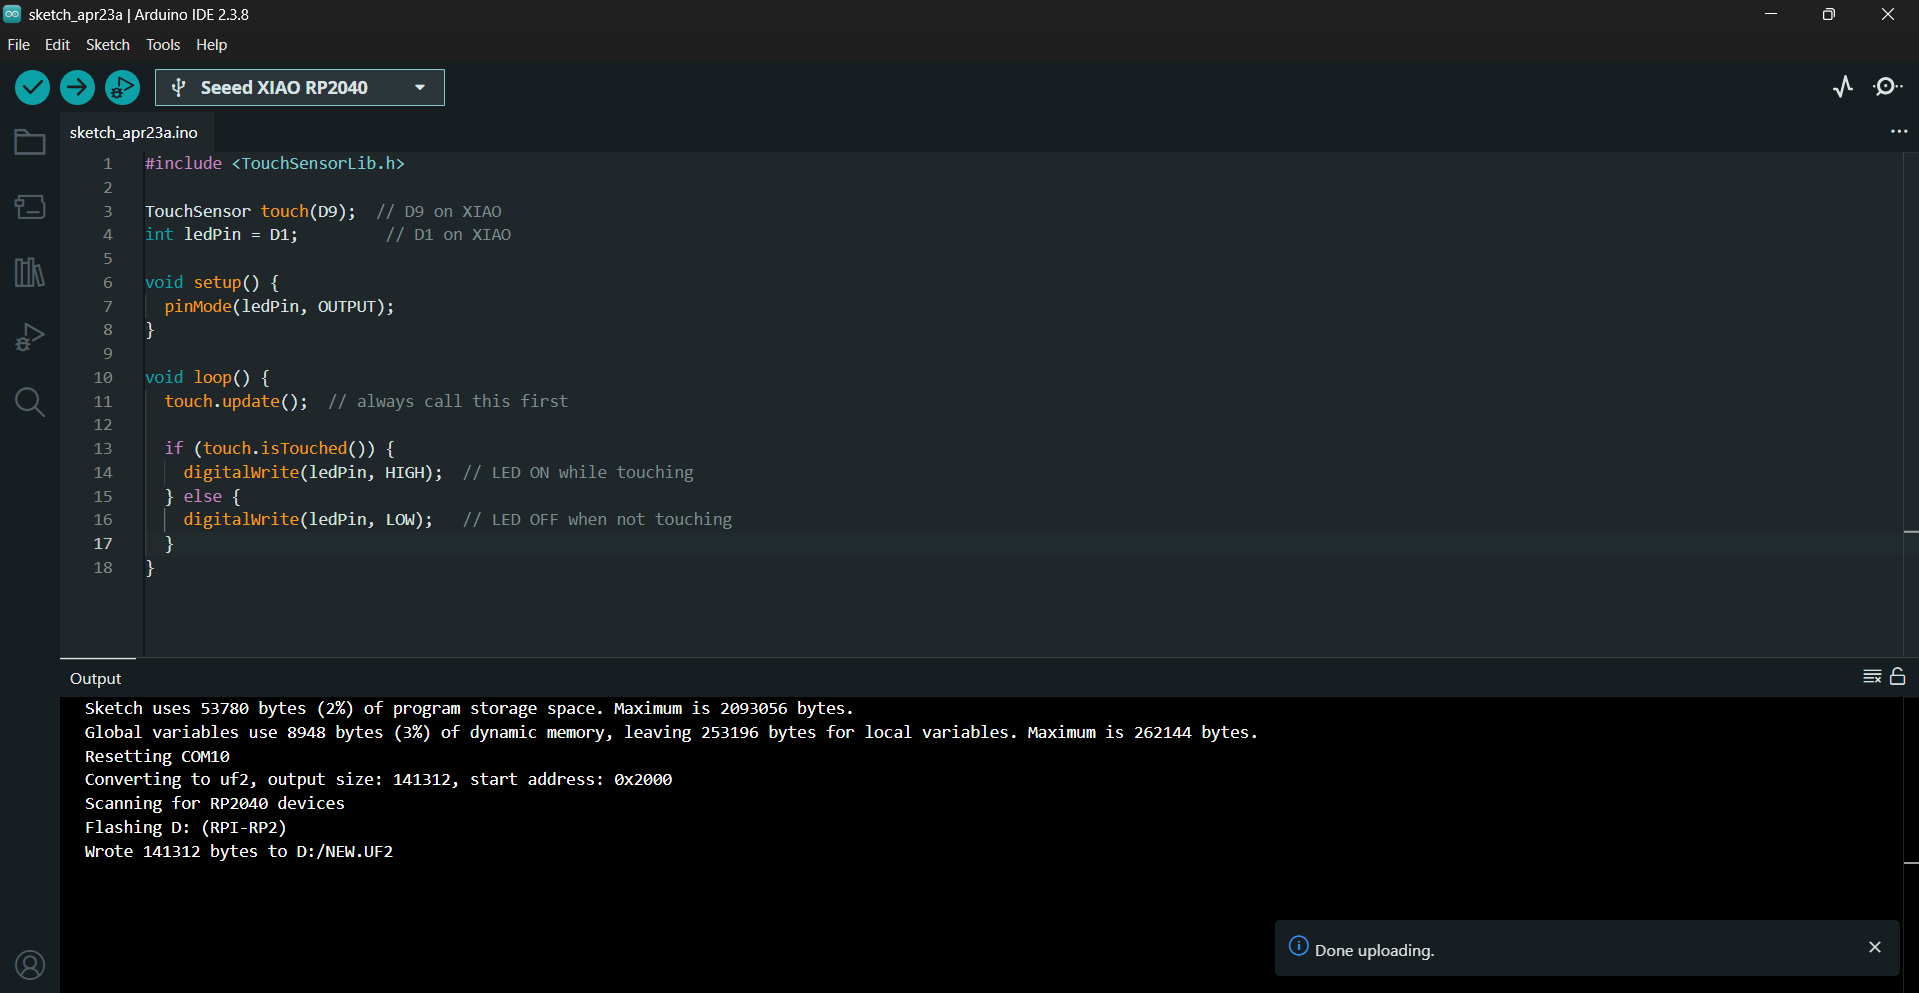
After that, I tested it by touching the sensor to check if it was working correctly