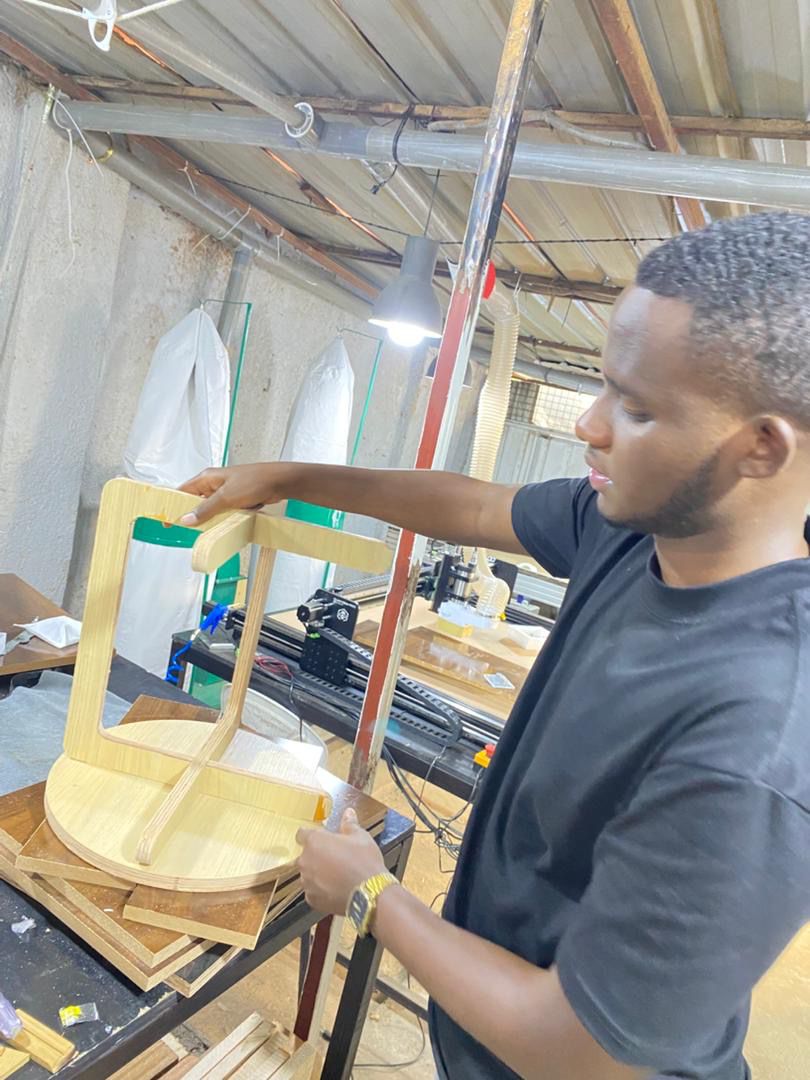
Group Assignment
As a group we did the safety training for the CNC machine and then tested the machine, checking runout, alignment, fixturing, speeds, feeds, materials and toolpaths so we knew the settings that give a clean cut. The results are on our group page: group assignment page. What I took from the safety training is to keep the work clamped down, keep my hands away while it cuts, wear eye and ear protection, and know where the emergency stop button is.
Individual assigment
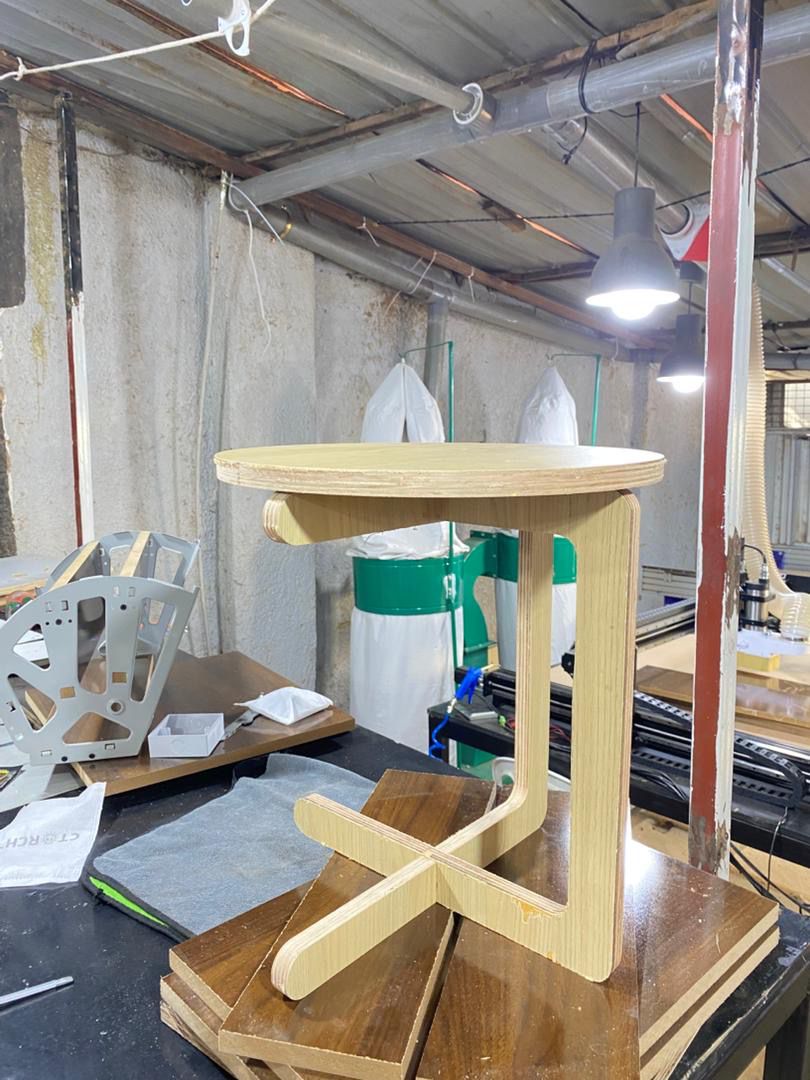
For this assignment, I designed and fabricated a stool table. I created the design using solidworks software and prepared the files for CNC machining. I used a CNC machine to cut all the parts accurately. After cutting, I assembled the pieces together to build a stable and functional stool table
I began by designing the stool table in SolidWorks. First, I sketched a circle to create the top of the table and centerline for
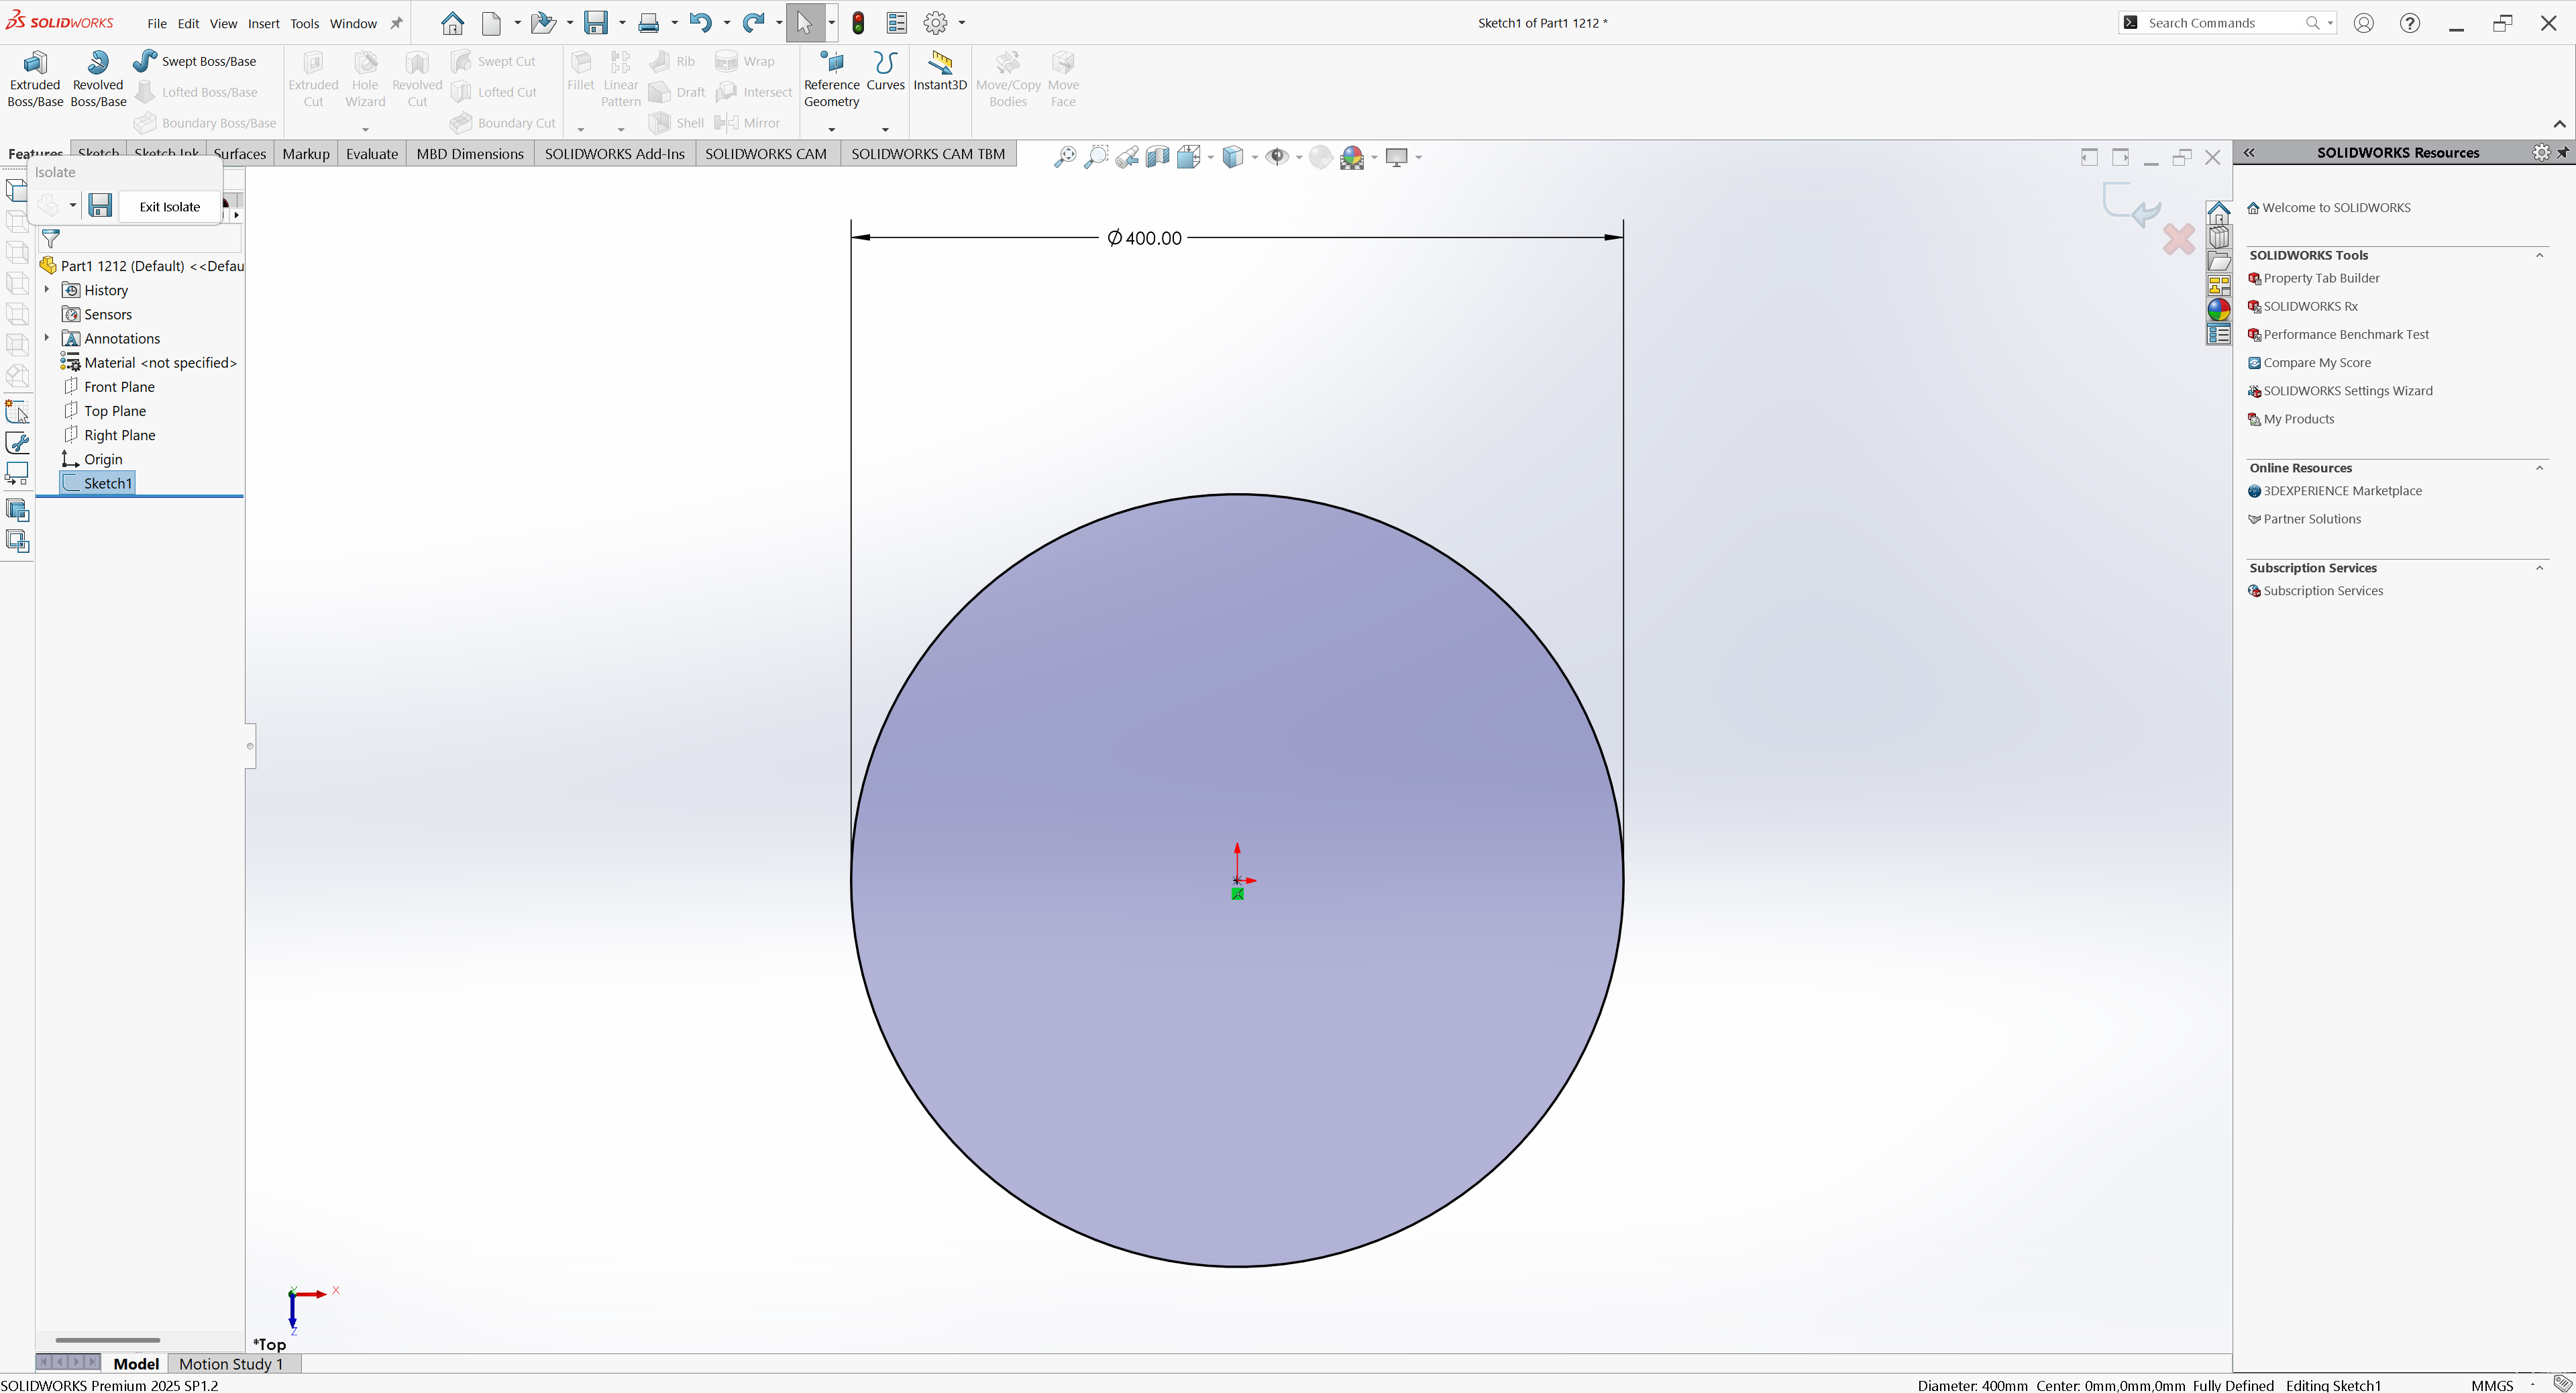
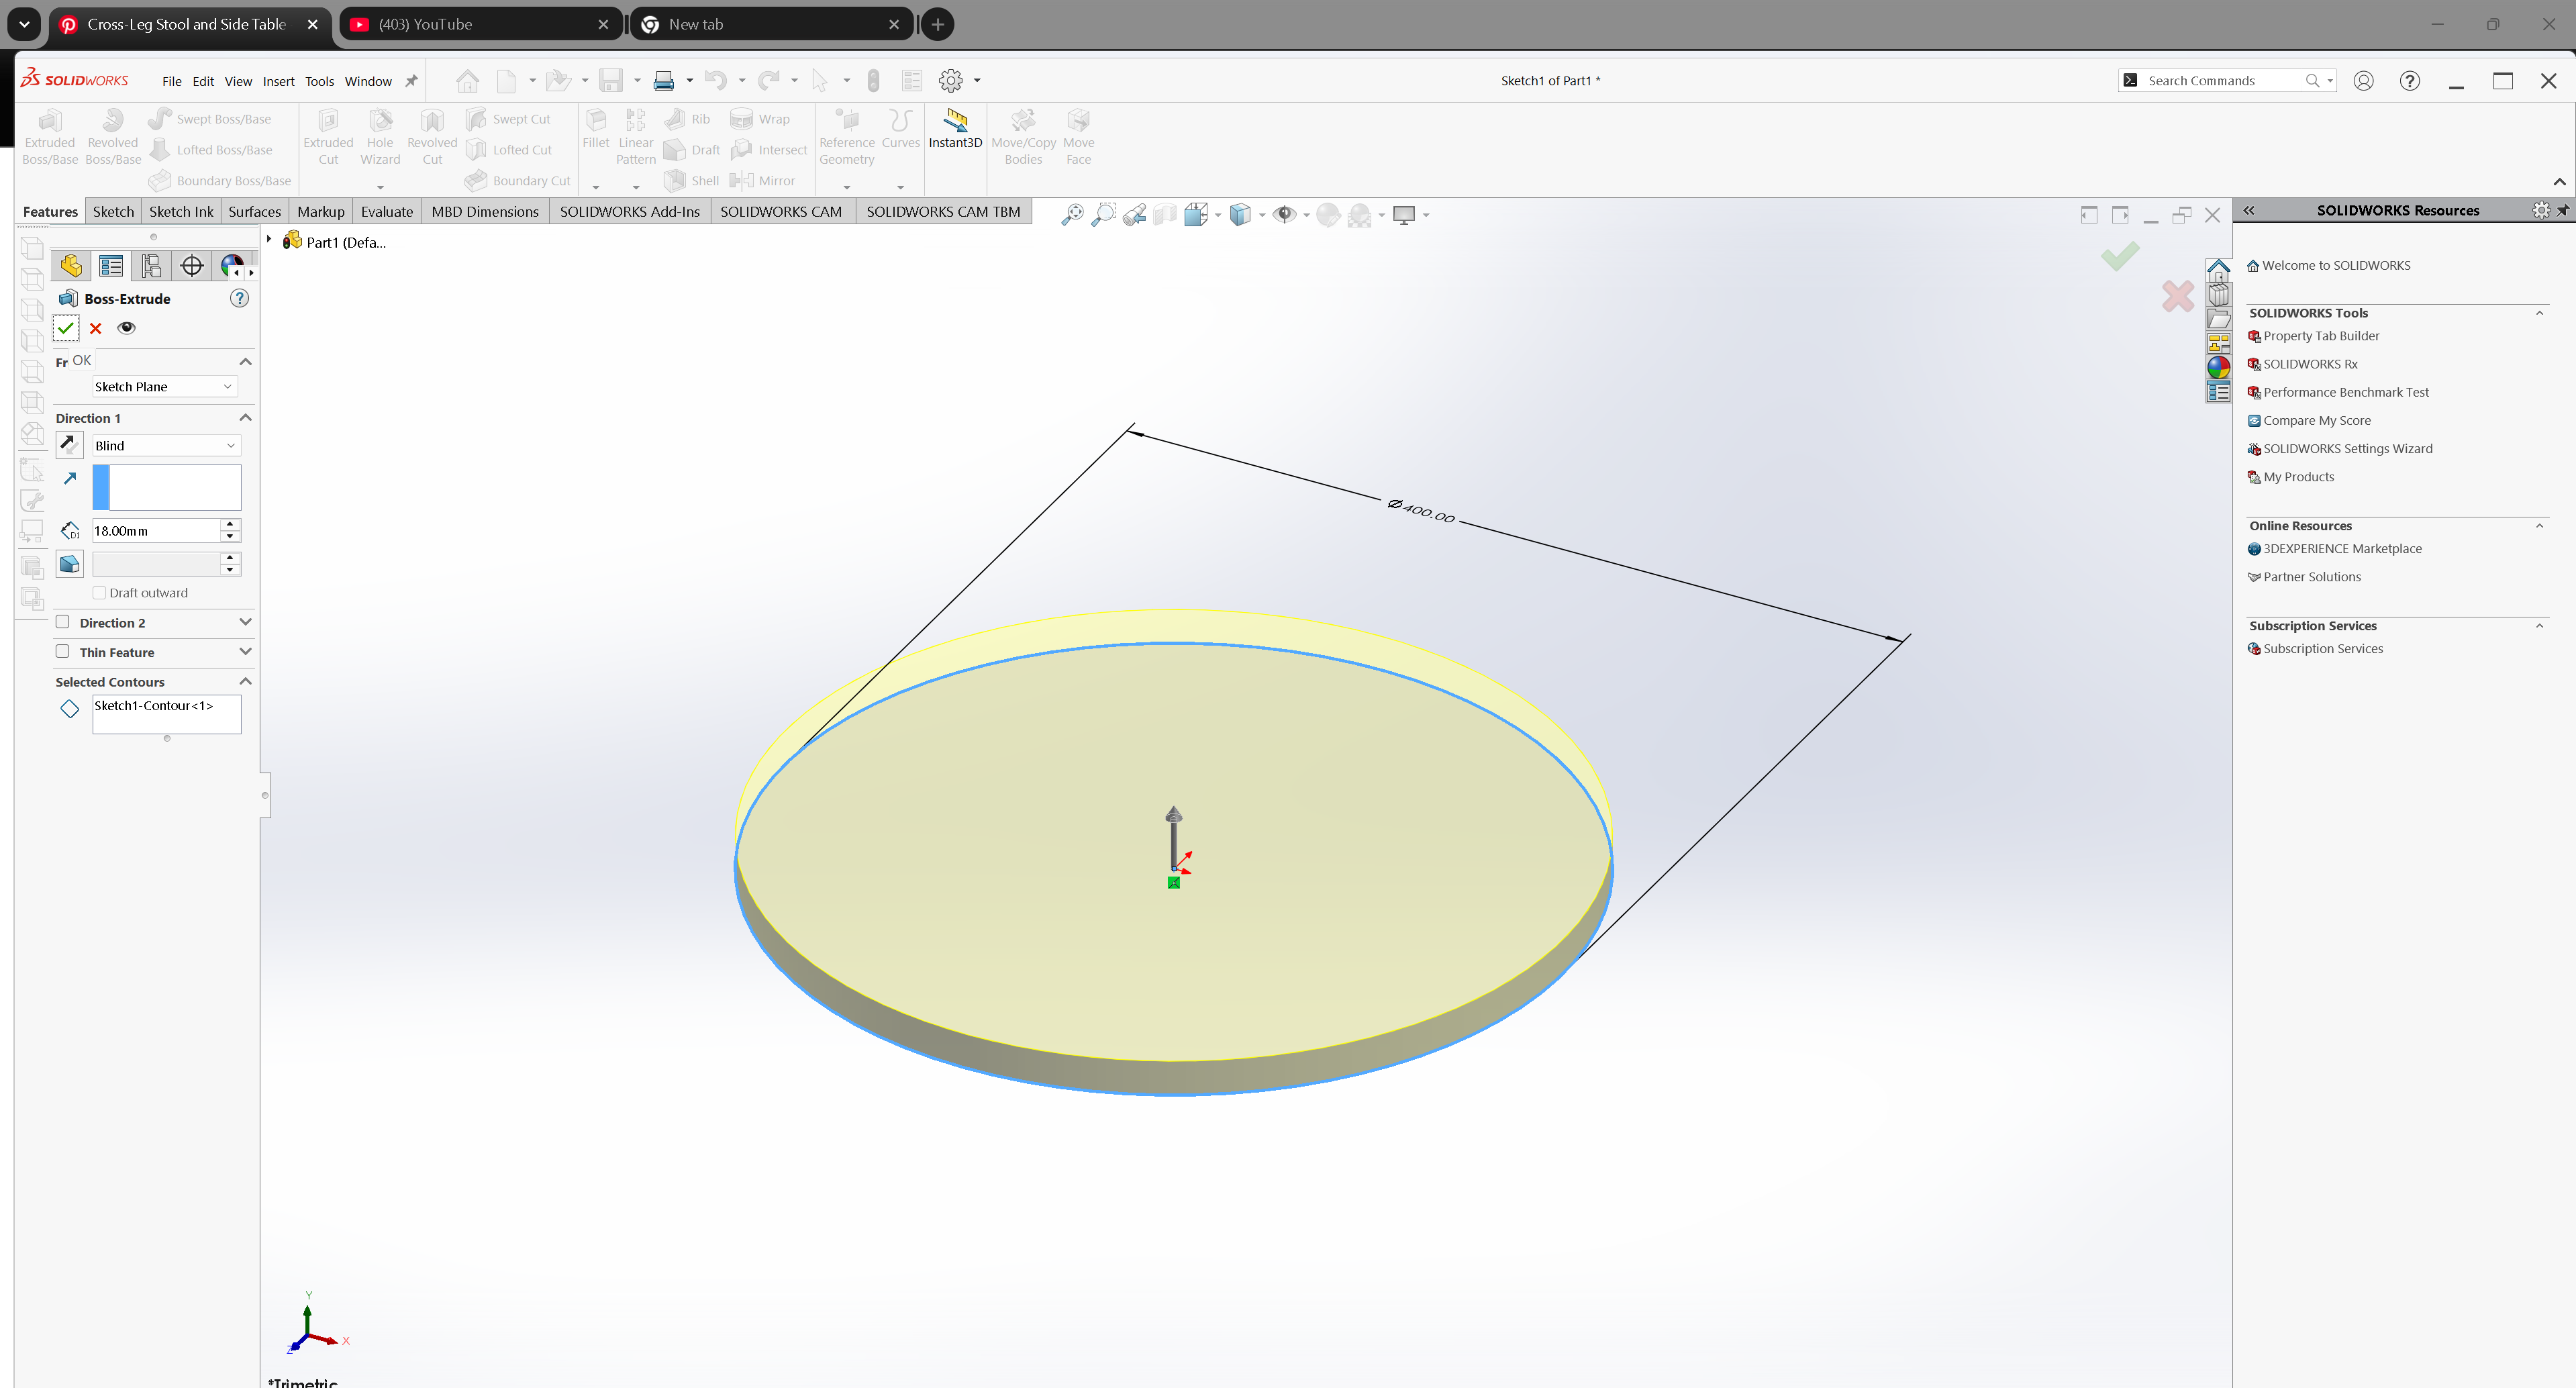
Next, I extruded the circle to the thickness of the material
I drew a rectangle to define the pocket area where the legs would fit
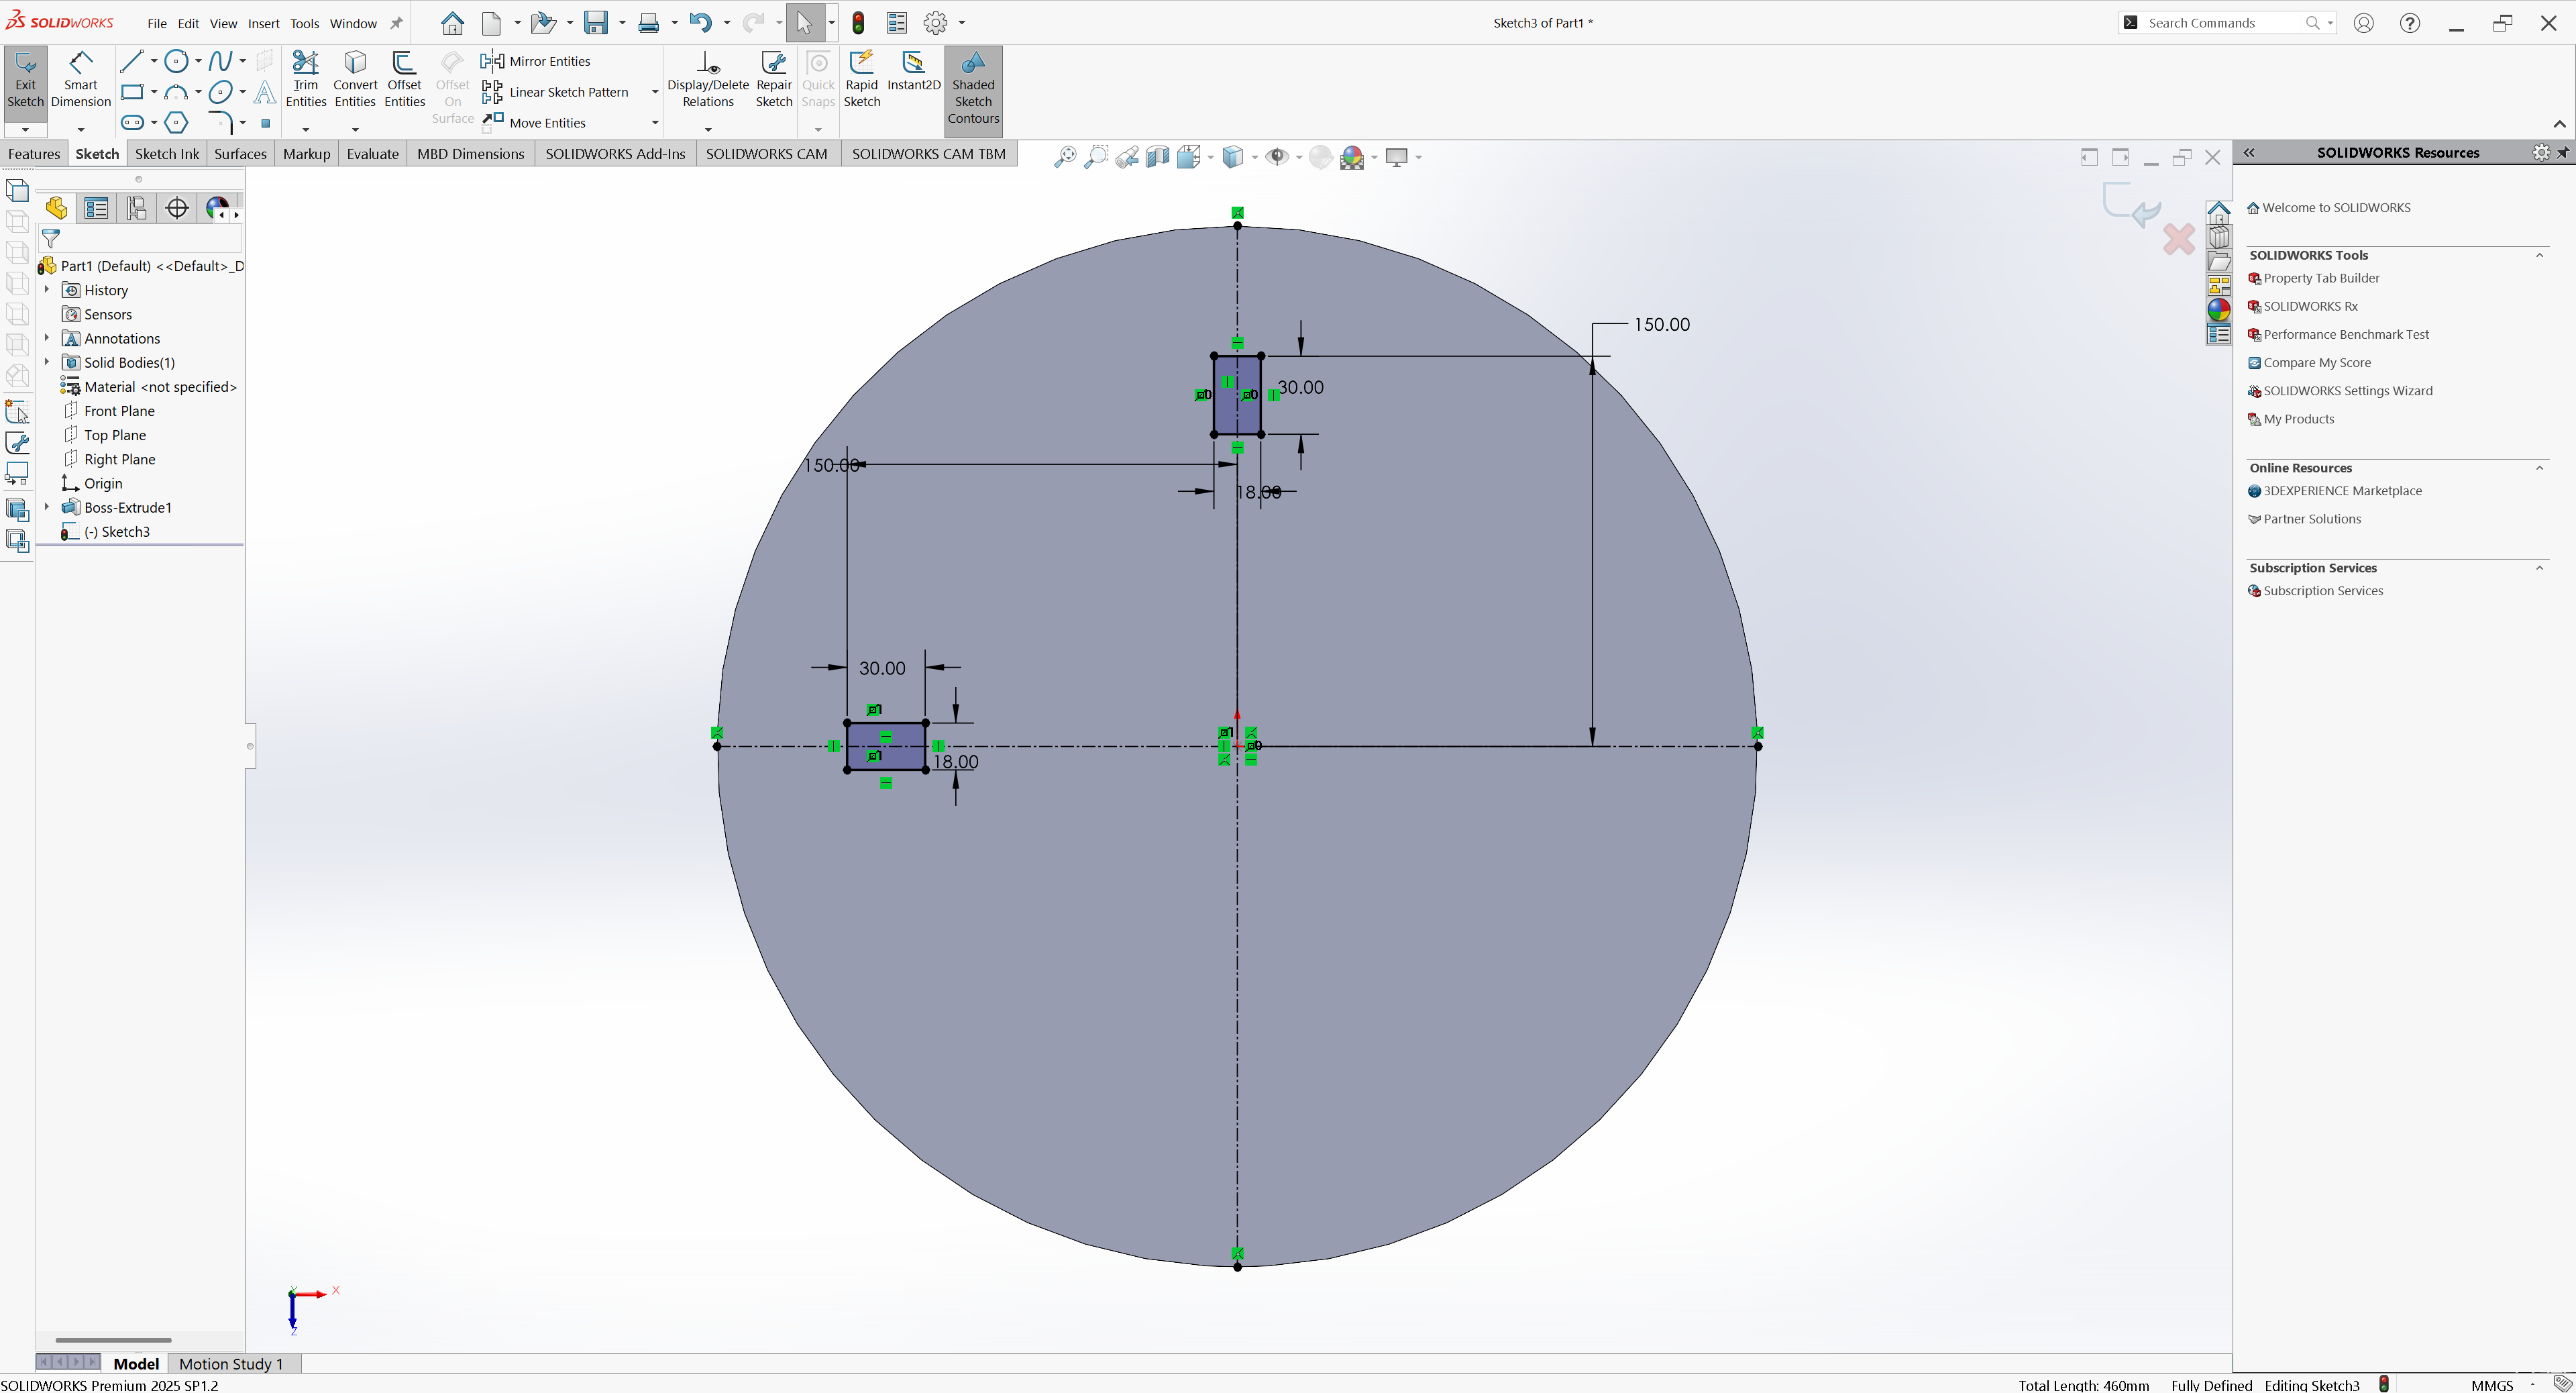
Next, I used the mirror tool to duplicate the rectangle pocket on the opposite
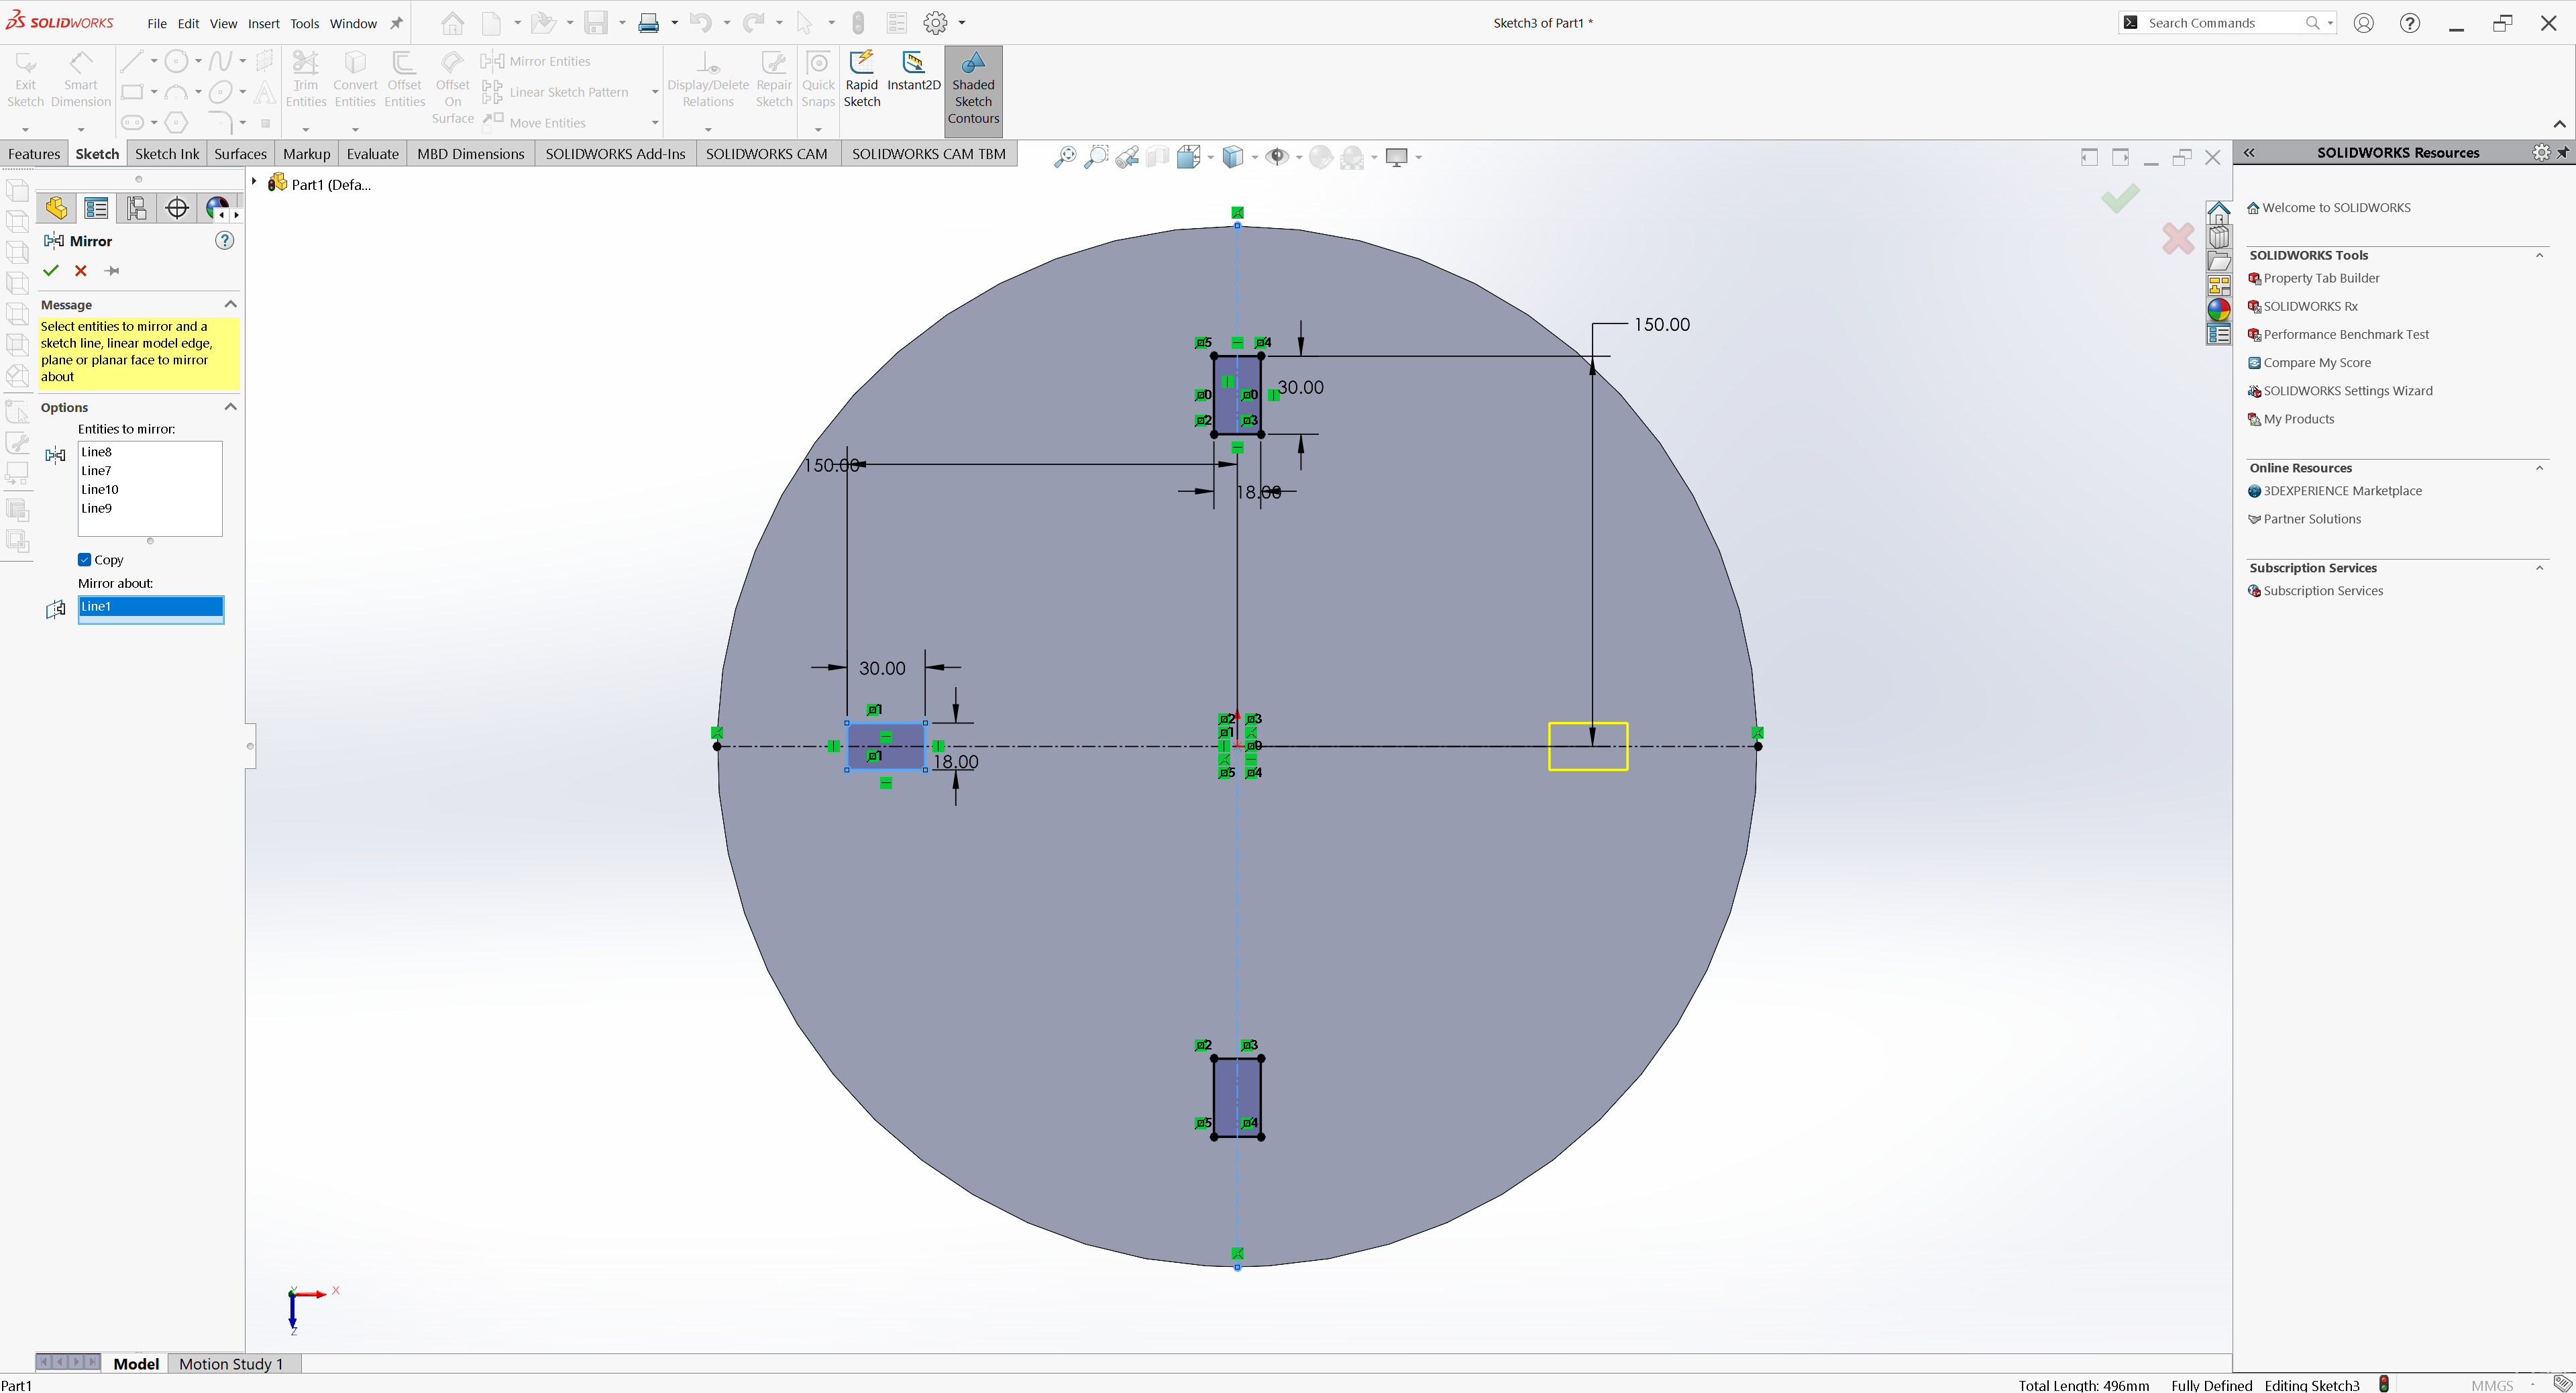
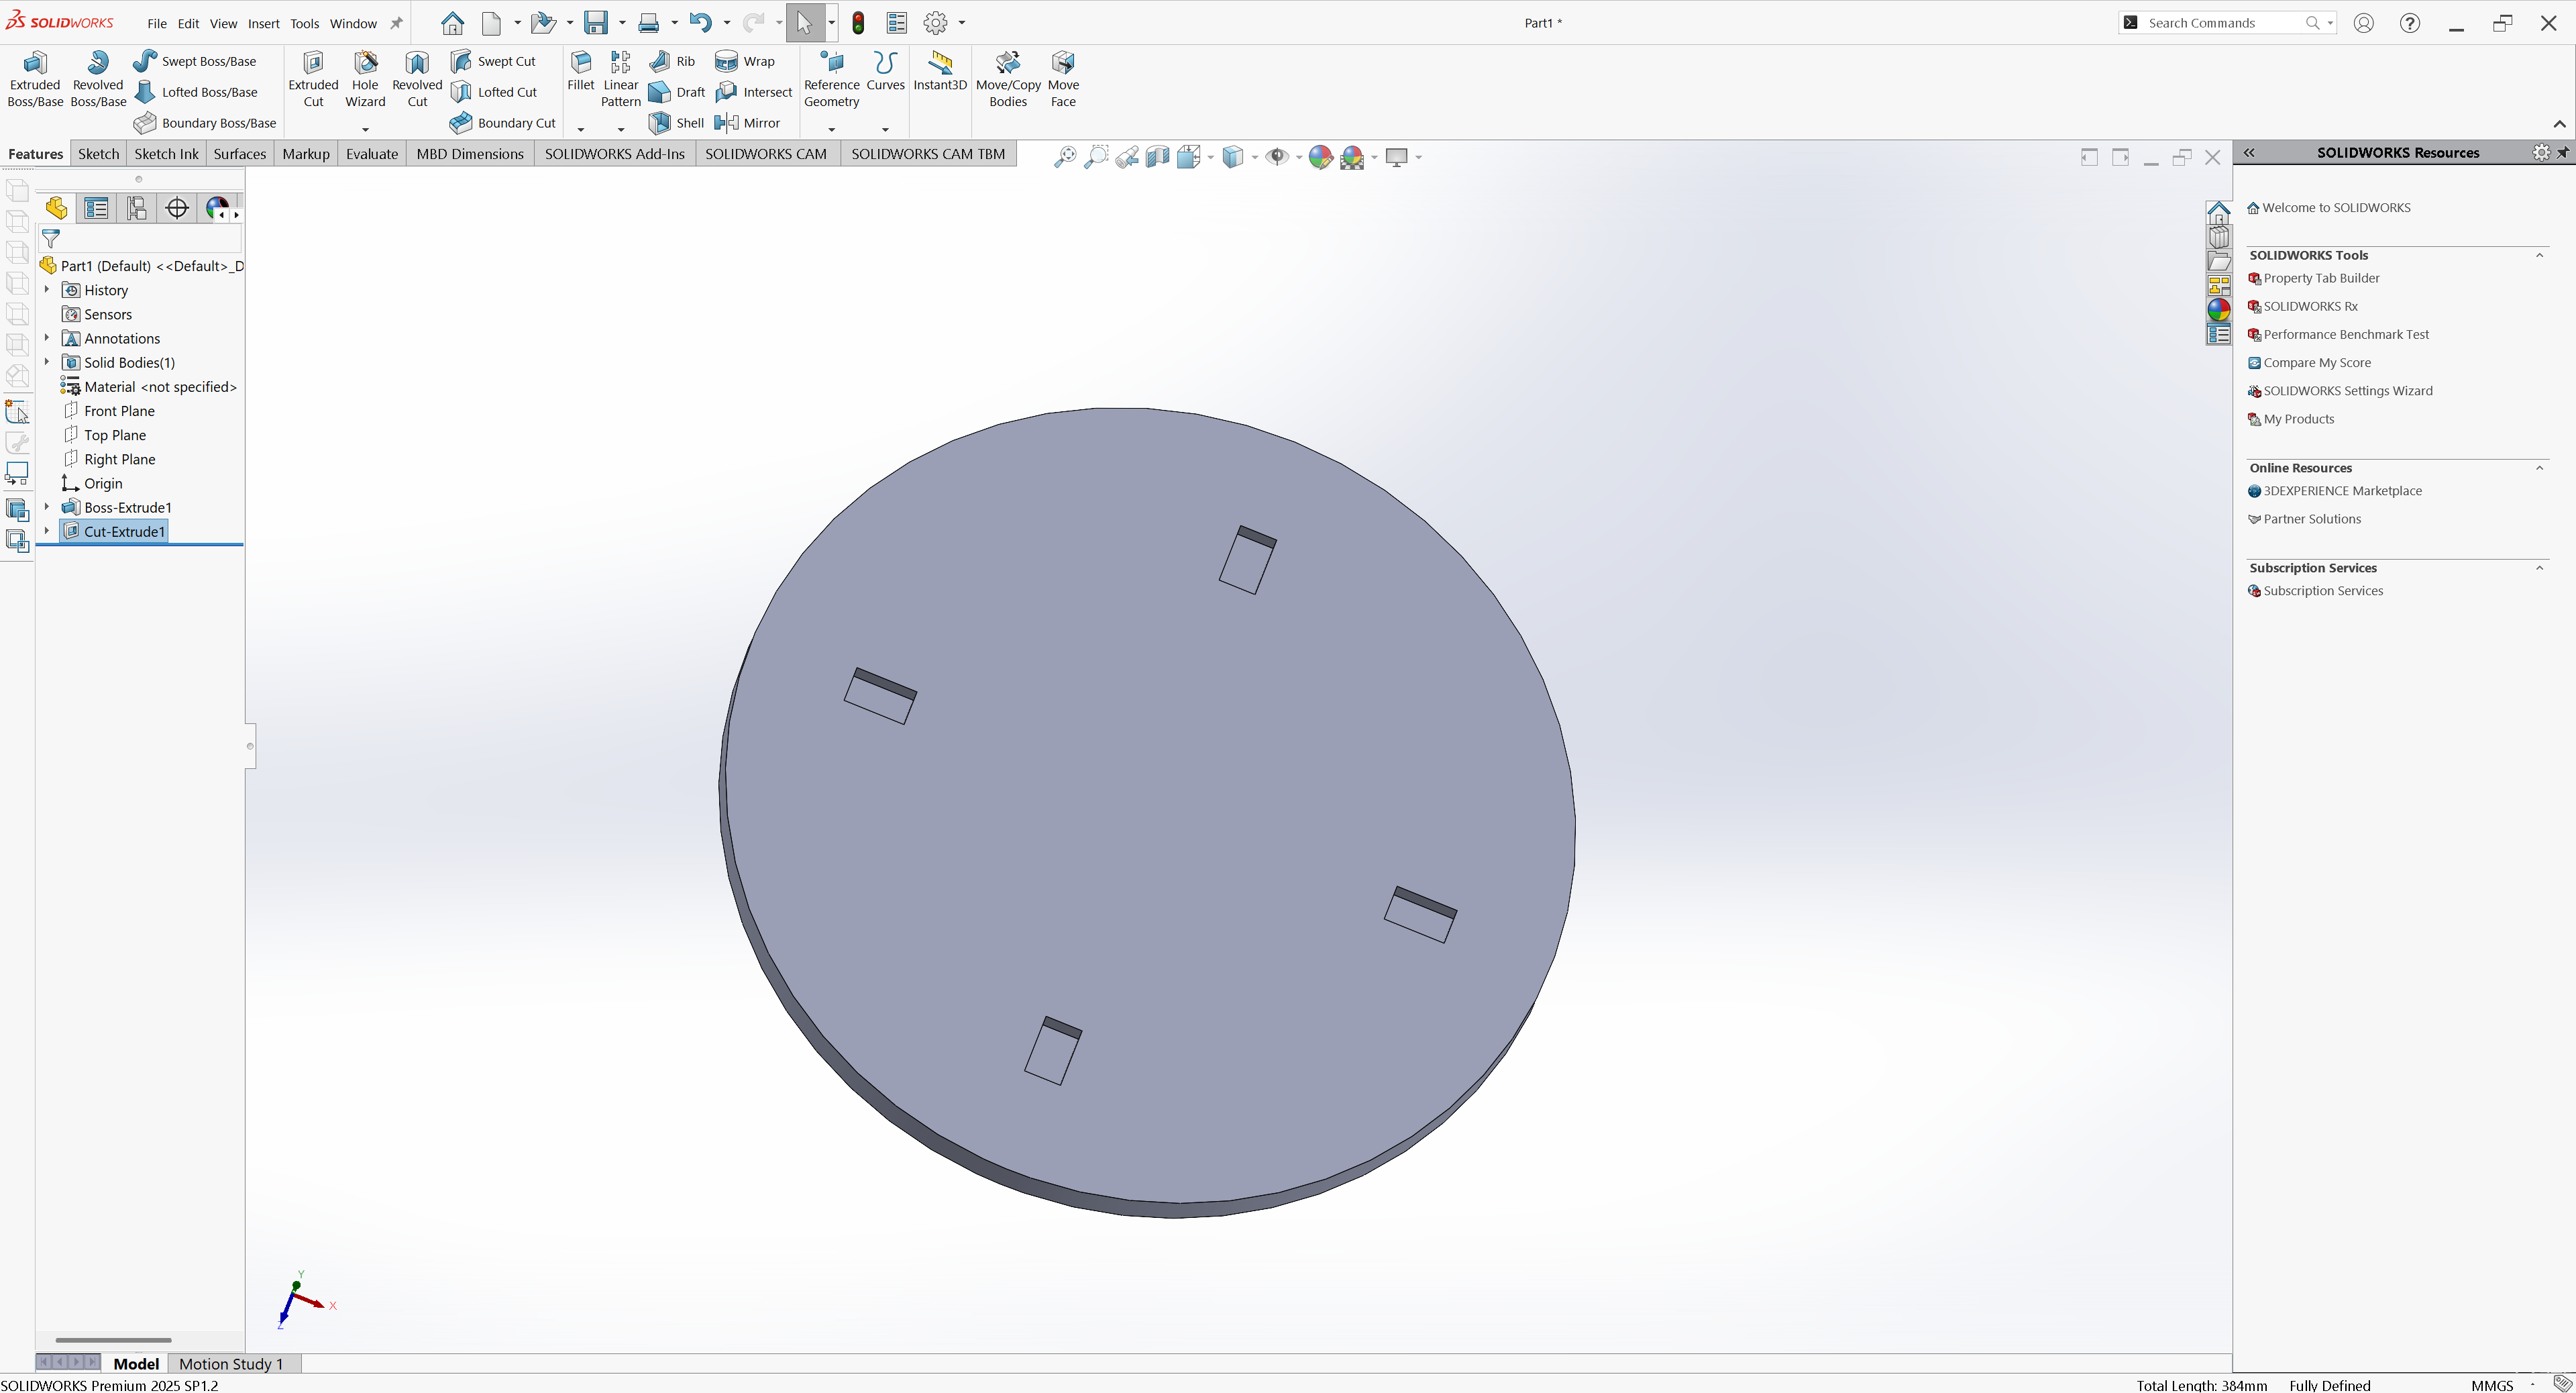
Next, I used the Extrude Cut tool to remove the rectangle area and create the pocket for the legs
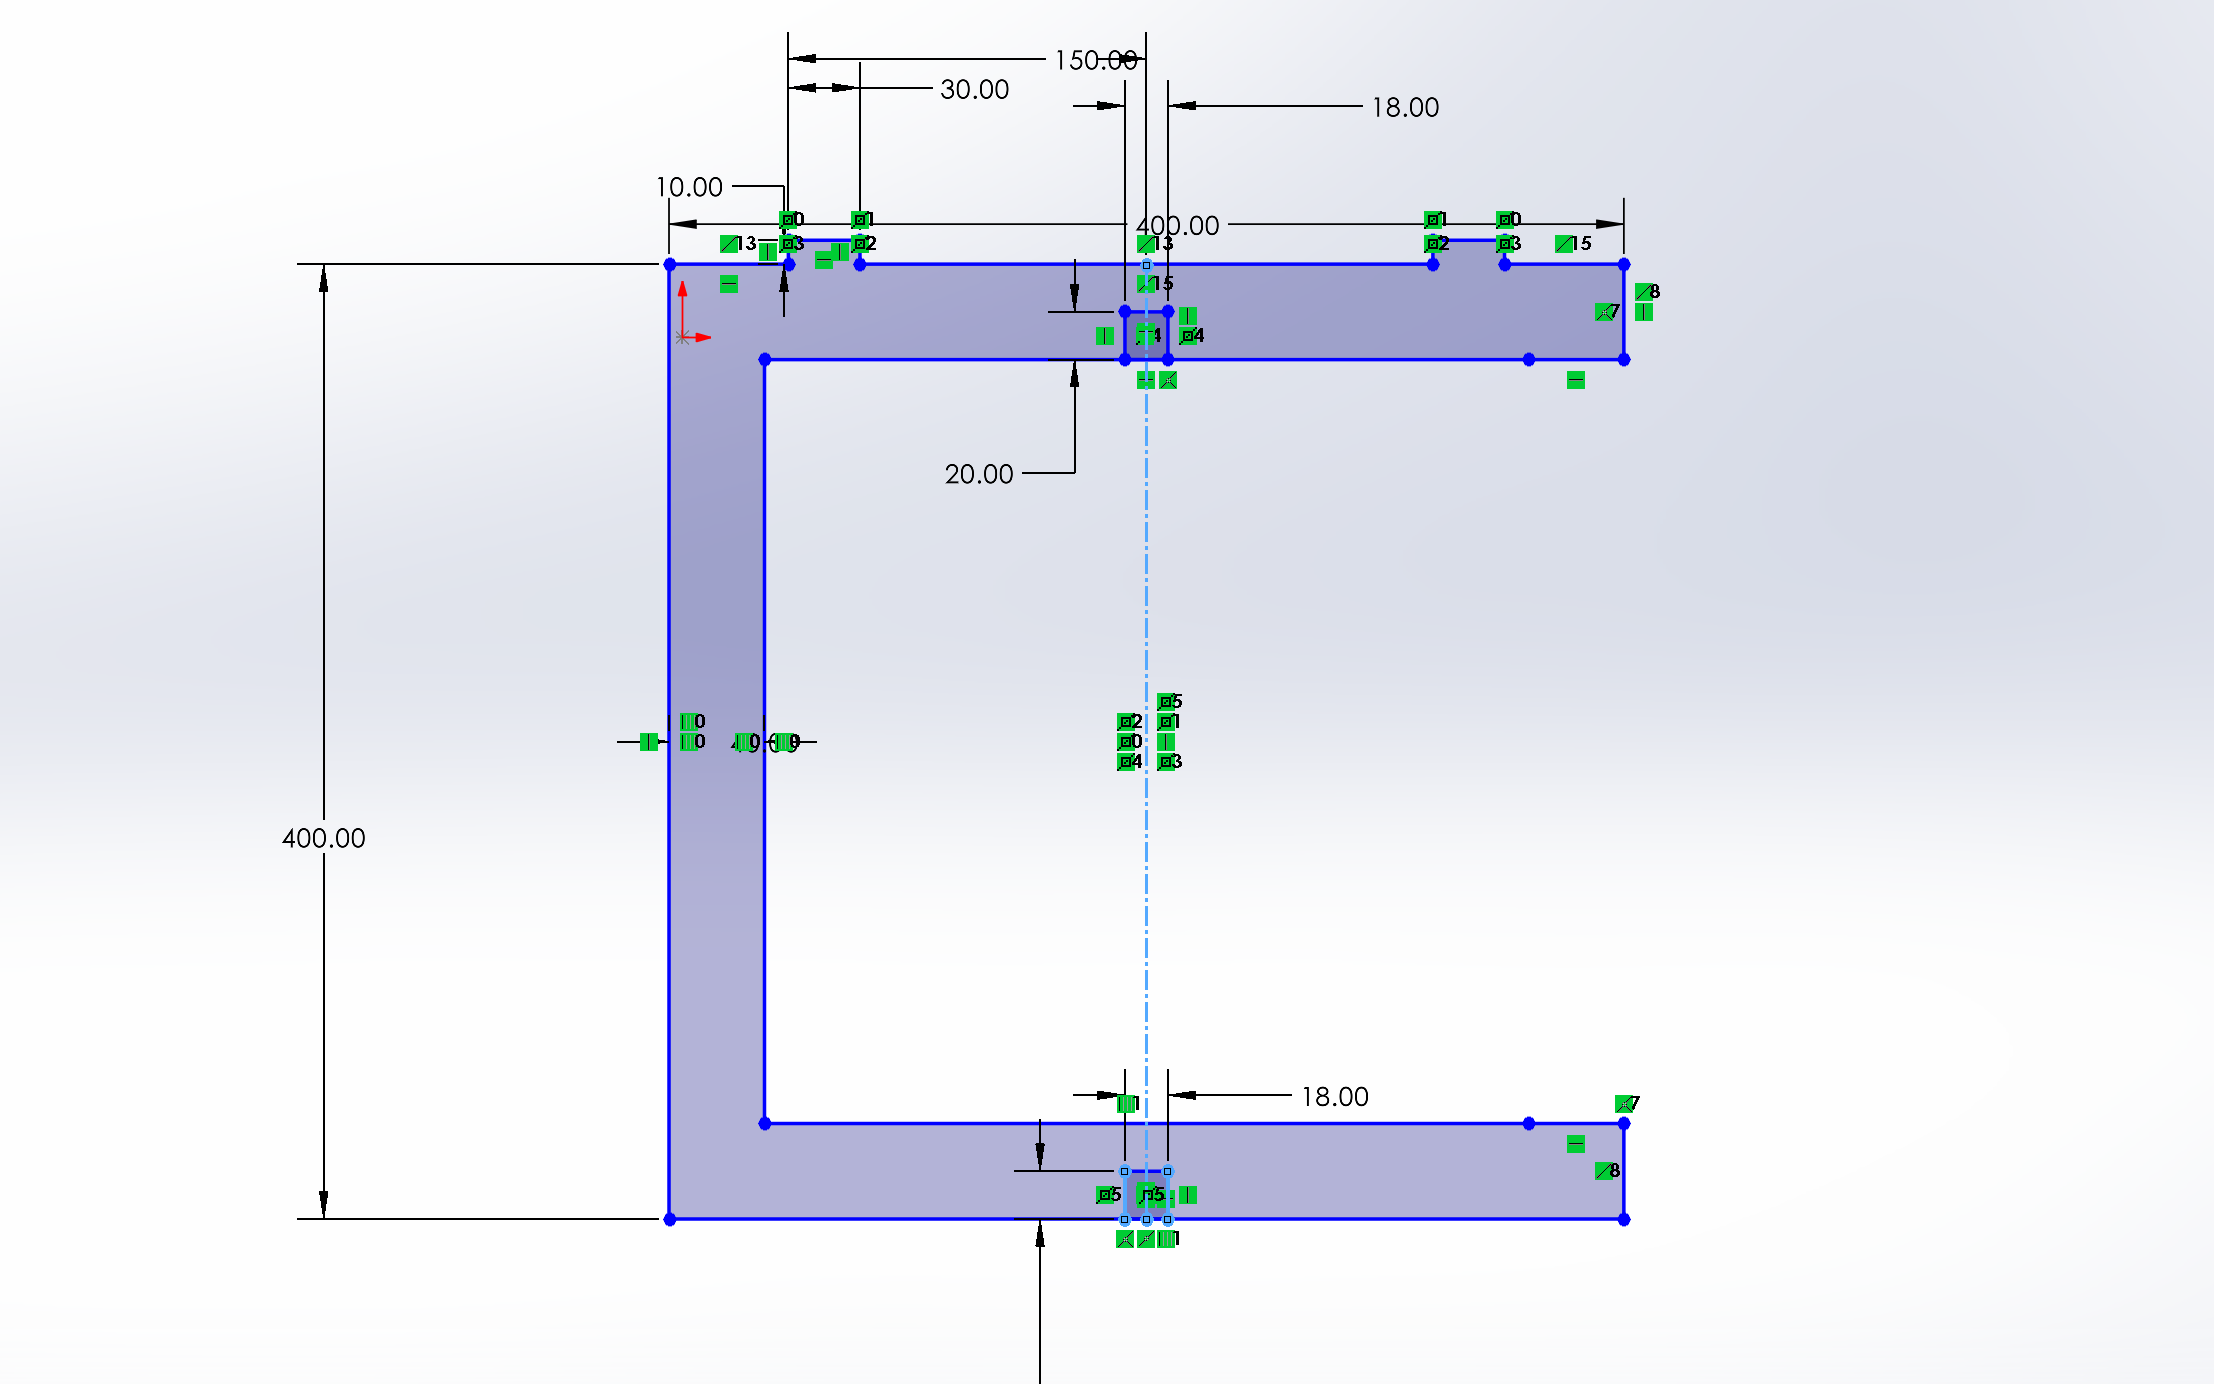
Next, I created a sketch to design the leg of the table
I adjusted the size of the joint to match the rectangle pocket I designed on the circle. And I added a joint between the two legs so they can connect together
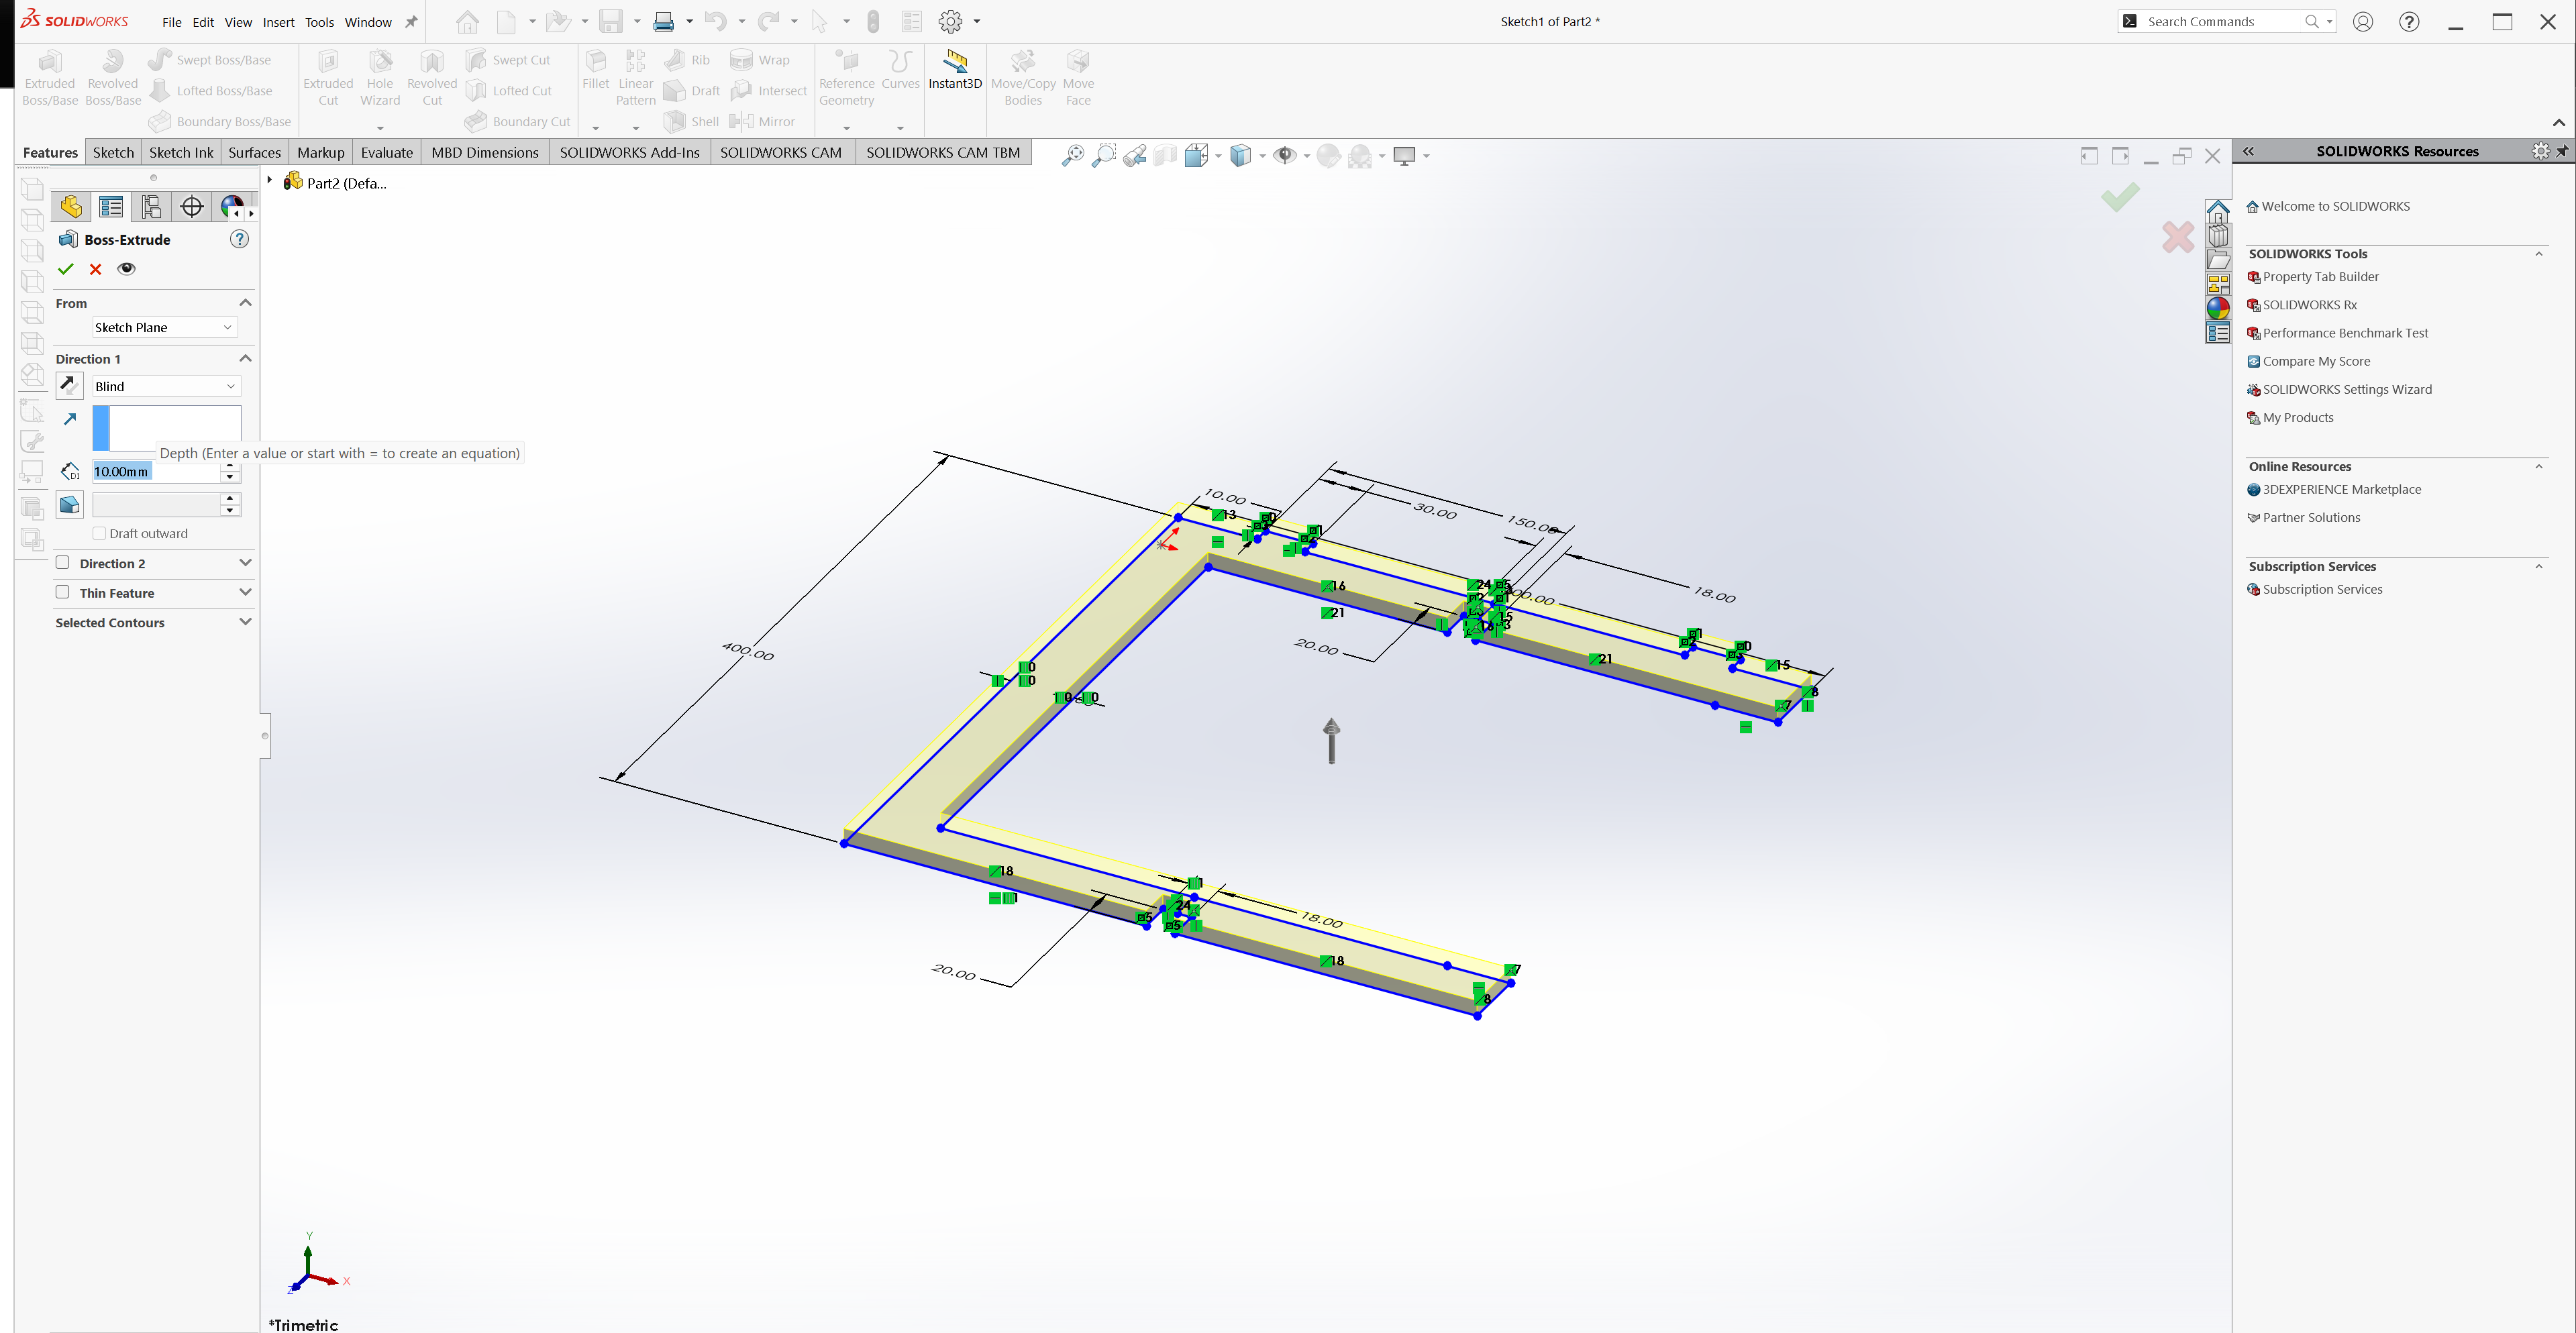
Next, I extruded the sketch legs of the table
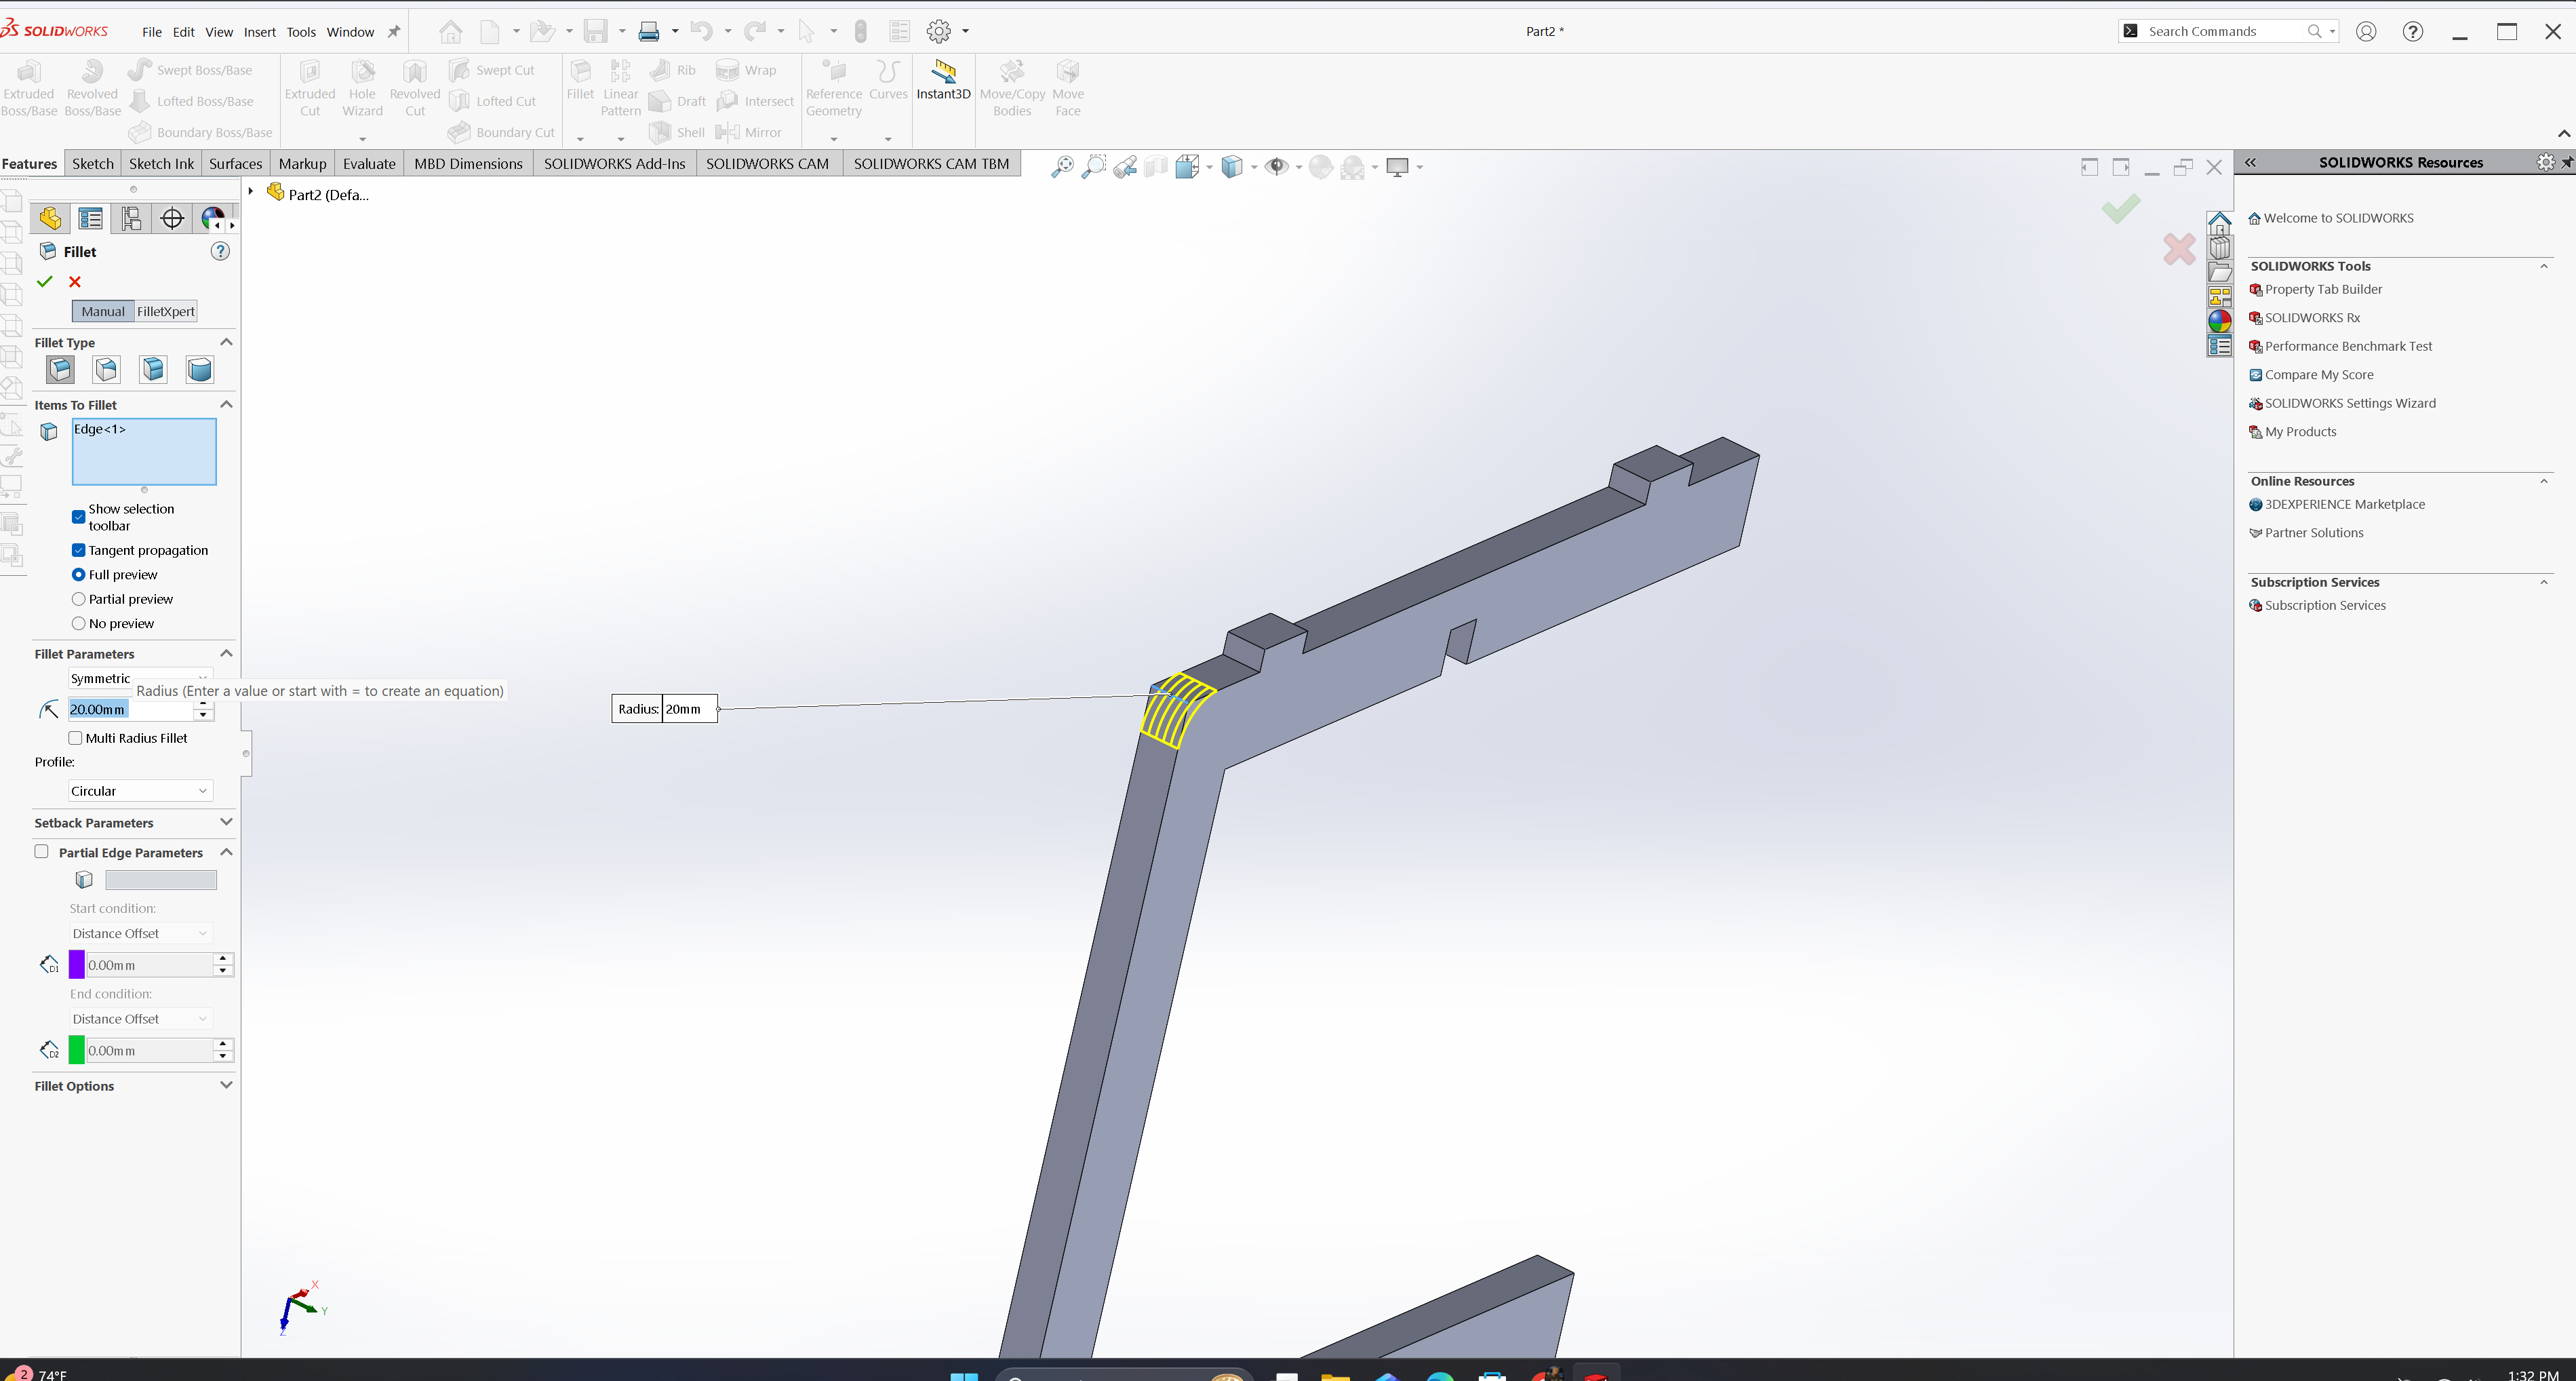
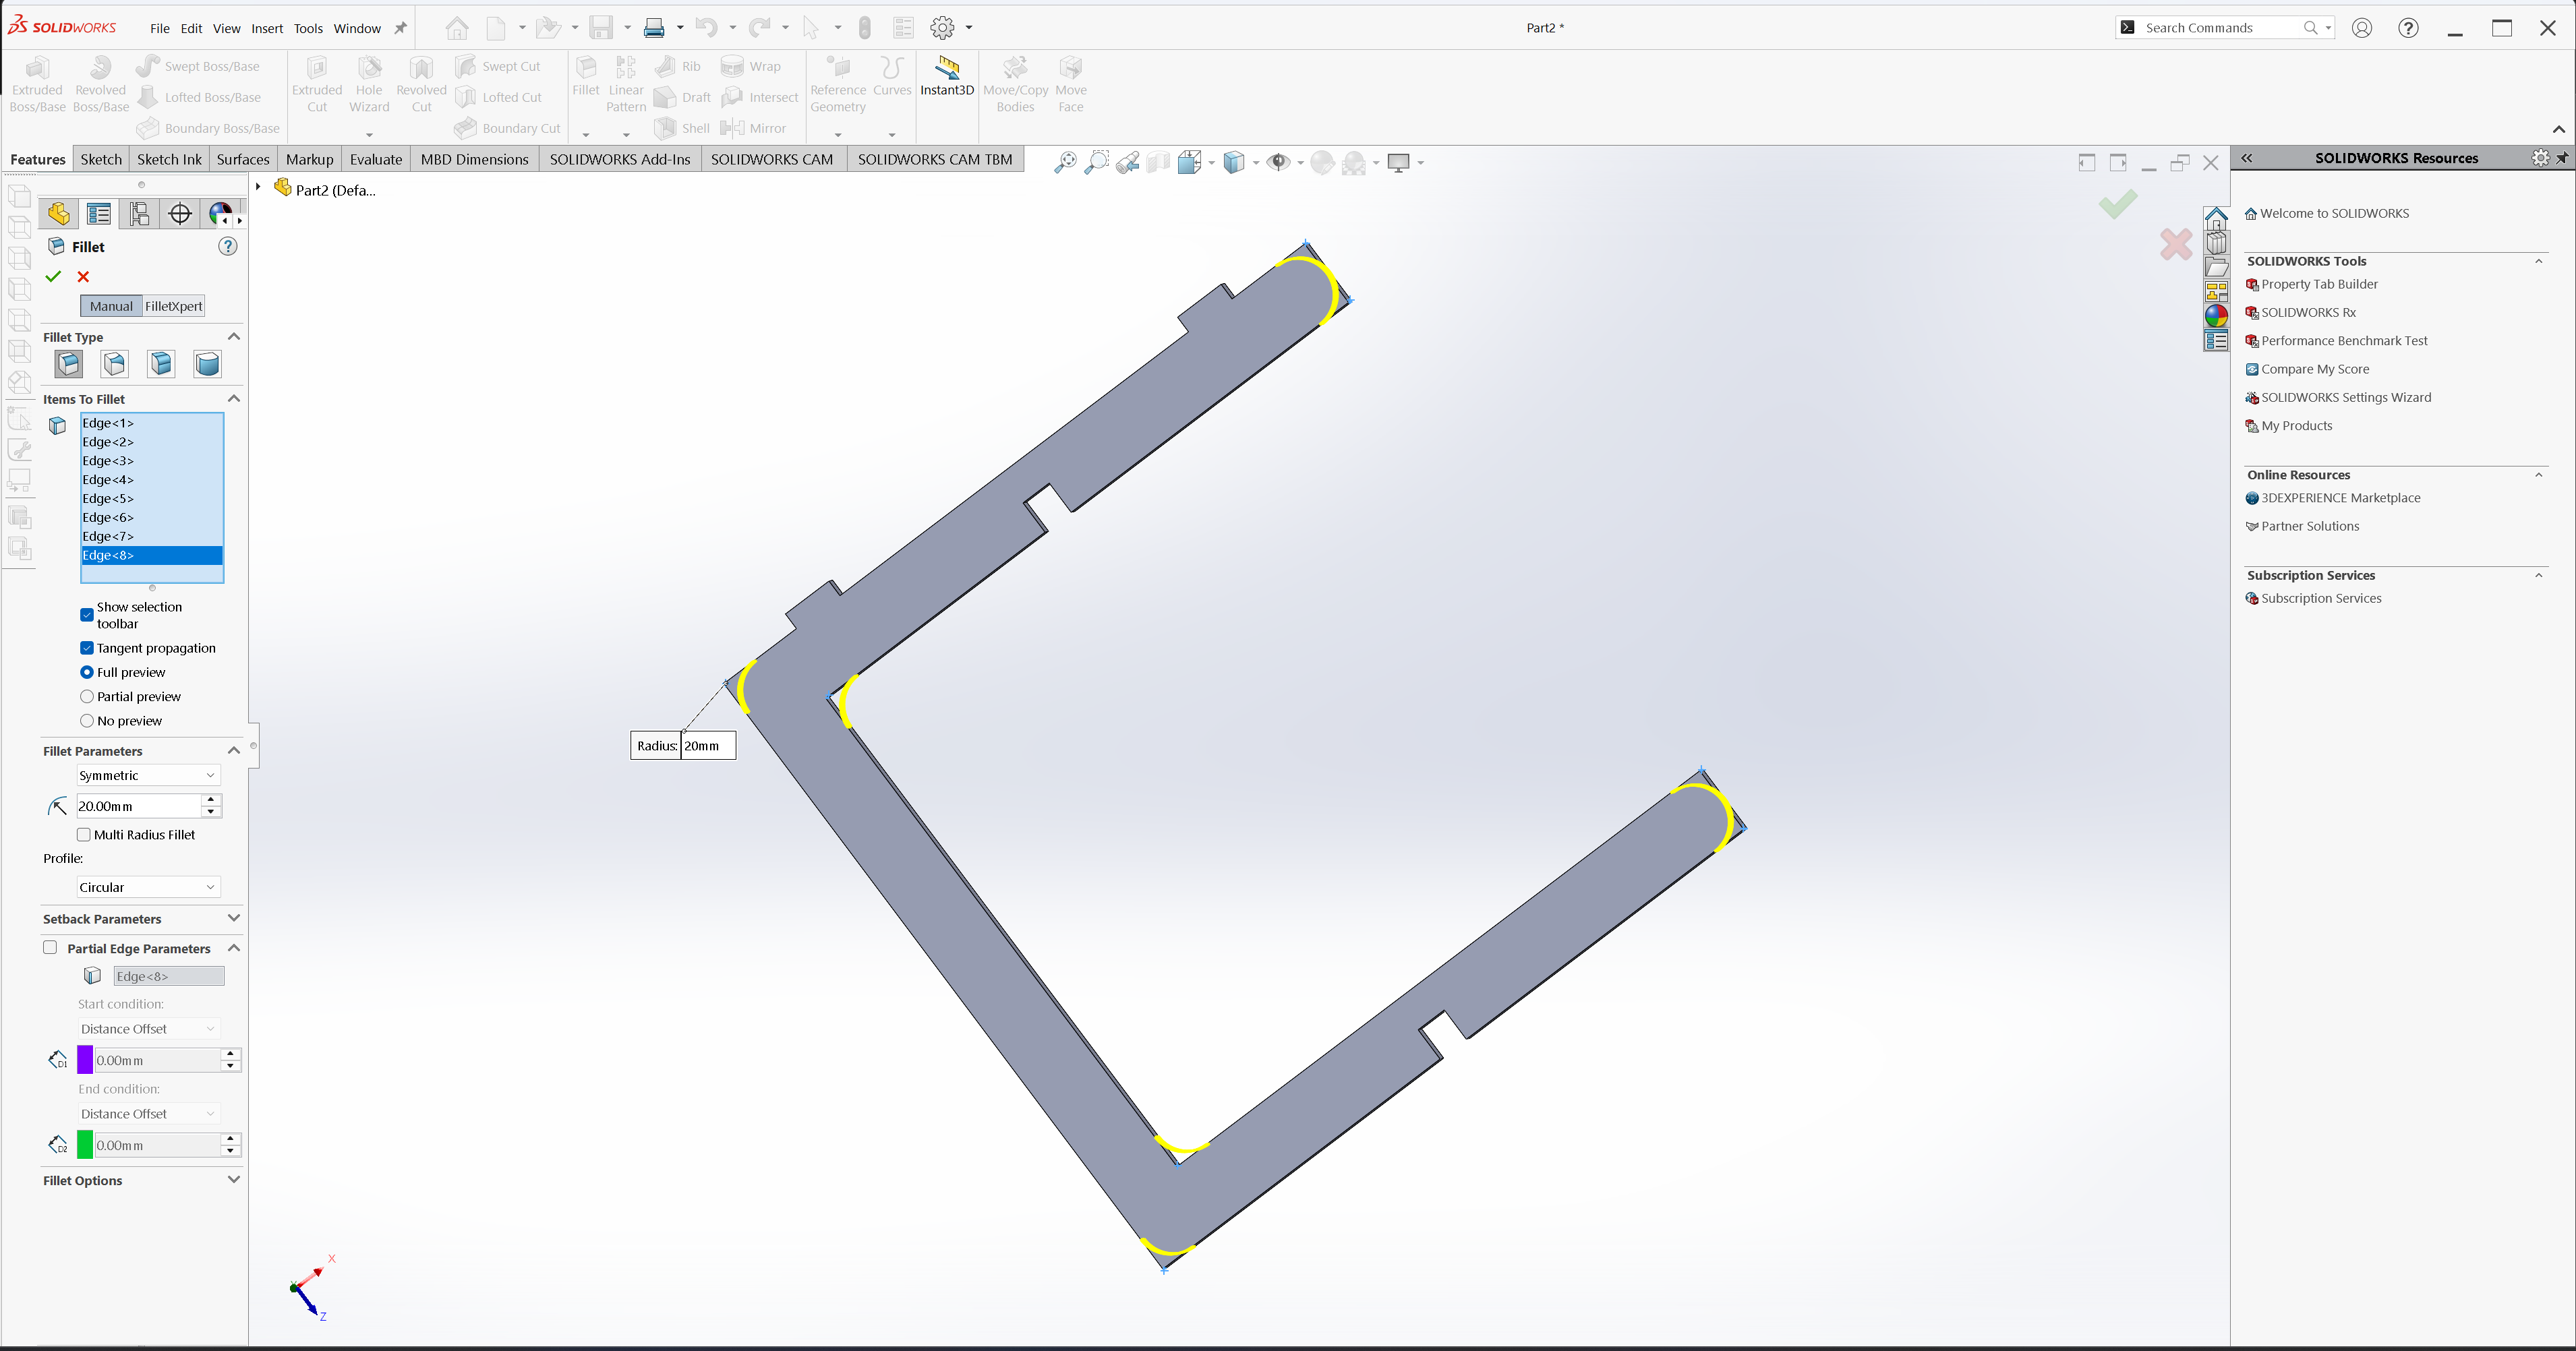
Next, I added fillets on the edges to make the table look better
Assembly Part
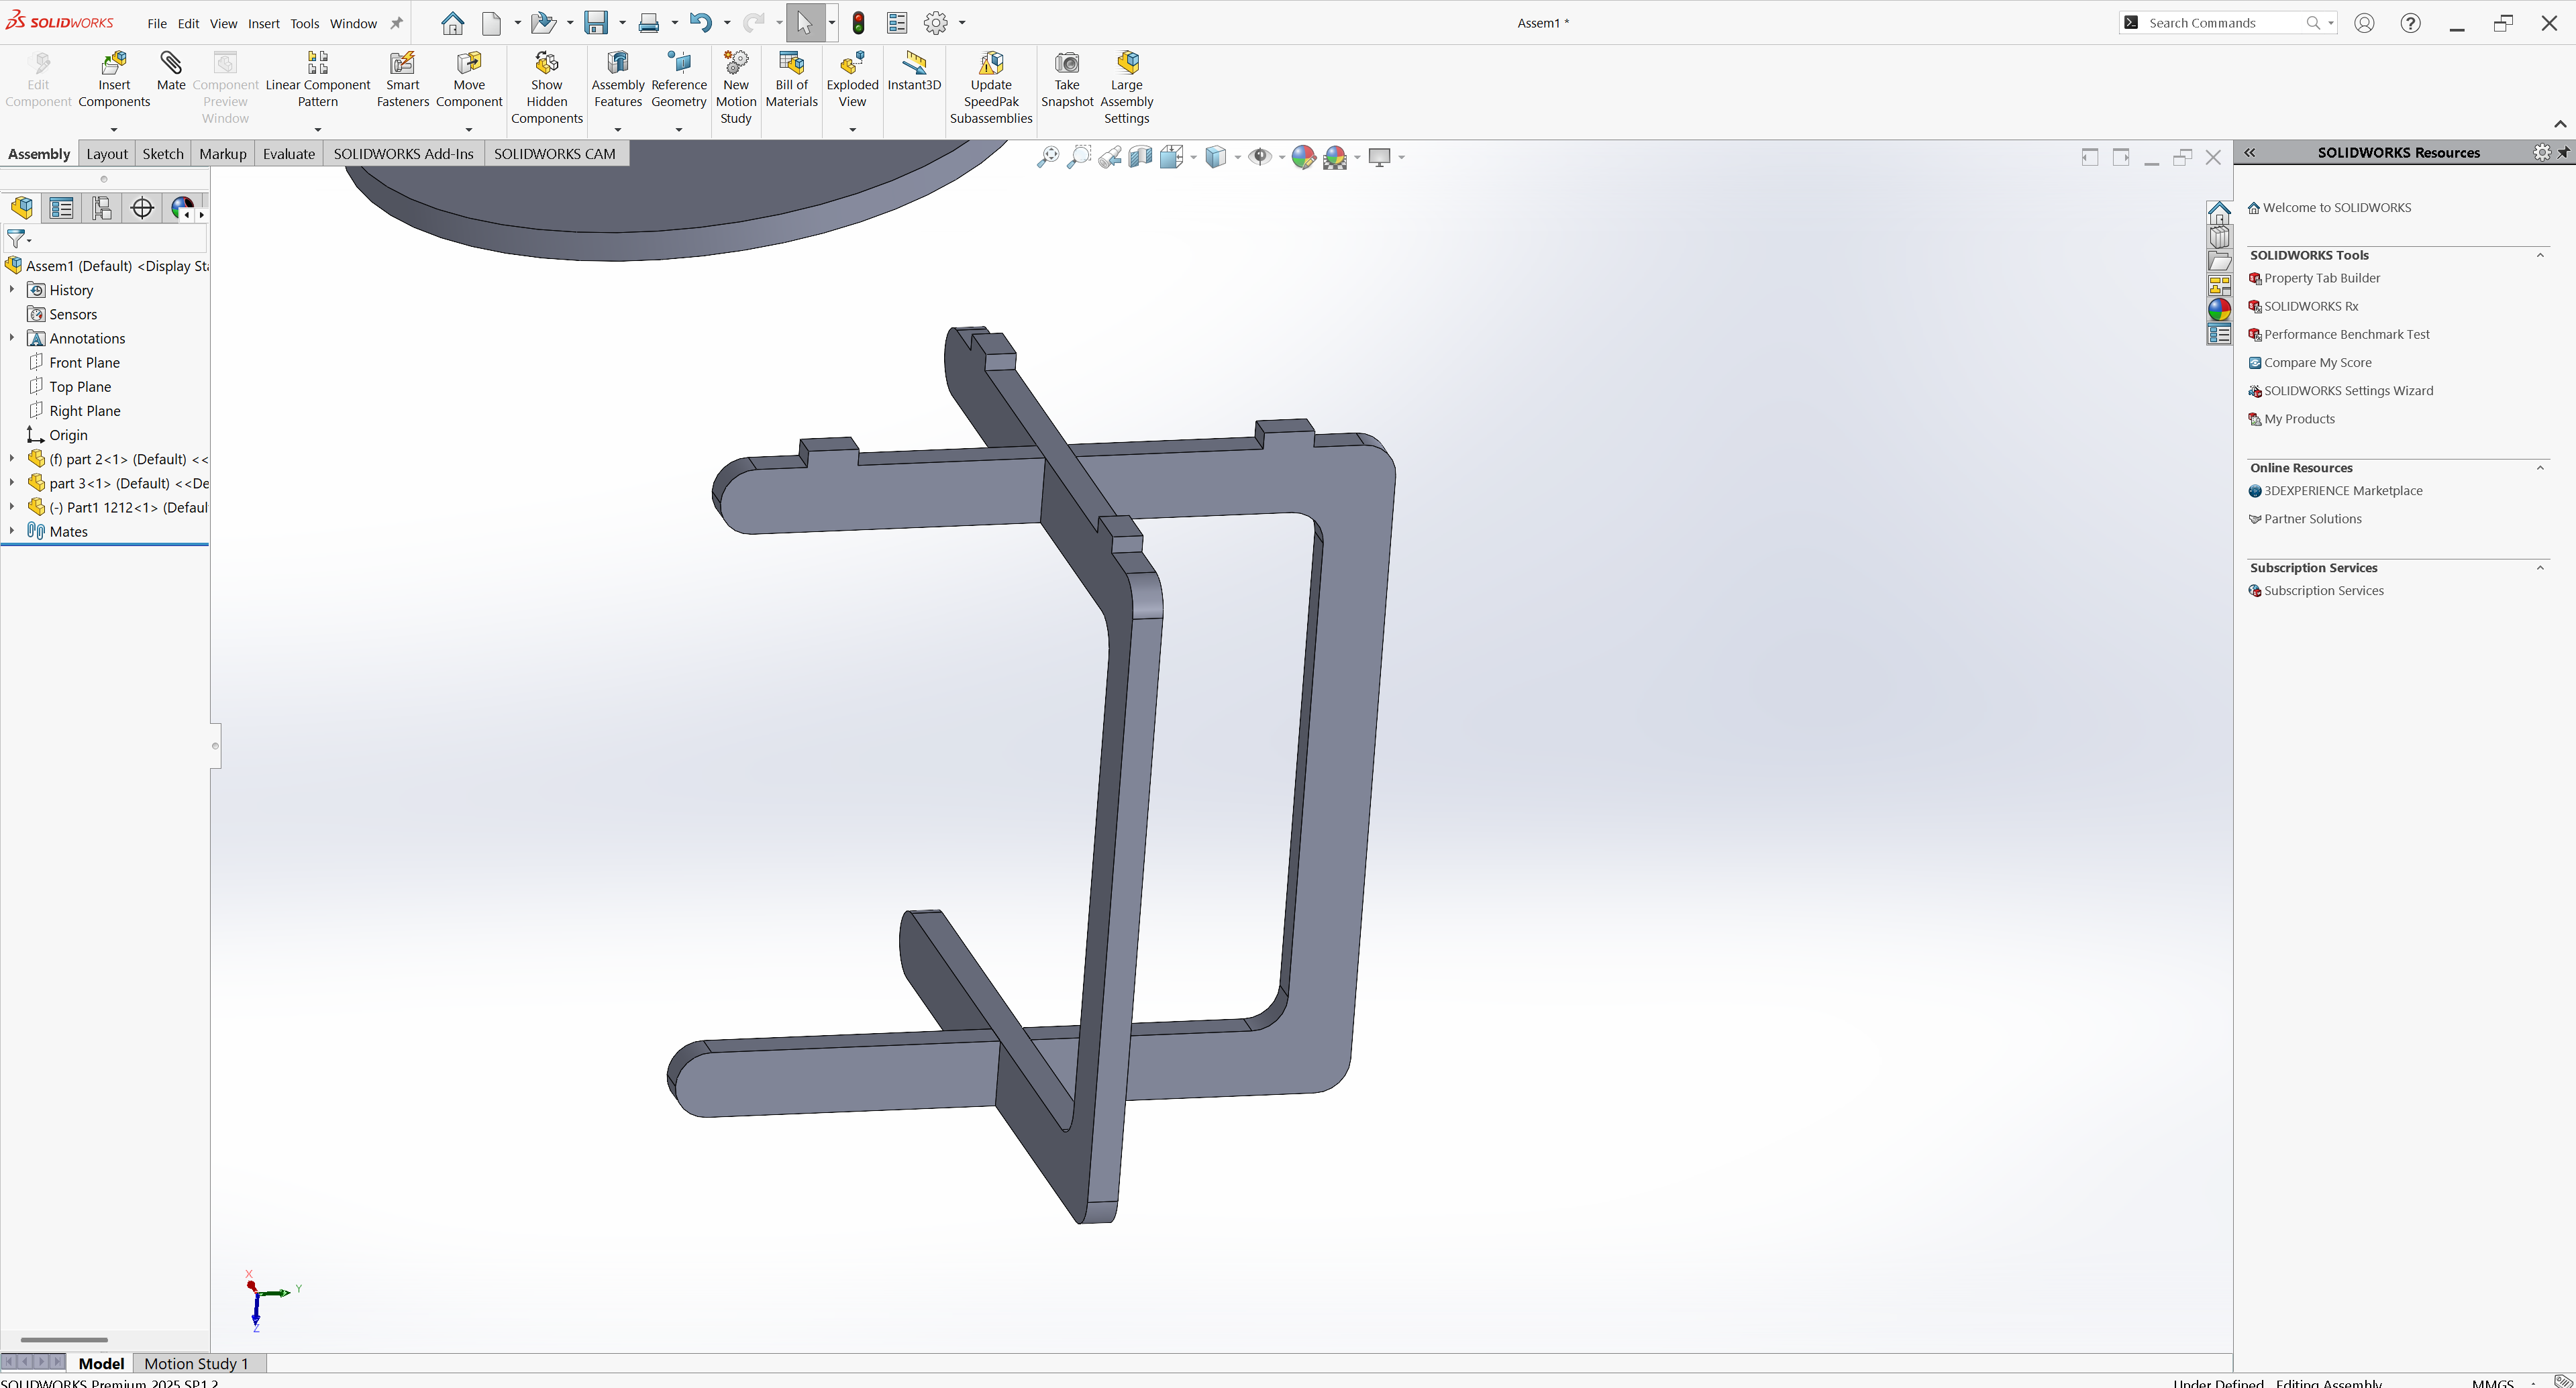
Next, I started assembling the parts of the table, fitting the legs into the pockets and connecting the joints
In the assembly, I imported the top and both leg parts, used coincident mates to connect them
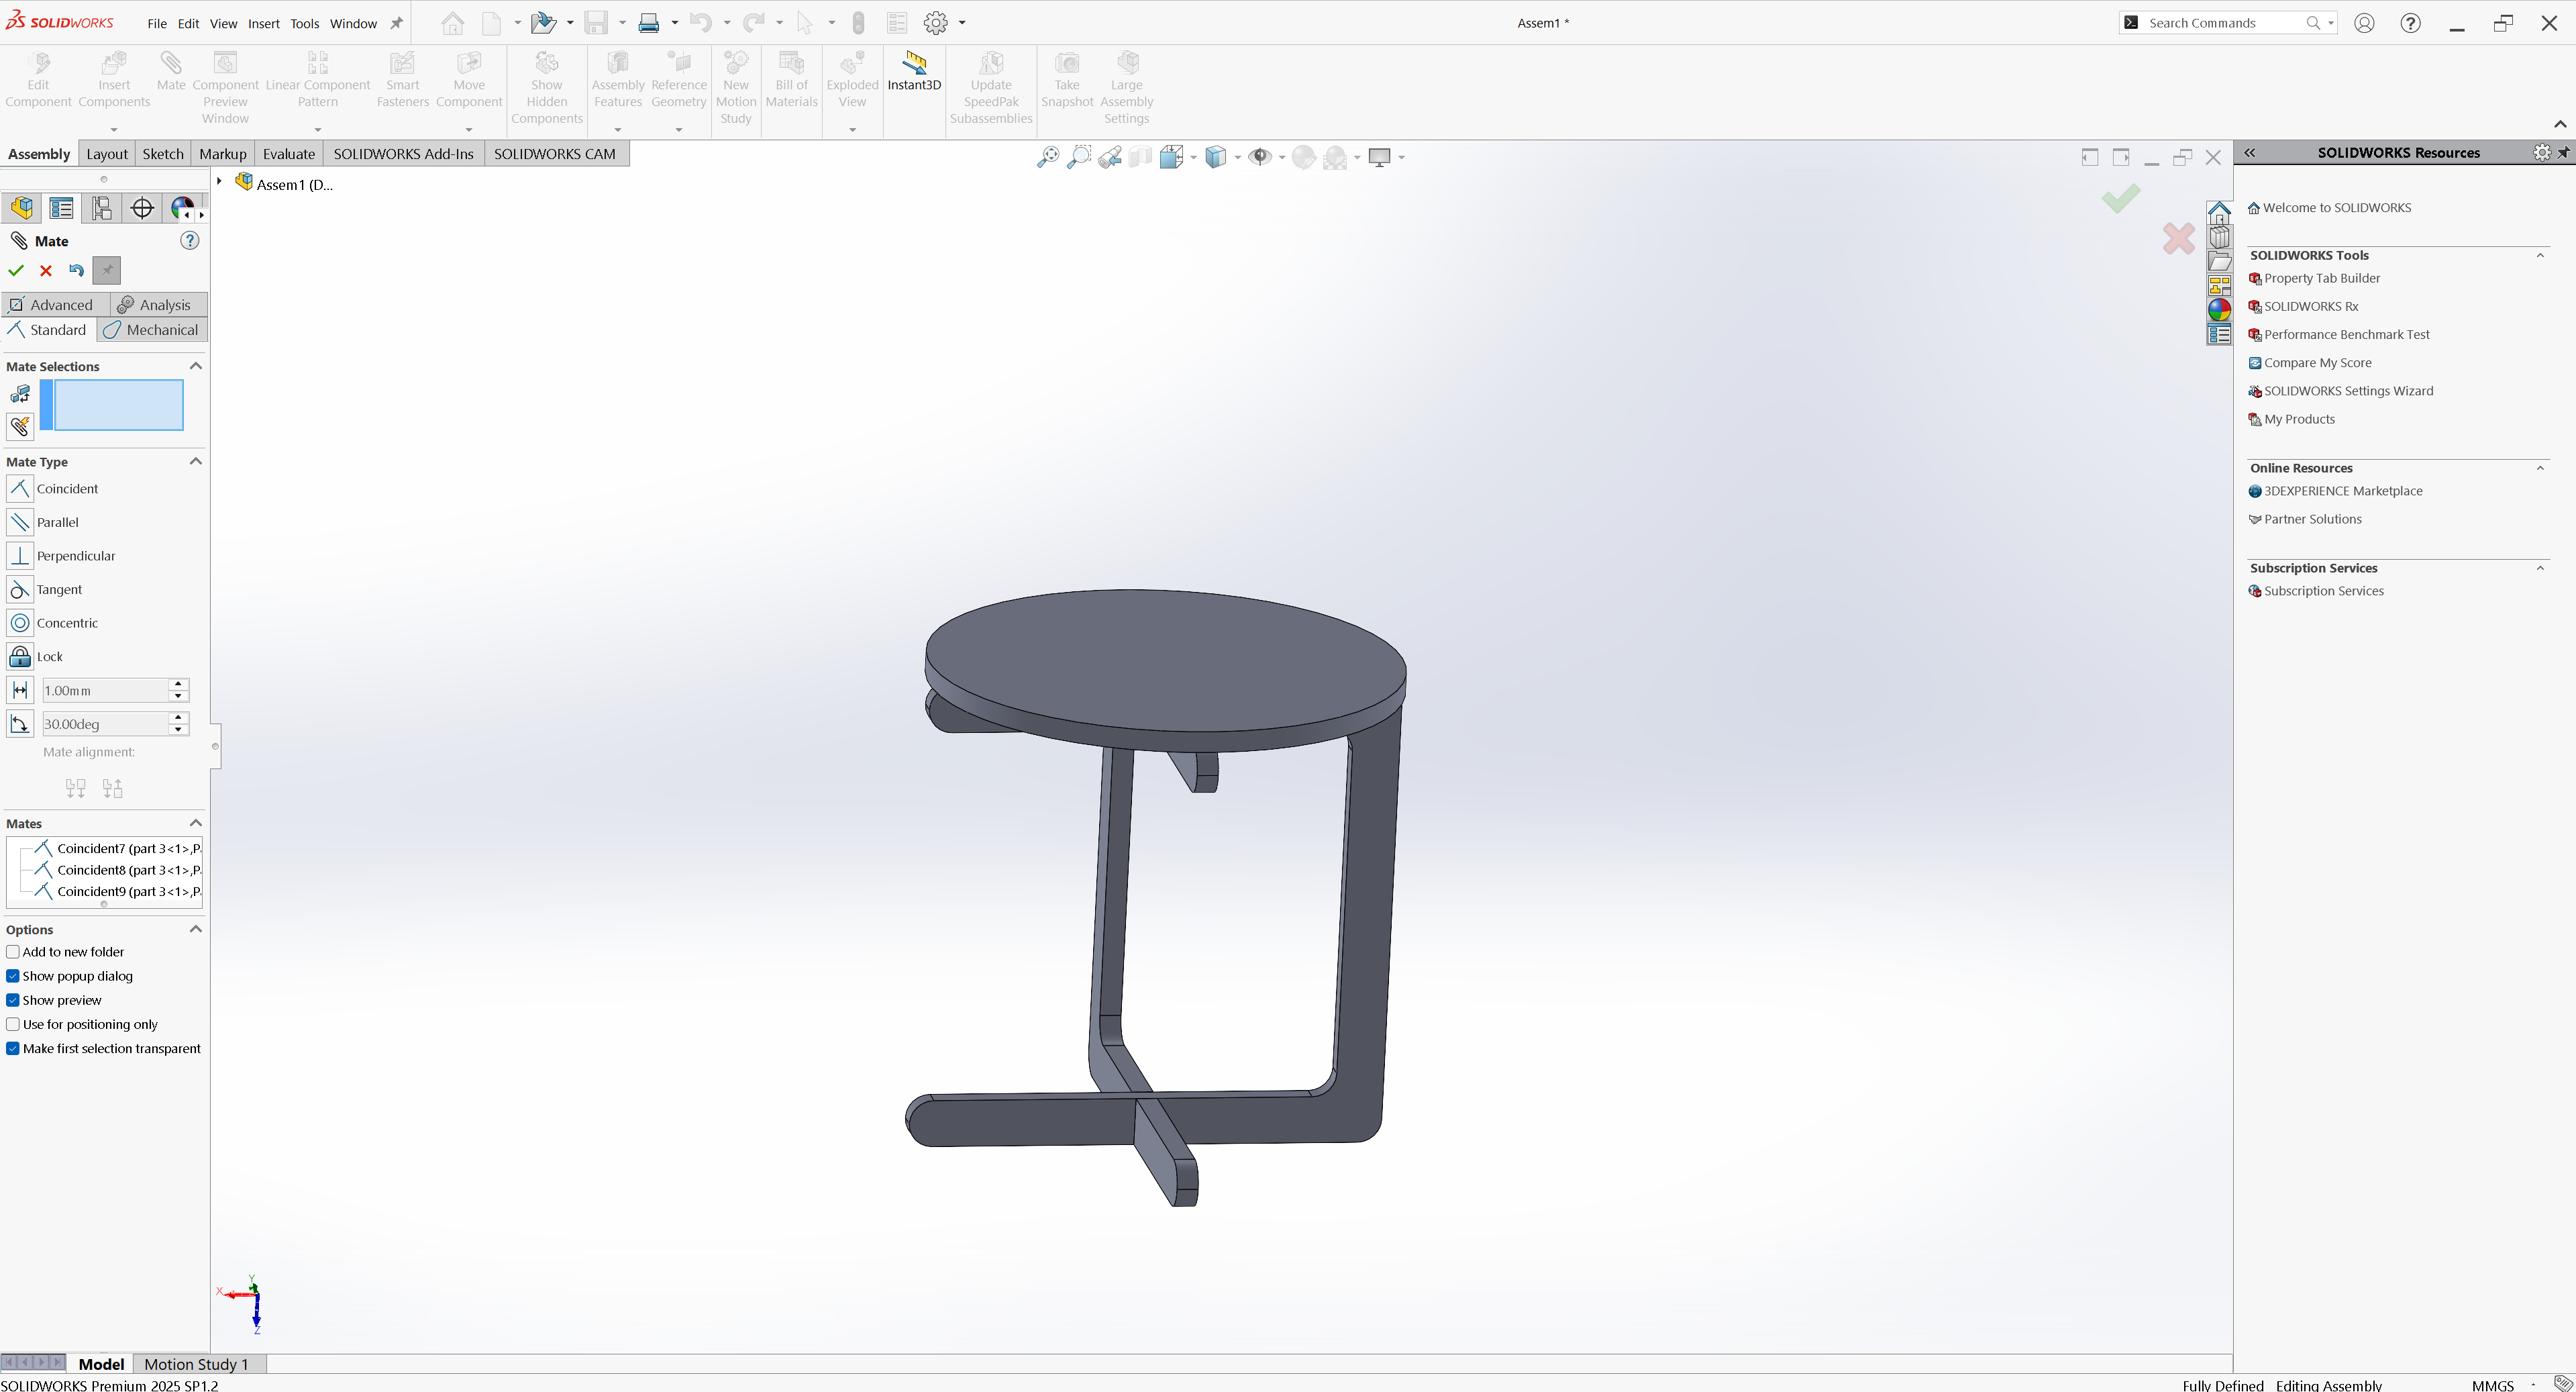
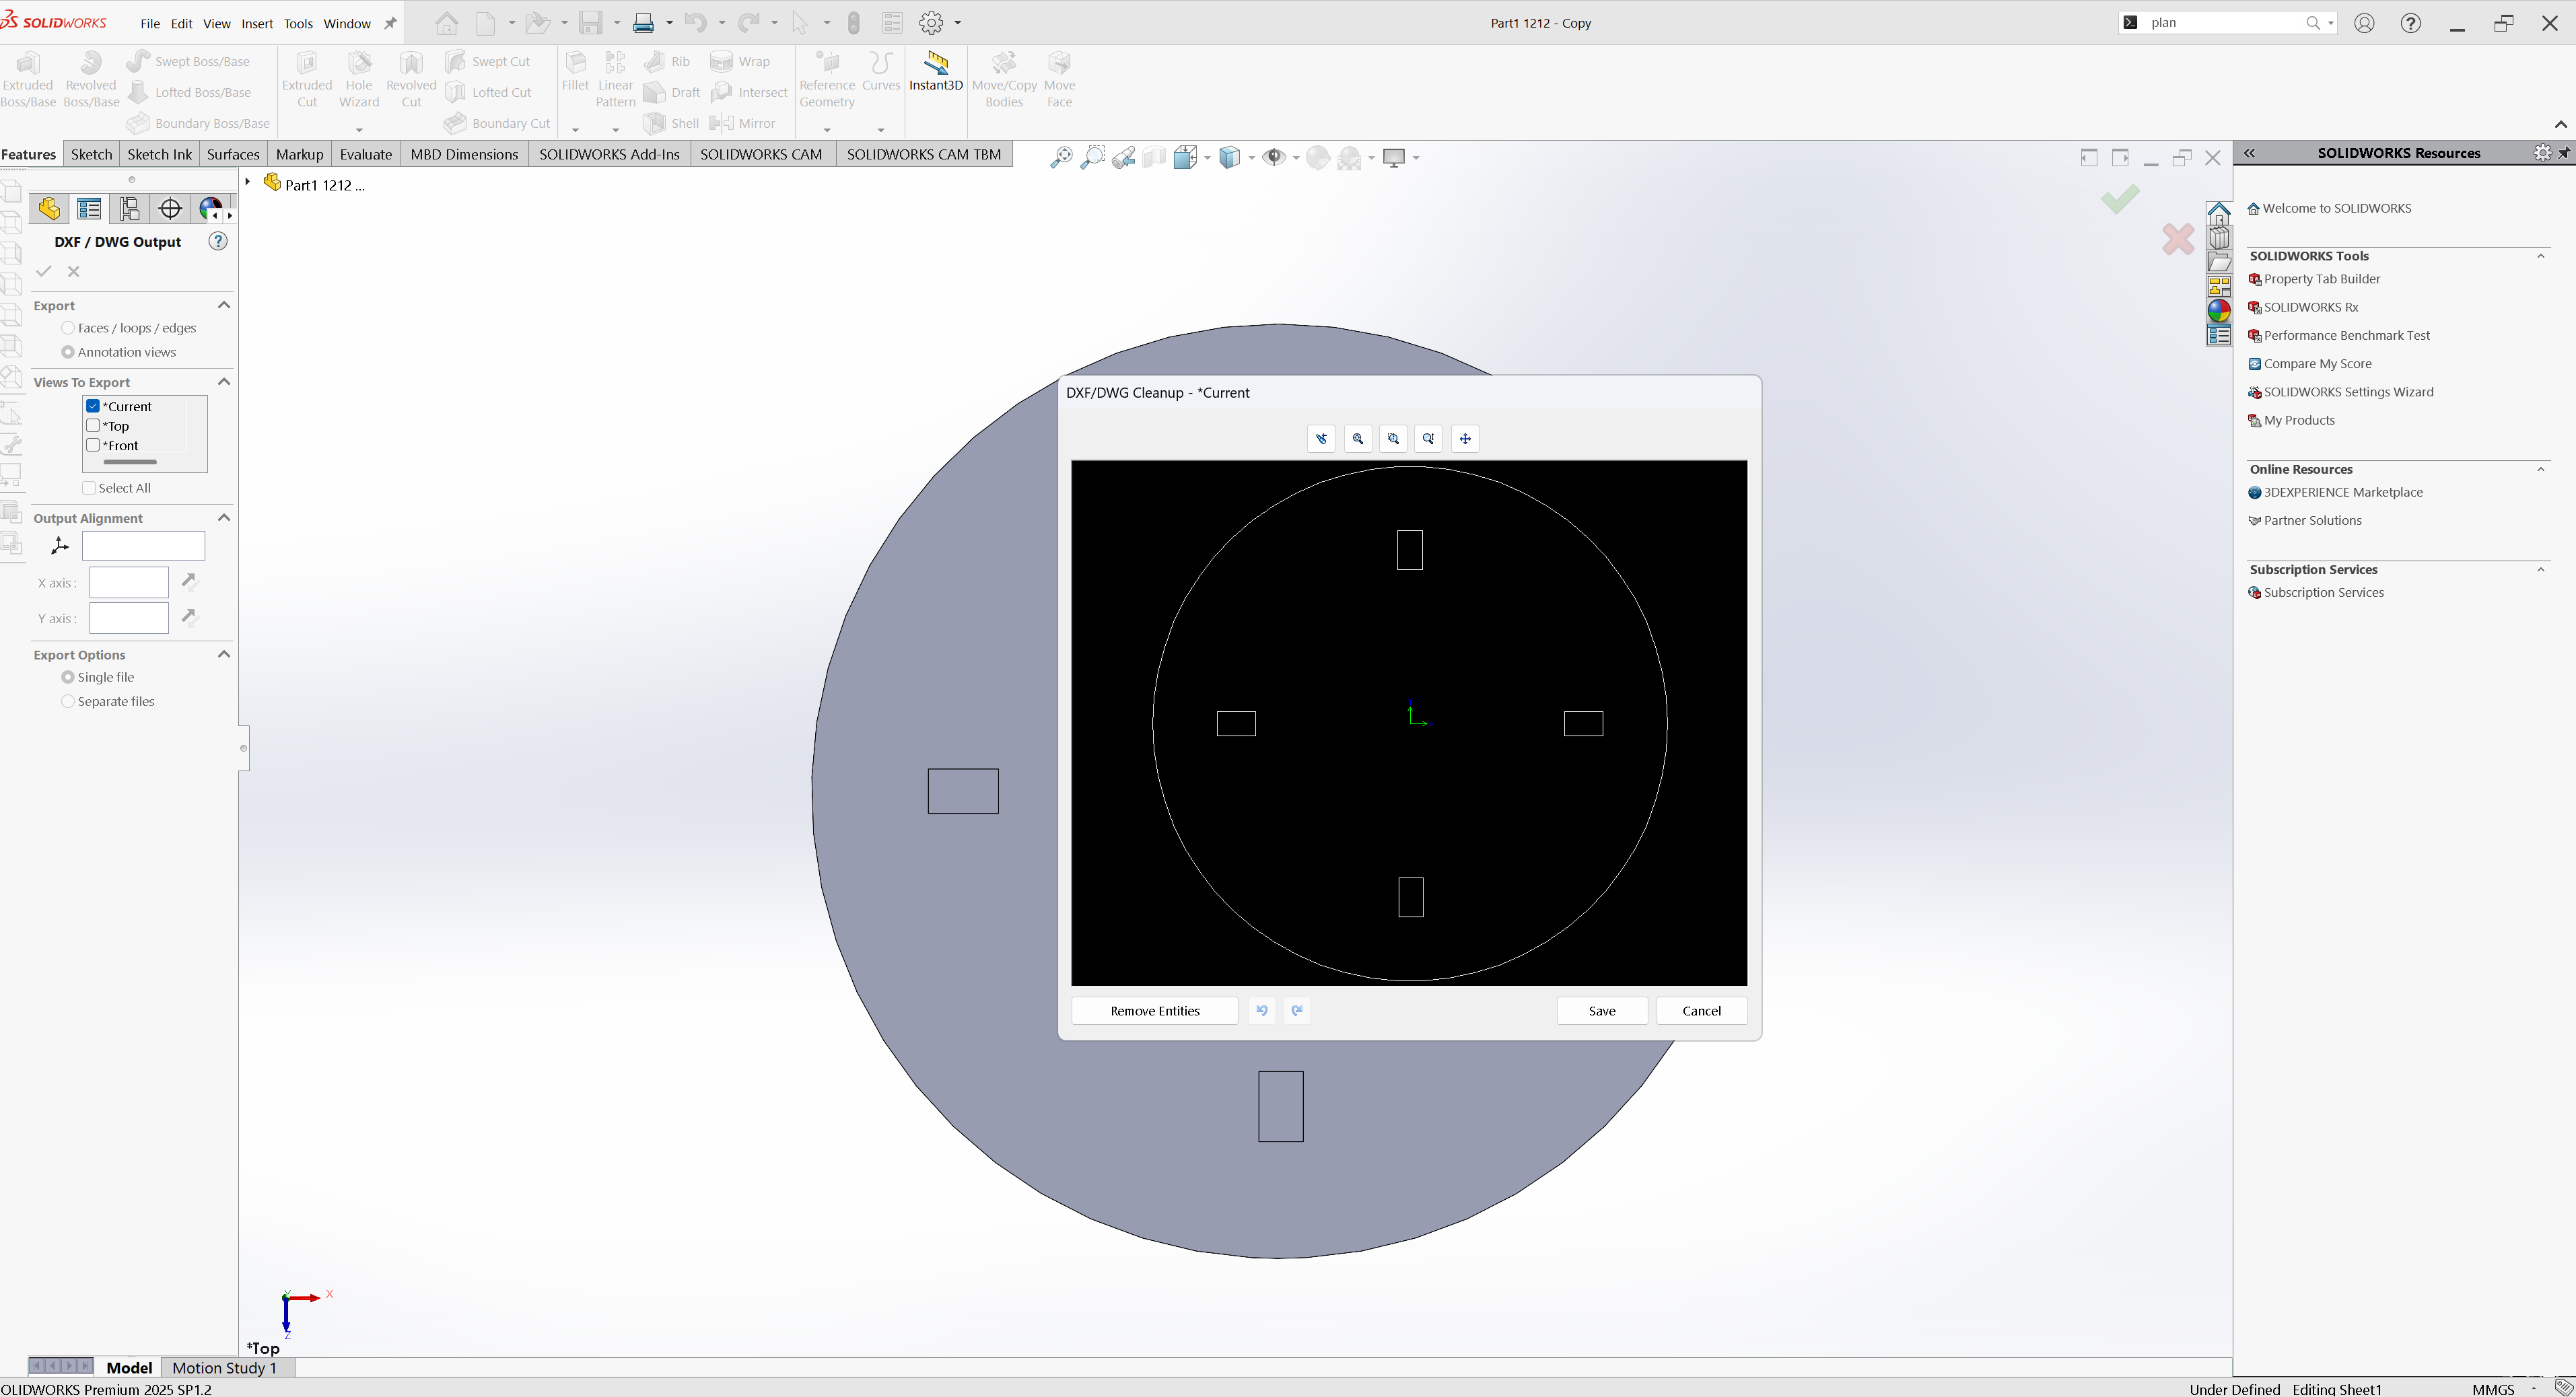
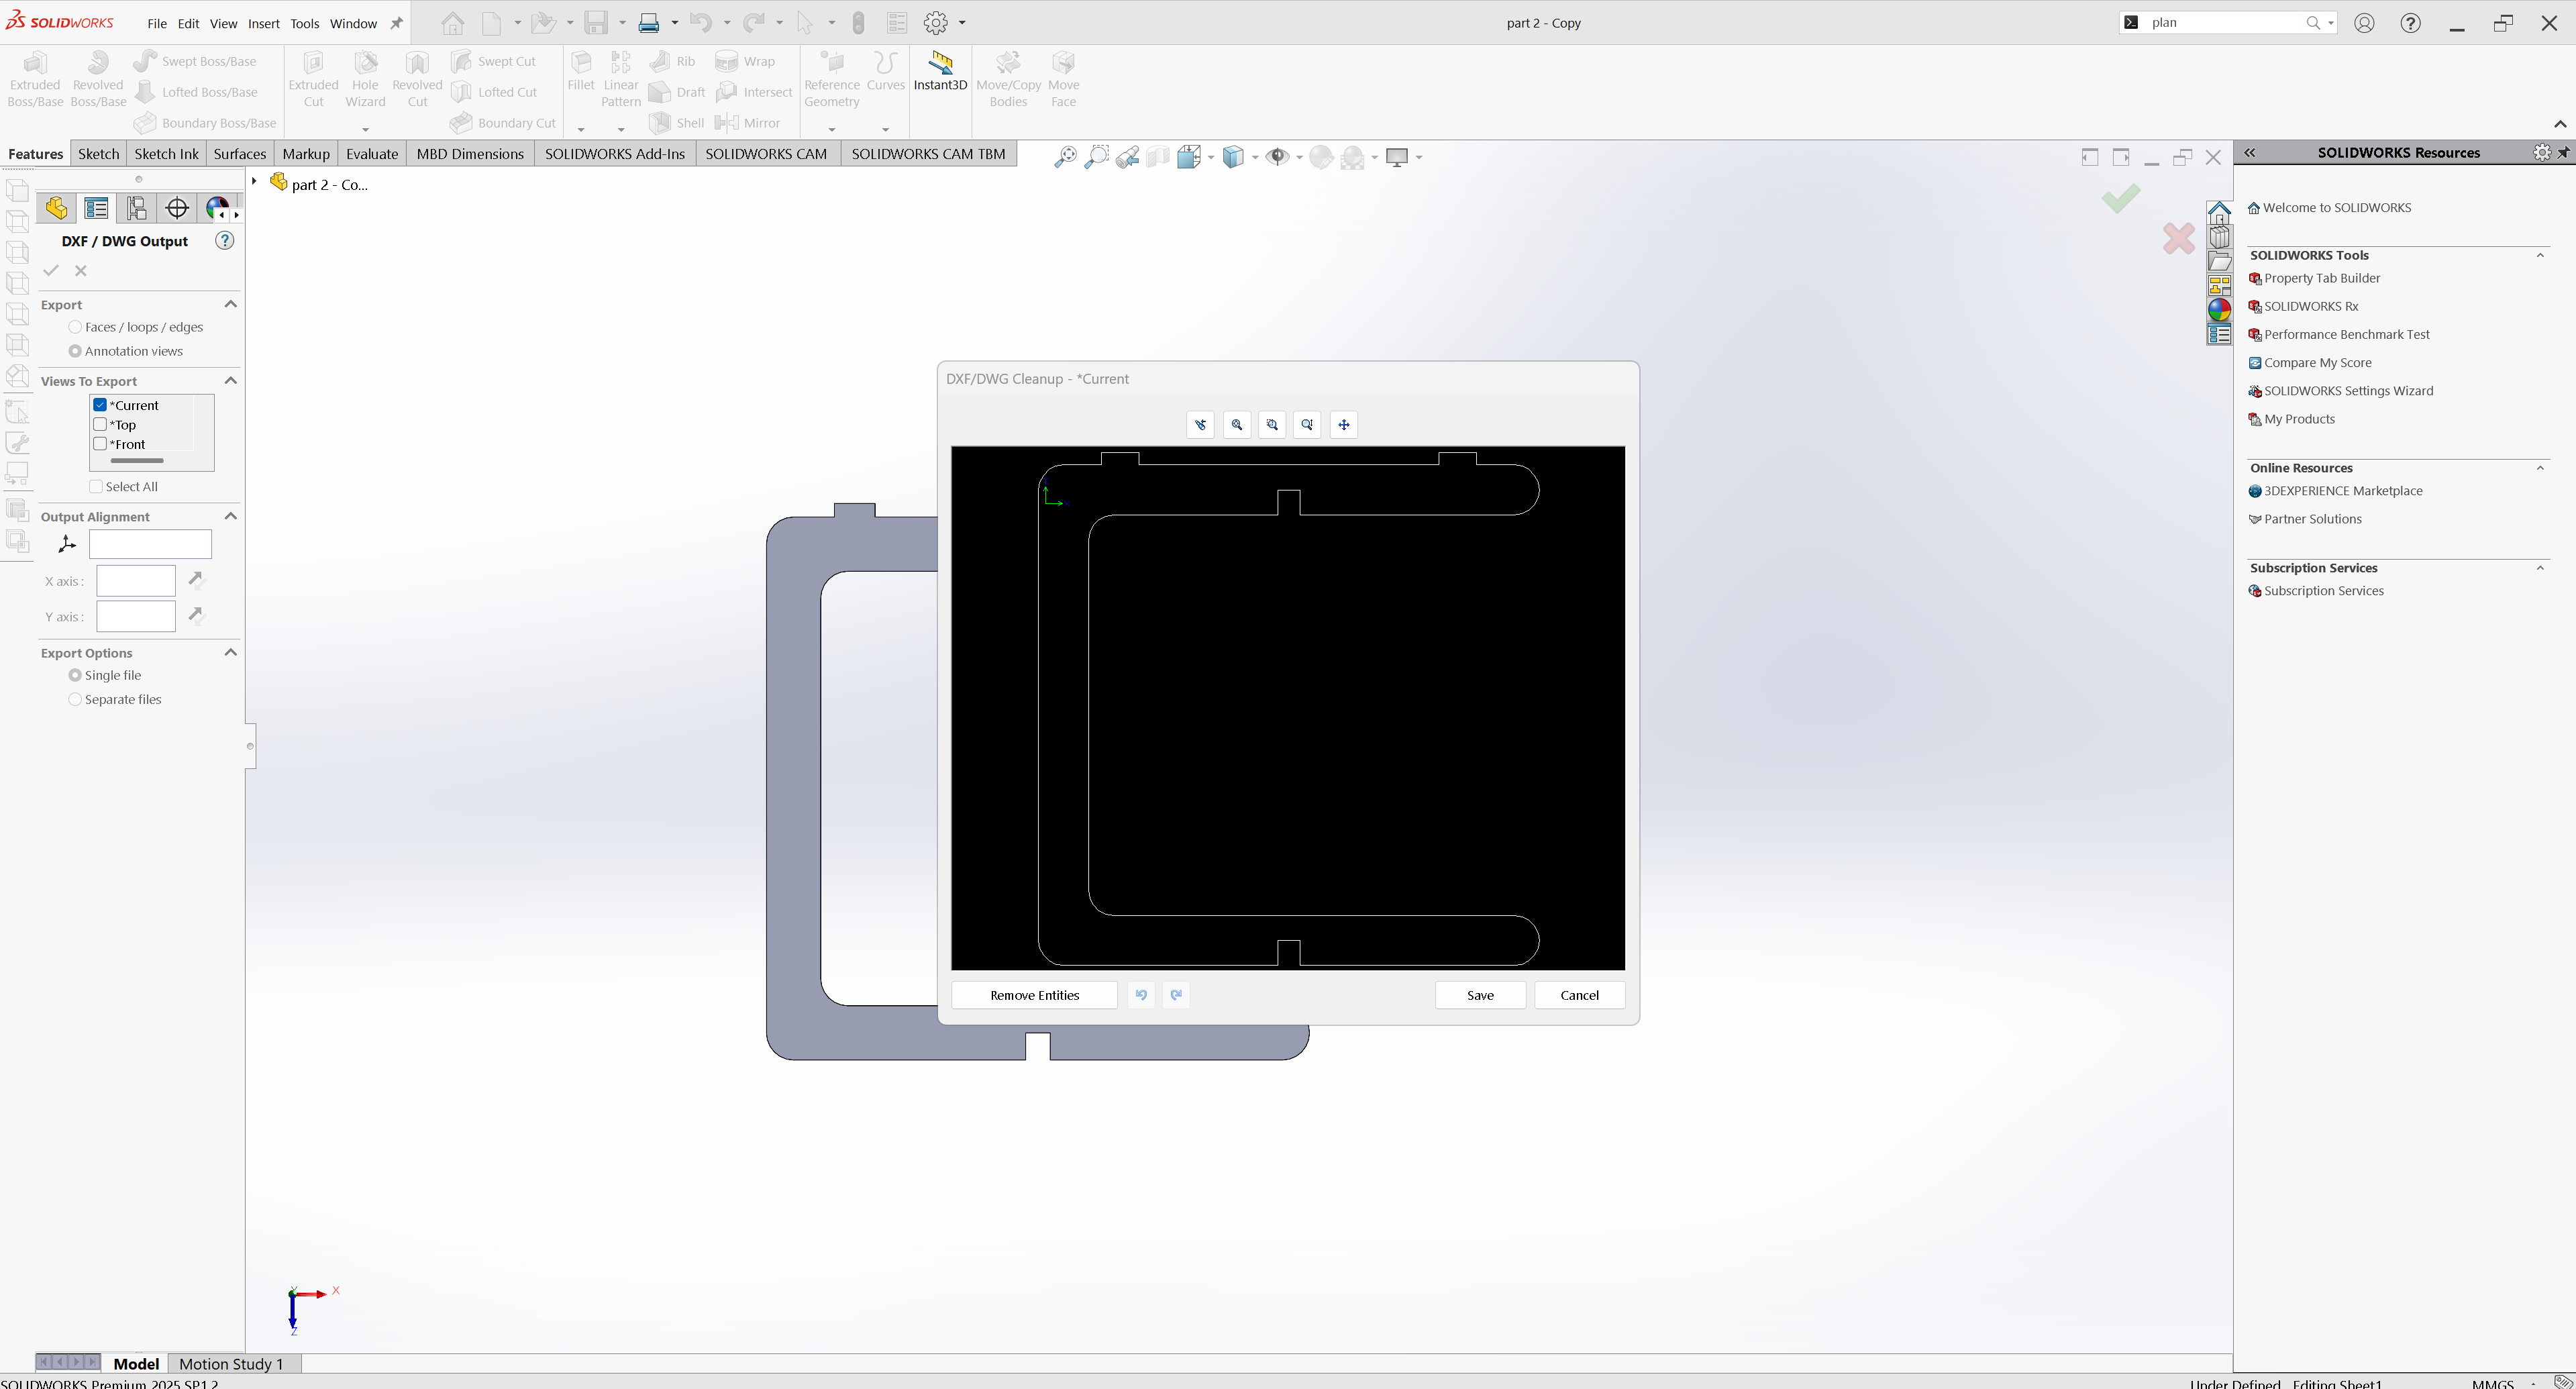
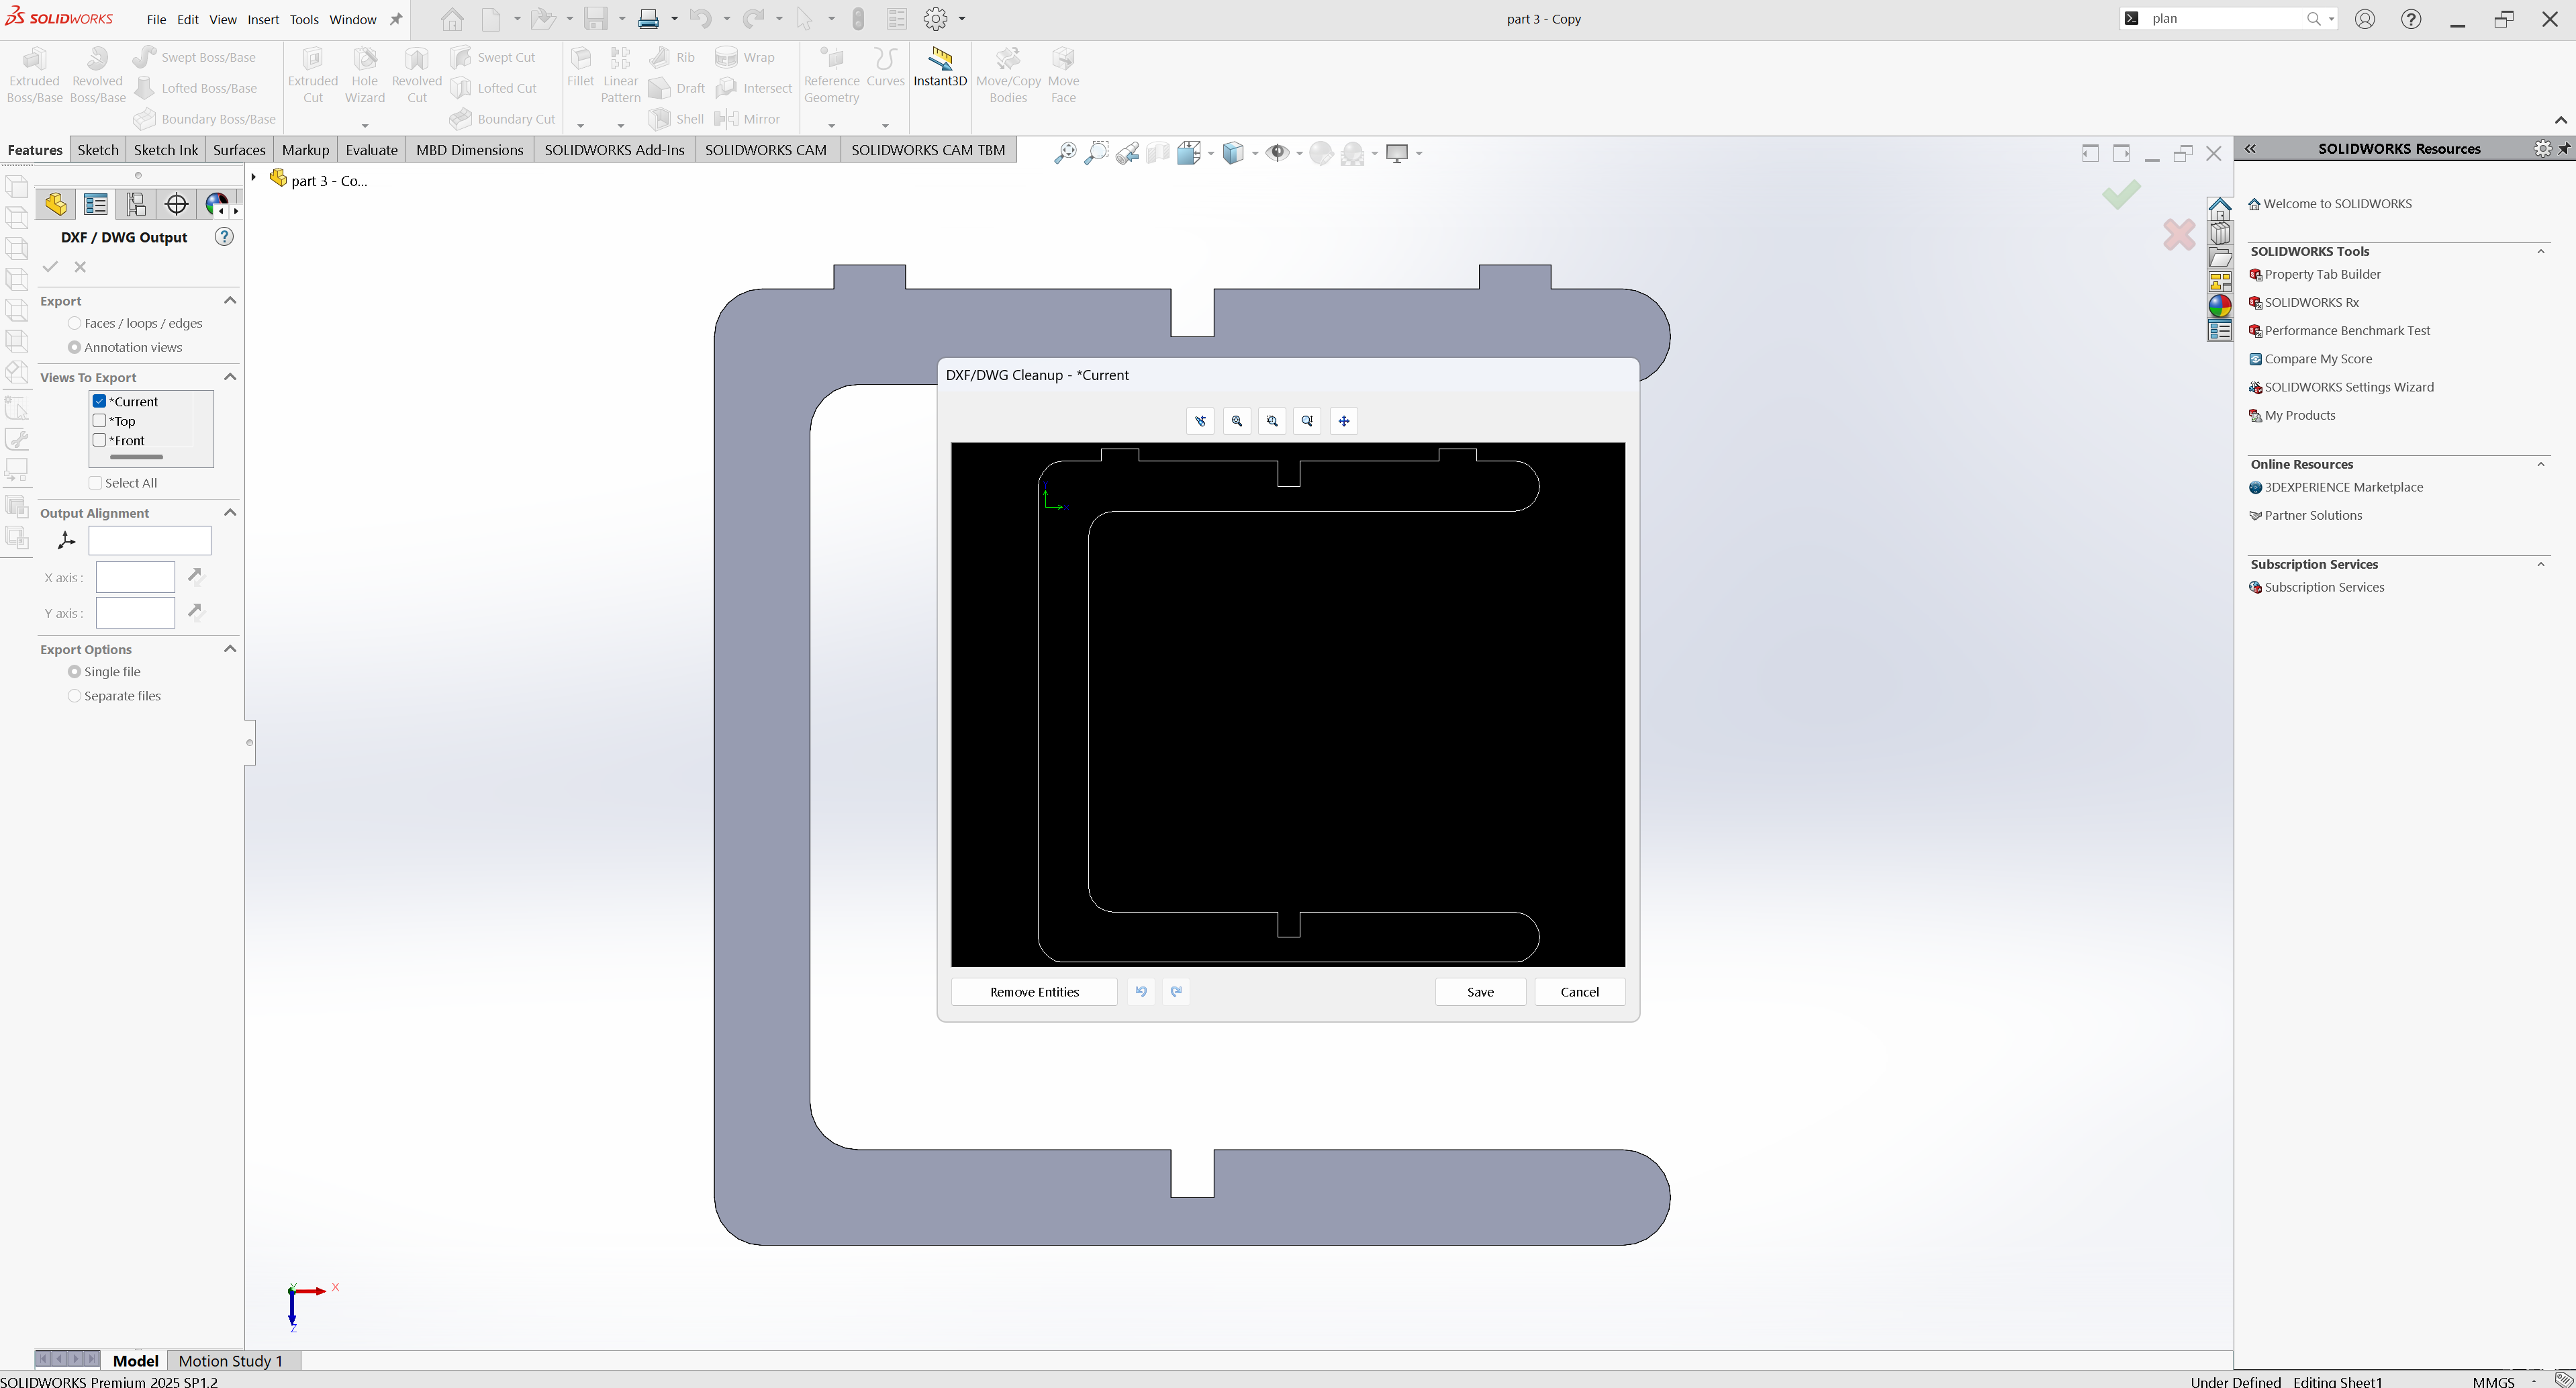
I returned to the part files and exported both the table top and leg parts, saving all of them as DXF files to prepare for CNC cutting
Preparing Parts for CNC (VCarve)
Next, I imported the DXF files of the table top and legs into VCarve to prepare the toolpaths for CNC cutting
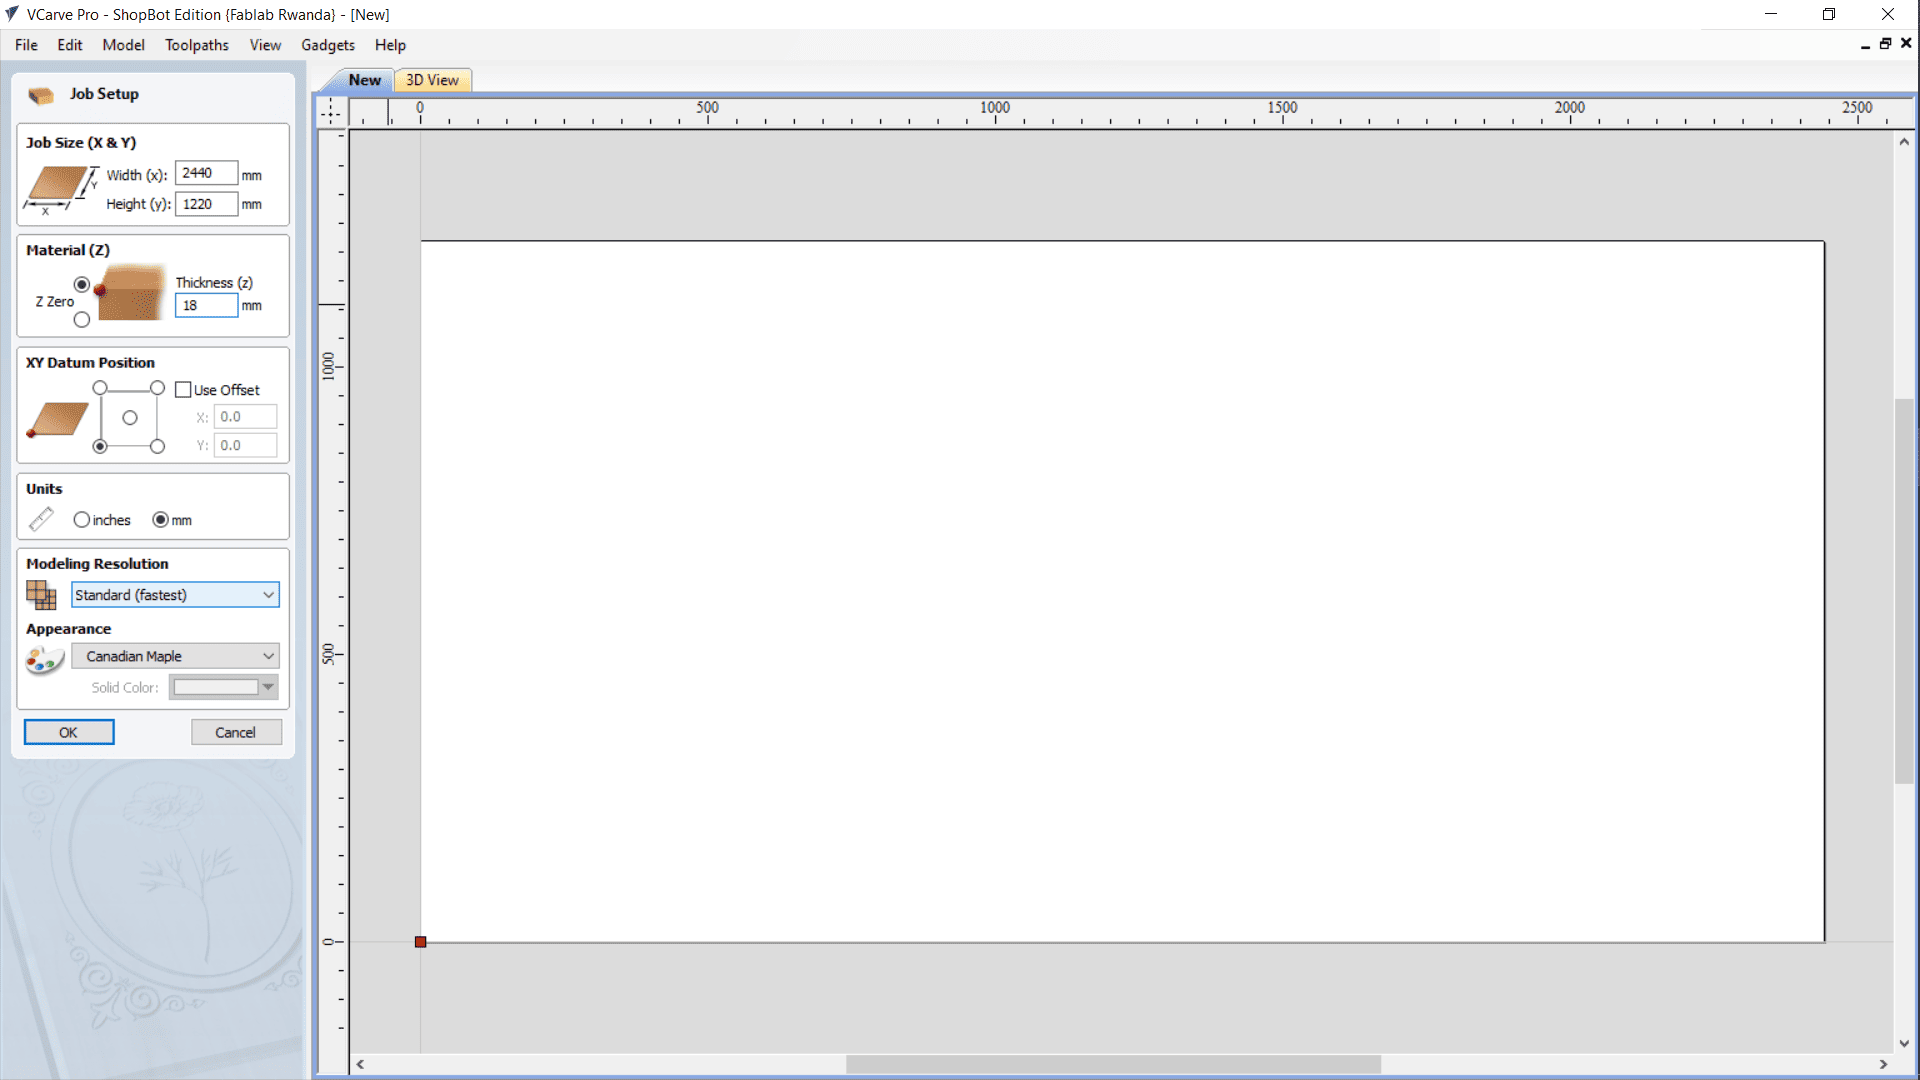
I set up the job in VCarve by defining the full MDF board dimensions
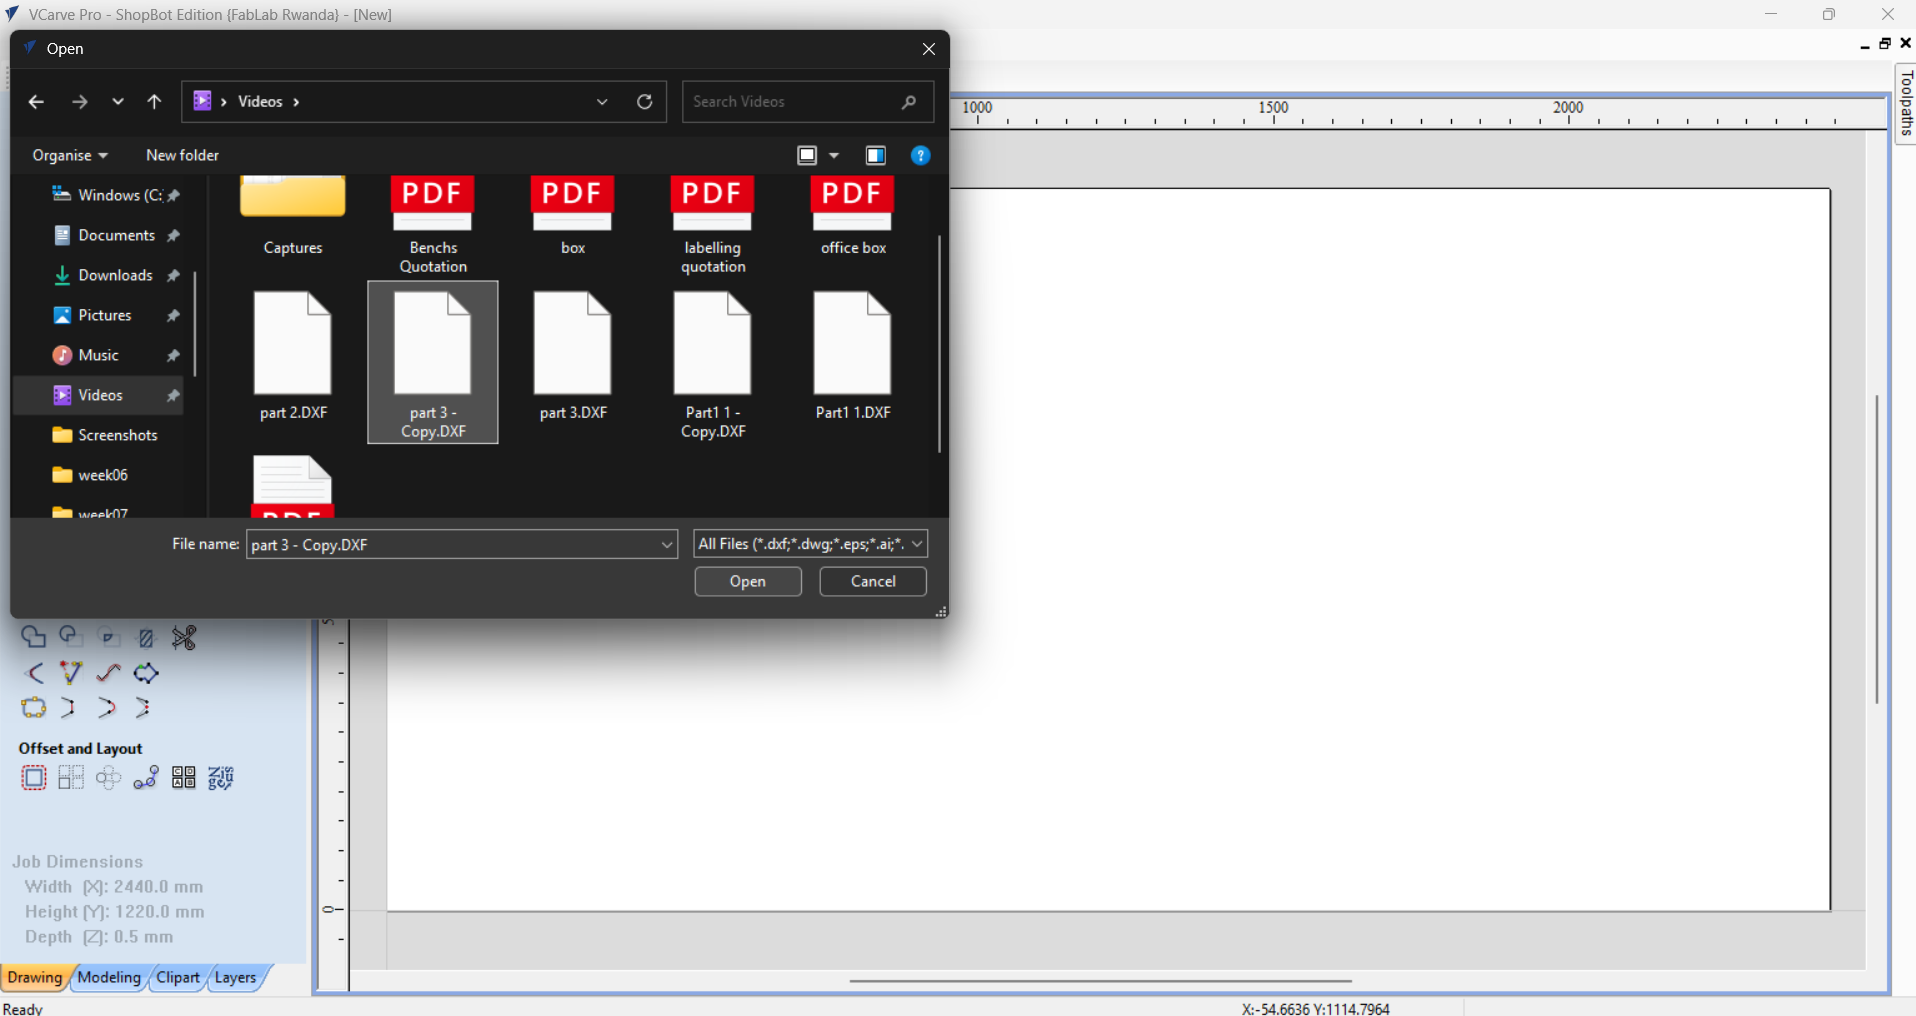
I imported the DXF files into VCarve to prepare the parts for CNC cutting
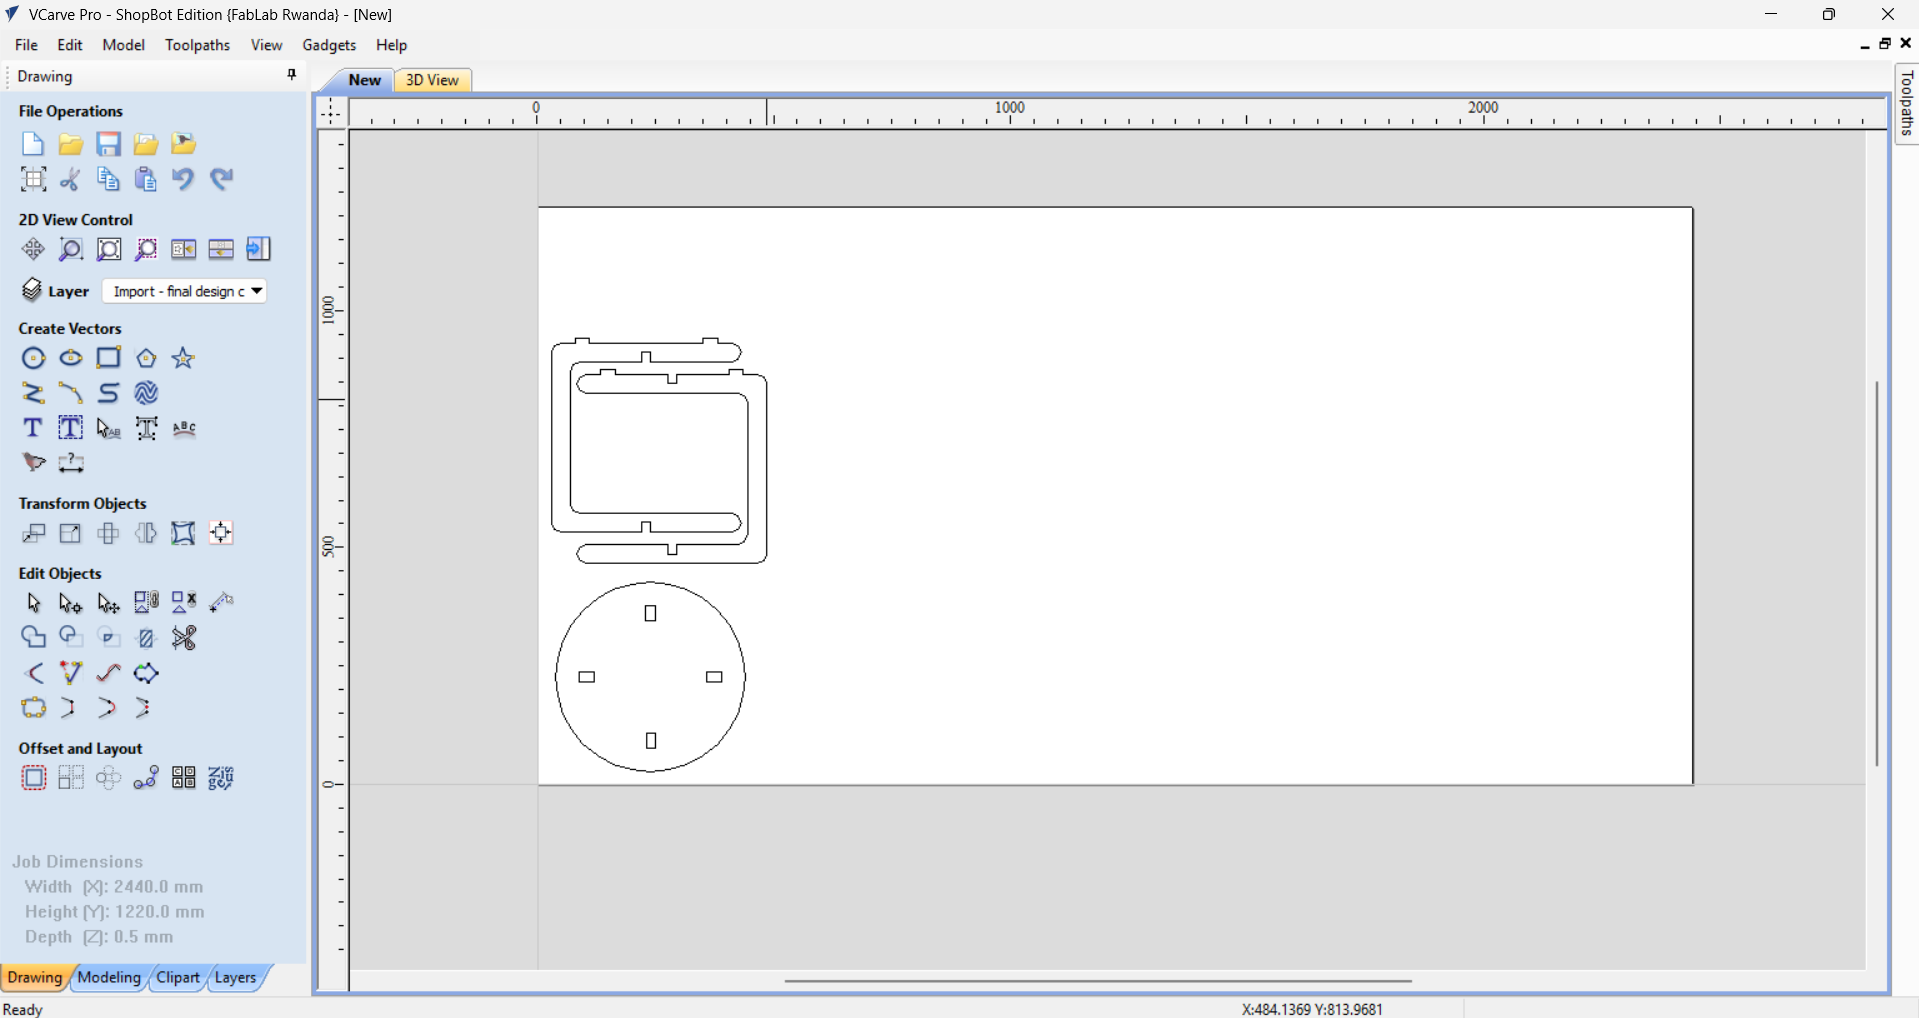
After importing, I arranged the parts on the MDF sheet to optimize material use
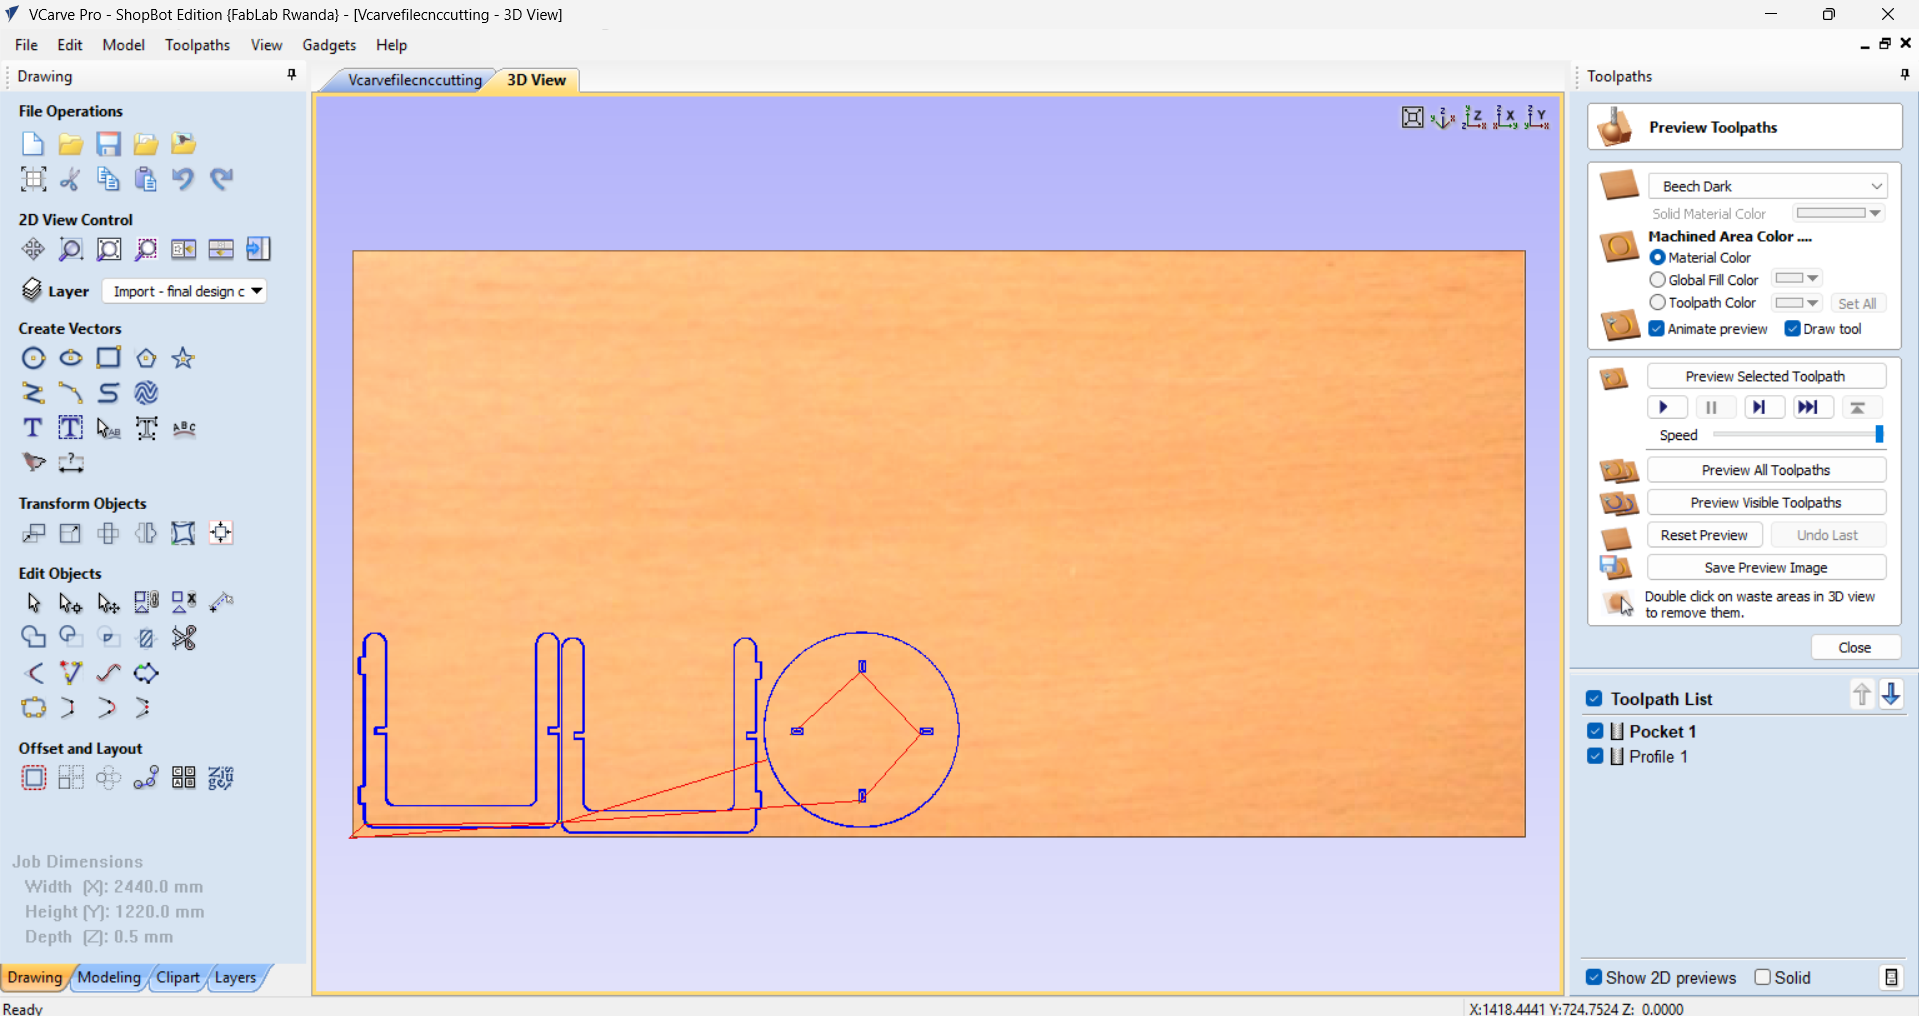
I created two toolpaths in VCarve: a pocket toolpath to cut the slots for inserting the legs, and a profile toolpath to cut out the outlines of the stool parts
I selected a 6 mm end mill as the cutting tool for both the pocket and profile toolpaths.
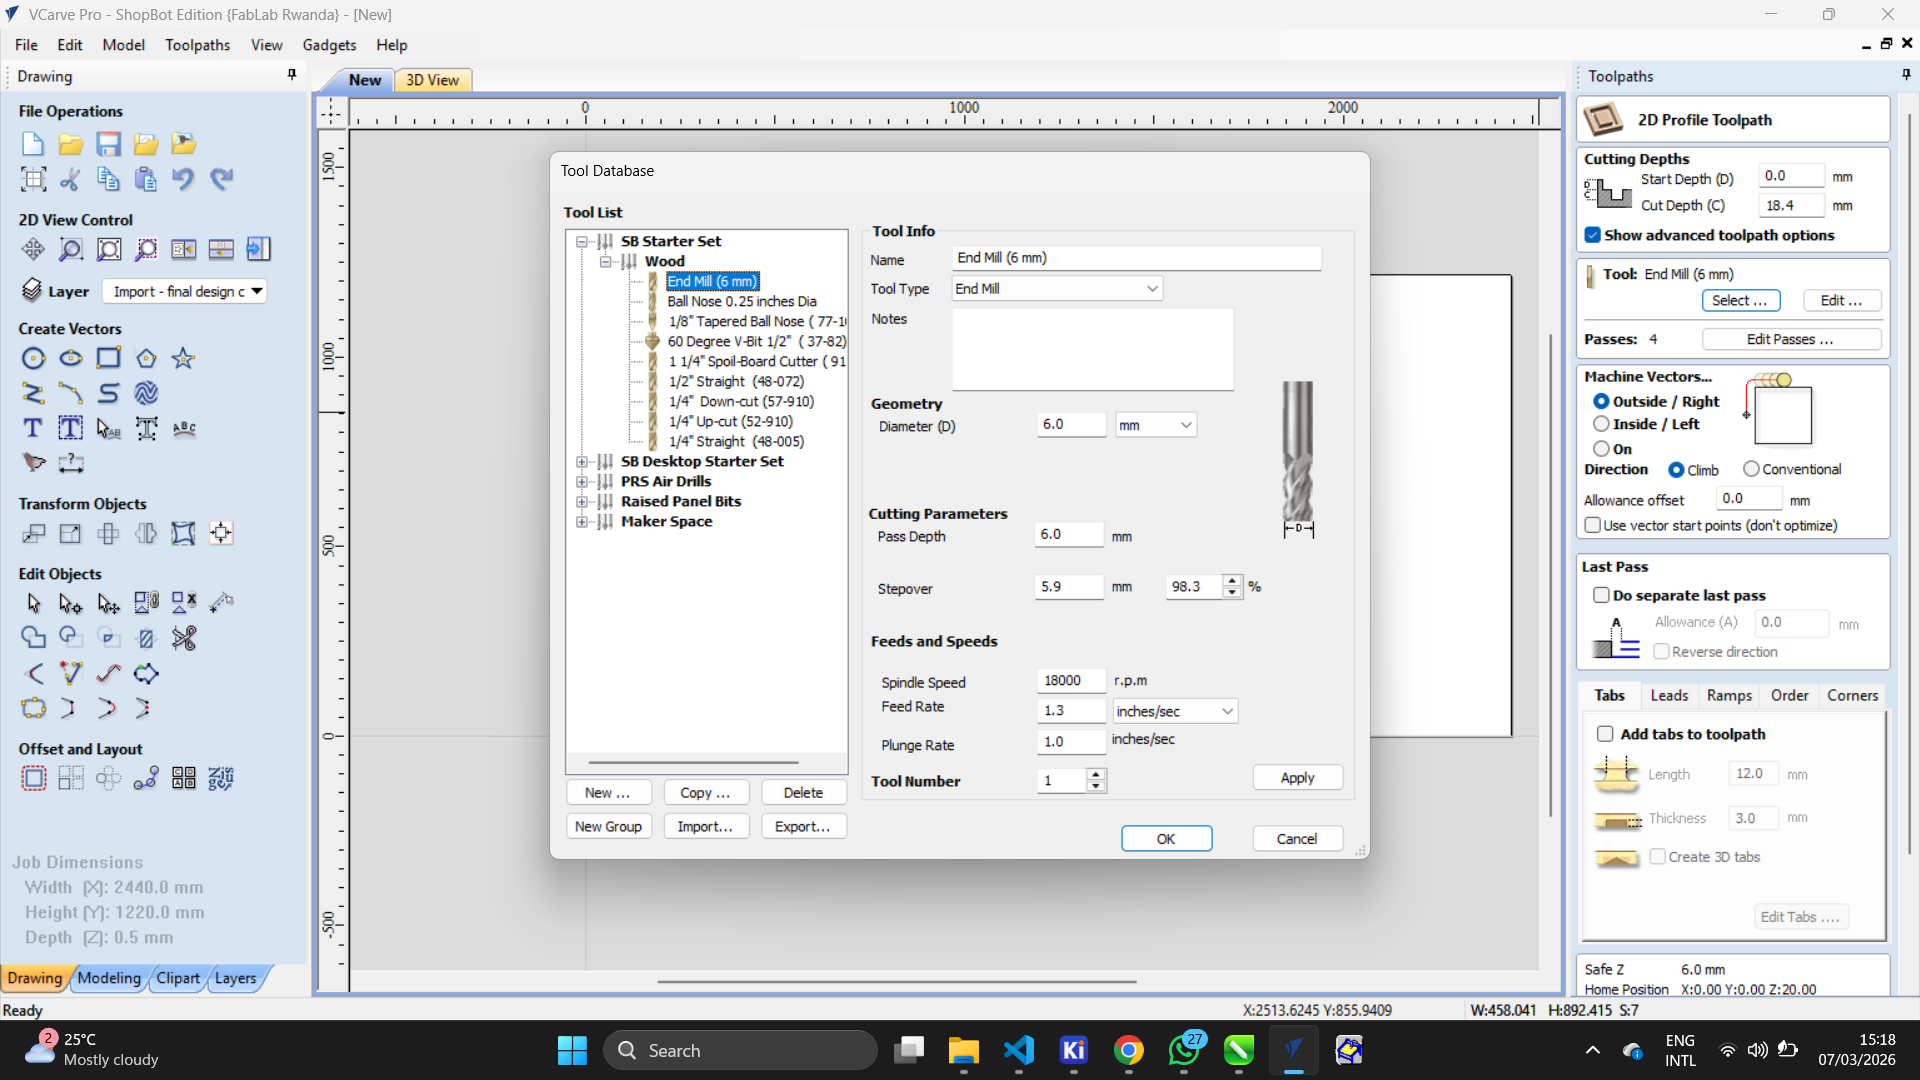
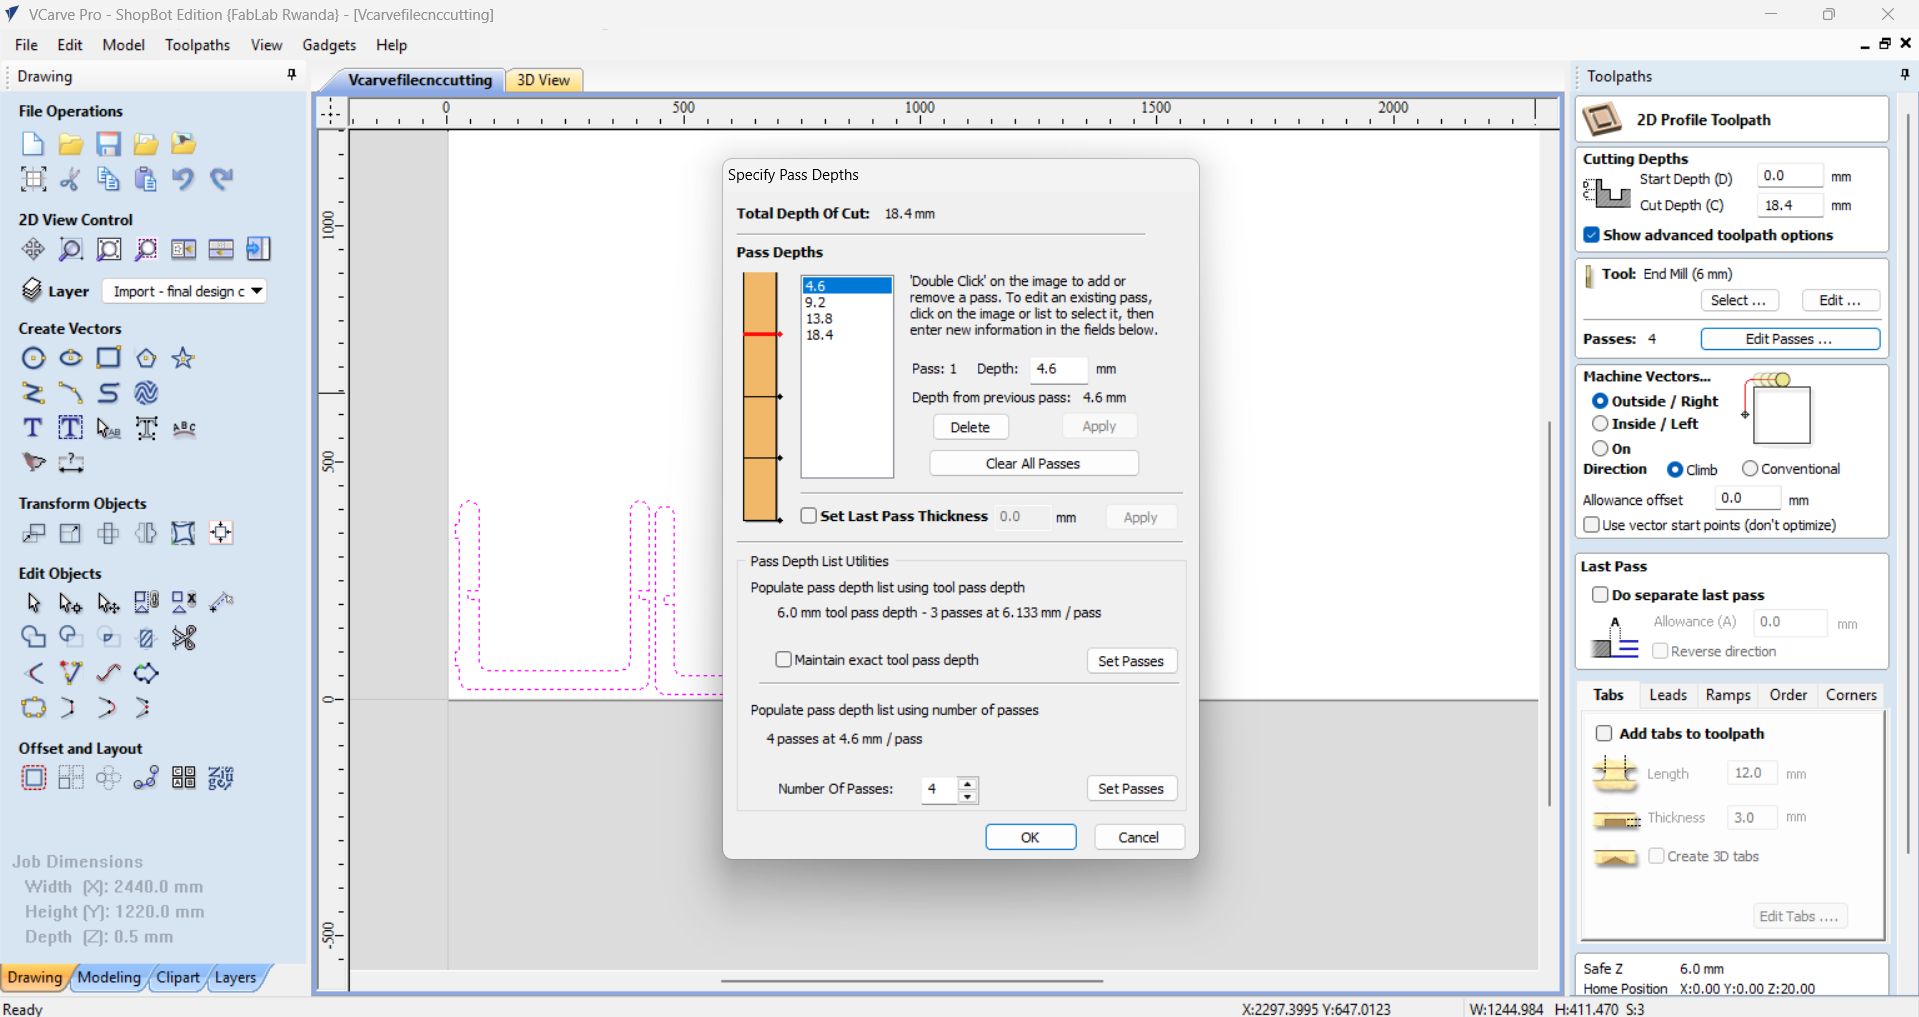
I set the number of passes and cutting depths for the toolpaths
After reviewing everything, I verified that the toolpaths were safe and optimized for efficient CNC cutting
Machining the parts
I fixed the MDF board onto the ShopBot bed, and fix the 6 end mill tool
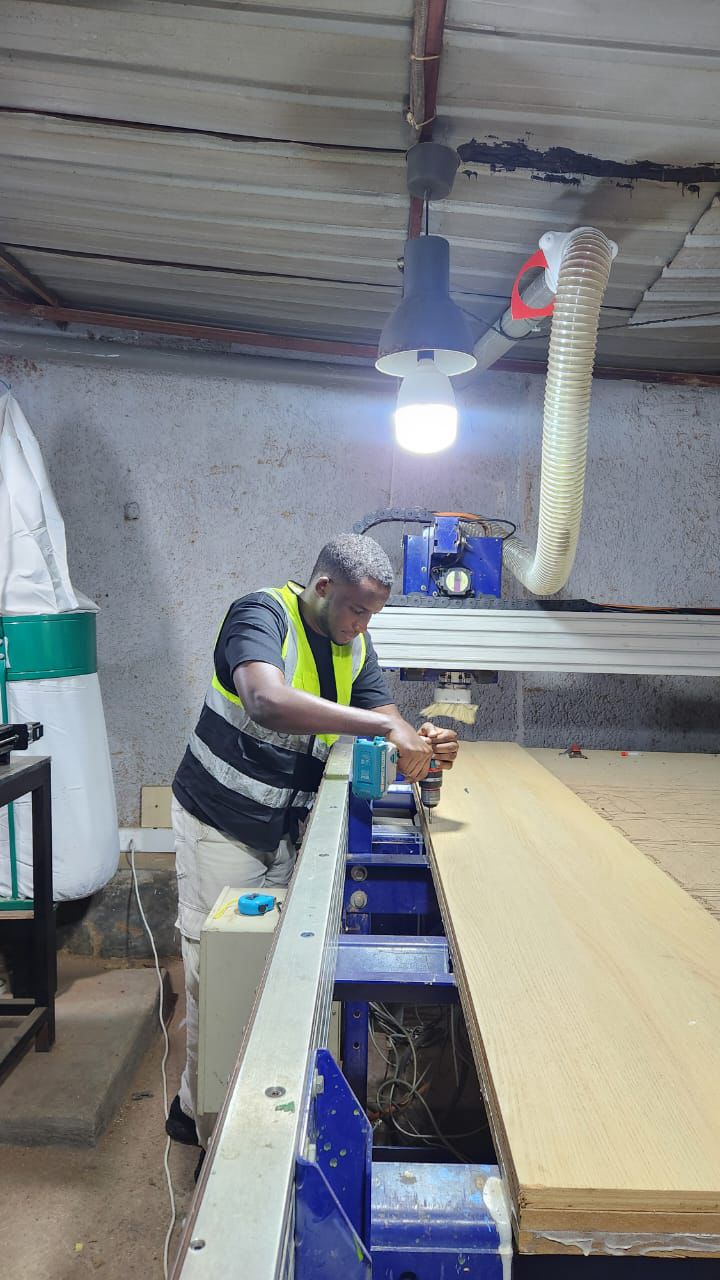
Next, I installed a 6 mm end mill for both engraving and cutting, and set the zero point on all axes X, Y, and Z
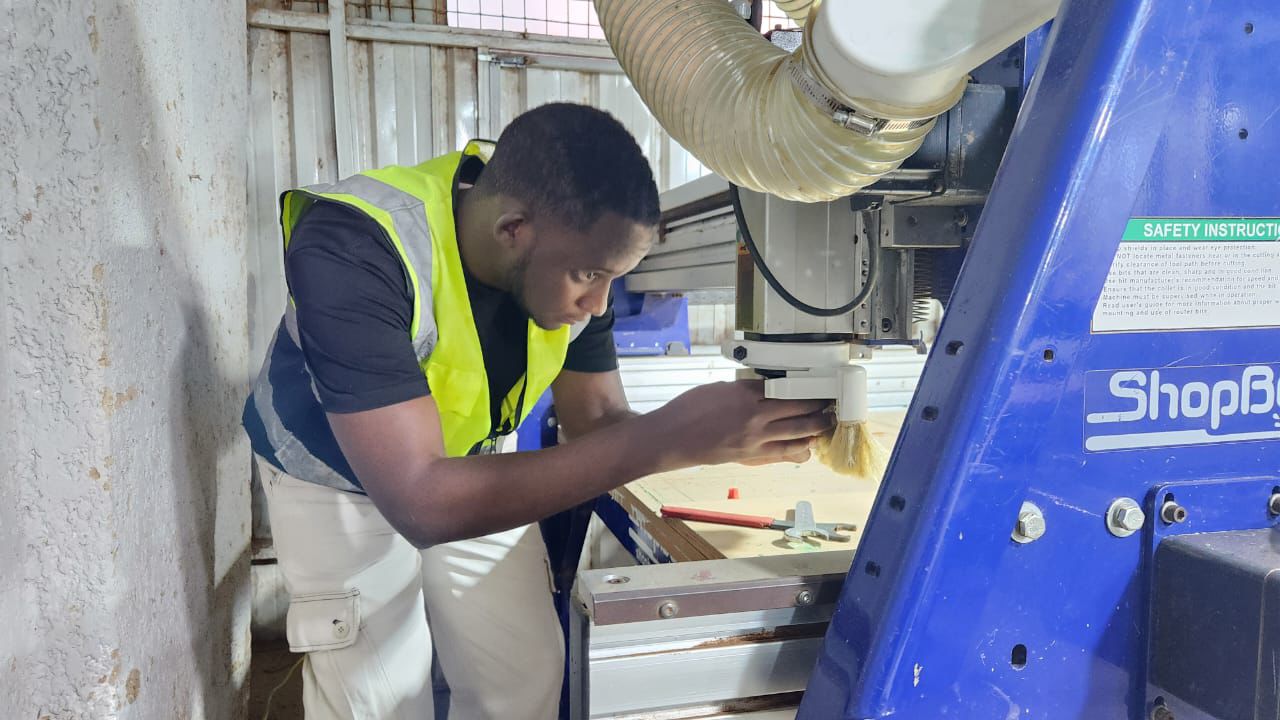
I started by engraving the hole where the stool leg will fit, then I cut out the leg and toop of table
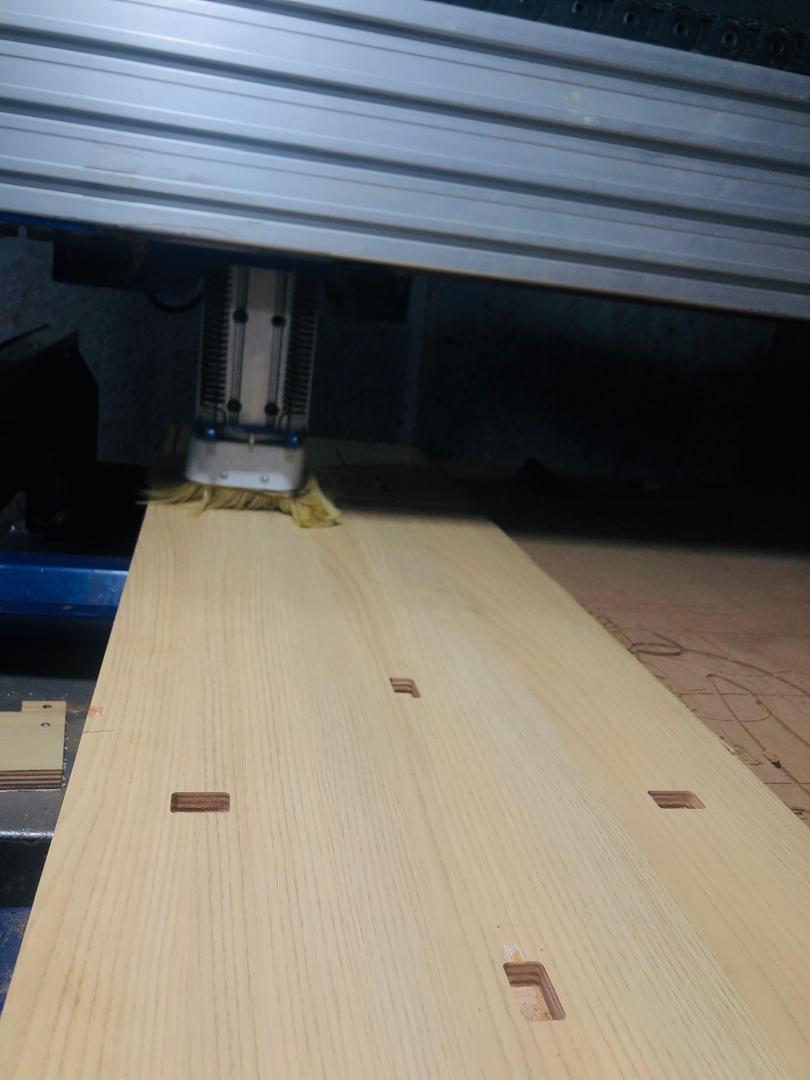
And next, I cut out the leg and the top of the table
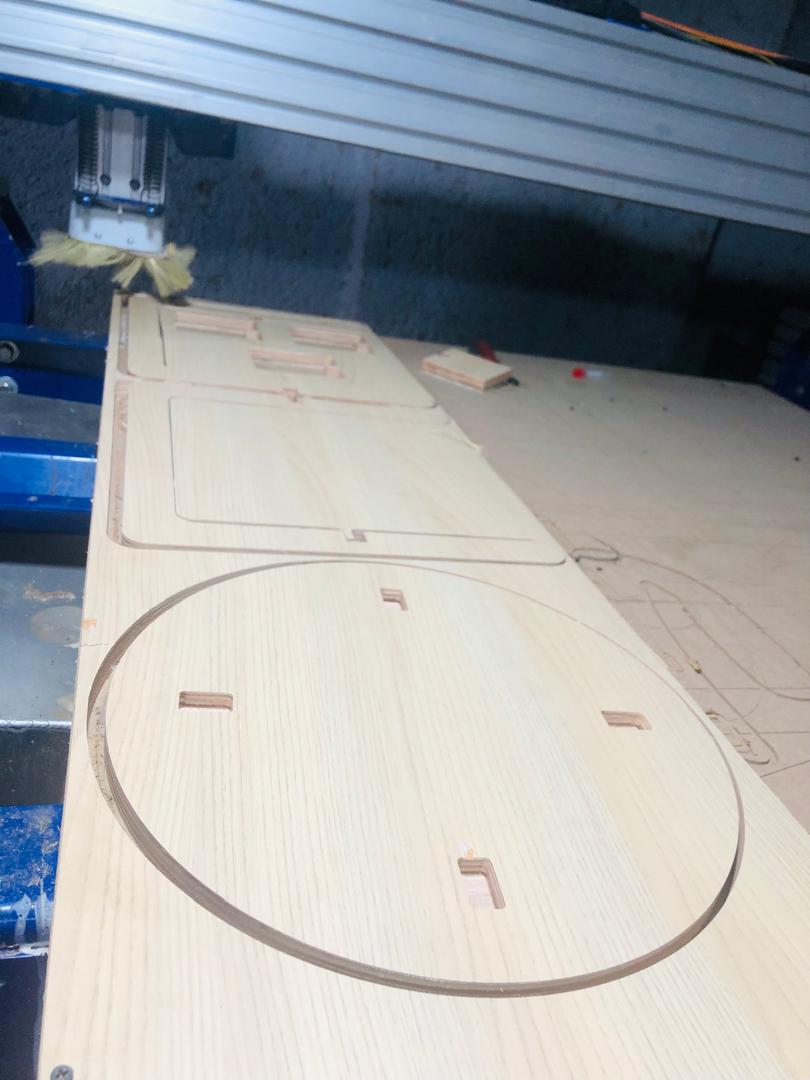
Next, I put the parts together to check that they fit correctly