Weekly Learning Objectives
- Explore and analyze various 2D and 3D design programs
- Design and produce raster, vector, and 3D files using relevant software
- Practice image optimization techniques for efficient file usage
2D raster Design
Microsoft Paint is a digital tool used to create and edit images by drawing and coloring on a computer.
installation of Microsoft Paint
Microsoft Paint was used for raster design. The software is included by default in the Windows operating system and did not require additional installation.
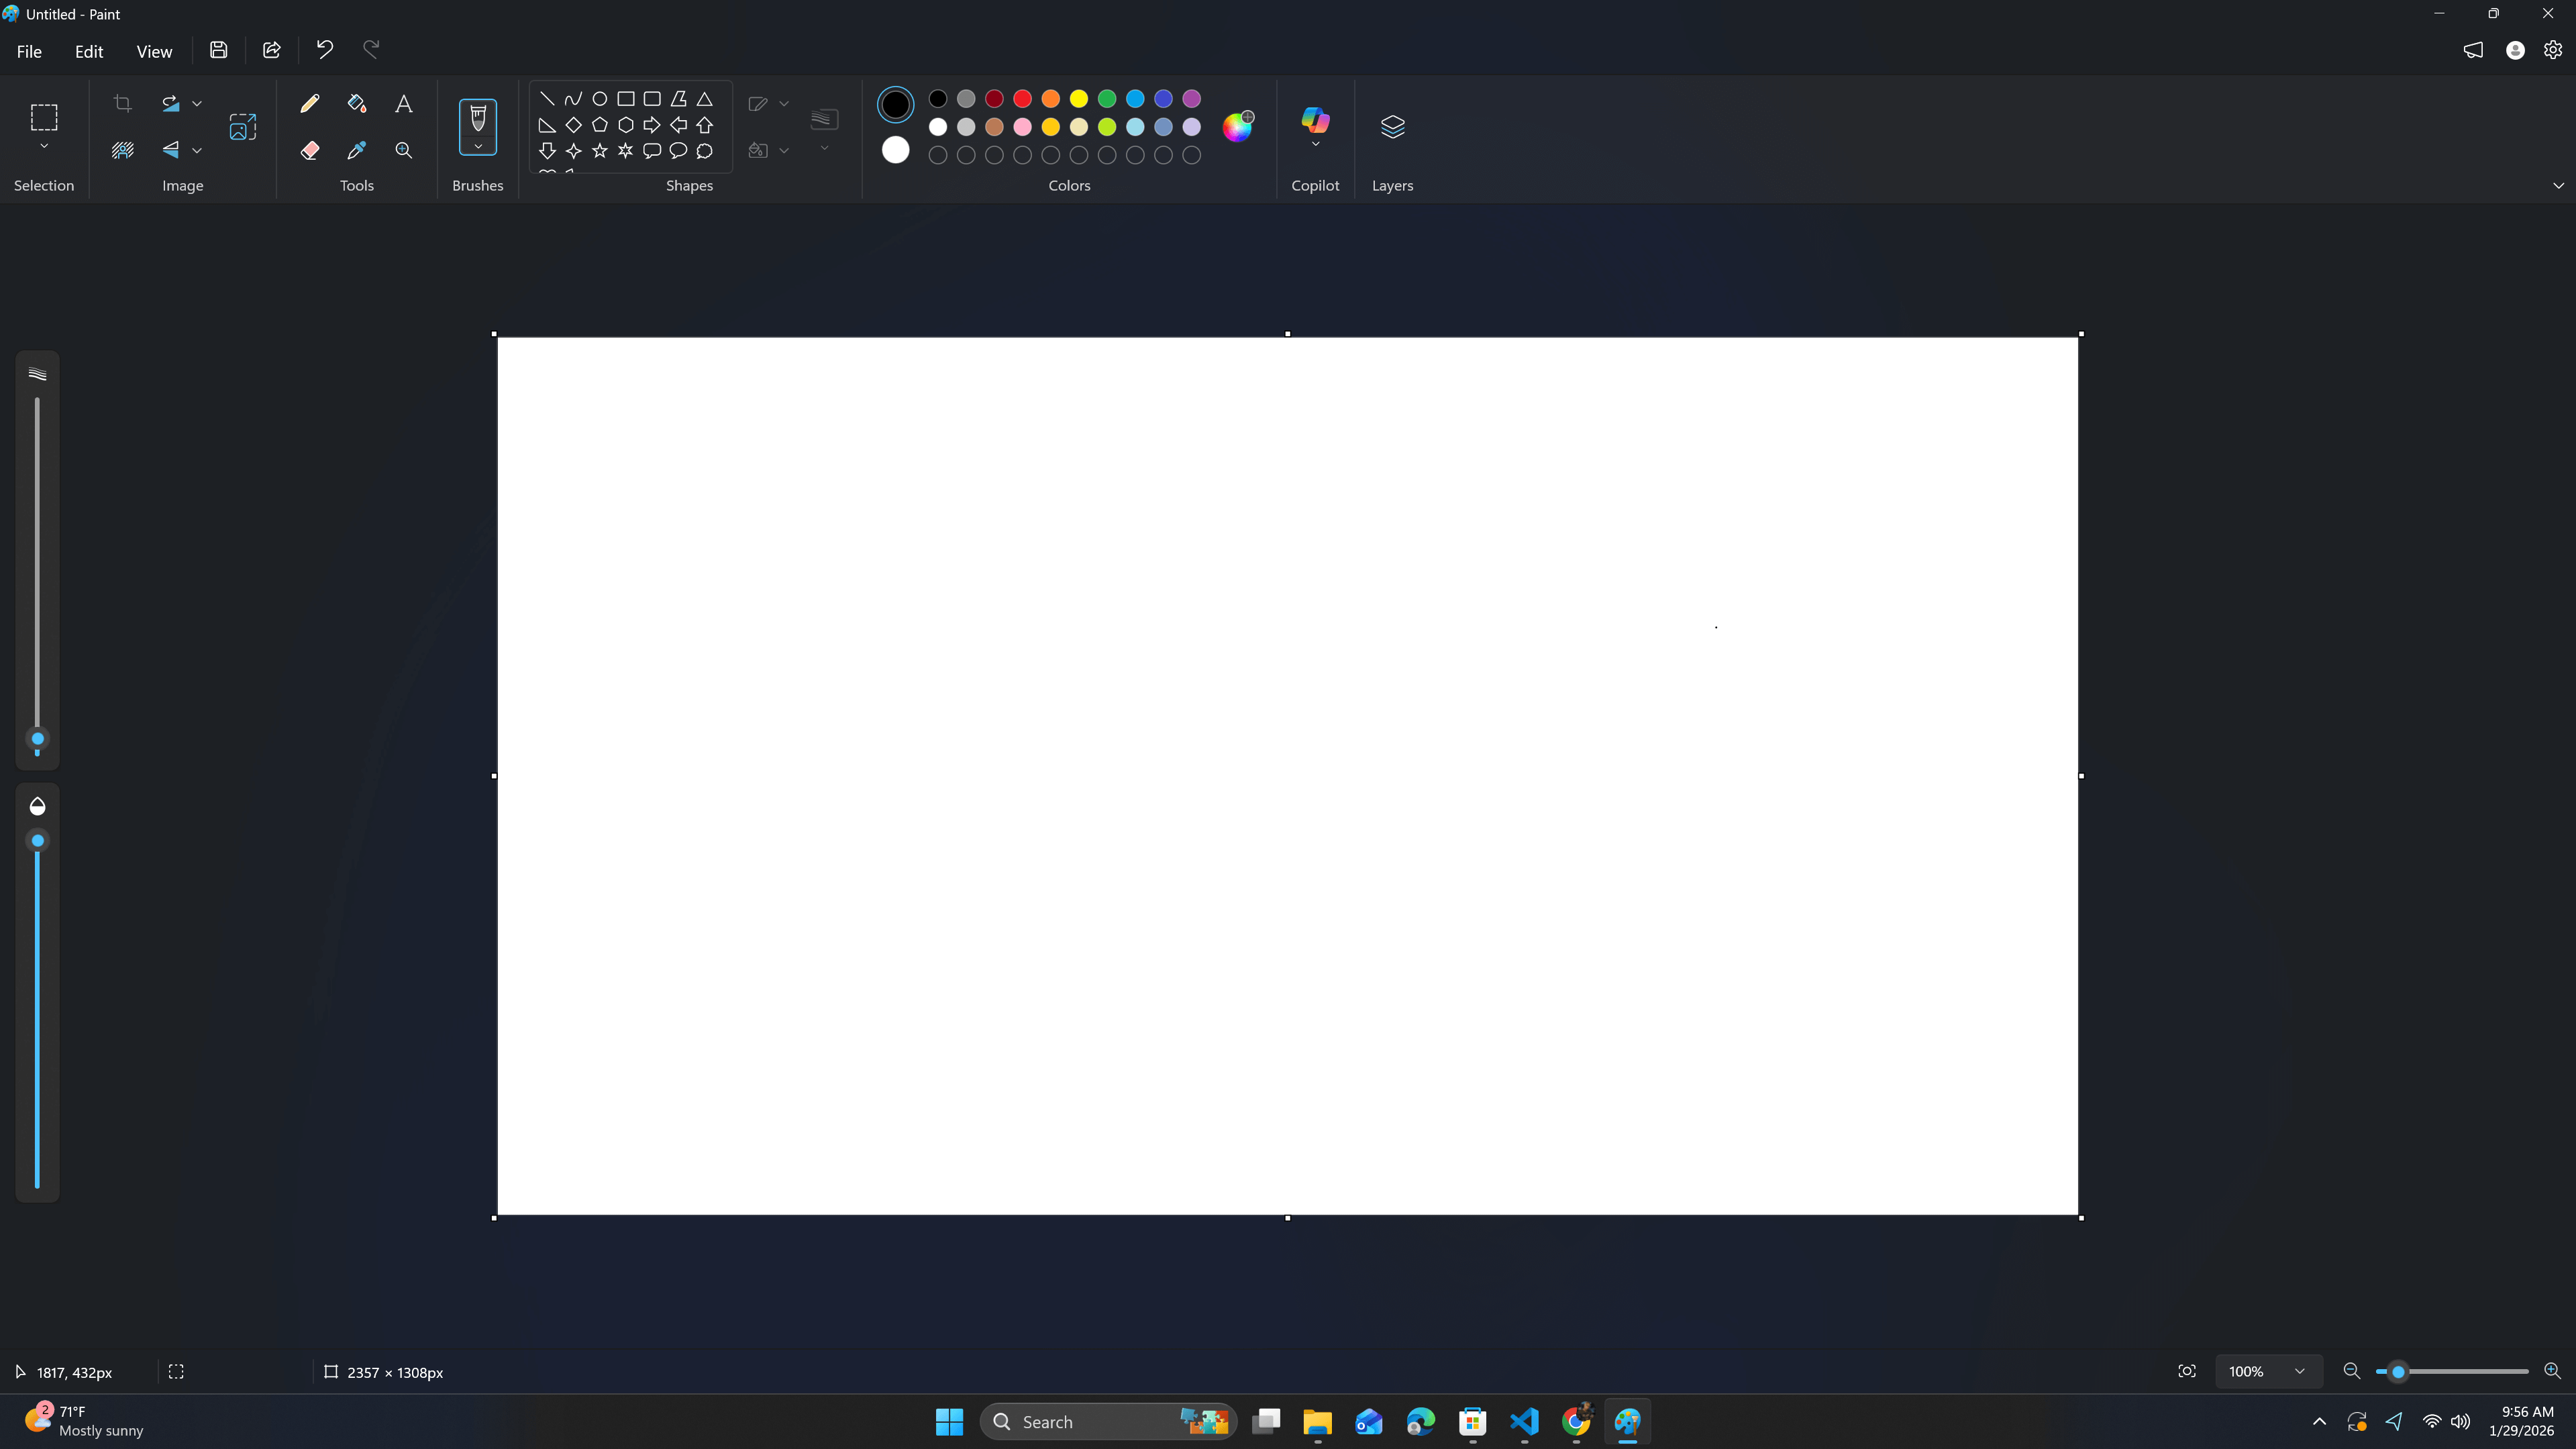
Open microsoft paint
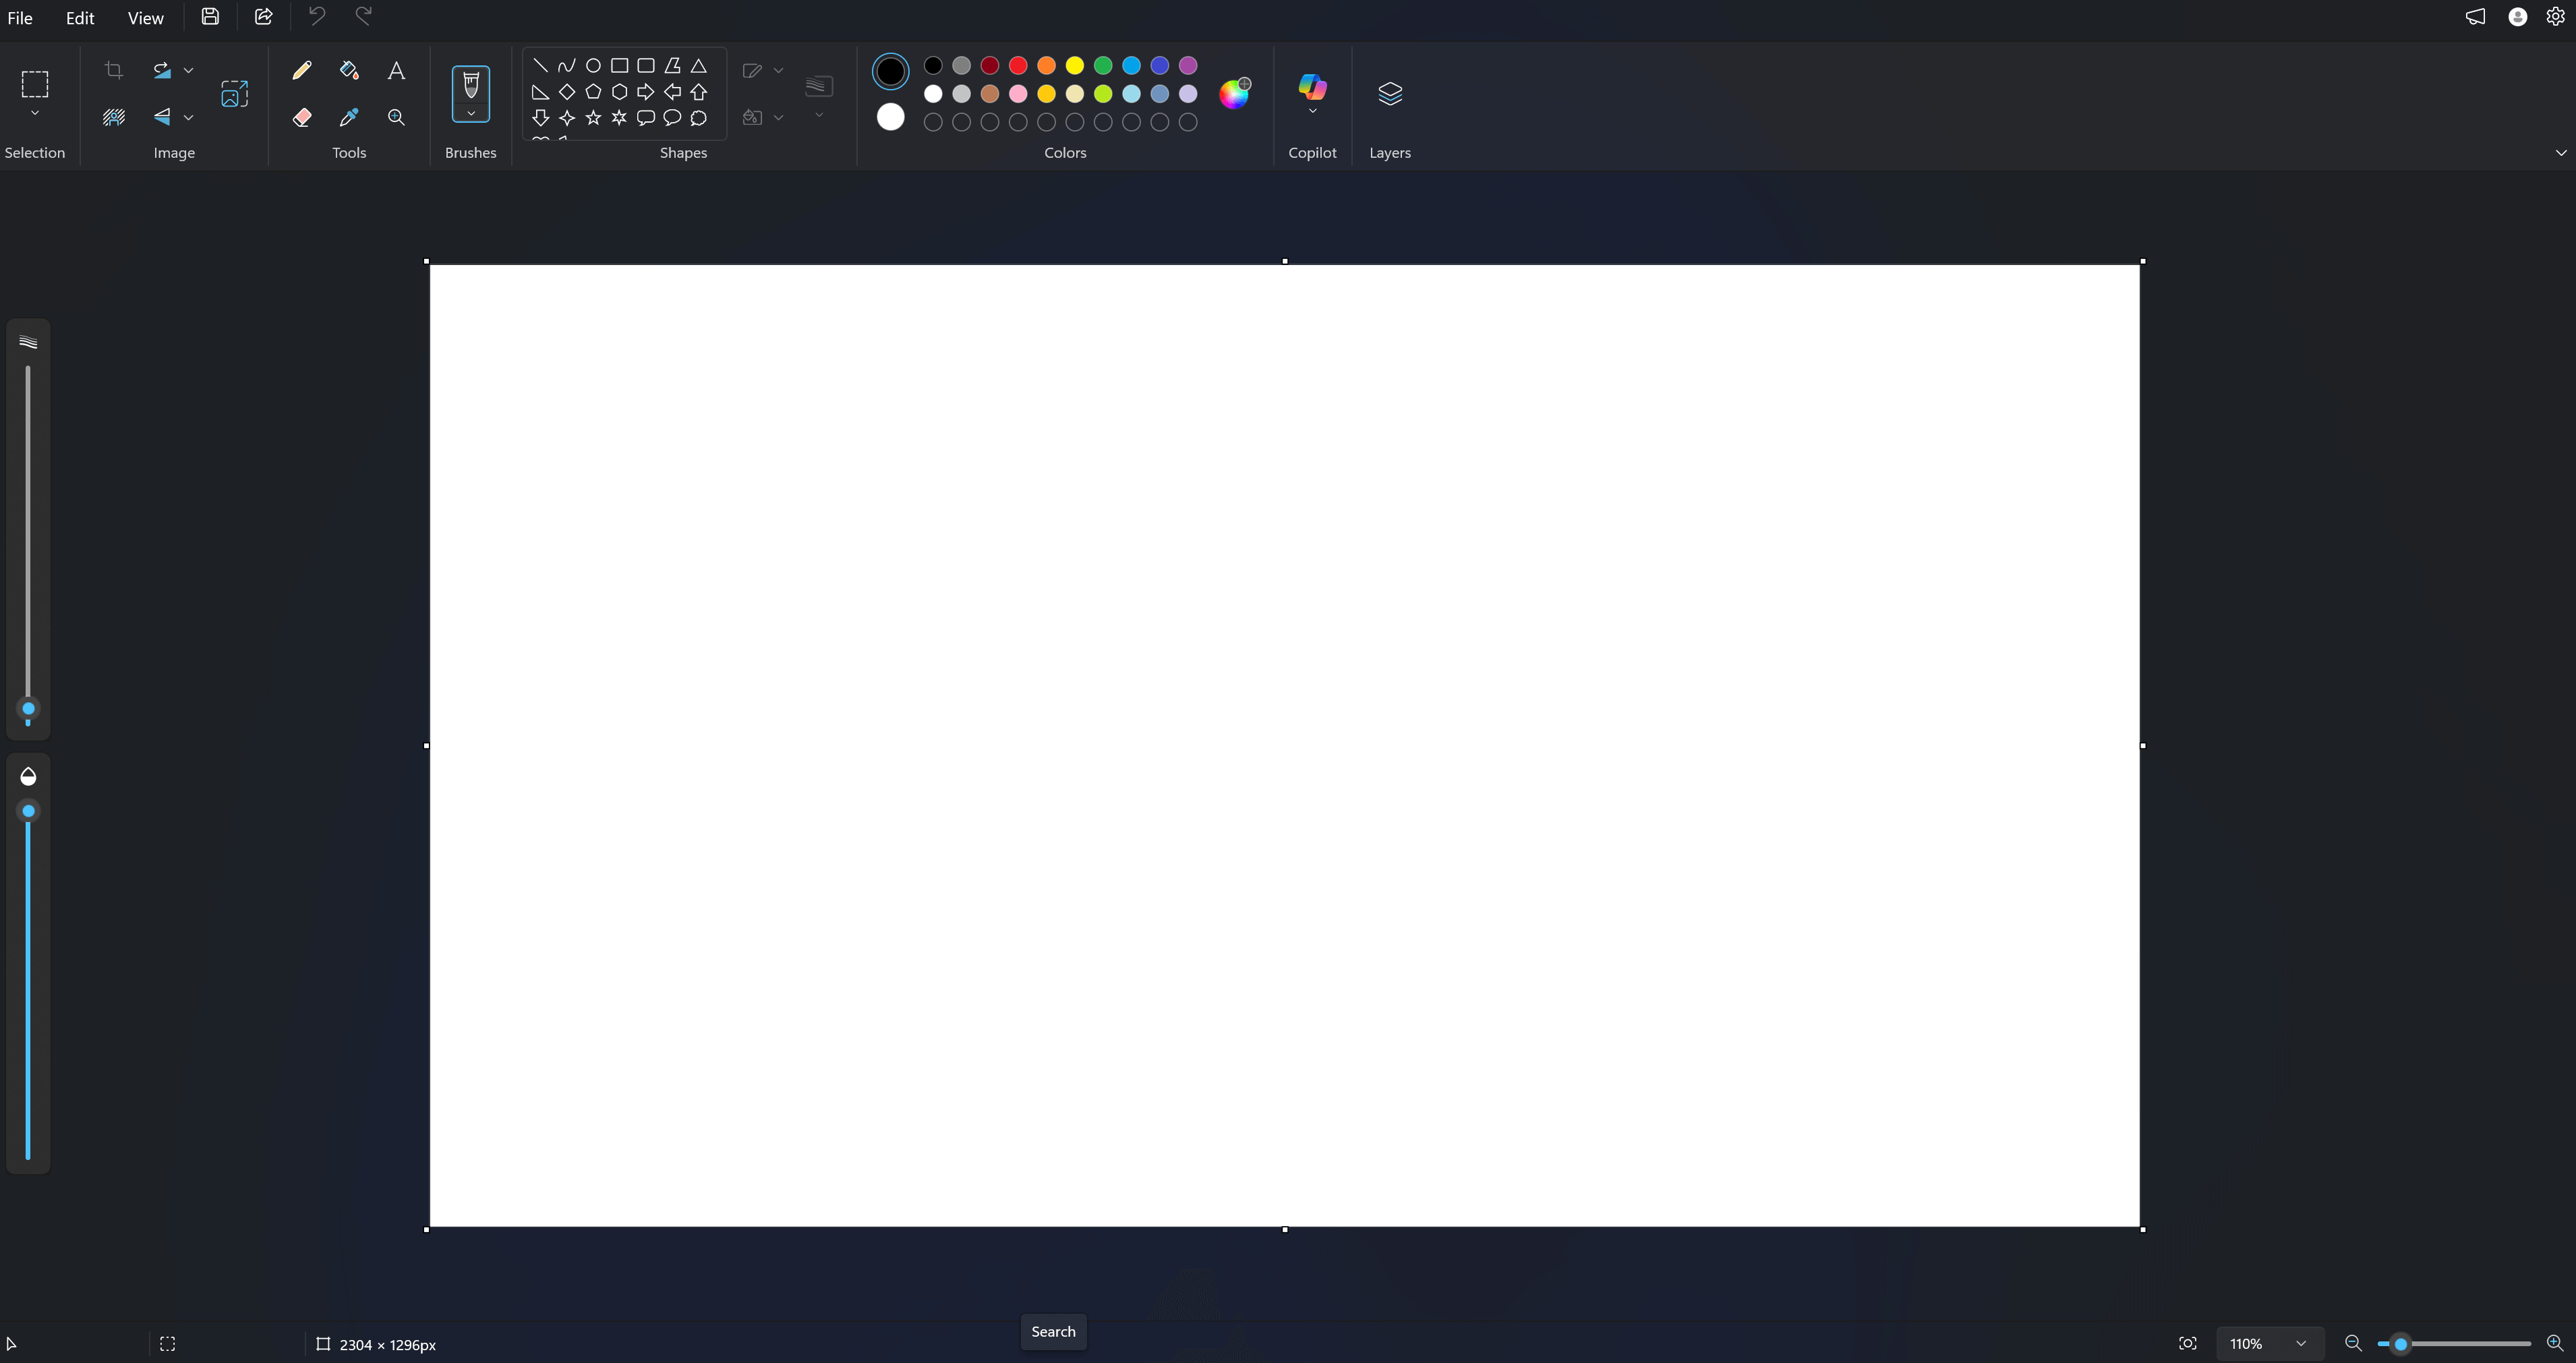
Already we have artboard has size 2357*1308px
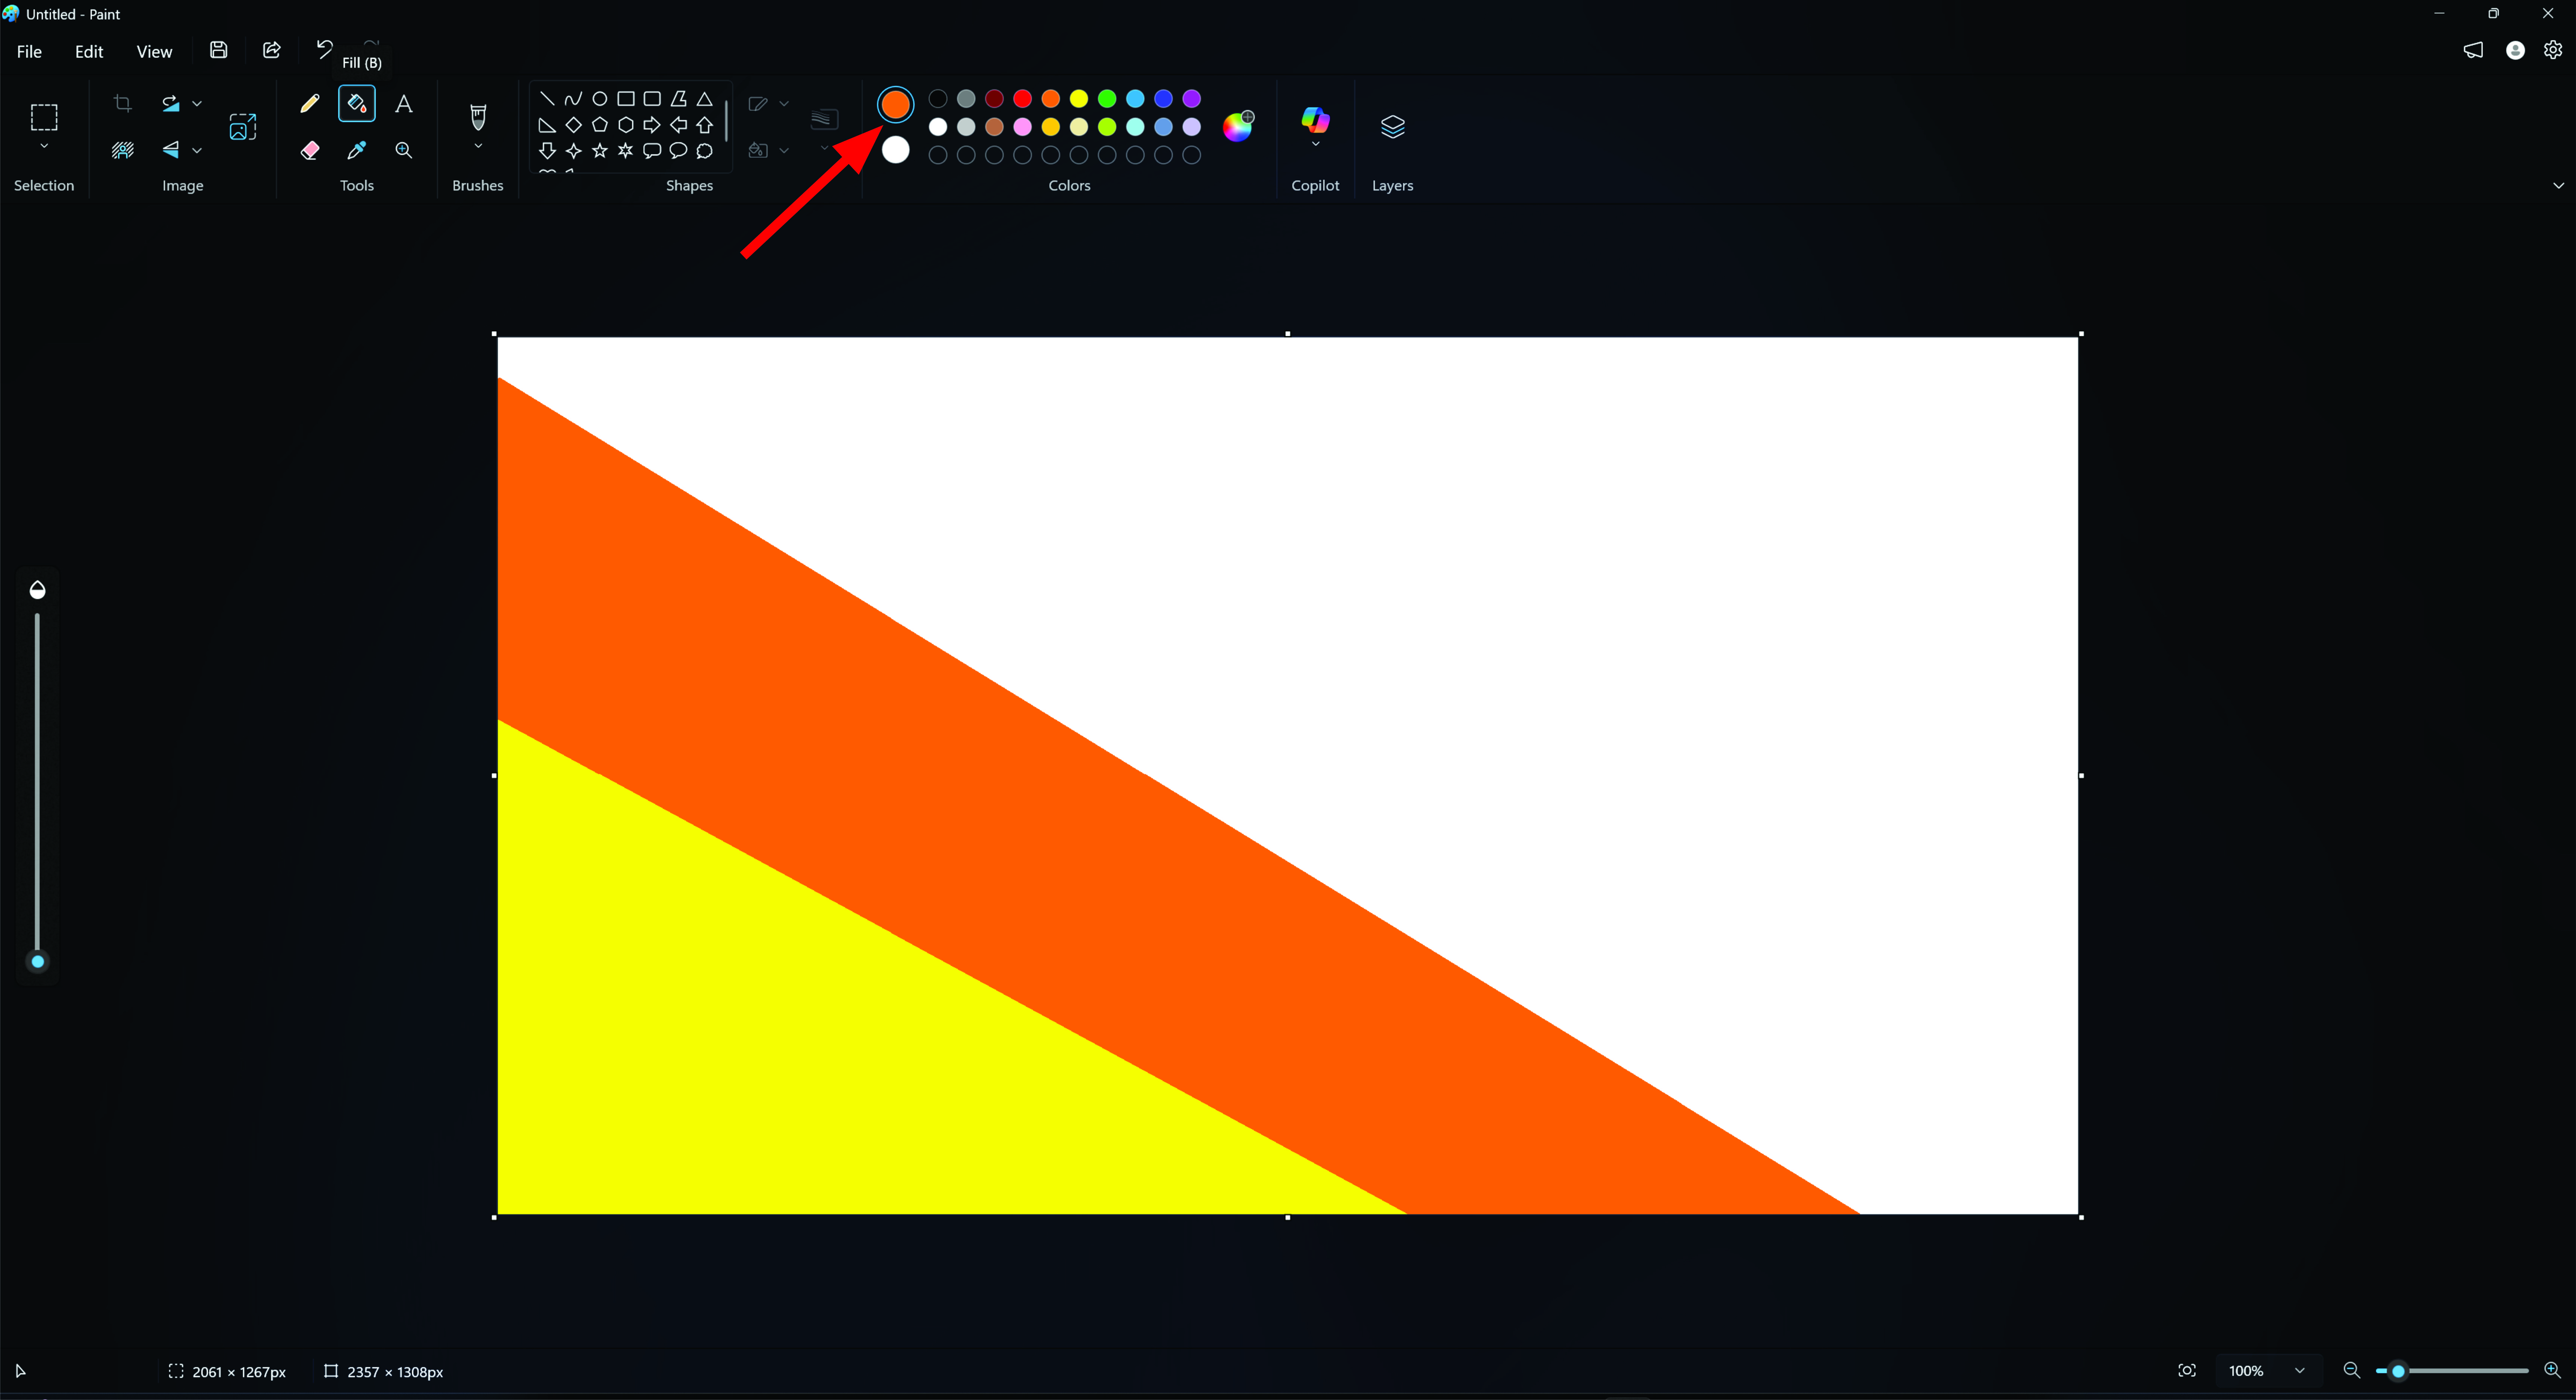
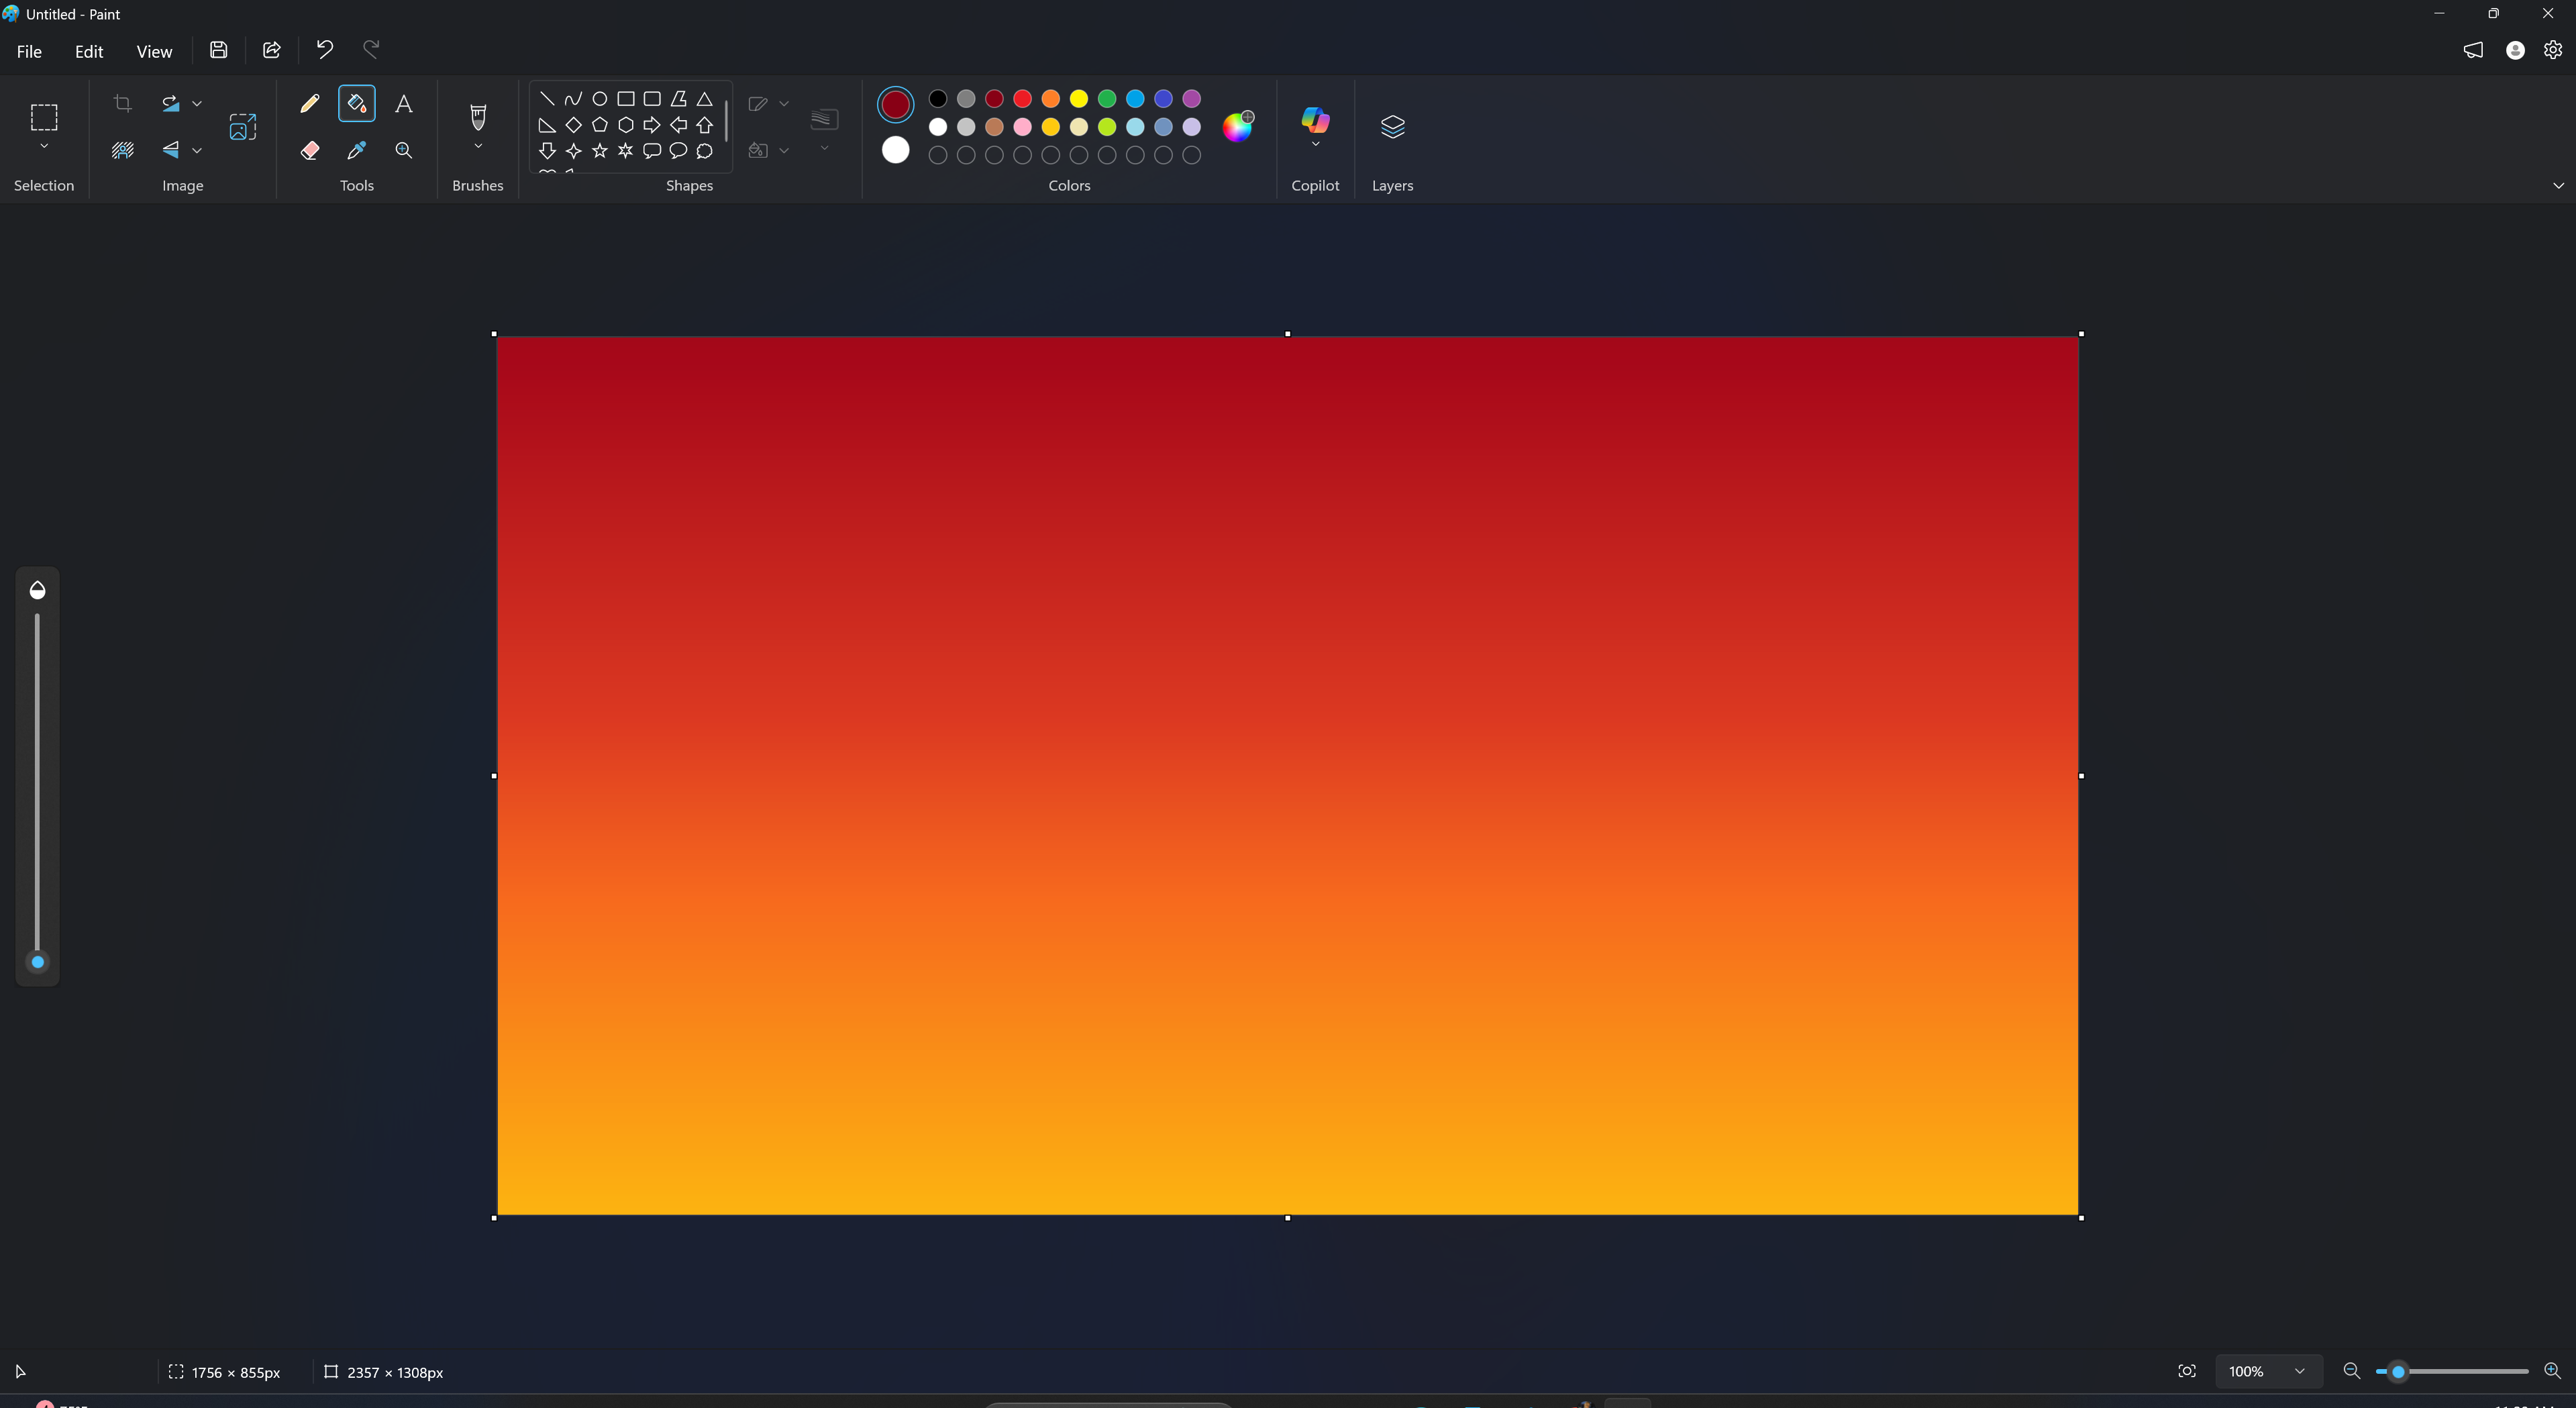
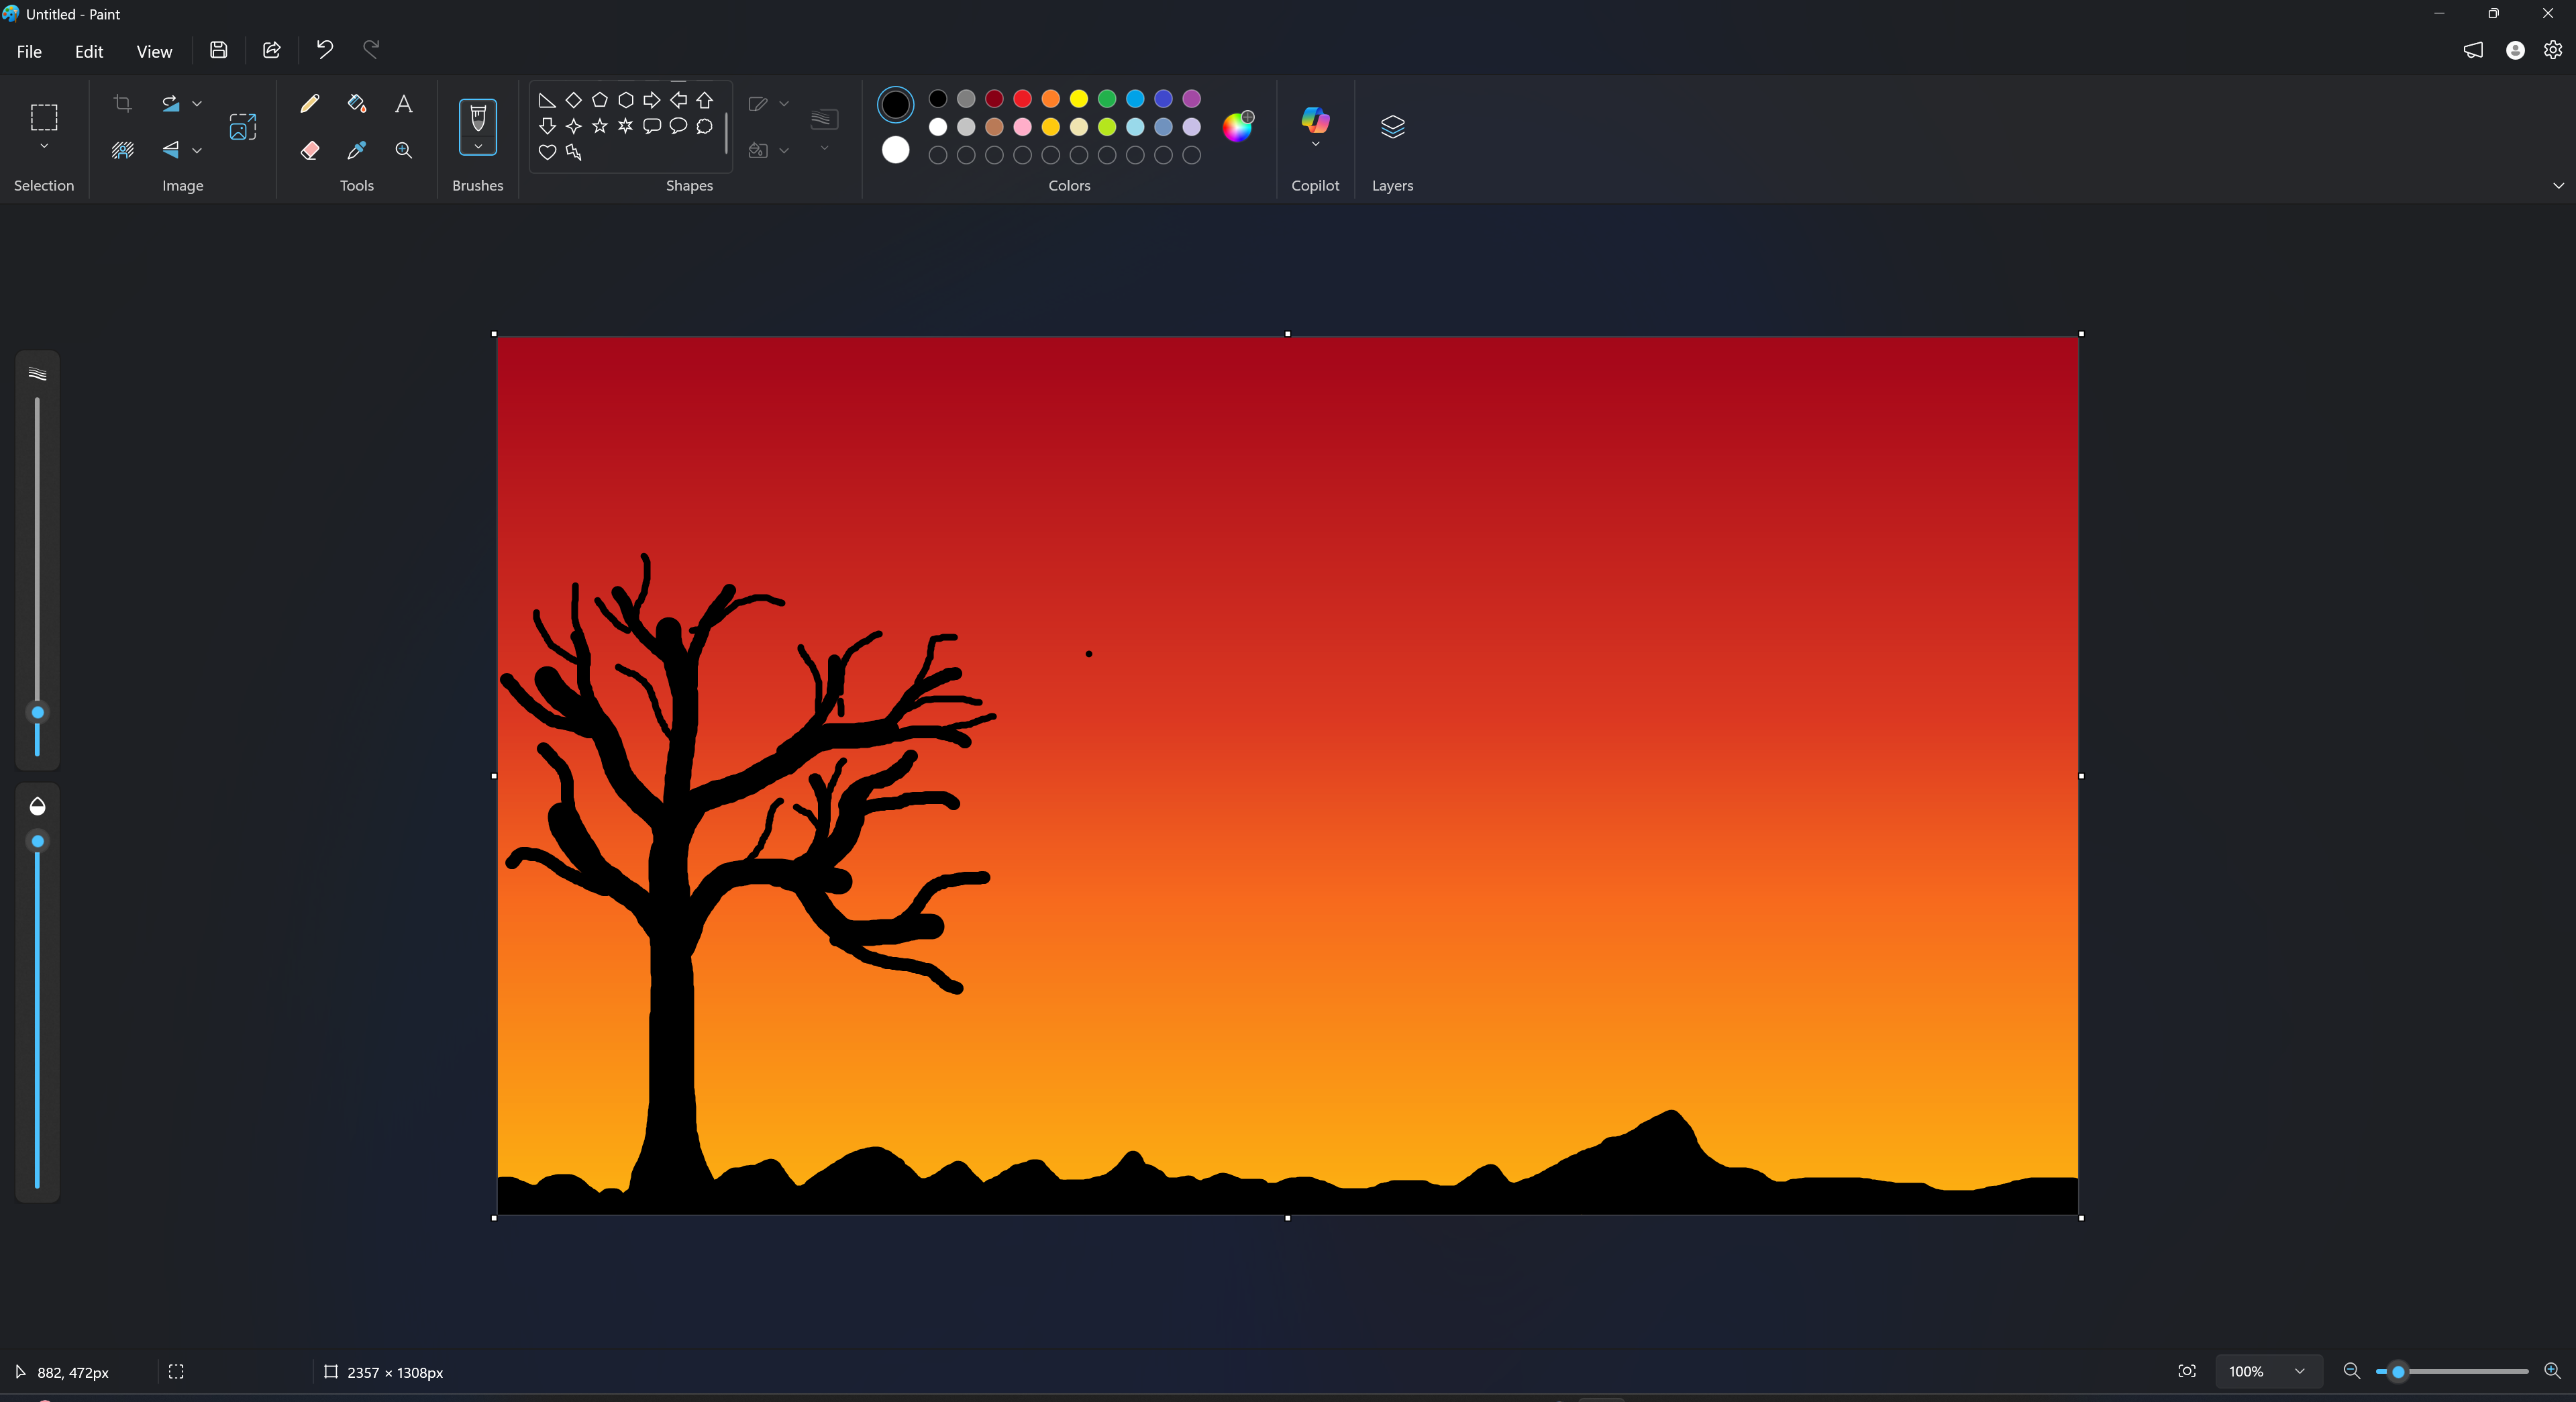
I am going to create a sunset design First, the background was created using the fill tool with warm colors such as orange, yellow, and red to represent the sunset sky
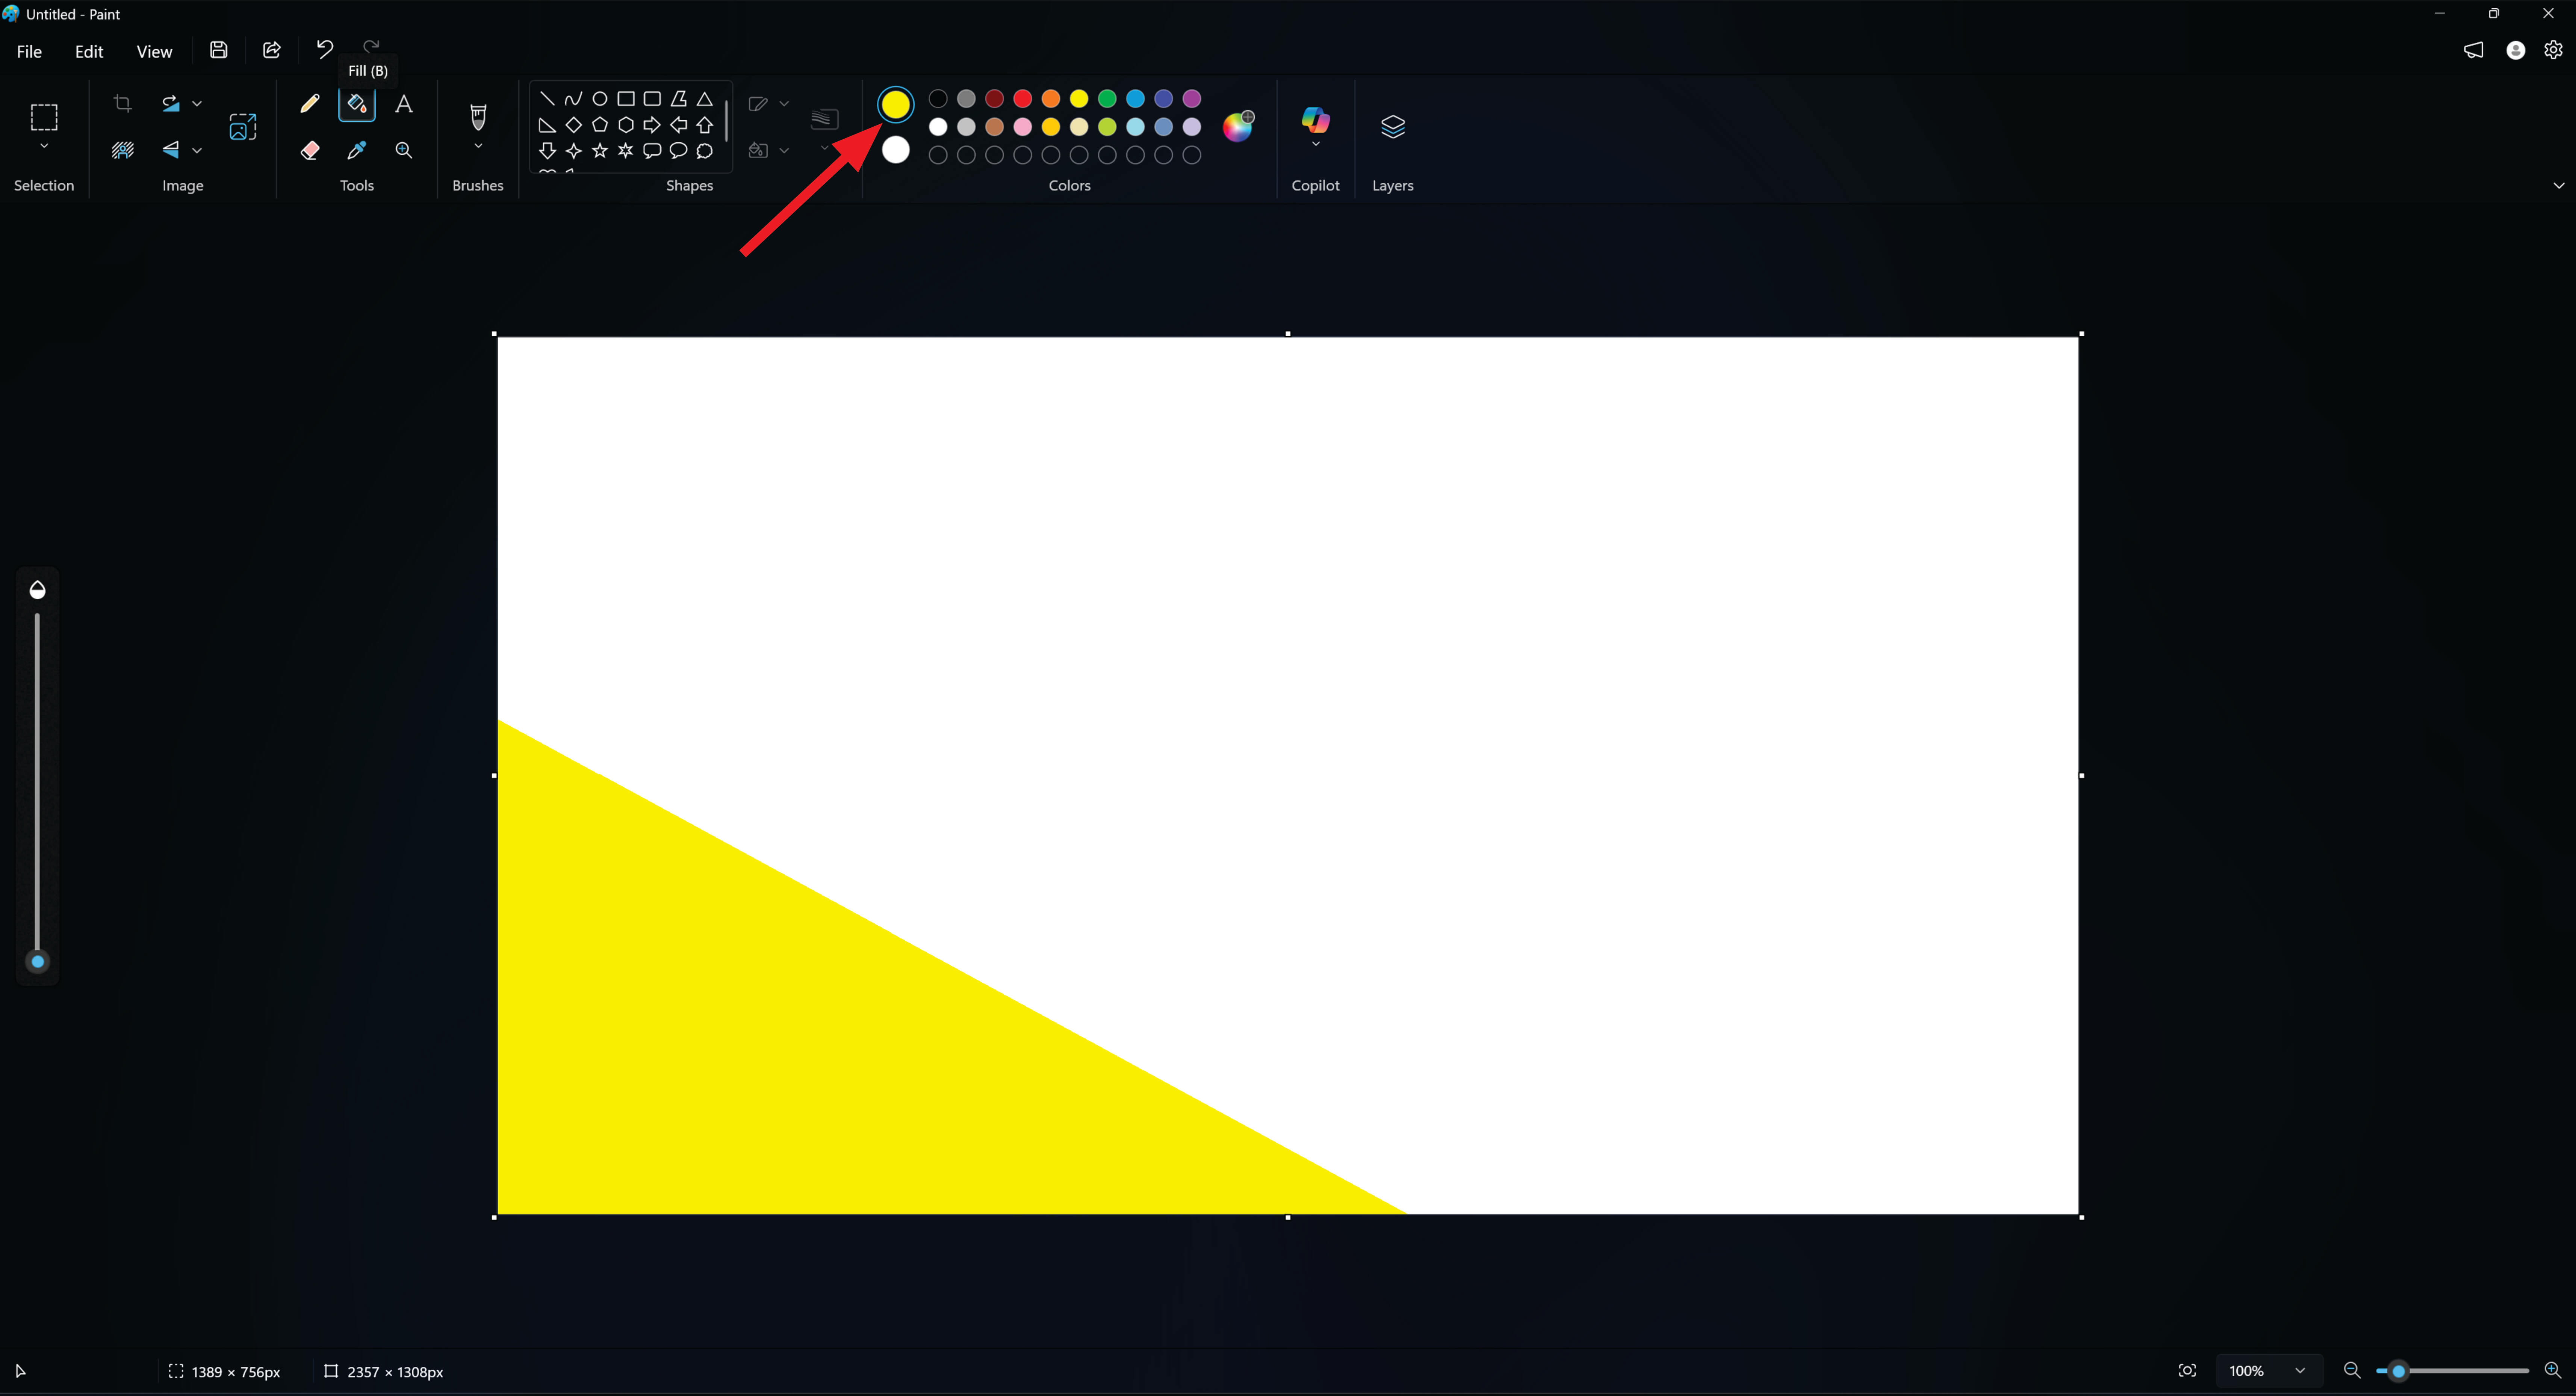
Select pencil and fill the yellow color and select line tool to make a line
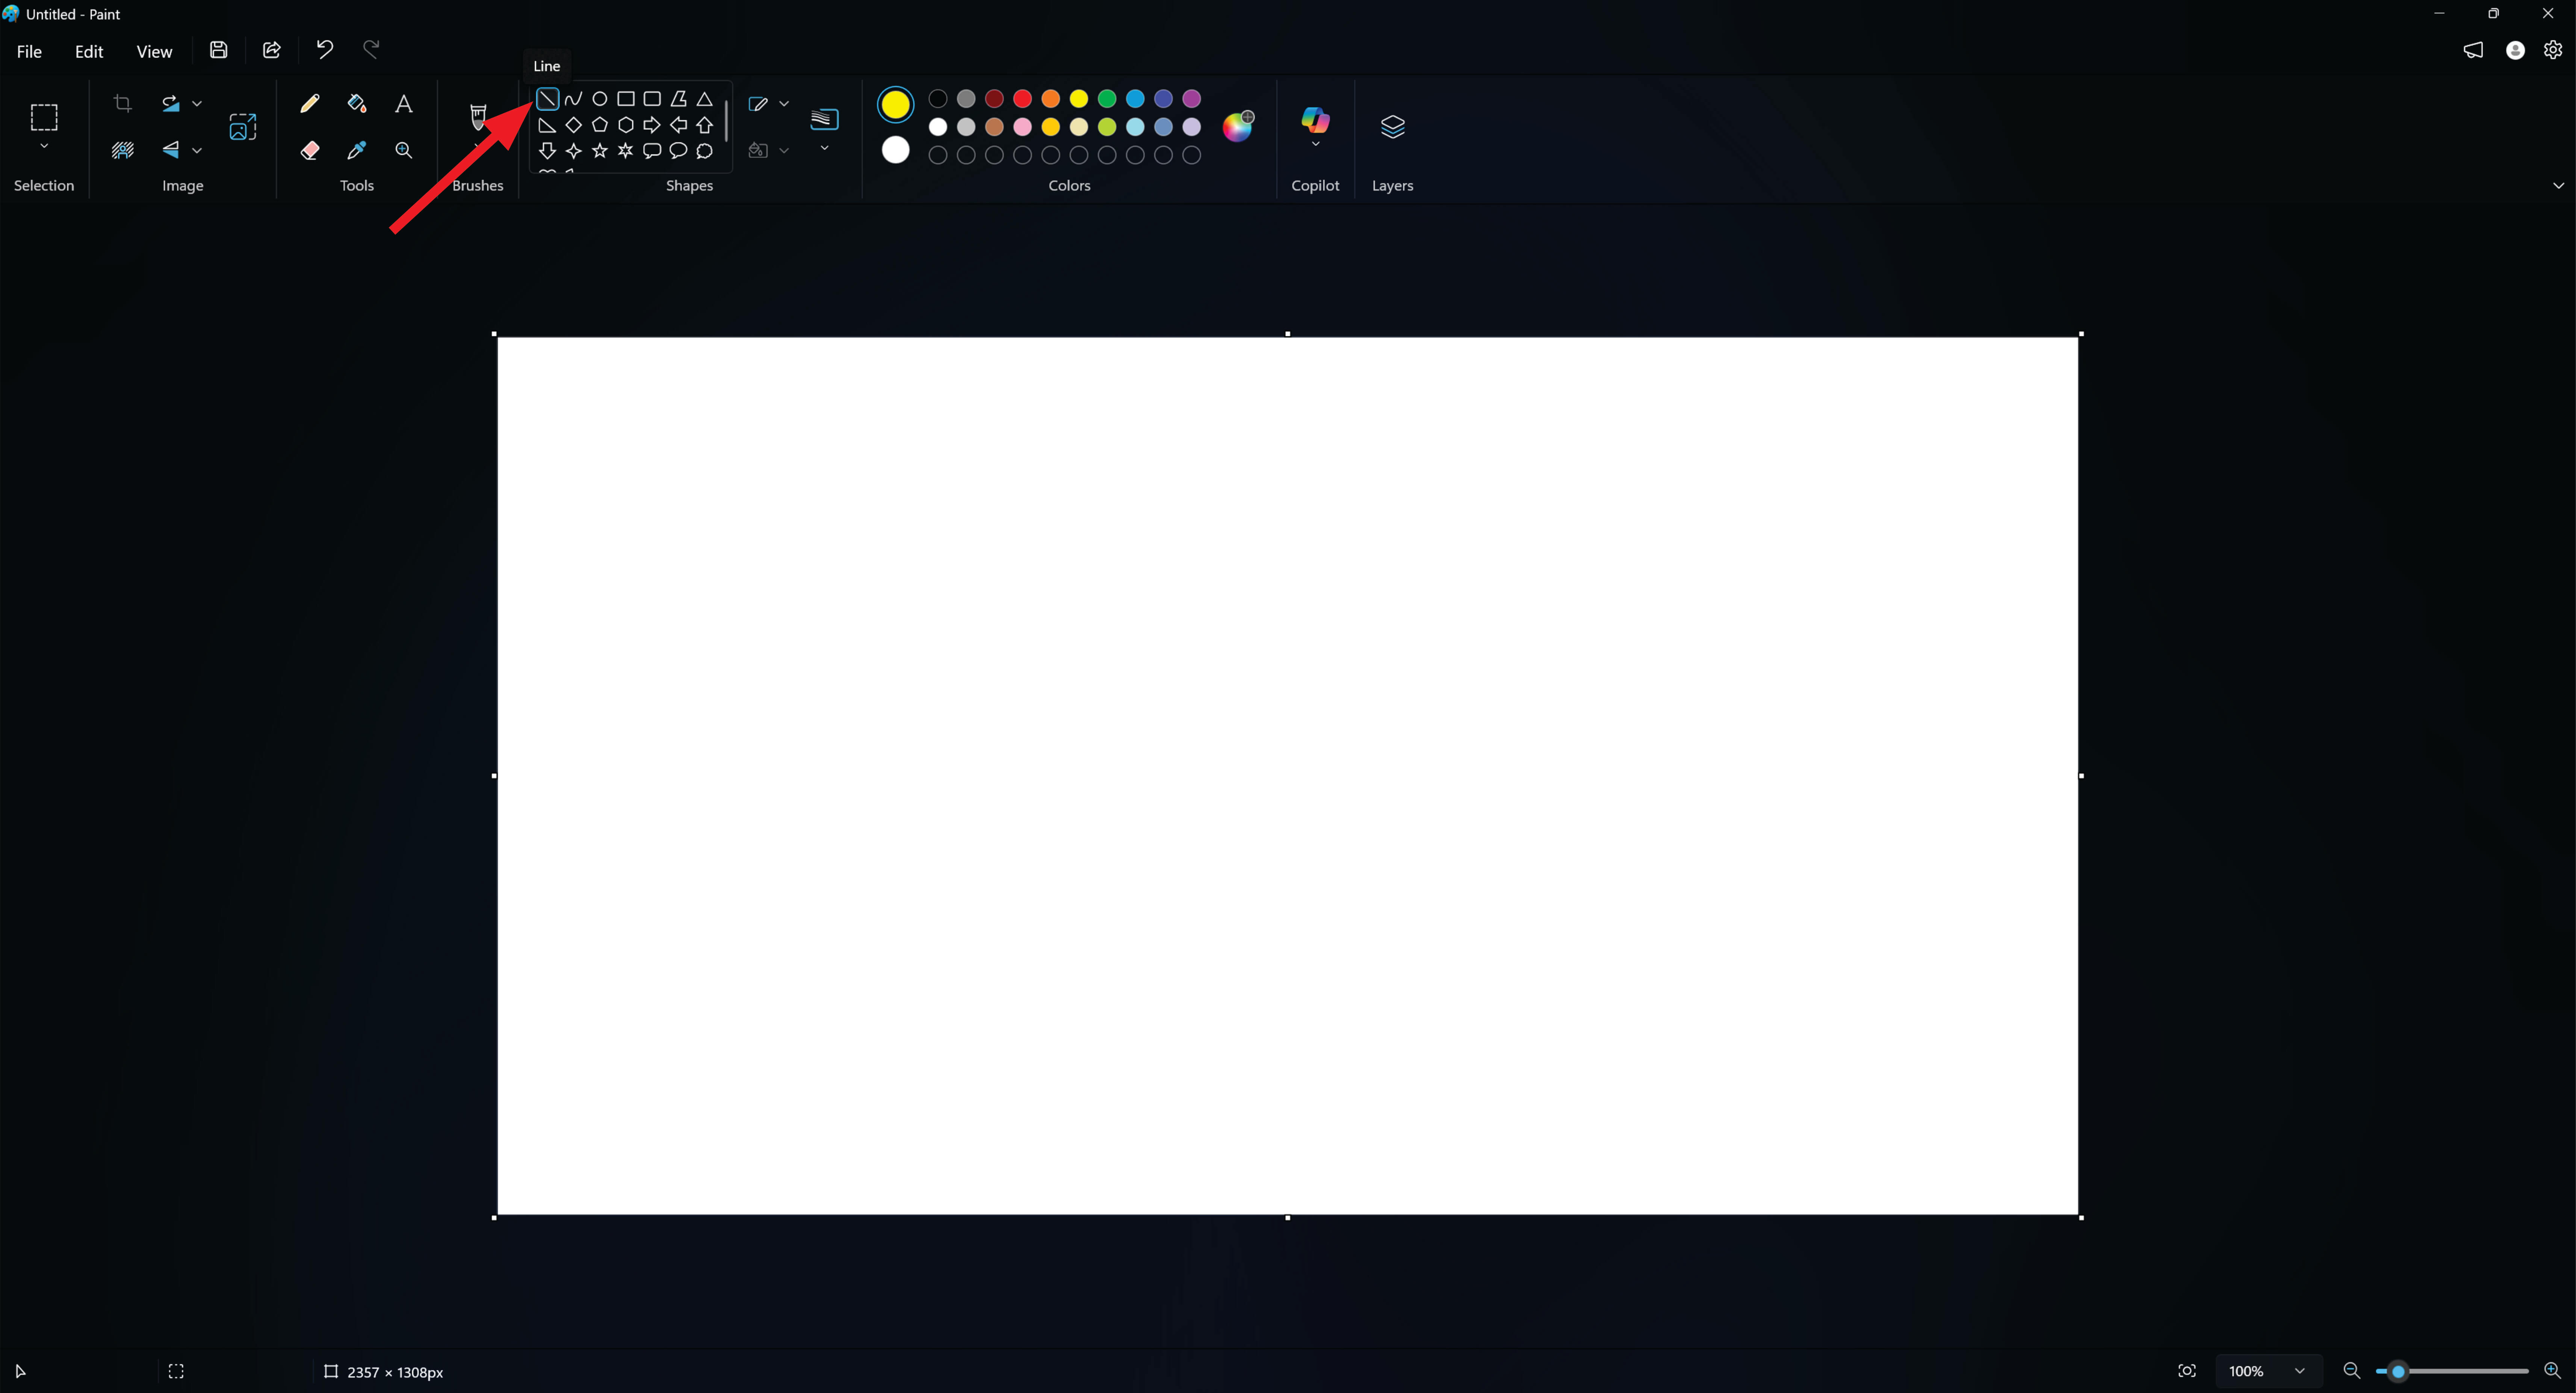
start to sketch yellow line and fill the color using fill toll
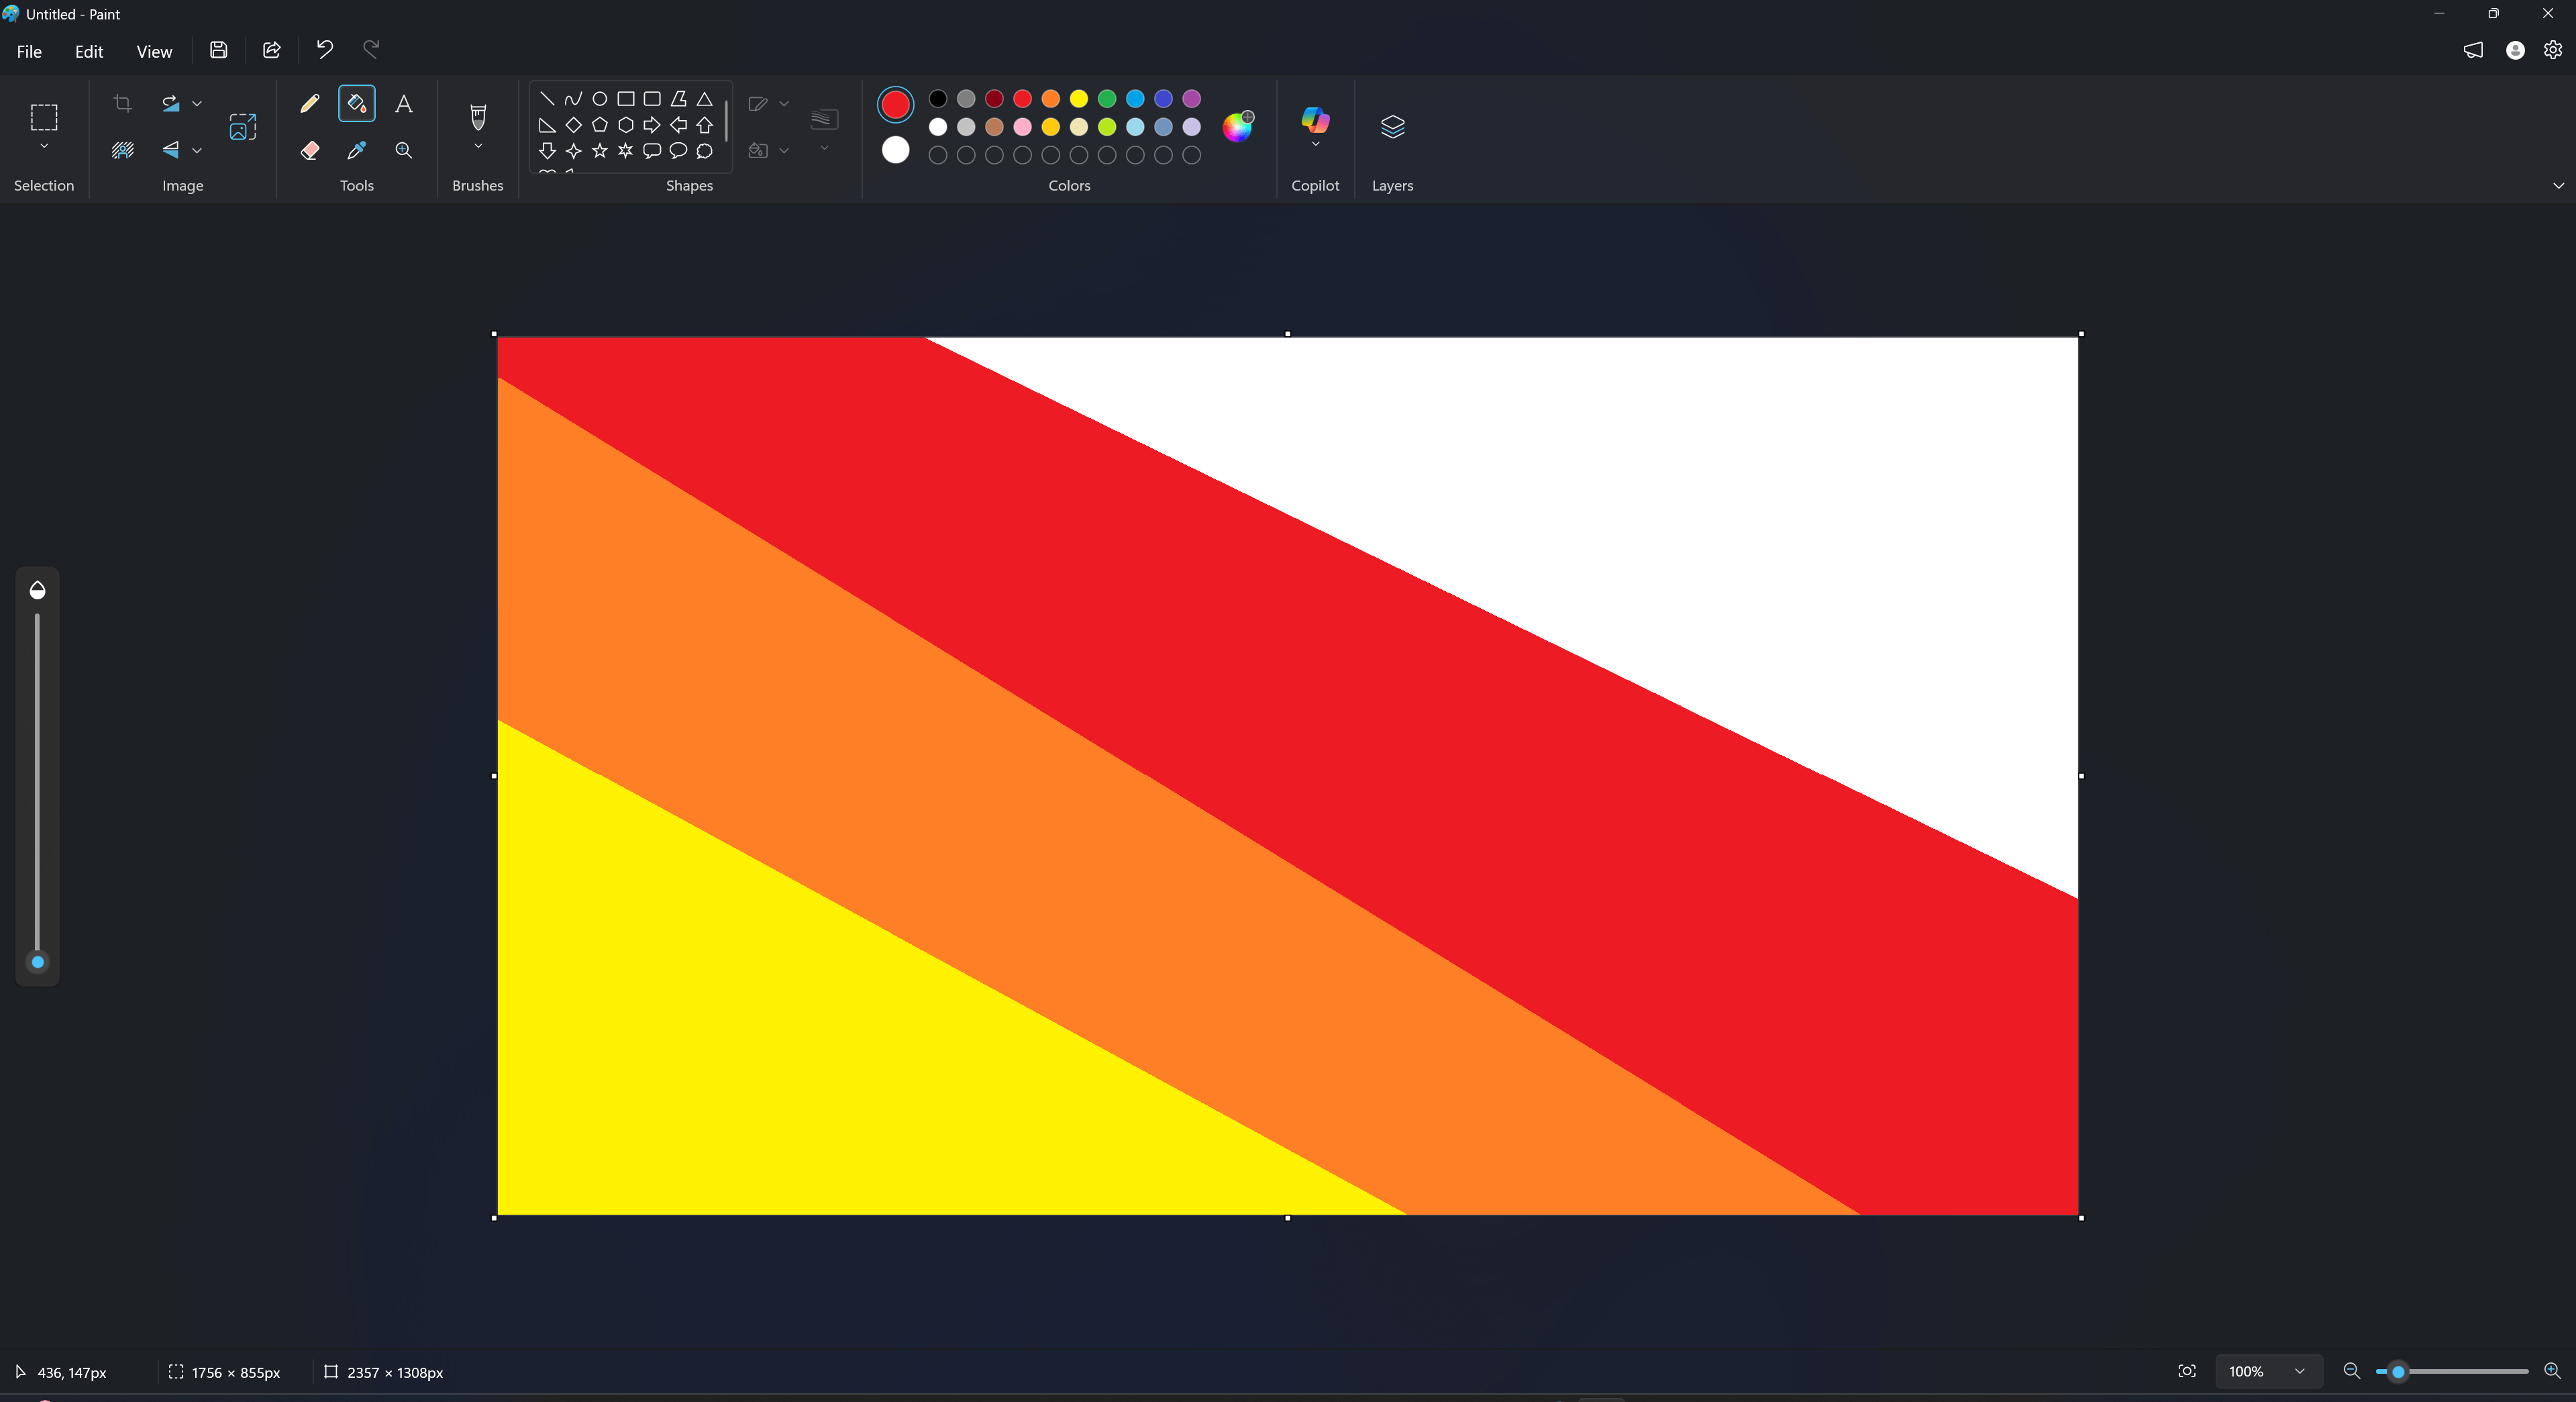
Next select pencil again and fill the orange color sketch orange line and fill it orange color using fill toll
Next step select pencil fill red color sketch line and fill red color using fill toll
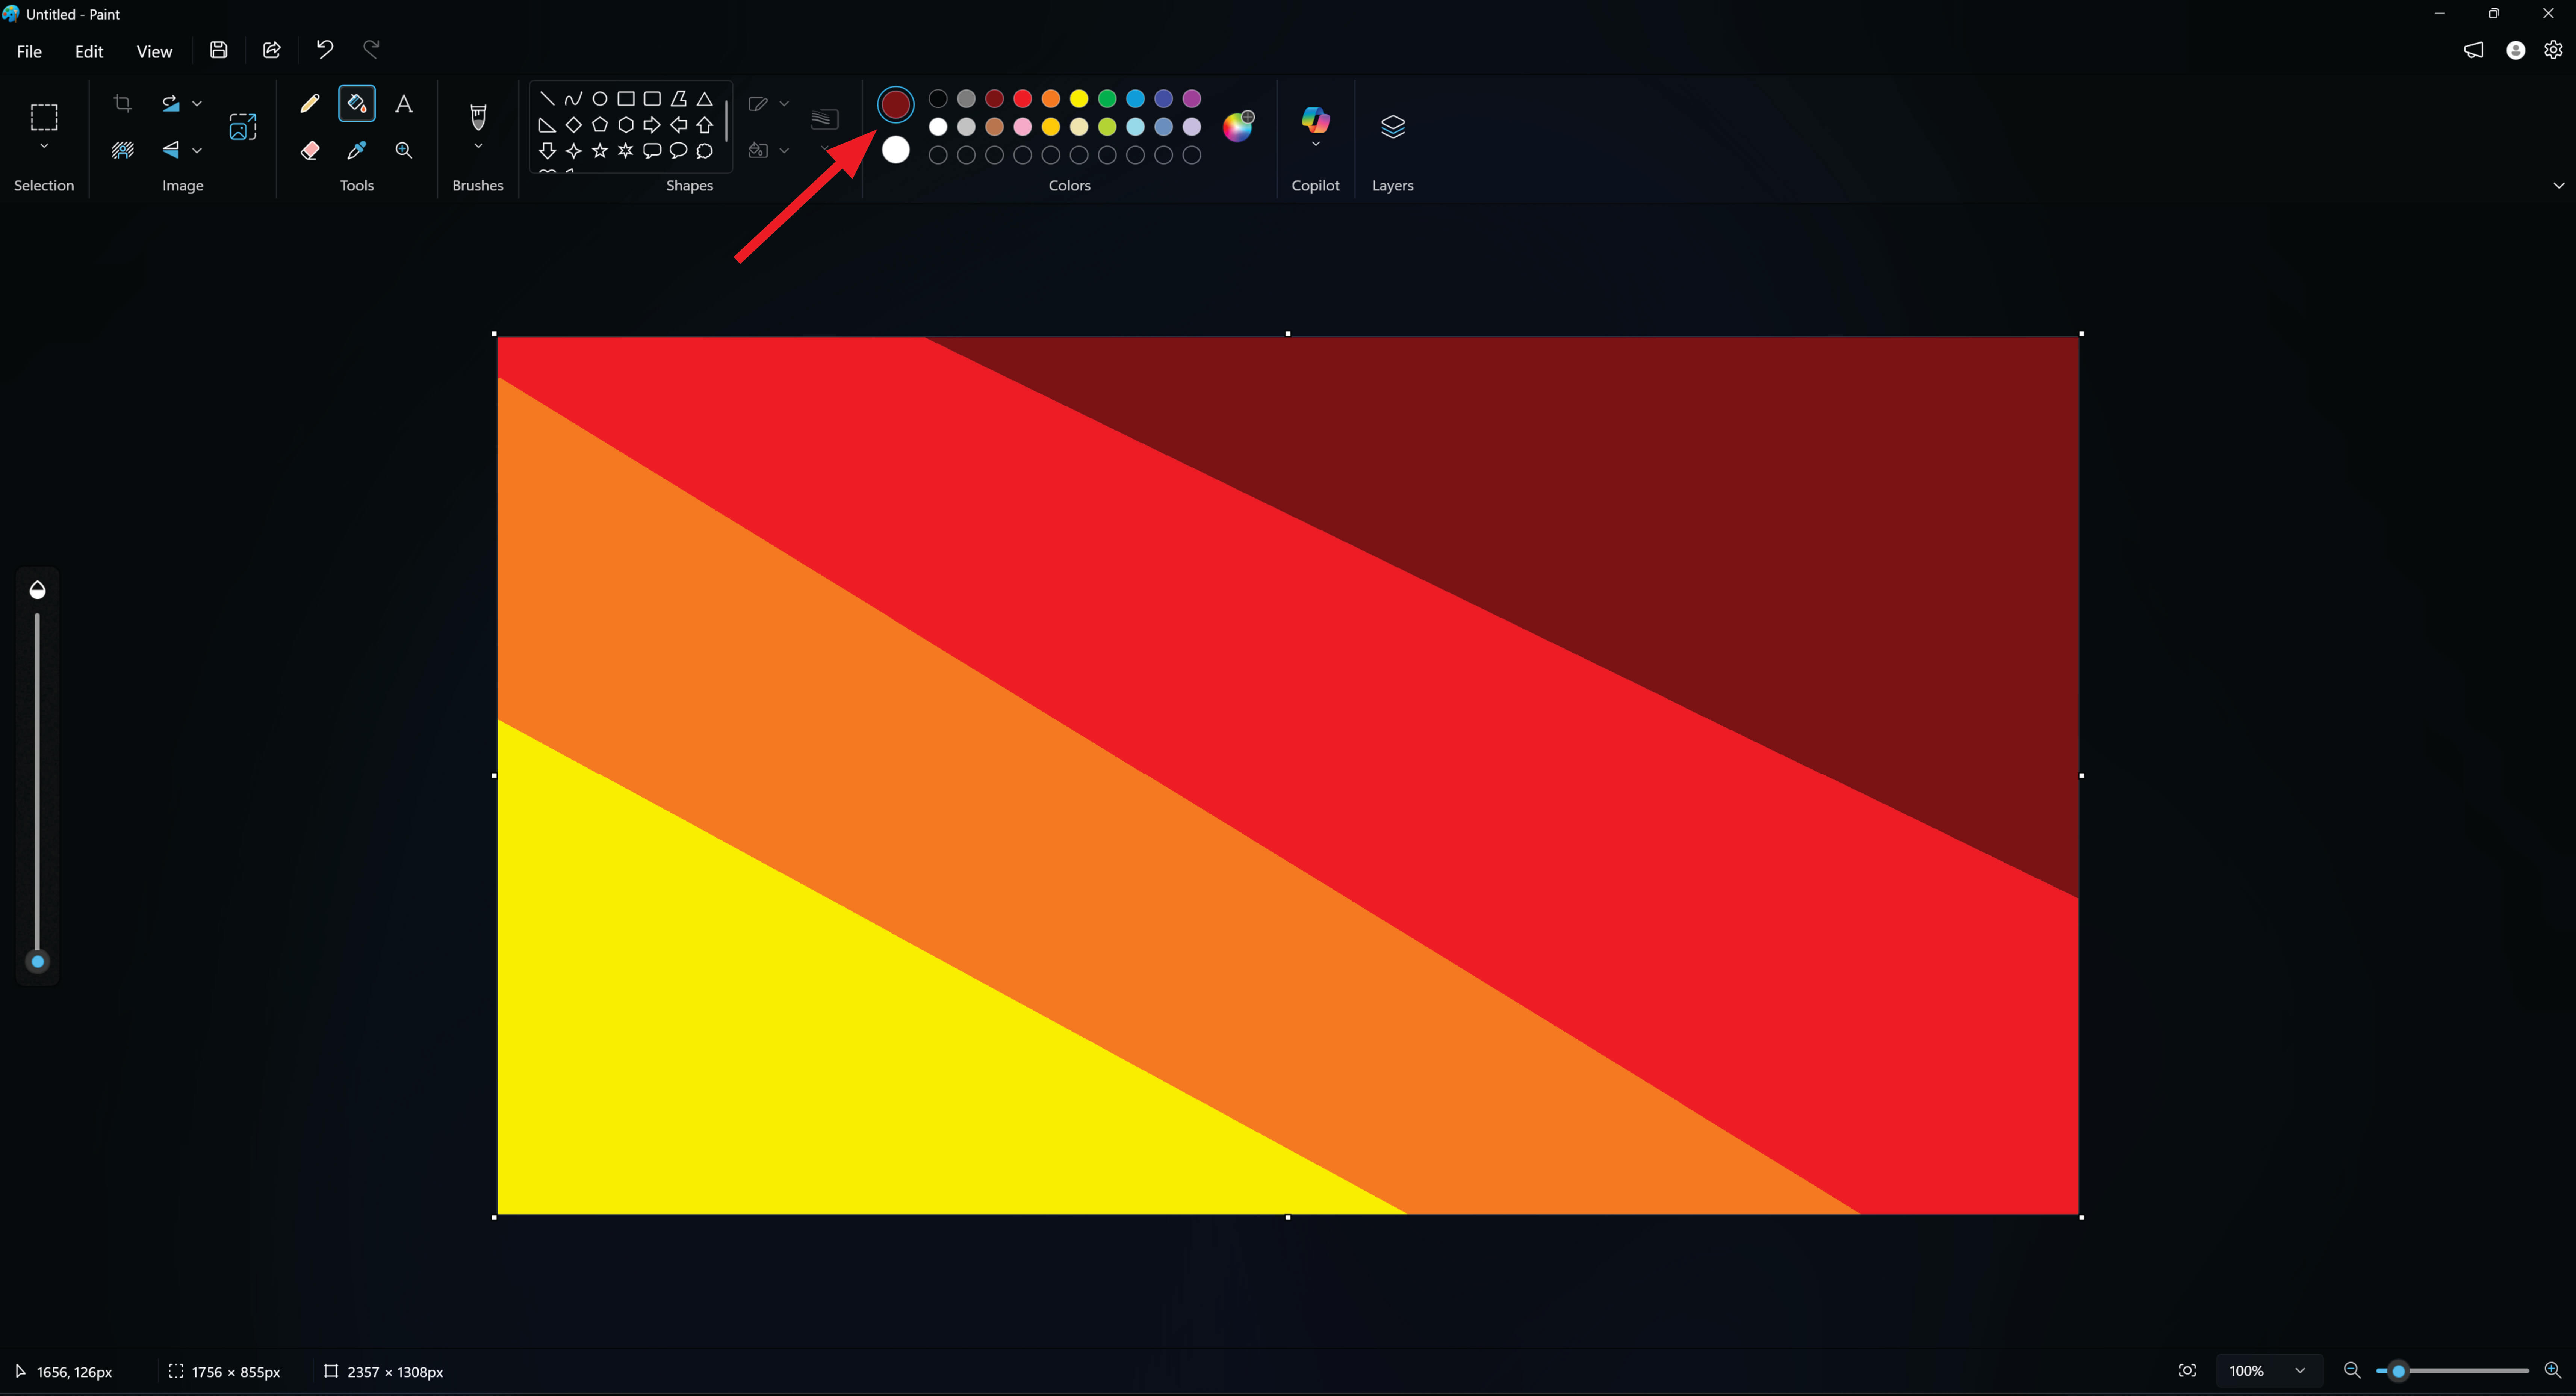
After coloring the initial area, the remaining sections of the canvas were filled with dark red to complete the background
The next step involves modifying the sunset background using the resize and skew tools to enhance its composition.
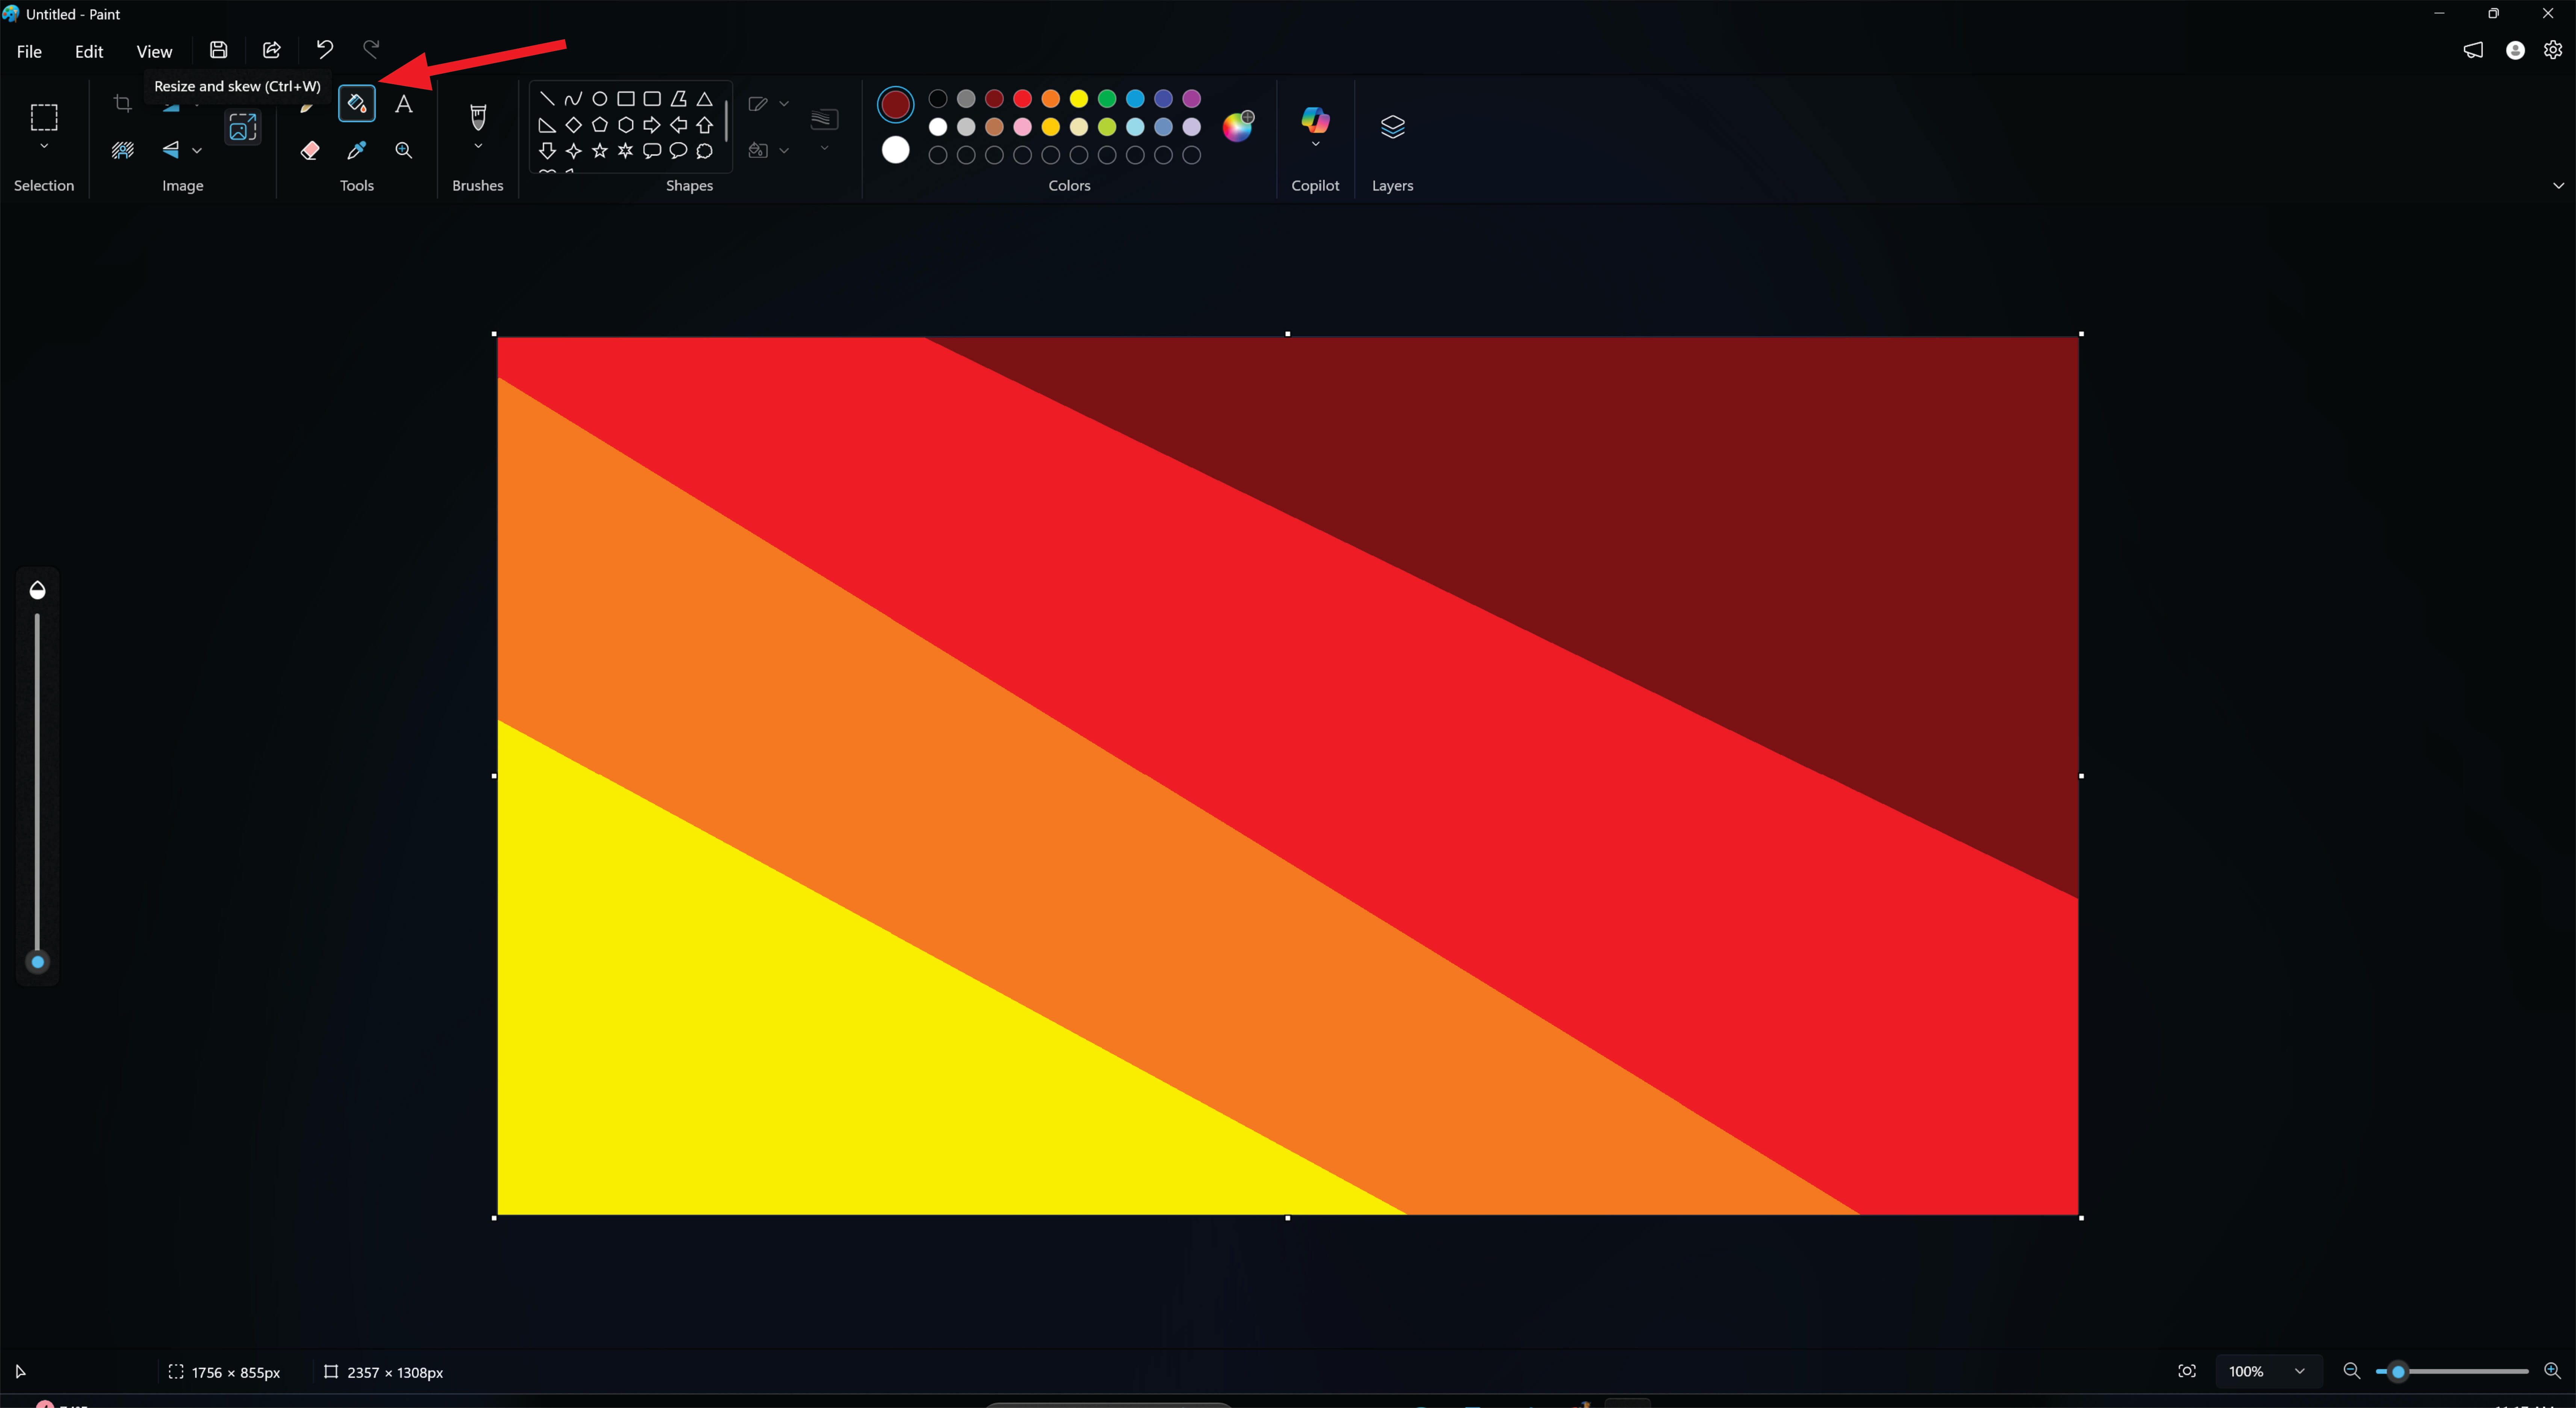
click to resize and skew After select pixel and make horizontal line 1 instead of size of horizontal artboard size And click enter
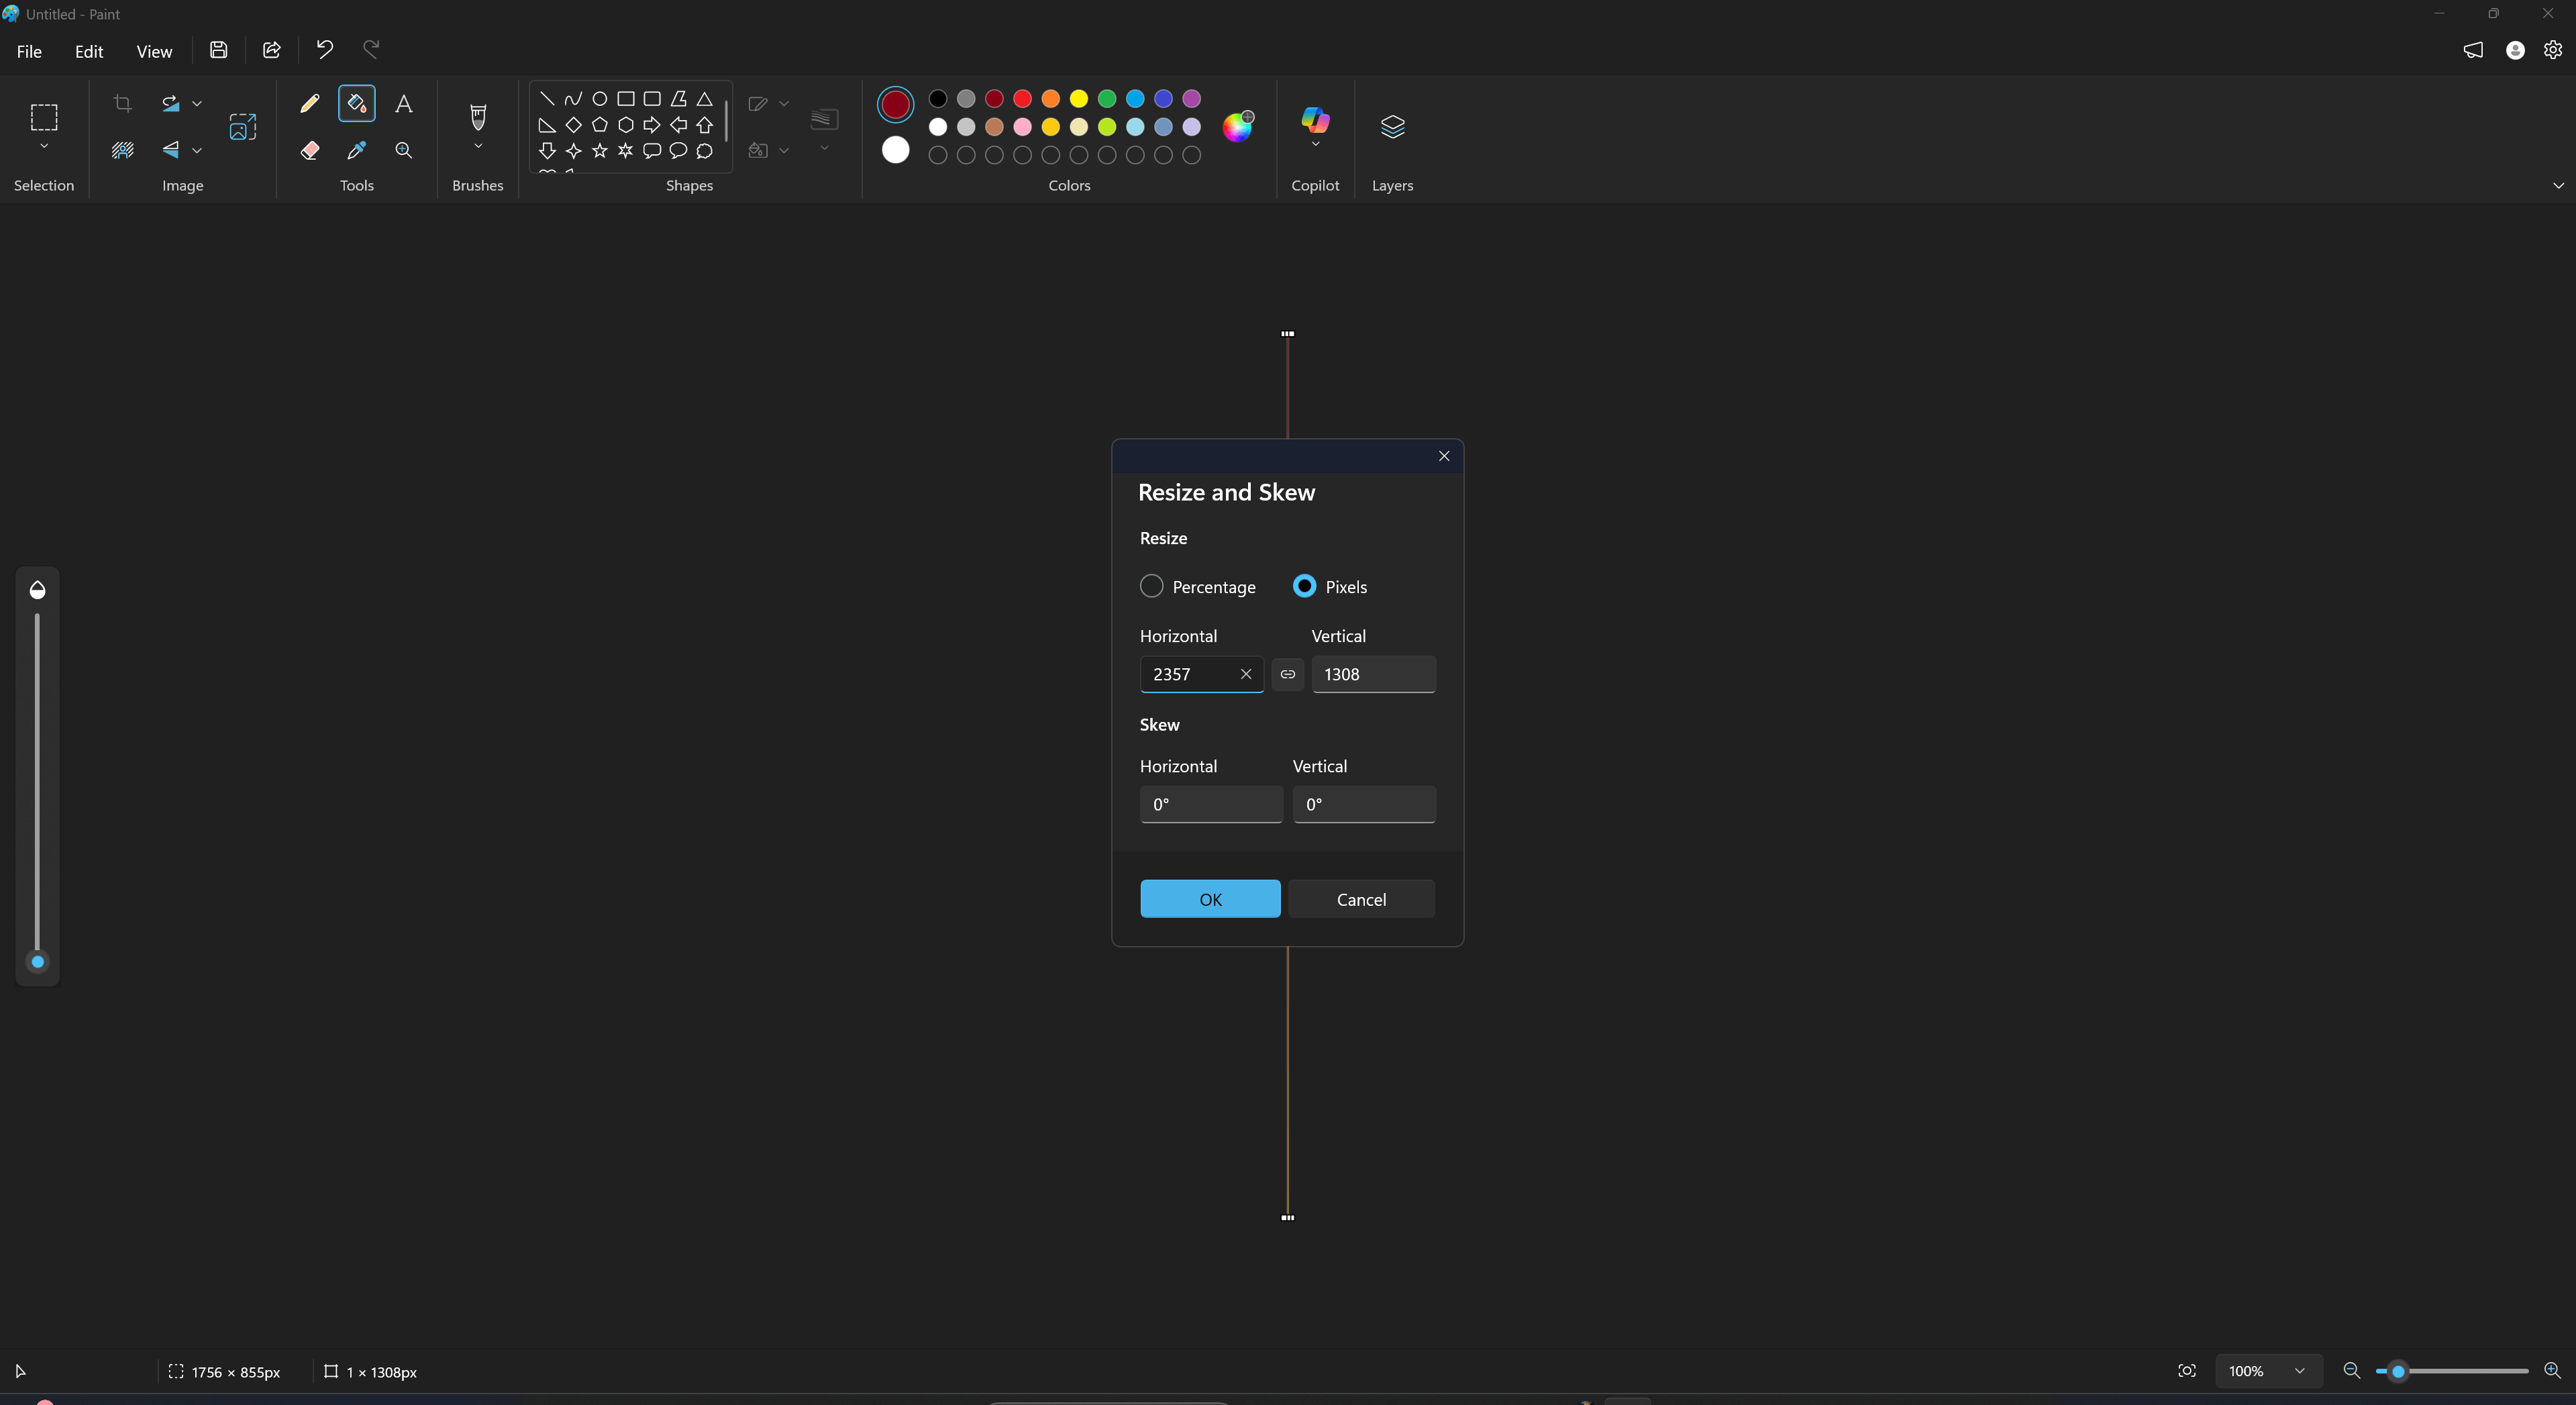
Next step is to select again pixel and reset size of horizontal instead of 1 and click enter already it will change into sunset background
The sunset was already set.
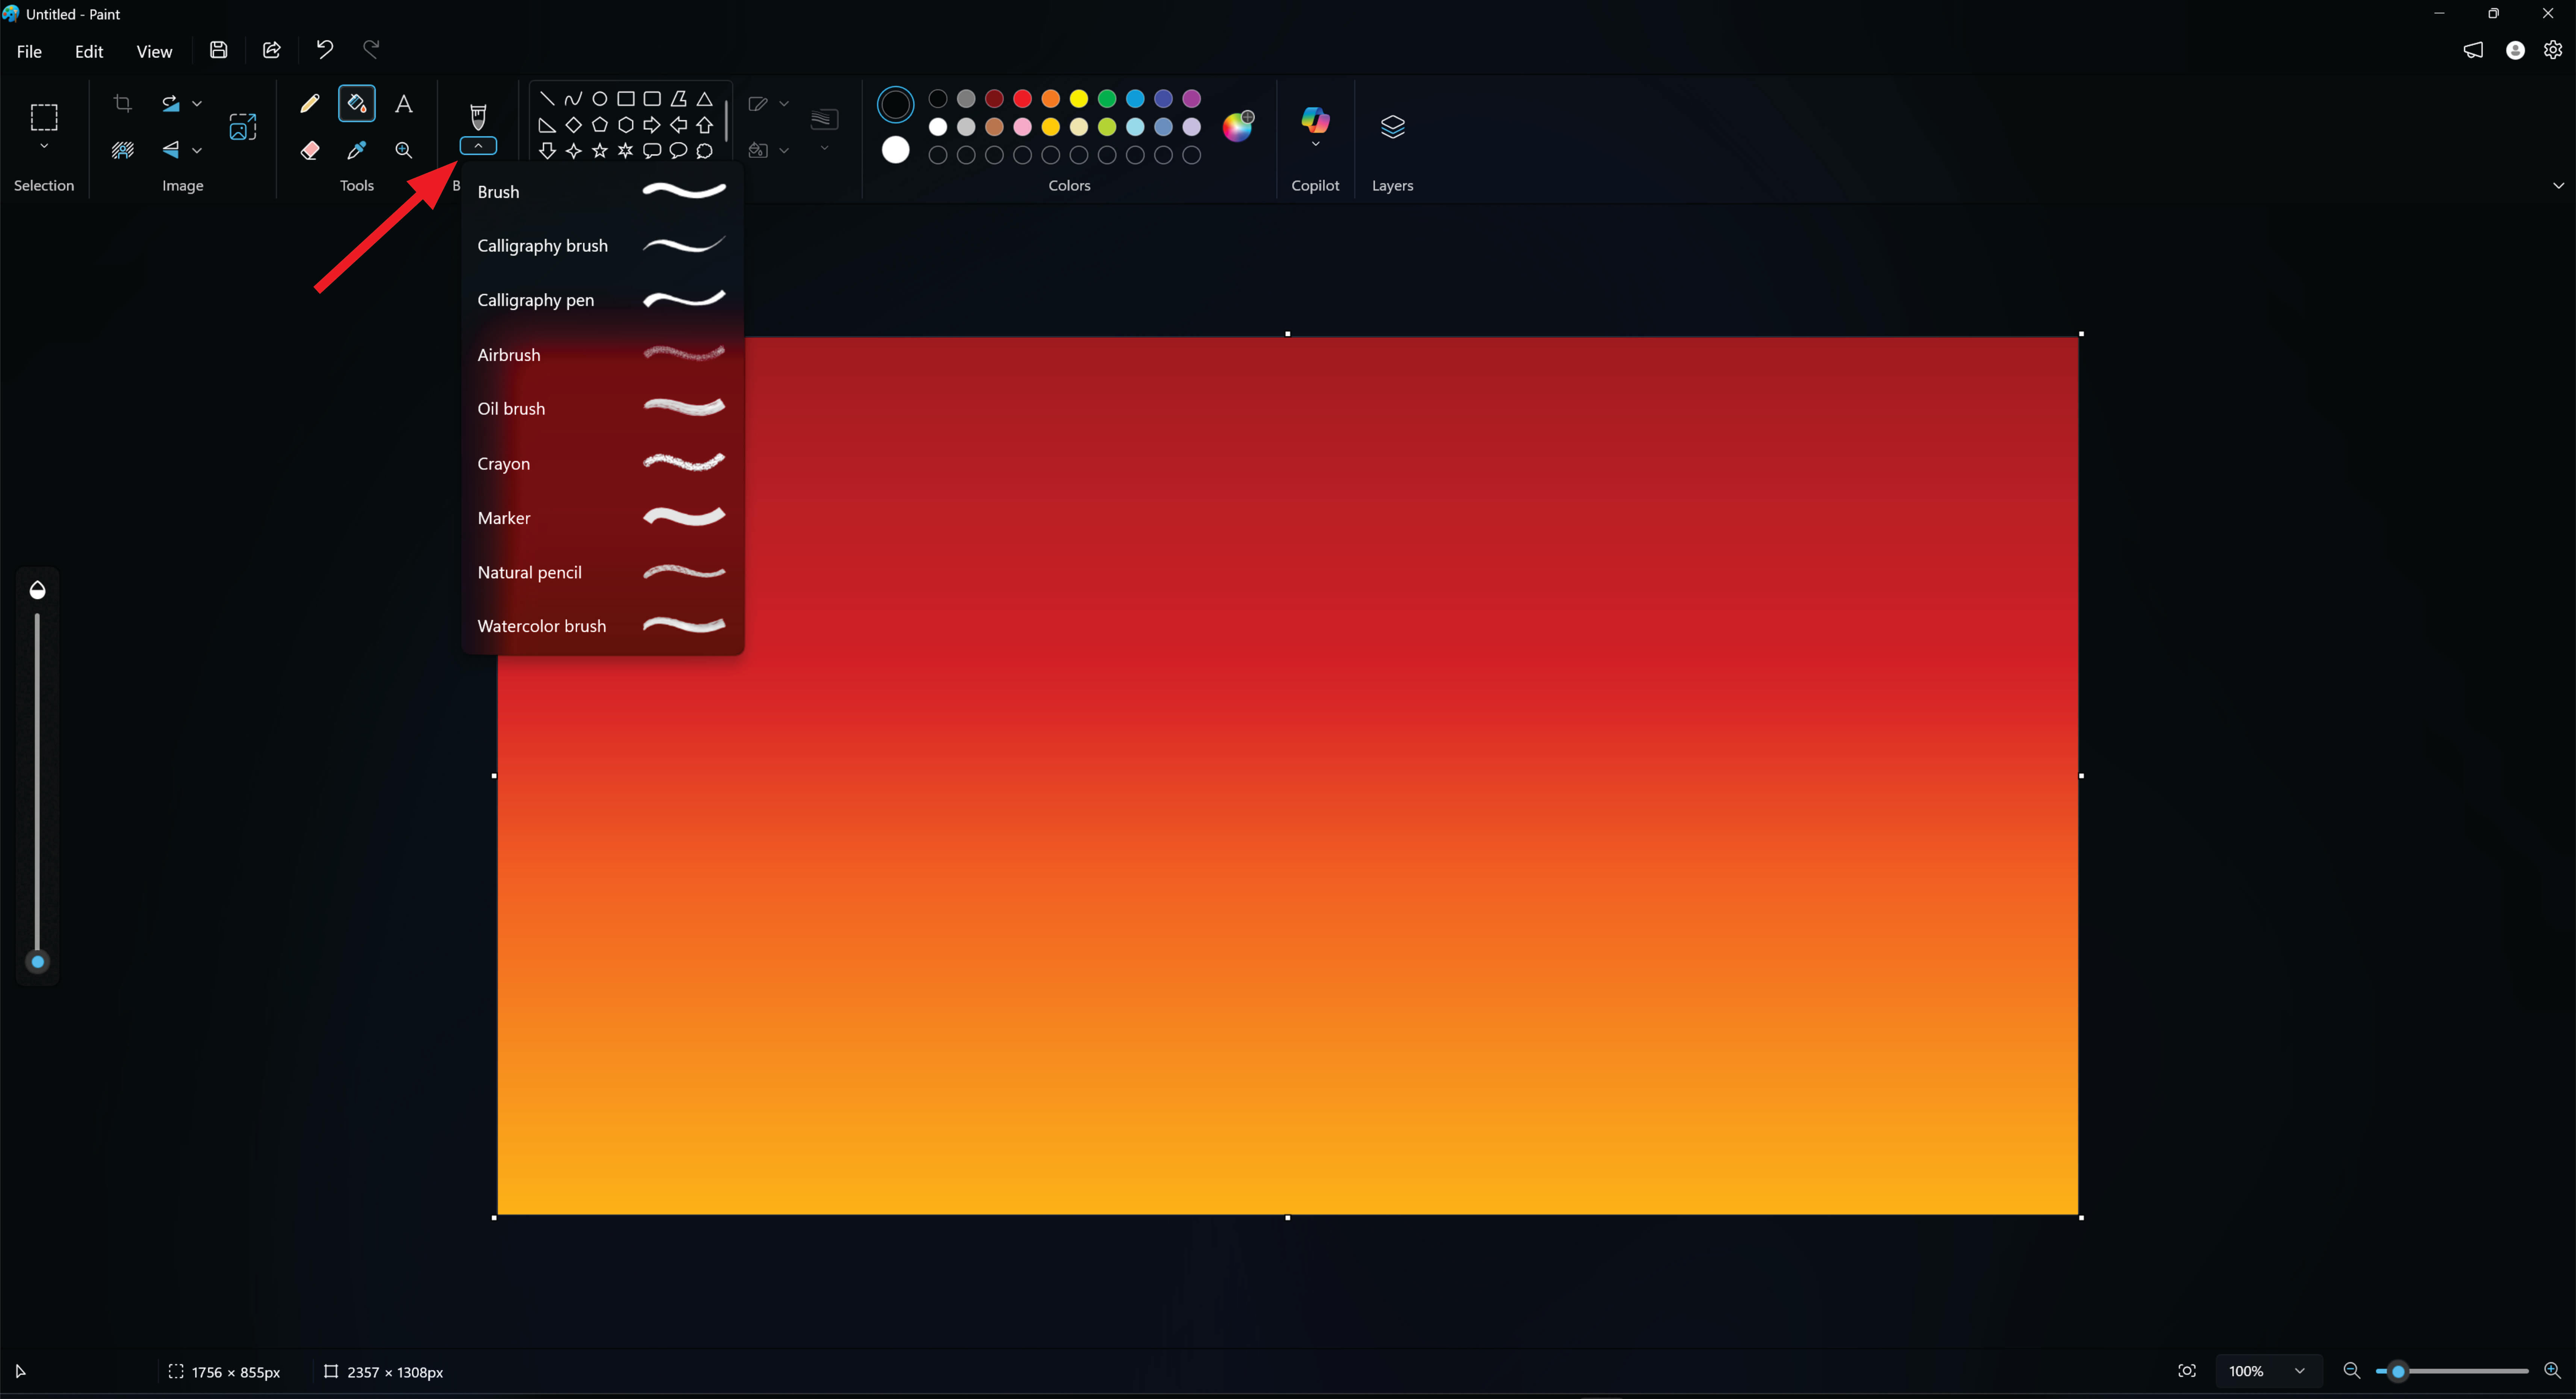
next step is to sketch mountain and tree.
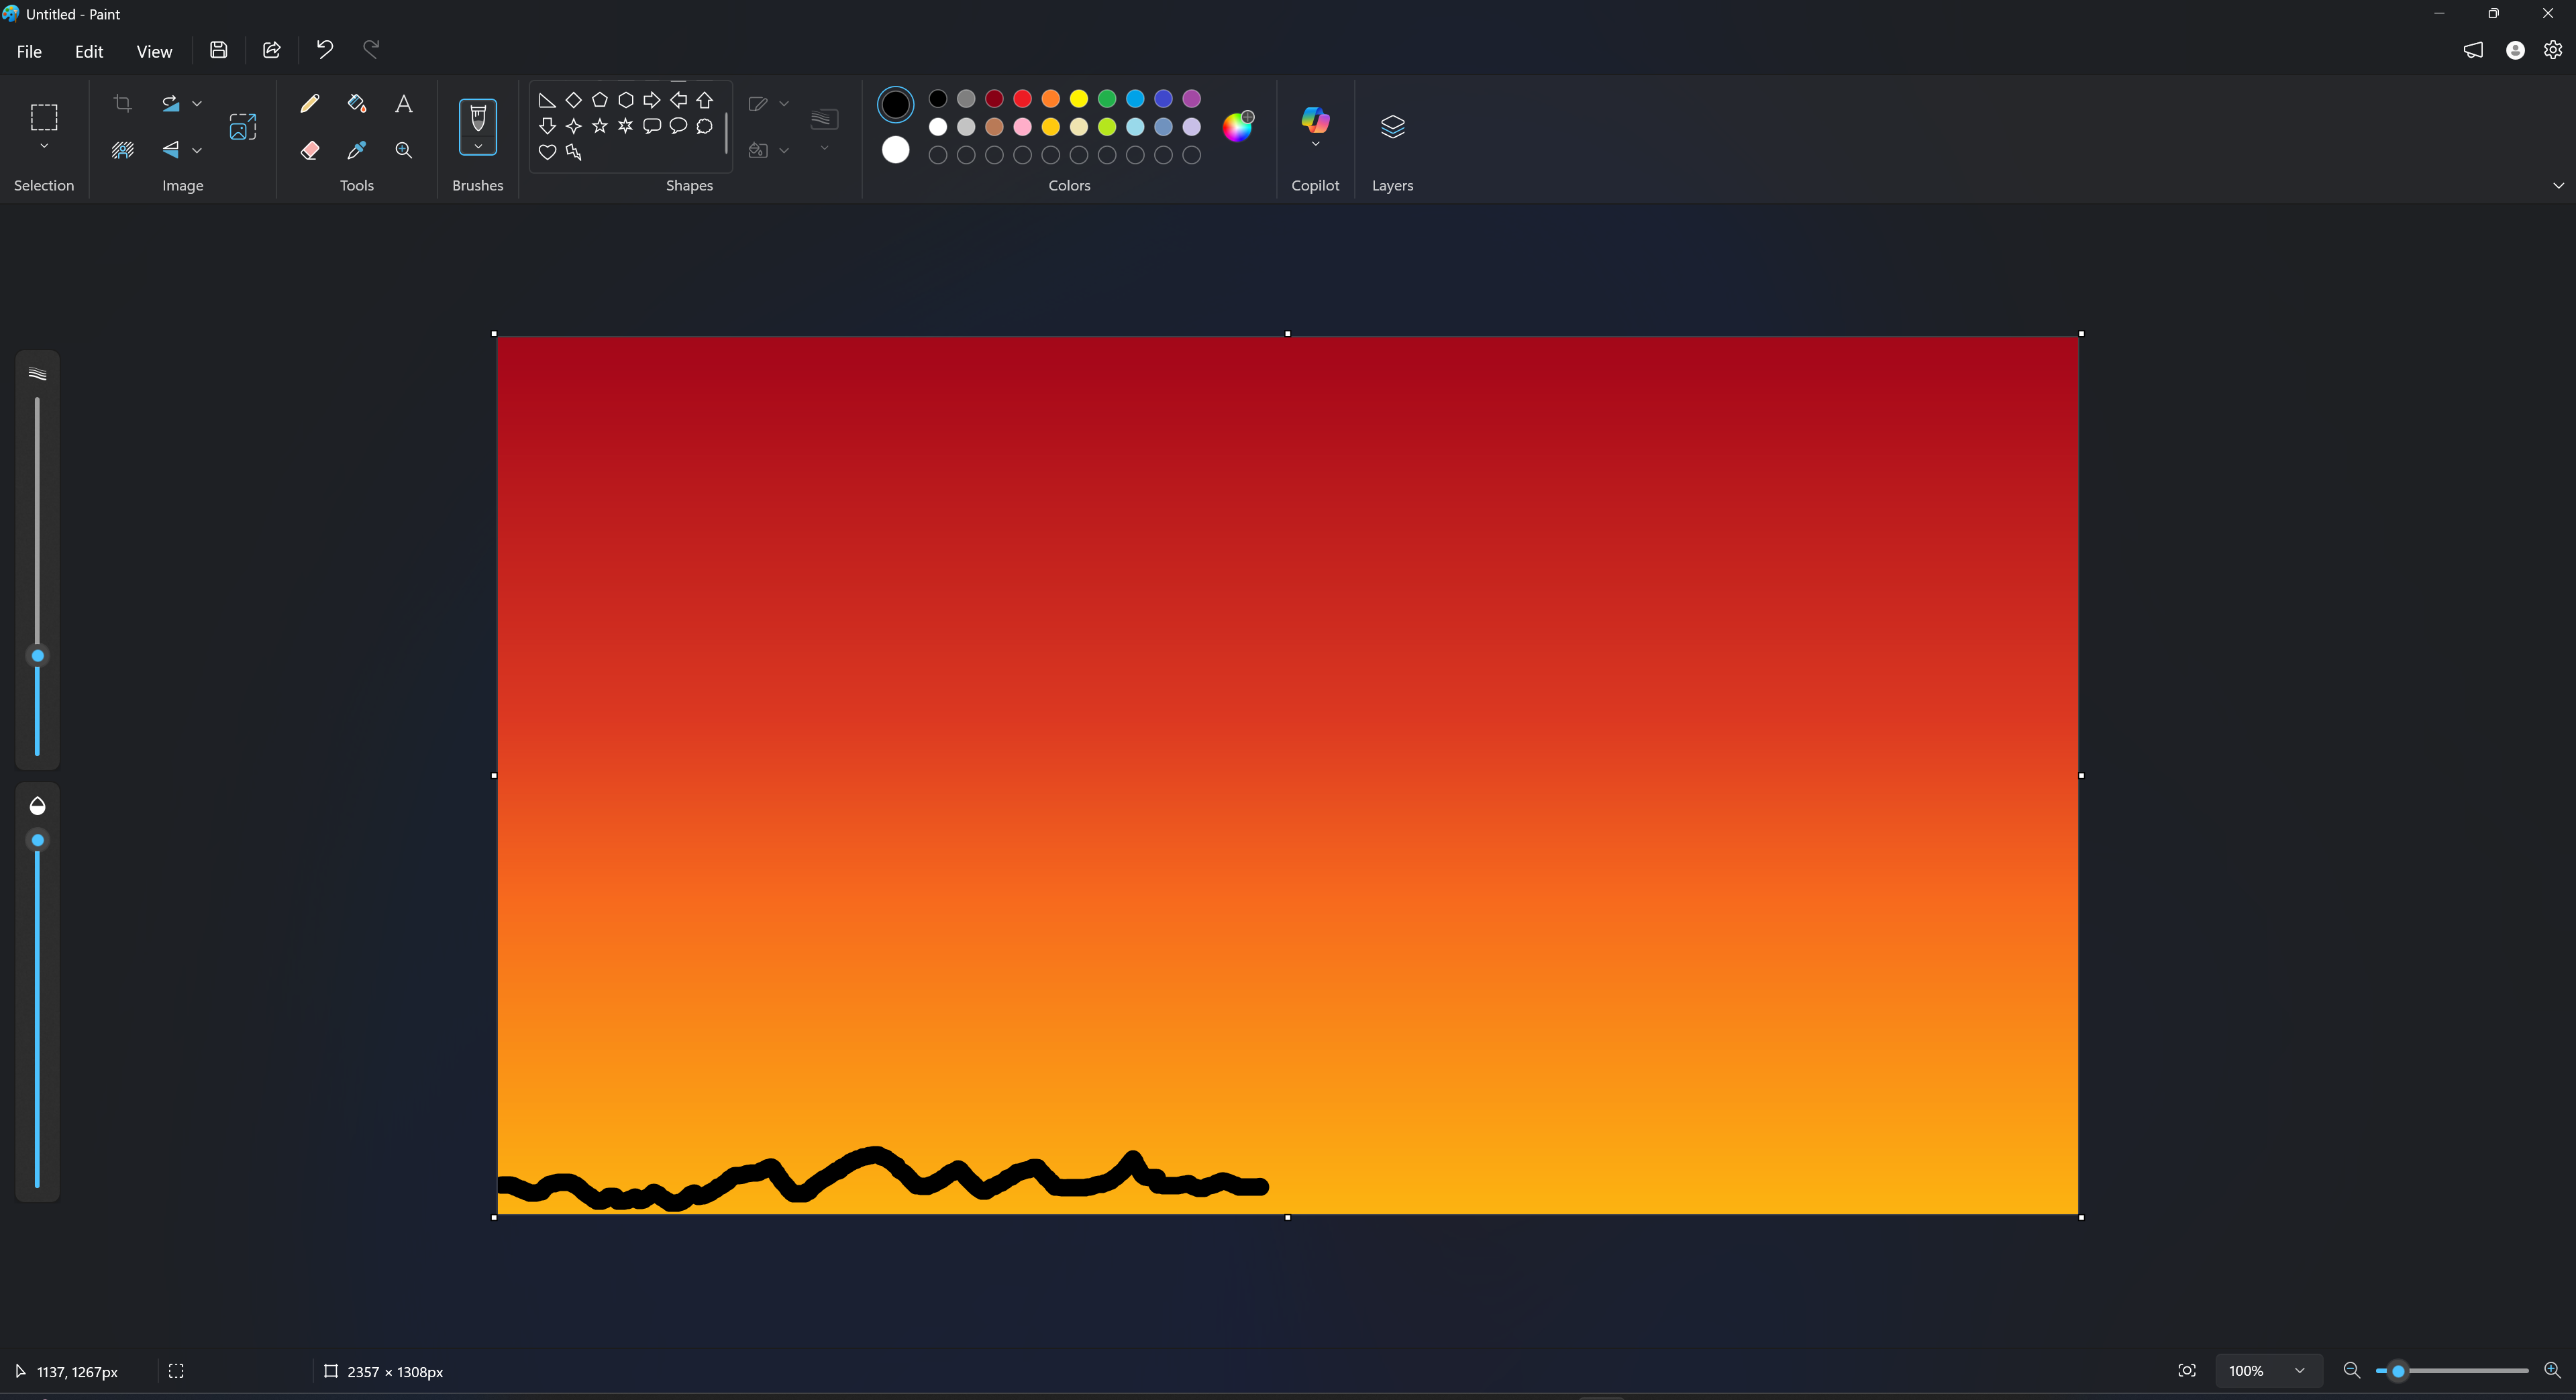
To make it we select brush tool and fill black color
start sketch the mountain
Next, I started to sketch the tree using the brush and pencil tools, beginning with the trunk and main branches.
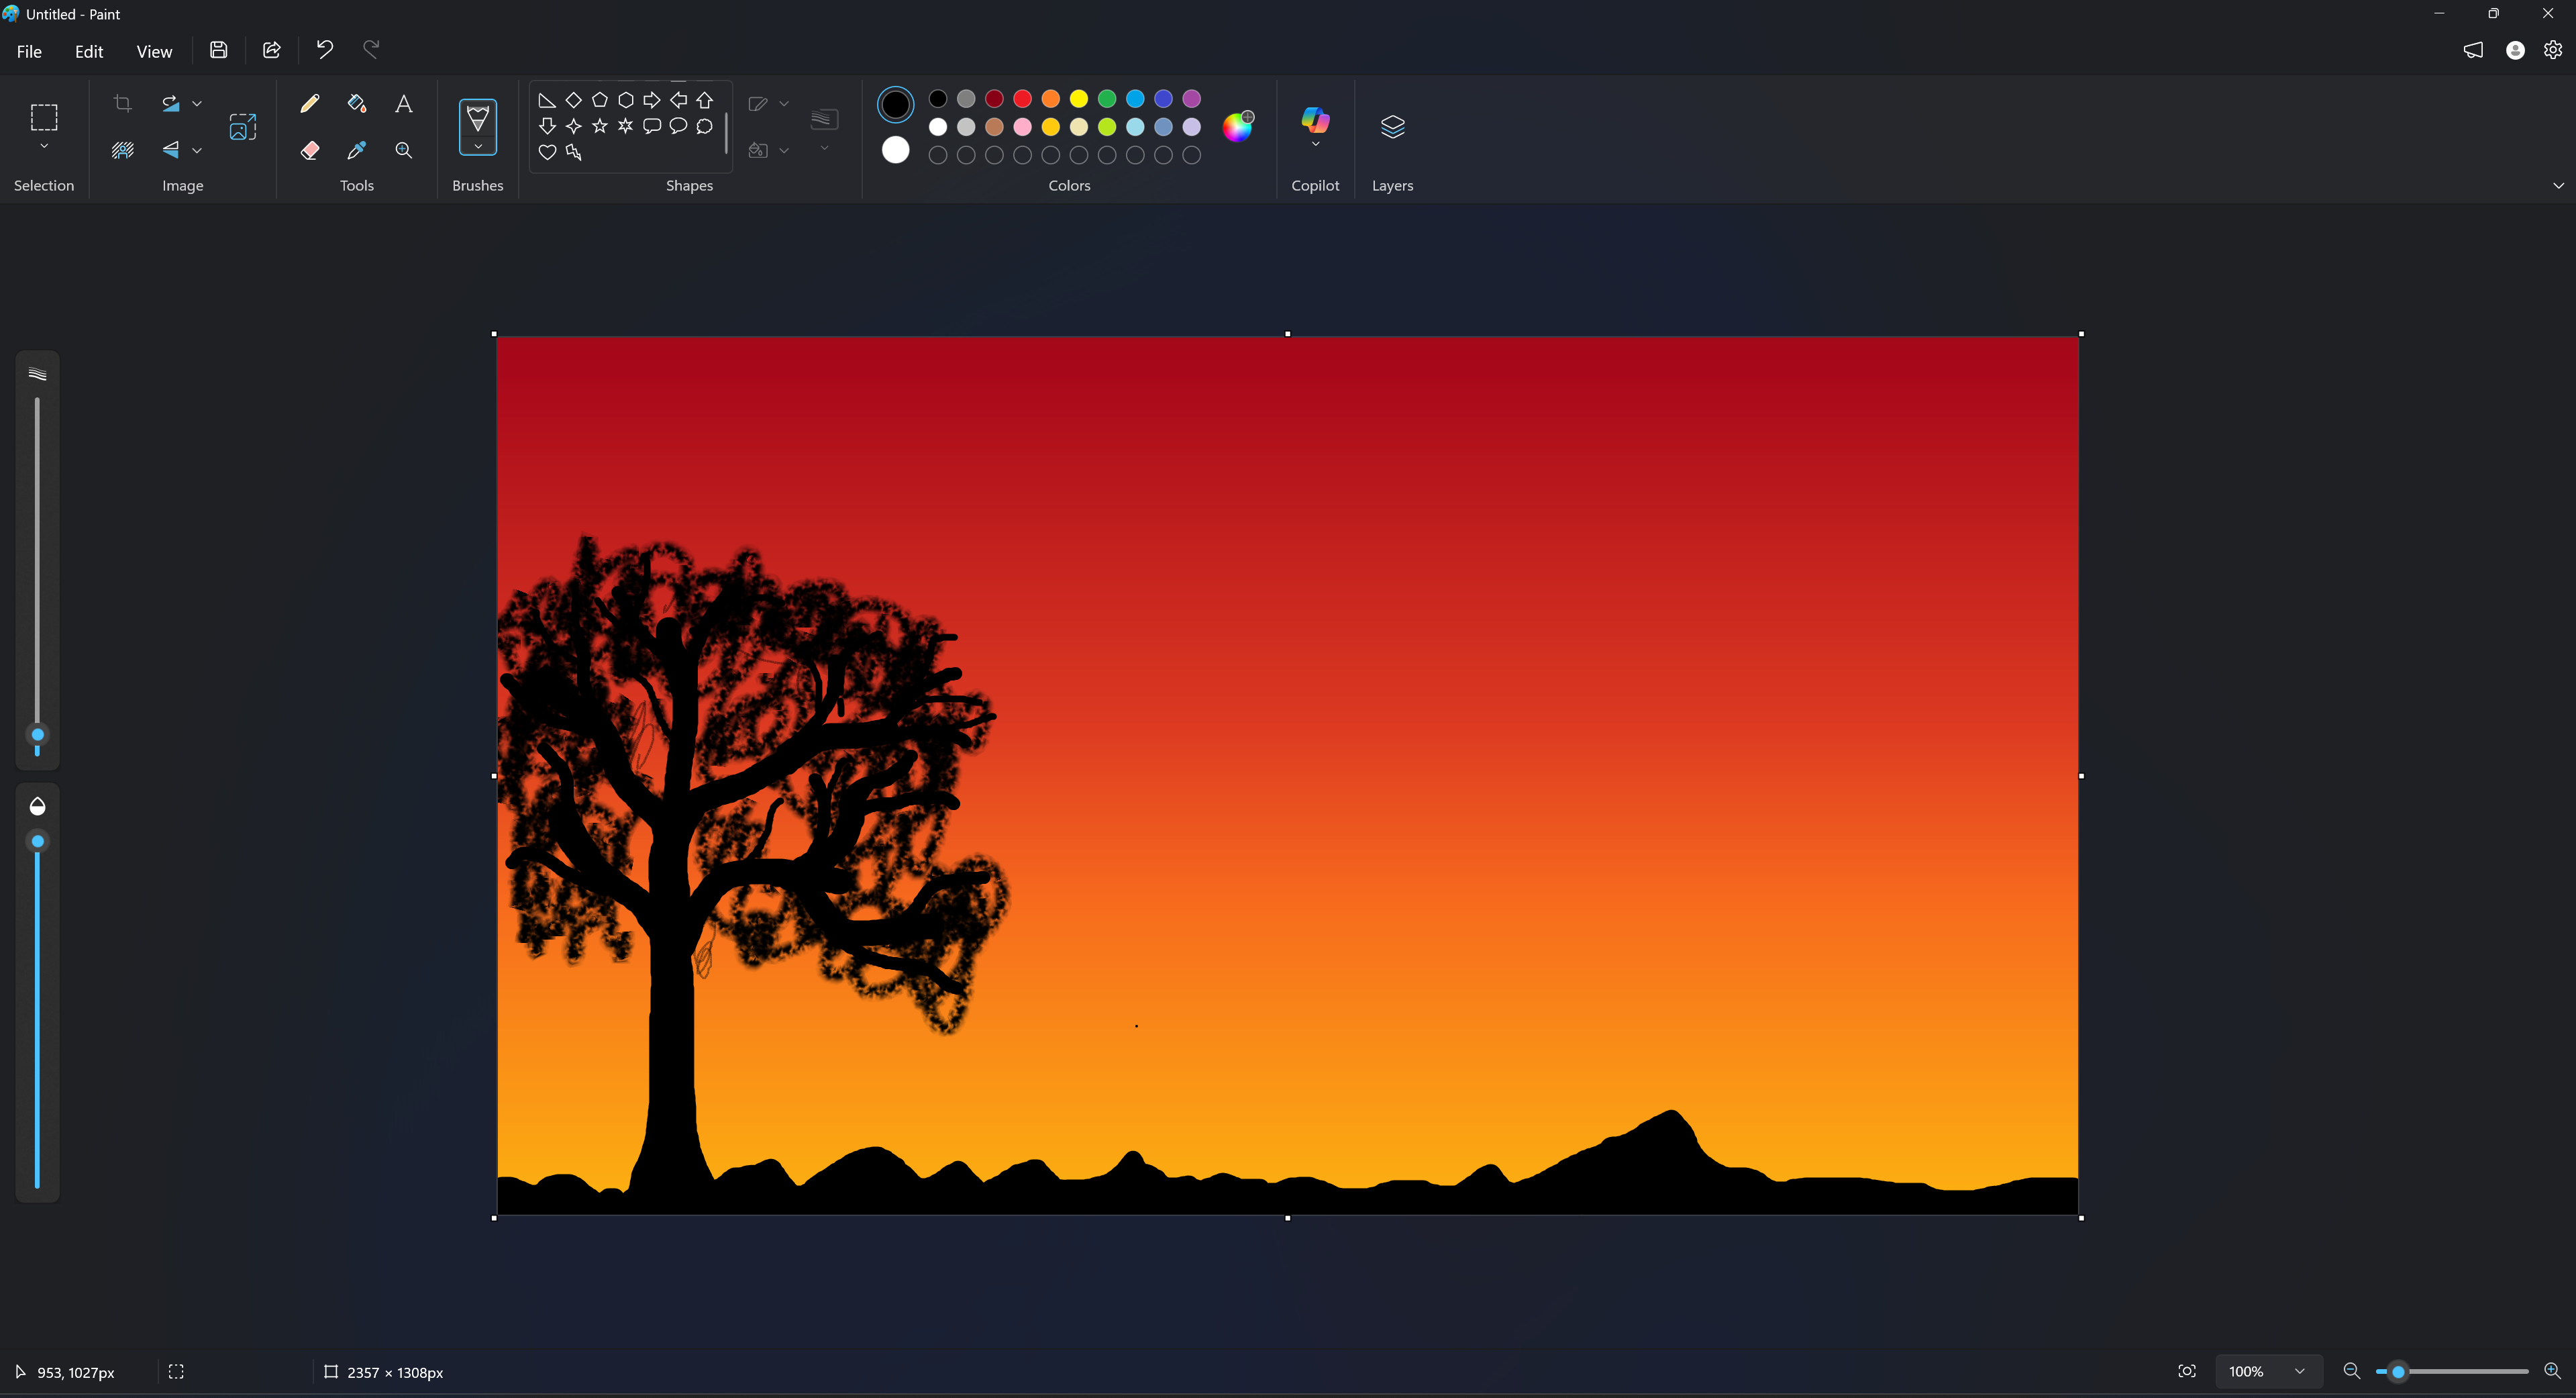
I switched the brush to a crayon brush to draw the leaves with more precision
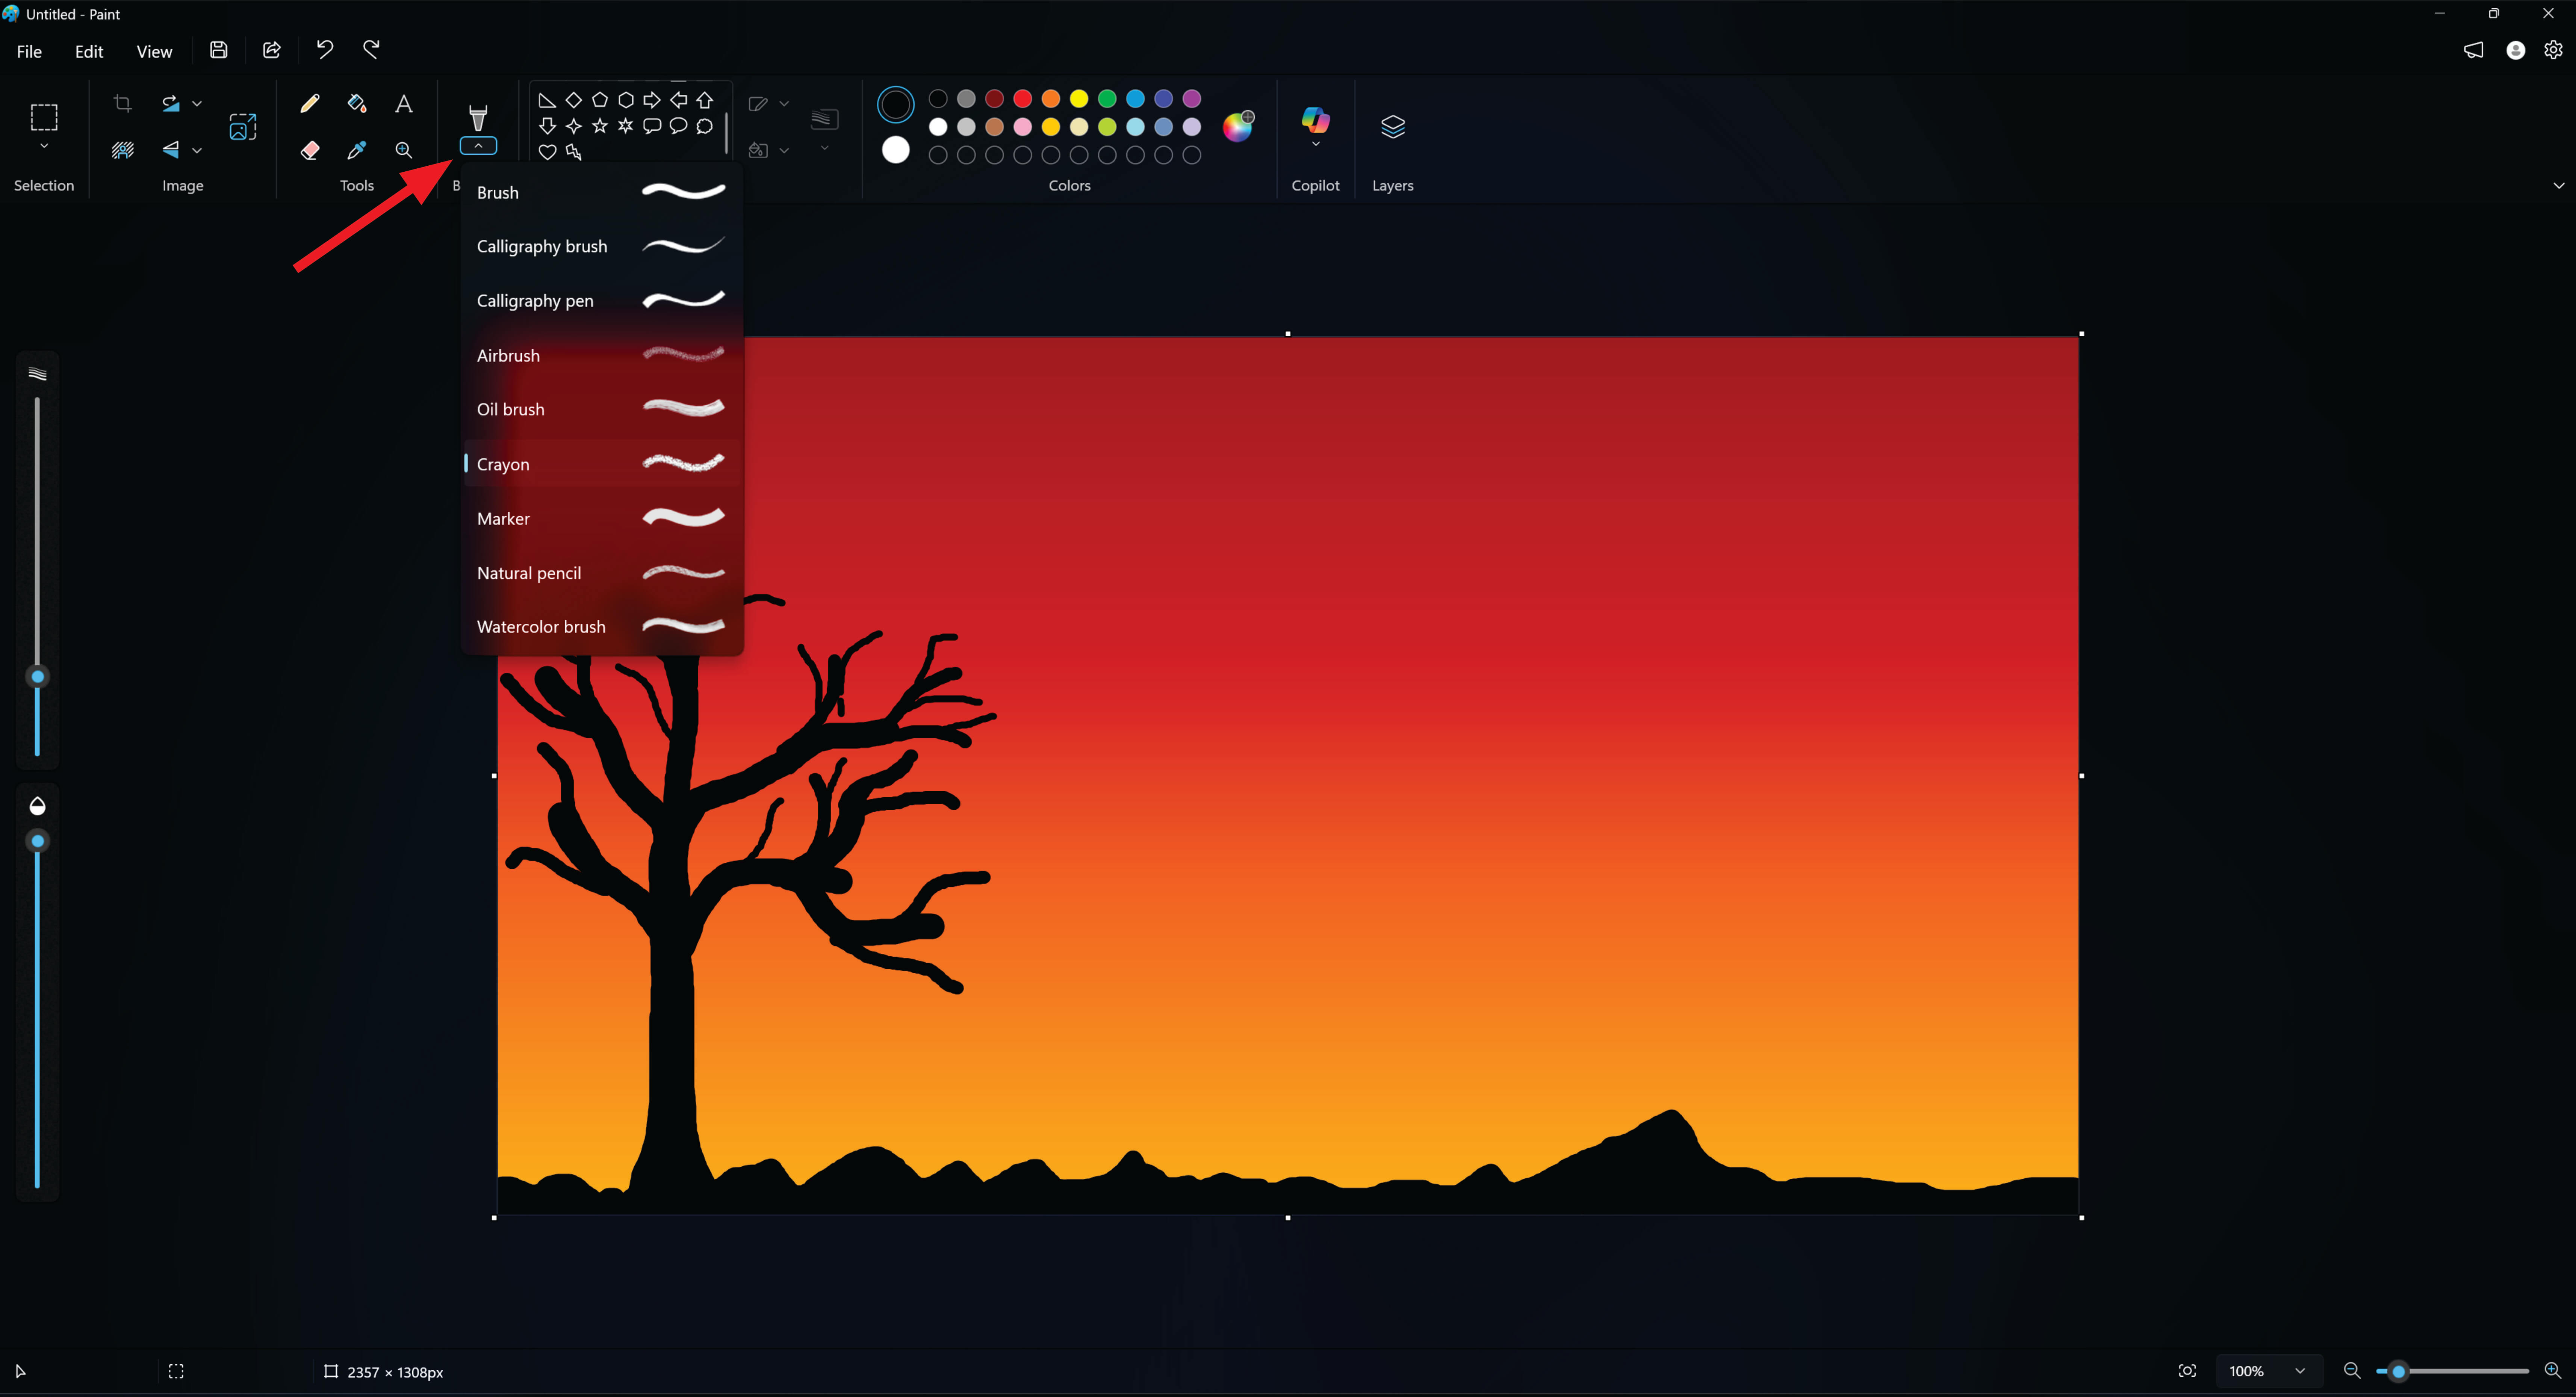
I used the crayon brush tool to draw the leaves on the tree with small strokes for detail.
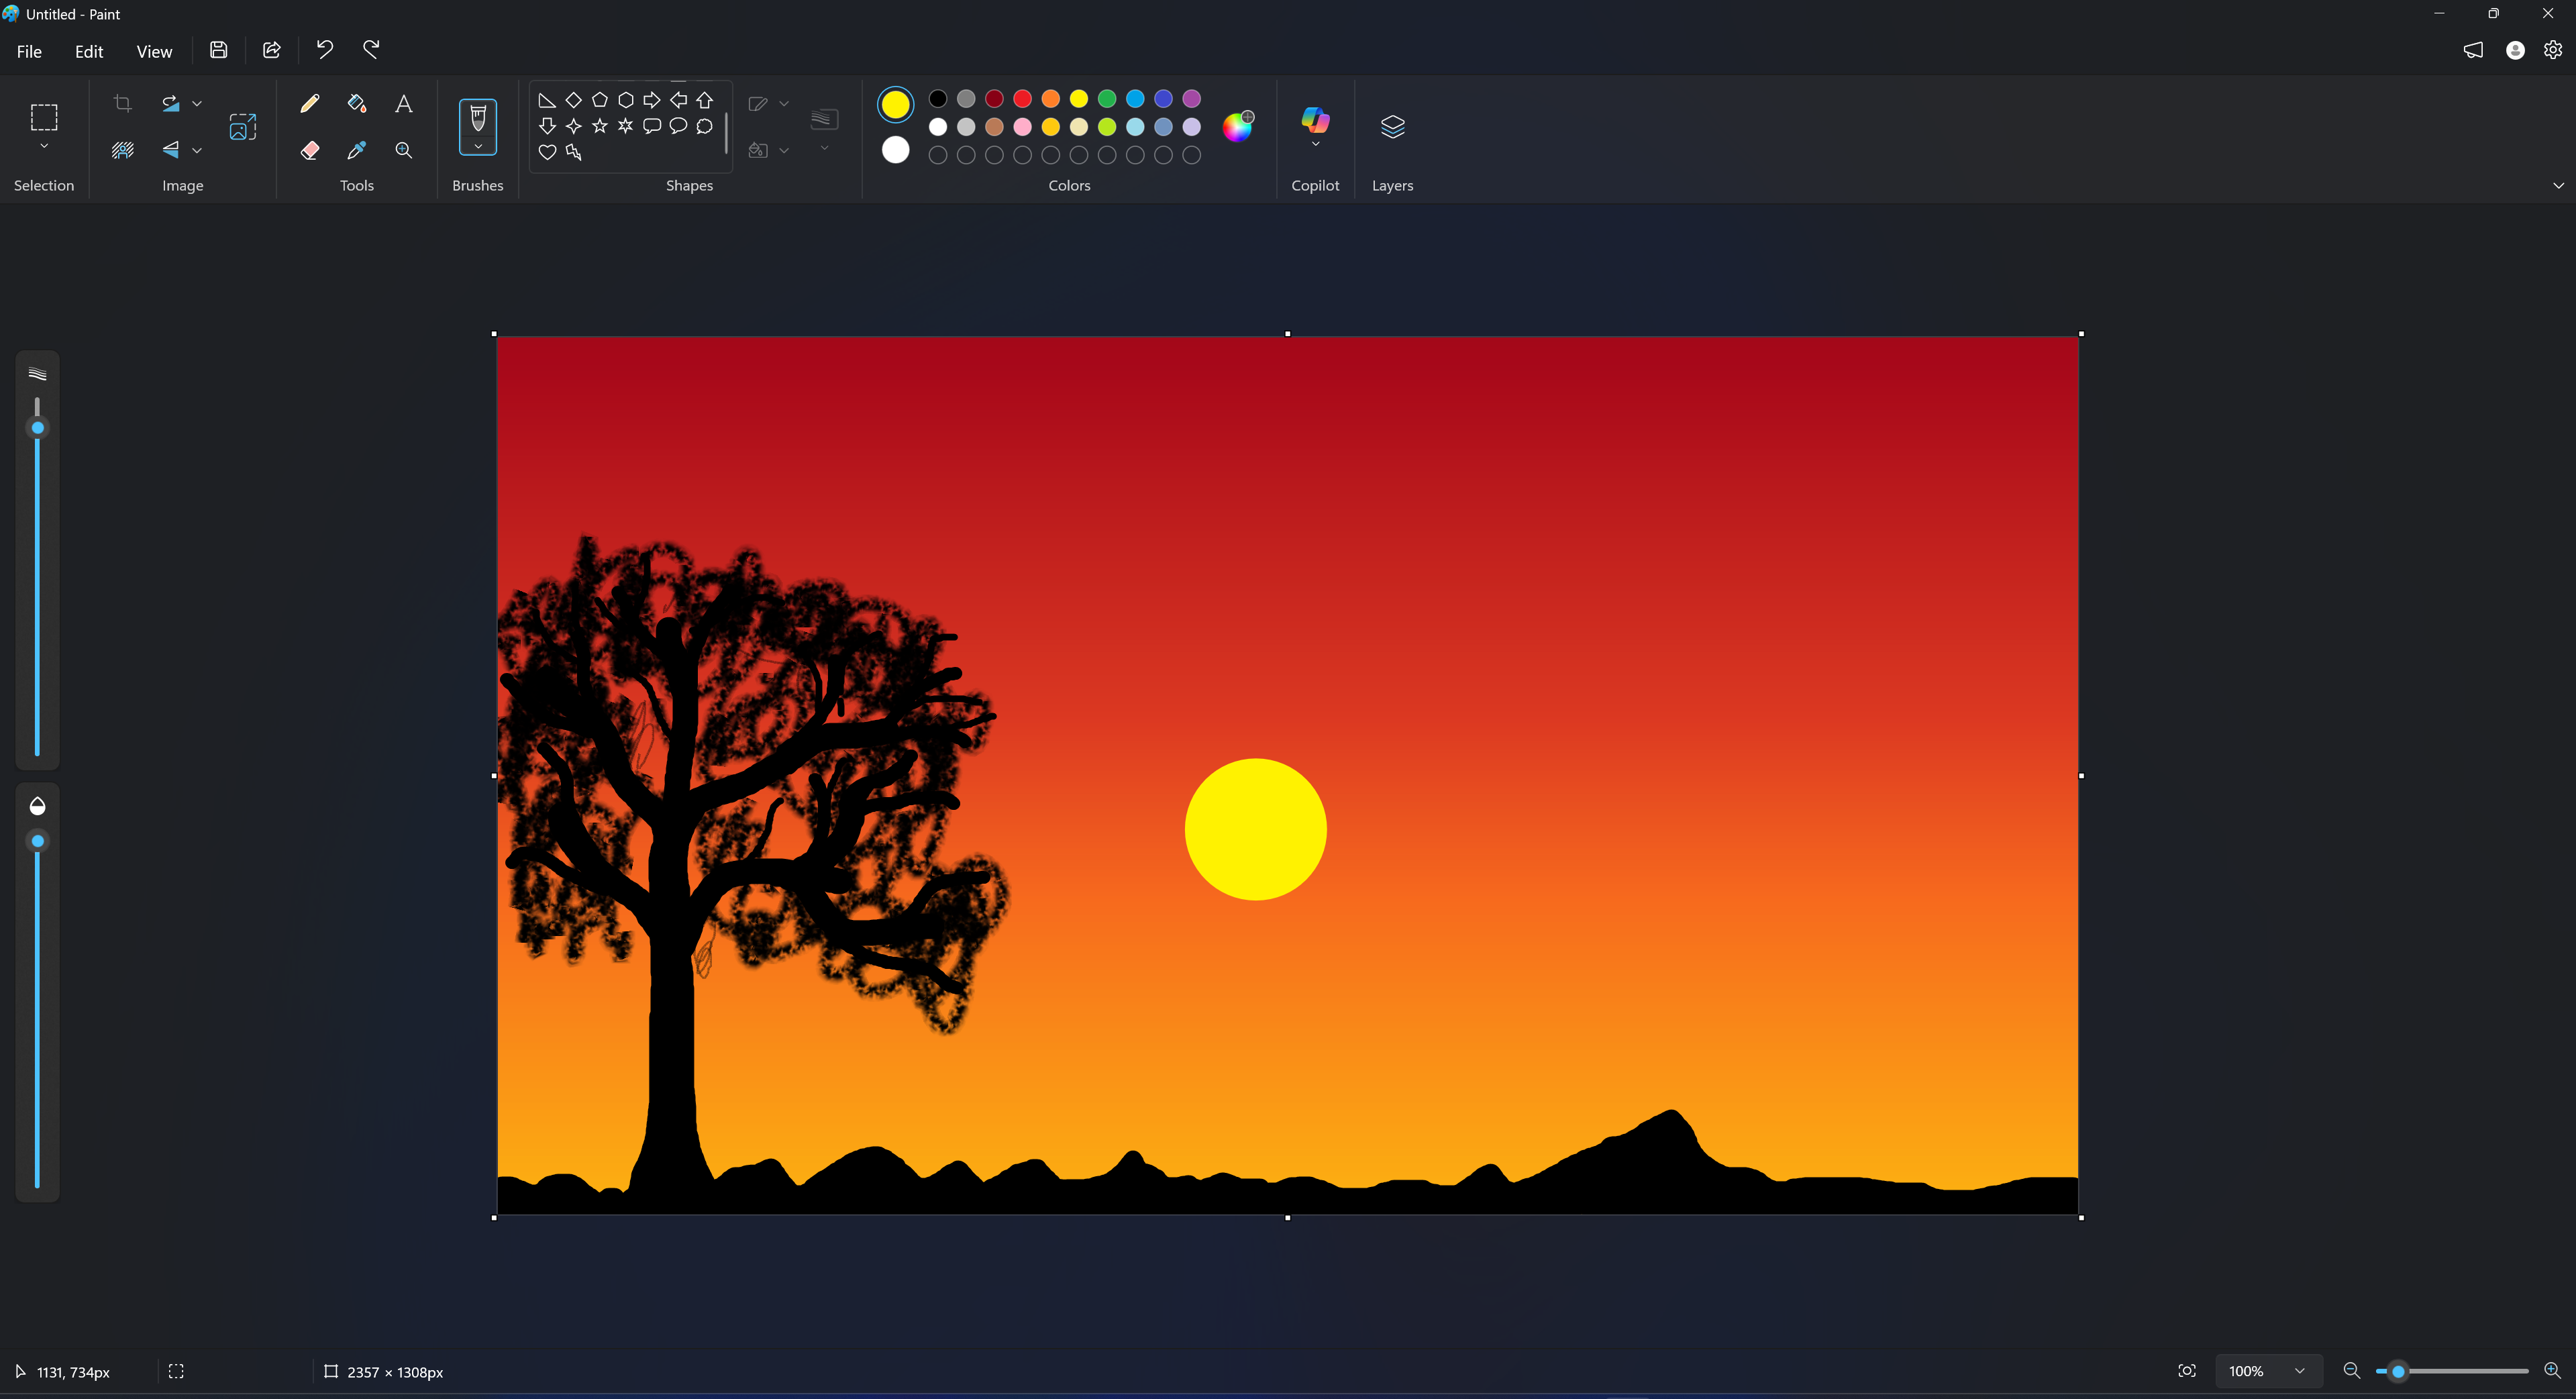
Next, I sketched the sun using the brush, placing it on artboard filling it with bright yellow to represent sunlight you can adjust the brush size
Next, I added birds to the scene using the brush and pencil tools, drawing simple “V” shapes to represent flying birds

What I Learned:Through this exercise, I learned how to use Microsoft Paint tools such as fill, brush, pencil, shapes, resize, and skew. I also practiced creating a sunset background, sketching trees, leaves, and birds, adjusting brush sizes for detail, and enhancing the overall composition to make it look natural and dynamic.
PIXLR
PIXLR is used for editing photos, creating graphics, and designing images without installing heavy software like Photoshop. It supports both raster editing (pixel-based) and layer management, similar to Photoshop. It’s beginner-friendly and accessible on most devices because it works online
Key Features
- Crop, resize, and rotate images
- Adjust brightness, contrast, and colors
- Add text, stickers, and overlays
- Layer-based editing for advanced designs
- Supports common formats like JPG, PNG, GIF
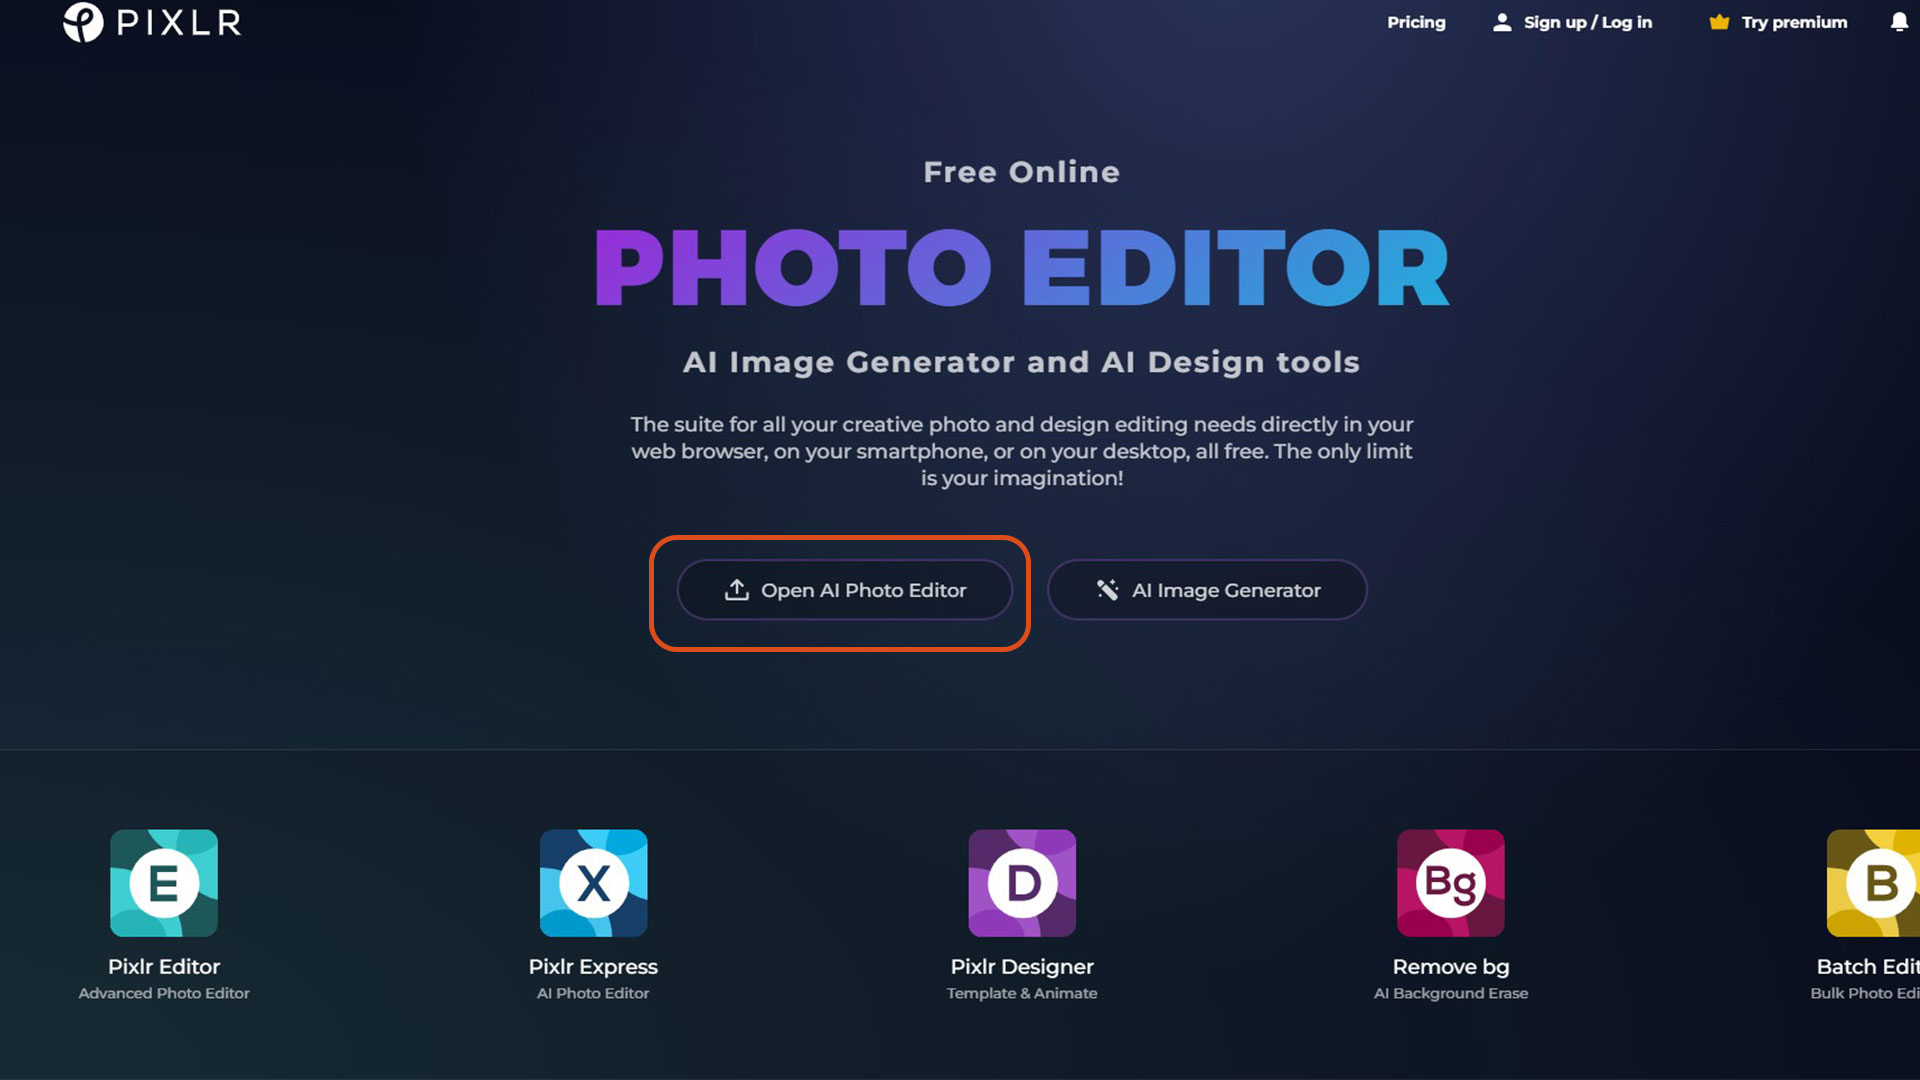
Next, I selected the highlighted “Open AI Photo Editor” option to proceed with image editing
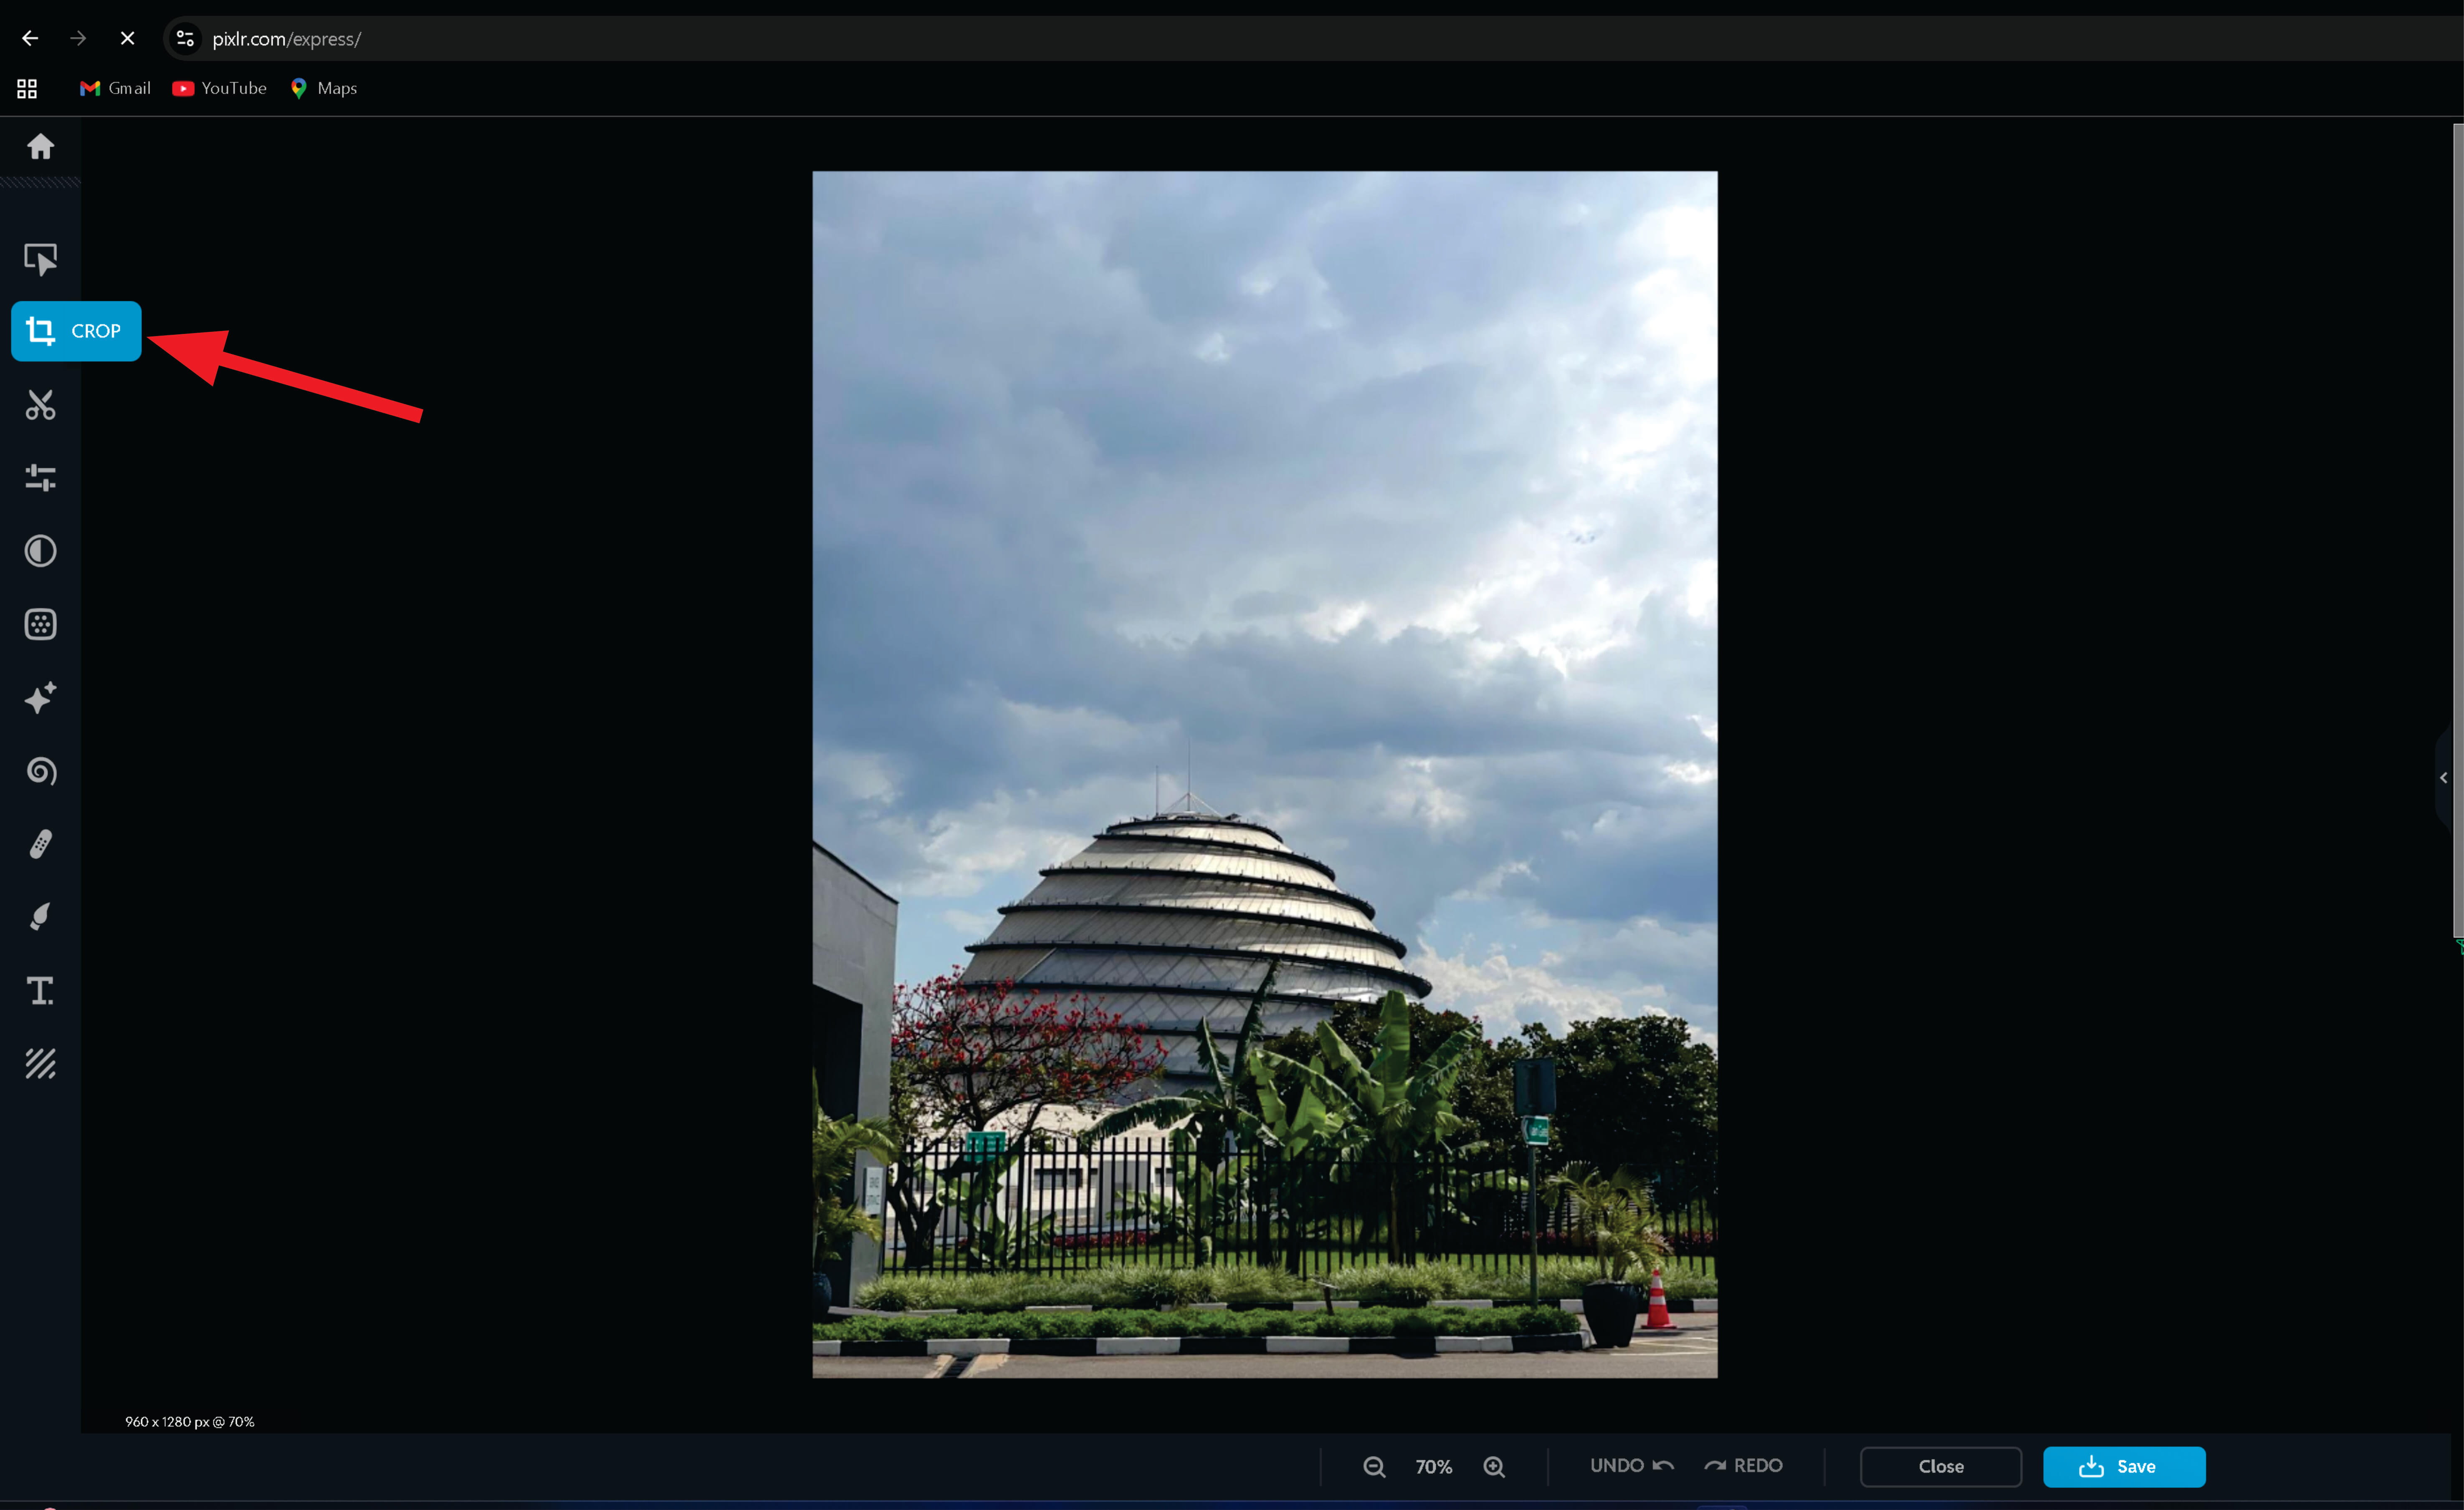
Next, I imported image and use crop tool to remove some sections
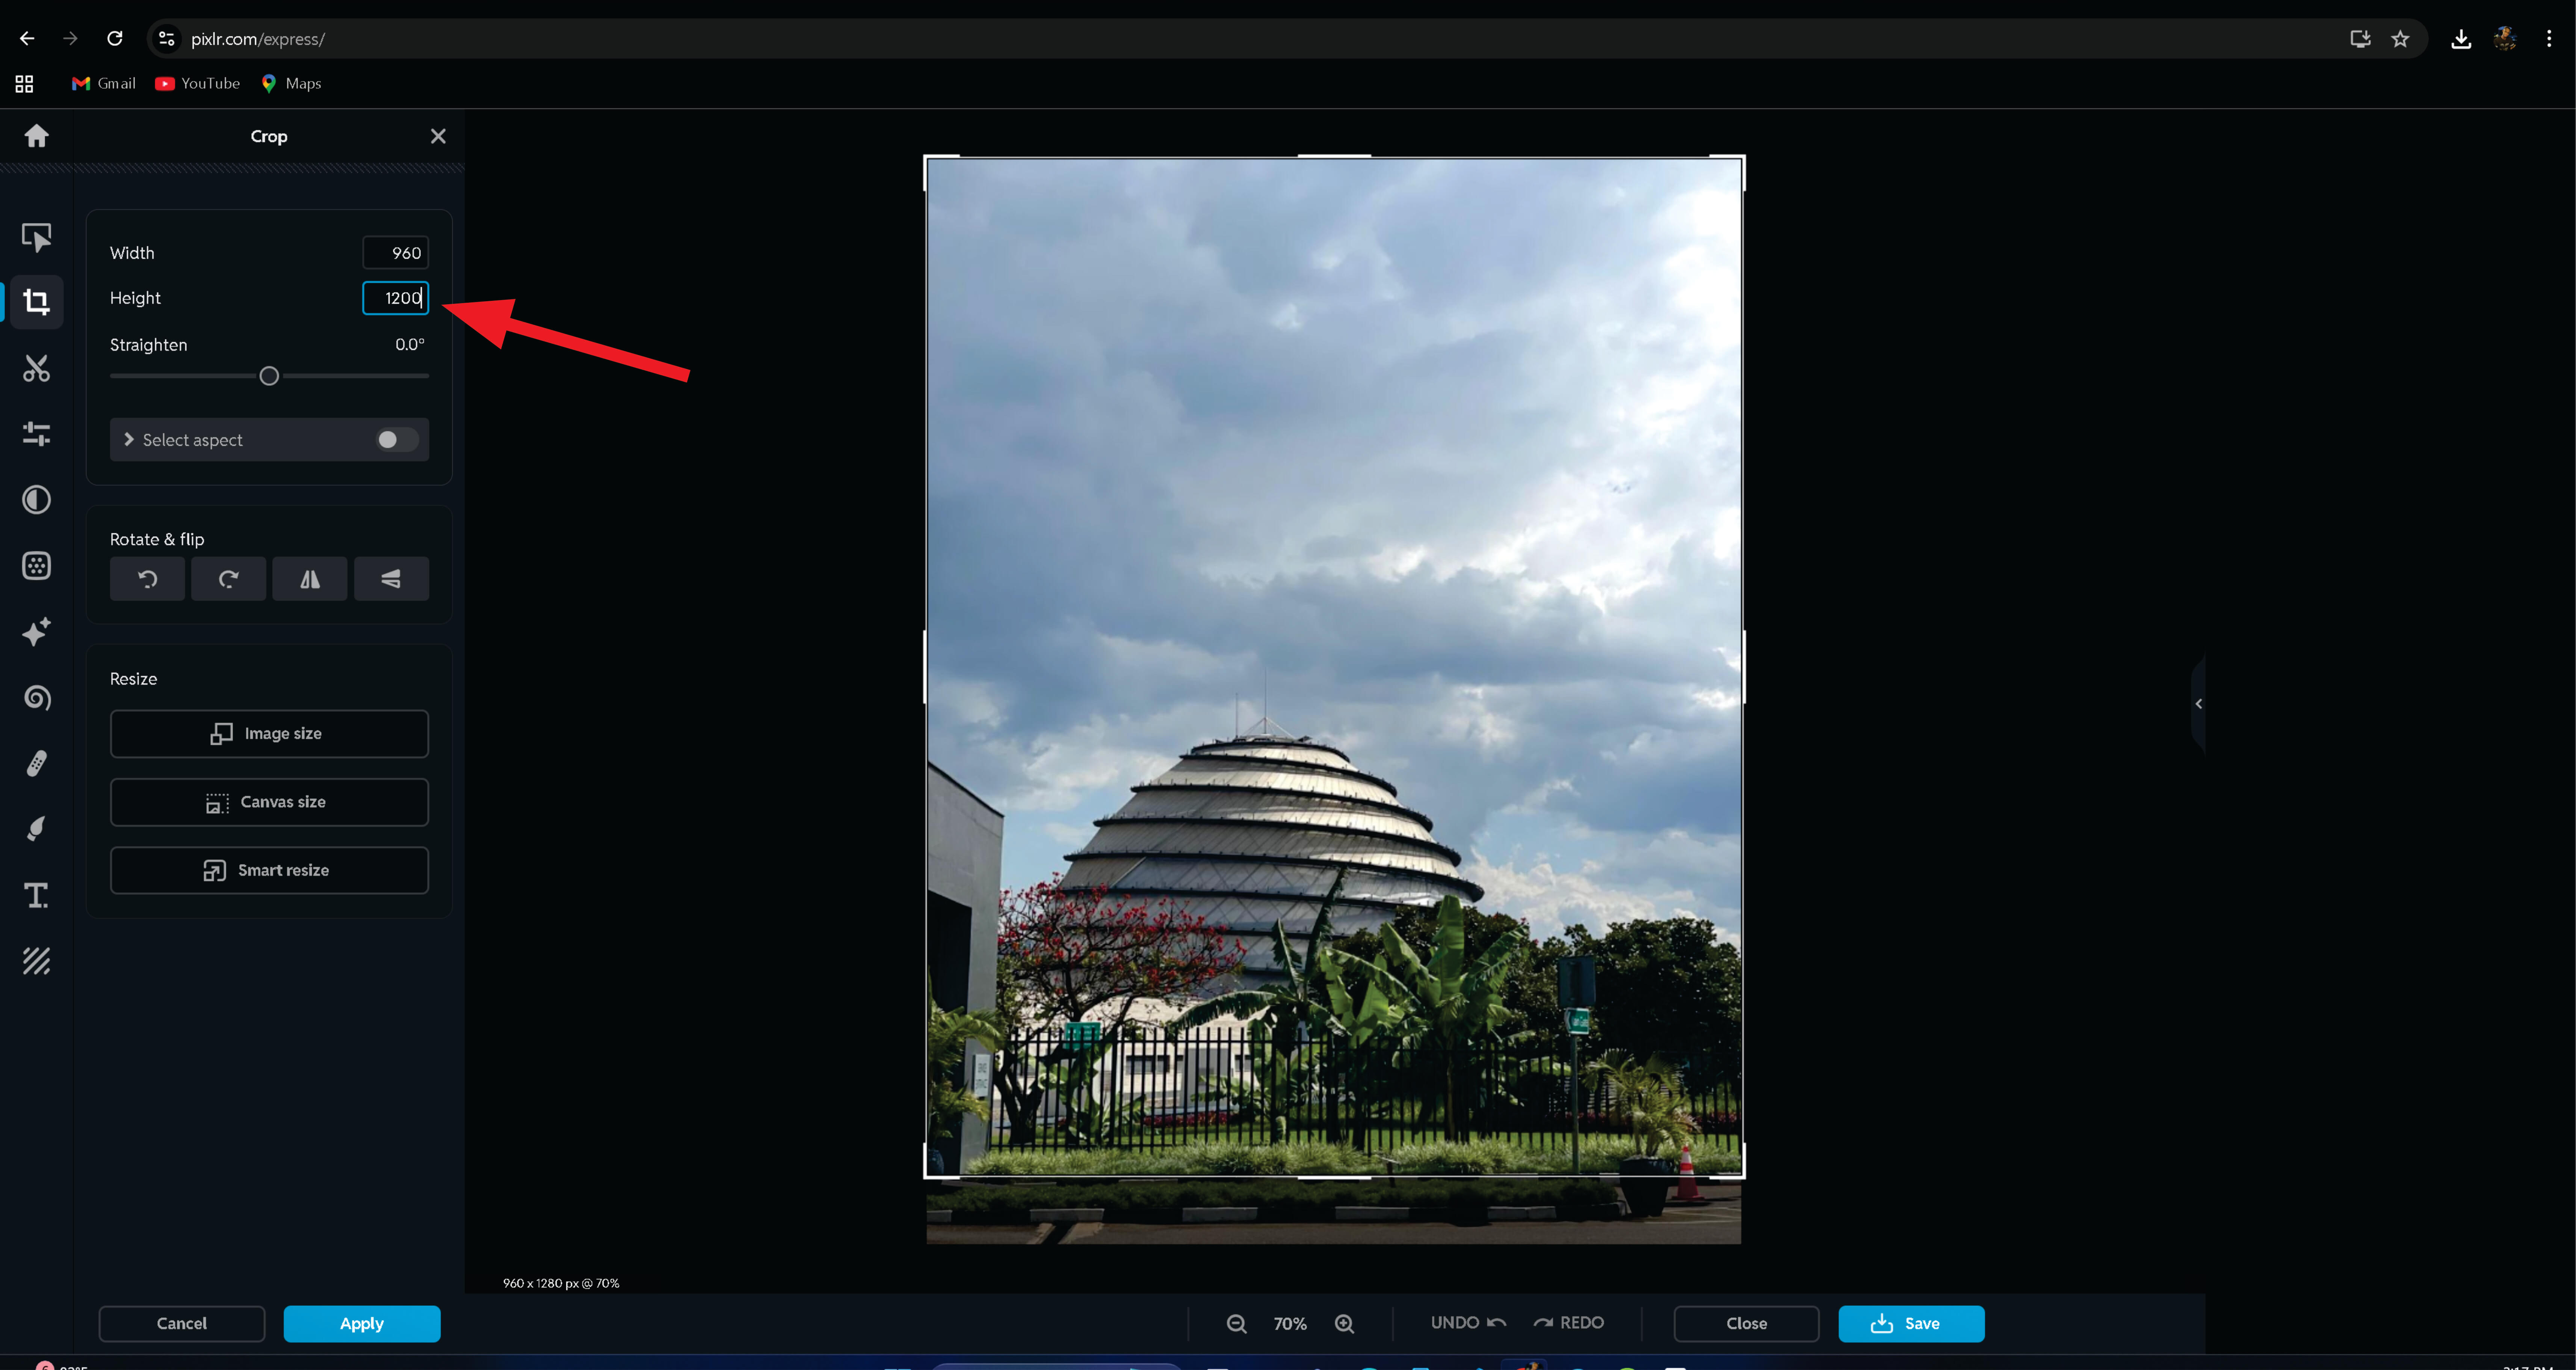
Next, I cropped the image and set the height to 1200 pixels
I then used color correction tool for color balance.
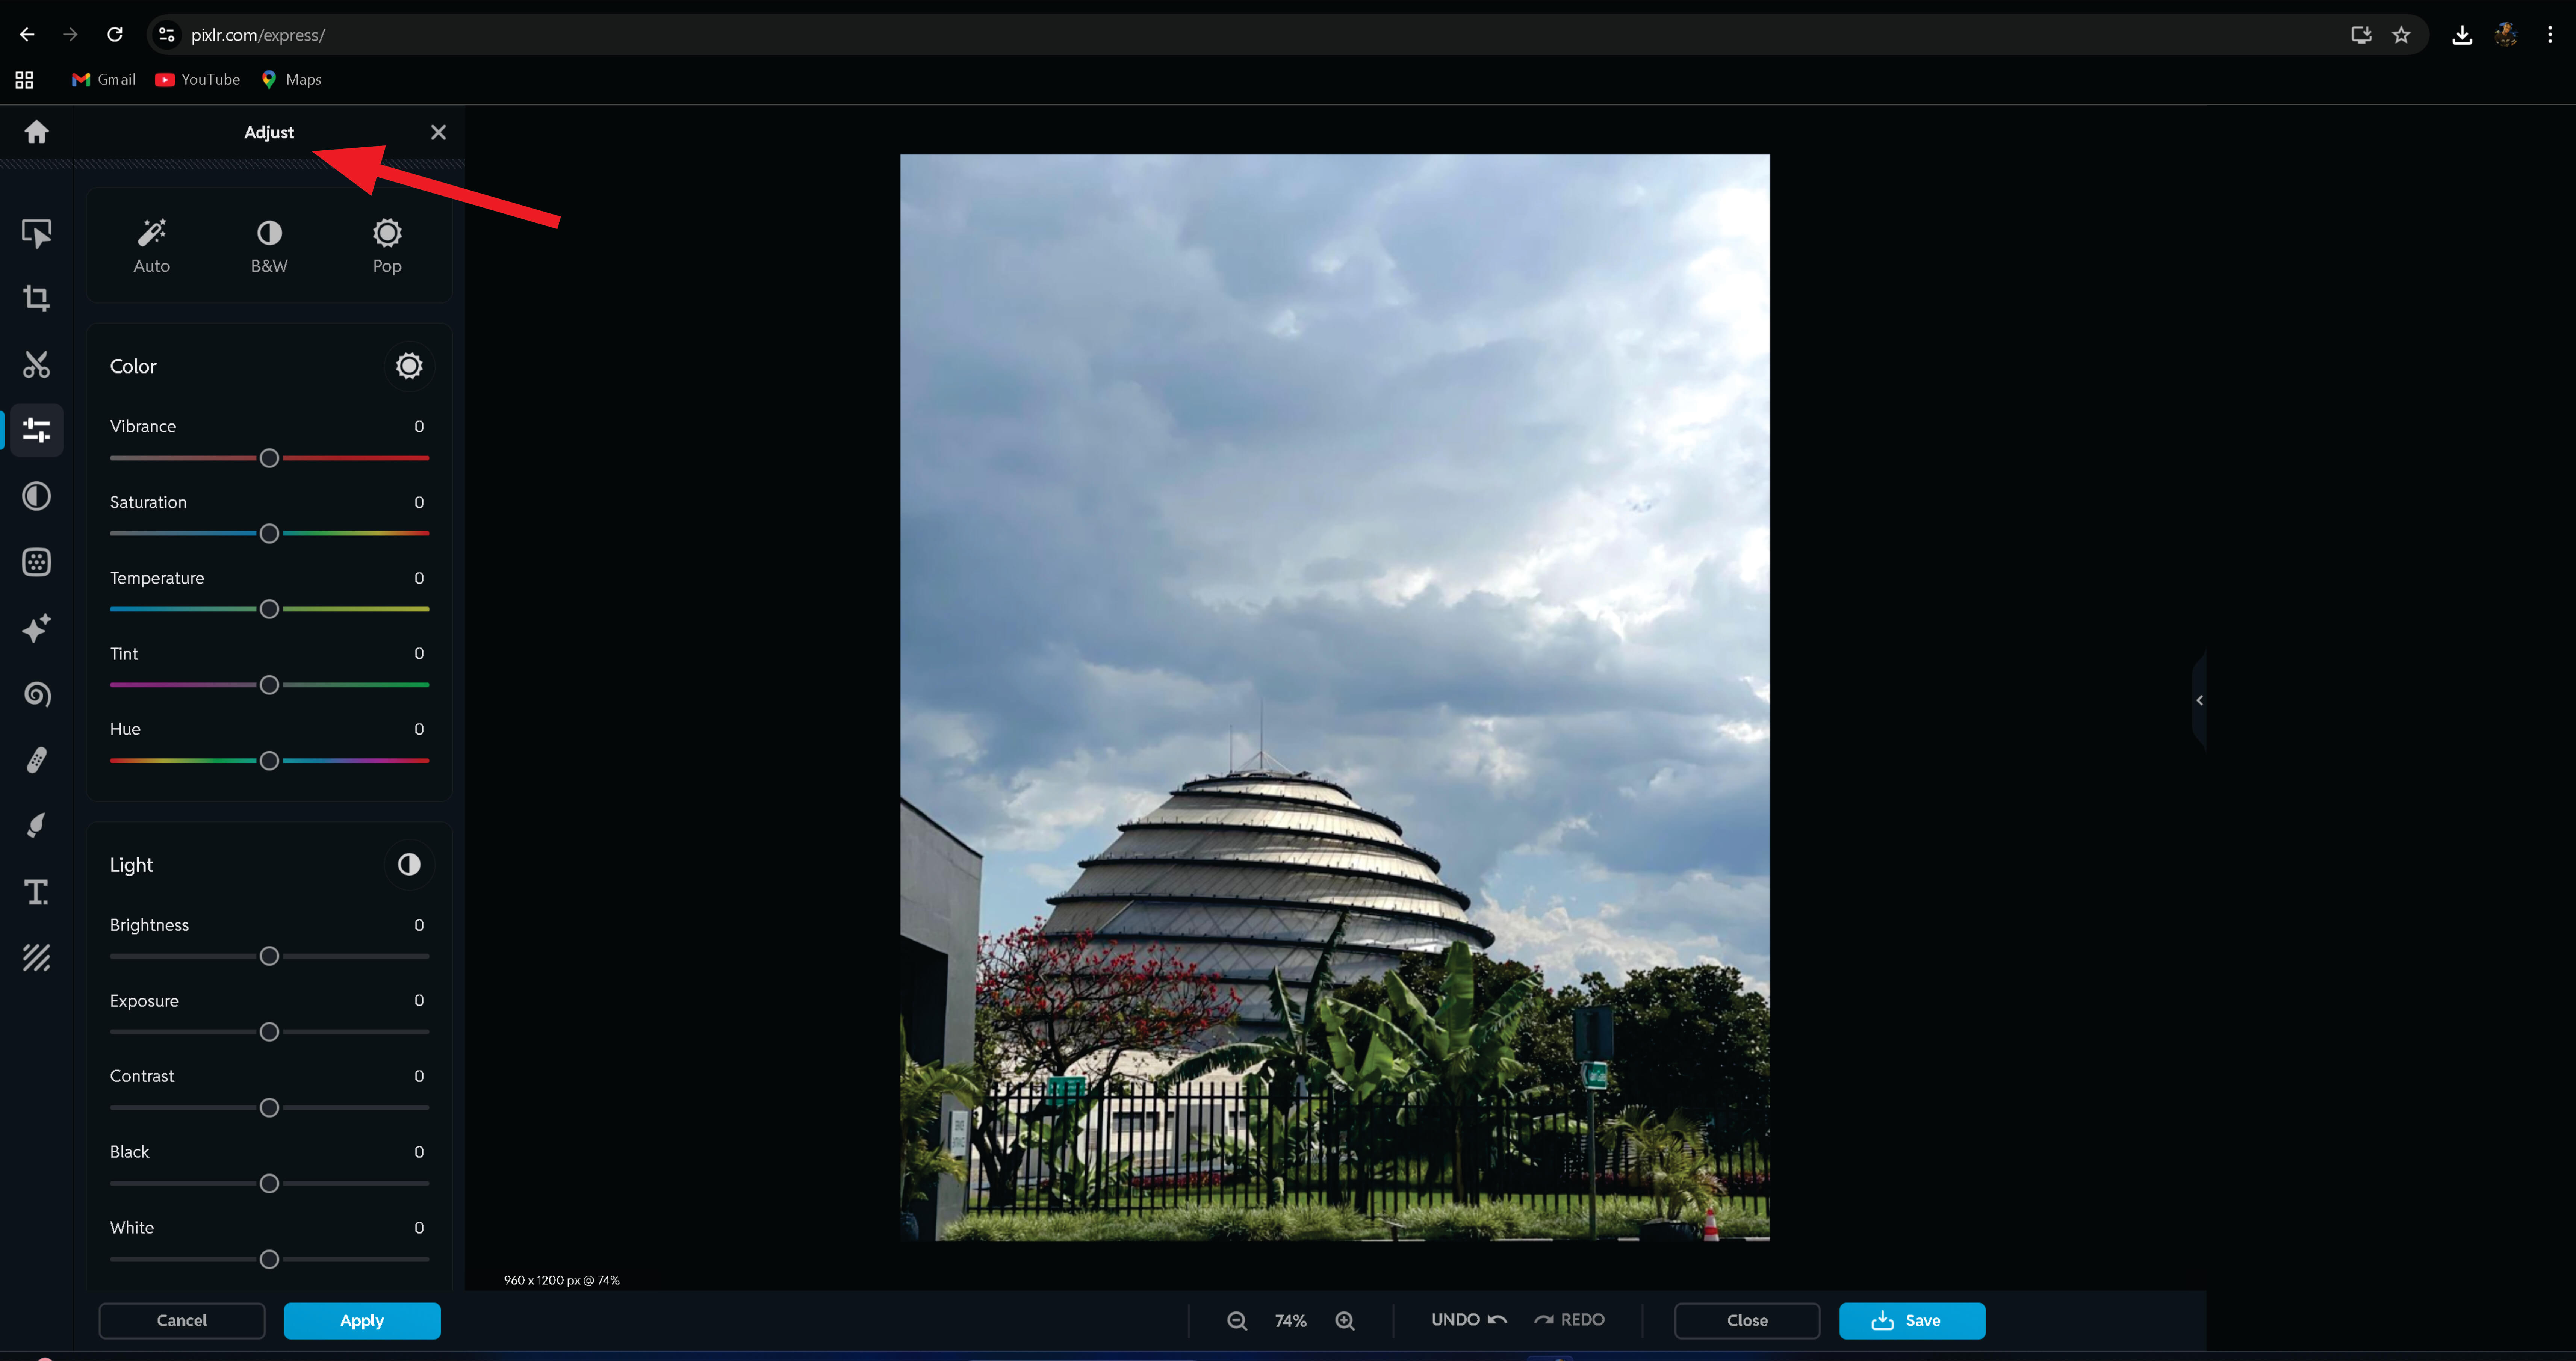
After making the necessary changes, I applied them to finalize the image

Next, I added some text to the image using the text tool.
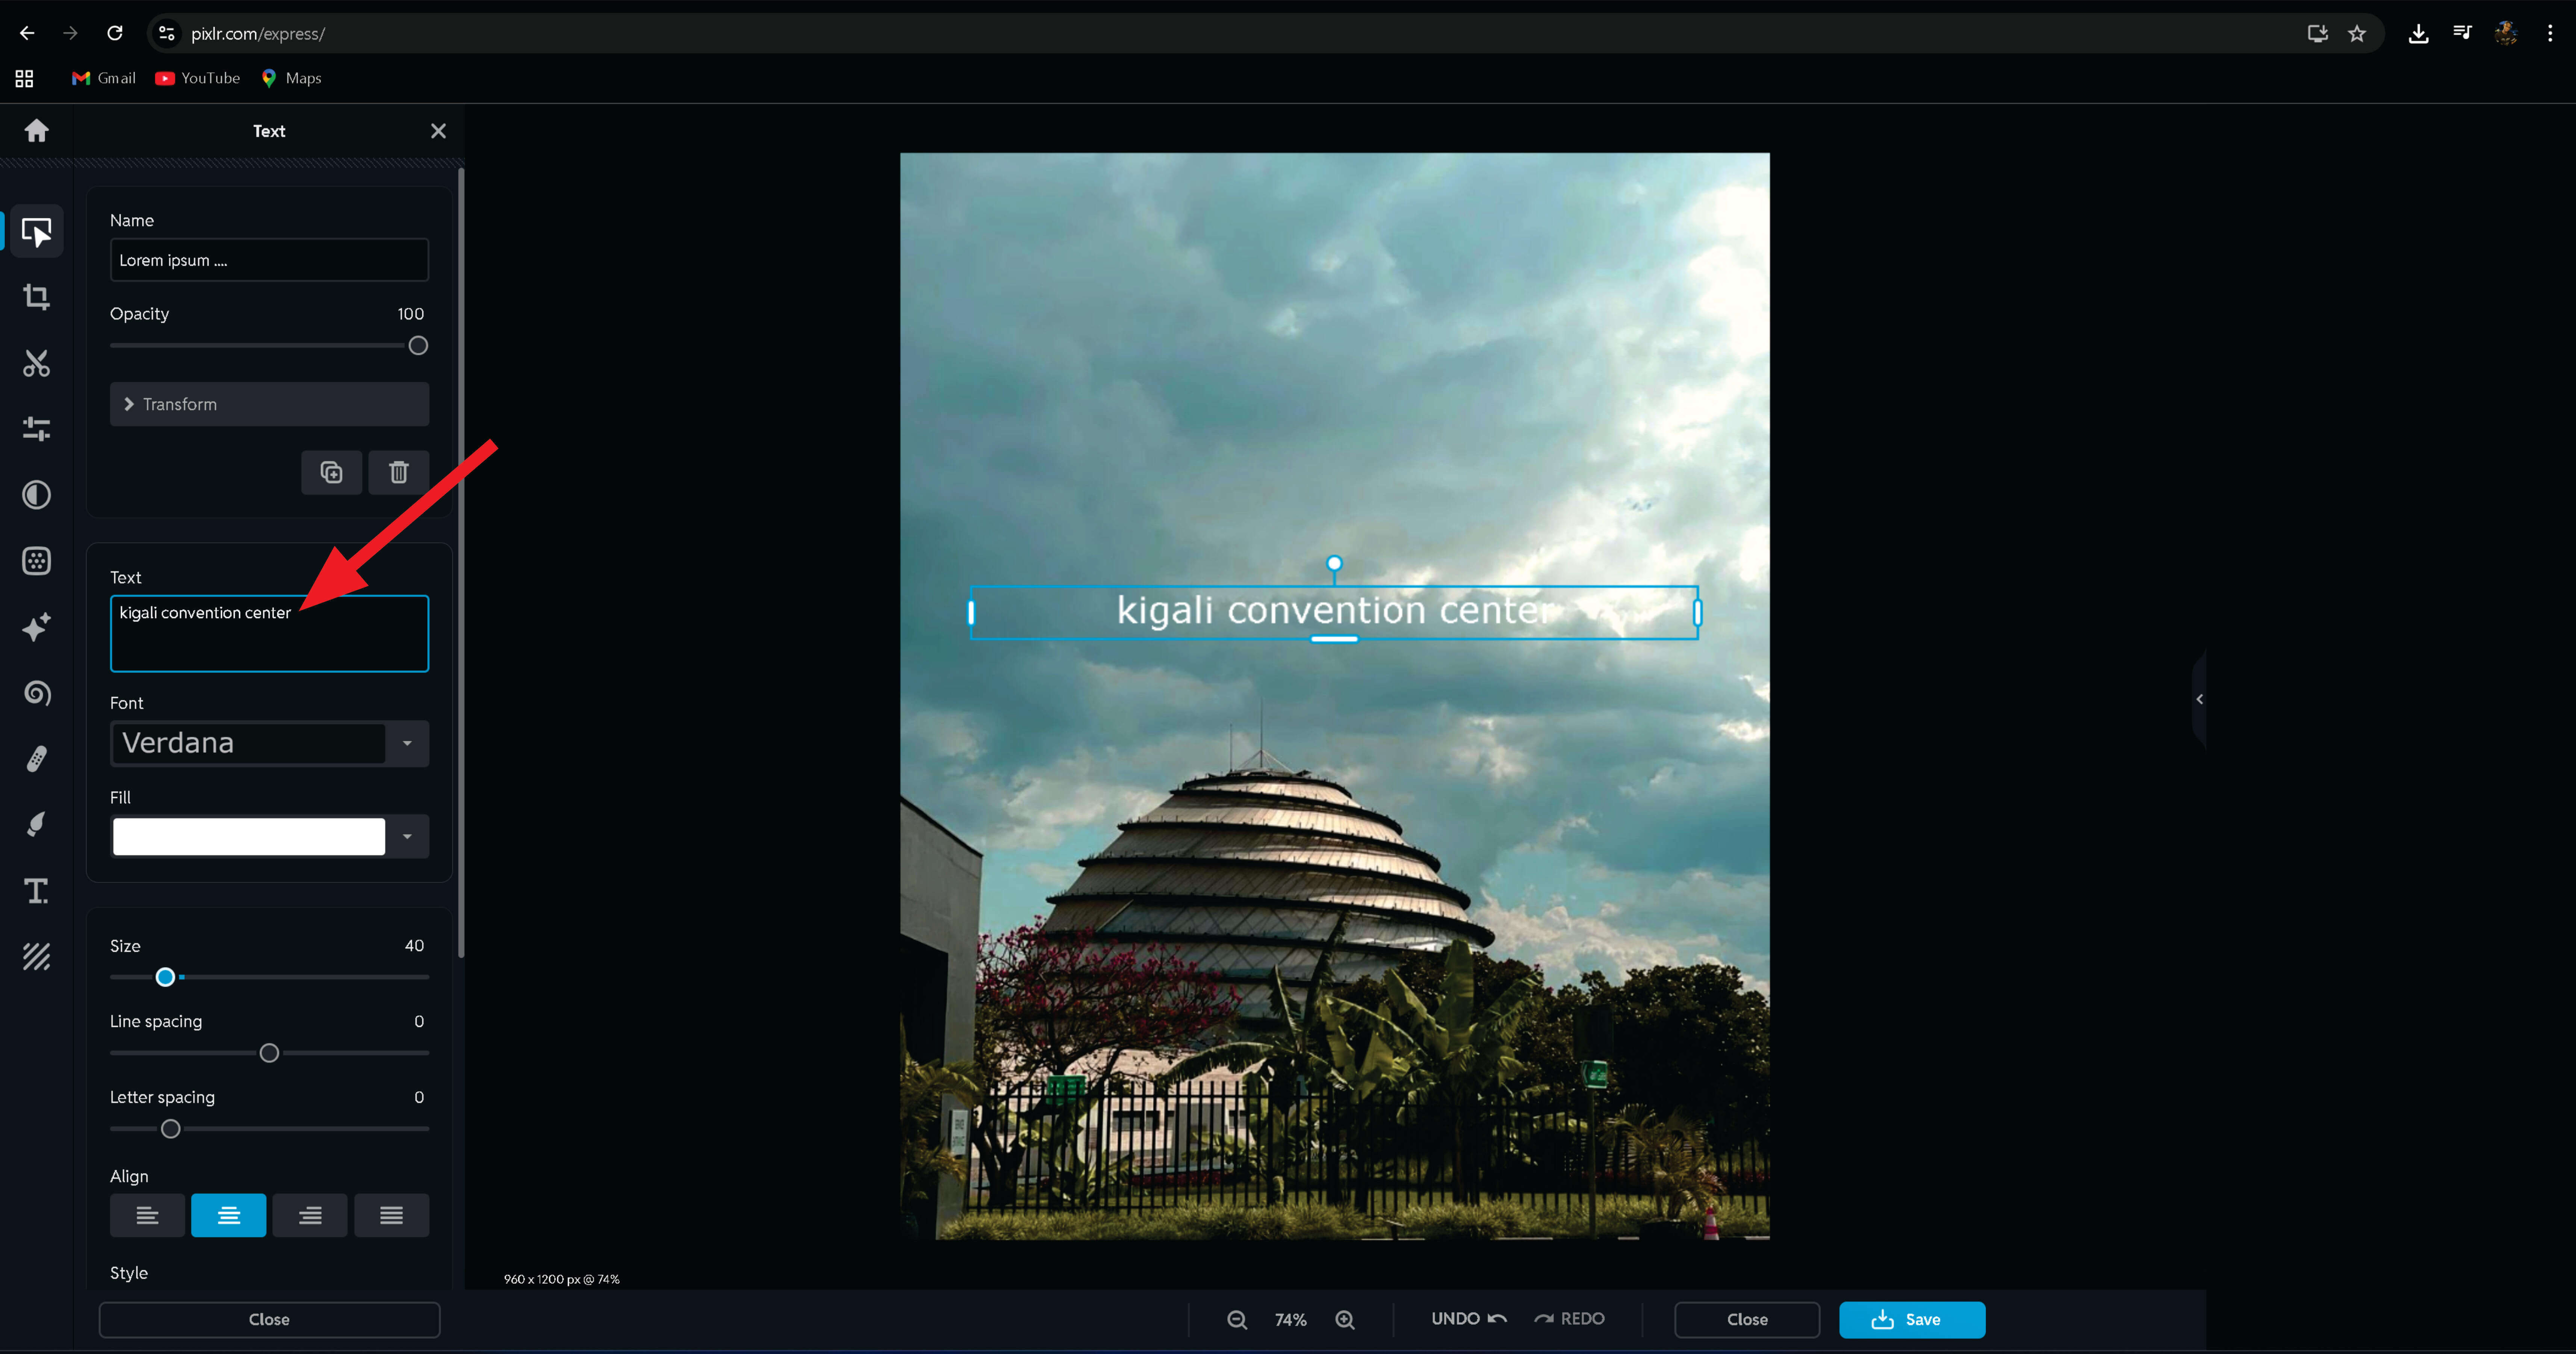
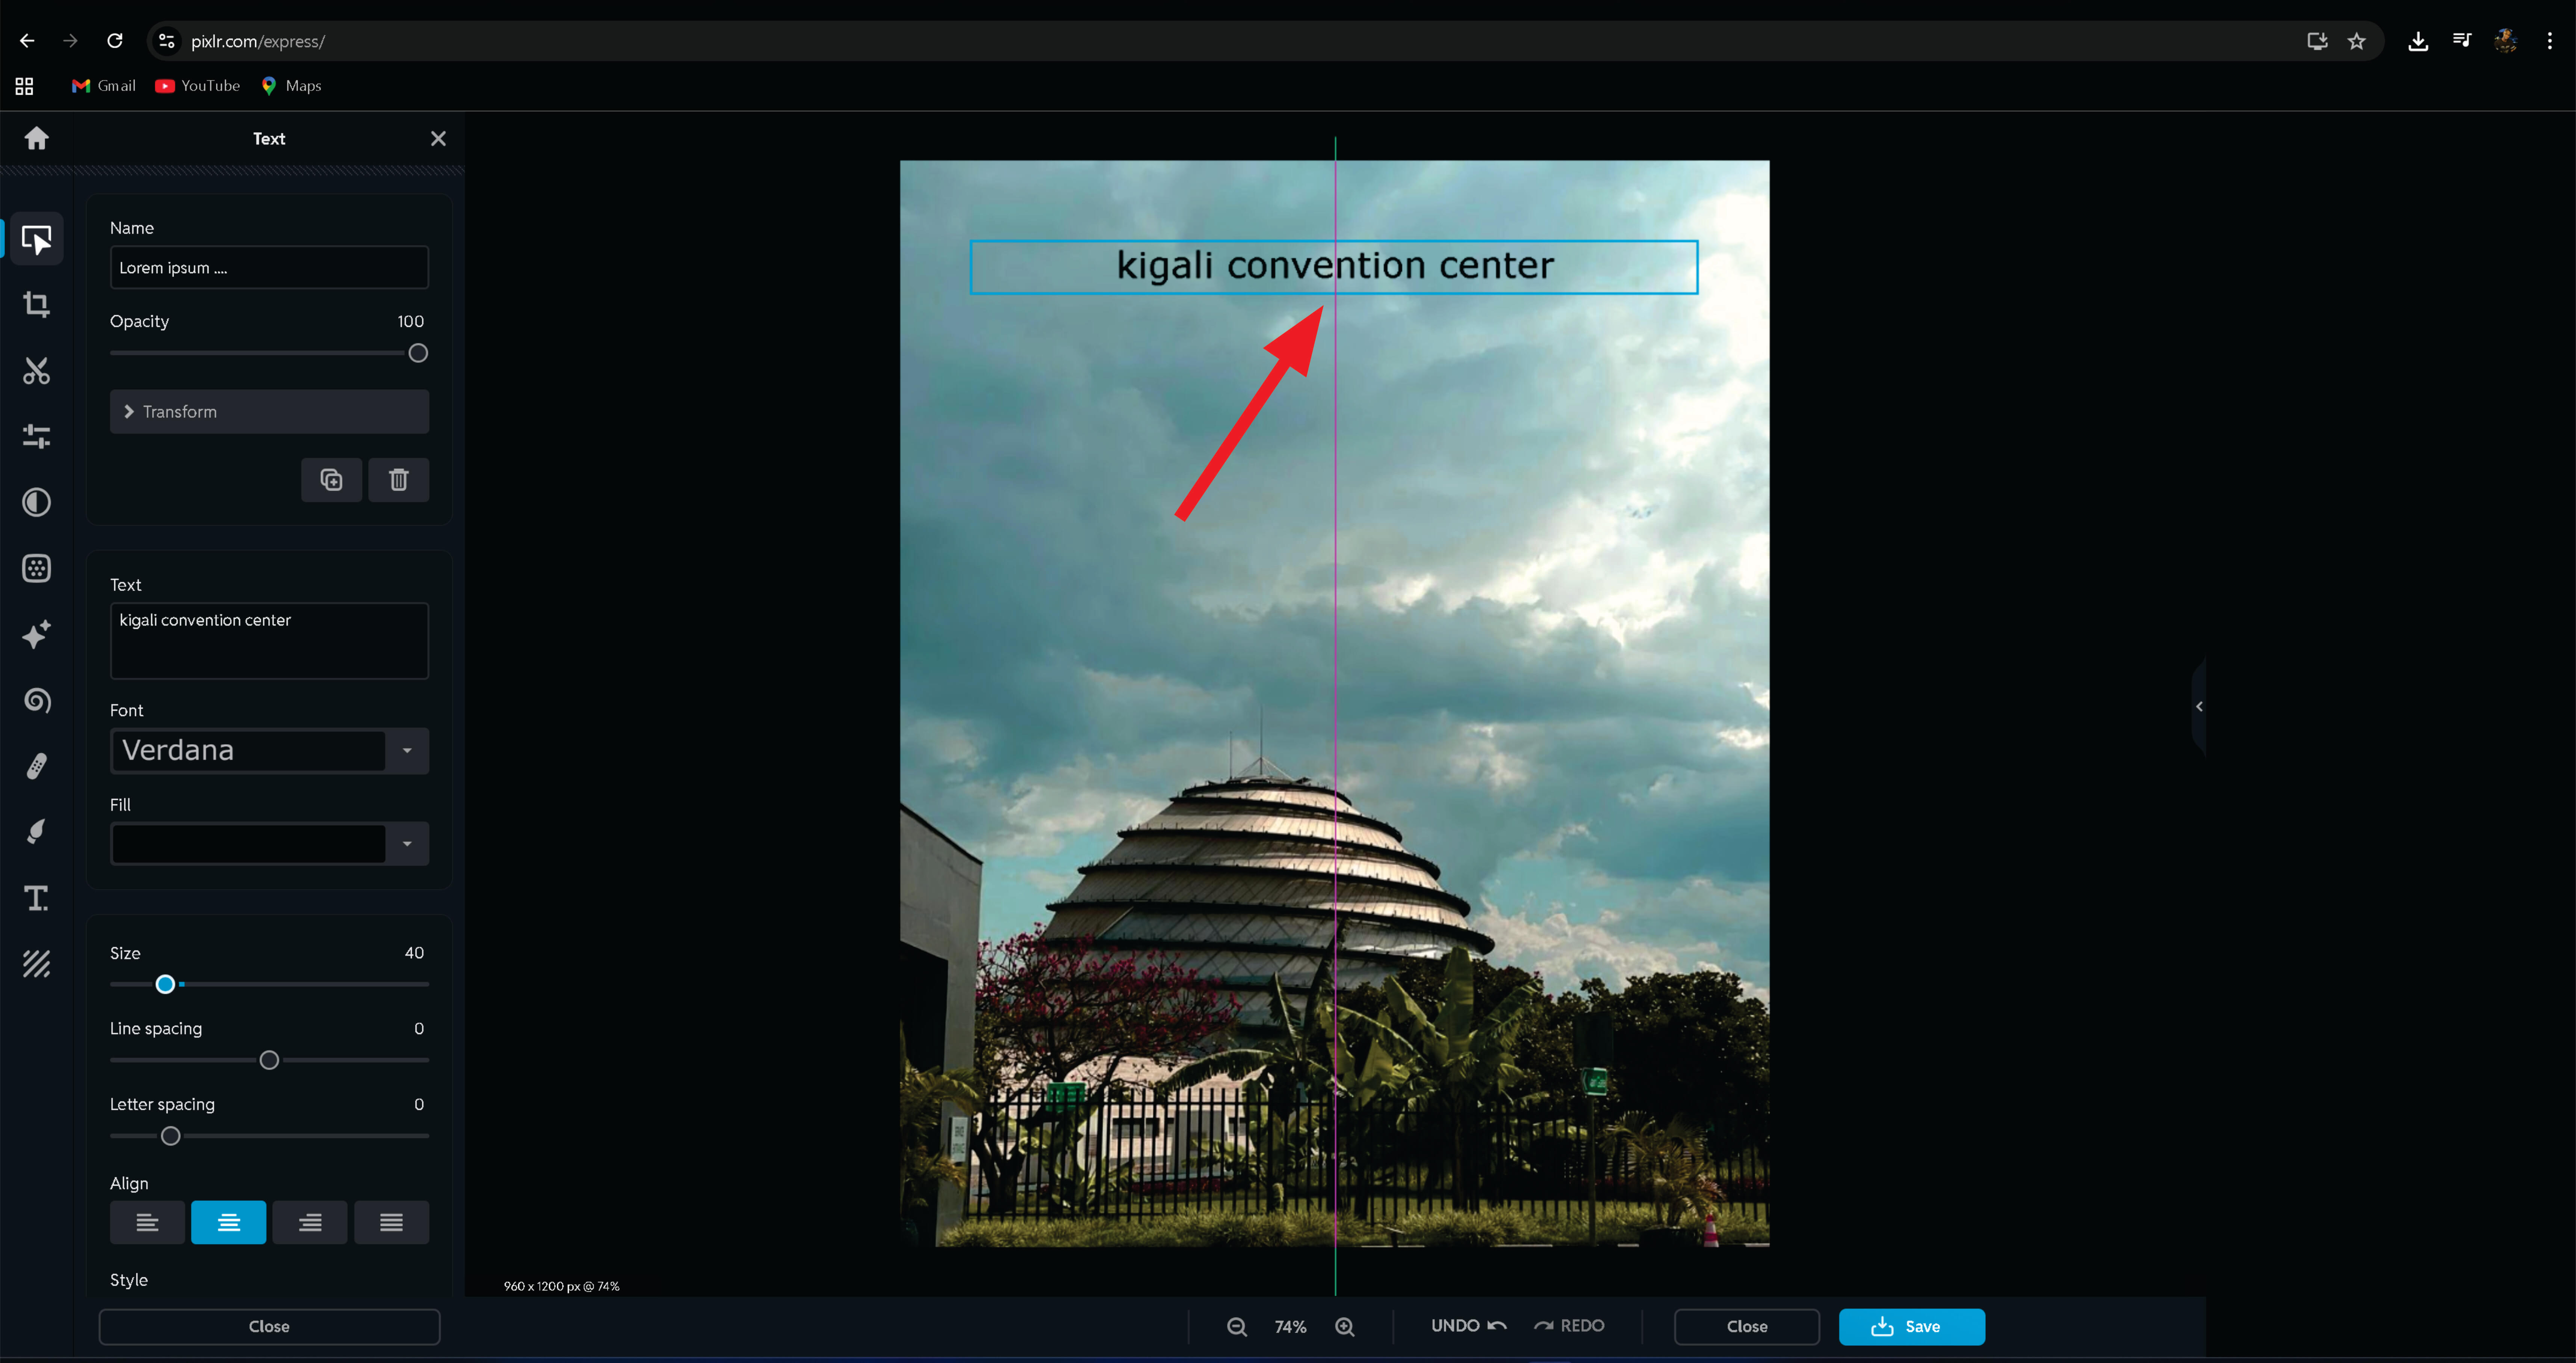
Next, I changed the text color and positioned it at the top of the image
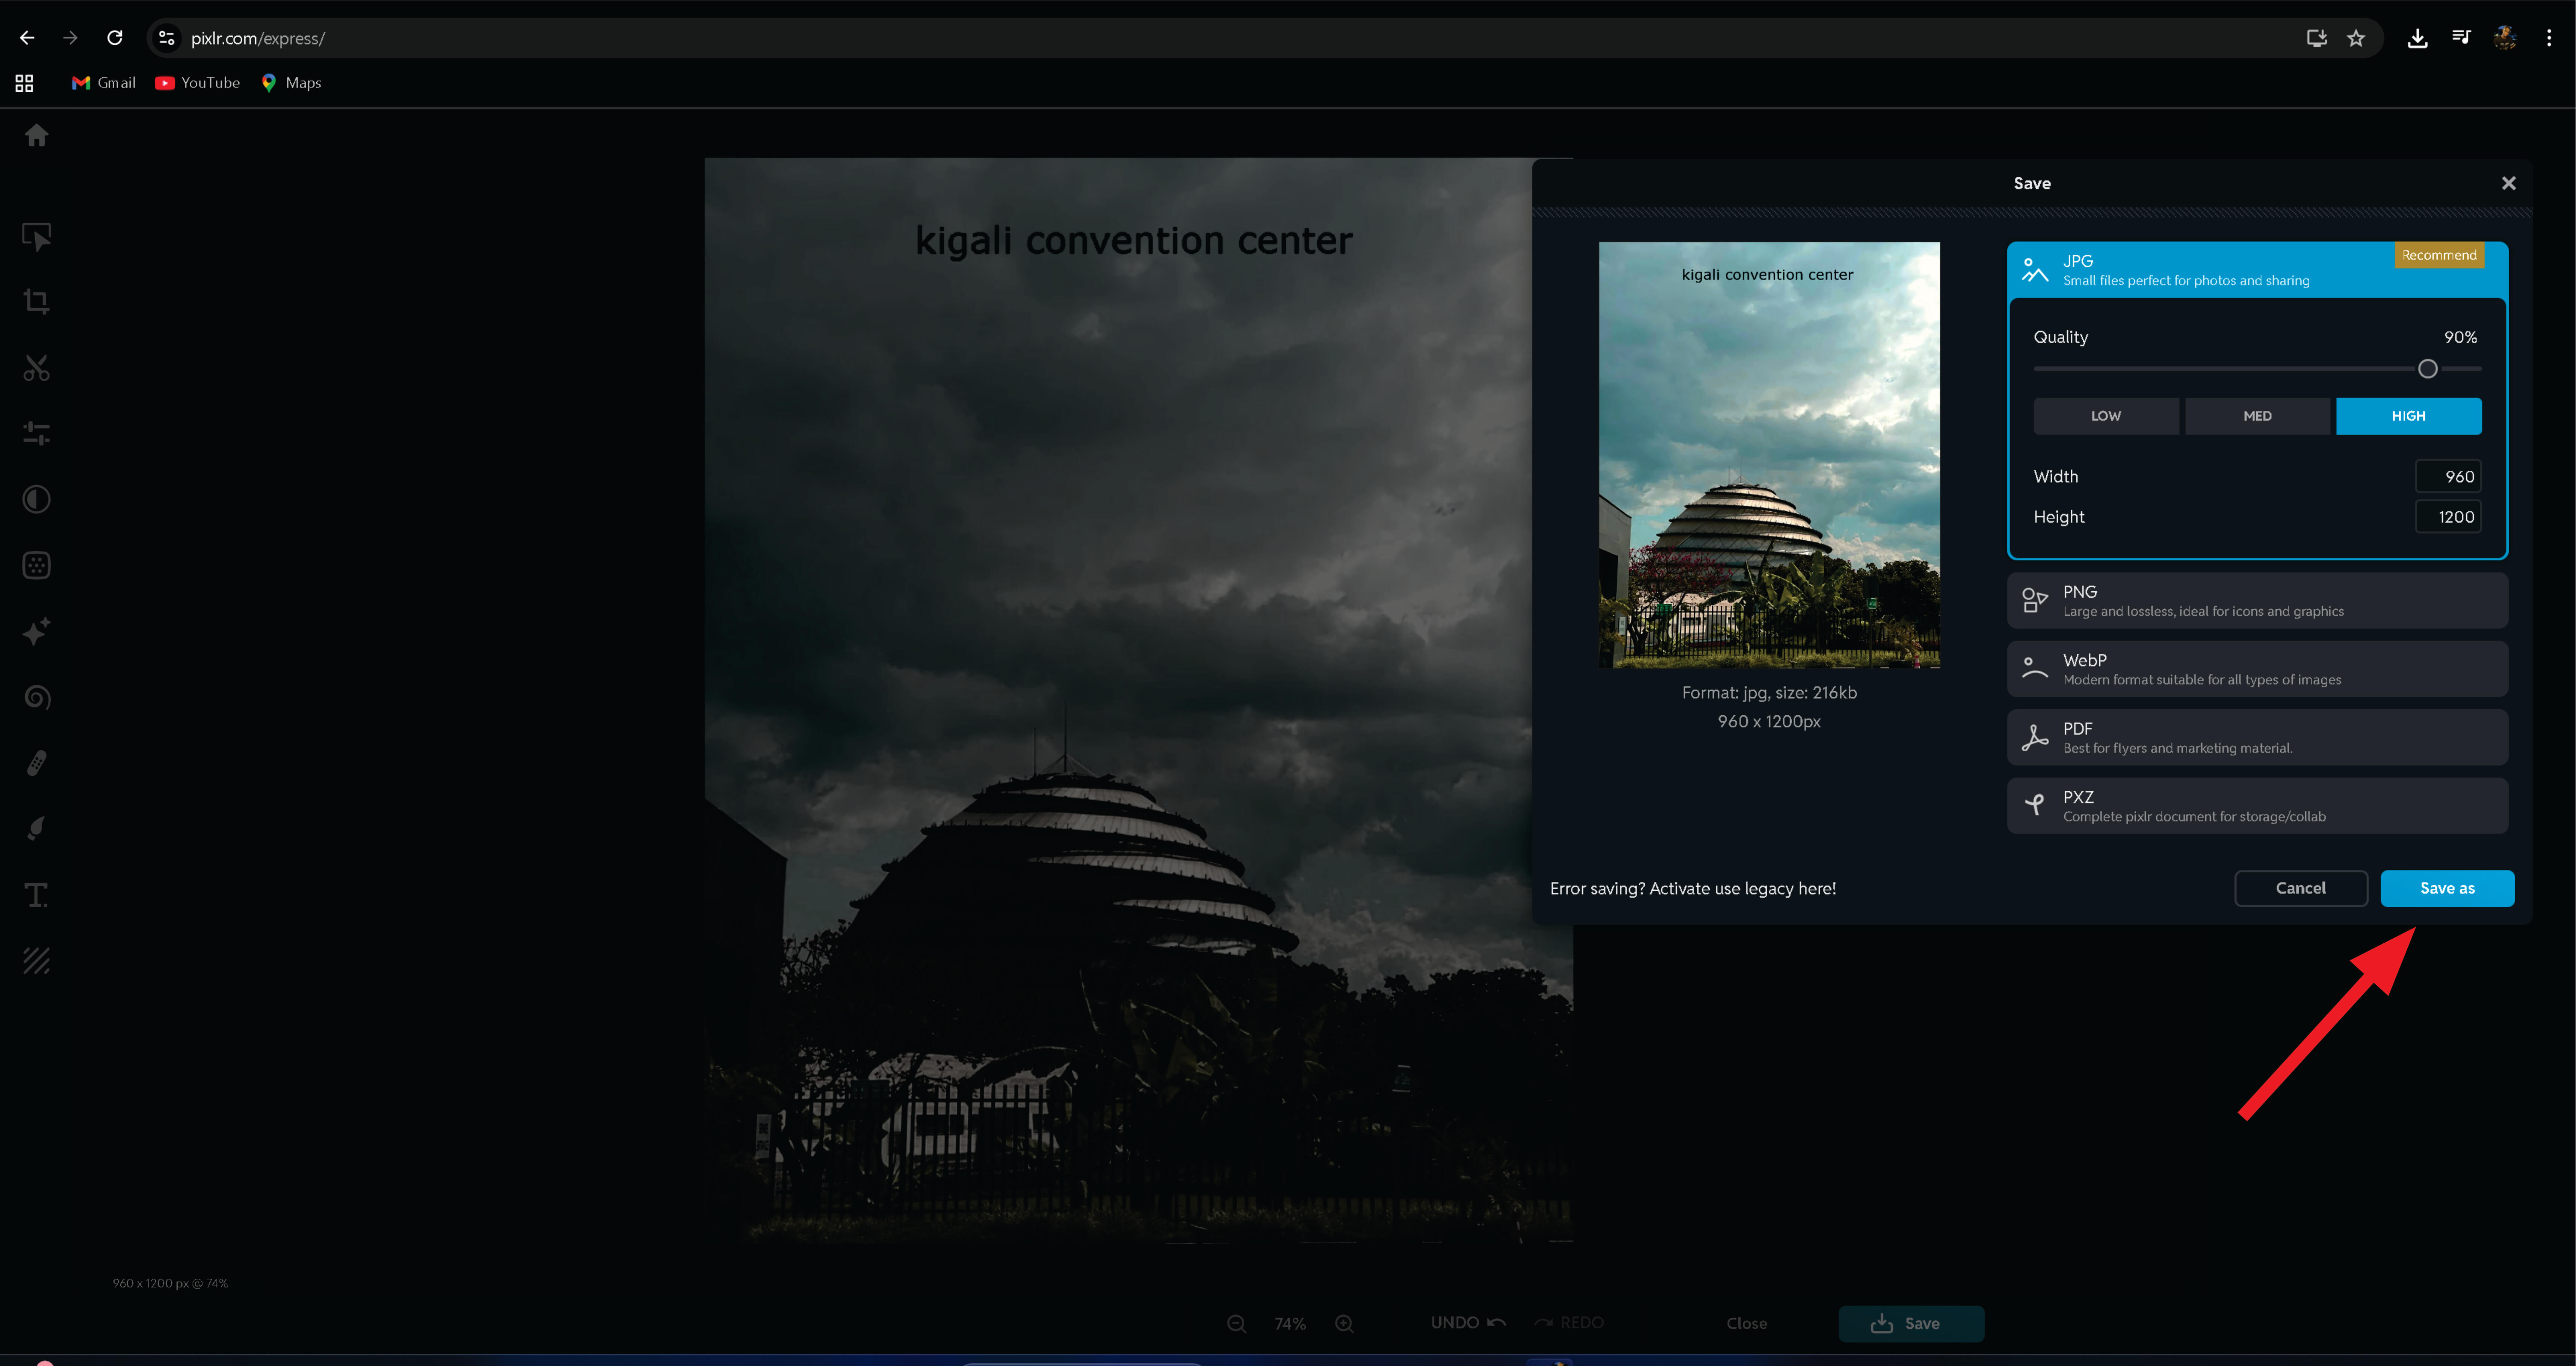
After completing all edits, I used the Save As option to save the image.
I learned how to edit images in Pixlr by cropping, making adjustments, adding text, changing colors, and saving the final image
Using Artificial Intelligence (AI)
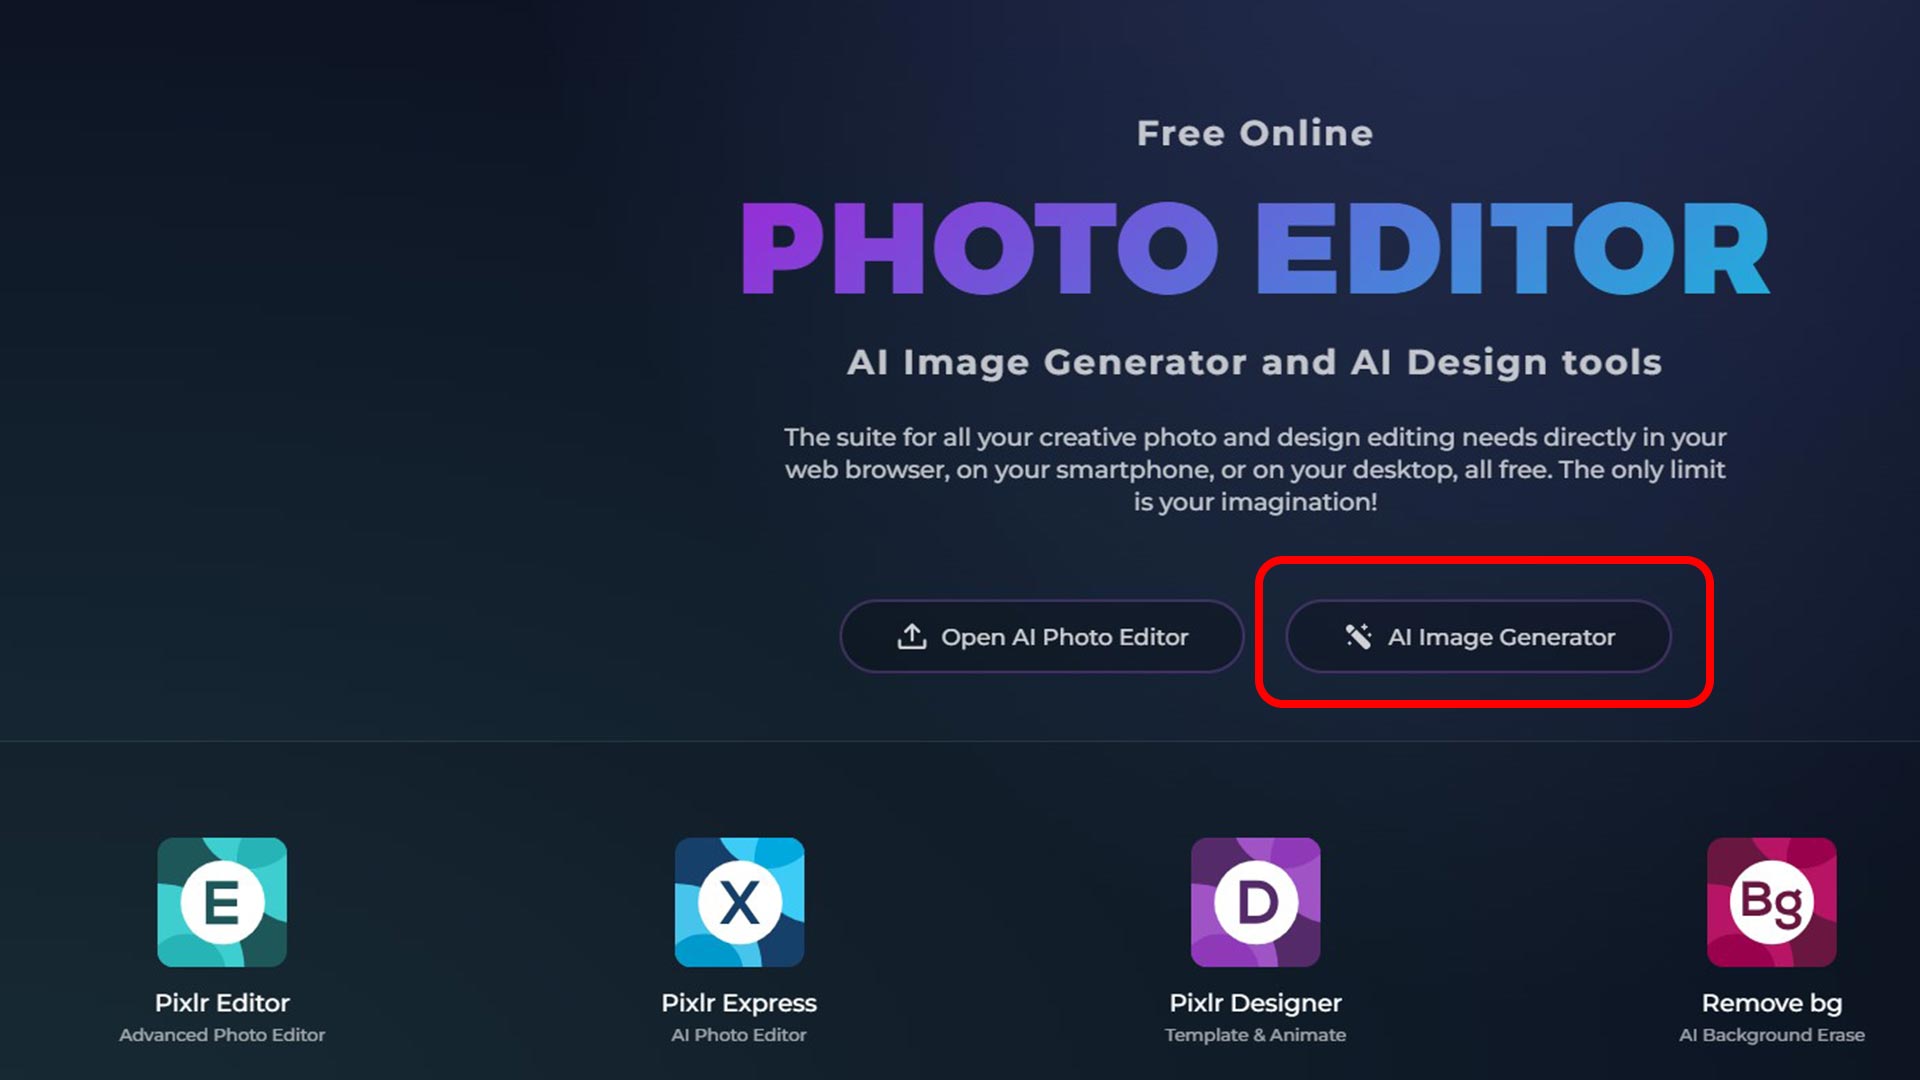
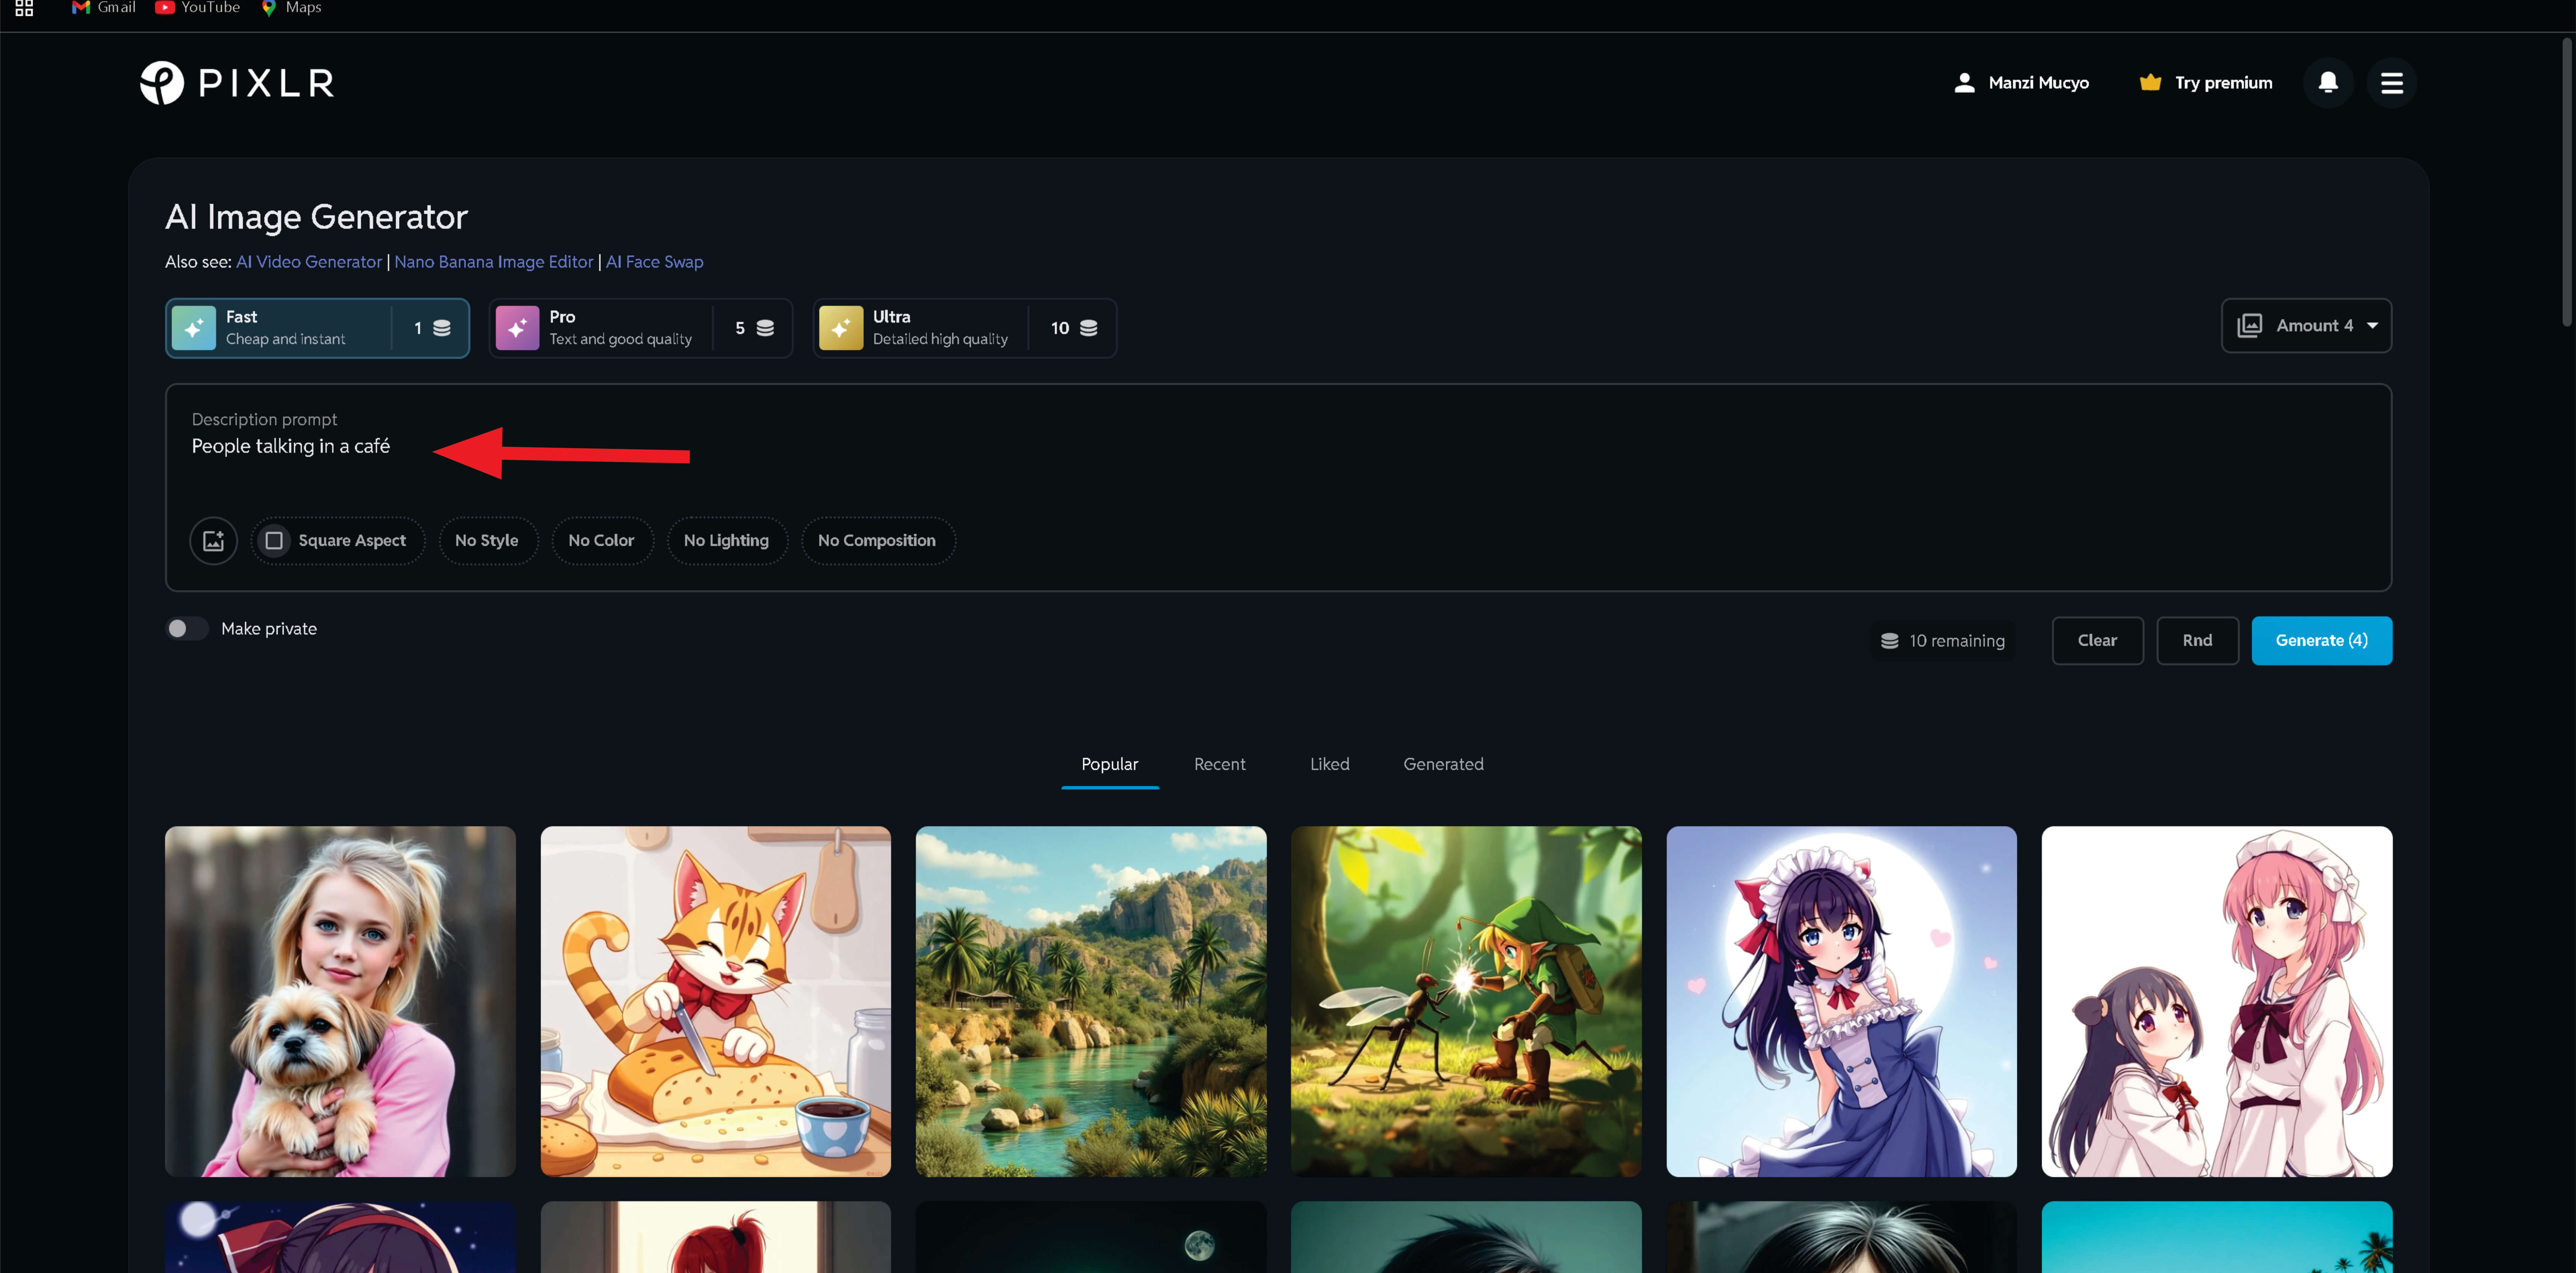
With Pixlr, you can generate images by using text prompts. I created a new file and opened the AI Image Generator, as highlighted below
I then typed prompt (People talking in a café)
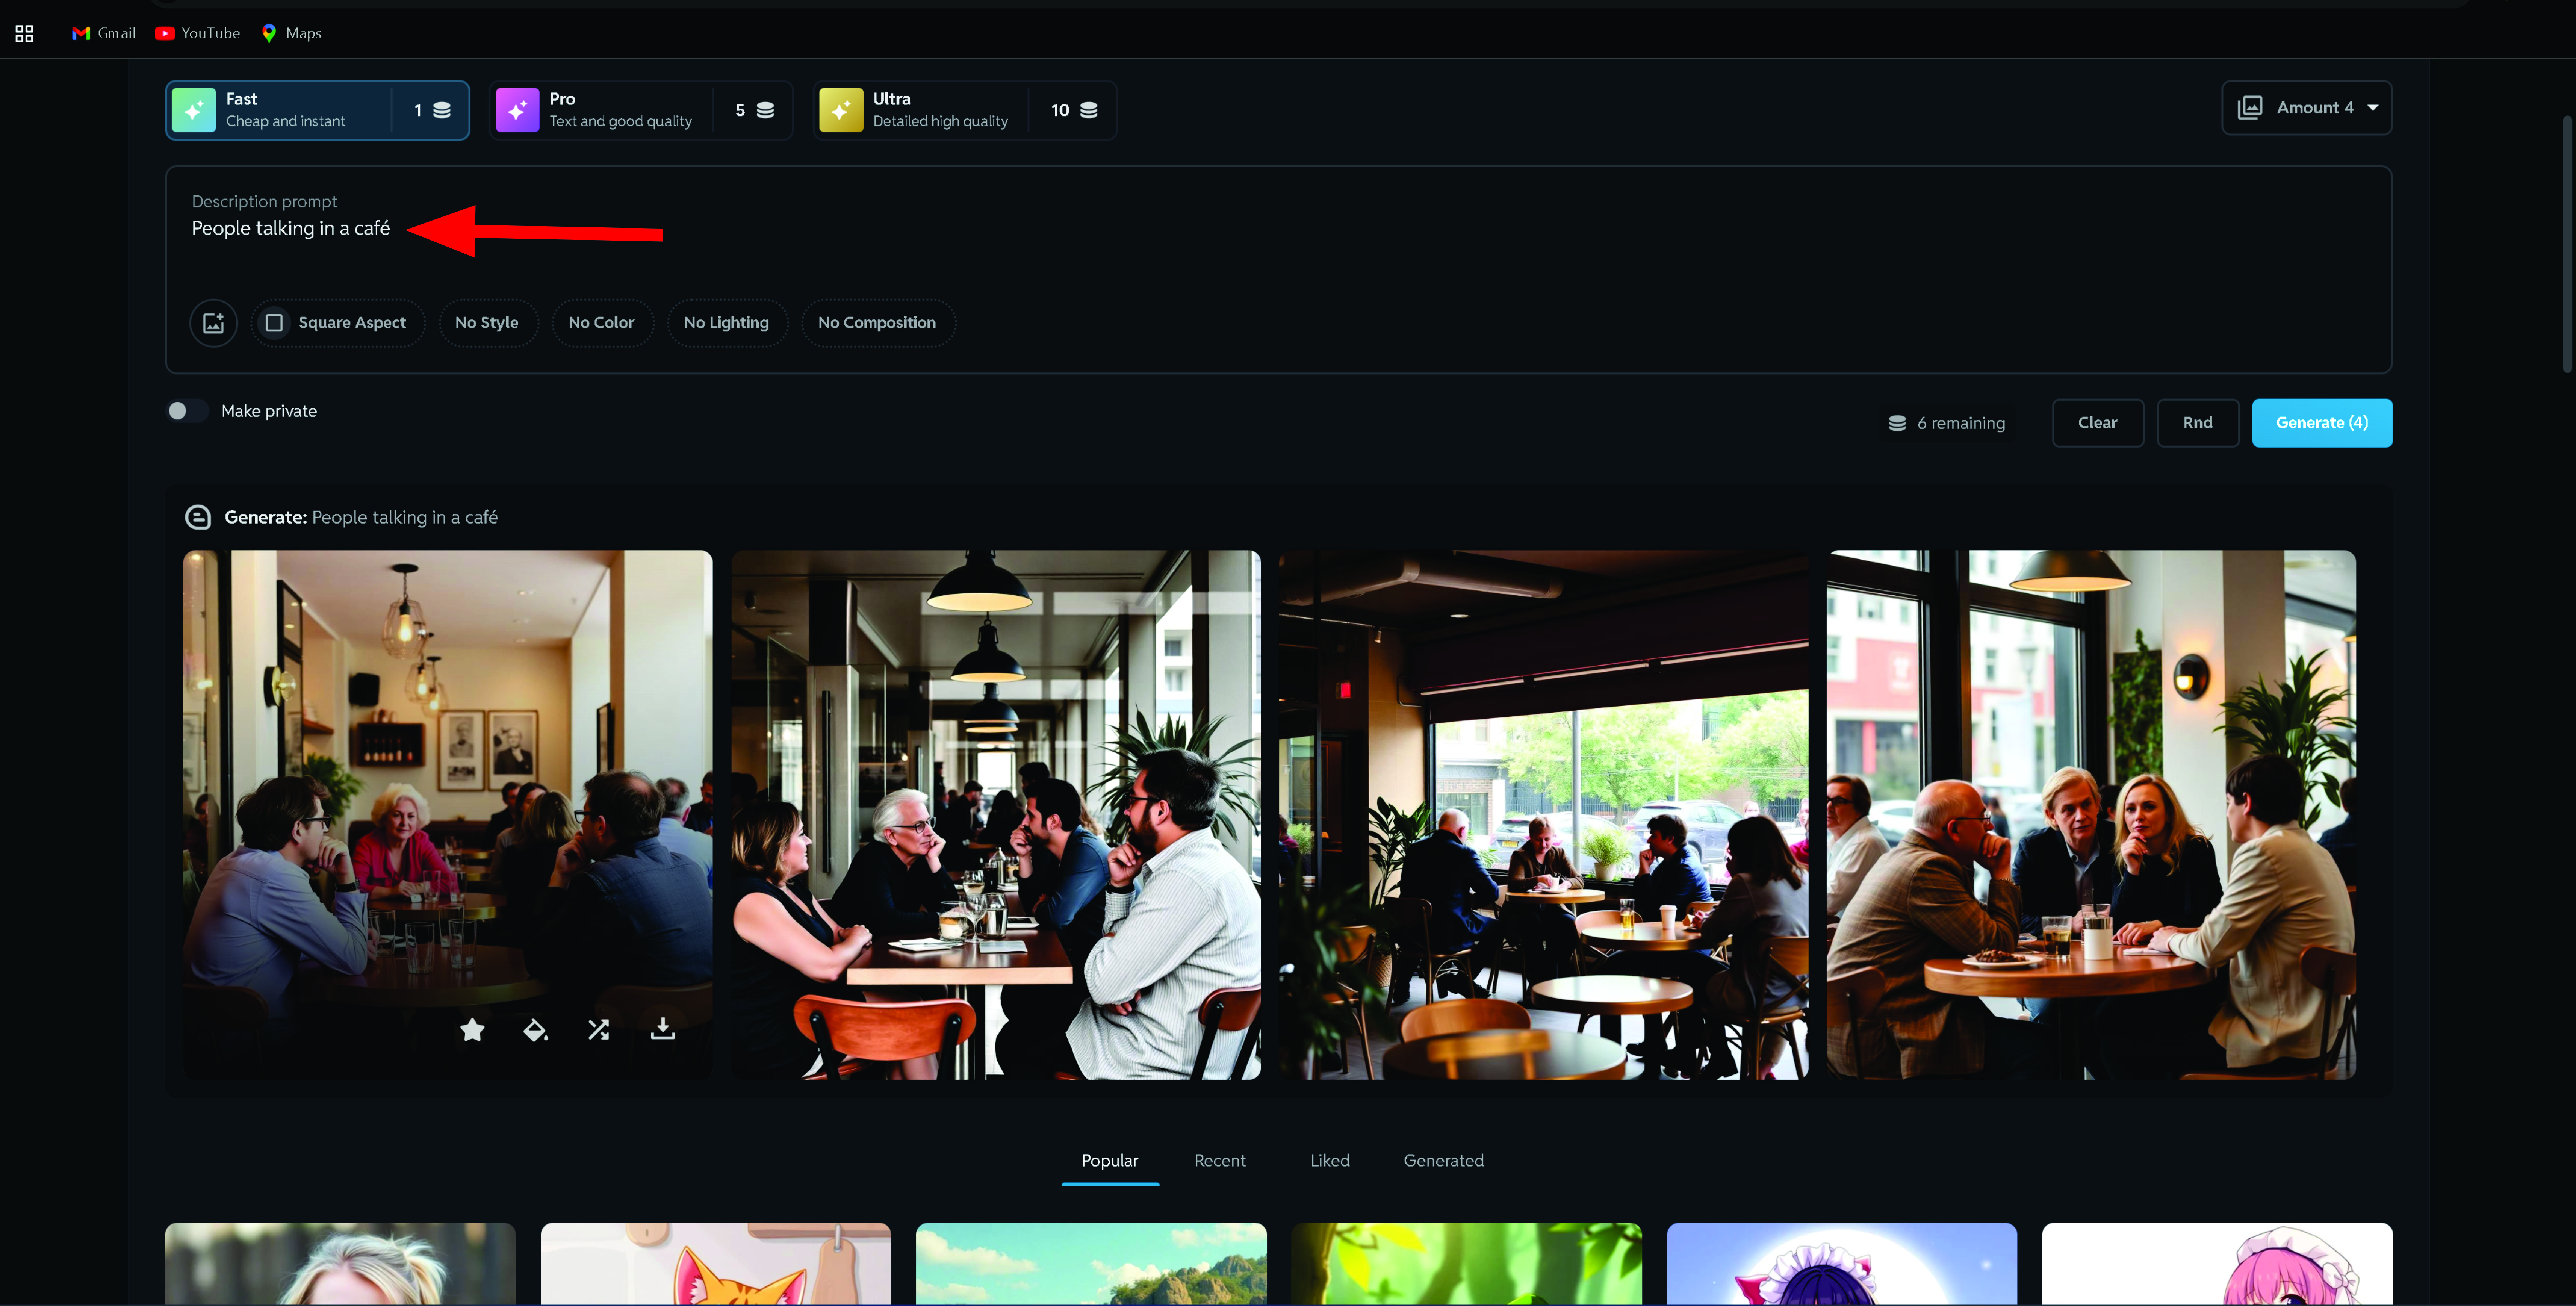
I generated an image using the prompt(People talking in a café)
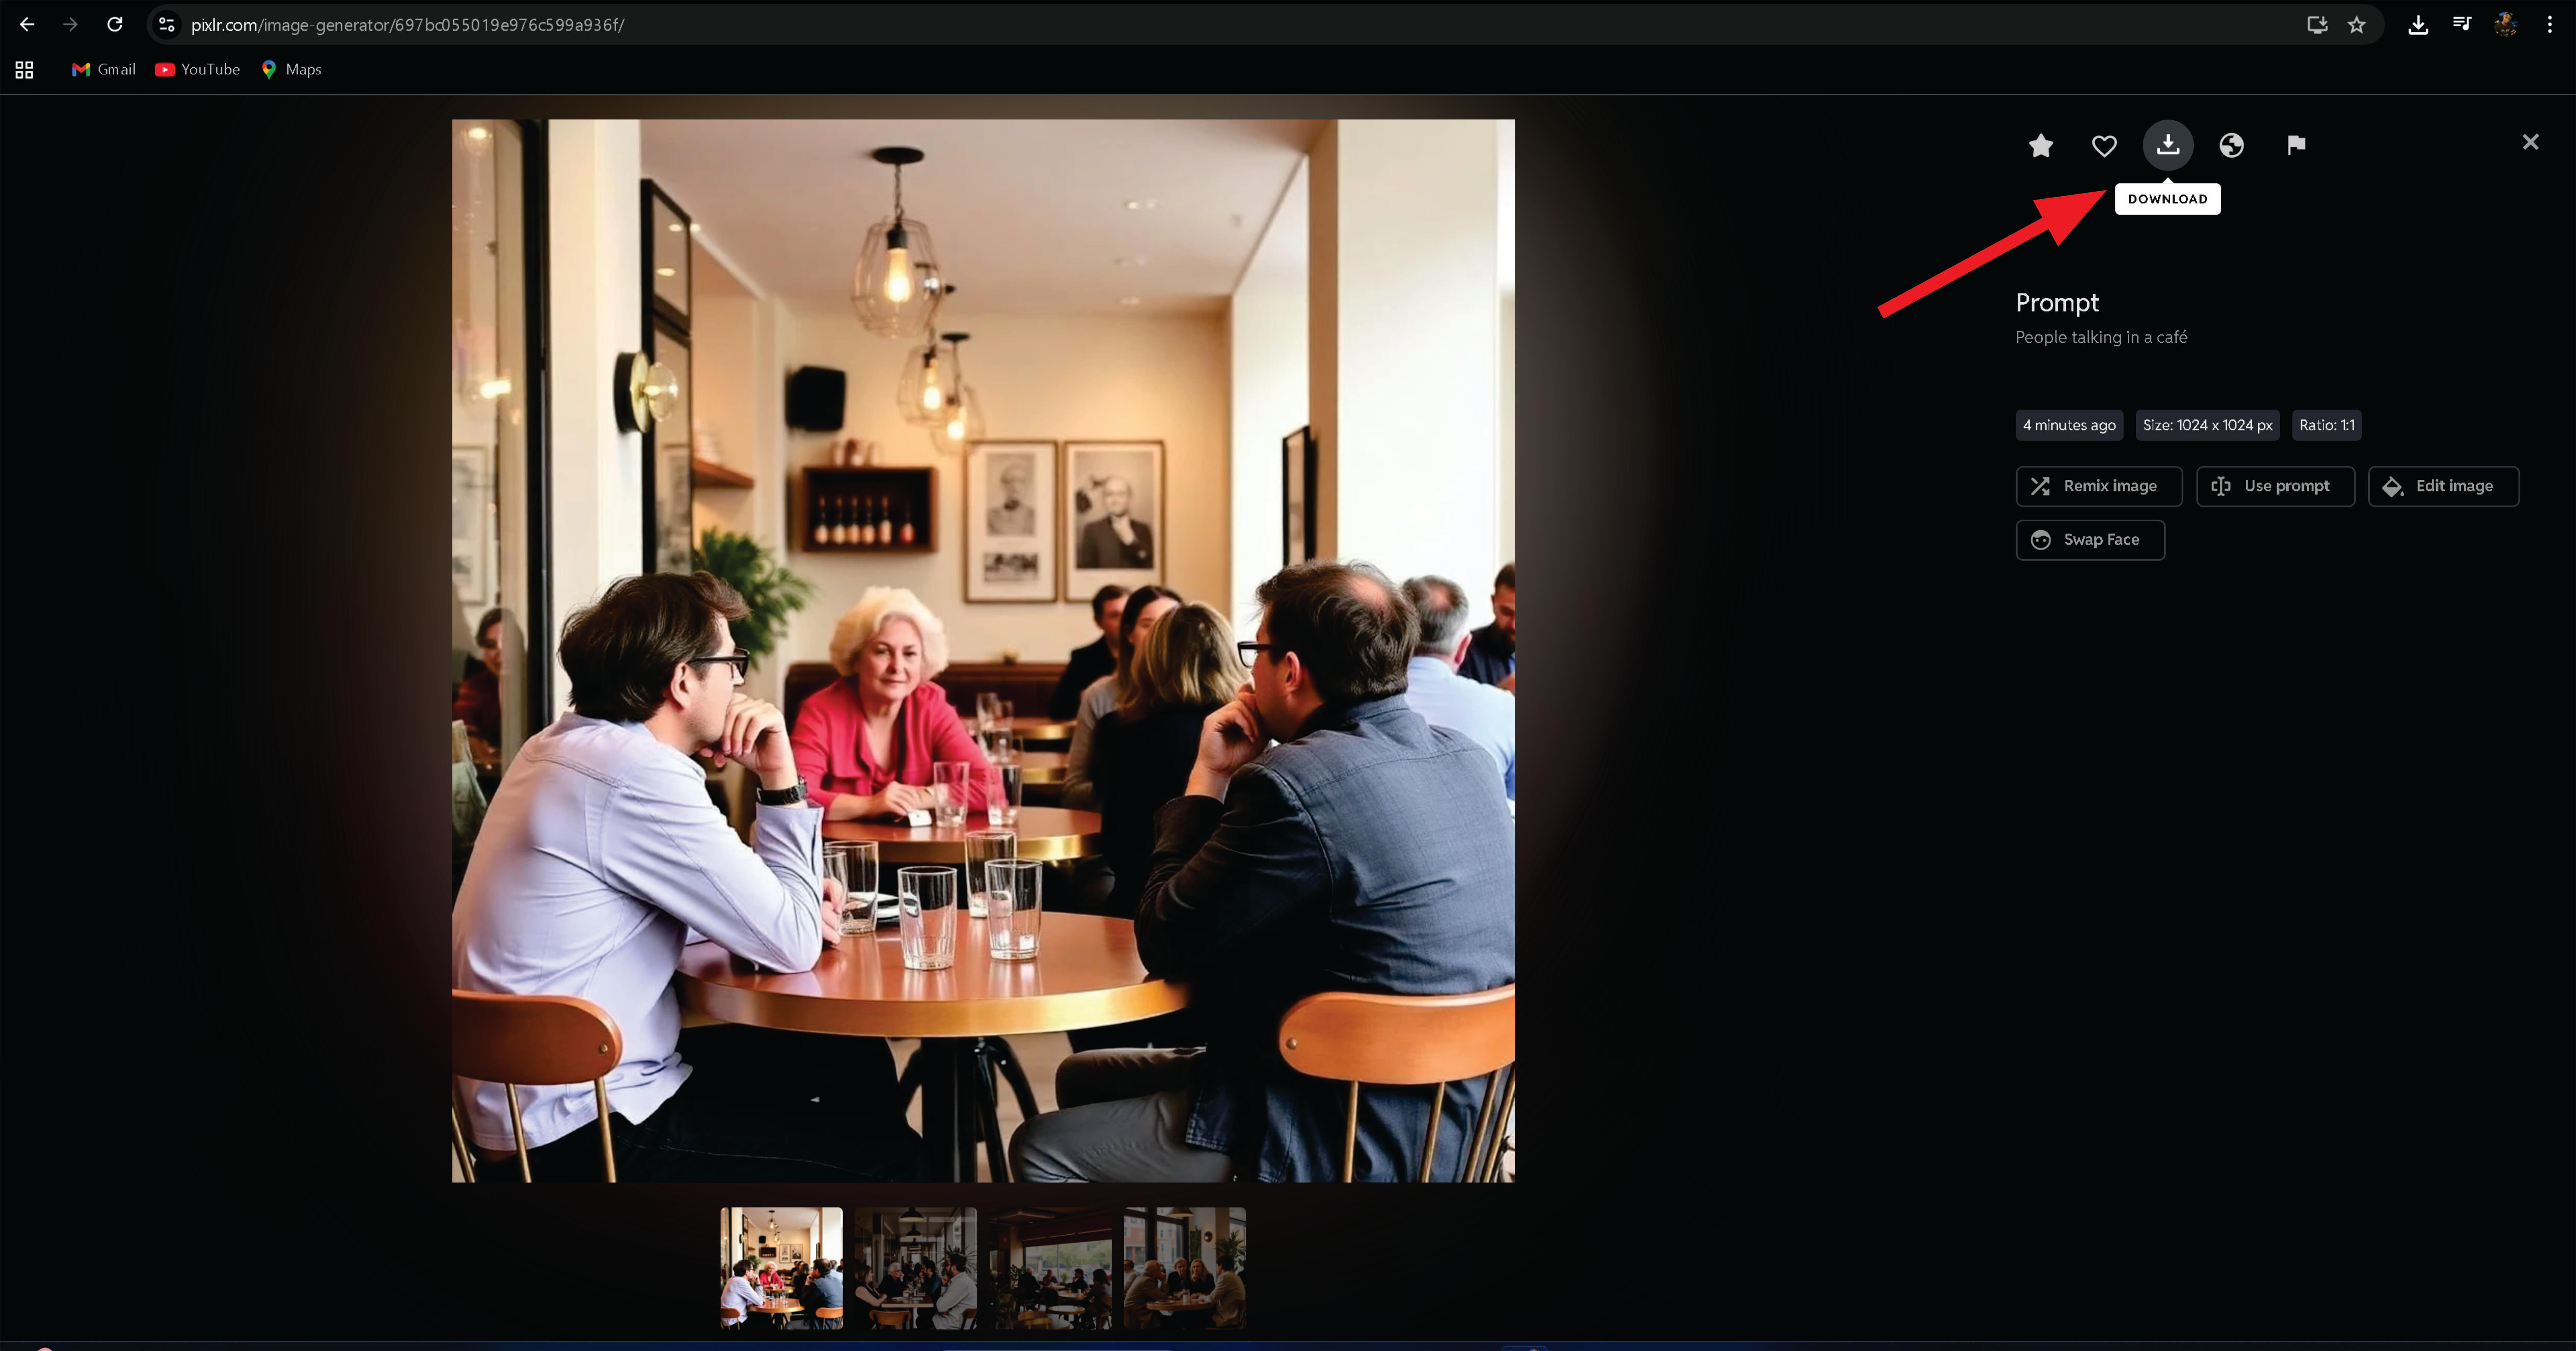
Next, I chose the image with the best lighting and clicked the download icon.
2D vector Design
CorelDRAW
CorelDRAW is a vector graphic design software used to create and edit illustrations, logos, posters, banners, and other graphic designs
Key Features
- Vector drawing tools (shapes, curves, paths)
- Text and typography tools
- Color management
- Page layout and alignment tools
- Export to formats like PDF, SVG, PNG, JPG
CorelDRAW Instation
To install CorelDraw, I downloaded it from CorelDRAW website. I used free trial. After install, I started right away. The picture below is the blank page of CorelDRAW.First step, I set document size of 300x600mm
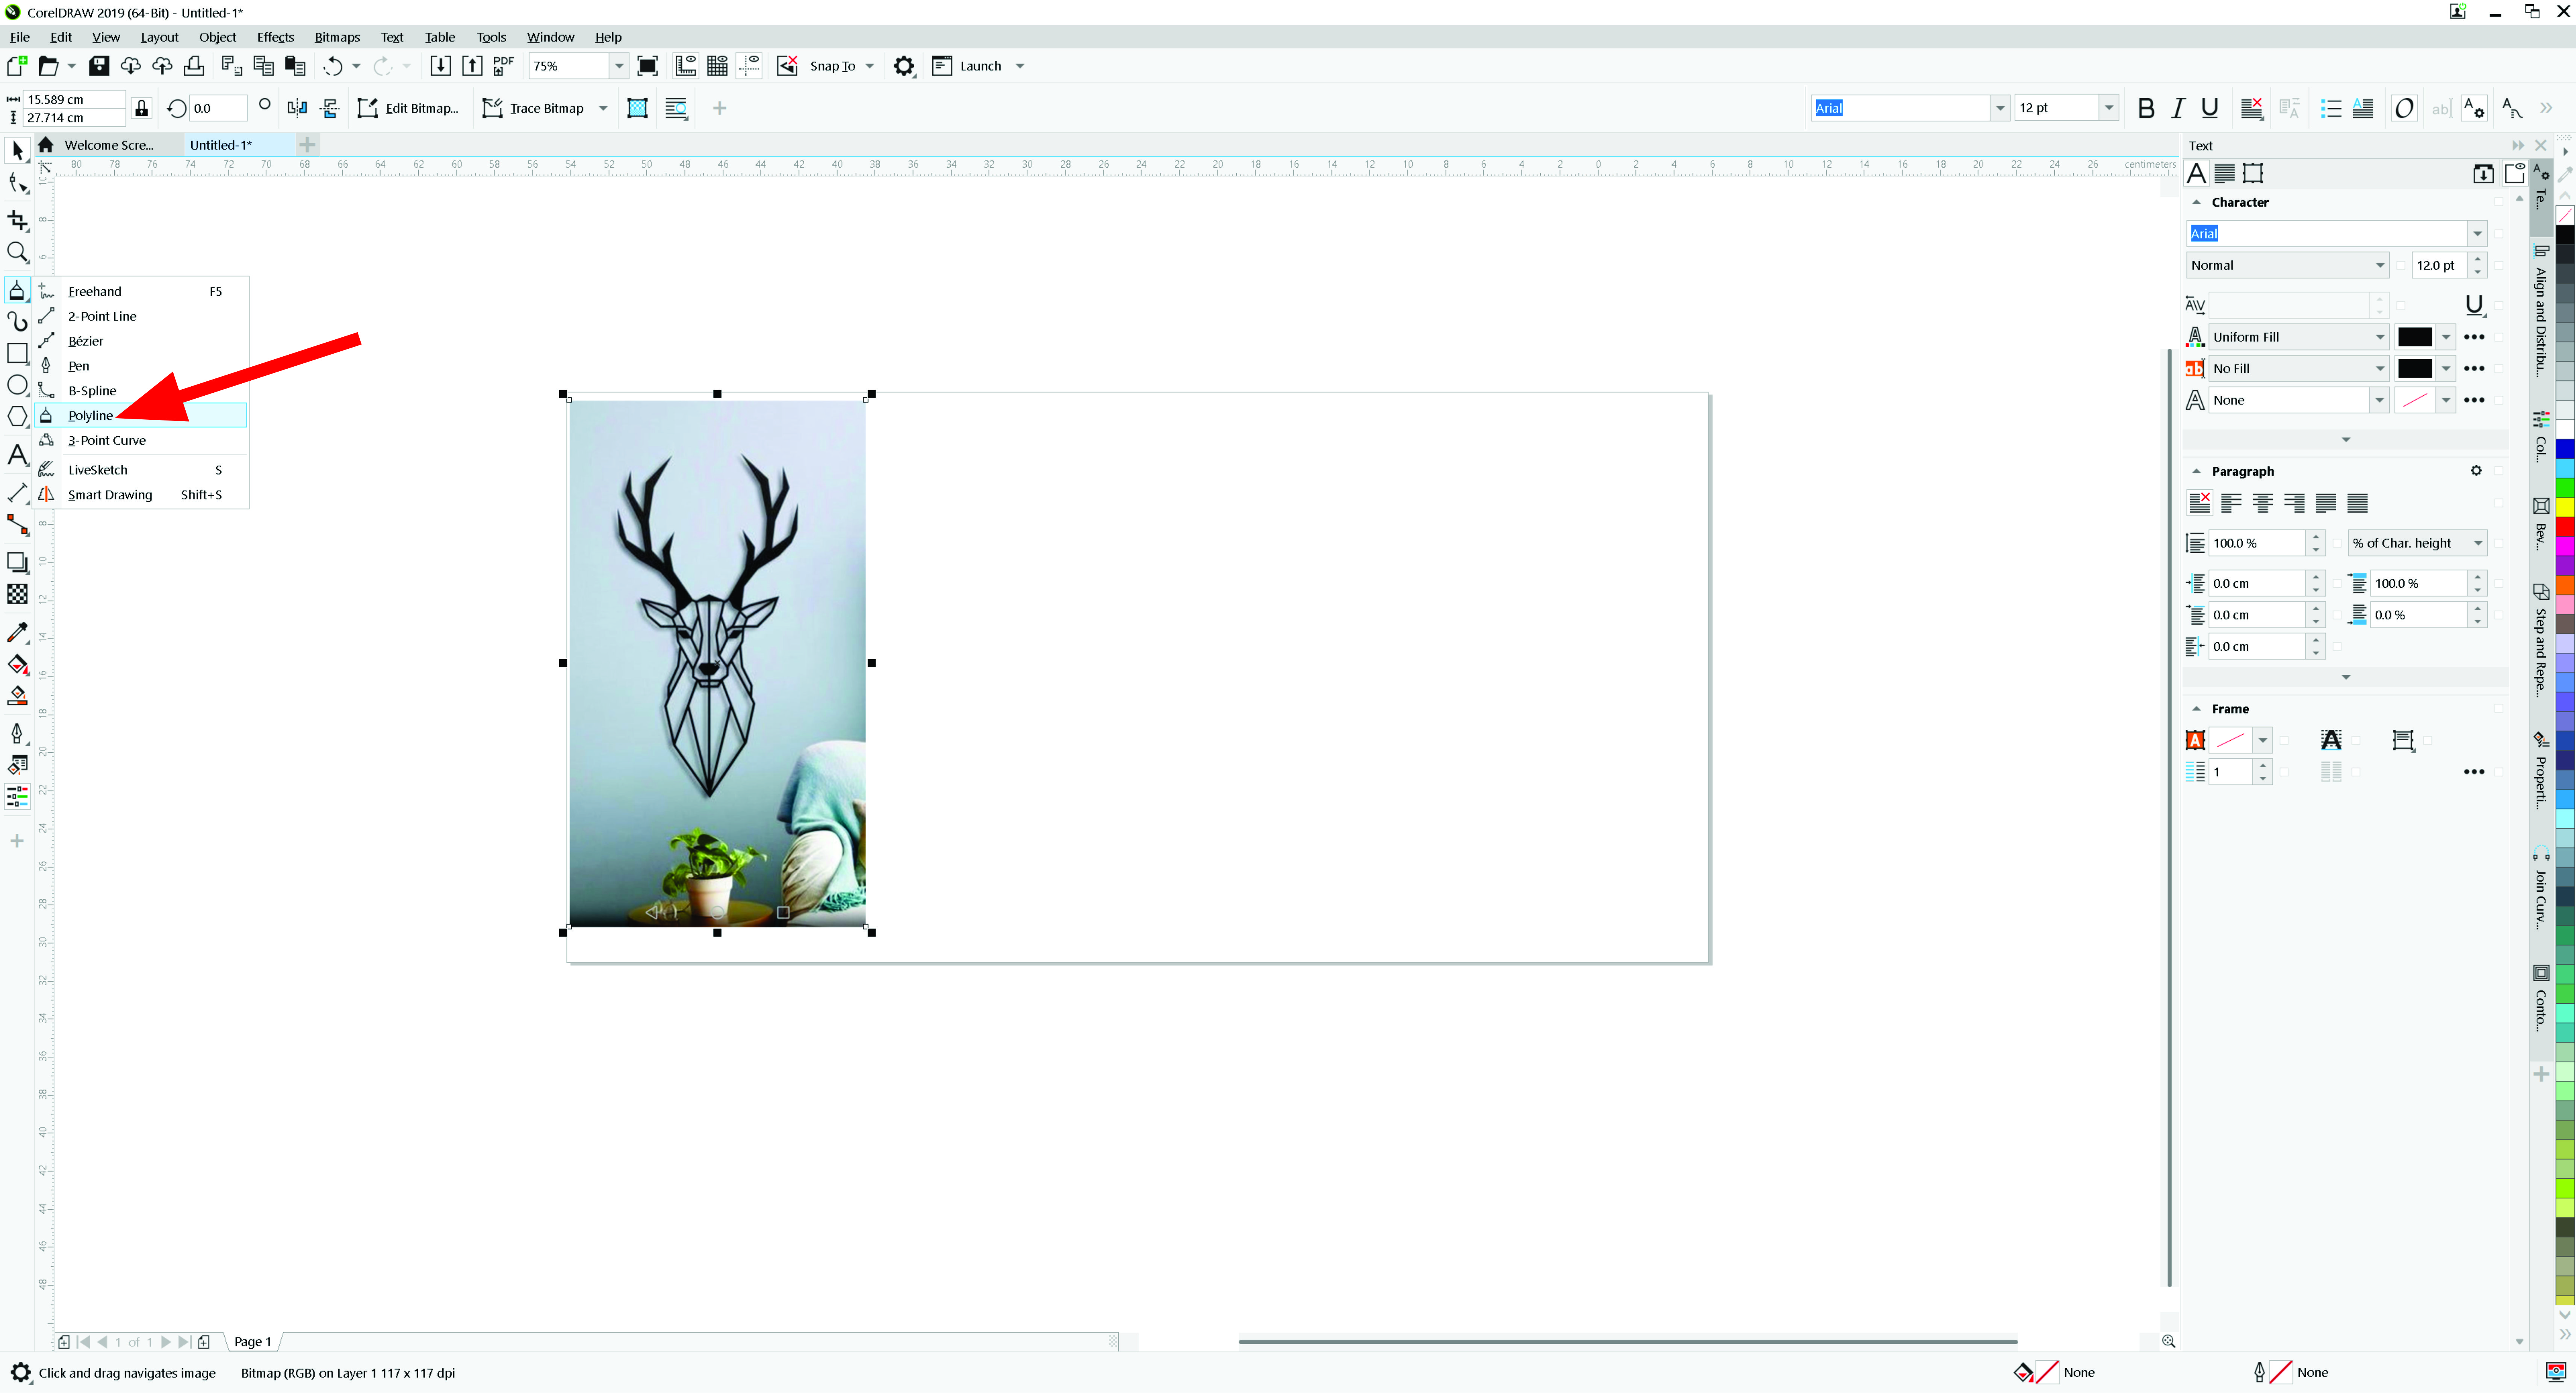
next, A photo was imported into CorelDRAW Anthrop animal
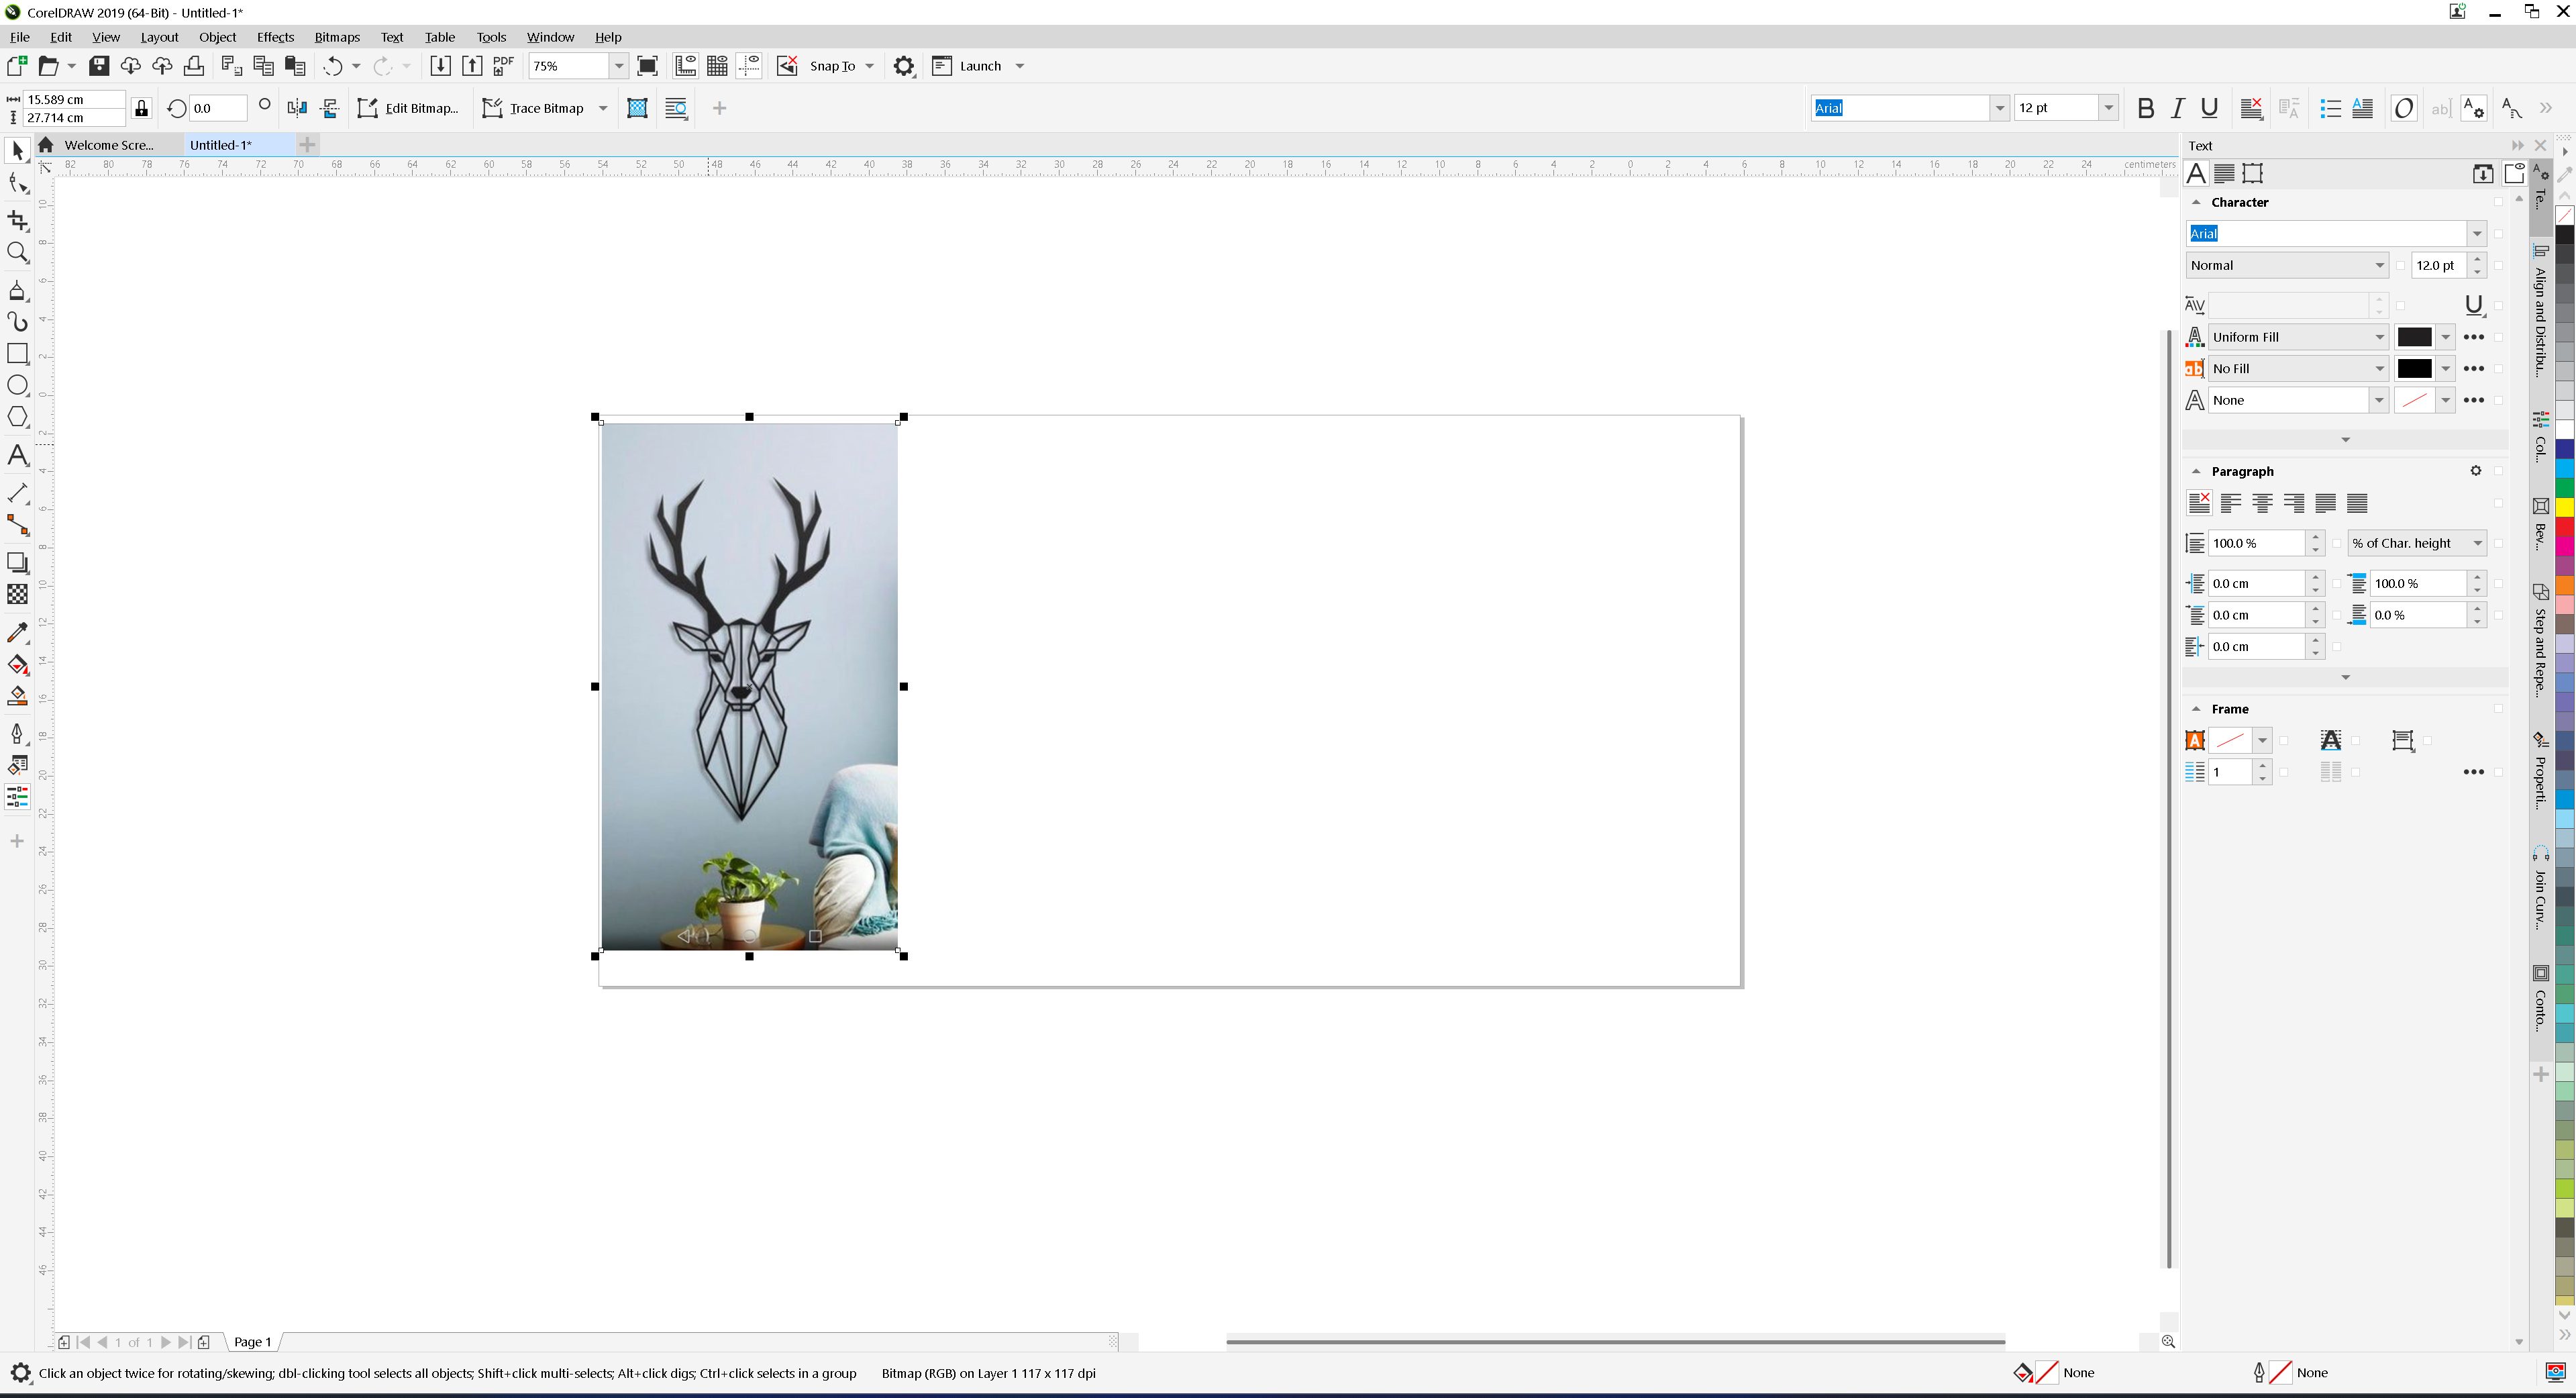
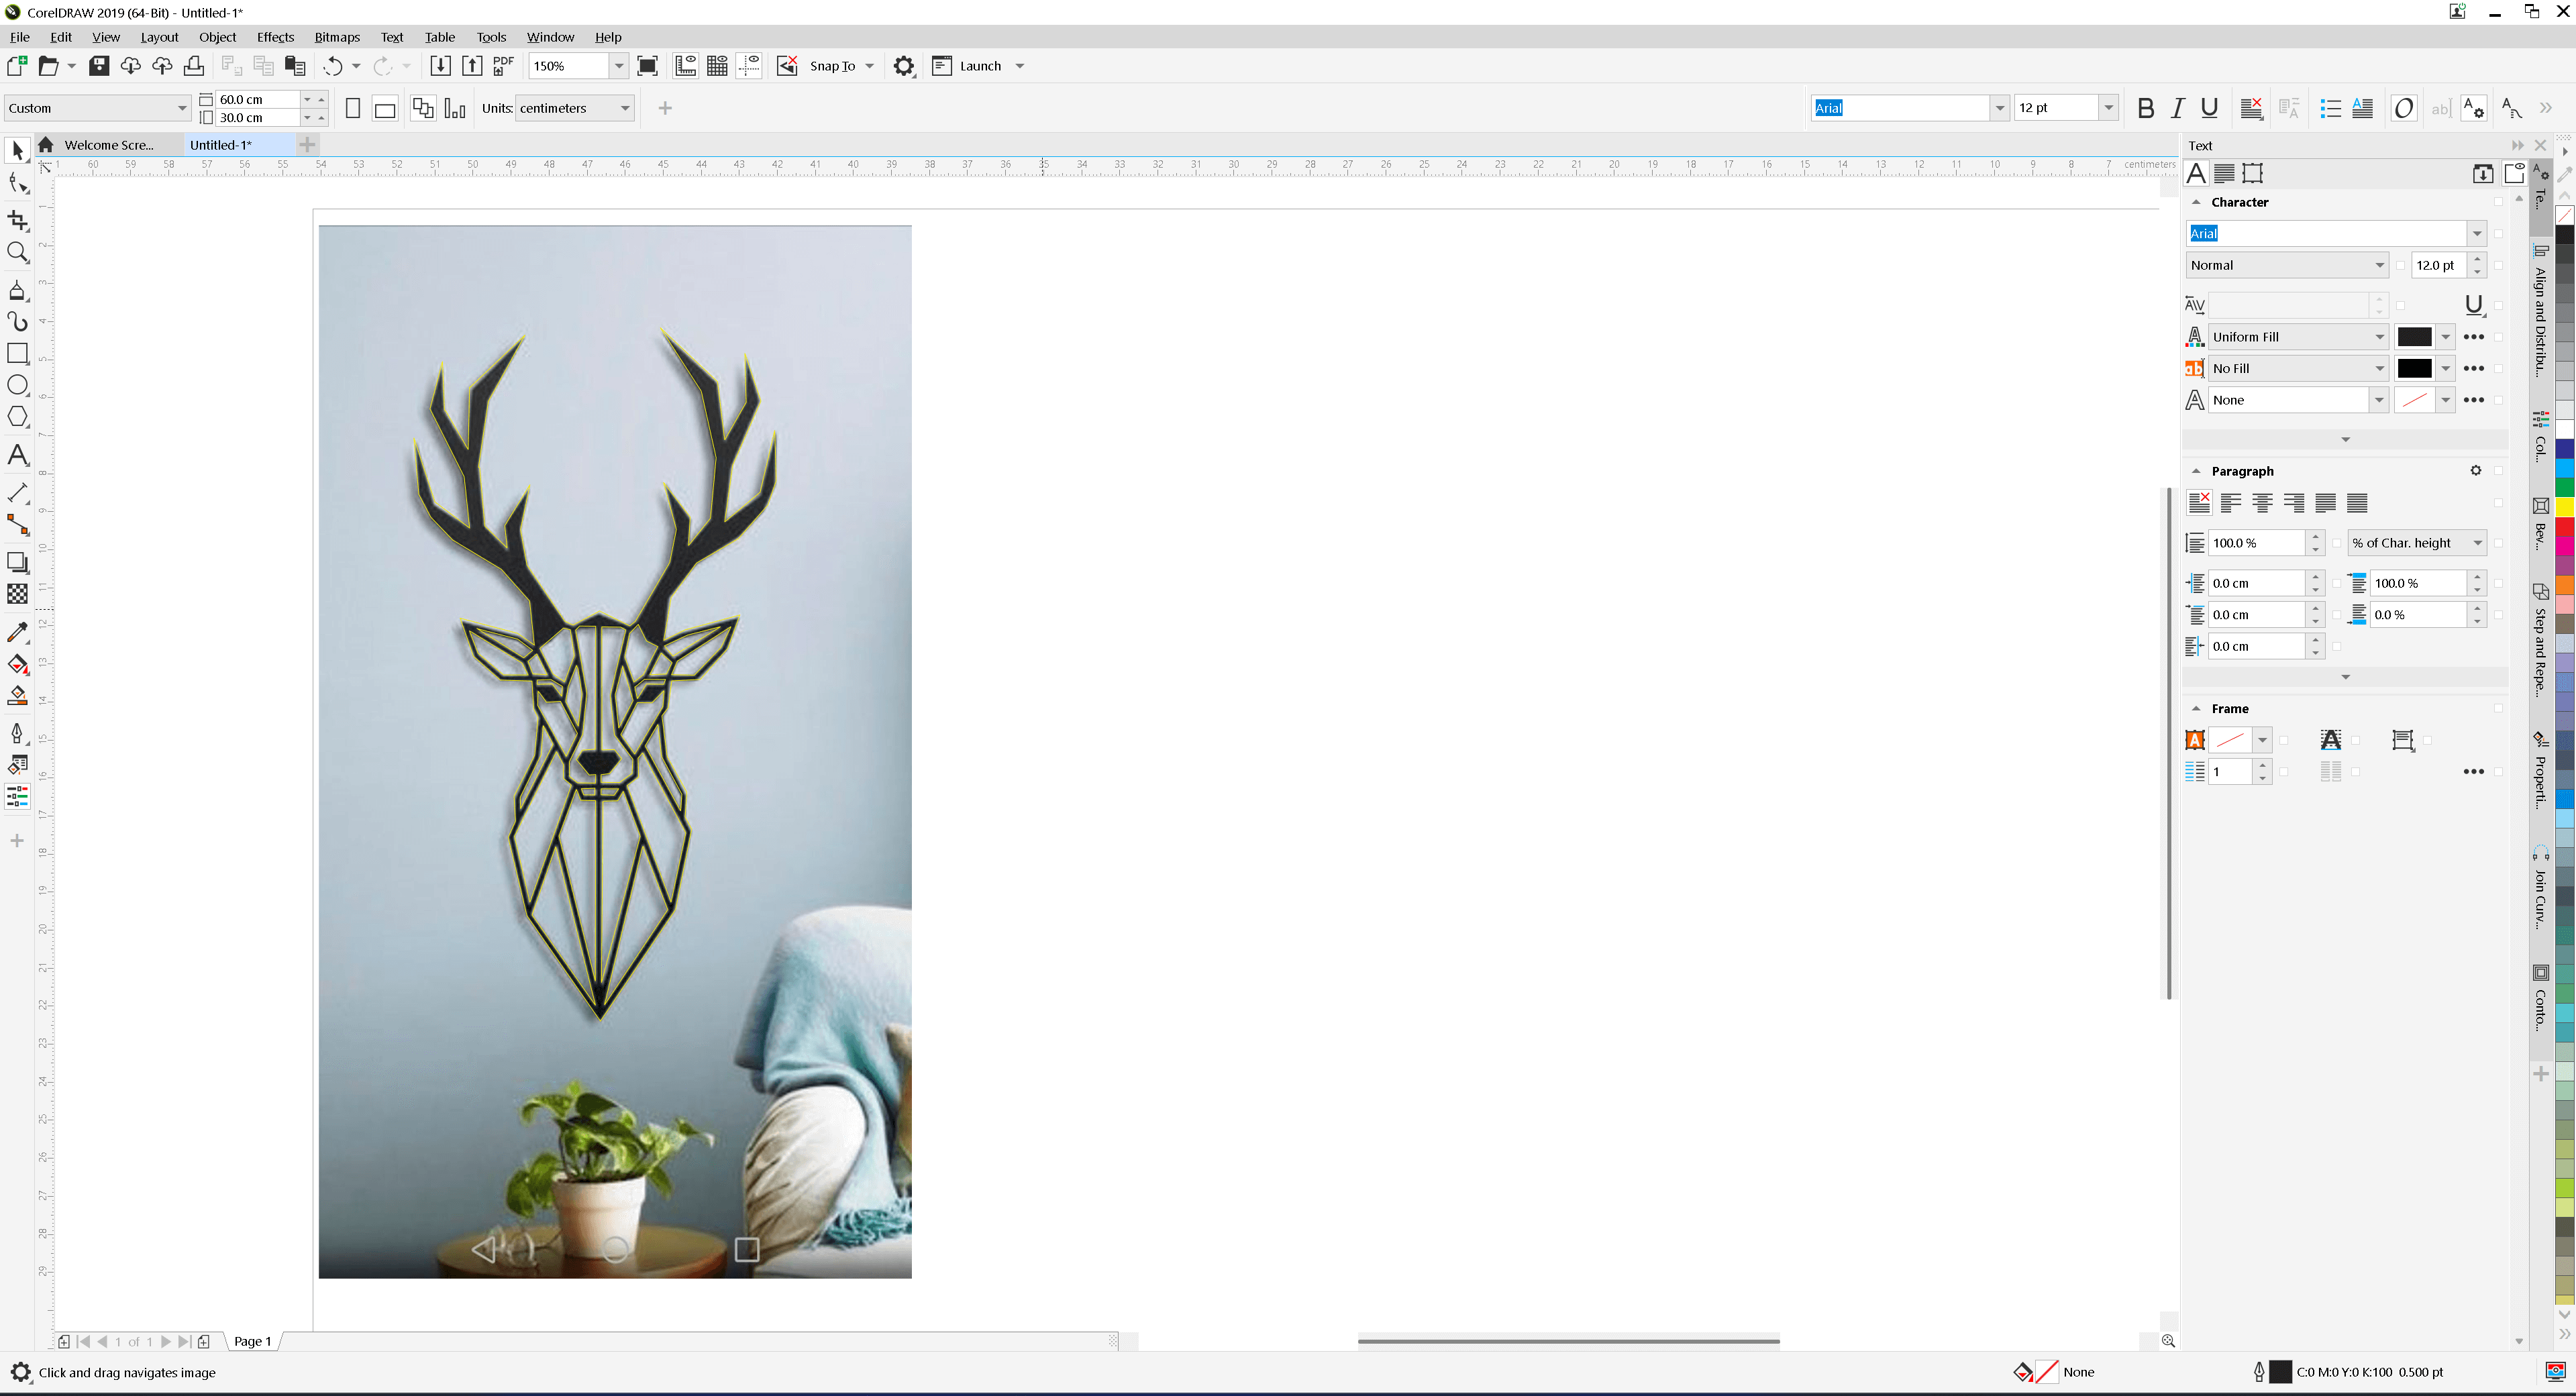
I used polyline tool to trace all the outlines
Result afterward
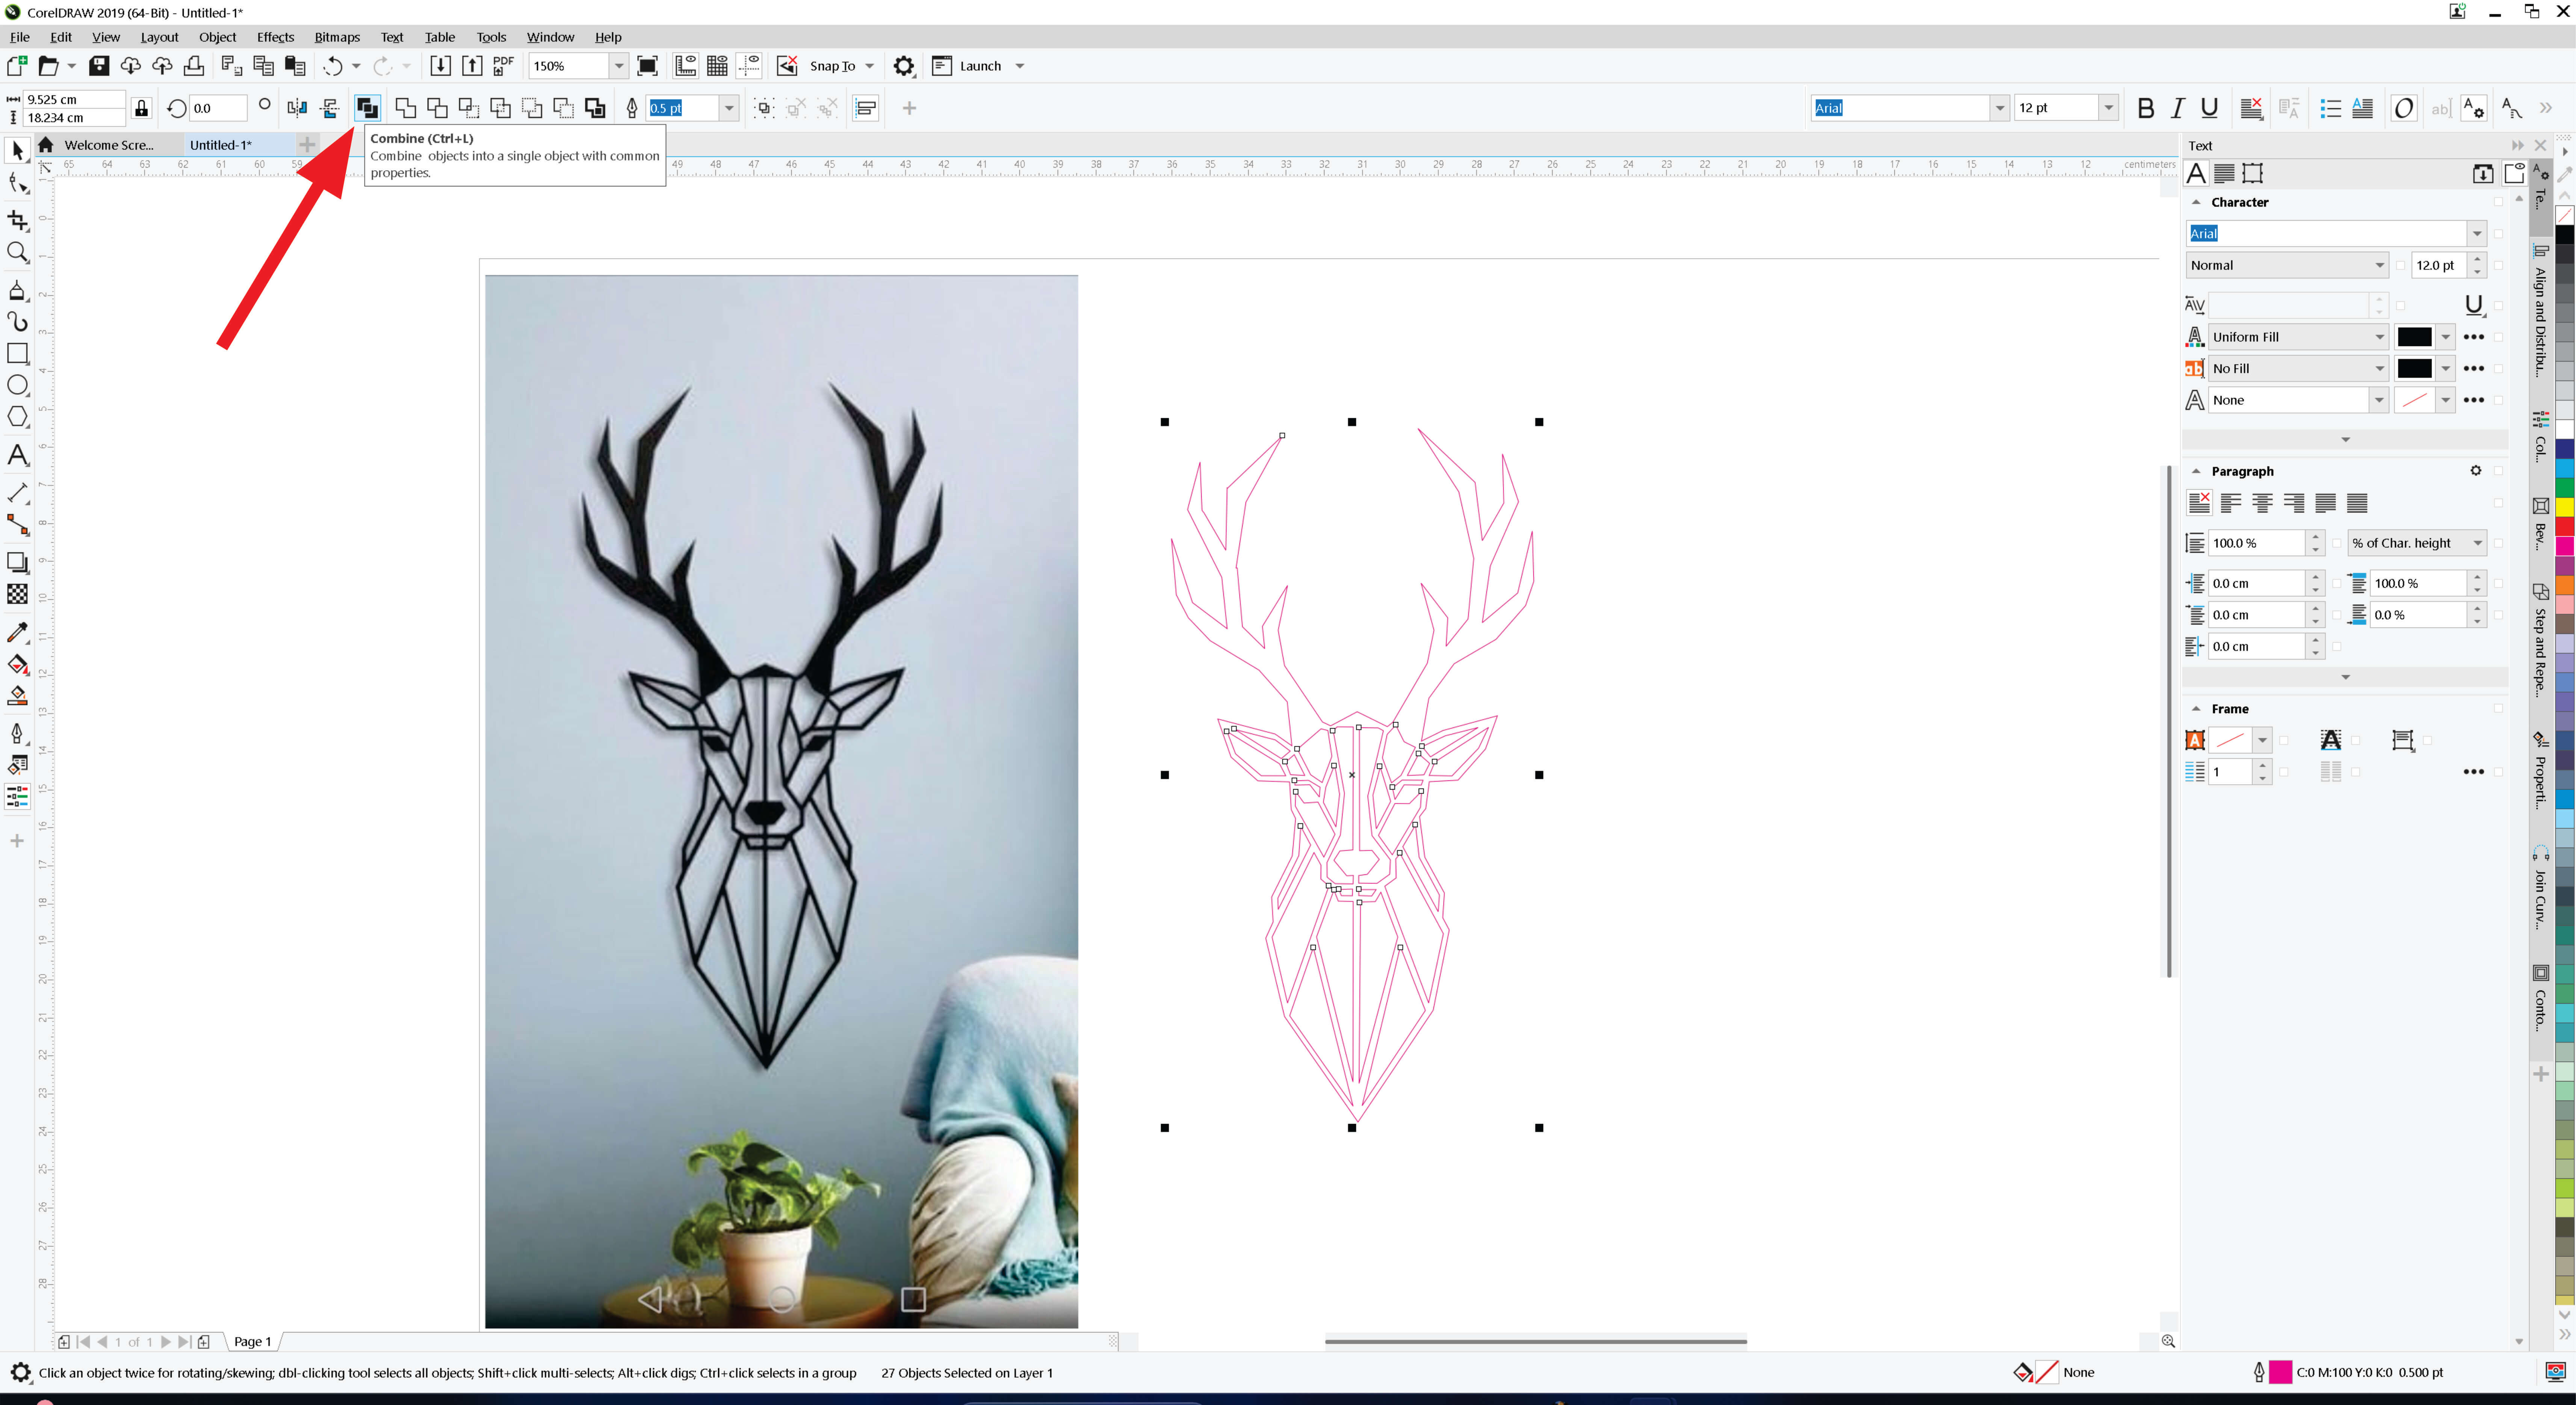
Next, I combined all items using combine tool
I filled the vector object with color

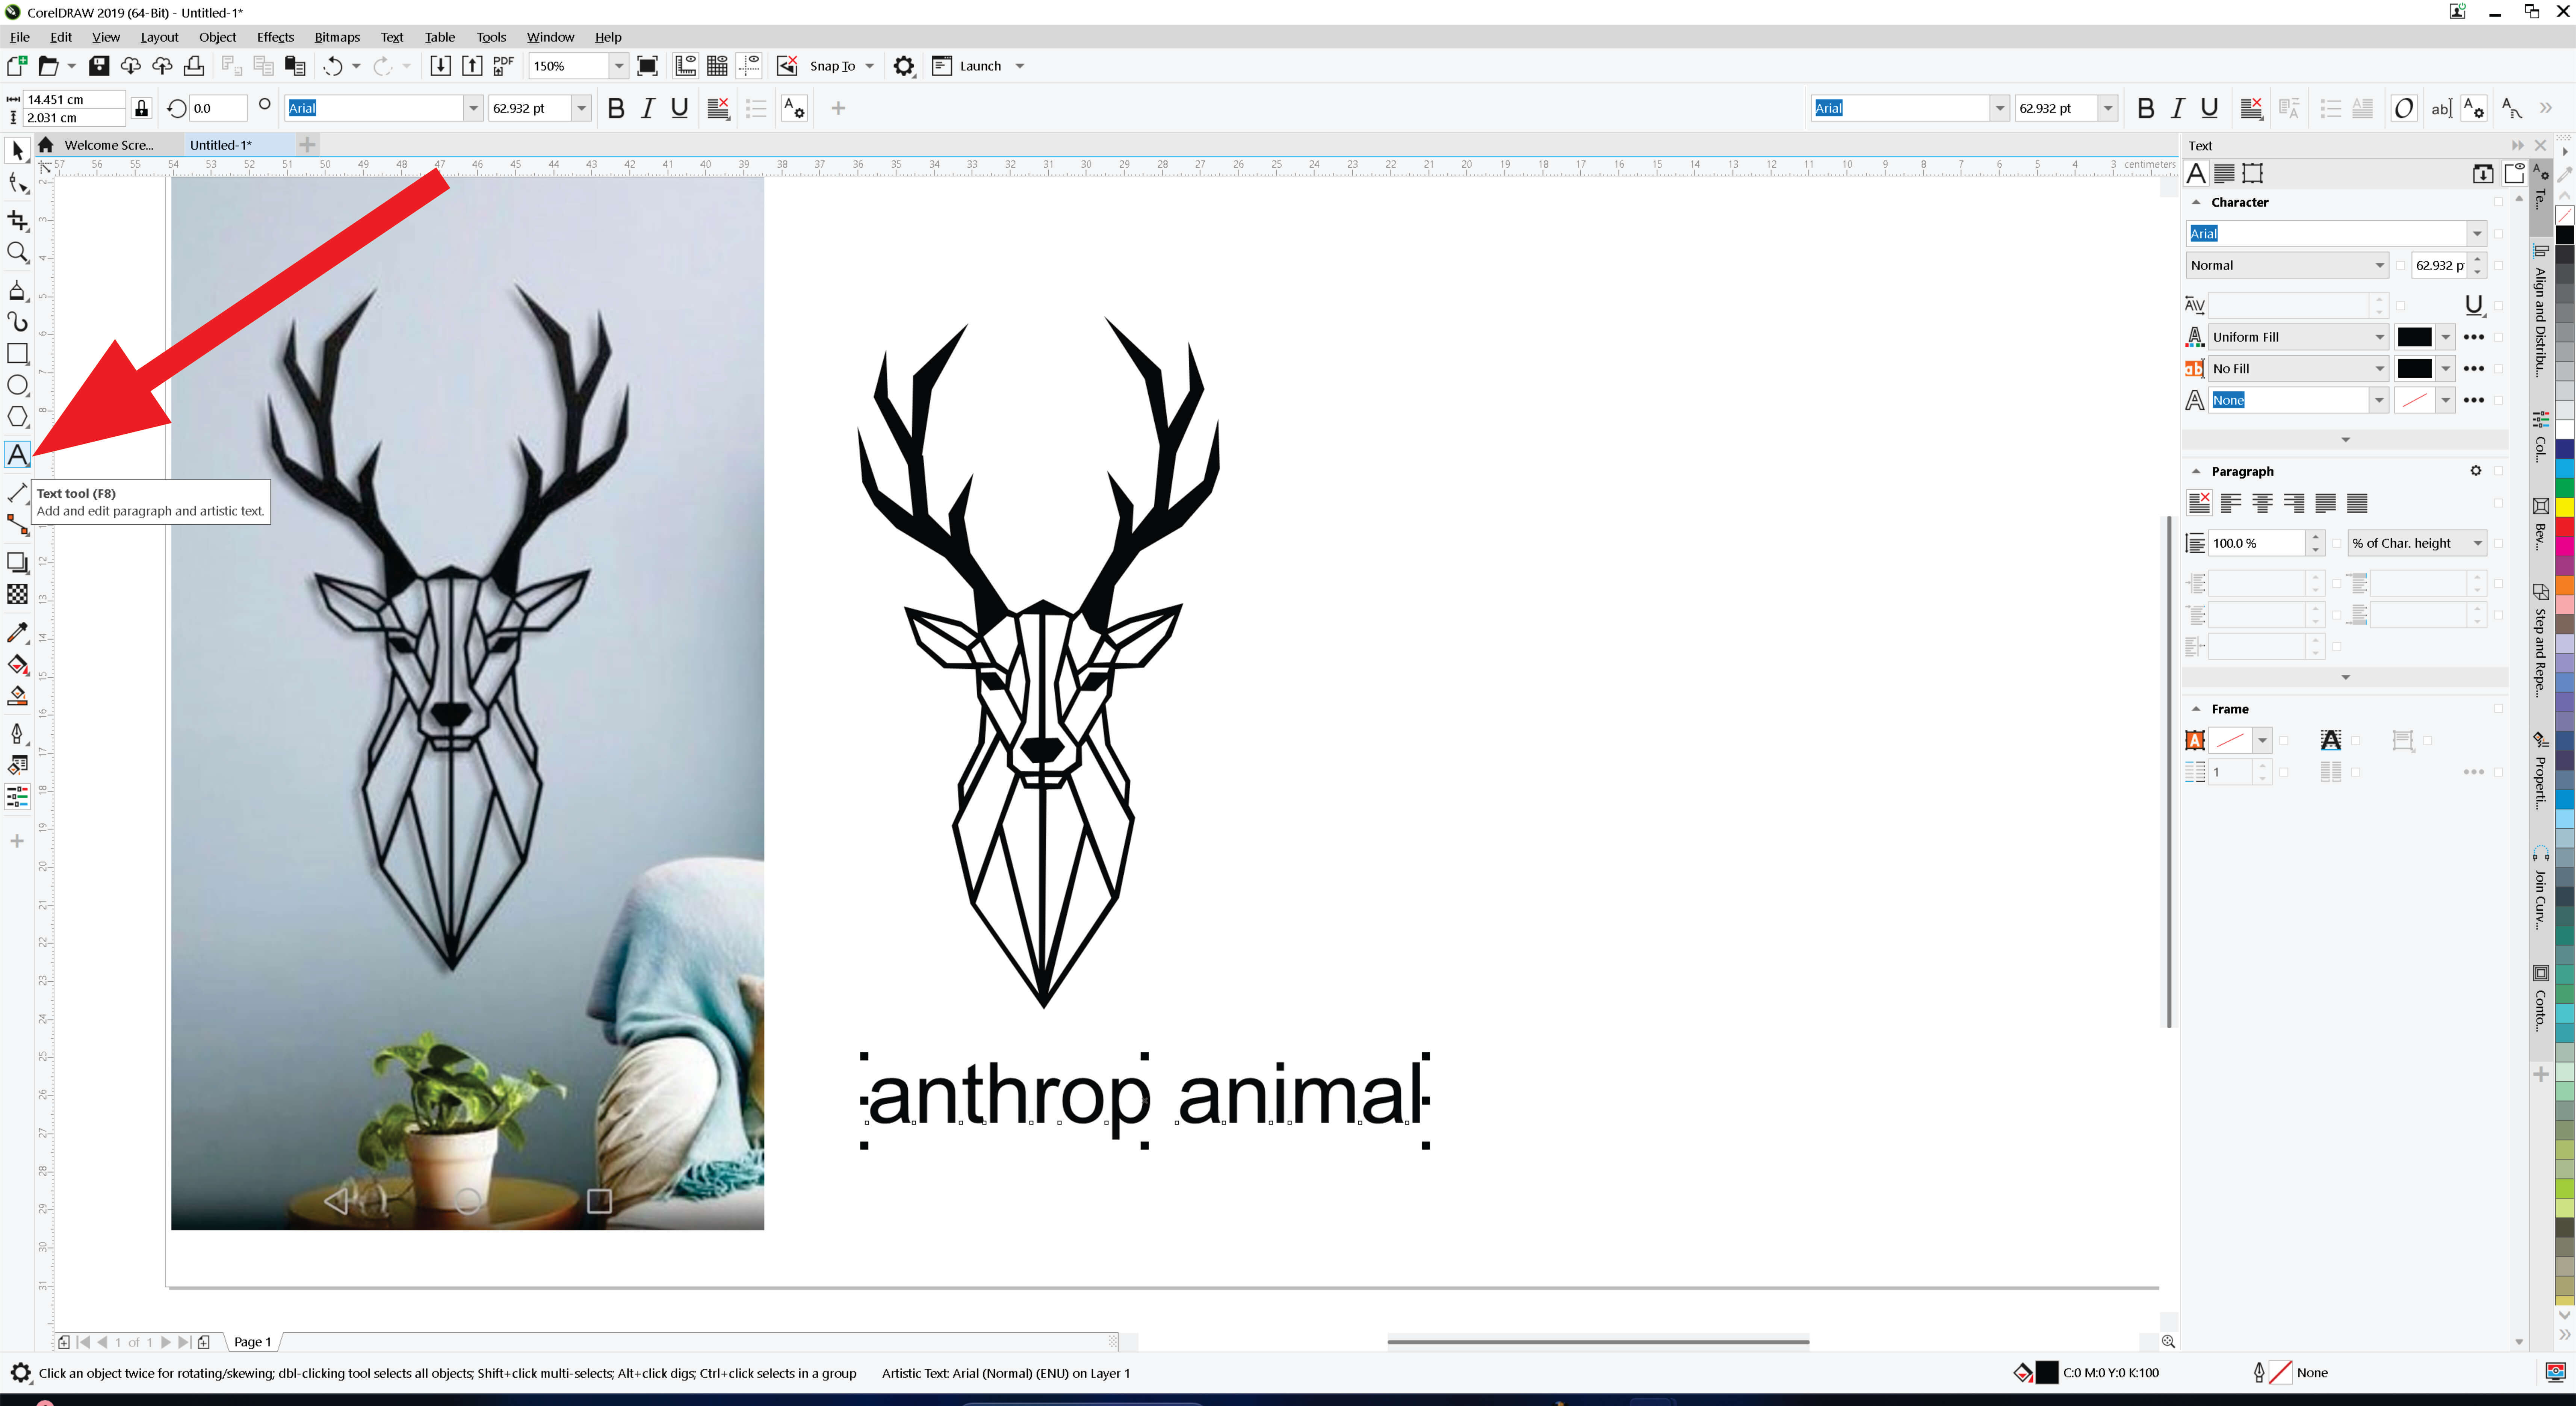
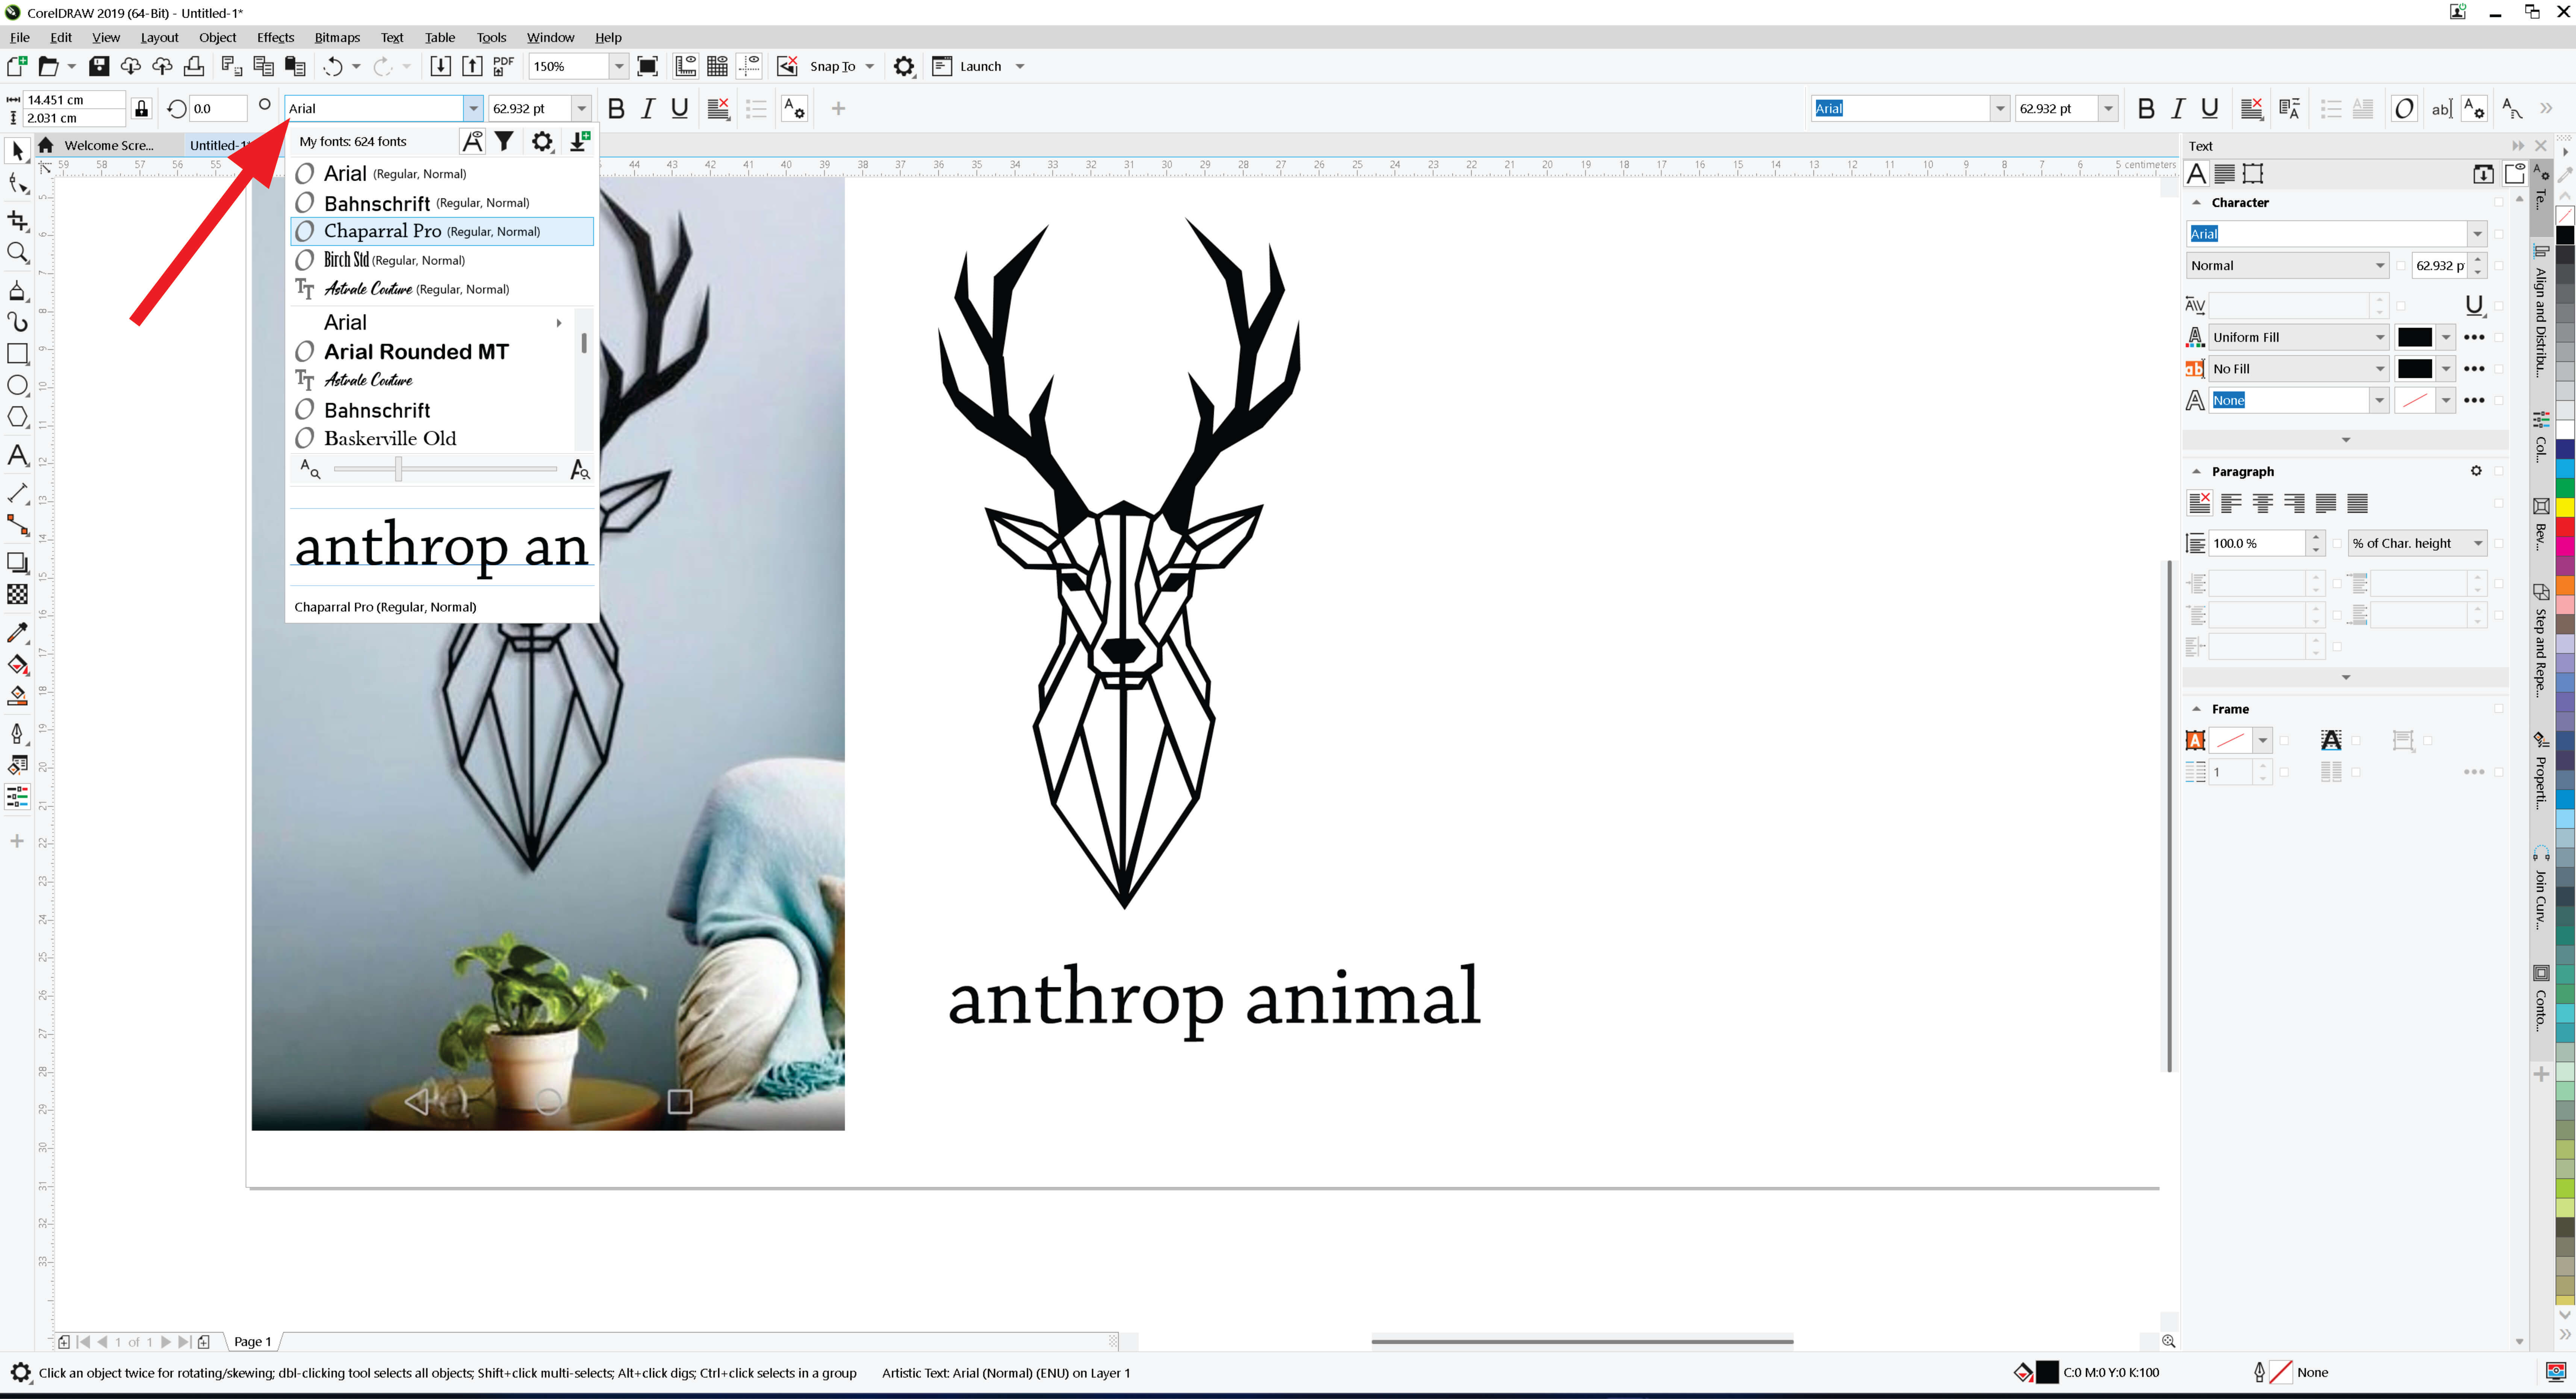
Next, I added text to the design to name the object or artwork using the Text tool
After adding text with the Text tool, I changed the font style
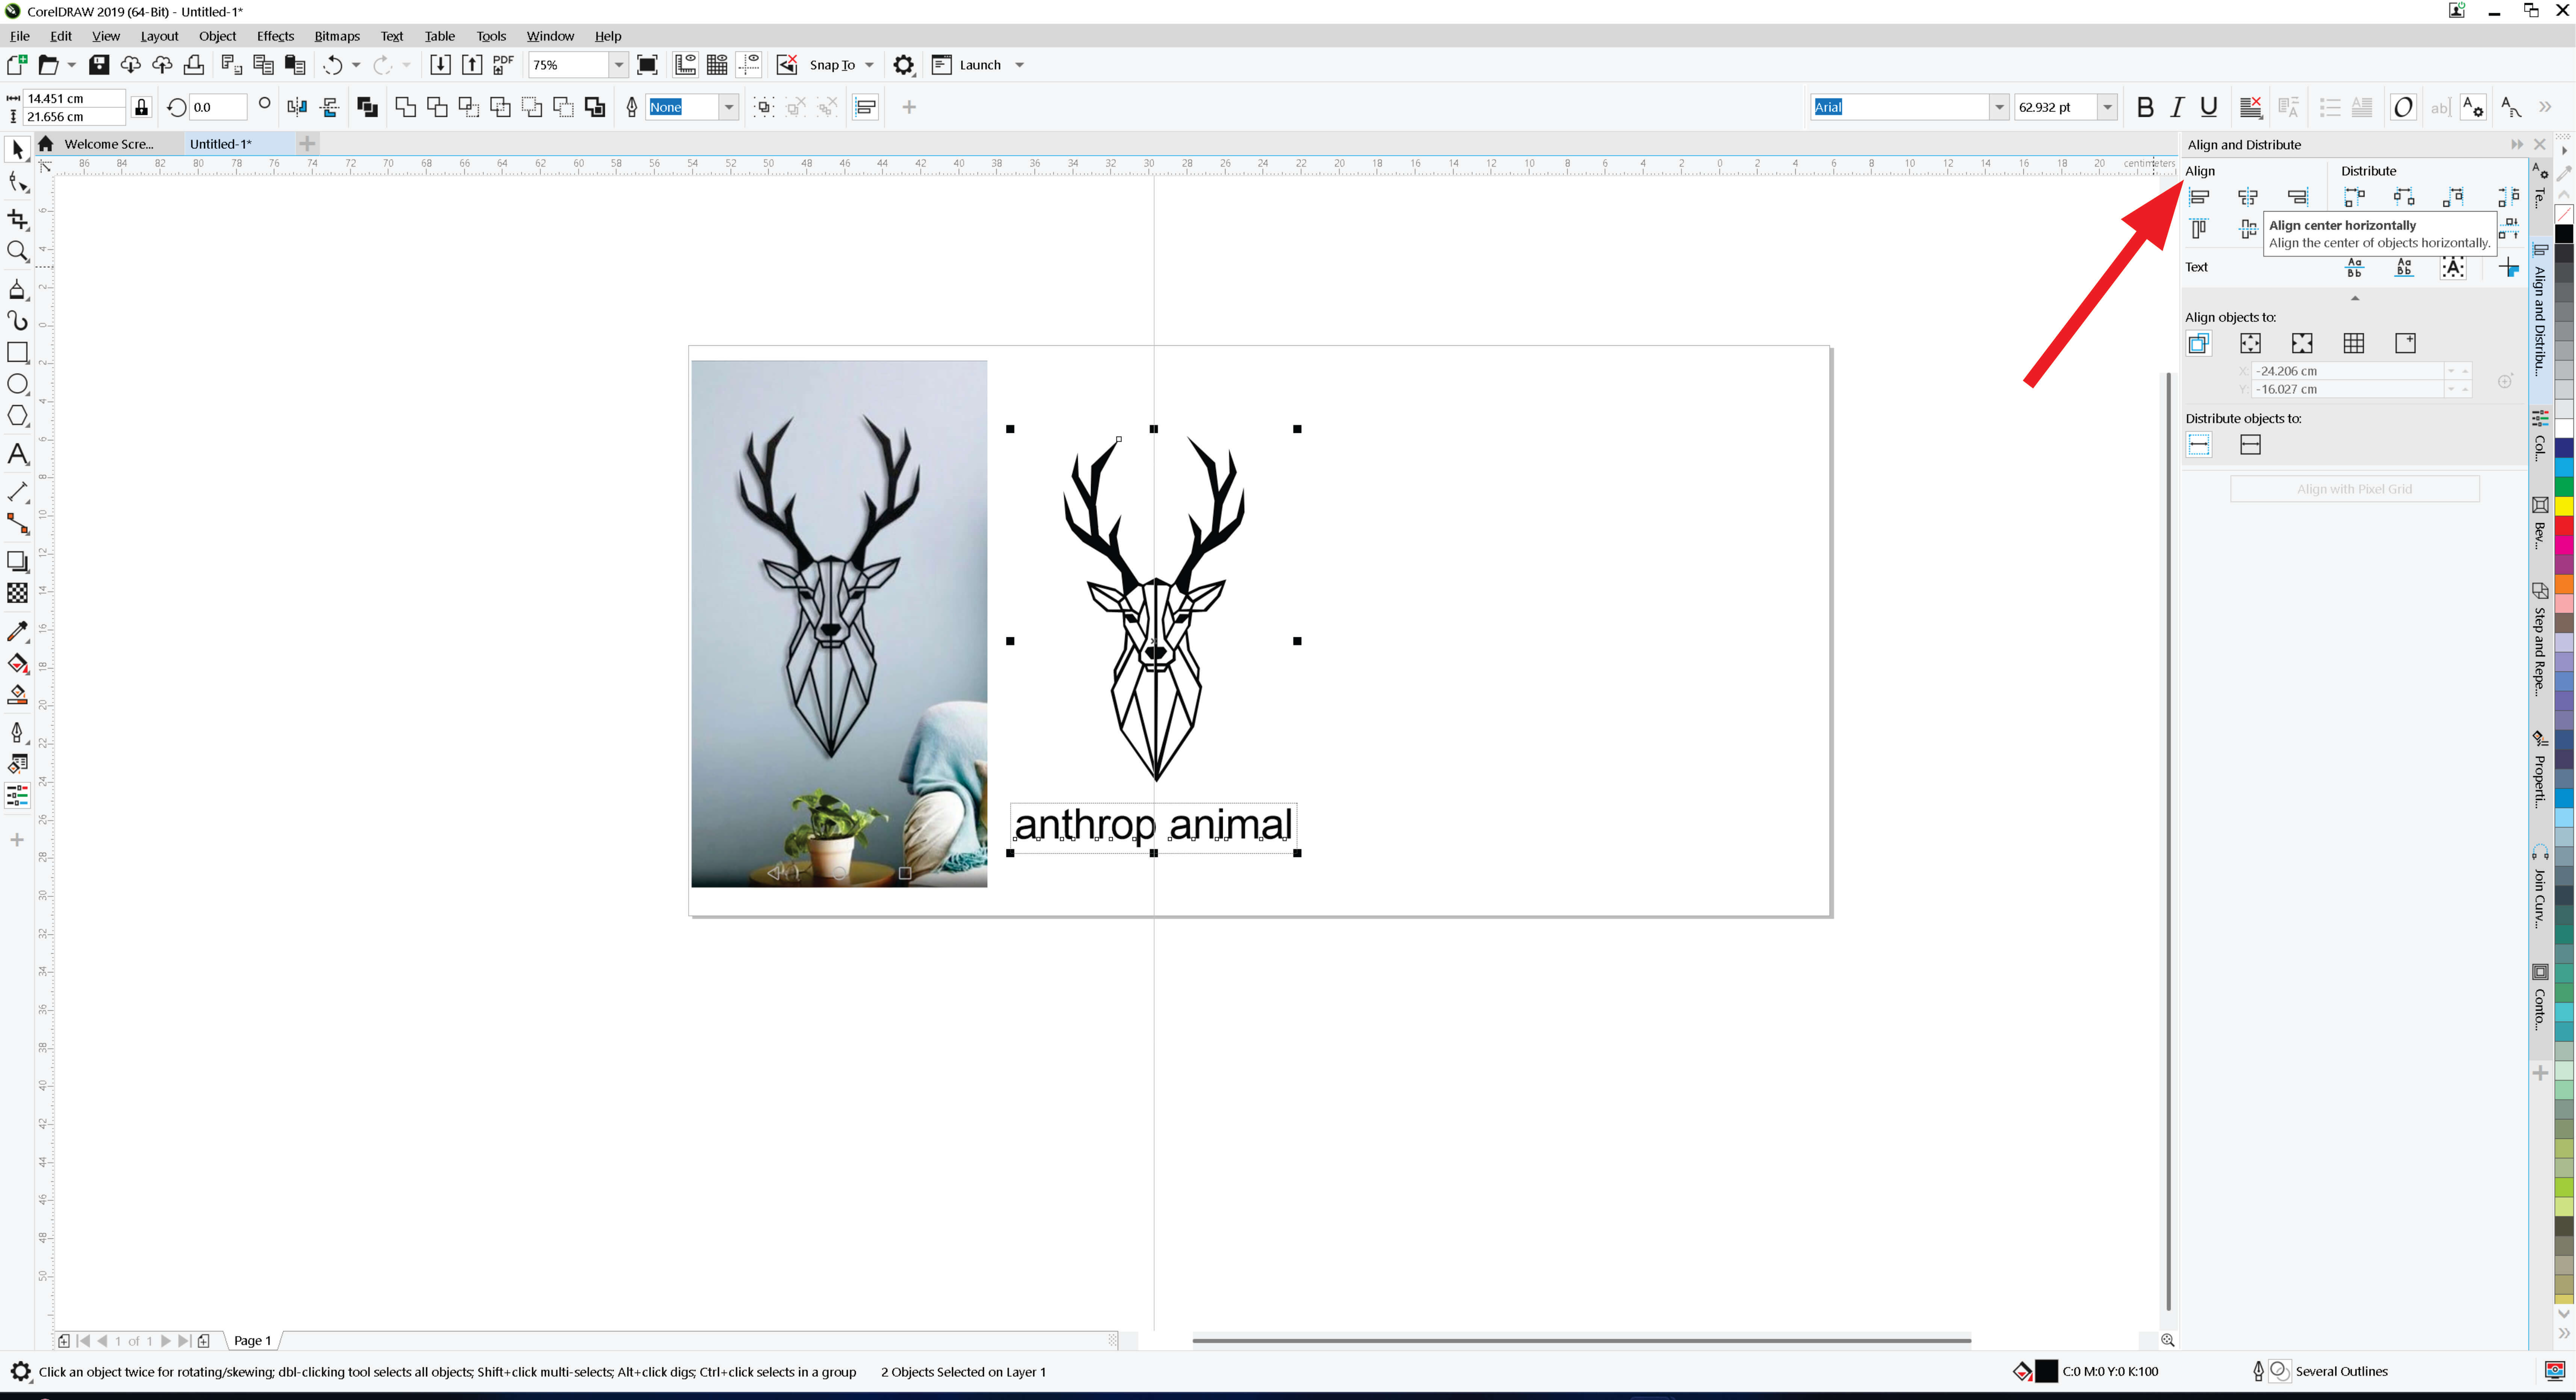
Next, I aligned artwork and text (center alignment) with align and distribute feature
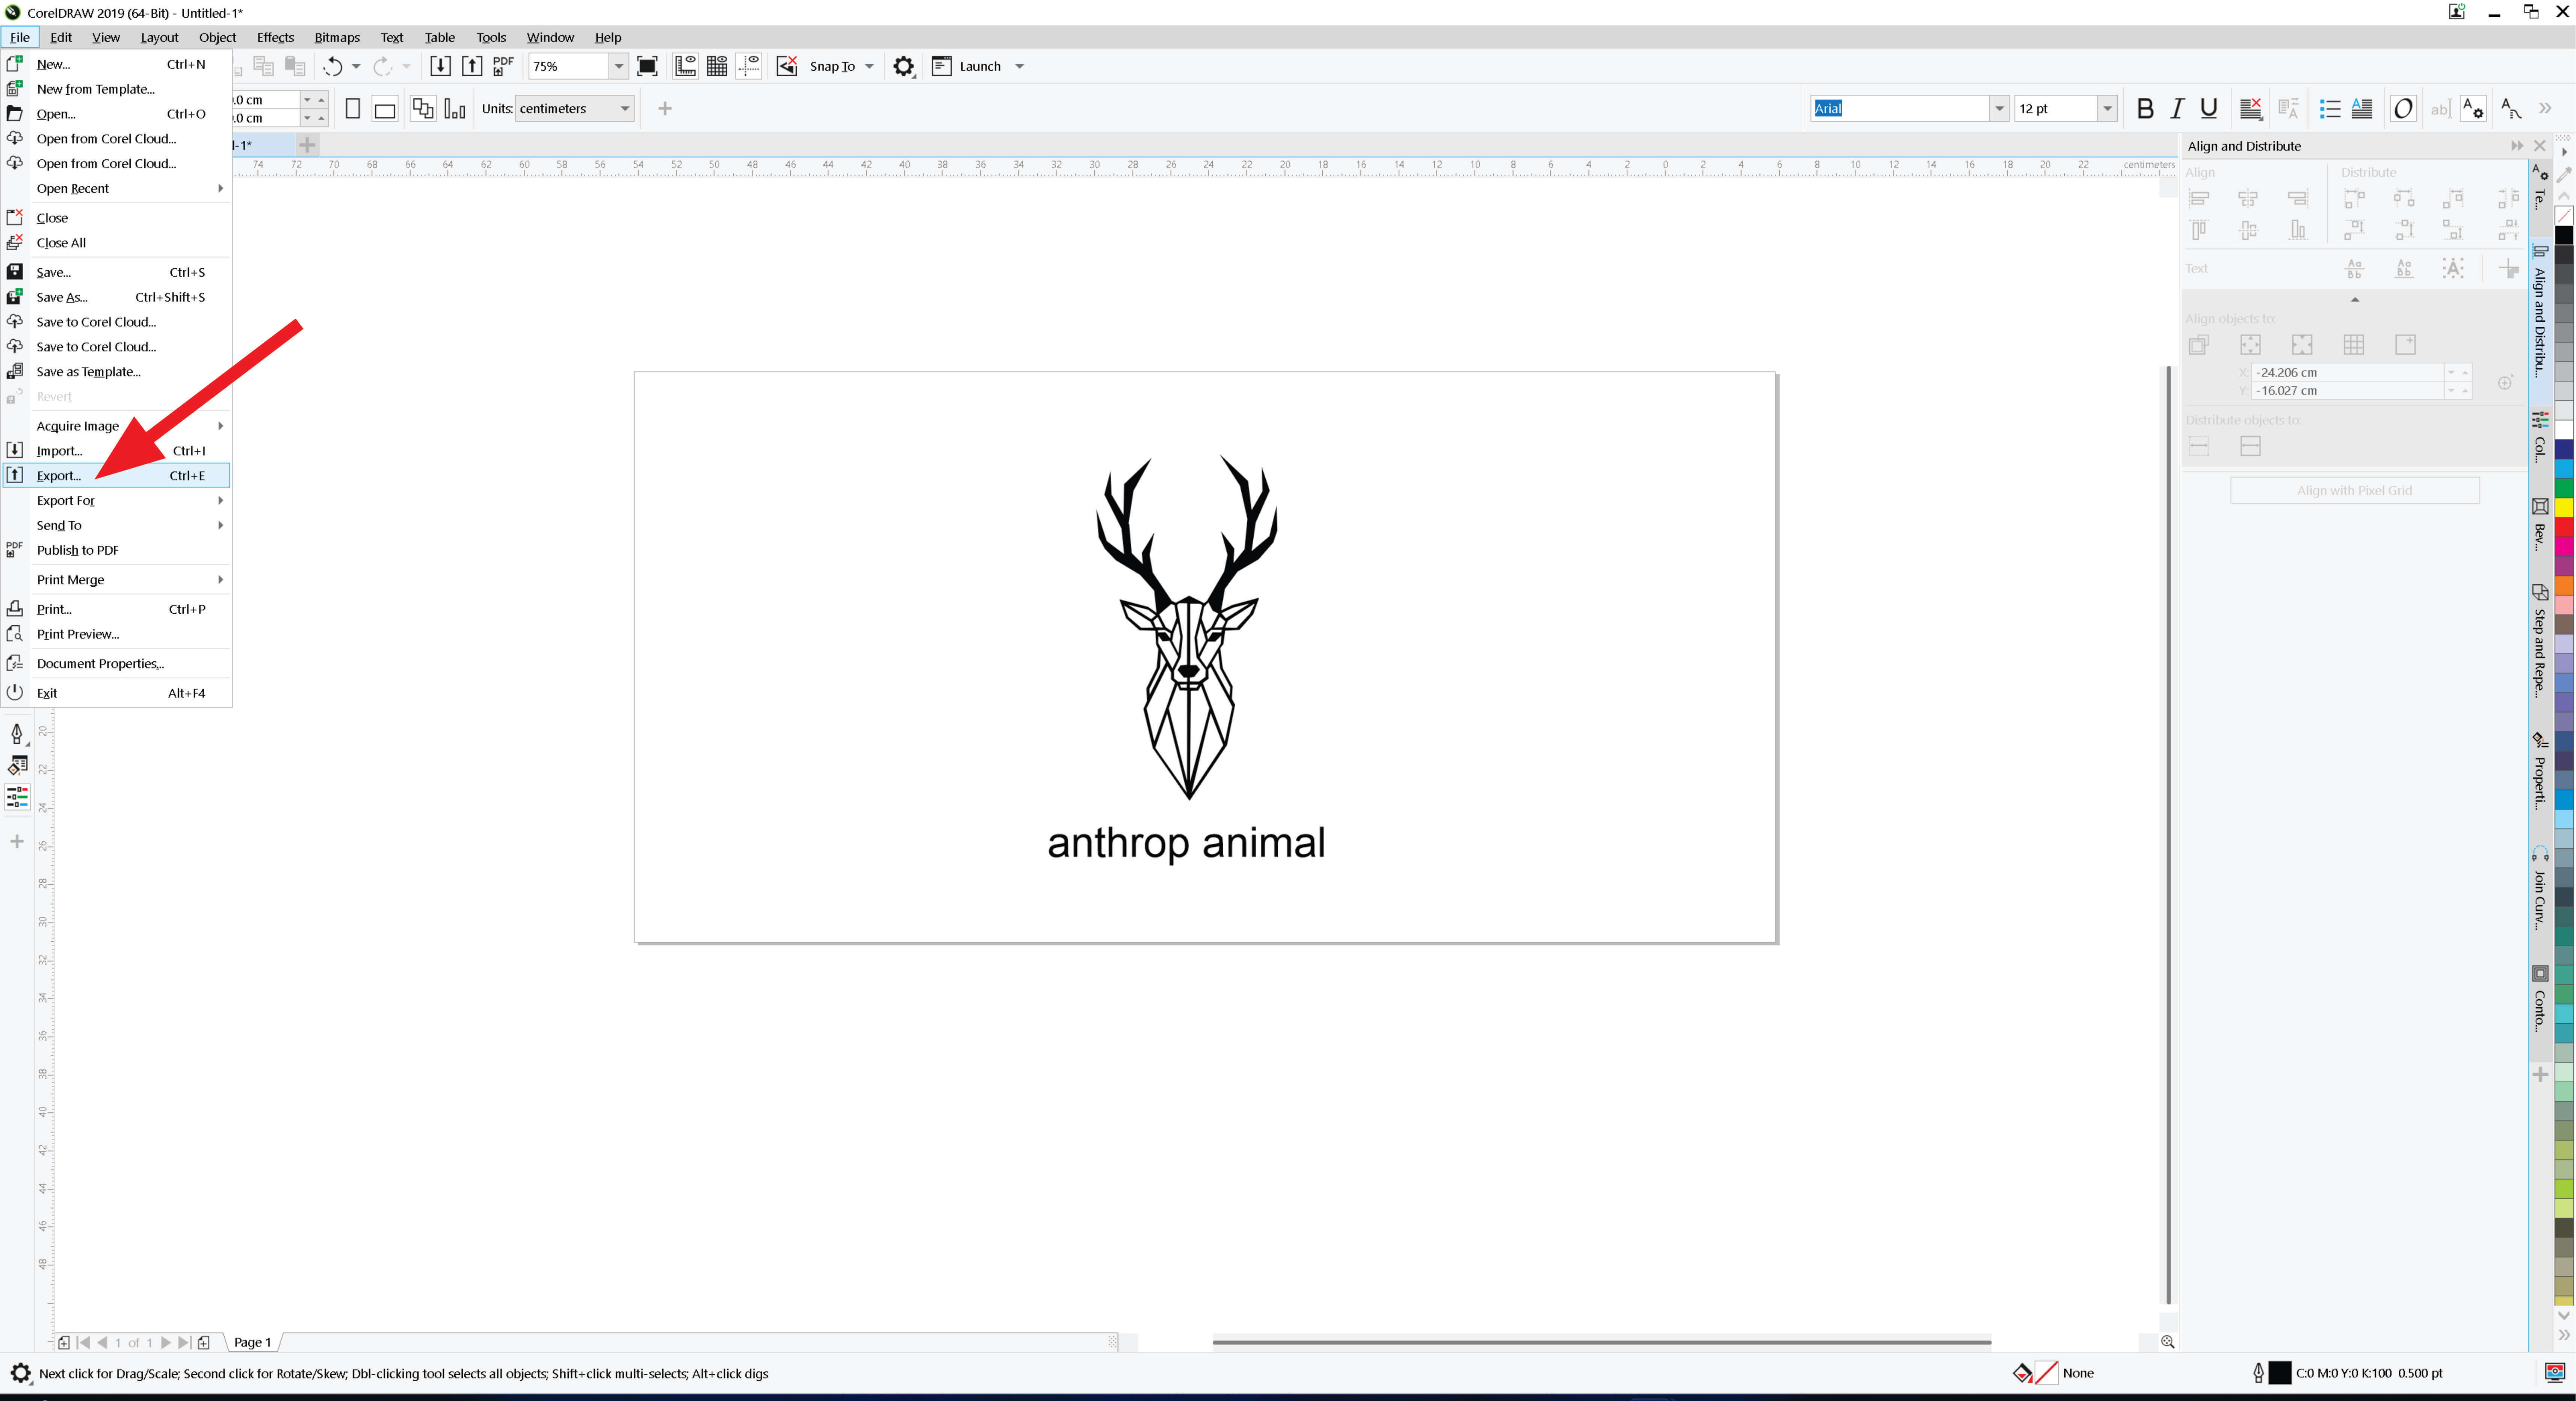
I exported the file by following the highlighted steps.
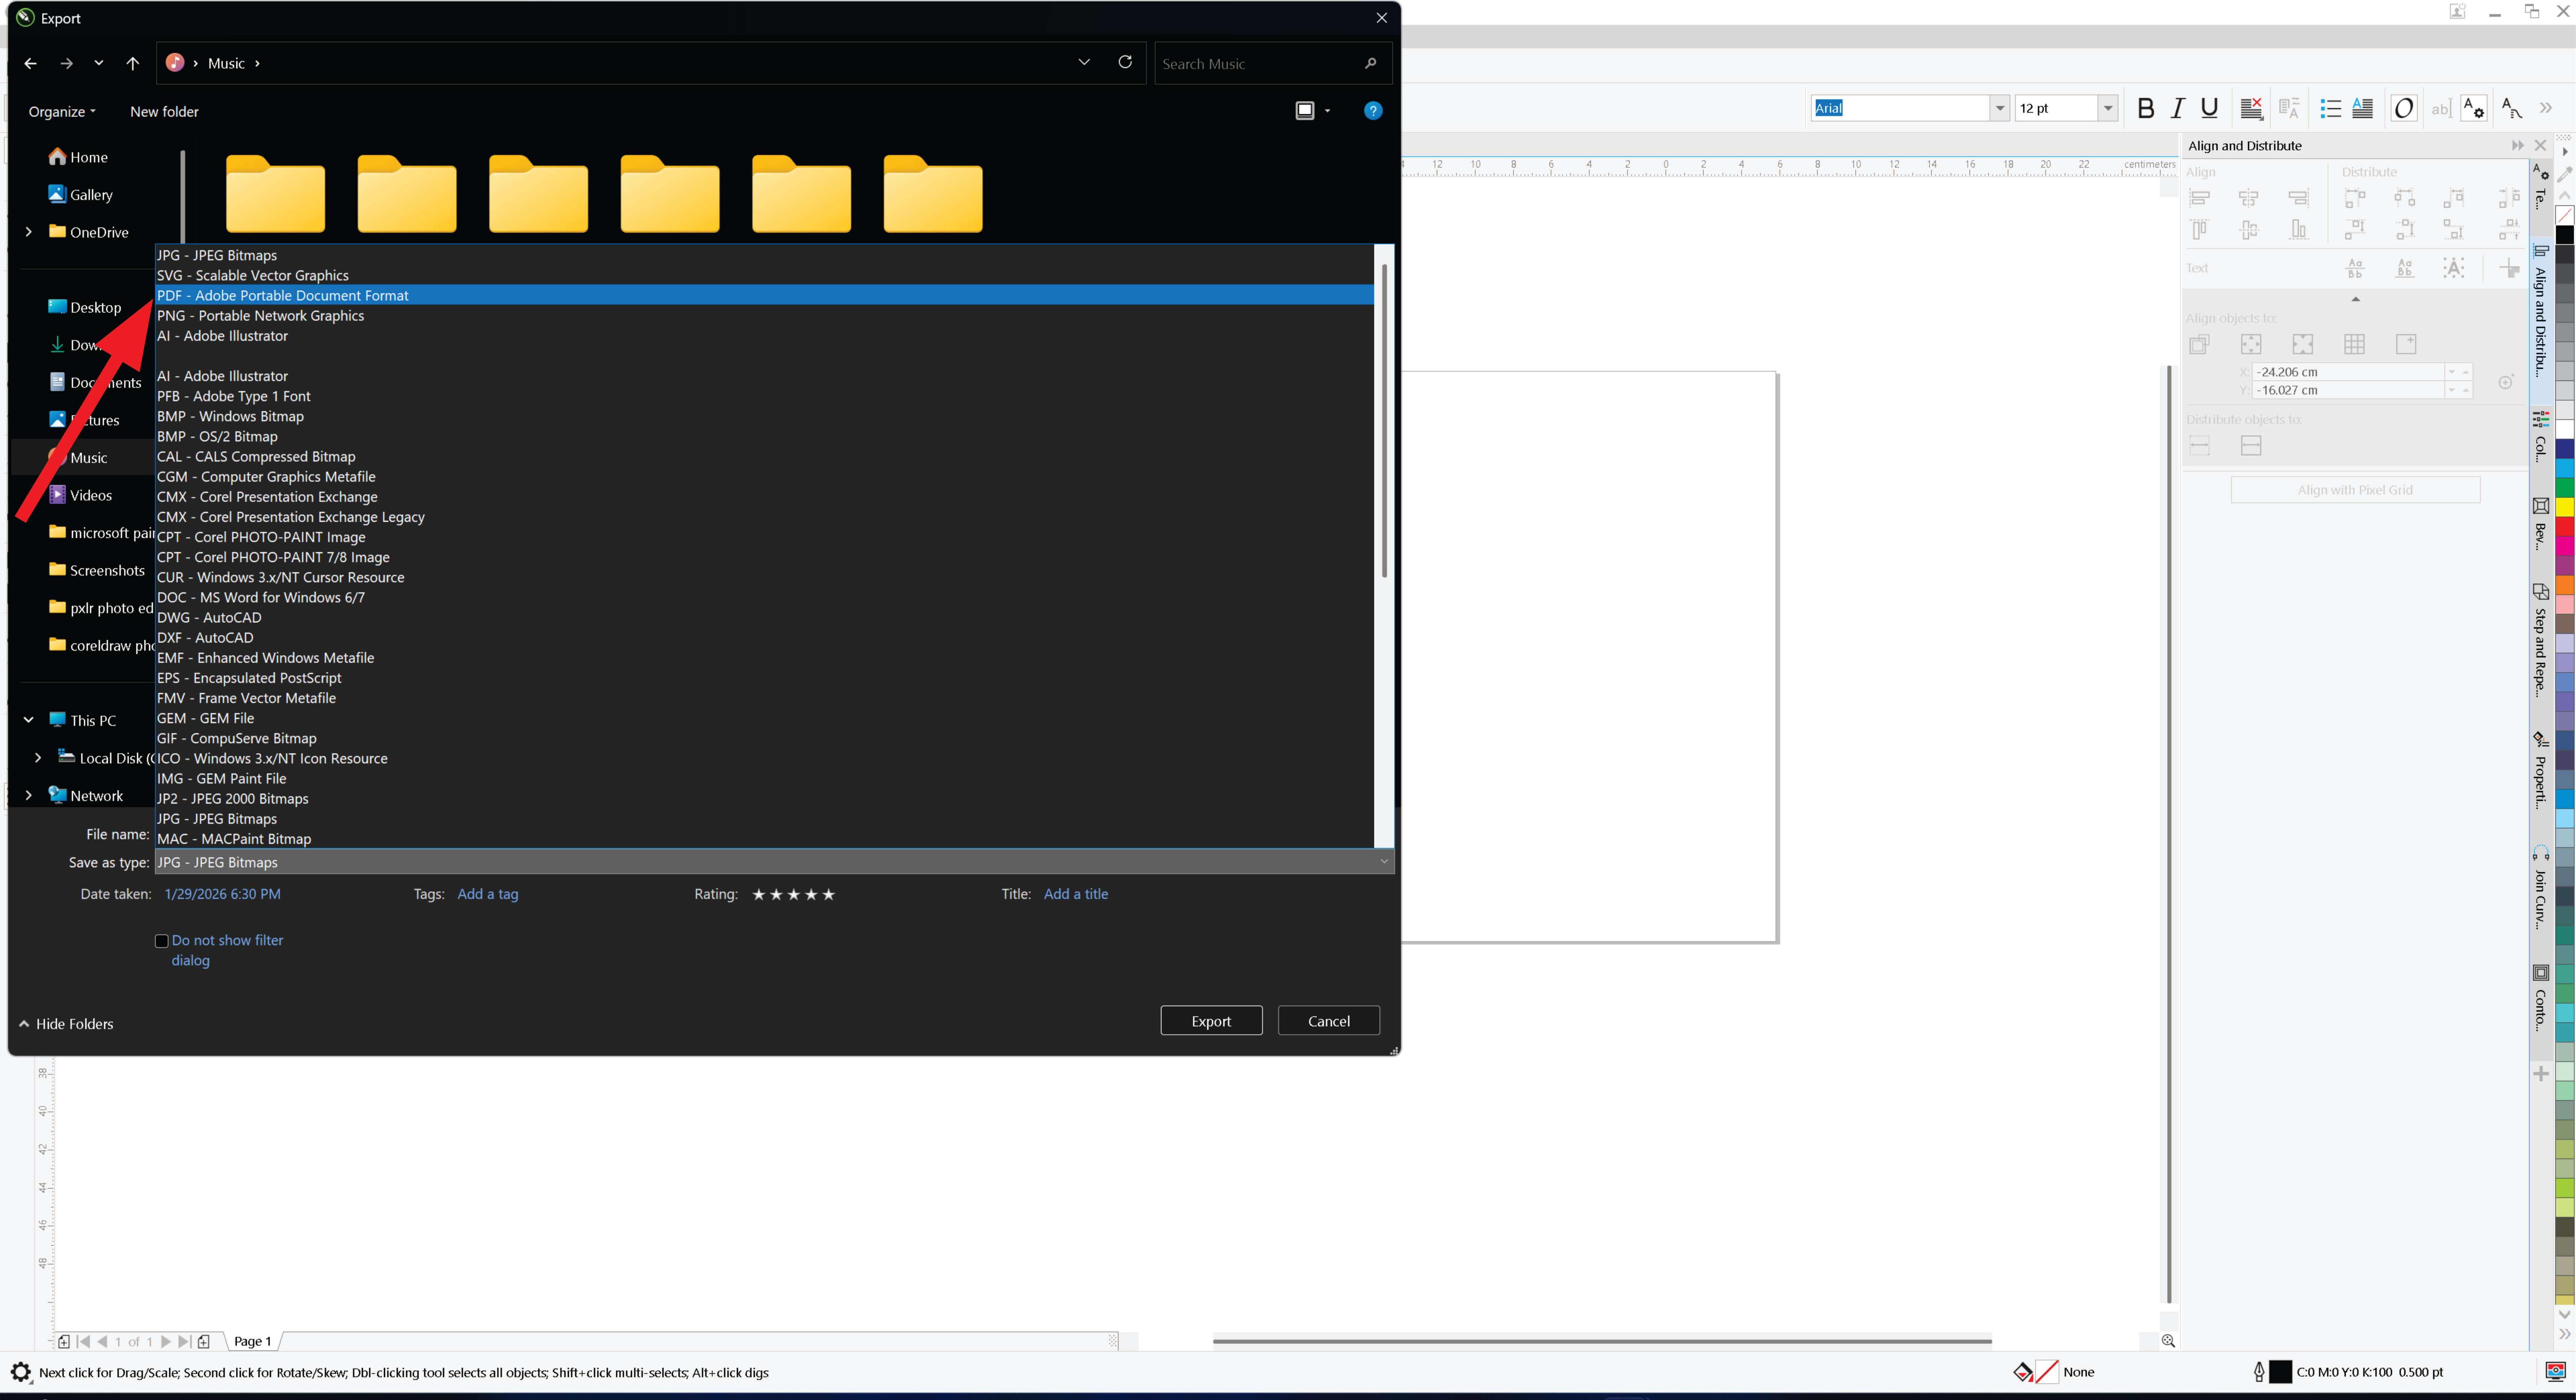
At the export stage, it is important to select the format carefully because CorelDRAW supports various options.
I chose PDF as the export format to ensure the design retains high quality and can be easily shared or printed
Inkscape
Inkscape is free and open-source vector graphics software used in the editing and production of scalable vector graphics (SVG) or vector files. It is used in creating illustrations, logos, technical drawings, etc. As the same of coreldraw, it also support the import and export of several file formats such as PNG, PDF, DXF, EPS. It is vector-based. This means it uses SVG as the default file format such that the design is maintained to be scalable without loss of quality.
After opening Inkscape, a blank page appeared where I started my design
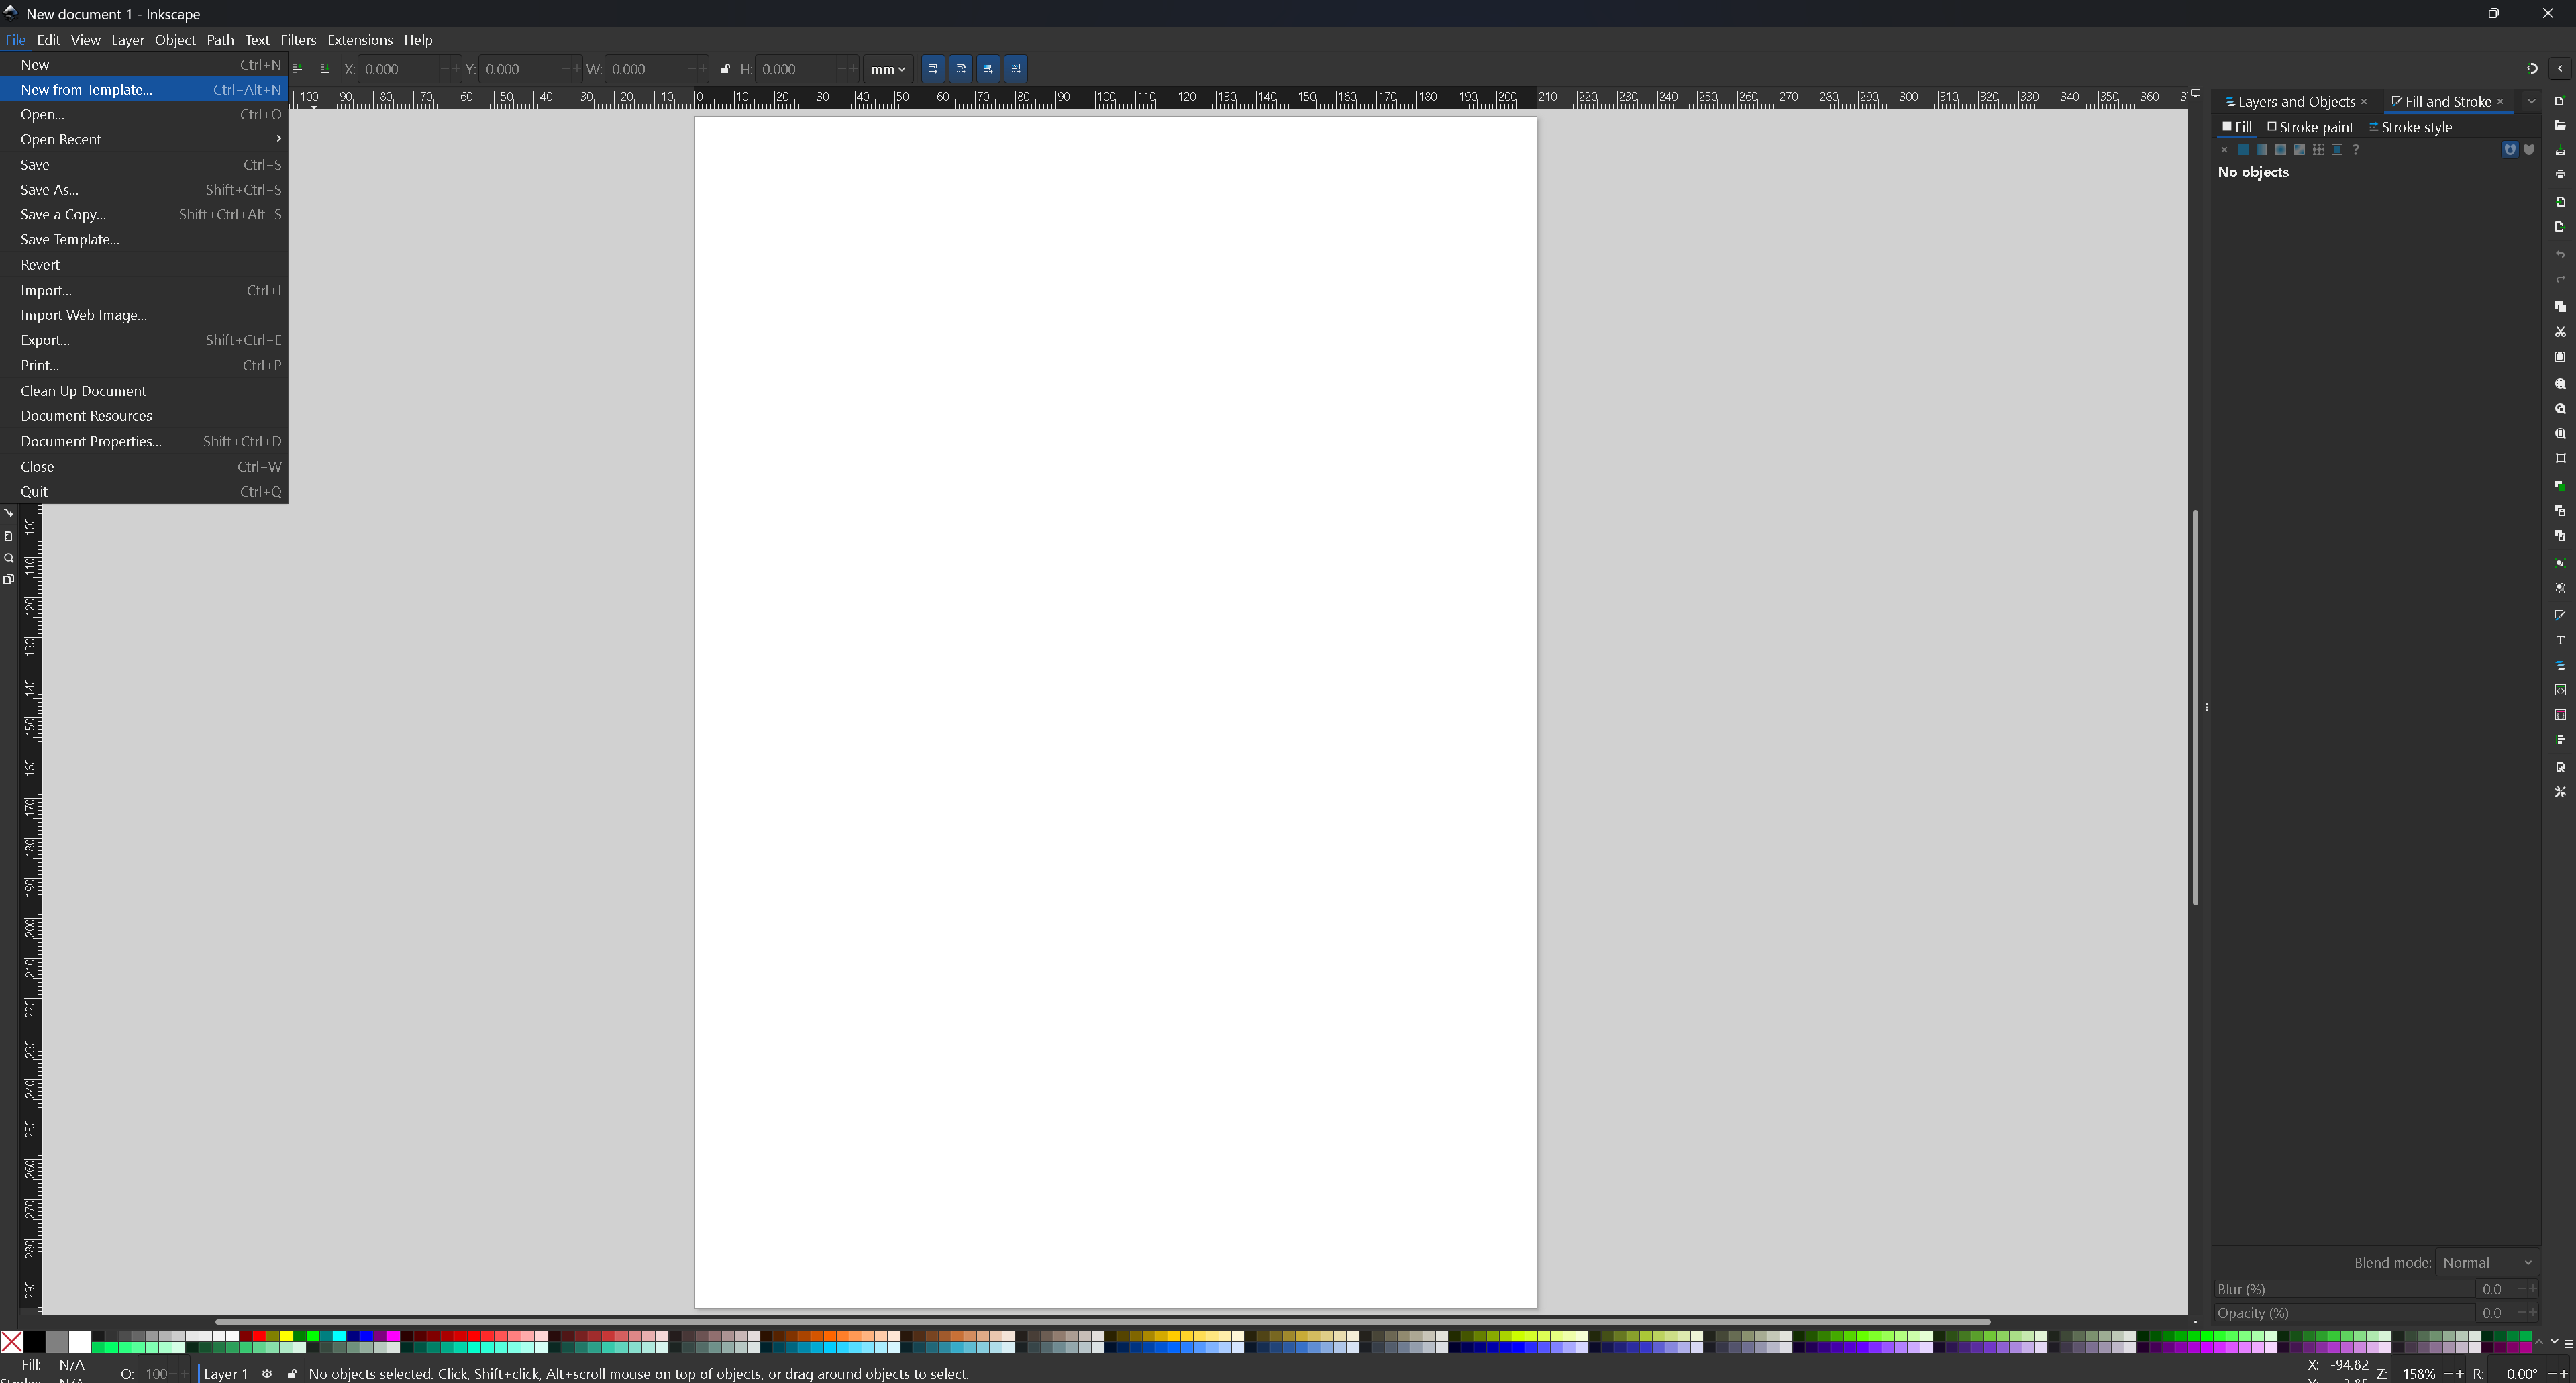
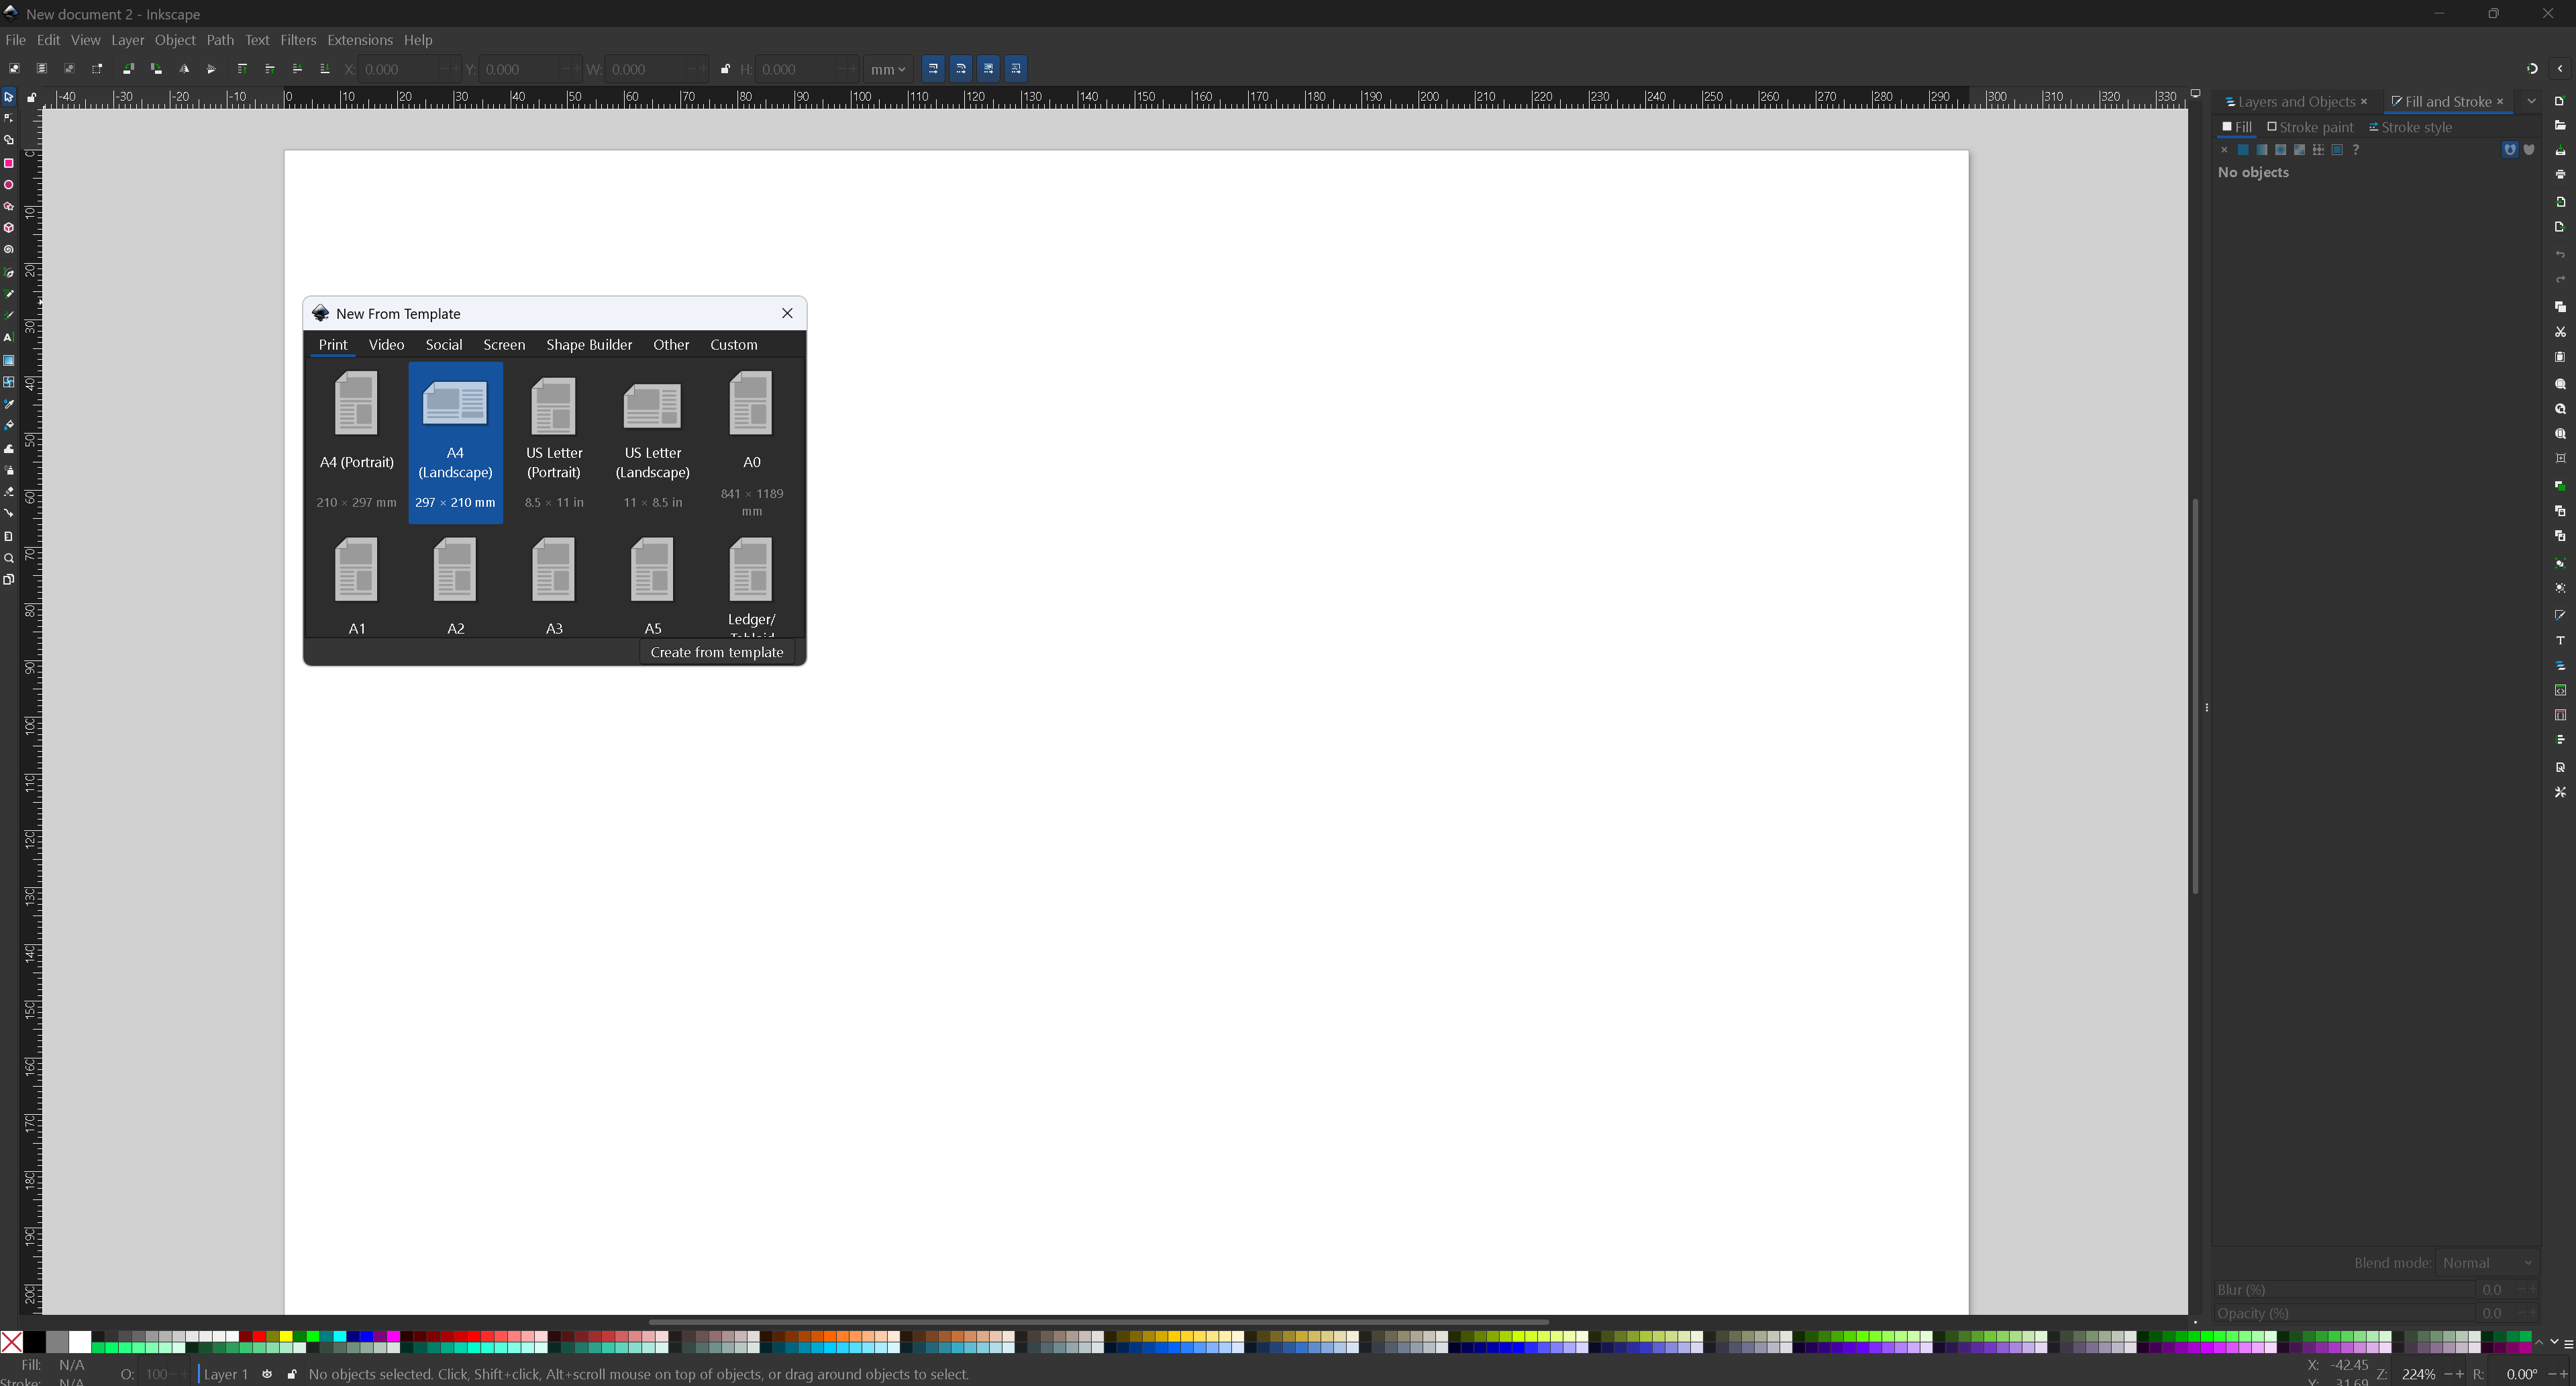
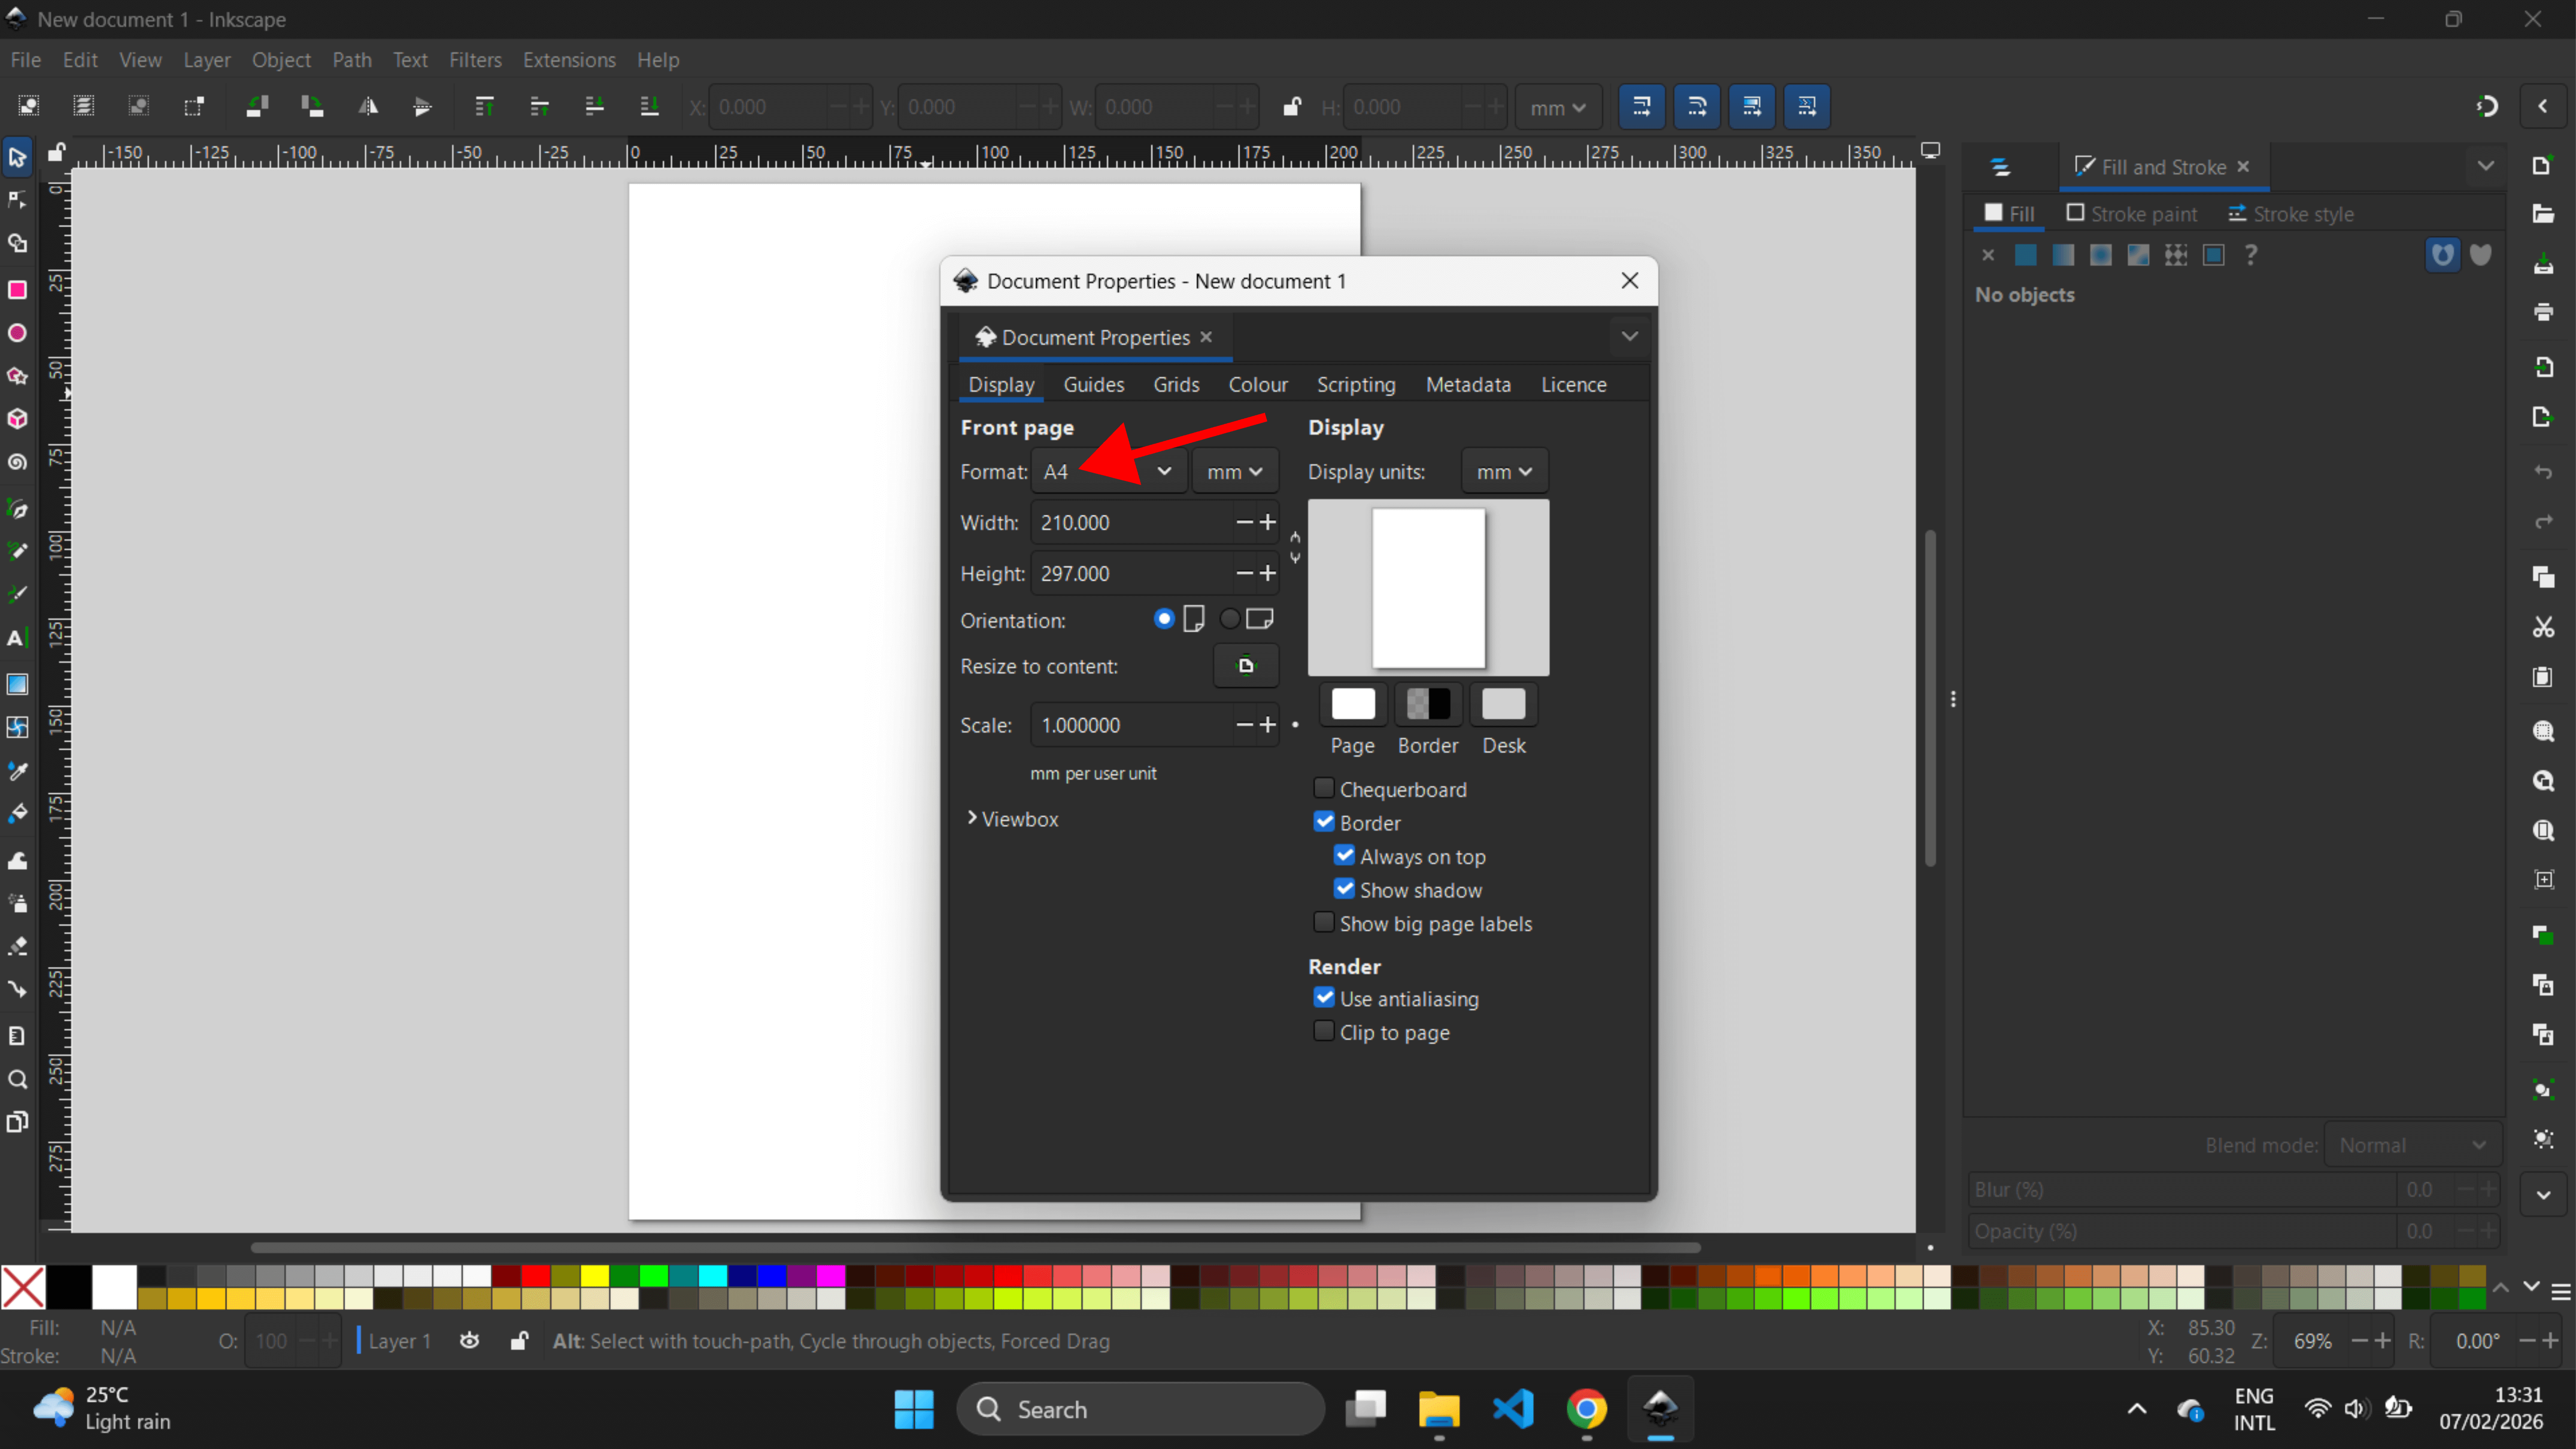
I used A4 paper (landscape) size 297*210mm. You can use custom size as well and click to creat from template
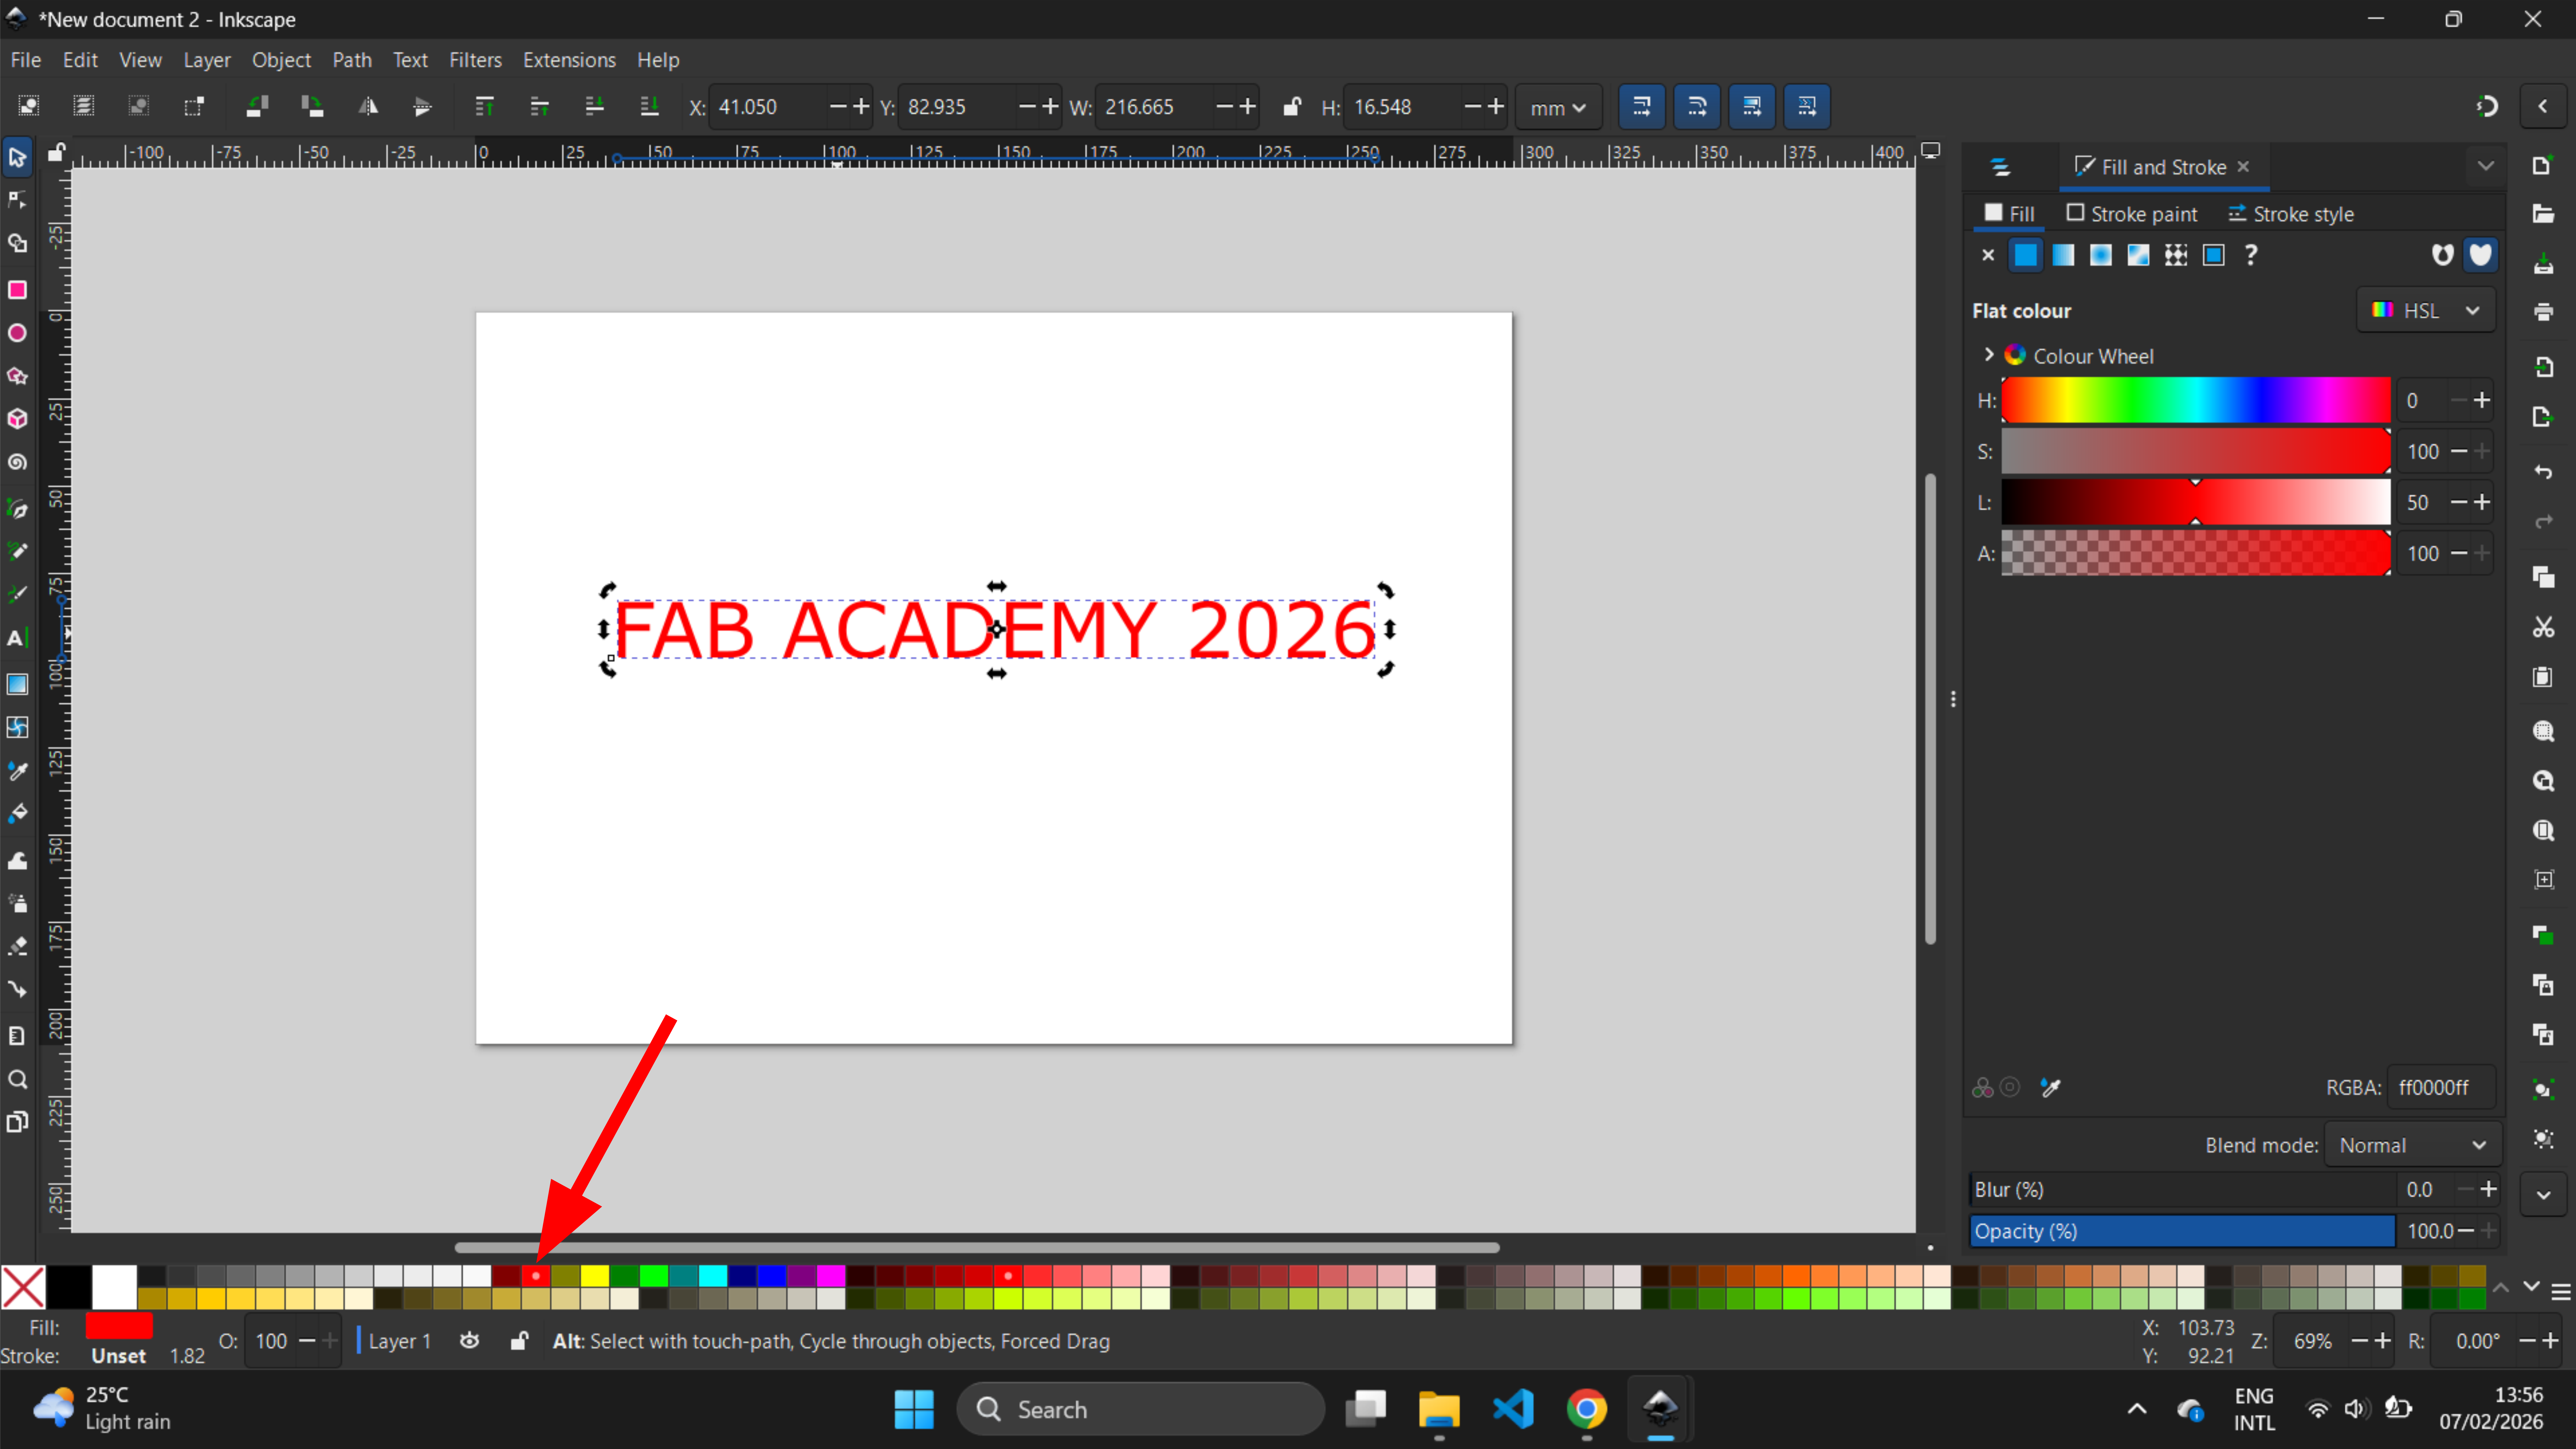
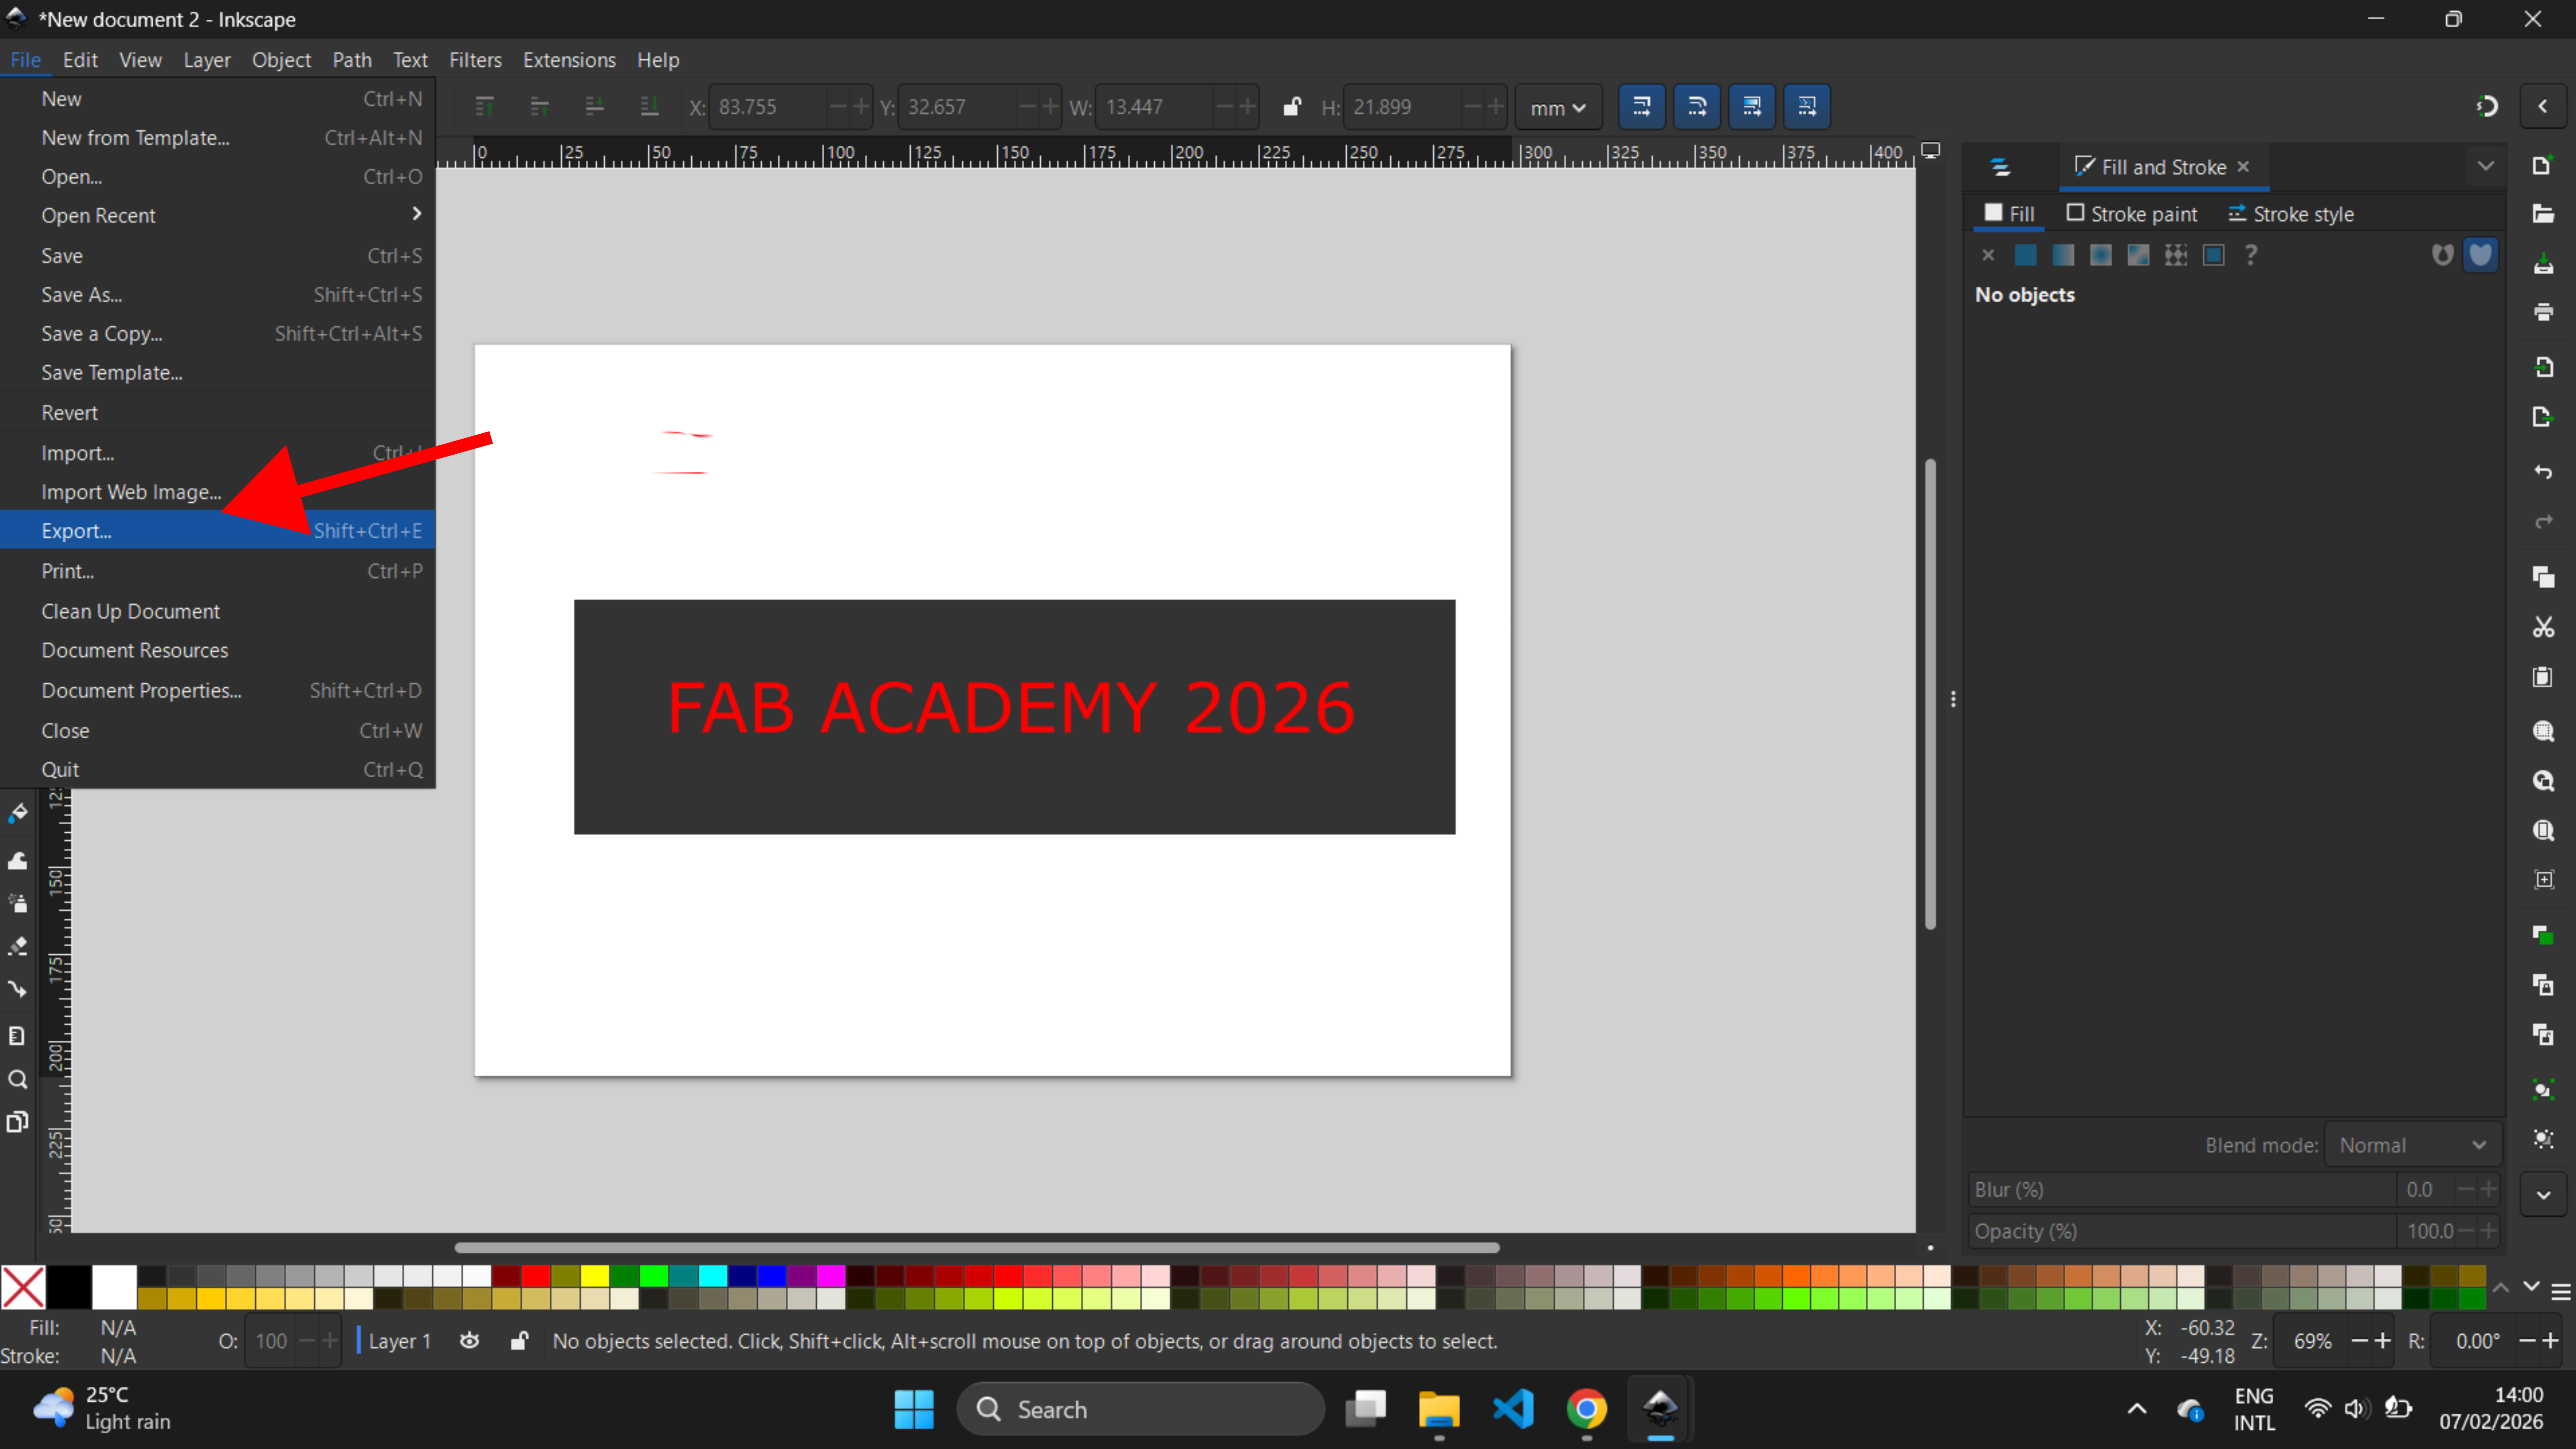
I added text using the Text tool.
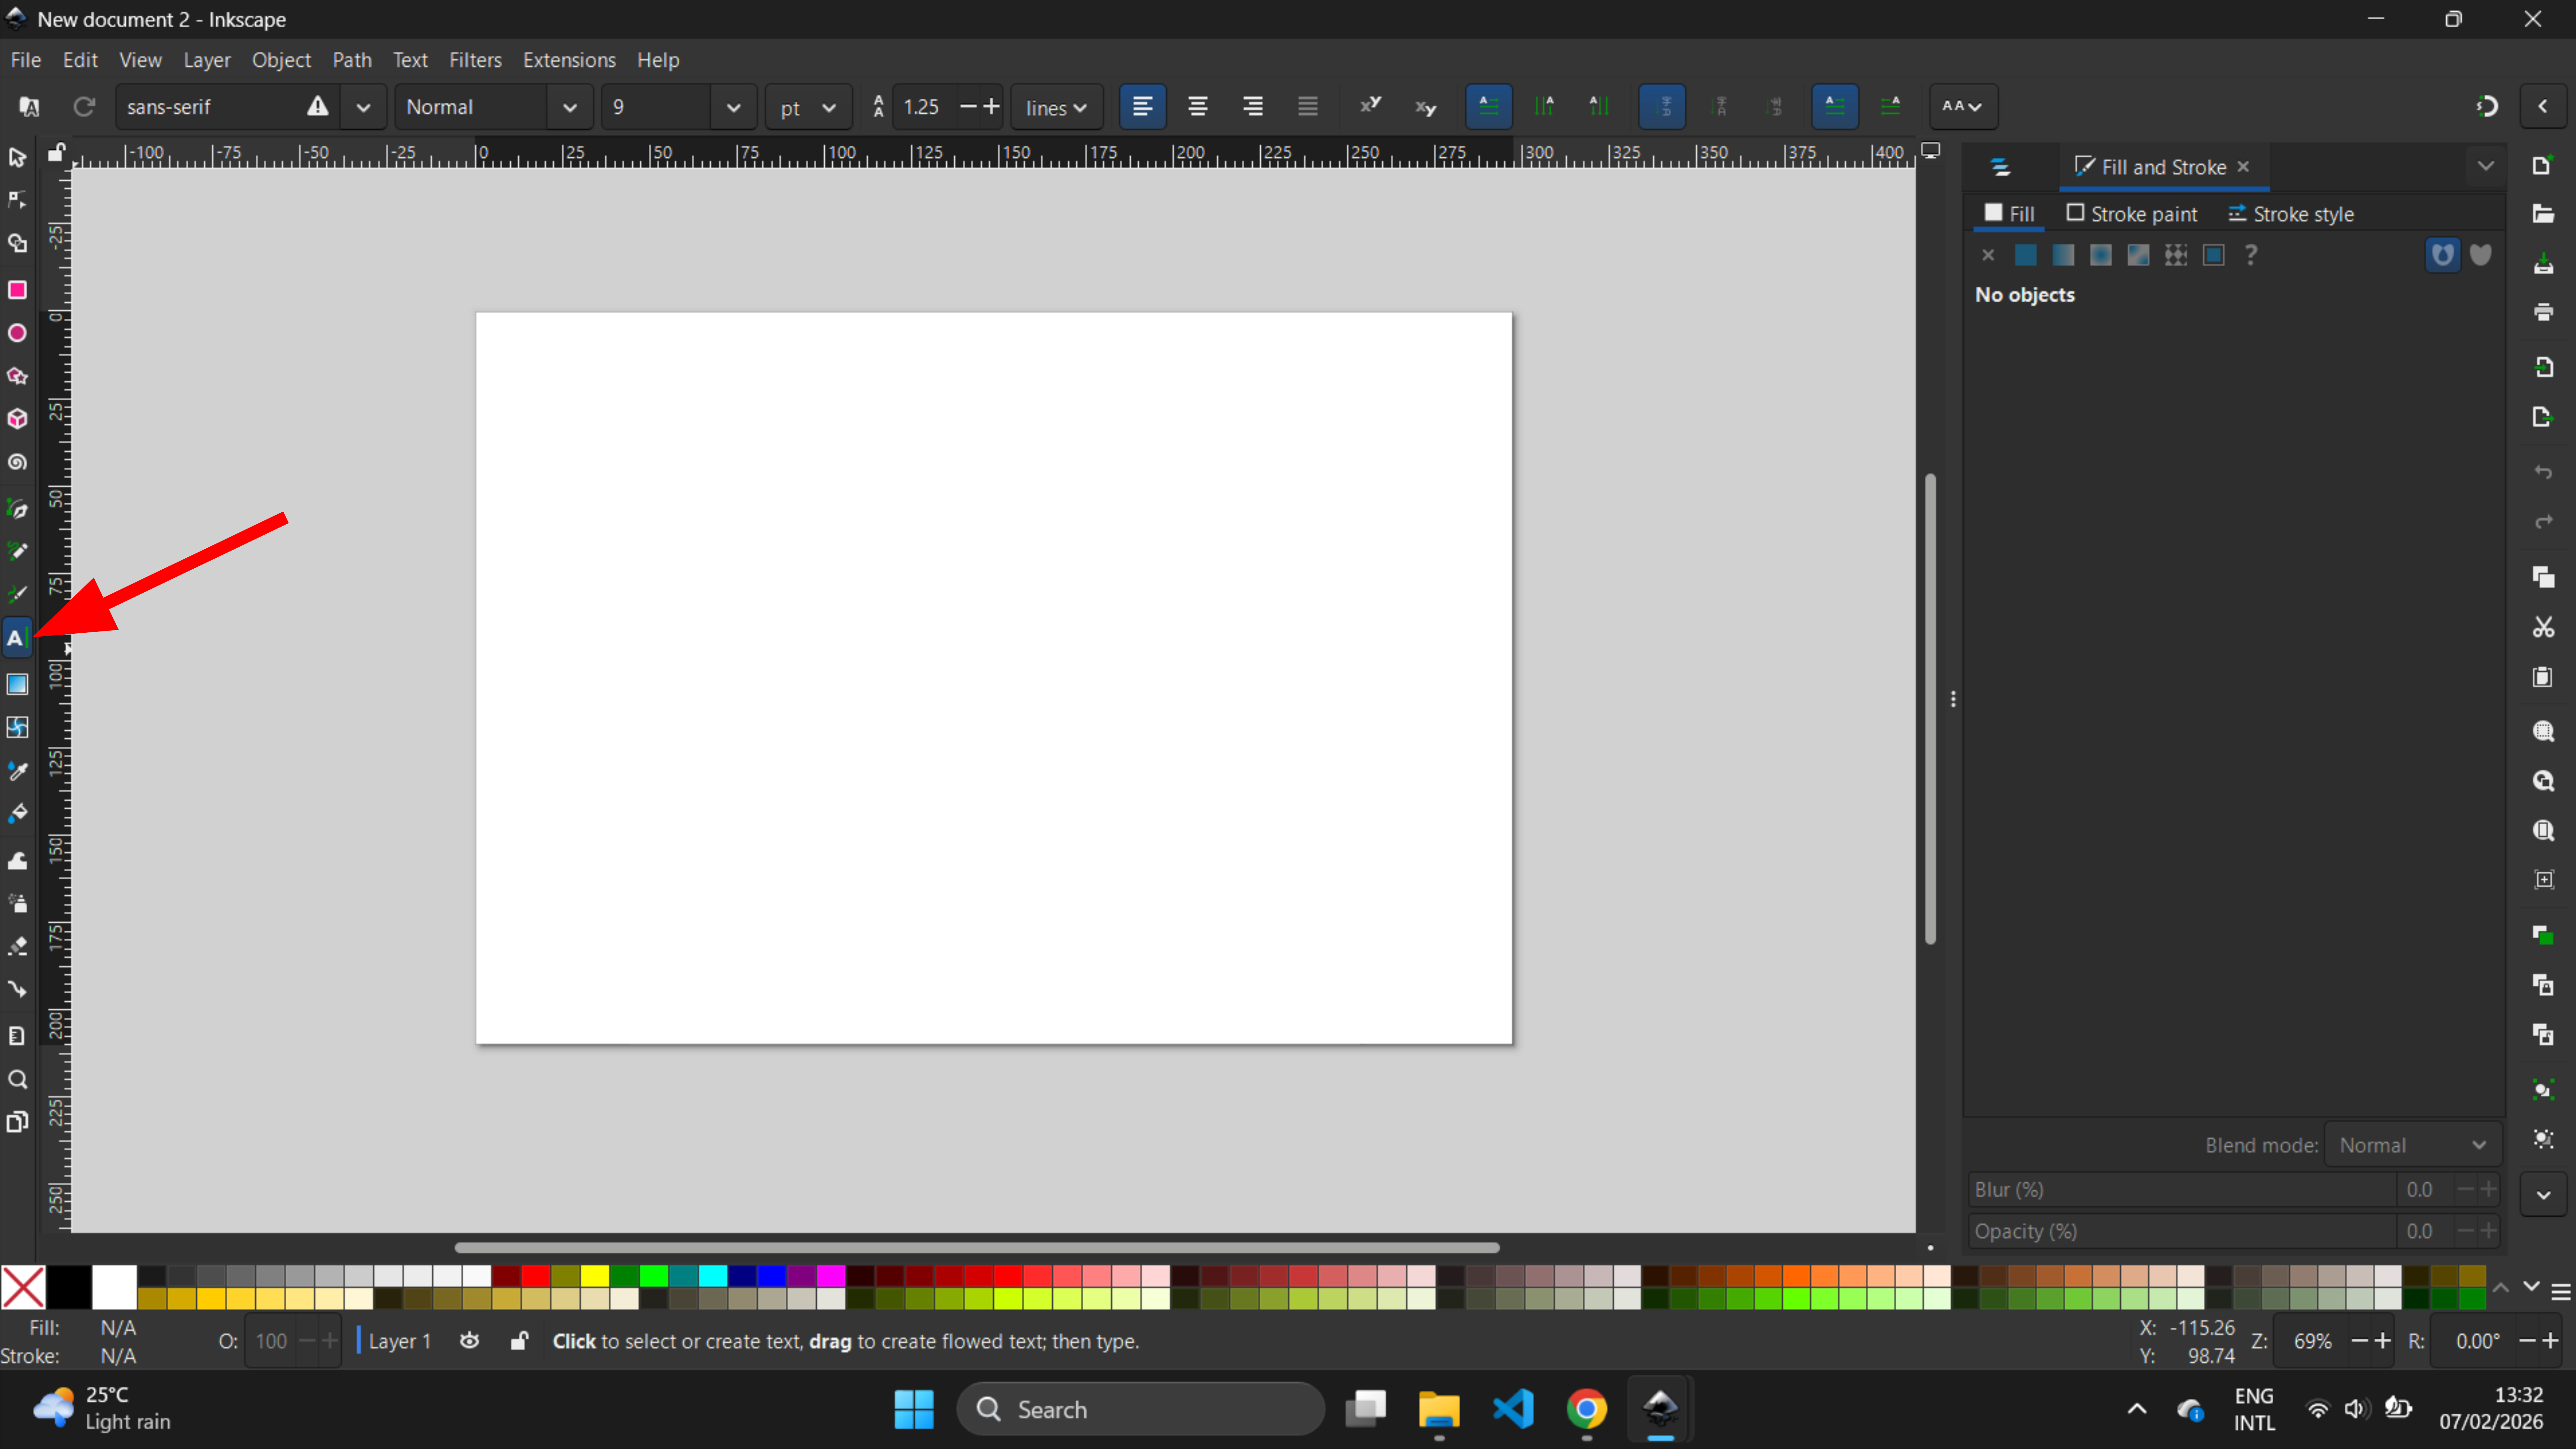
I used text tool to add text texts “FAB ACADEMY 2026’” and change color into red
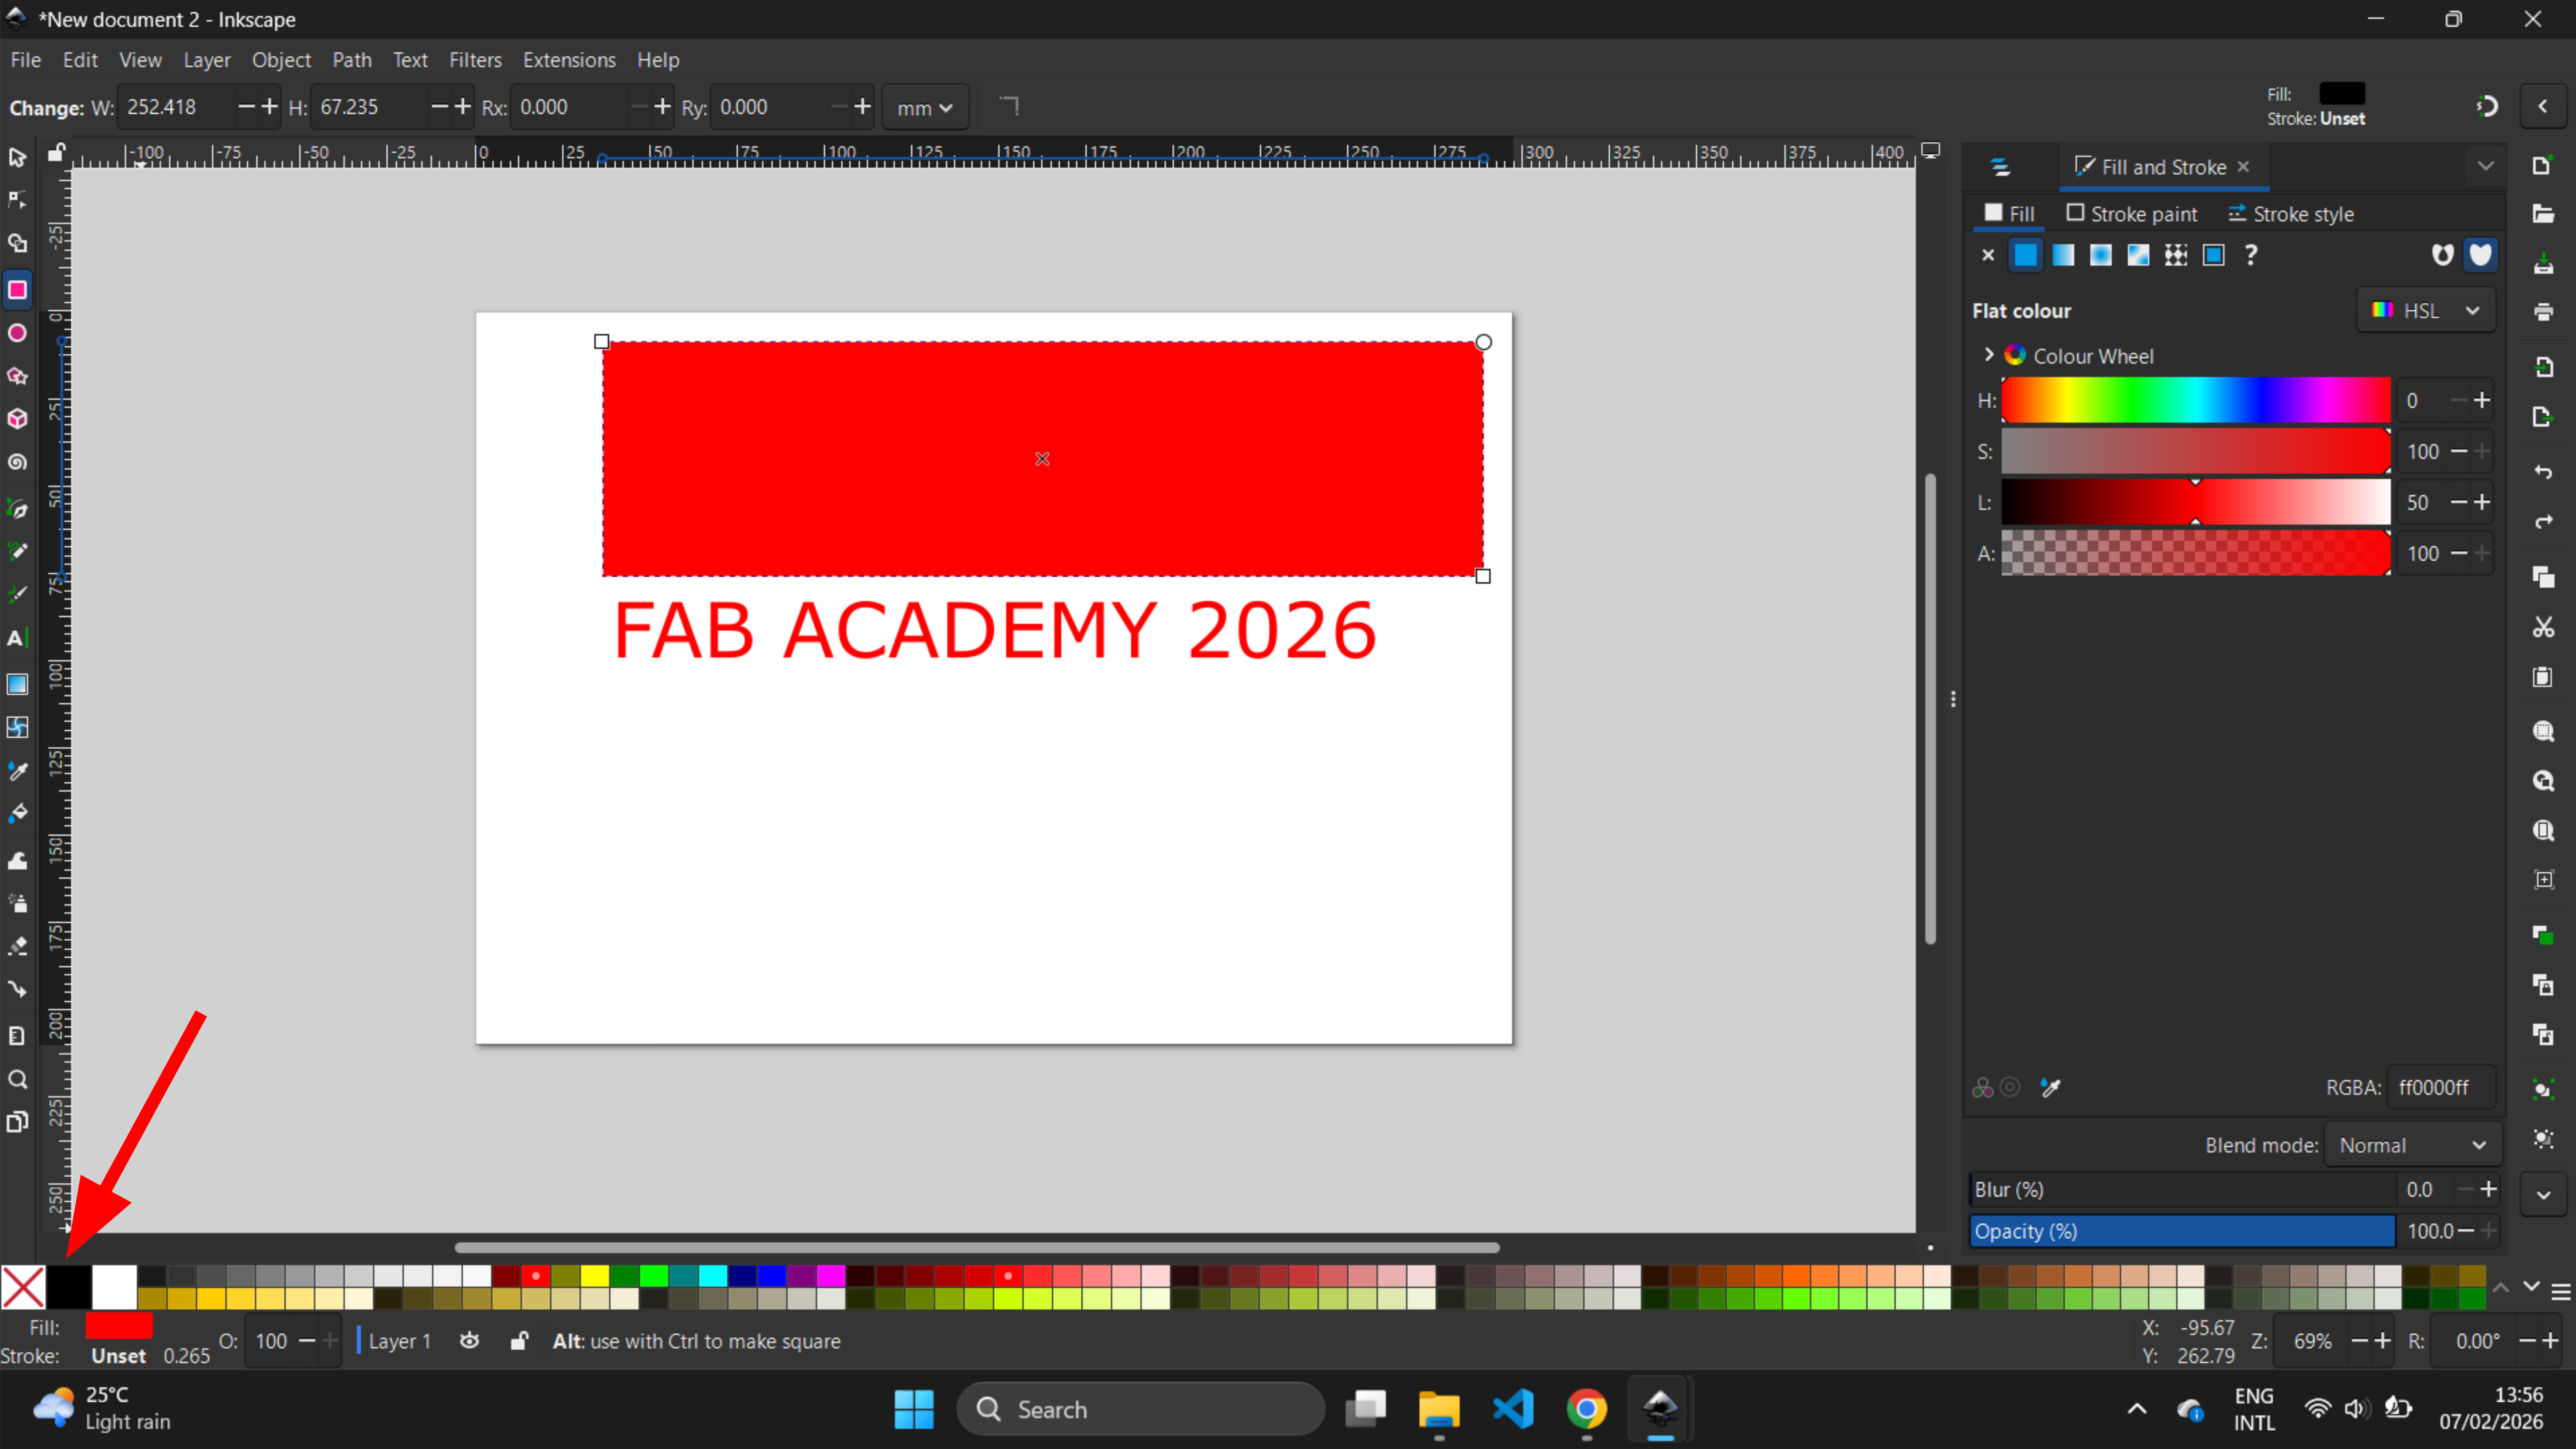
next,I started by sketching a rectangle using rectangle tool
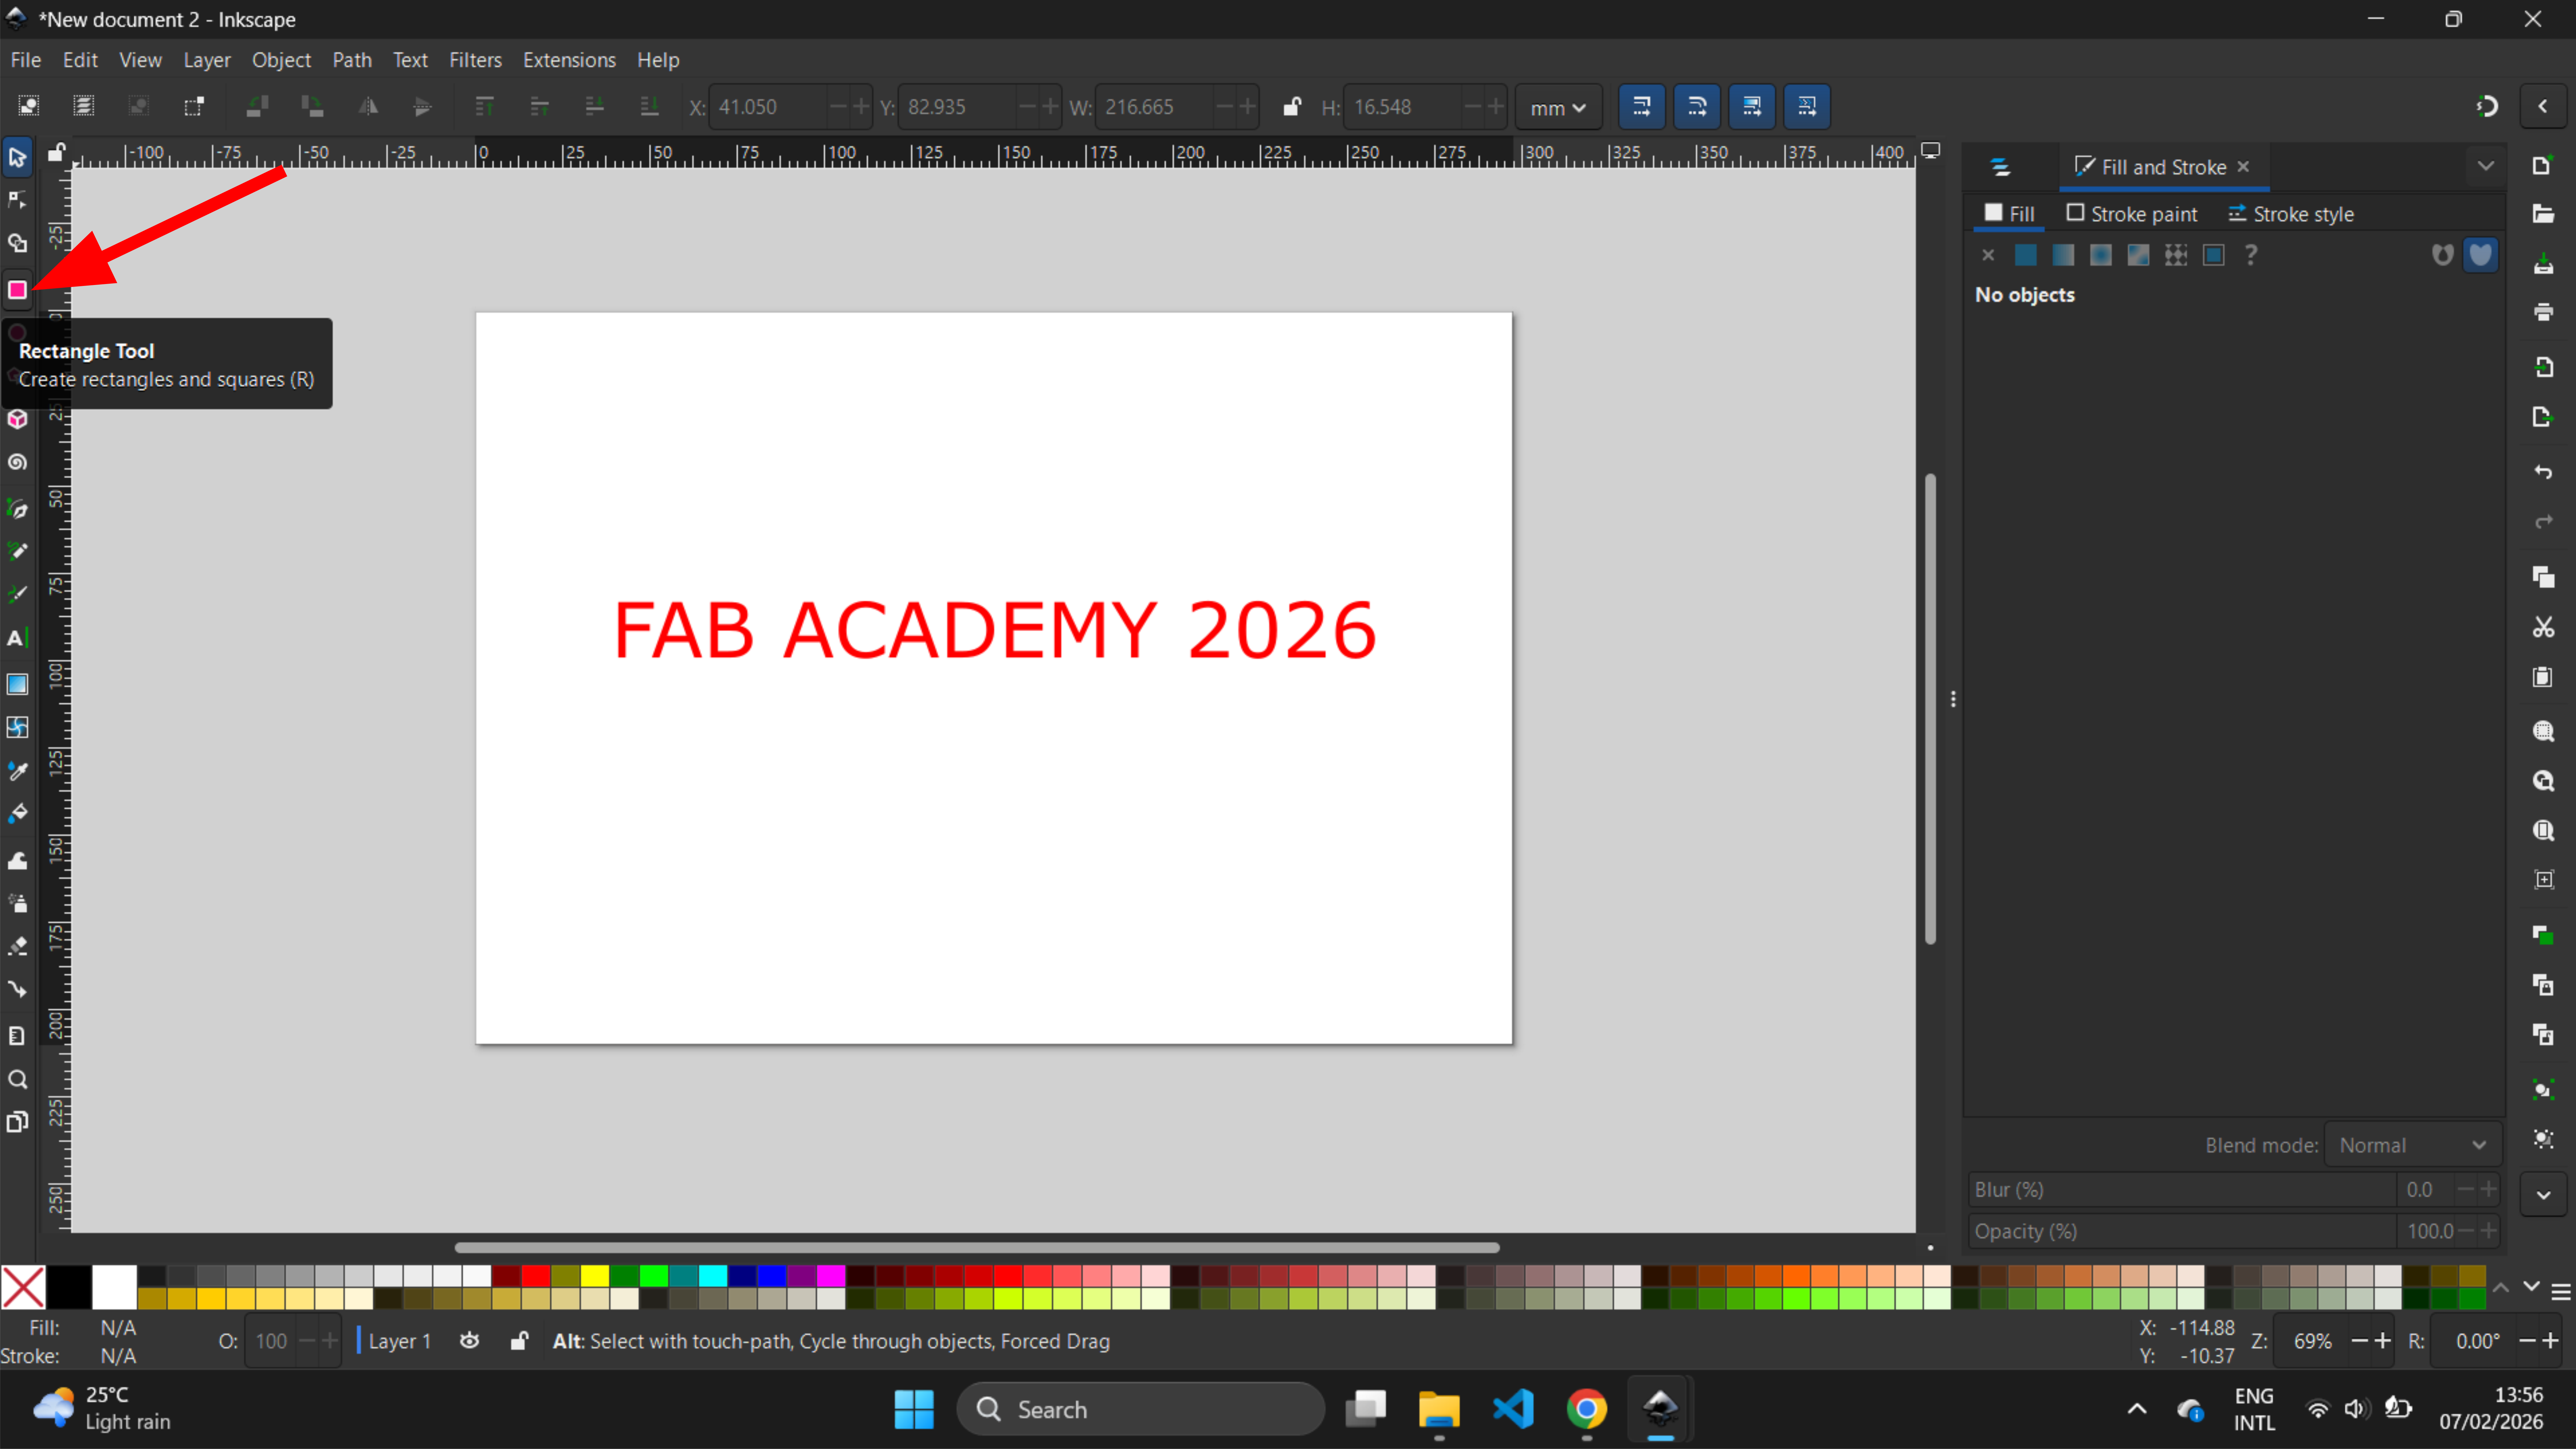
I started by sketching a rectangle using rectangle tool and changing the rectangle color
After placing the words in the center of the rectangle
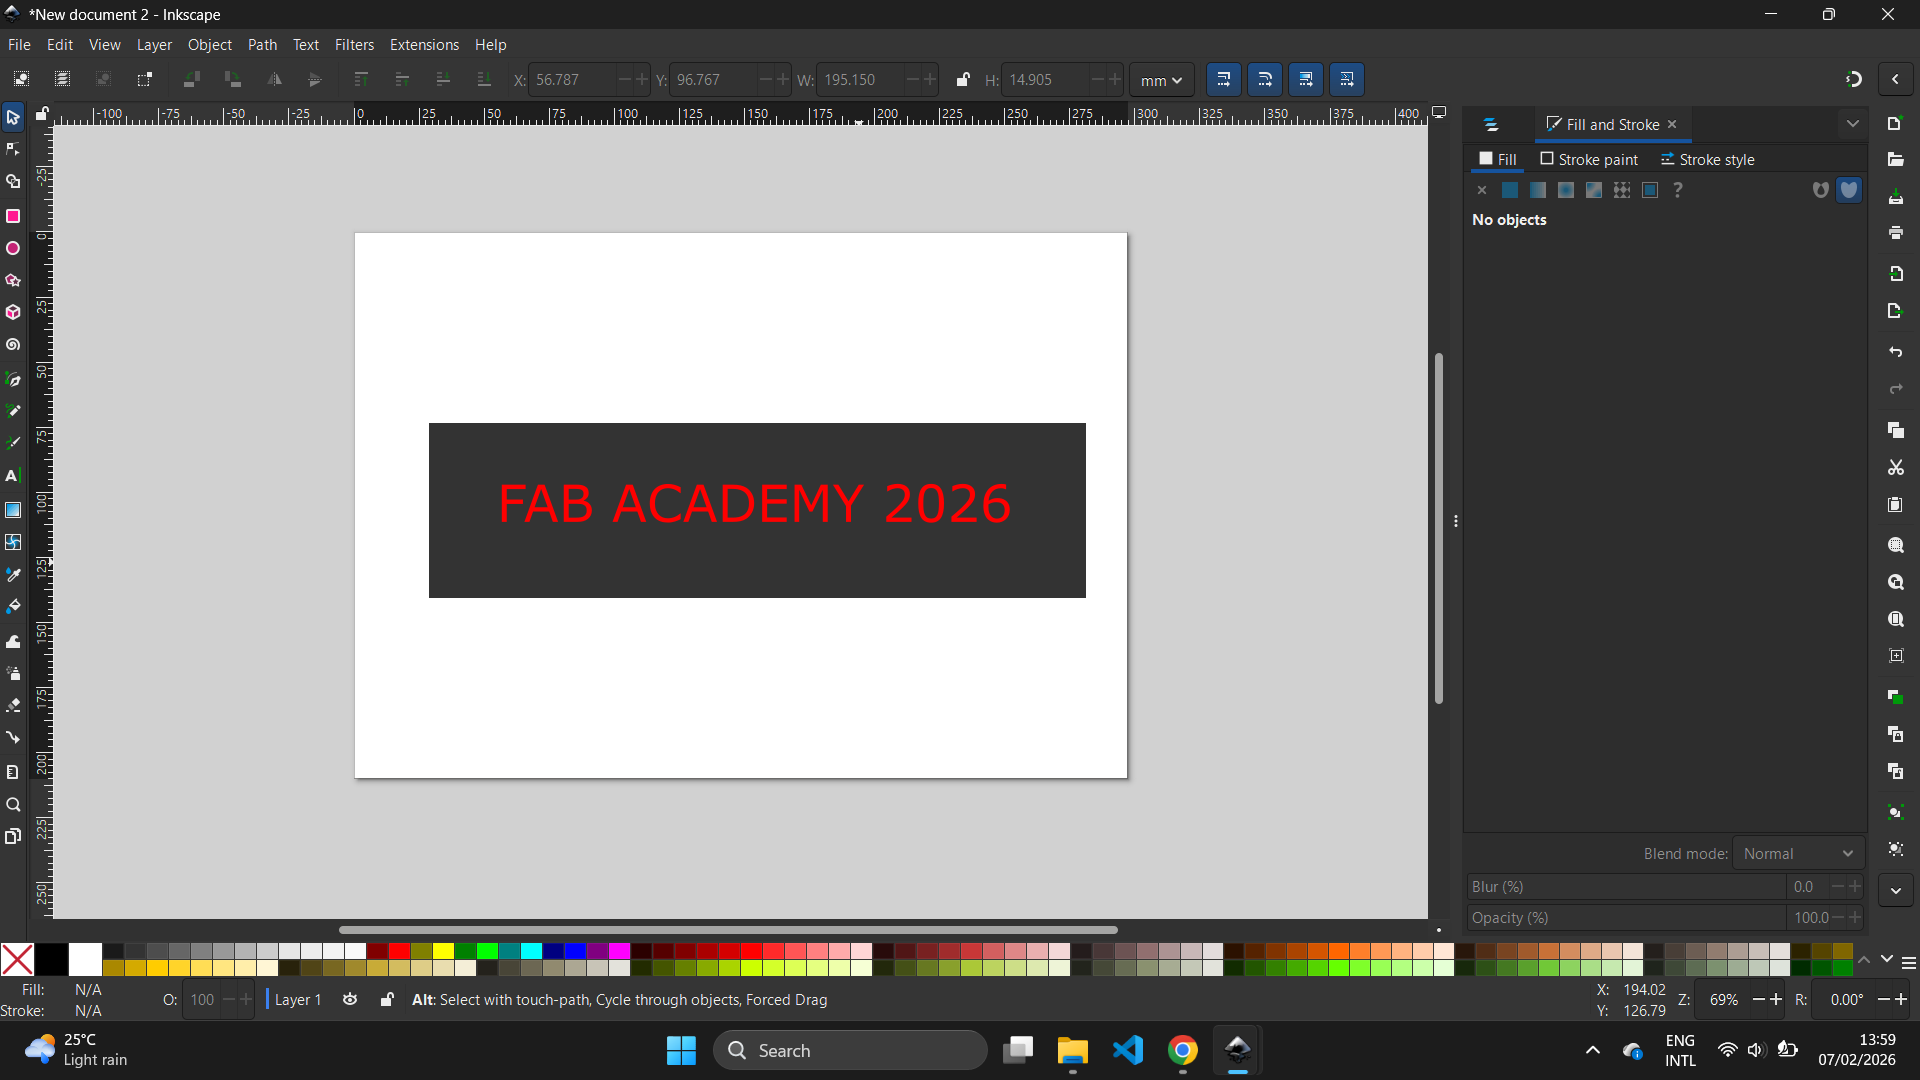
After that, I saved the design
TINKERCAD
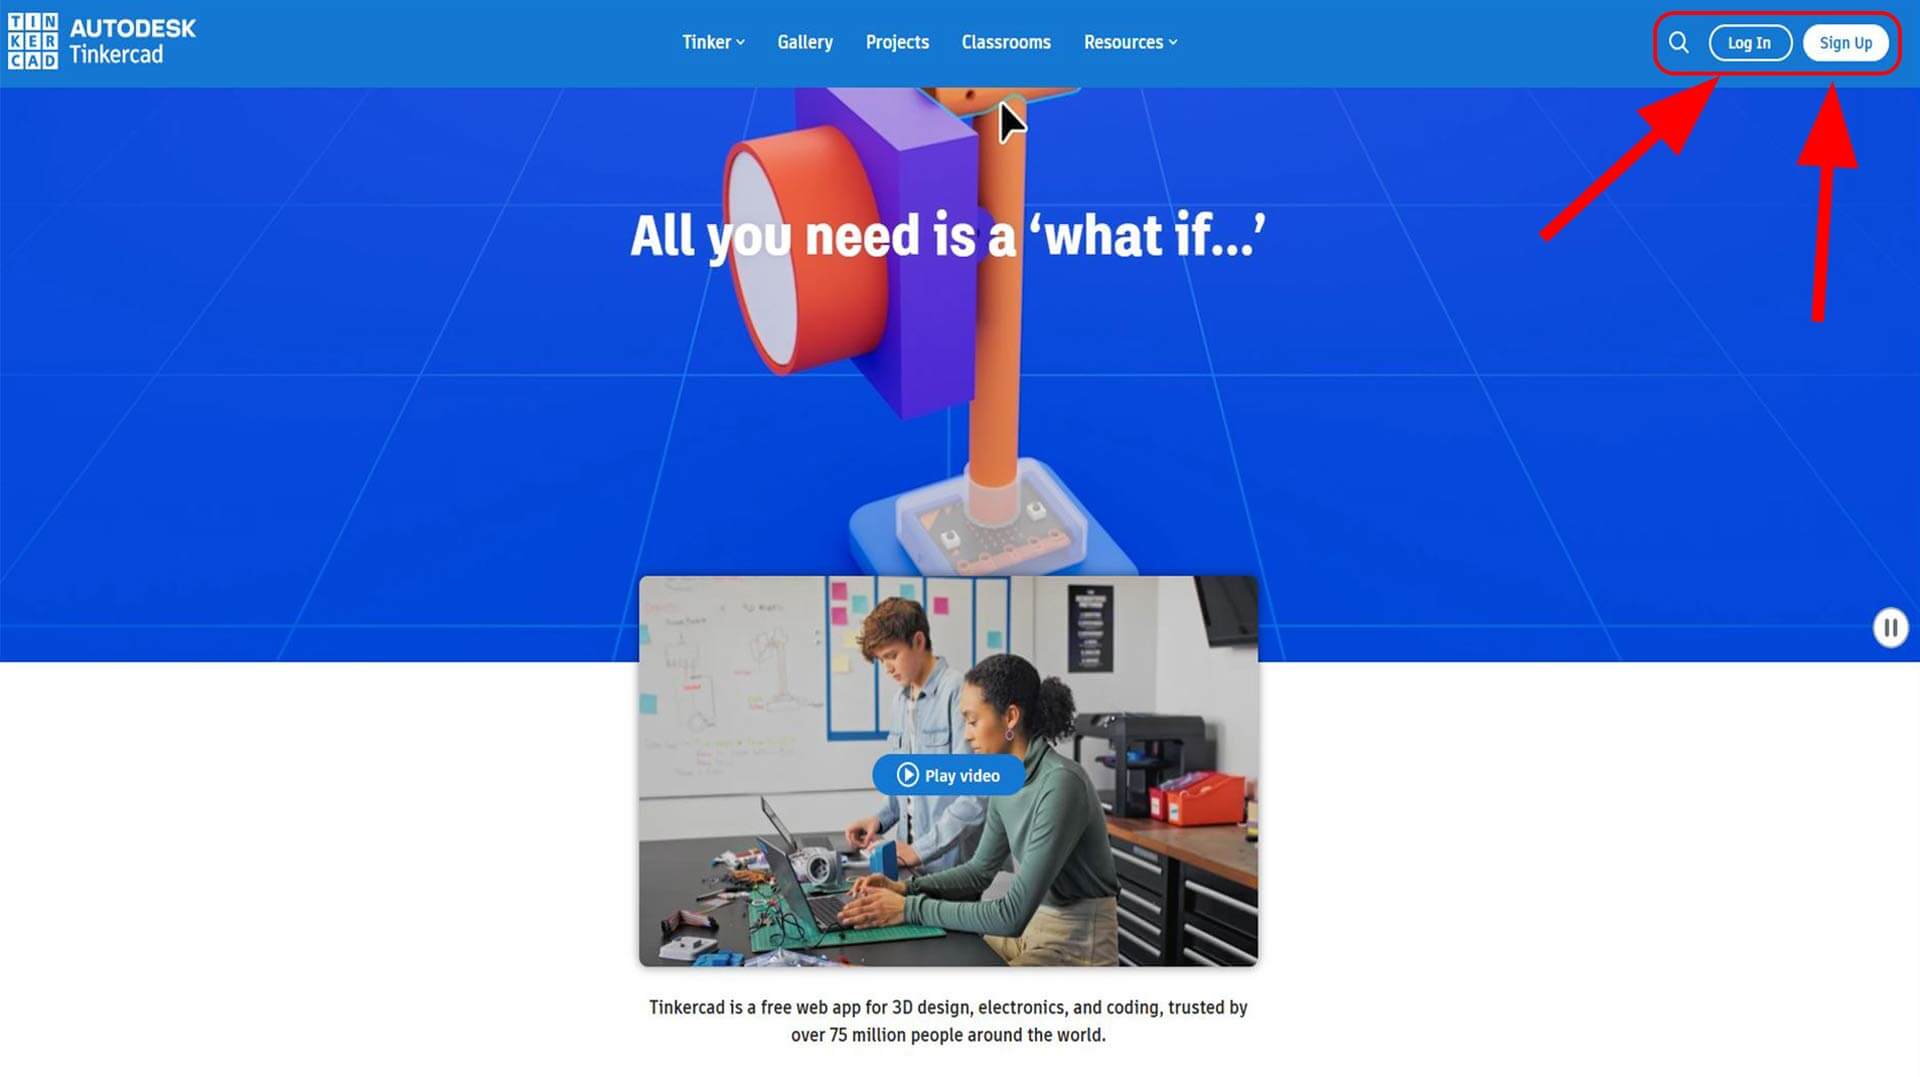
Tinkercad is a free online tool used for creating 3D designs, especially for beginners. It was created by Autodesk and is easy to learn. o use Tinkercad, first create an account on the Tinkercad website. If you already have an Autodesk account, you can simply choose Log In instead, as highlighted in the image below.
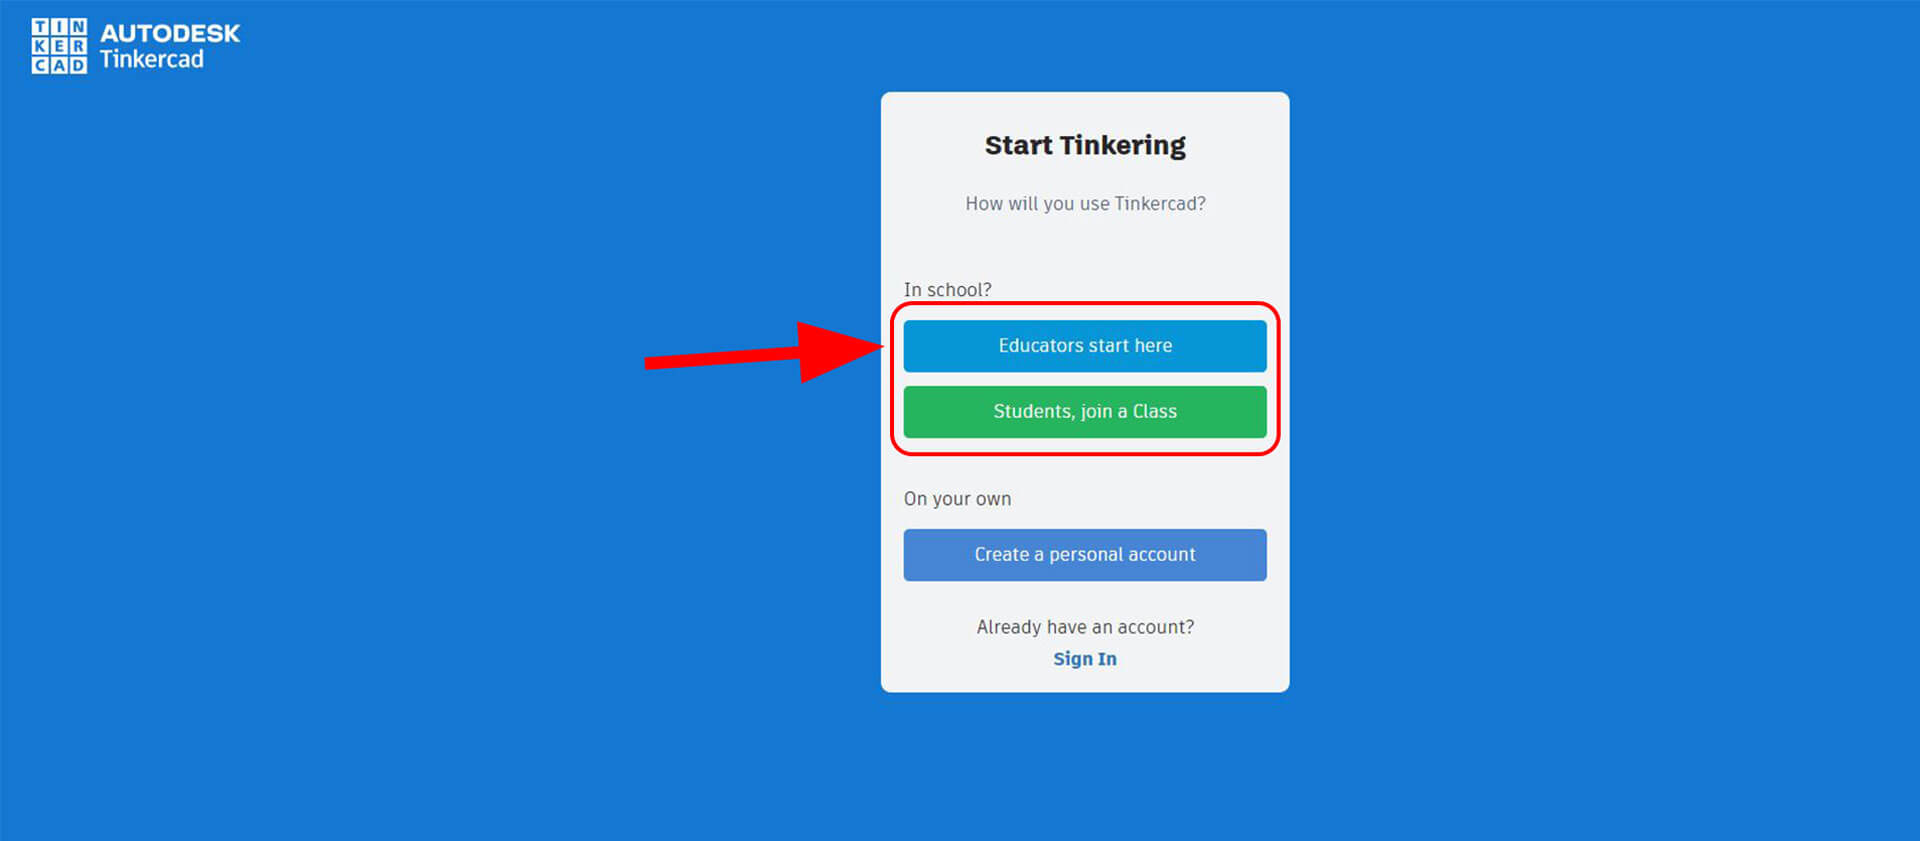
I chose Educator, as highlighted.If you choose Student, it will prompt you to enter a class code.At times, you may also see the Maker option. You can choose it as well; it works the same way as Educator
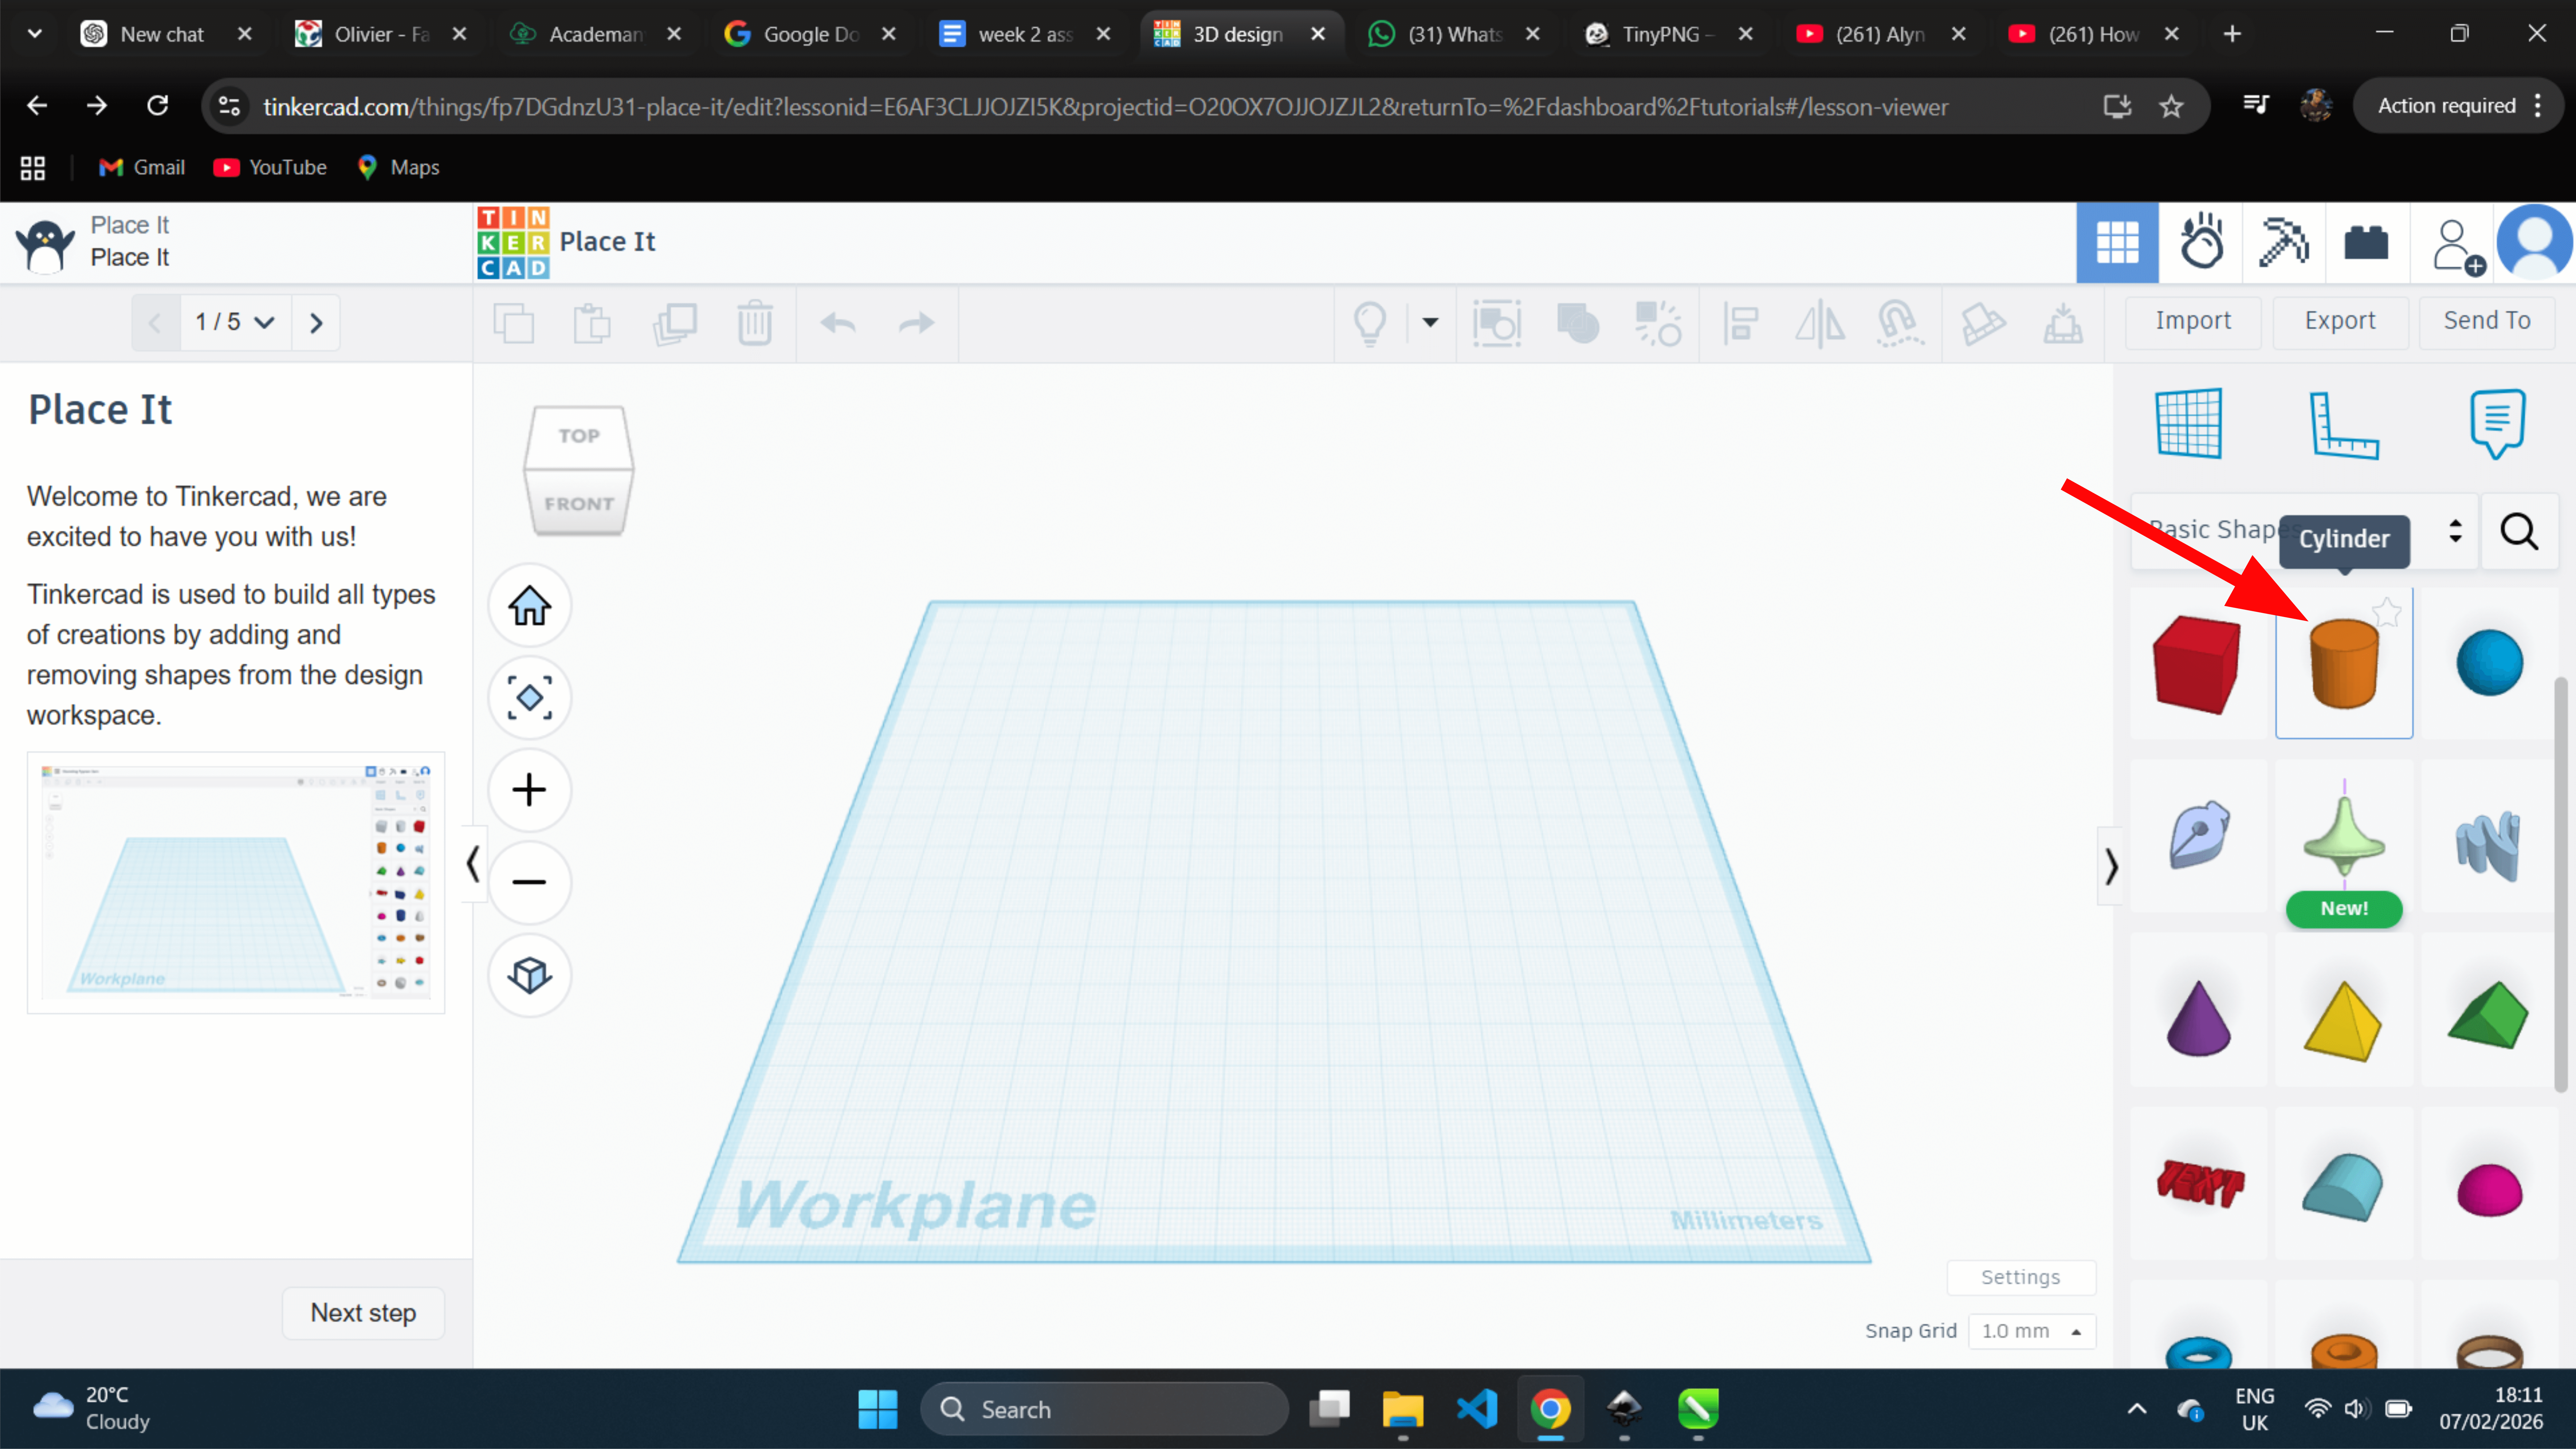
next, show your workplane
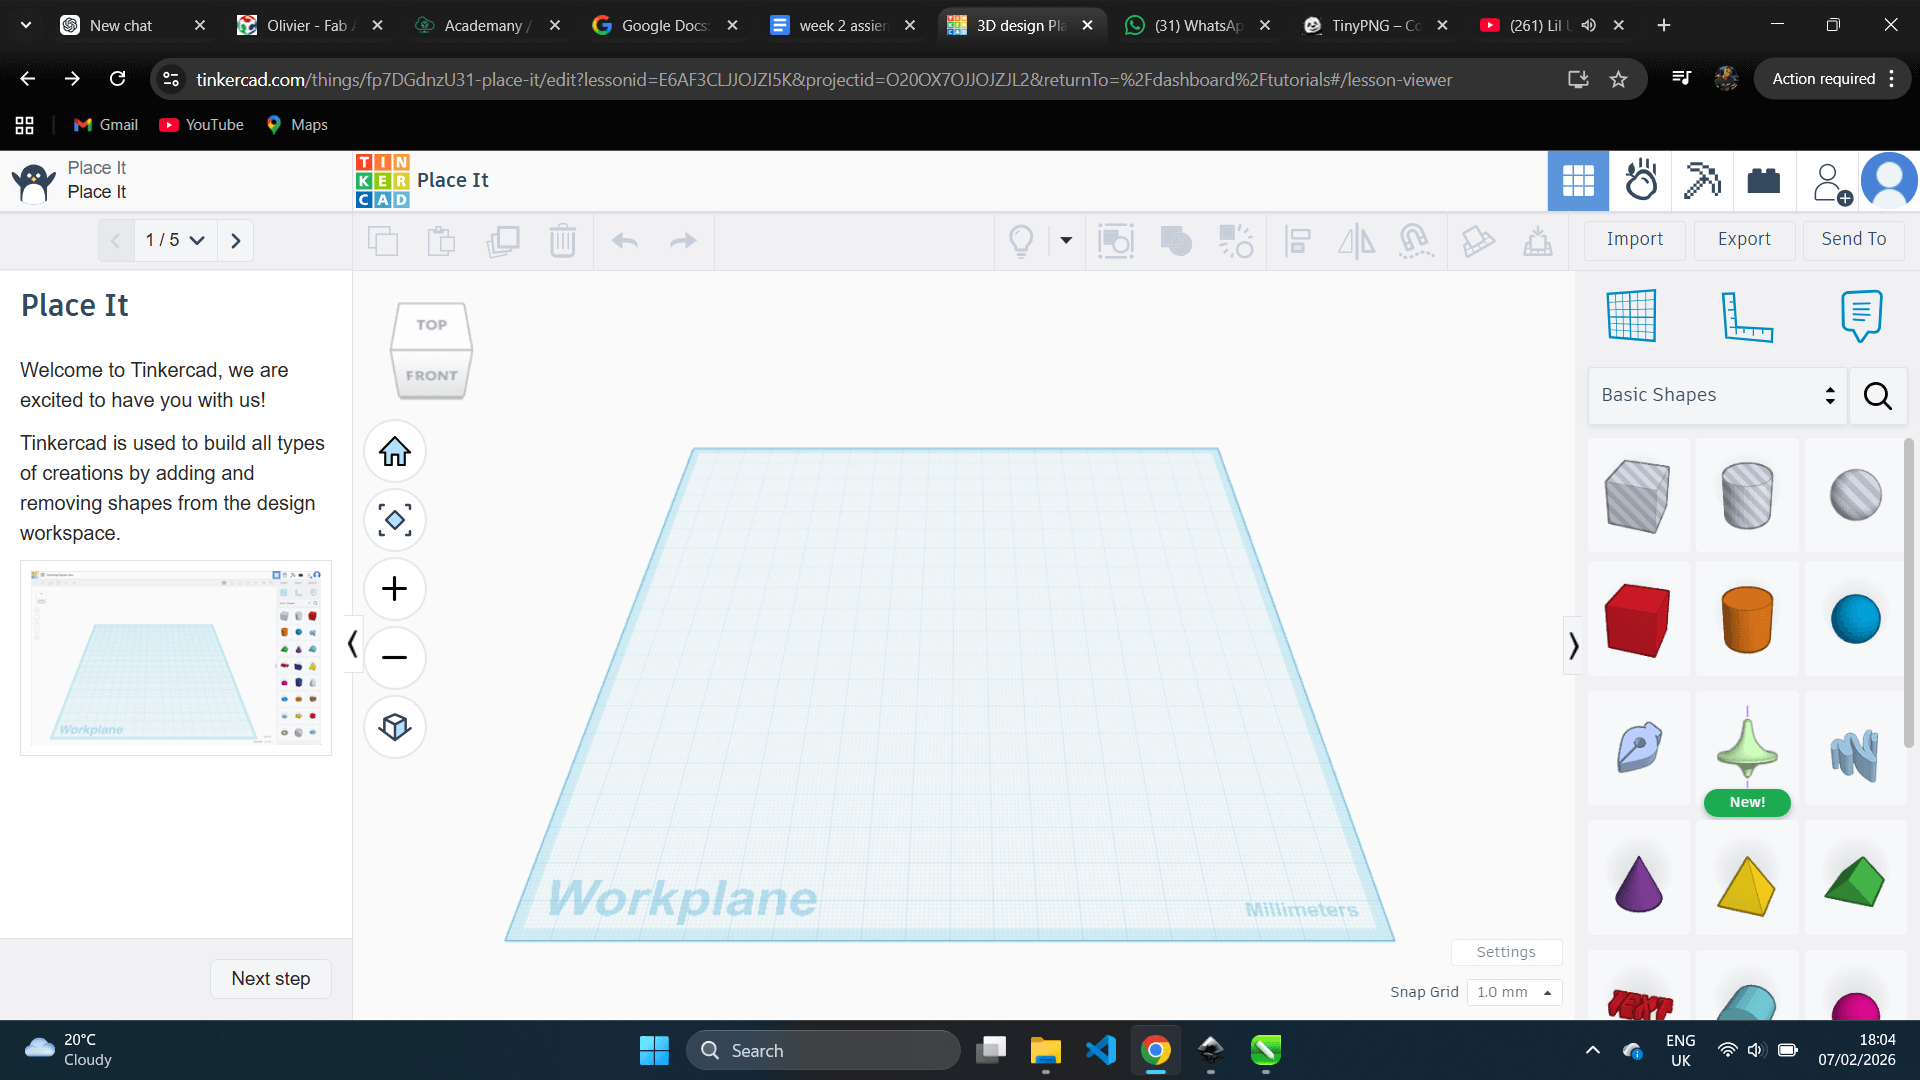
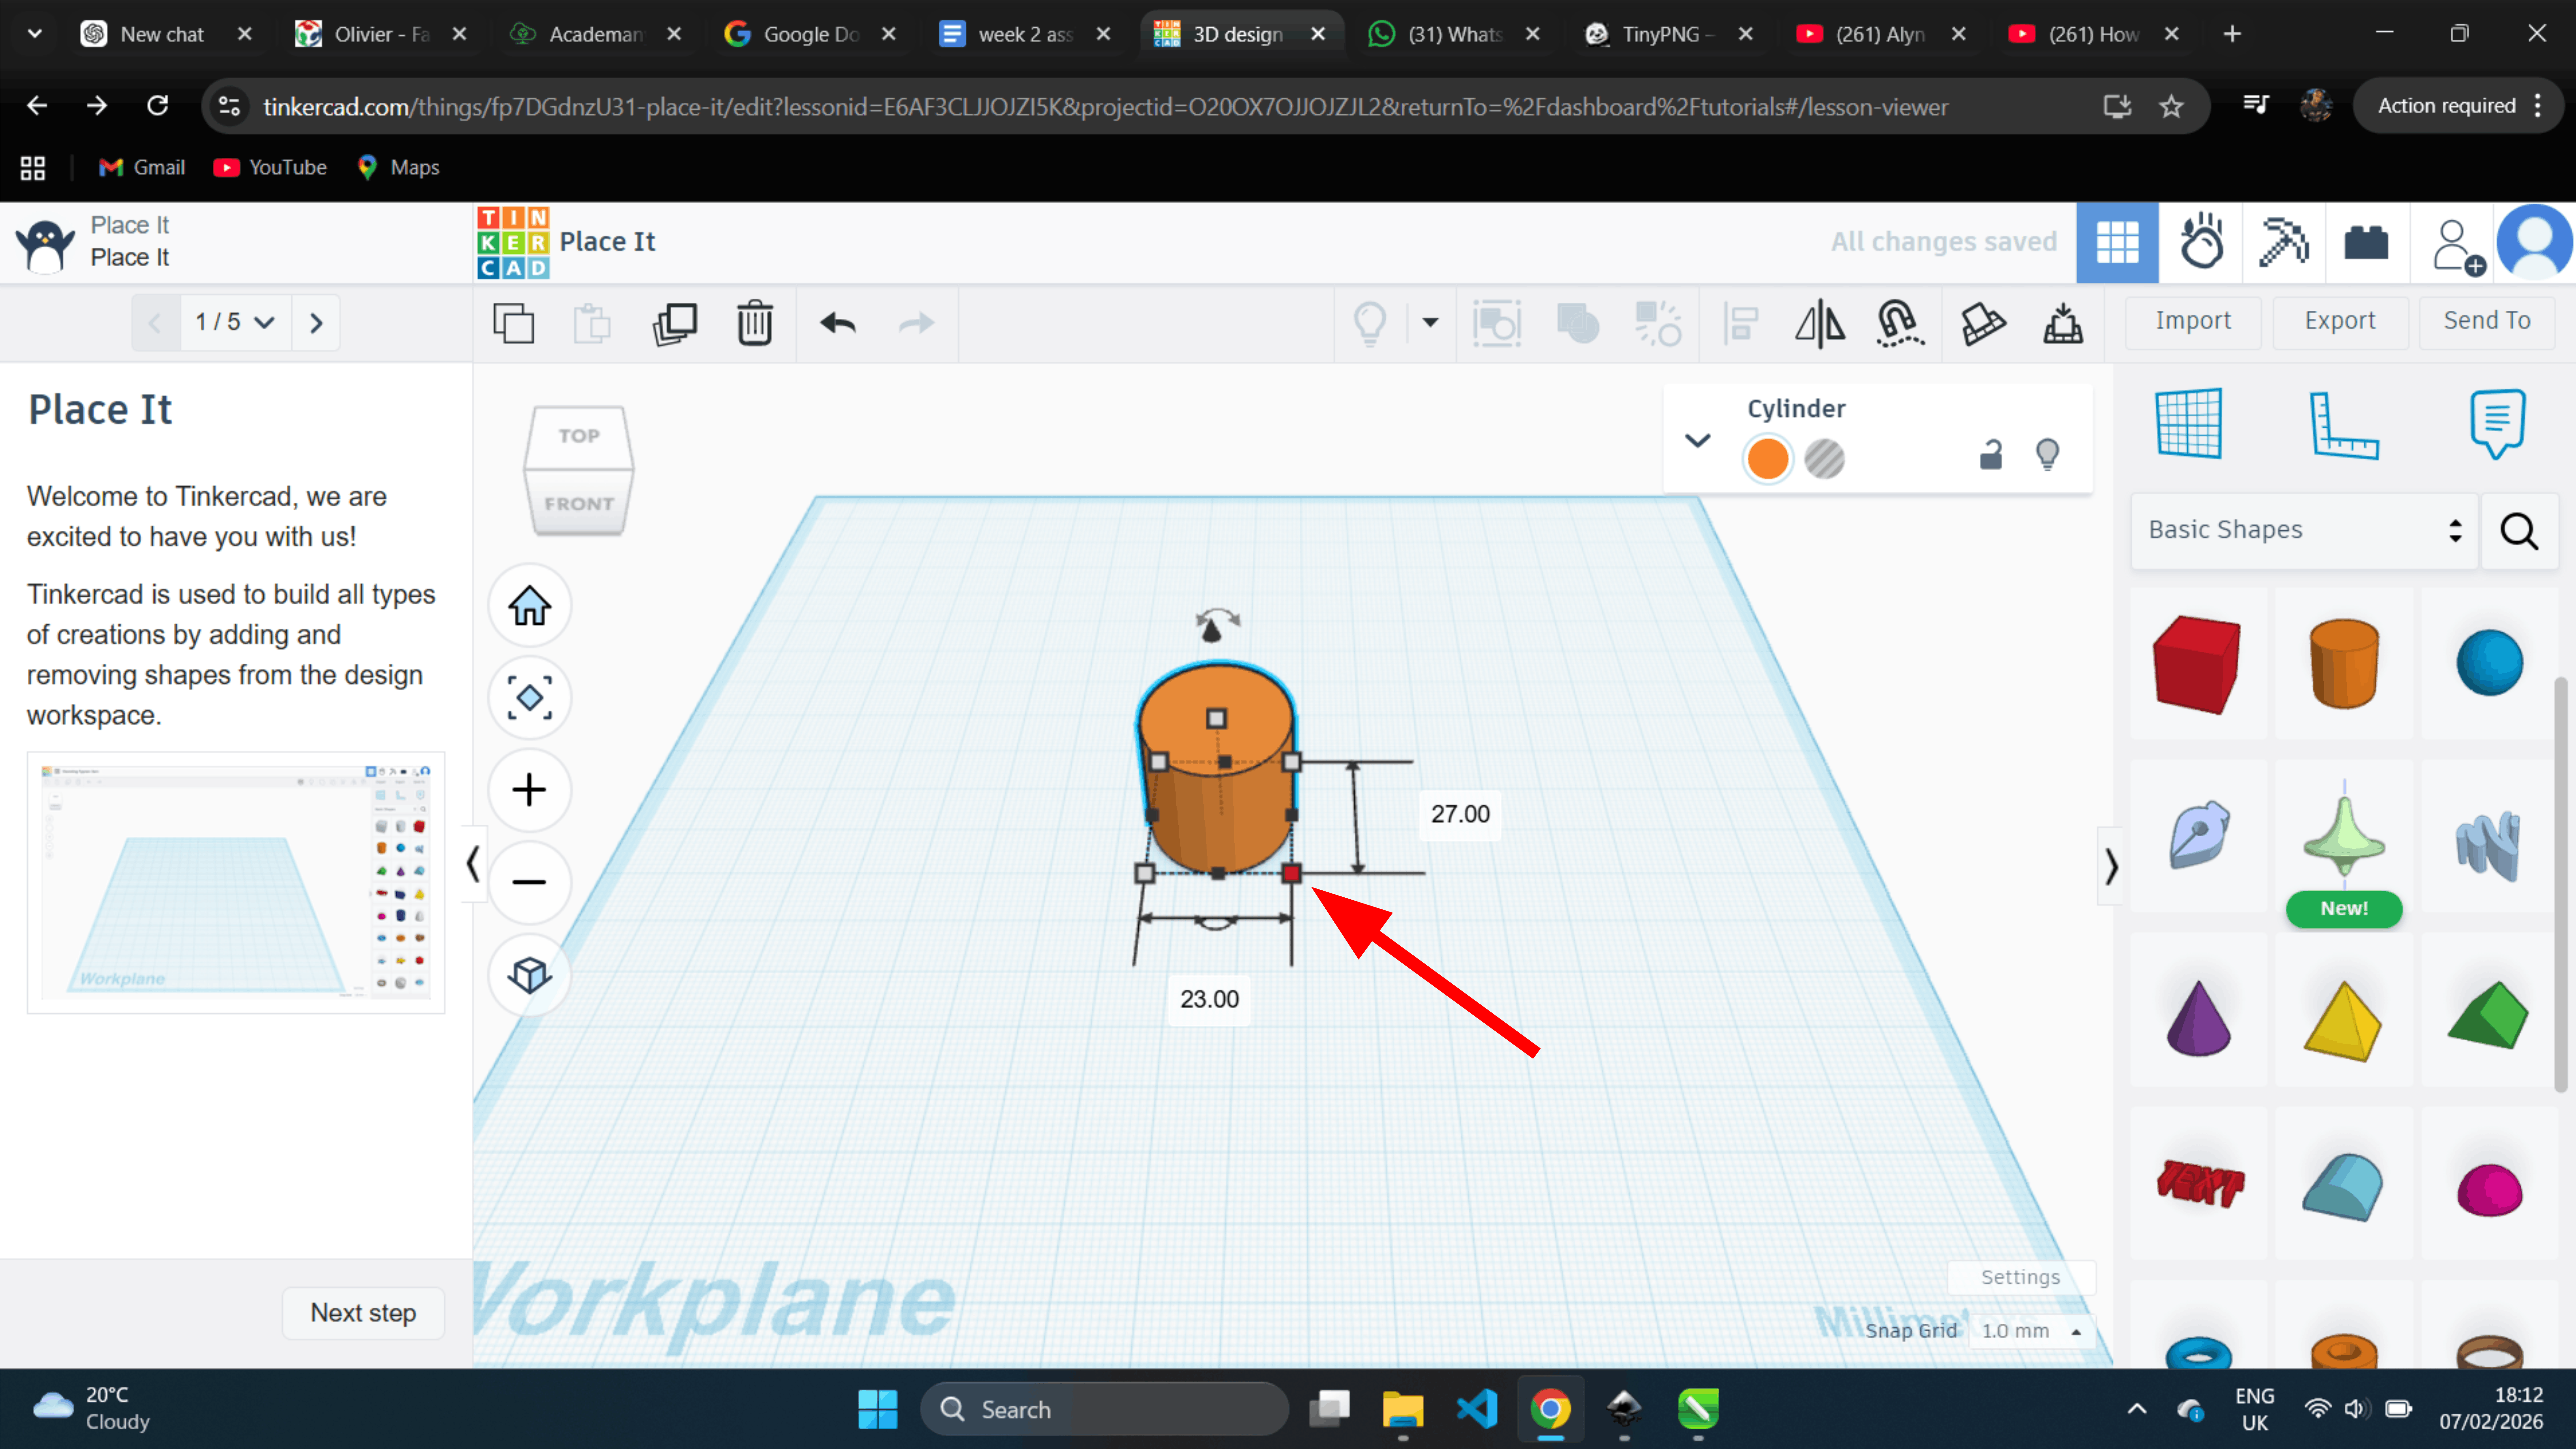
After placing the object on the workplane, I was able to move it to different positions by dragging it I use cylinder to make a cup
After adjusting the cylinder dimensions
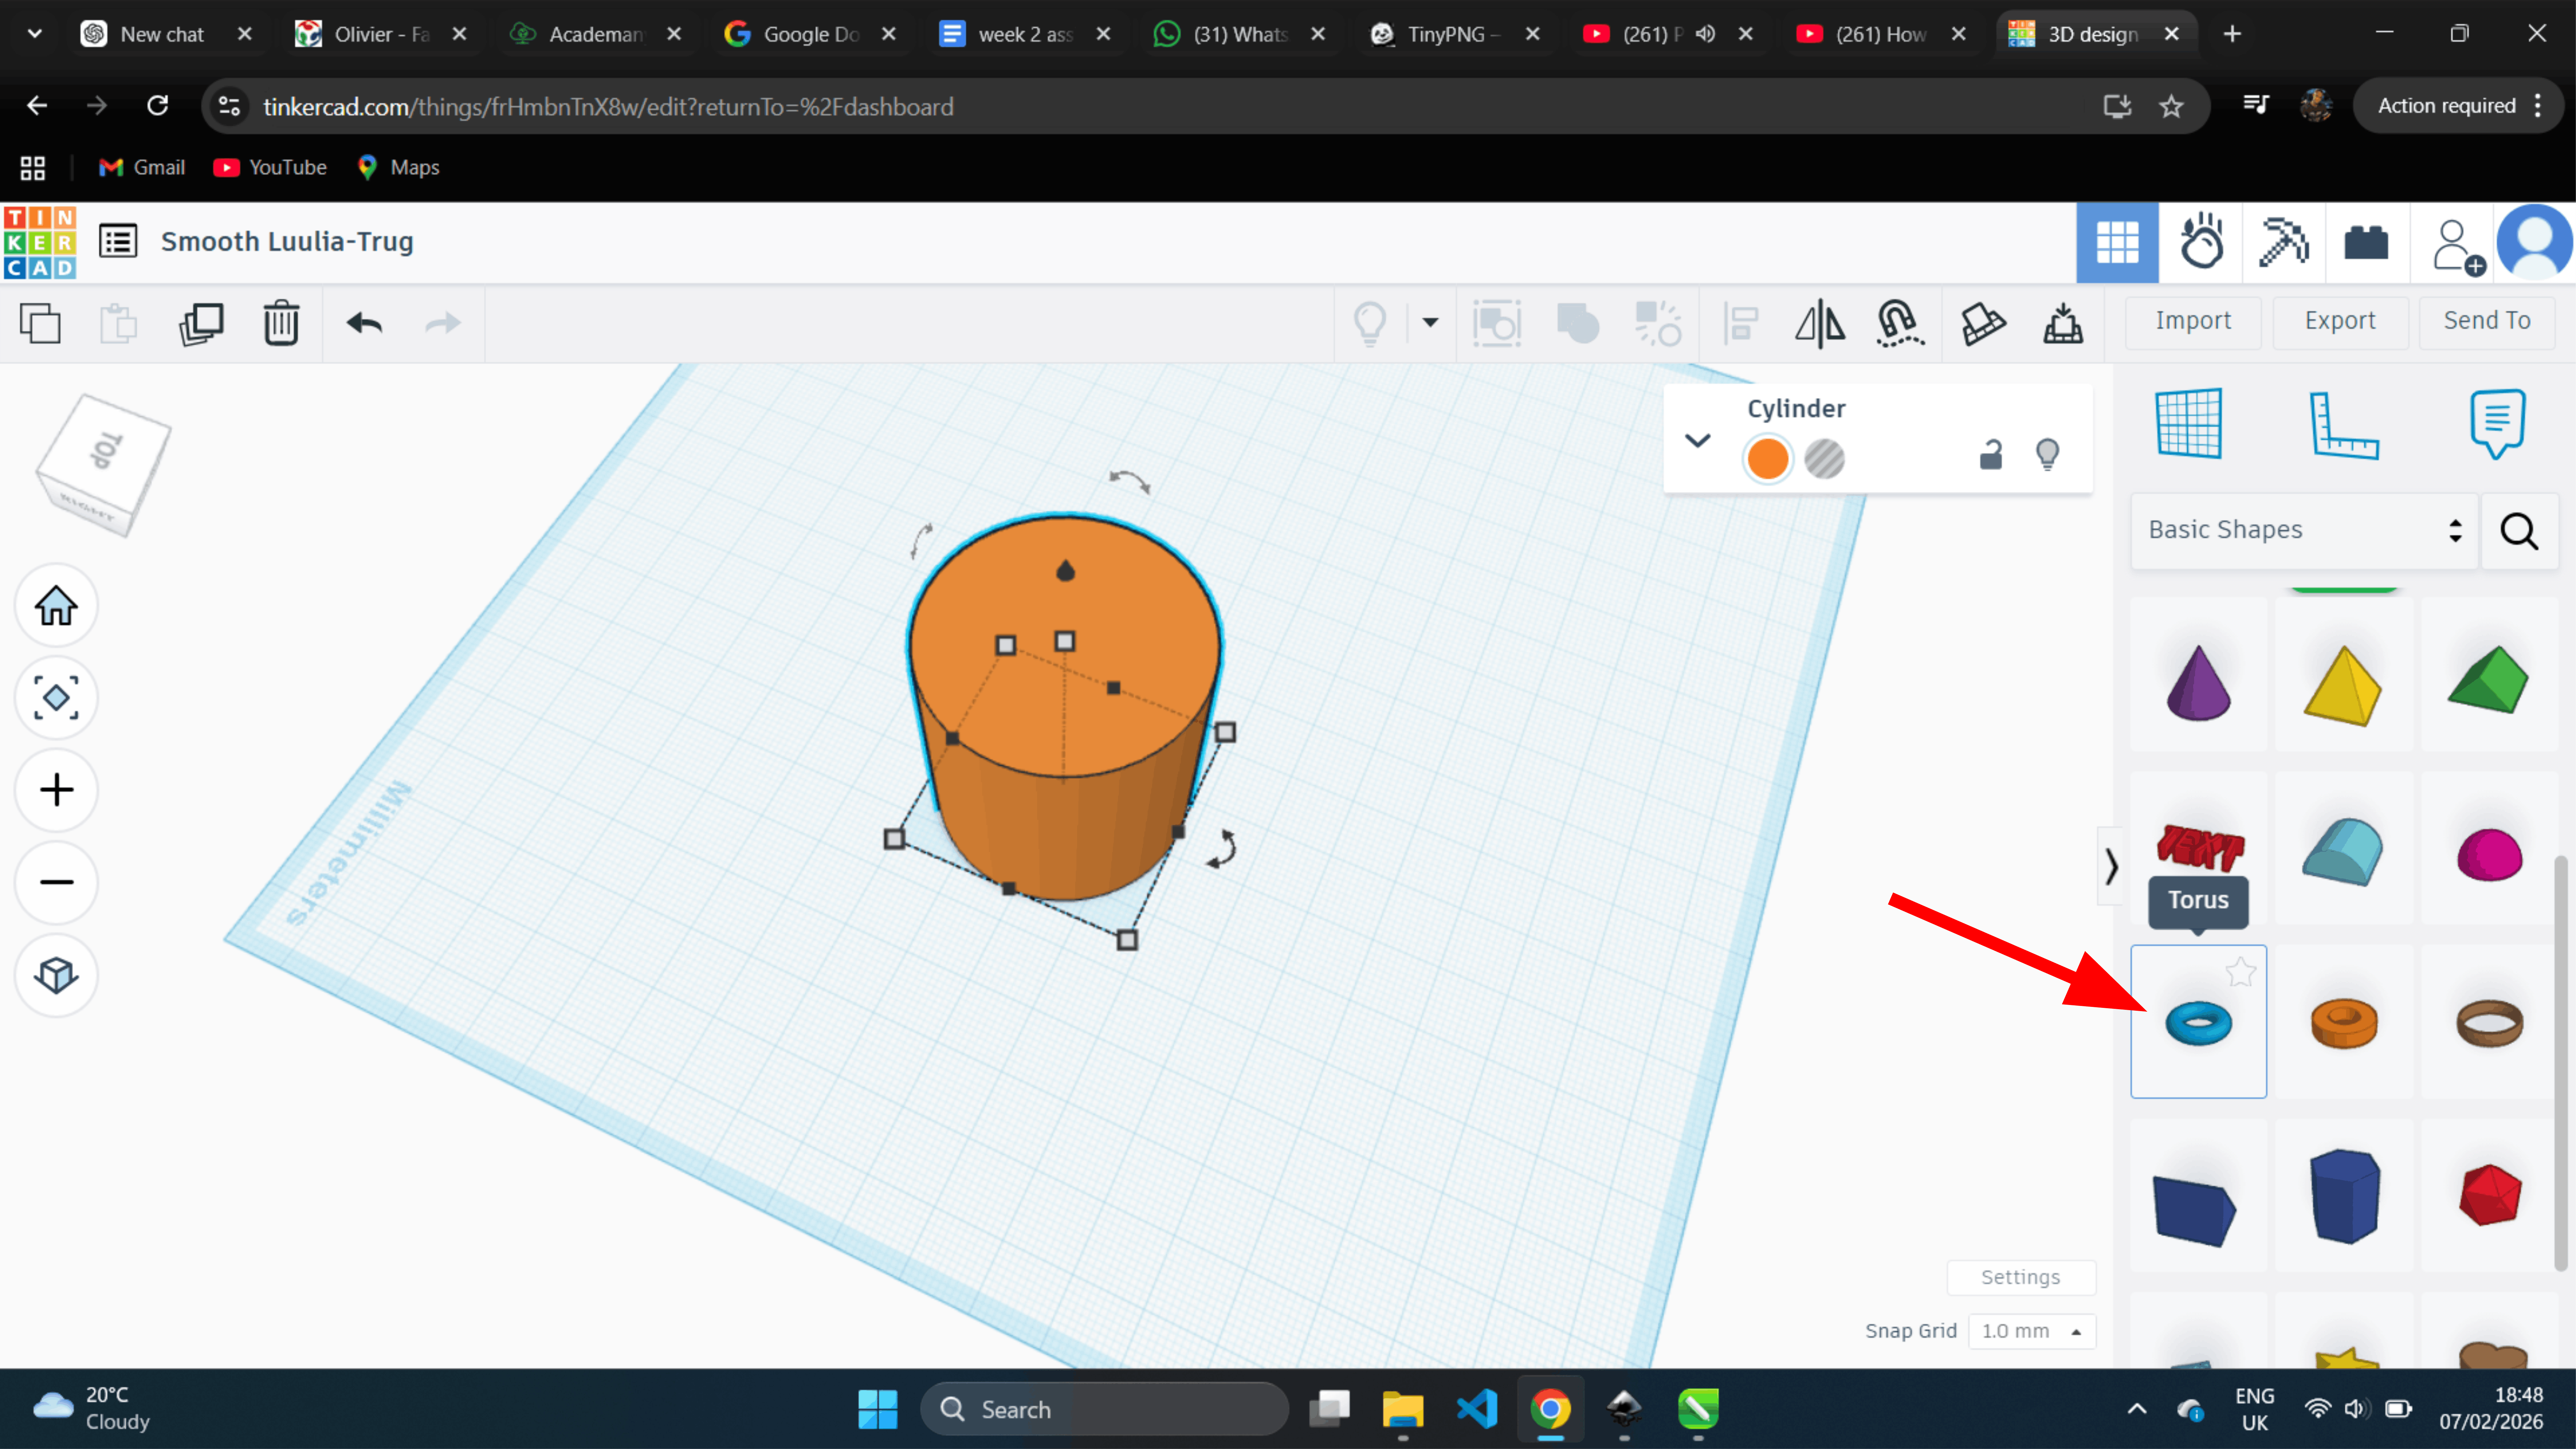
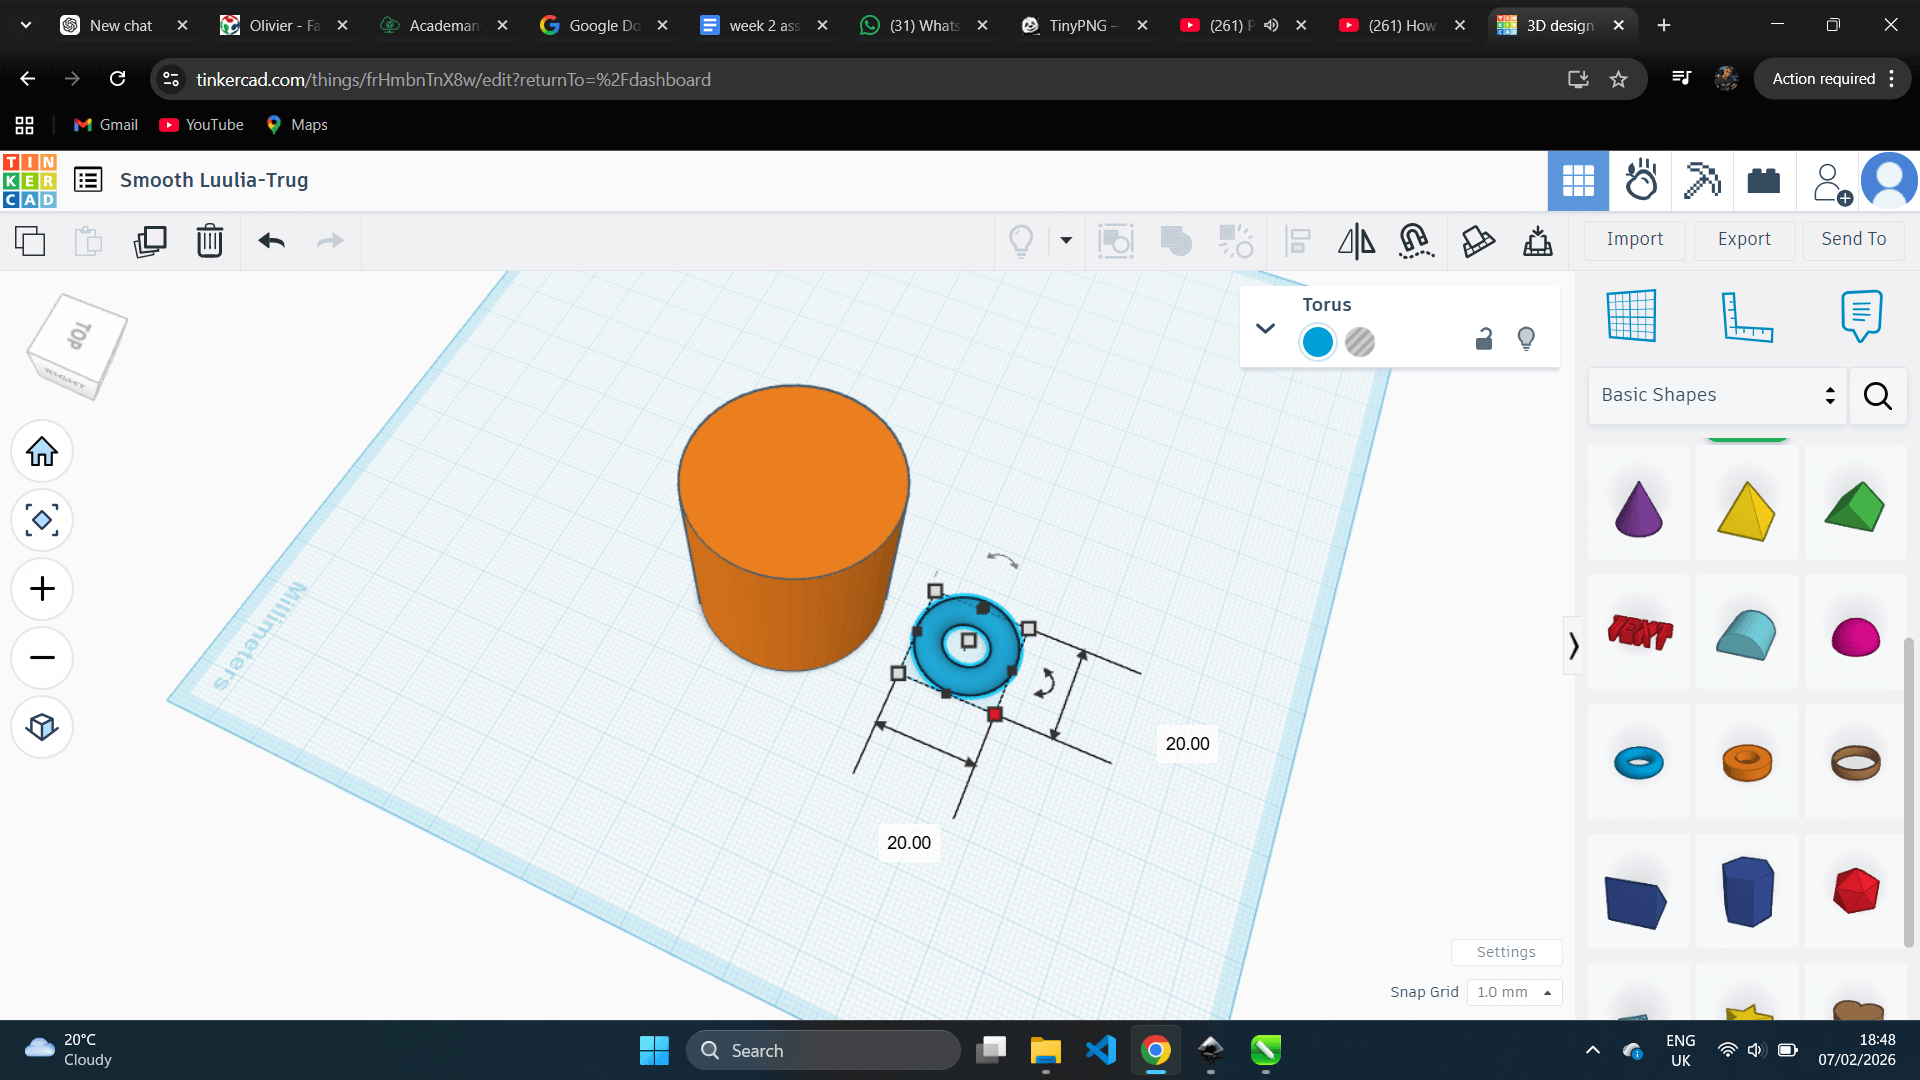
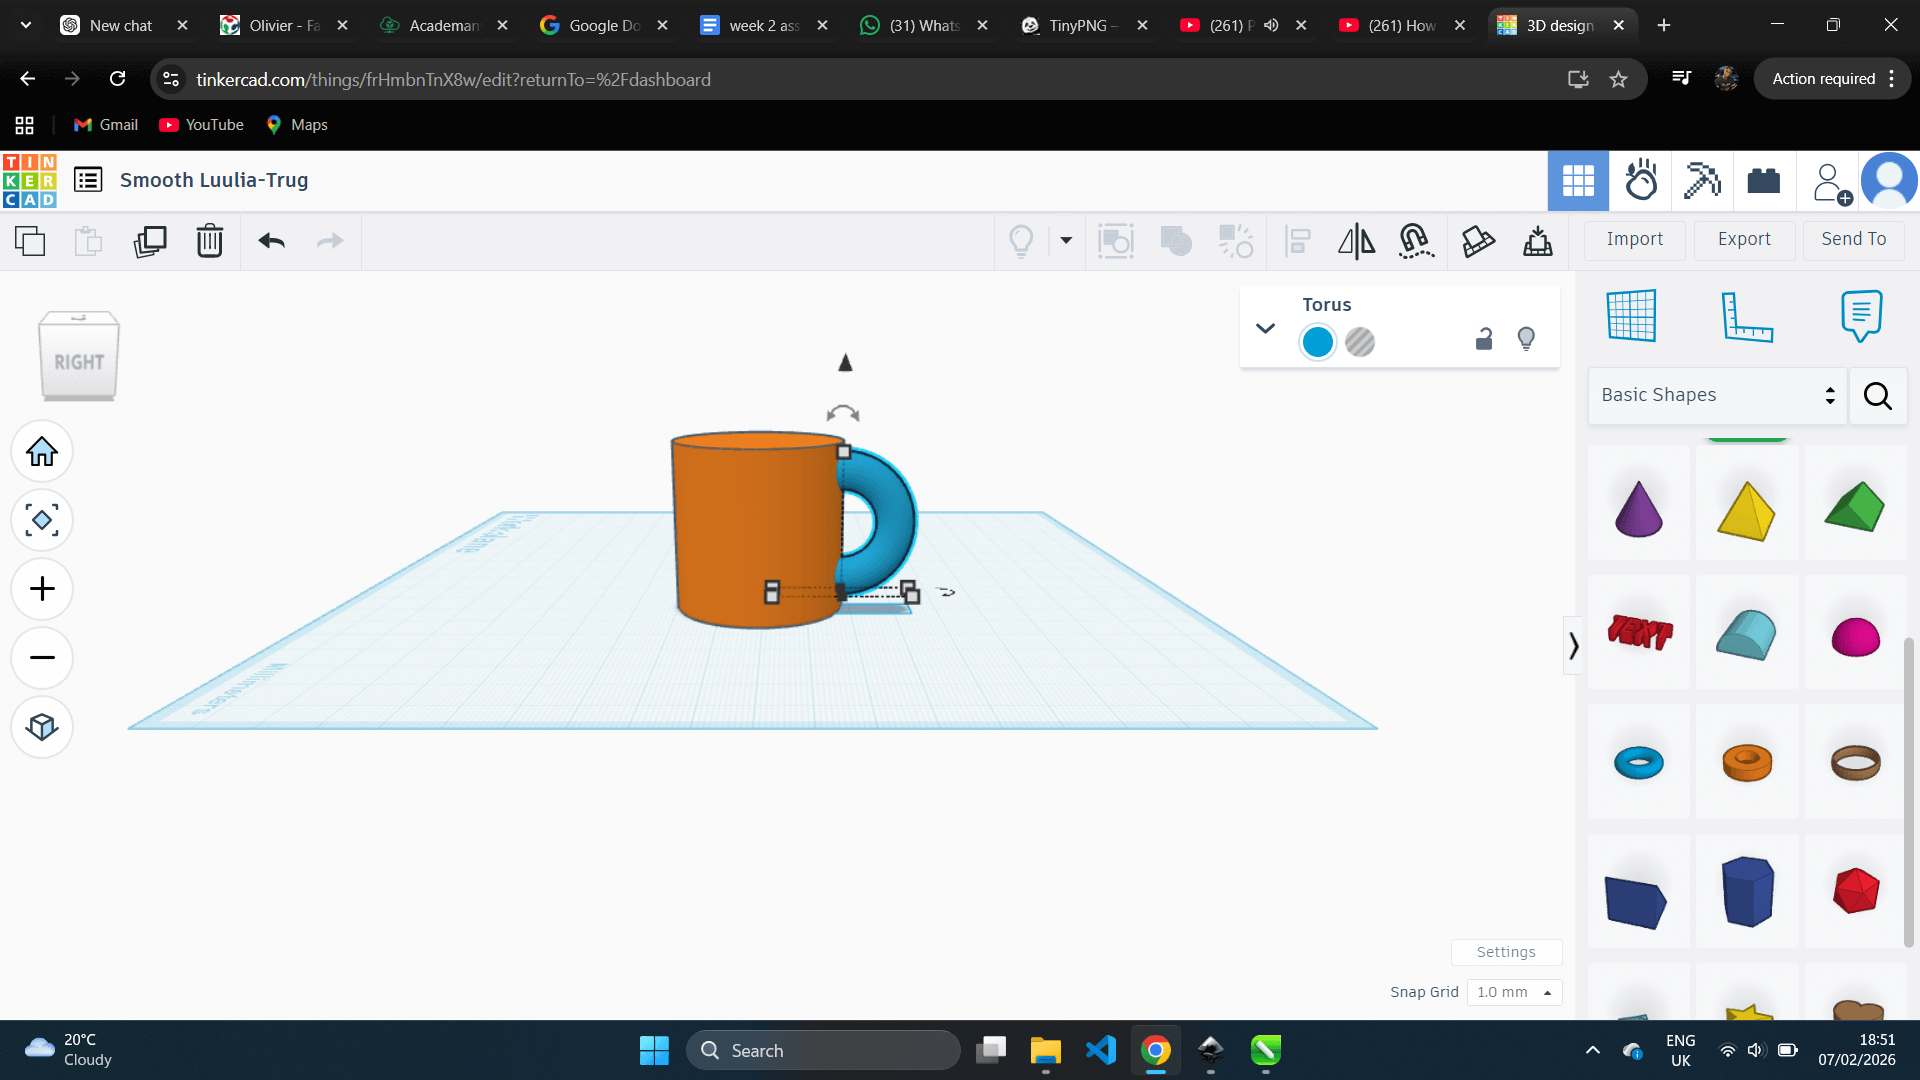
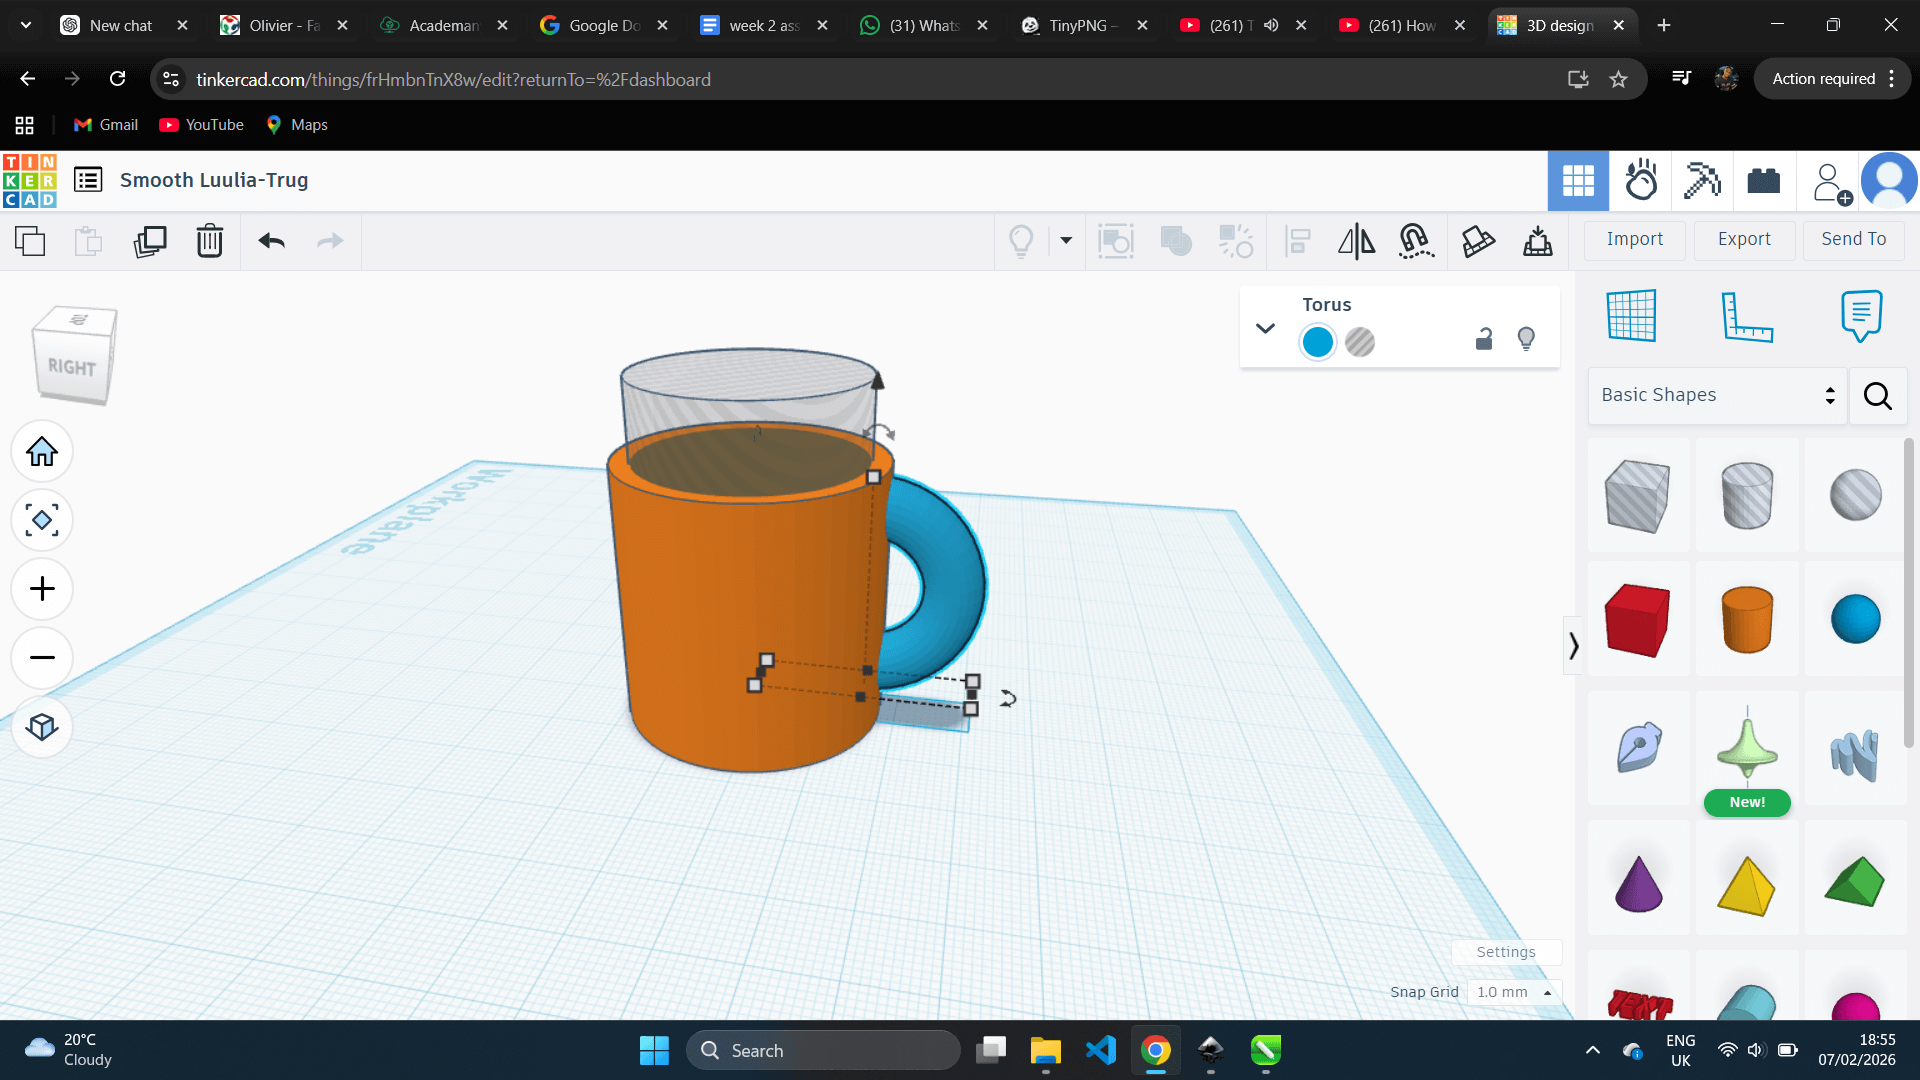
After that, I selected a torus to make the handle of the cup
After, i scaling and rotating the torus as handle of cup
in 90 Degree
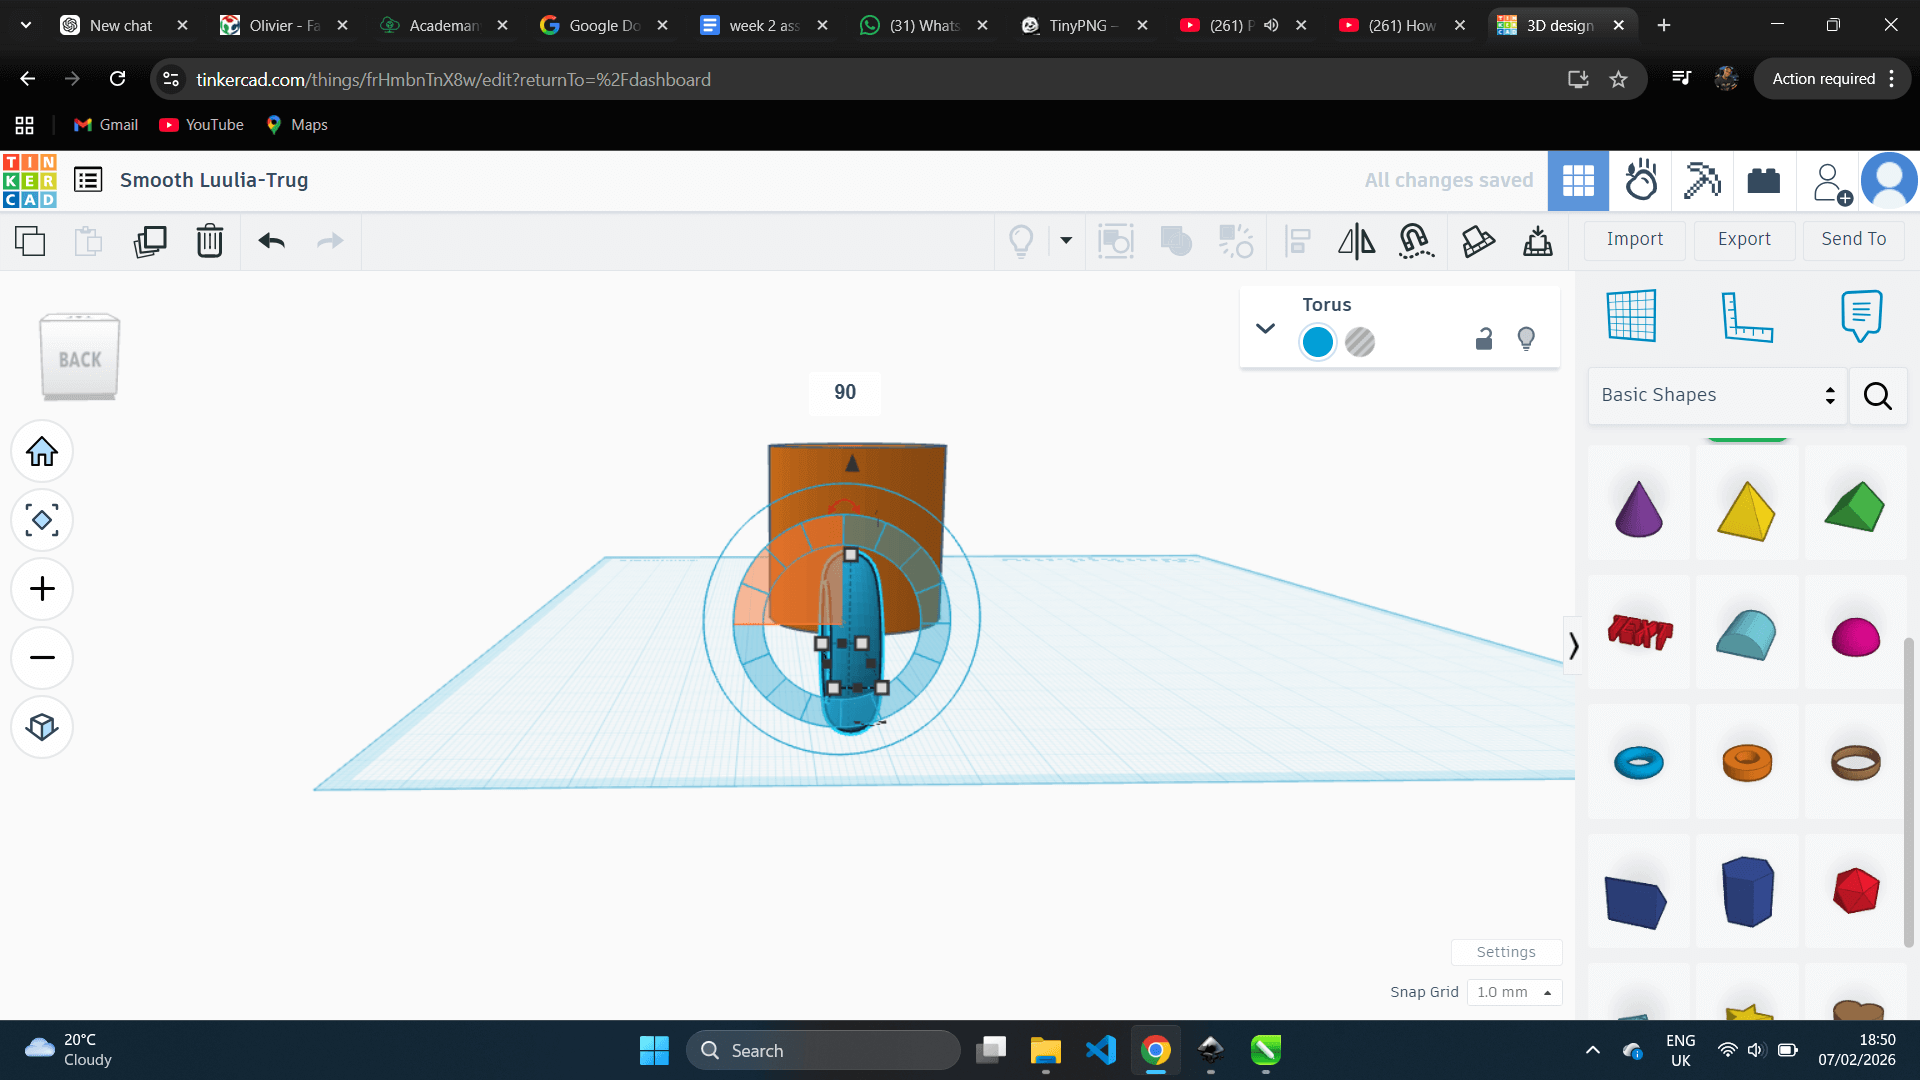
after, Placing it on the cylinder
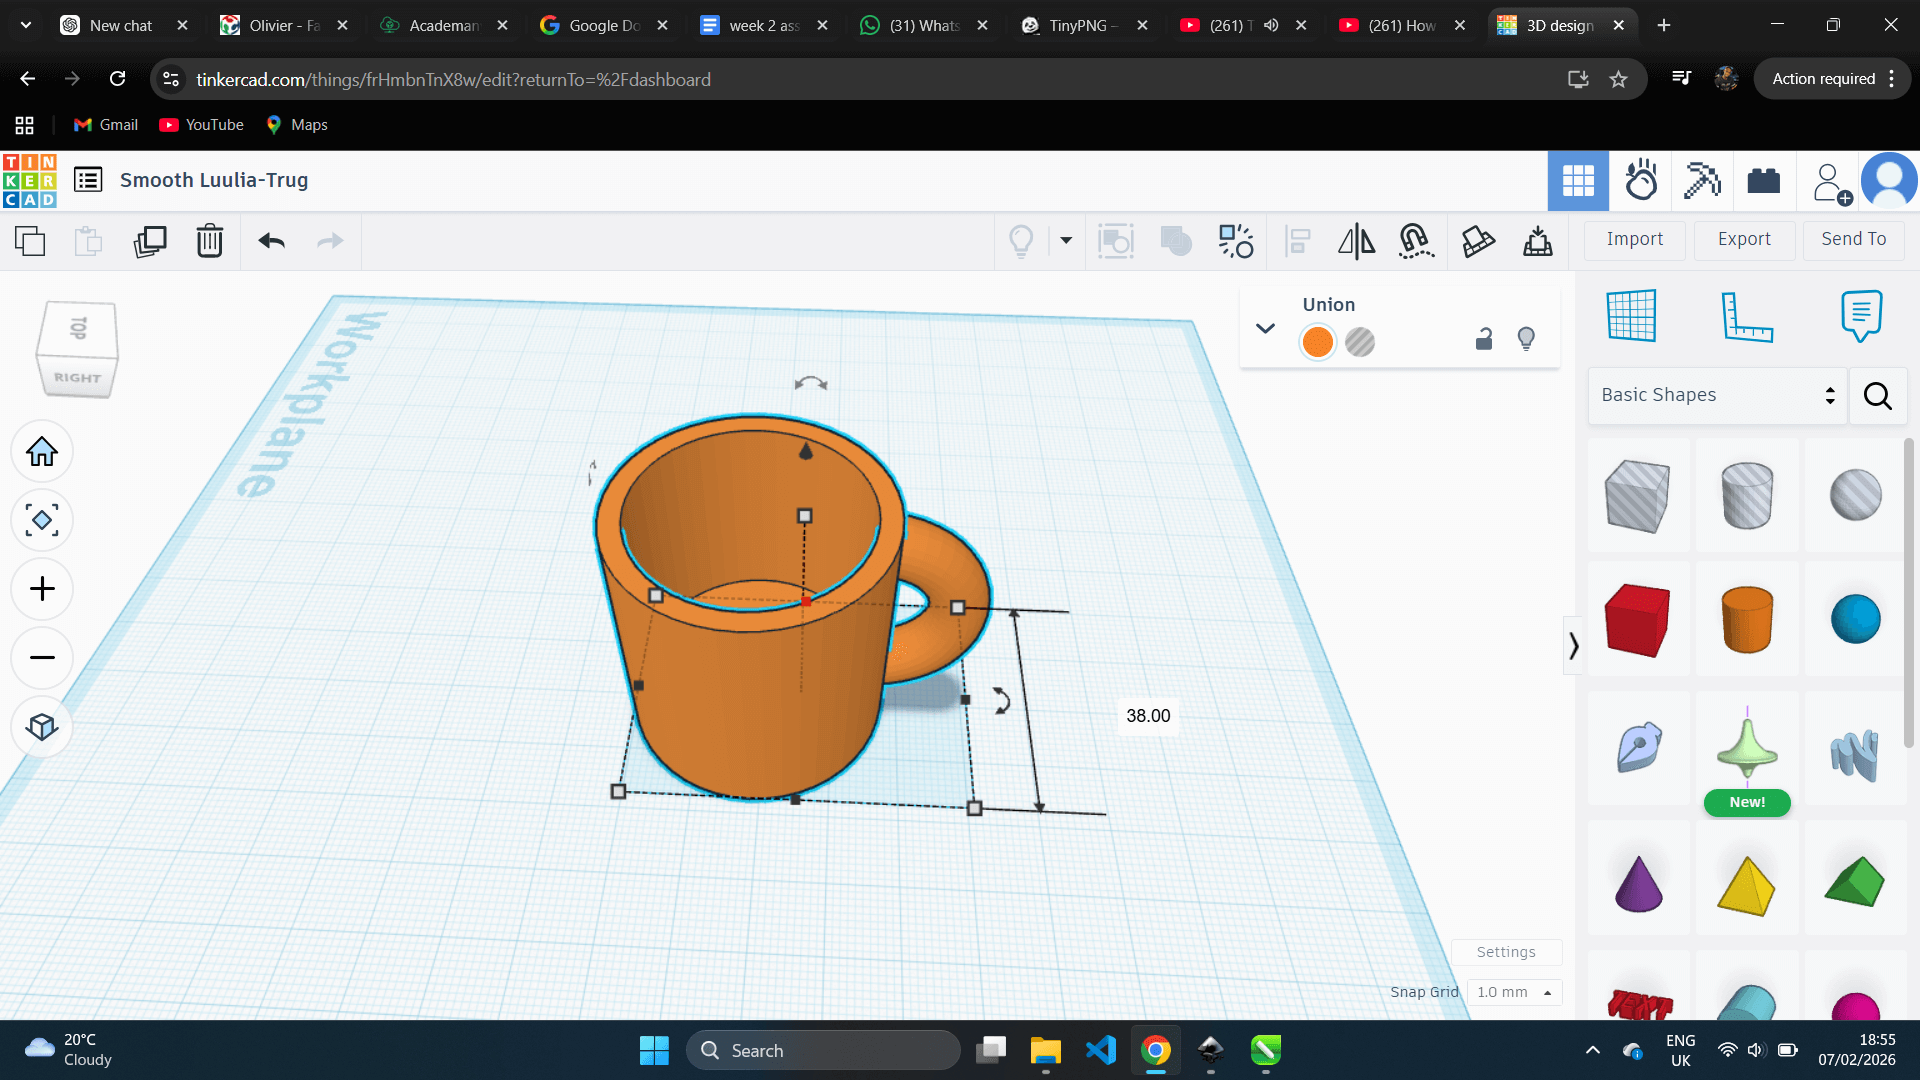
After that, I selected another cylinder to make the inner hole of the cup

After scaling, I selected all objects and aligned them
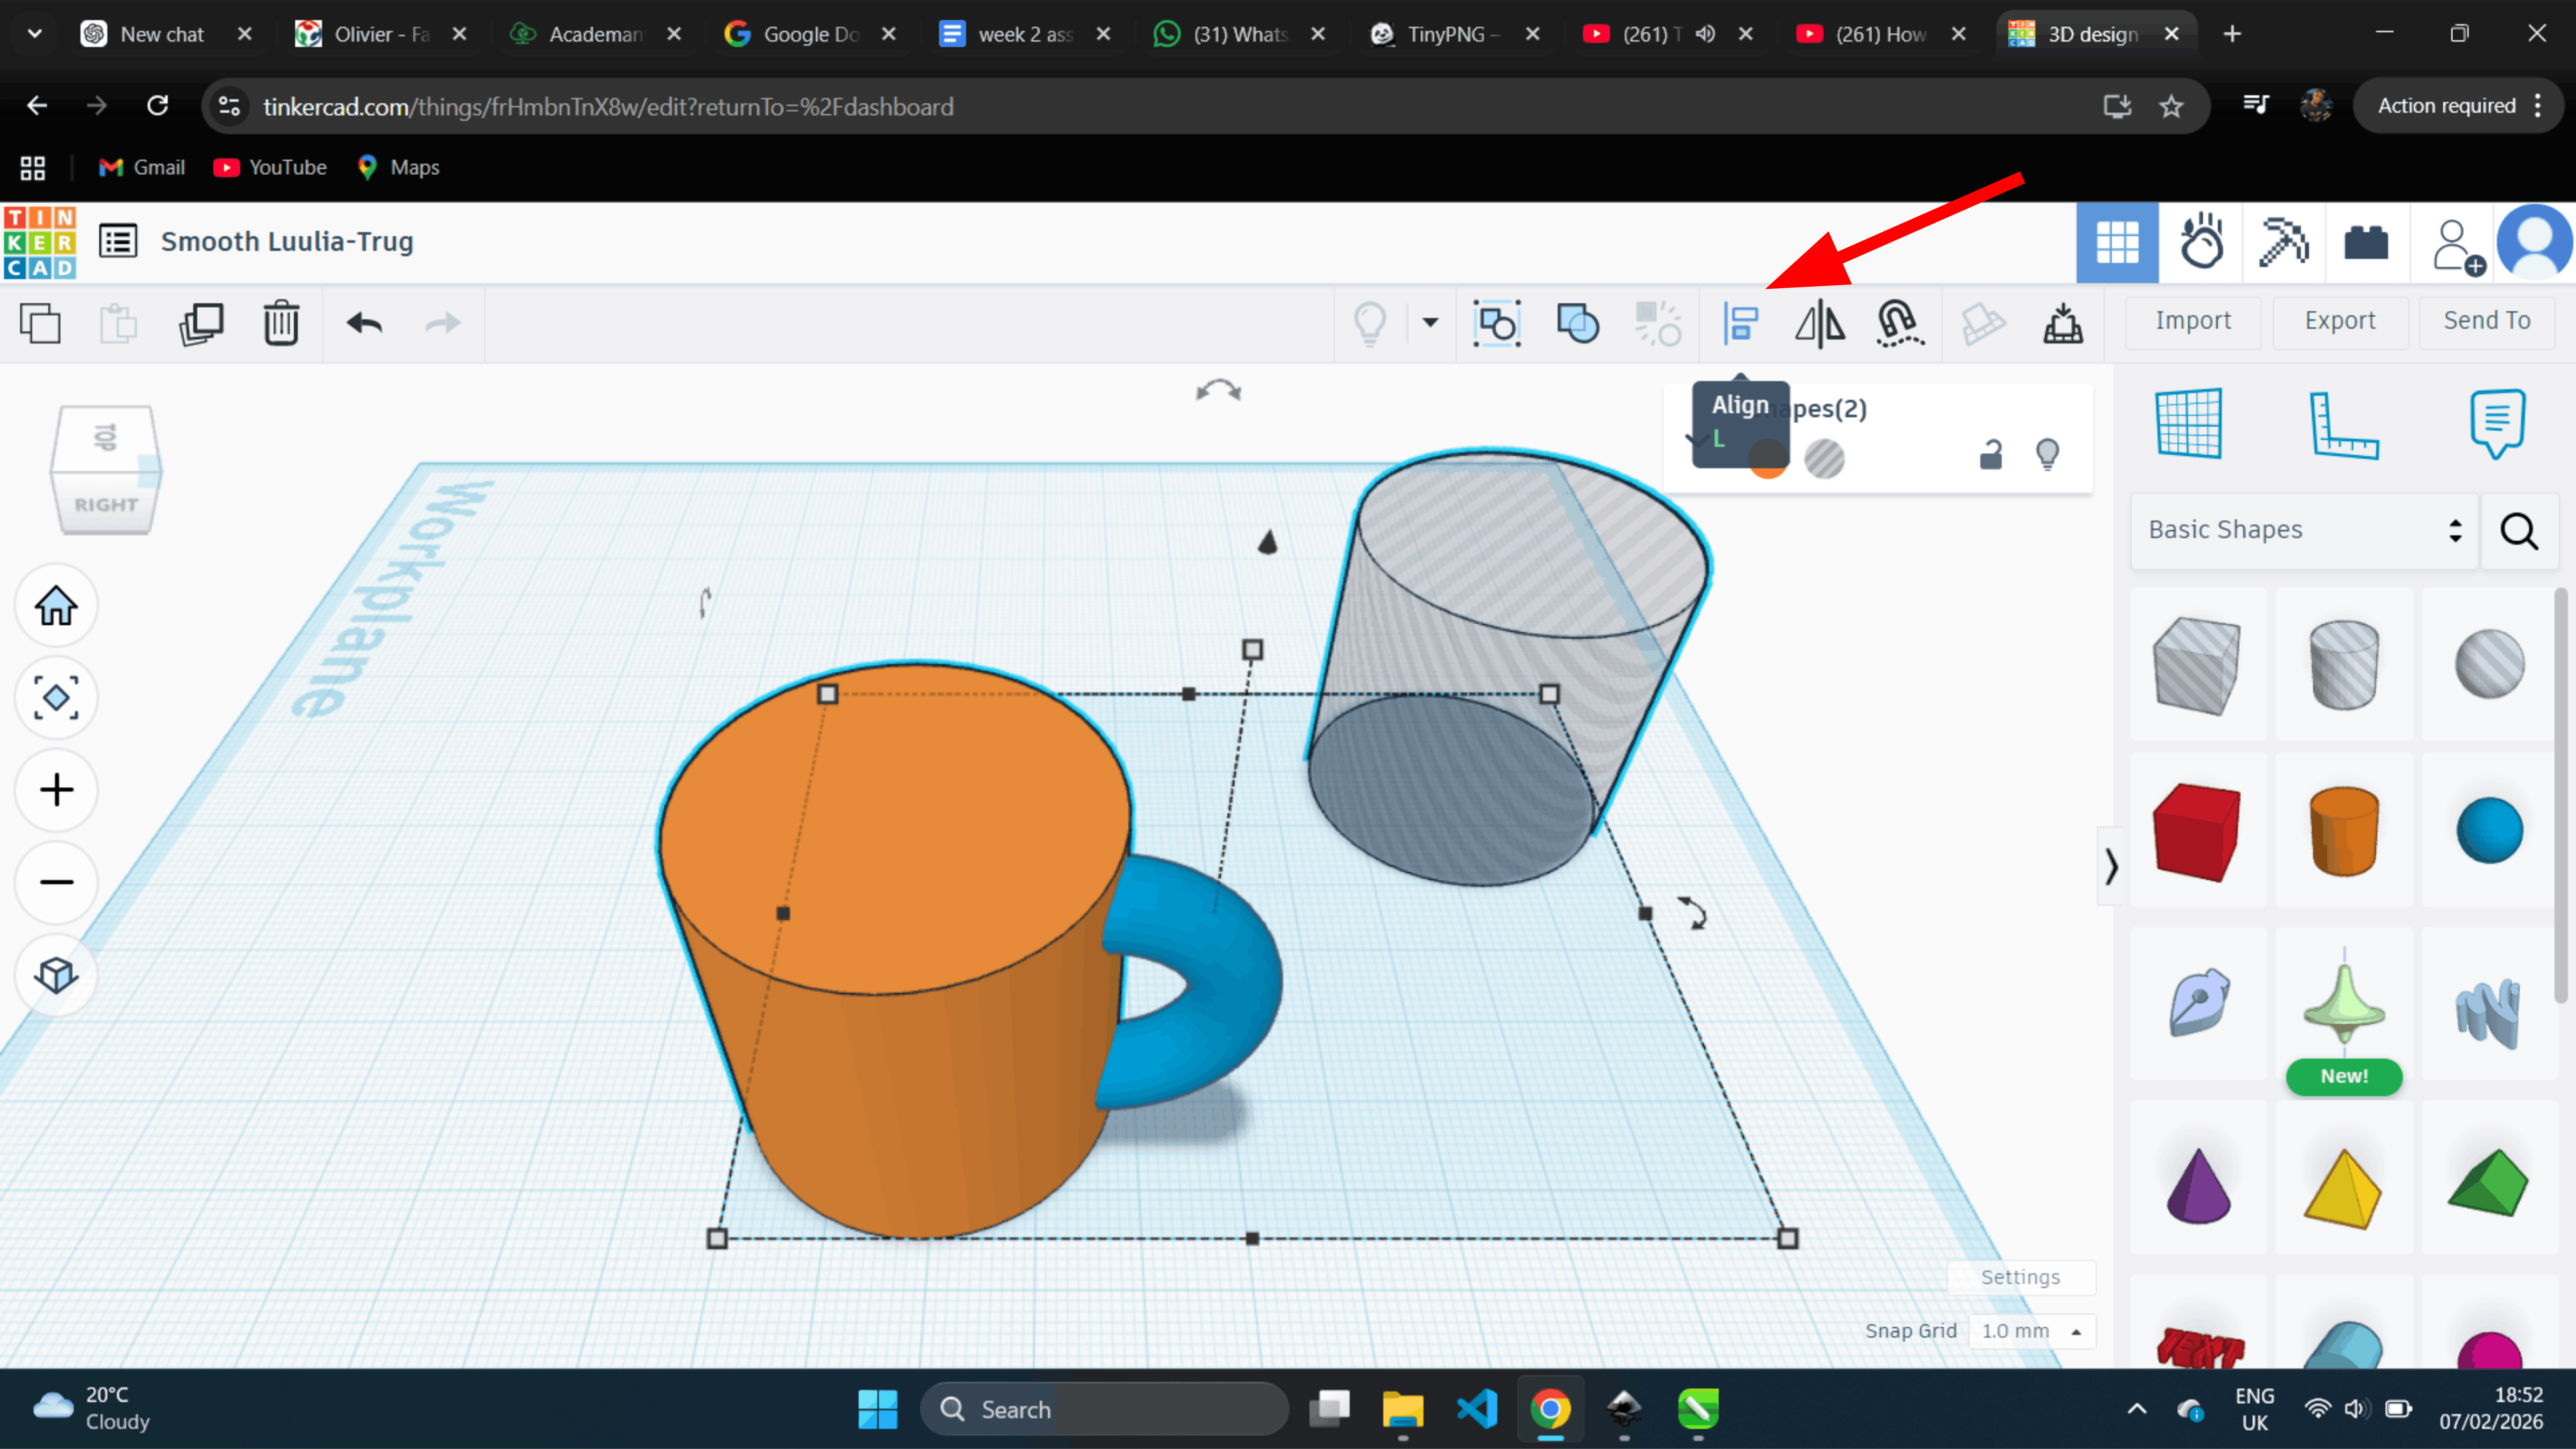
Then, I clicked on the alignment lines to apply the alignment
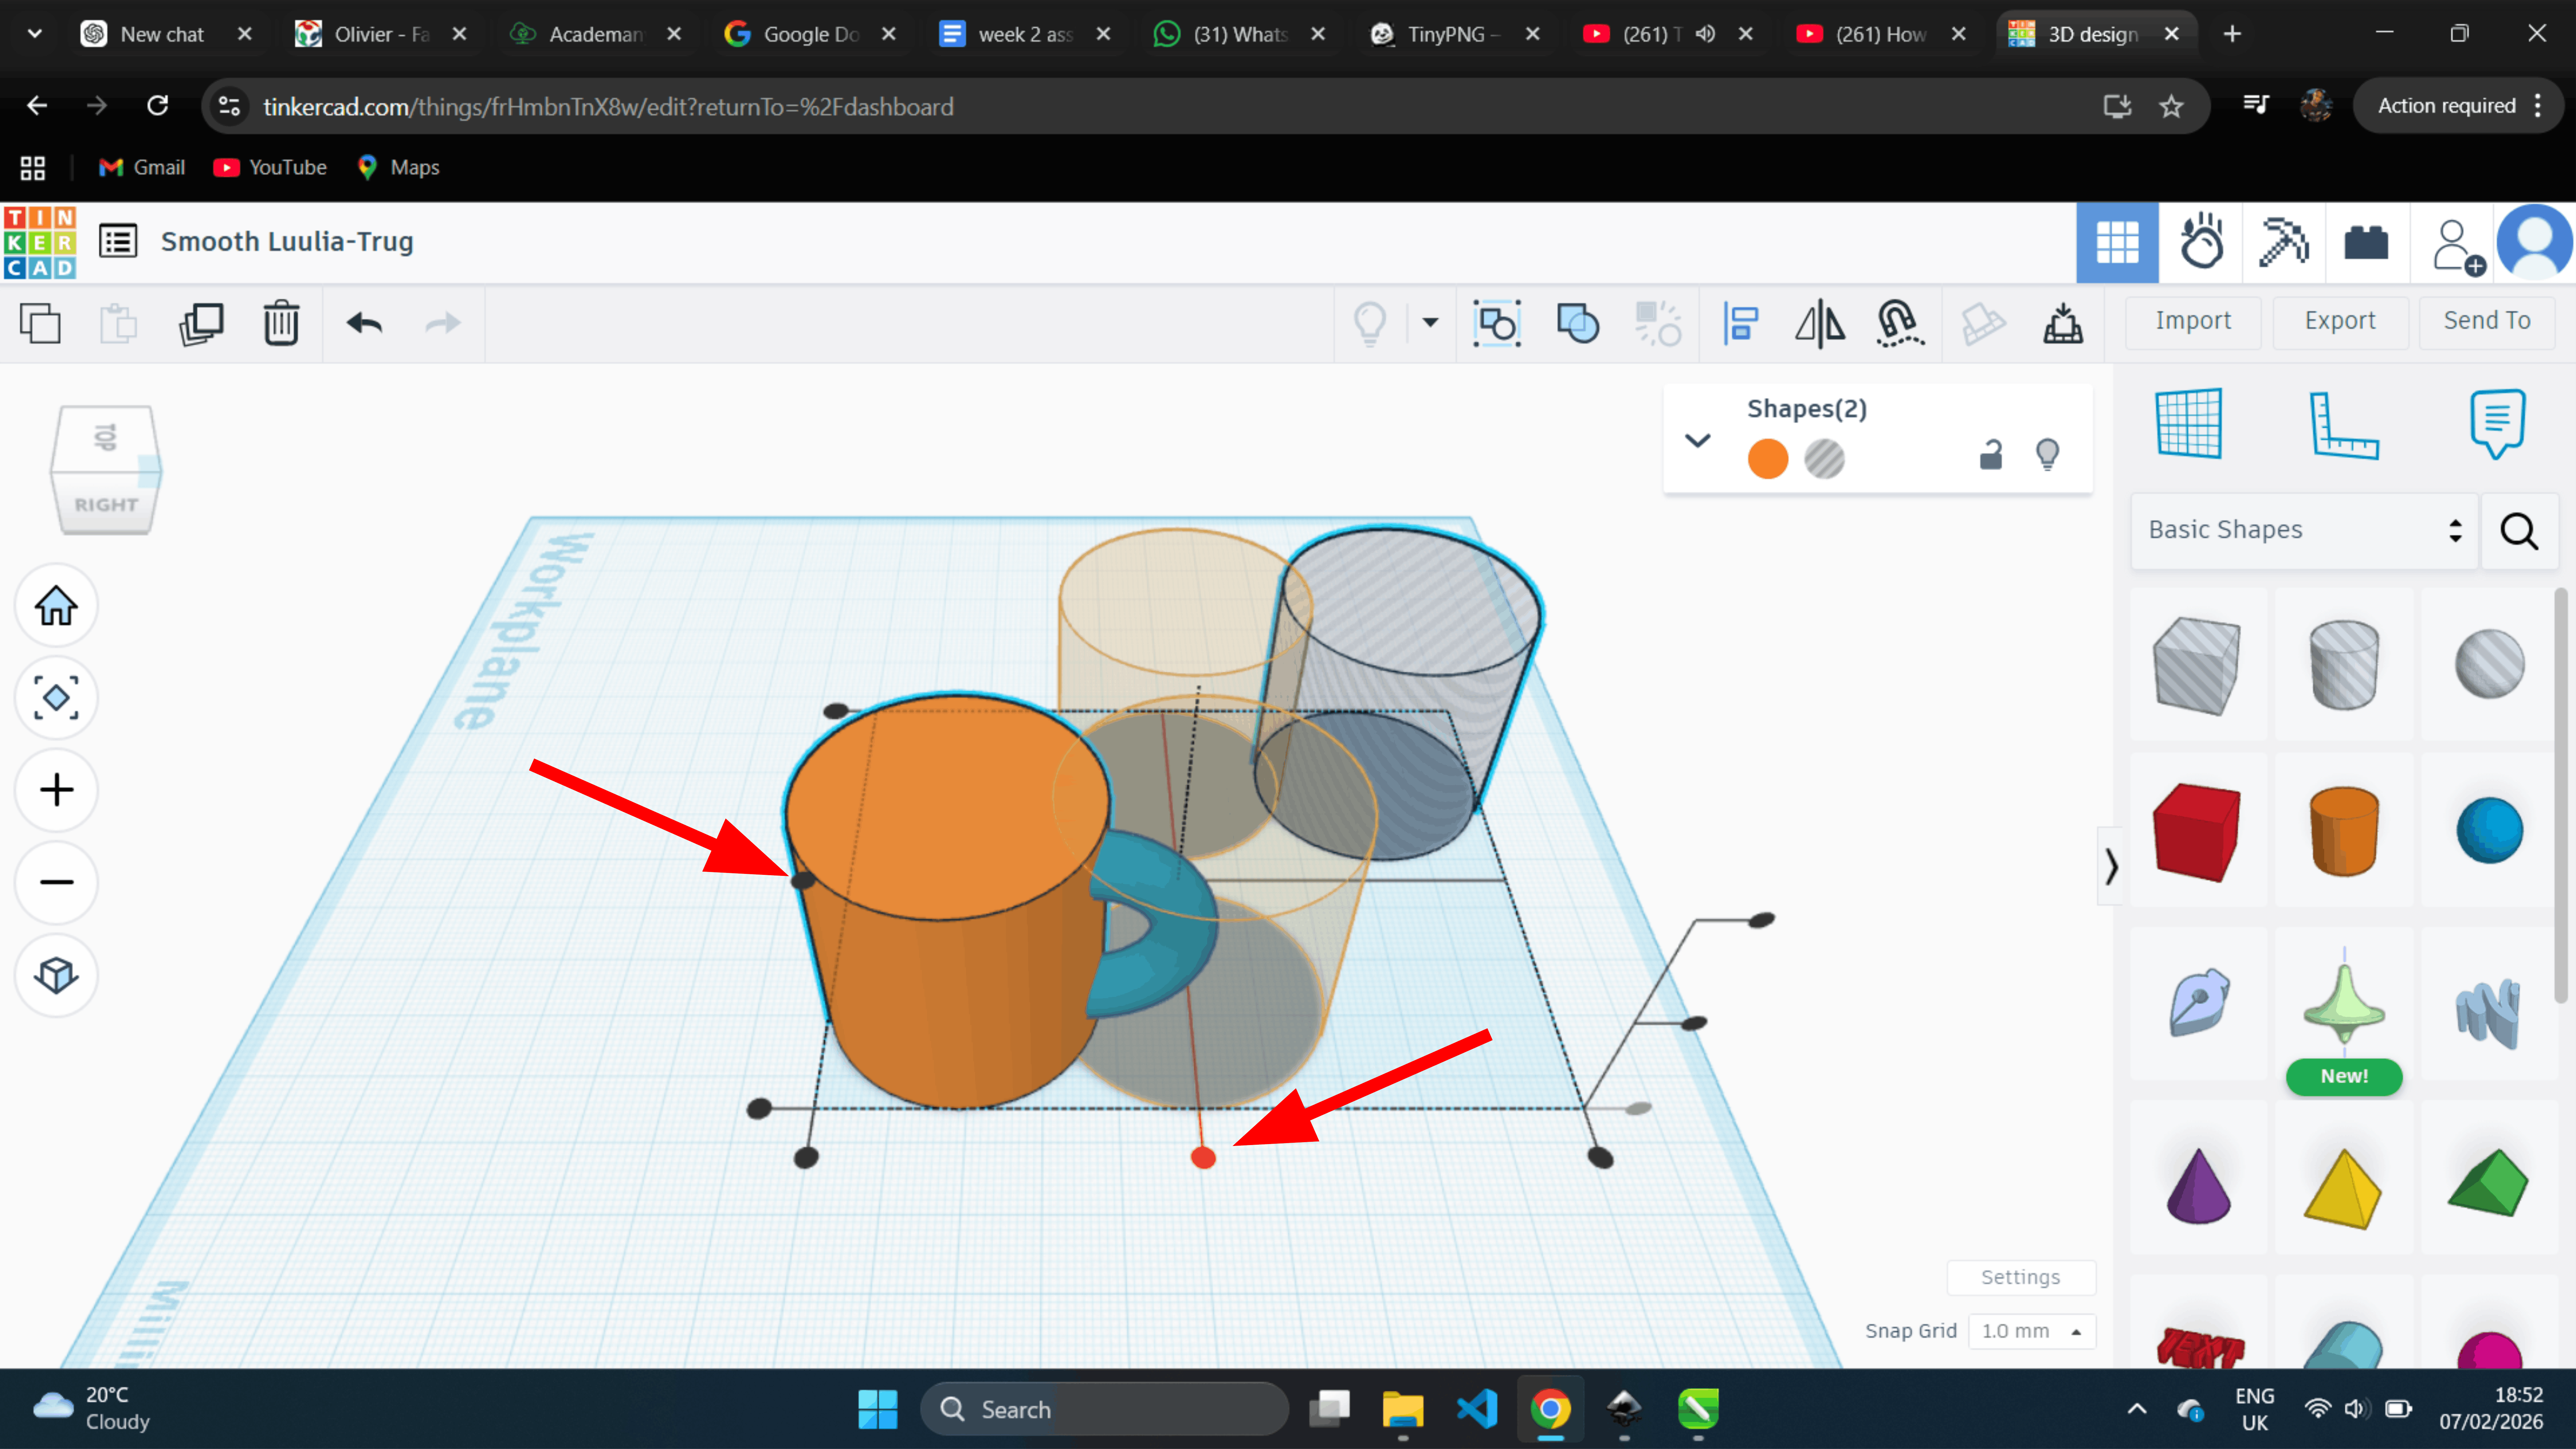
After the objects were aligned
After that, I used the unlon tool to create the inner hole of the cup
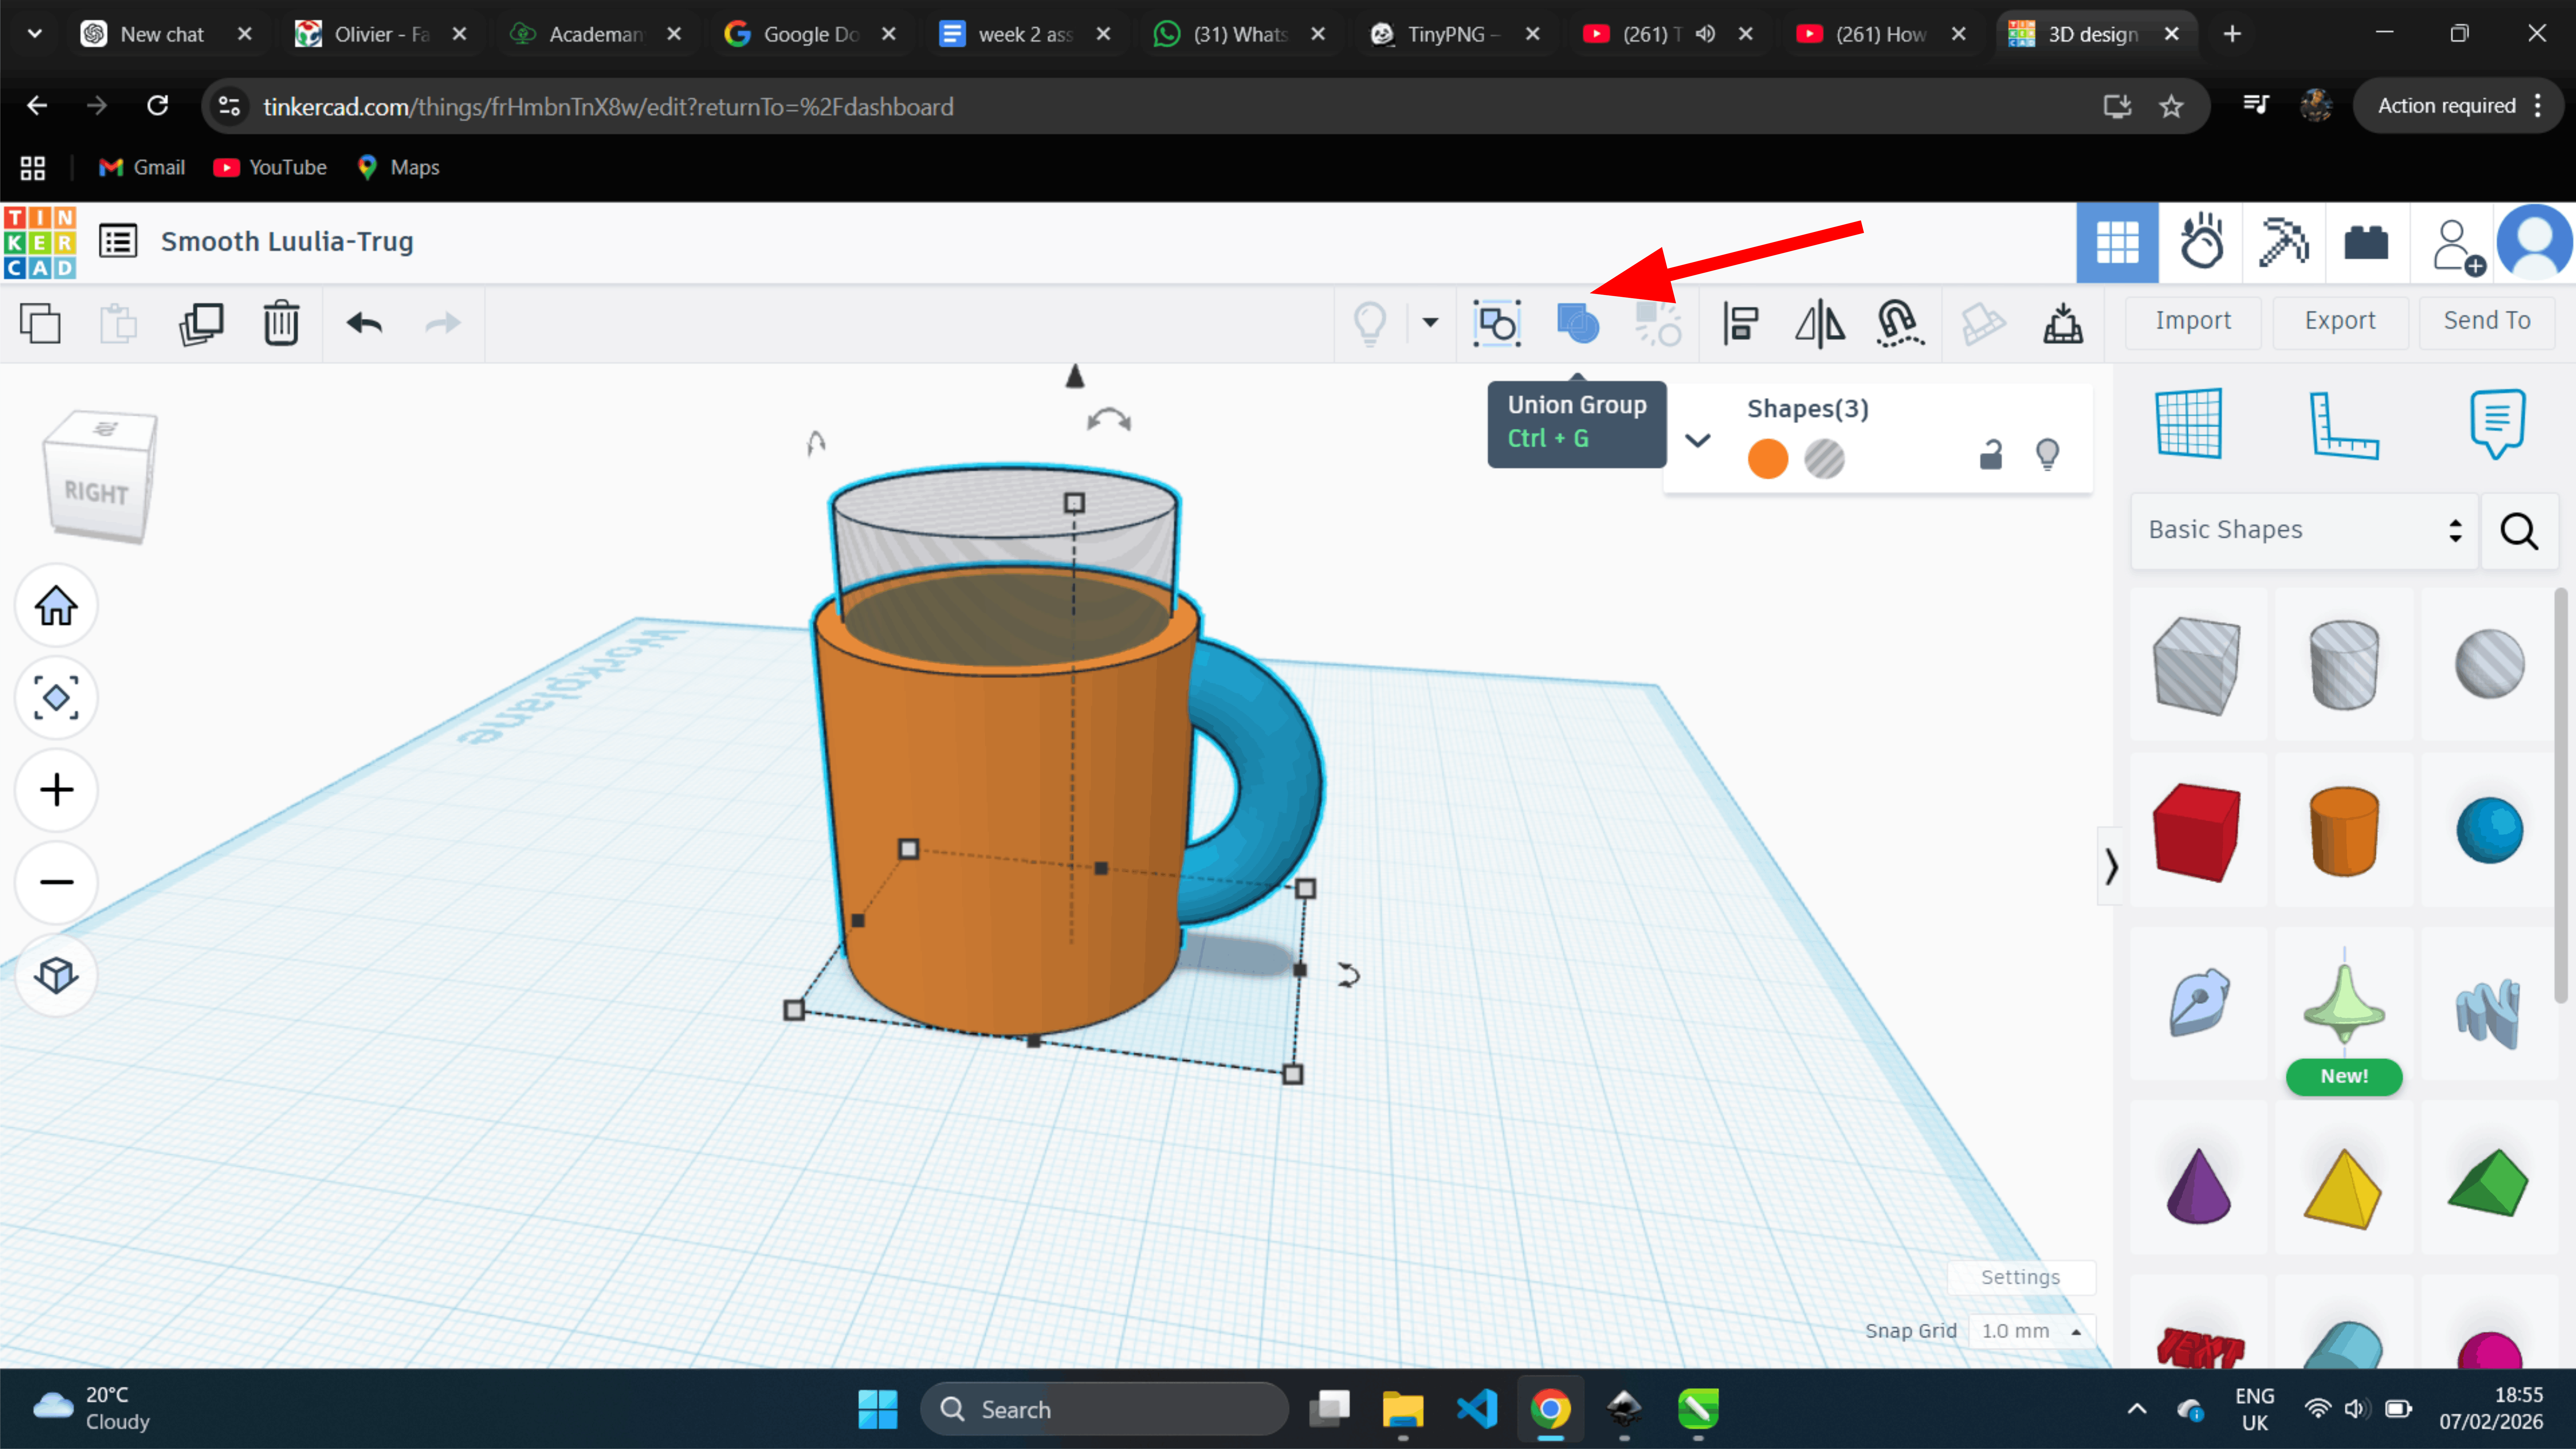
After that, the cup was complete
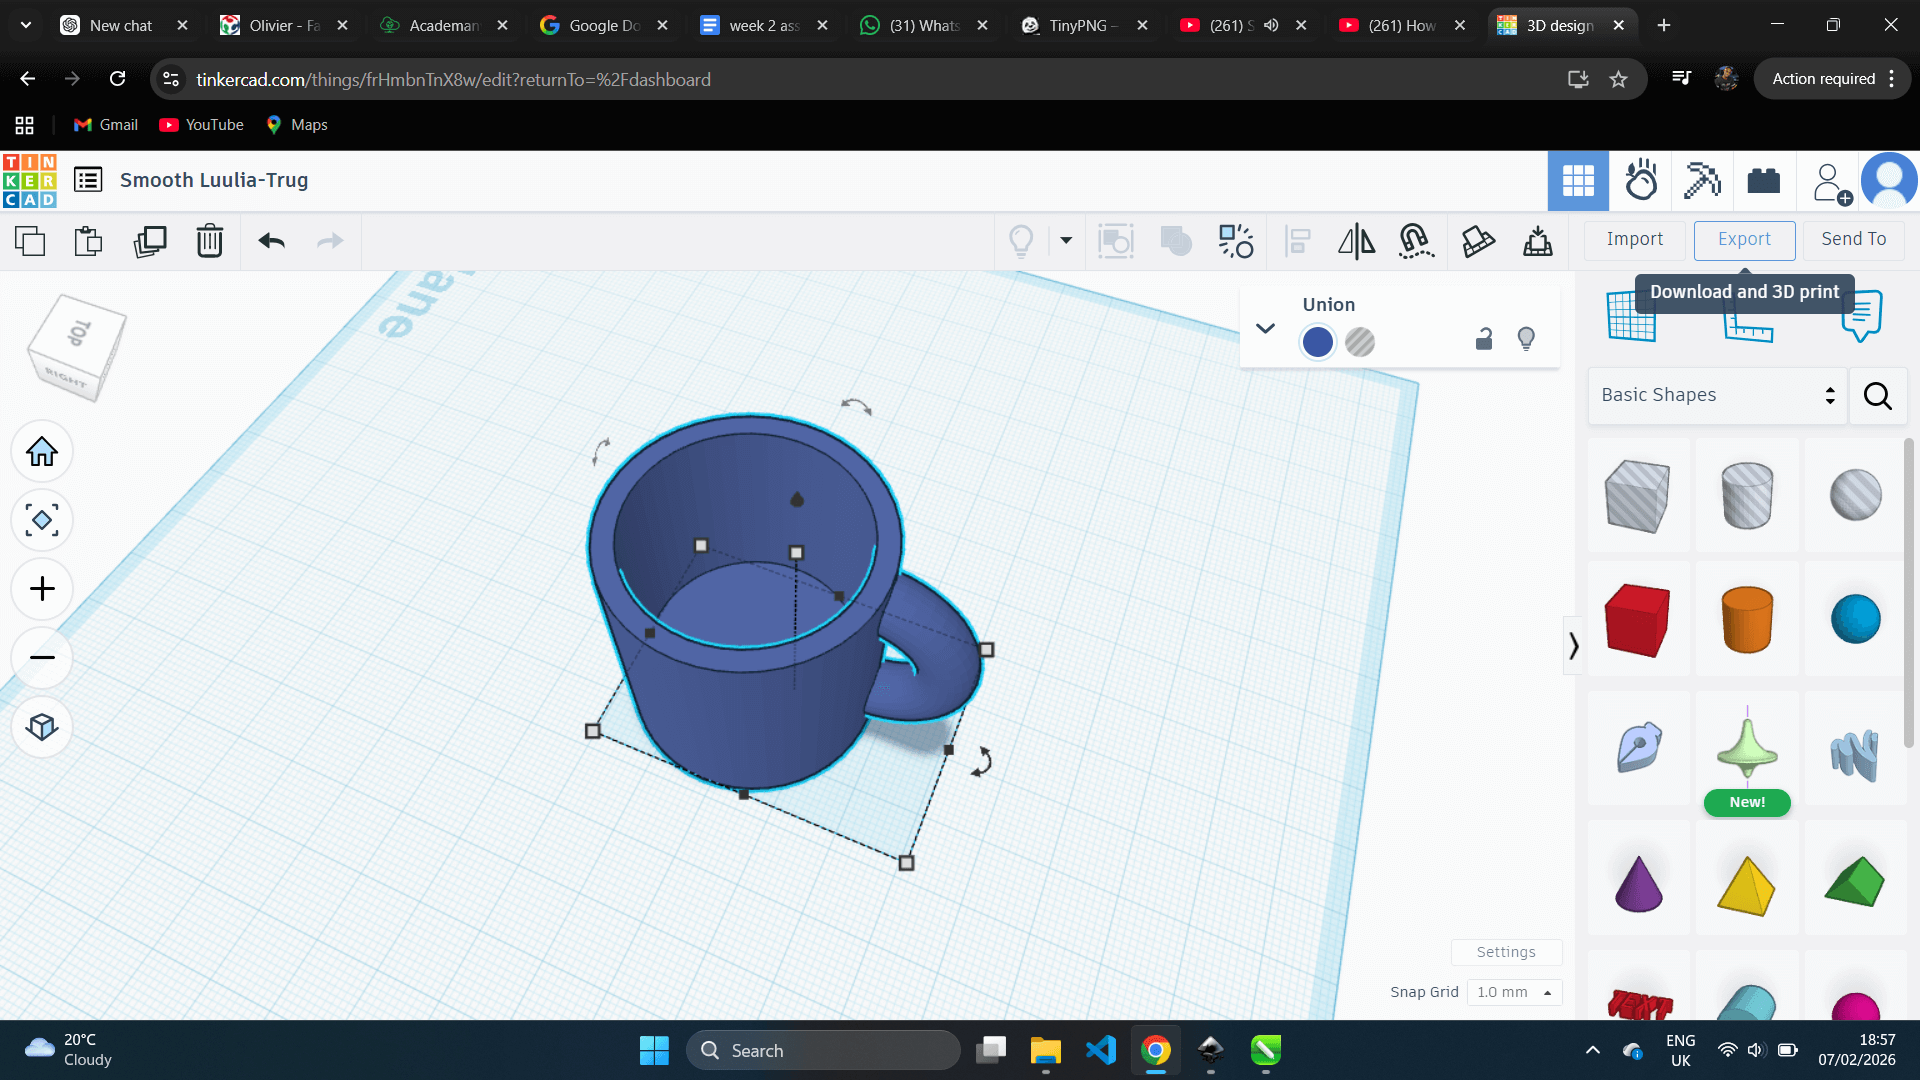
Next, we changed the color of the cup in blue
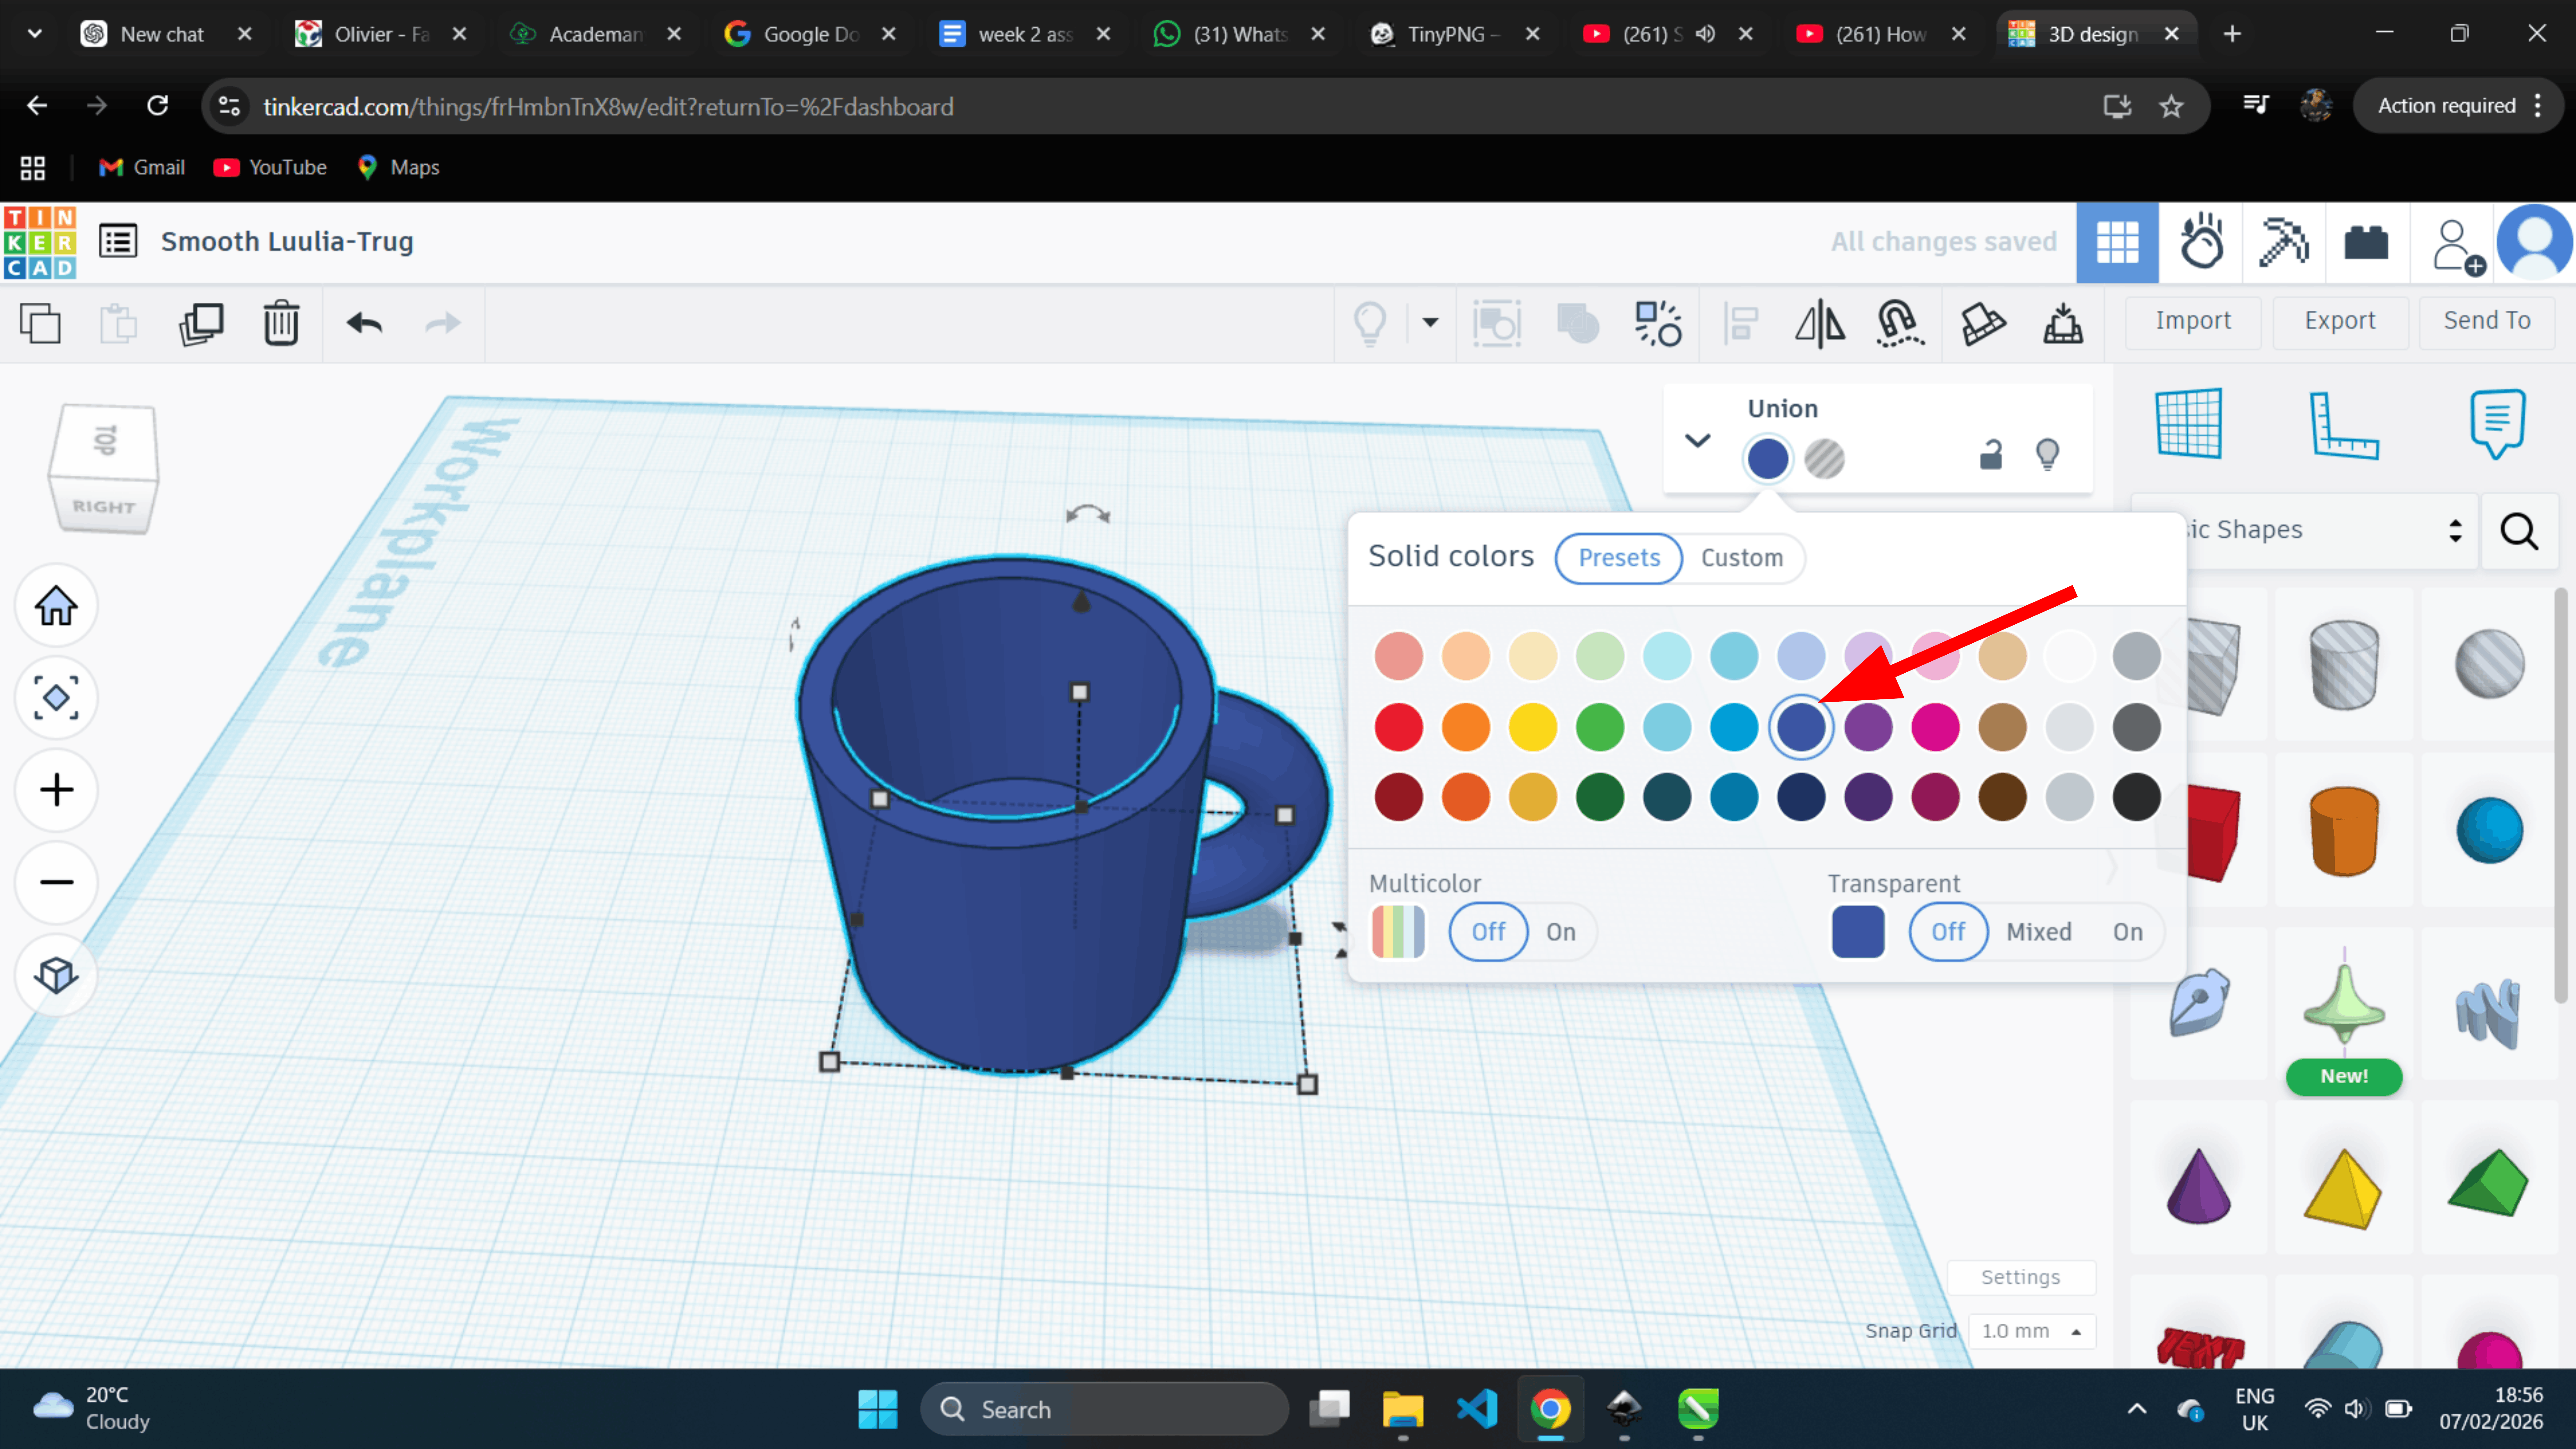
Finally, this is the completed design and I exported the design
I learned how to create 3D objects in Tinkercad by using basic shapes, scaling, rotating, aligning, hollowing, grouping, coloring
Compressing my images and video
This week I took a lot of photos and screen recordings, and some were several megabytes, which is too heavy for a website. Before I uploaded them I made them smaller so my pages load fast.
For the images I used Squoosh, a free tool that runs in the browser, so there is nothing to install. I opened squoosh.app, dragged each photo in, set the width to about 1600 pixels, chose MozJPEG with the quality slider near 80, and downloaded the smaller file. Most of my images dropped from a few megabytes to under 300 kilobytes with no real loss in how they look.
For the videos I used HandBrake, a free program I installed on my Windows computer. I loaded the clip, chose the Fast 1080p30 preset, set the video to H.264 with an RF quality around 22, and encoded it. This made the videos much smaller while they still play clearly.