This week's assignment was to design a mold and produce a final cast with a smooth surface finish. I decided to create a candle mold inspired by the popular "bubble candle" trend. To achieve a high quality finish, I used 3D resin printing to fabricate the positive master of the candle design. The process involved placing the resin printed master inside a enclosure box to cast the final silicone mold.
Check here the group assignment for this week for more information about different moulding and casting techniques.
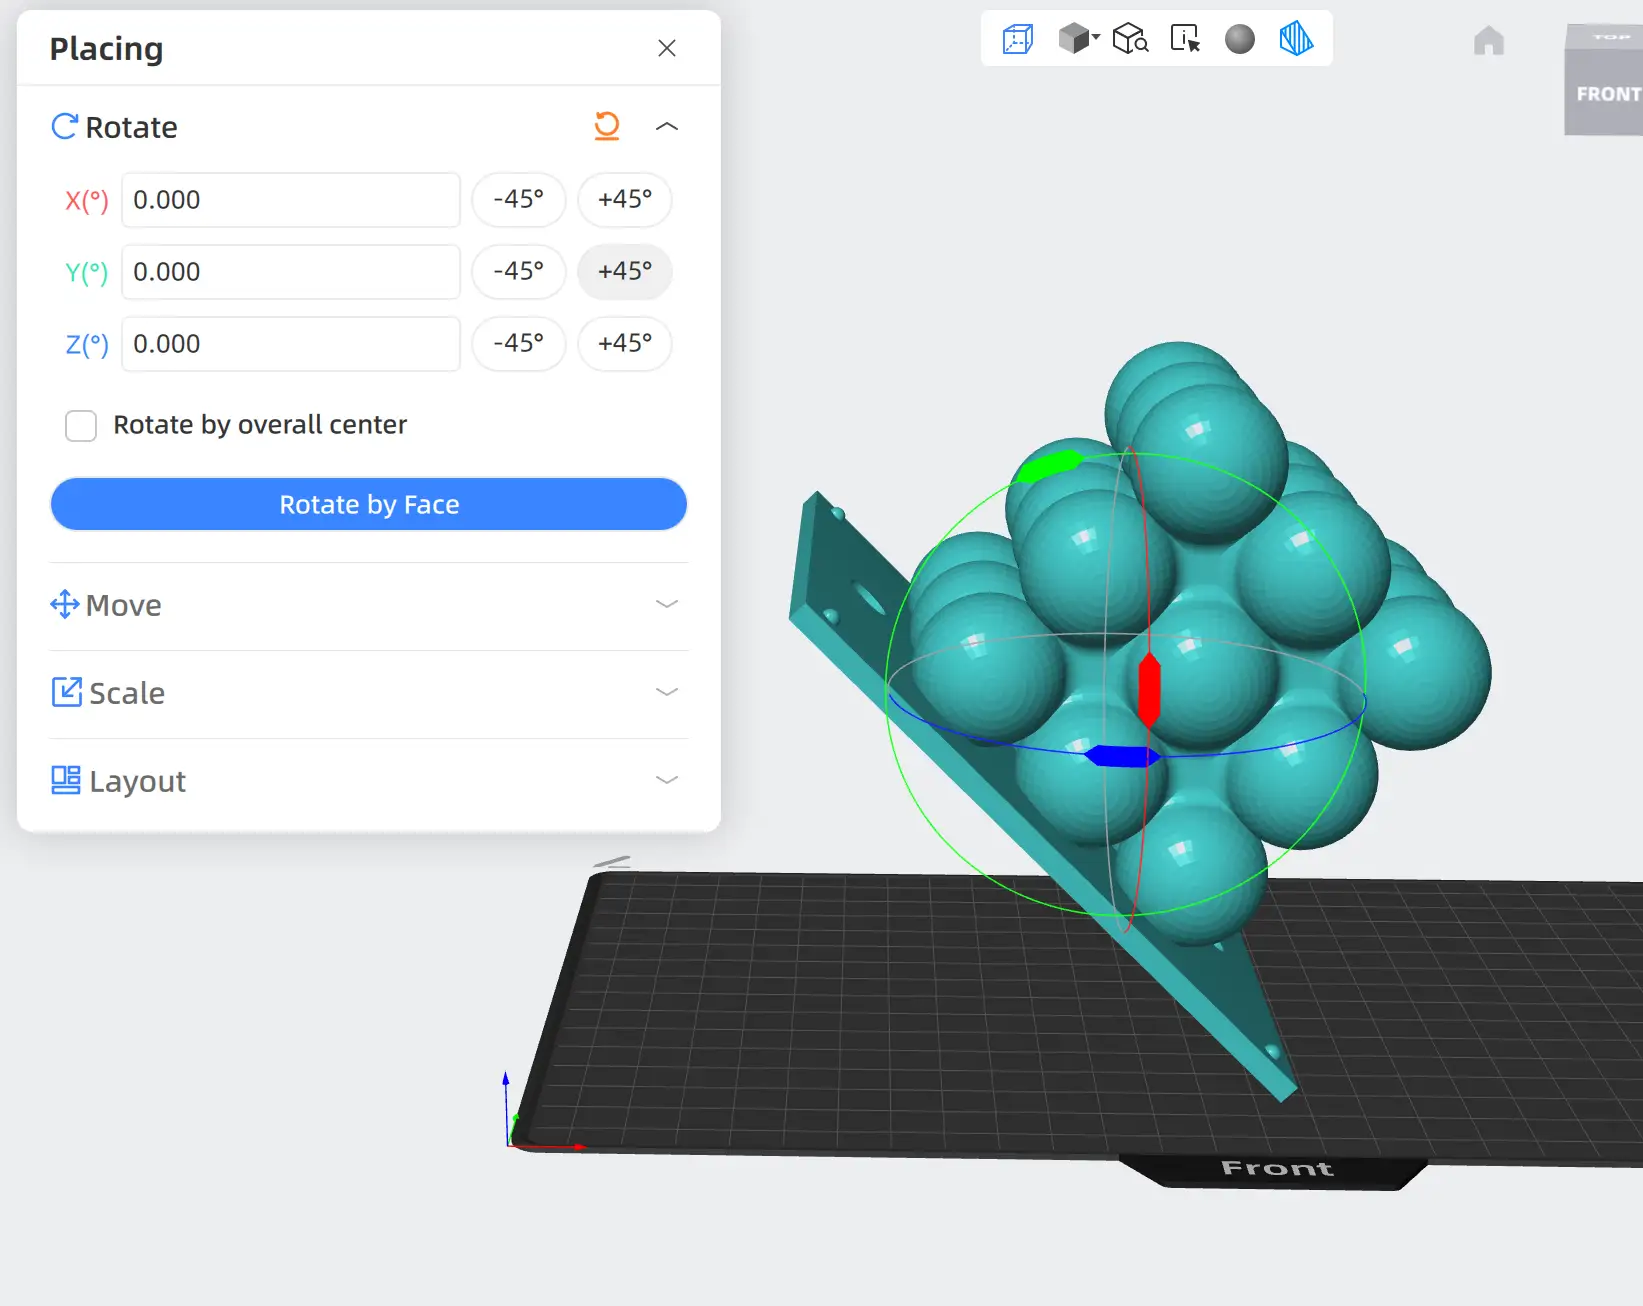
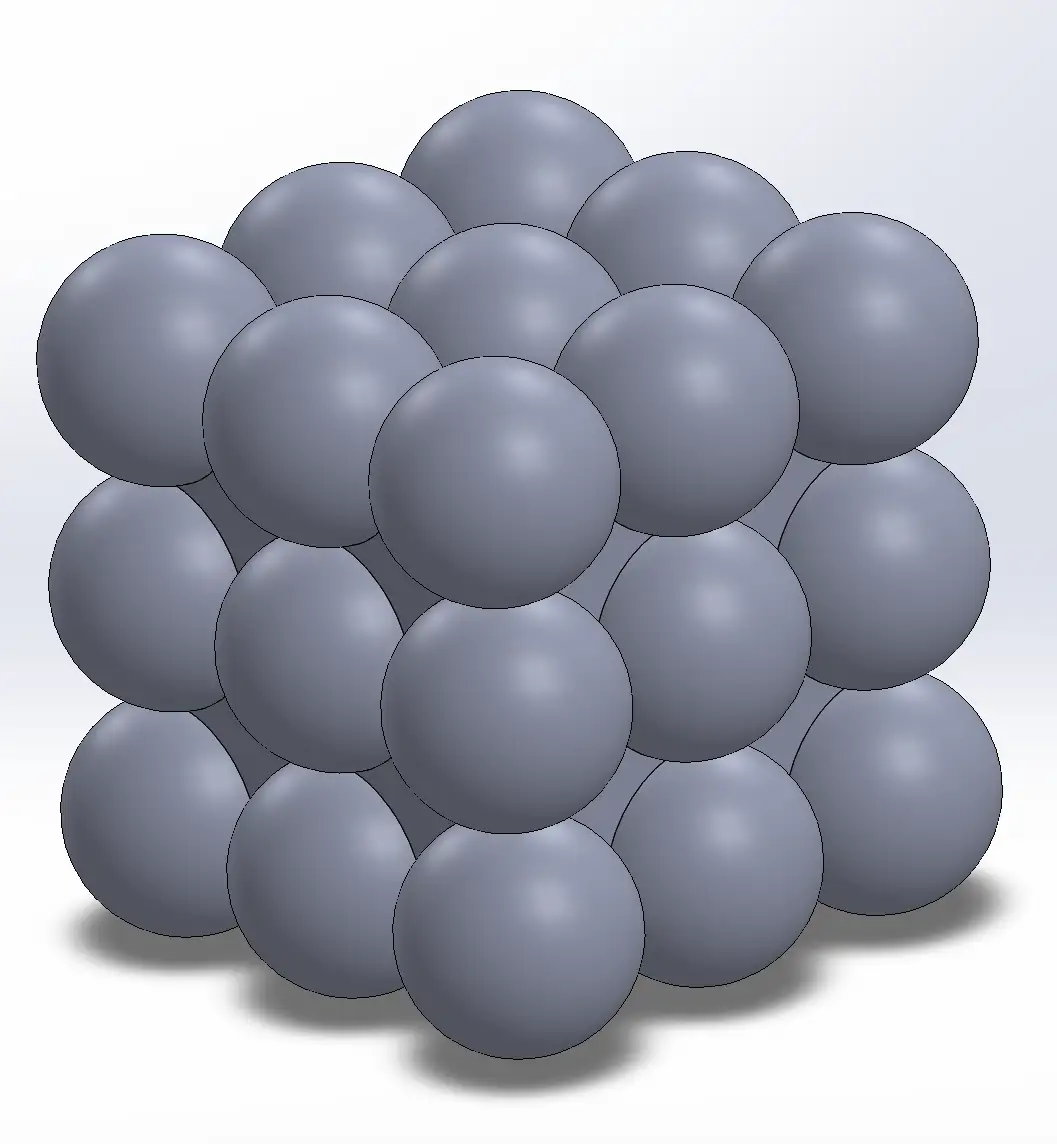
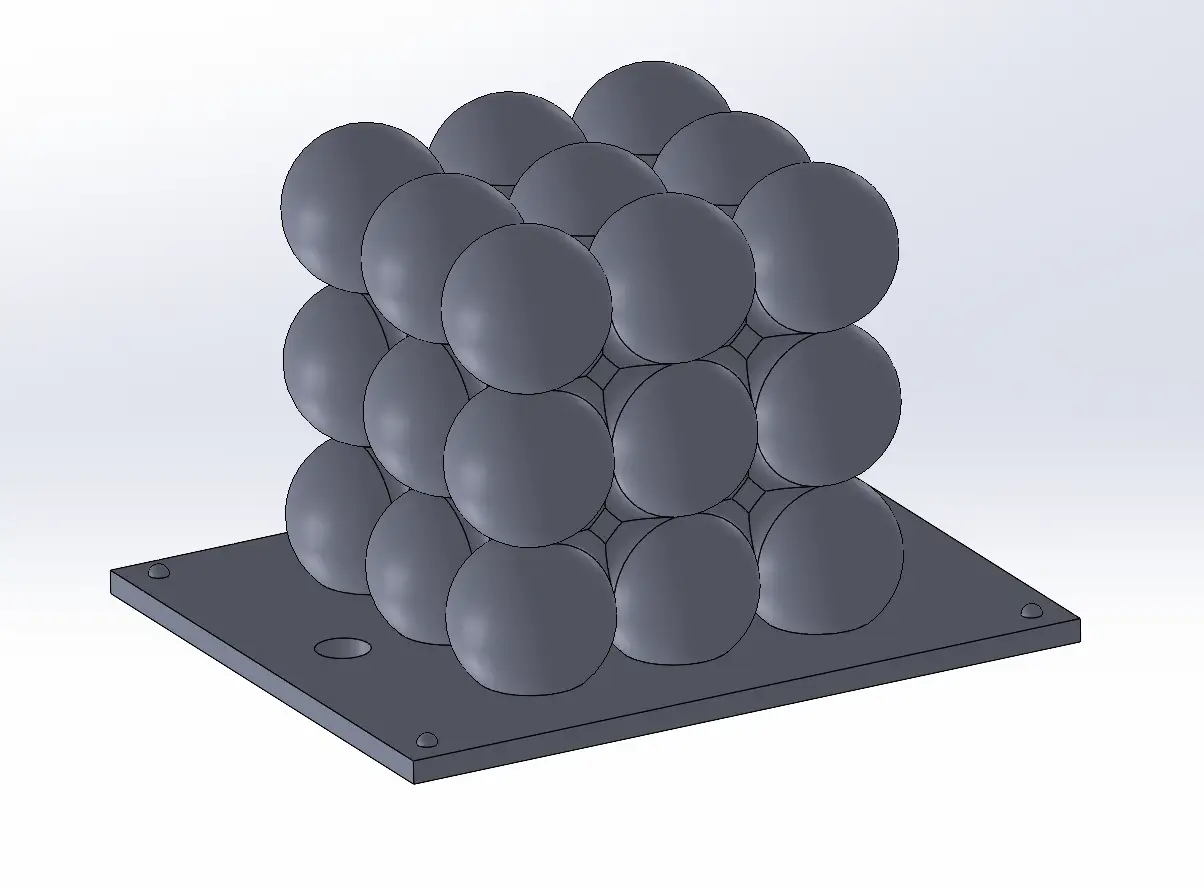
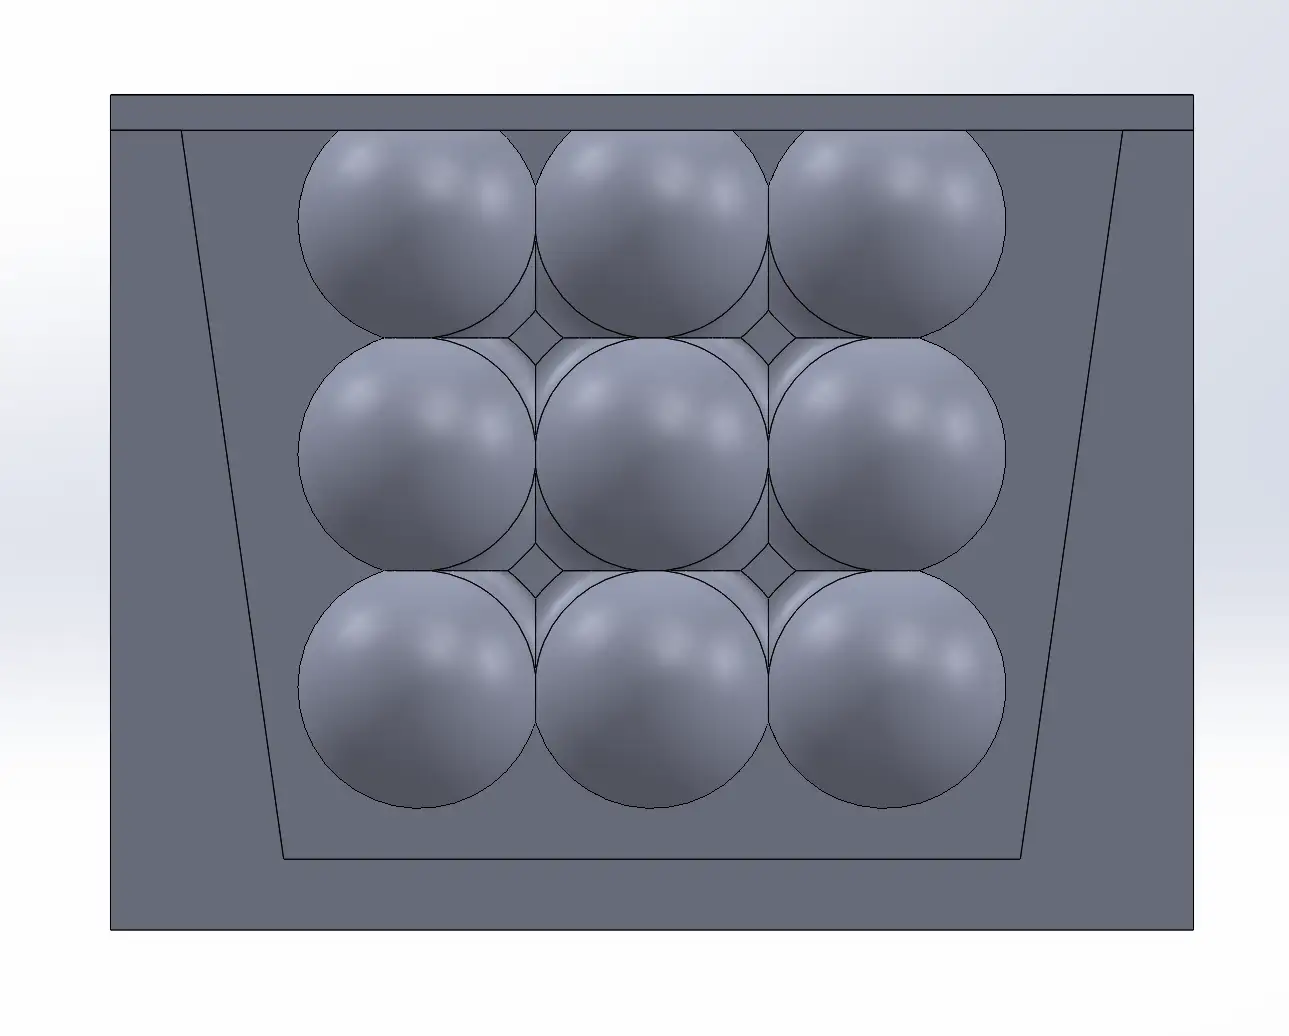
First, I designed the main "bubble" shape in SolidWorks. I added a base to the bottom so the piece could snap securely into the mold box before pouring the silicone. I also included two small holes to verify that the silicone level was enough to cover the entire design.
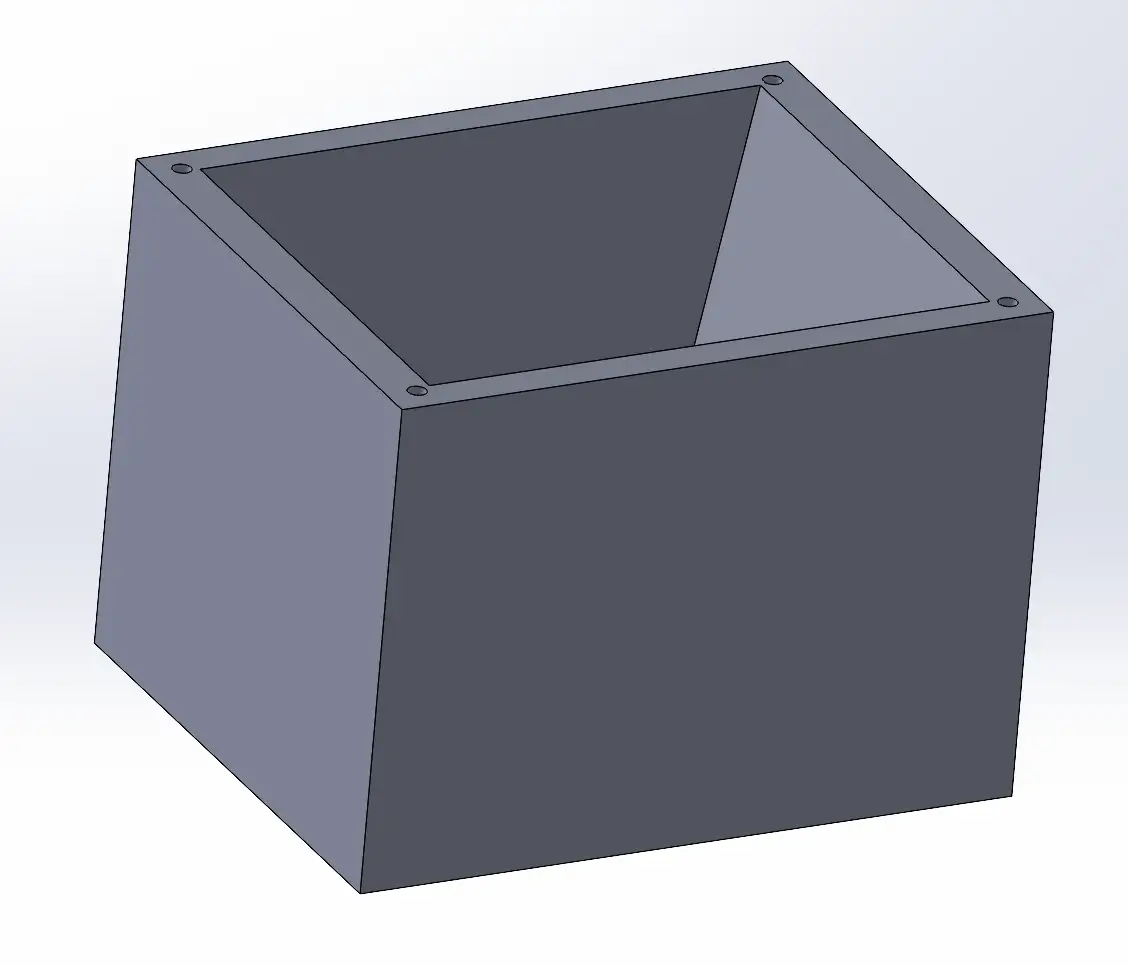
Next, I designed the mold box using a draft angle on the walls. This angular design was intentional to prevent a vacuum effect, which could make it difficult to remove the silicone mold once it has cured.
Finally, I created an assembly in SolidWorks to verify that the complete mold design was correct. This allowed me to check for proper clearance between the master piece and the mold box walls, ensuring there was enough space for the silicone to flow and create a consistent, durable mold wall.
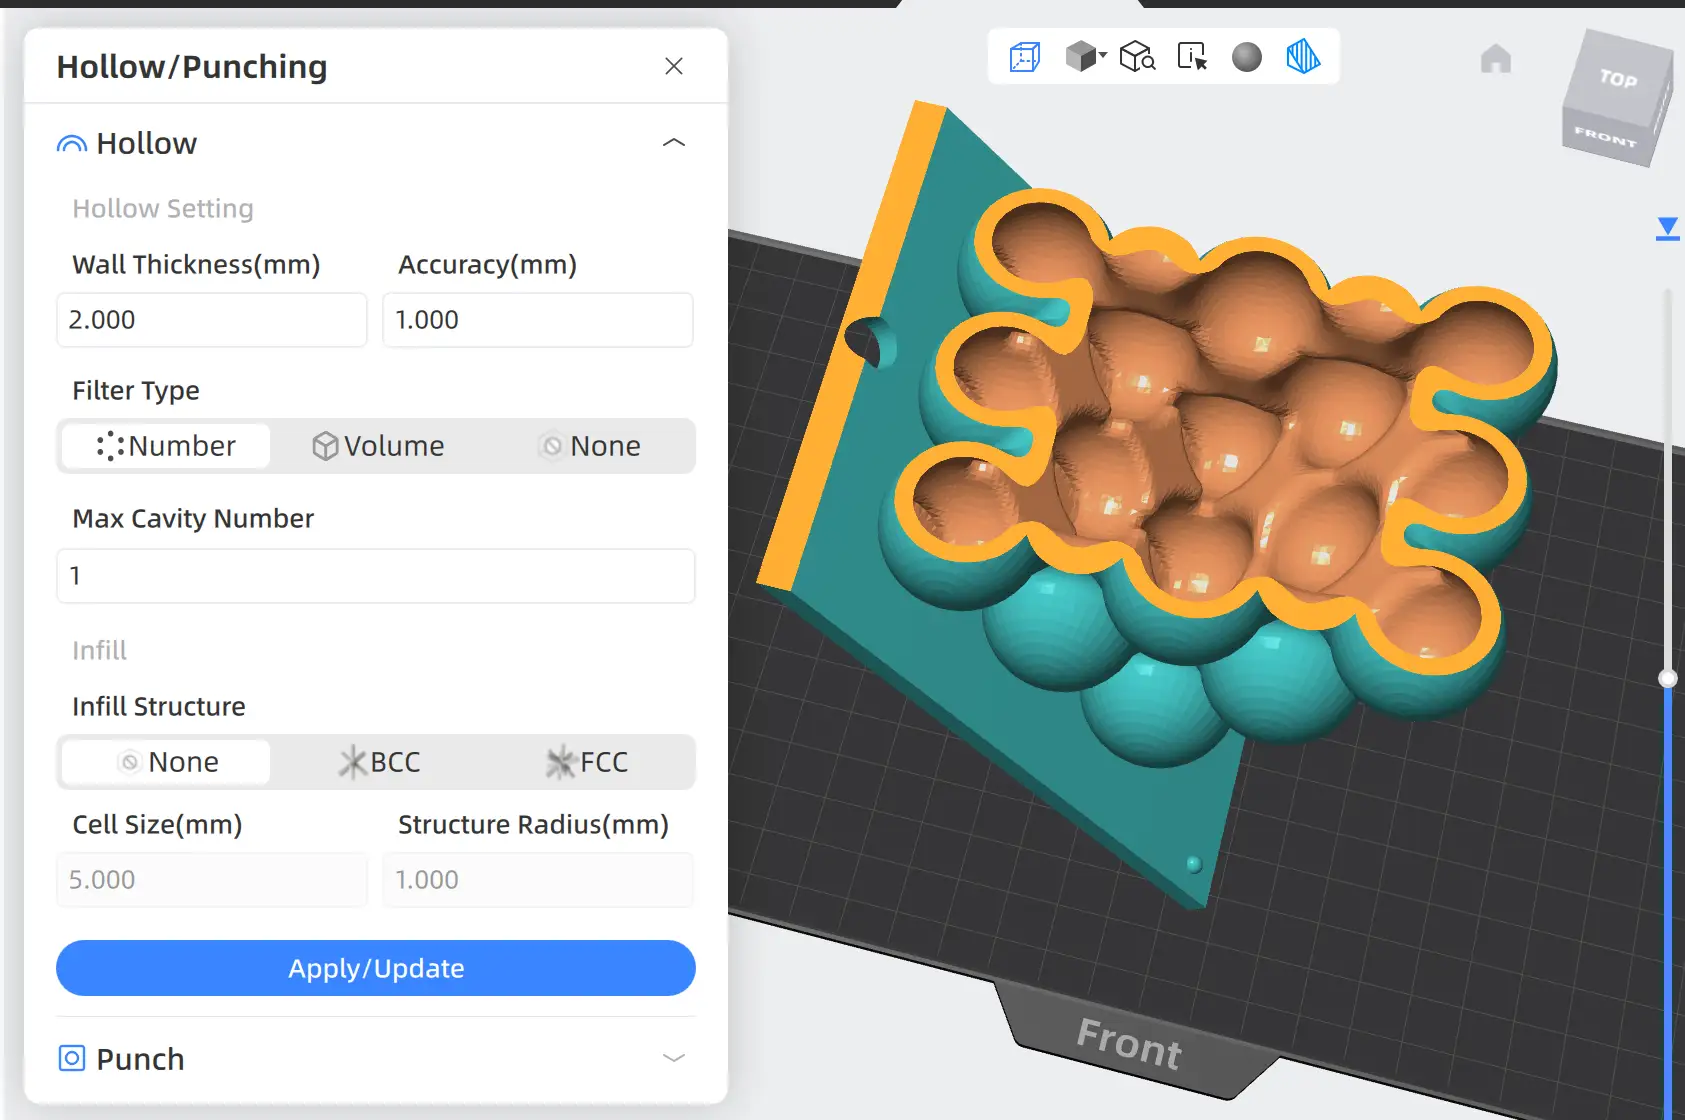
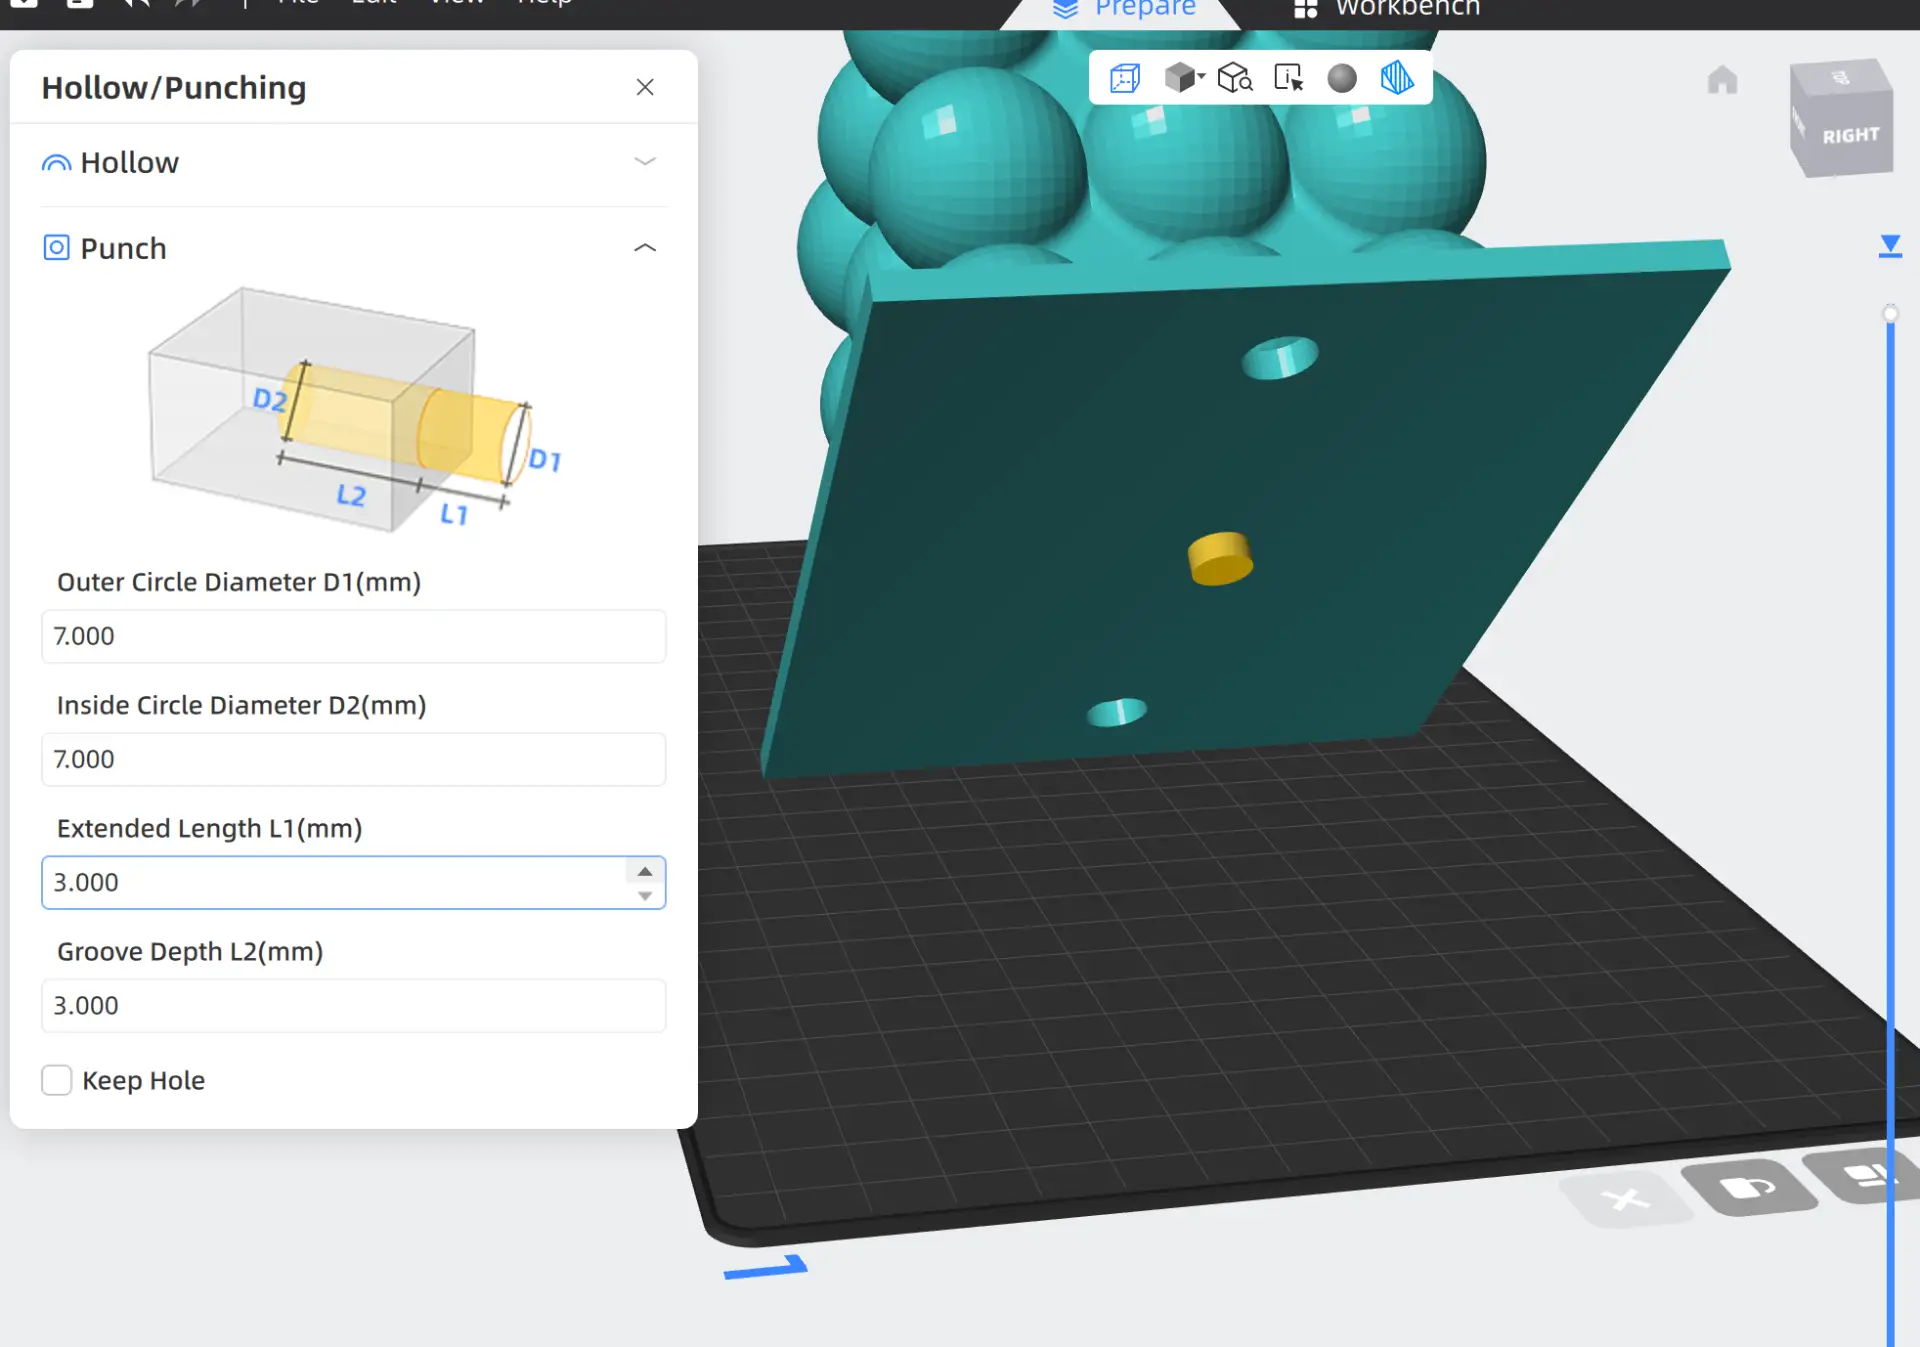
I exported the designs as STL files. I chose to 3D print the mold box in PLA, as its surface finish does not affect the final texture of the candle. I printed the main bubble piece in resin to ensure a smooth surface, which is critical for the final aesthetic of the cast.
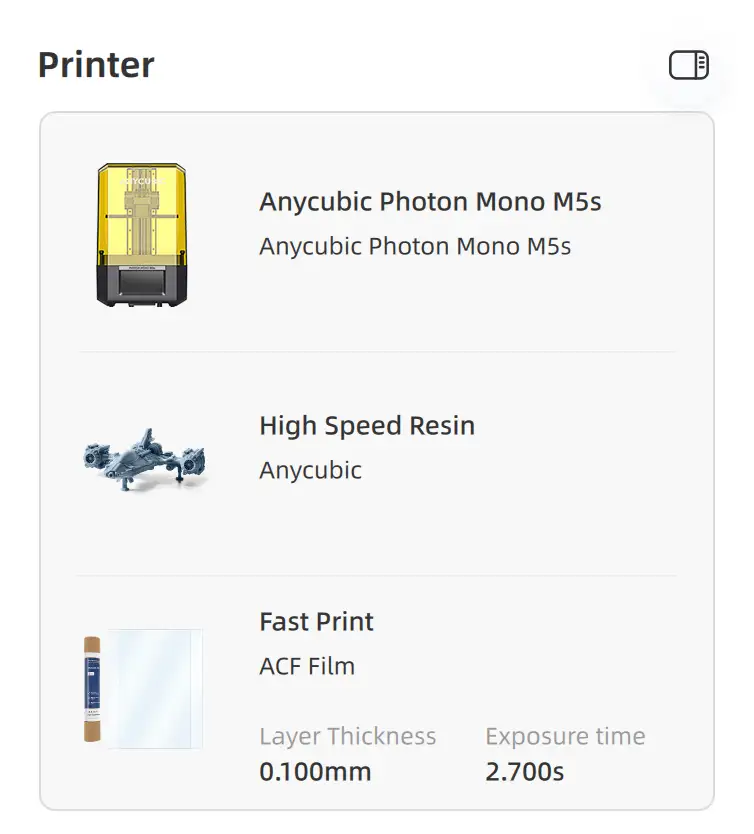
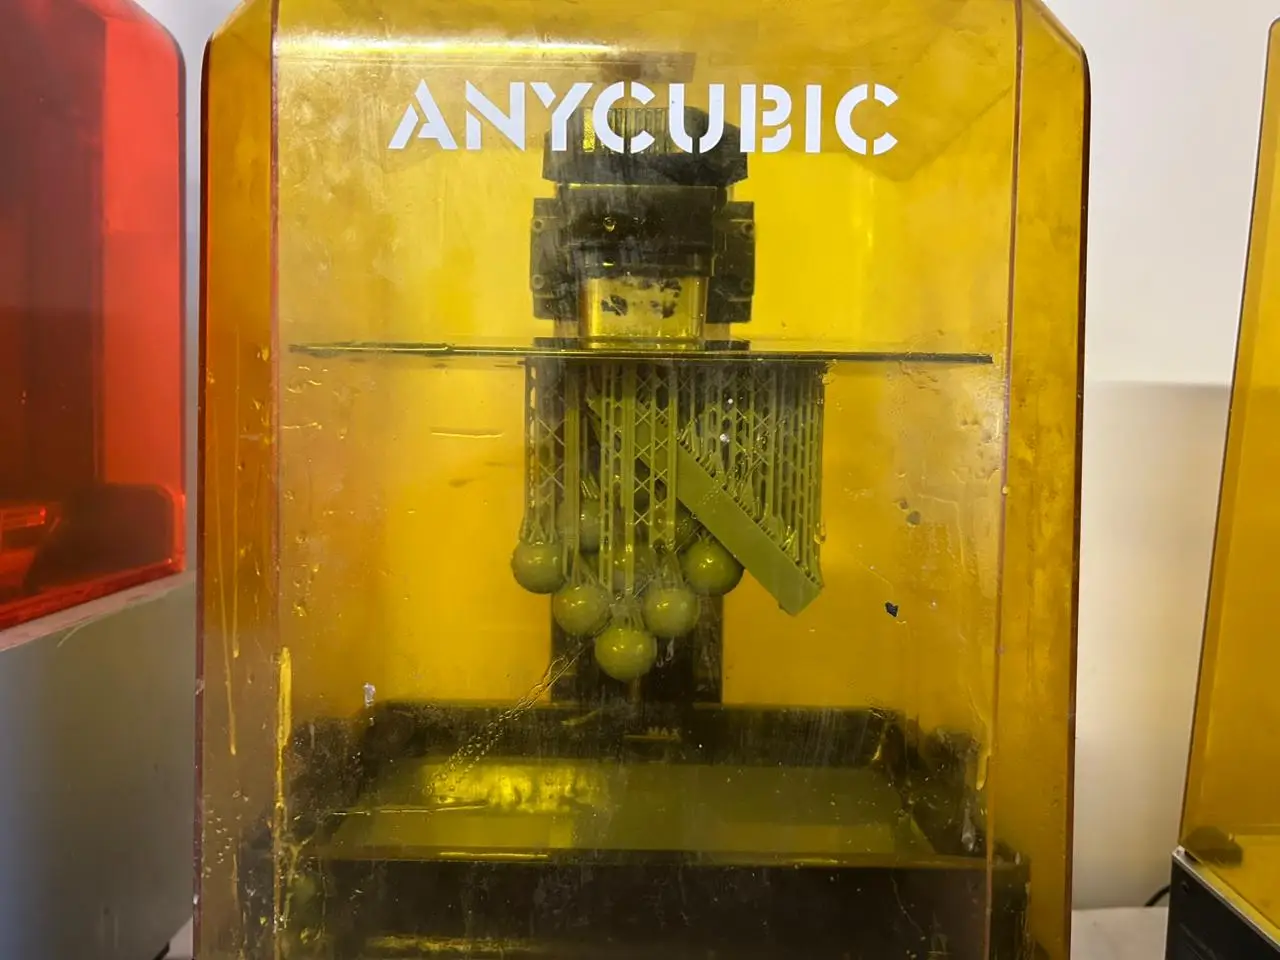
Once your document is ready, click the Slice button and save the file to a USB drive.To print the piece, I used the Anycubic Photon Mono M5s.

Connect your USB drive to the printer, select your file, and start the printing process.
Once the print is finished, you can remove the build plate by loosening the top screw to detach your piece with a spatula.
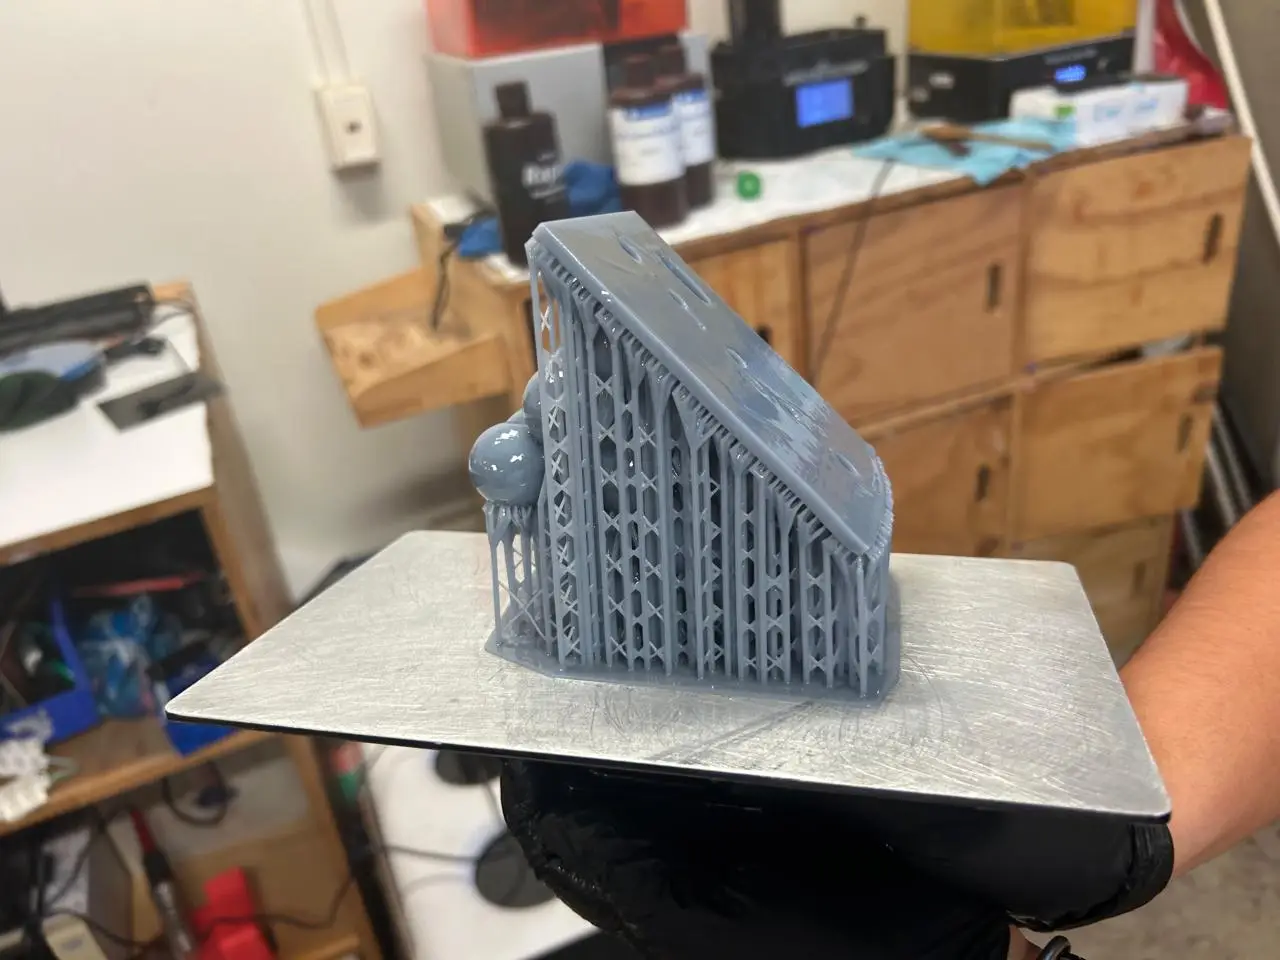

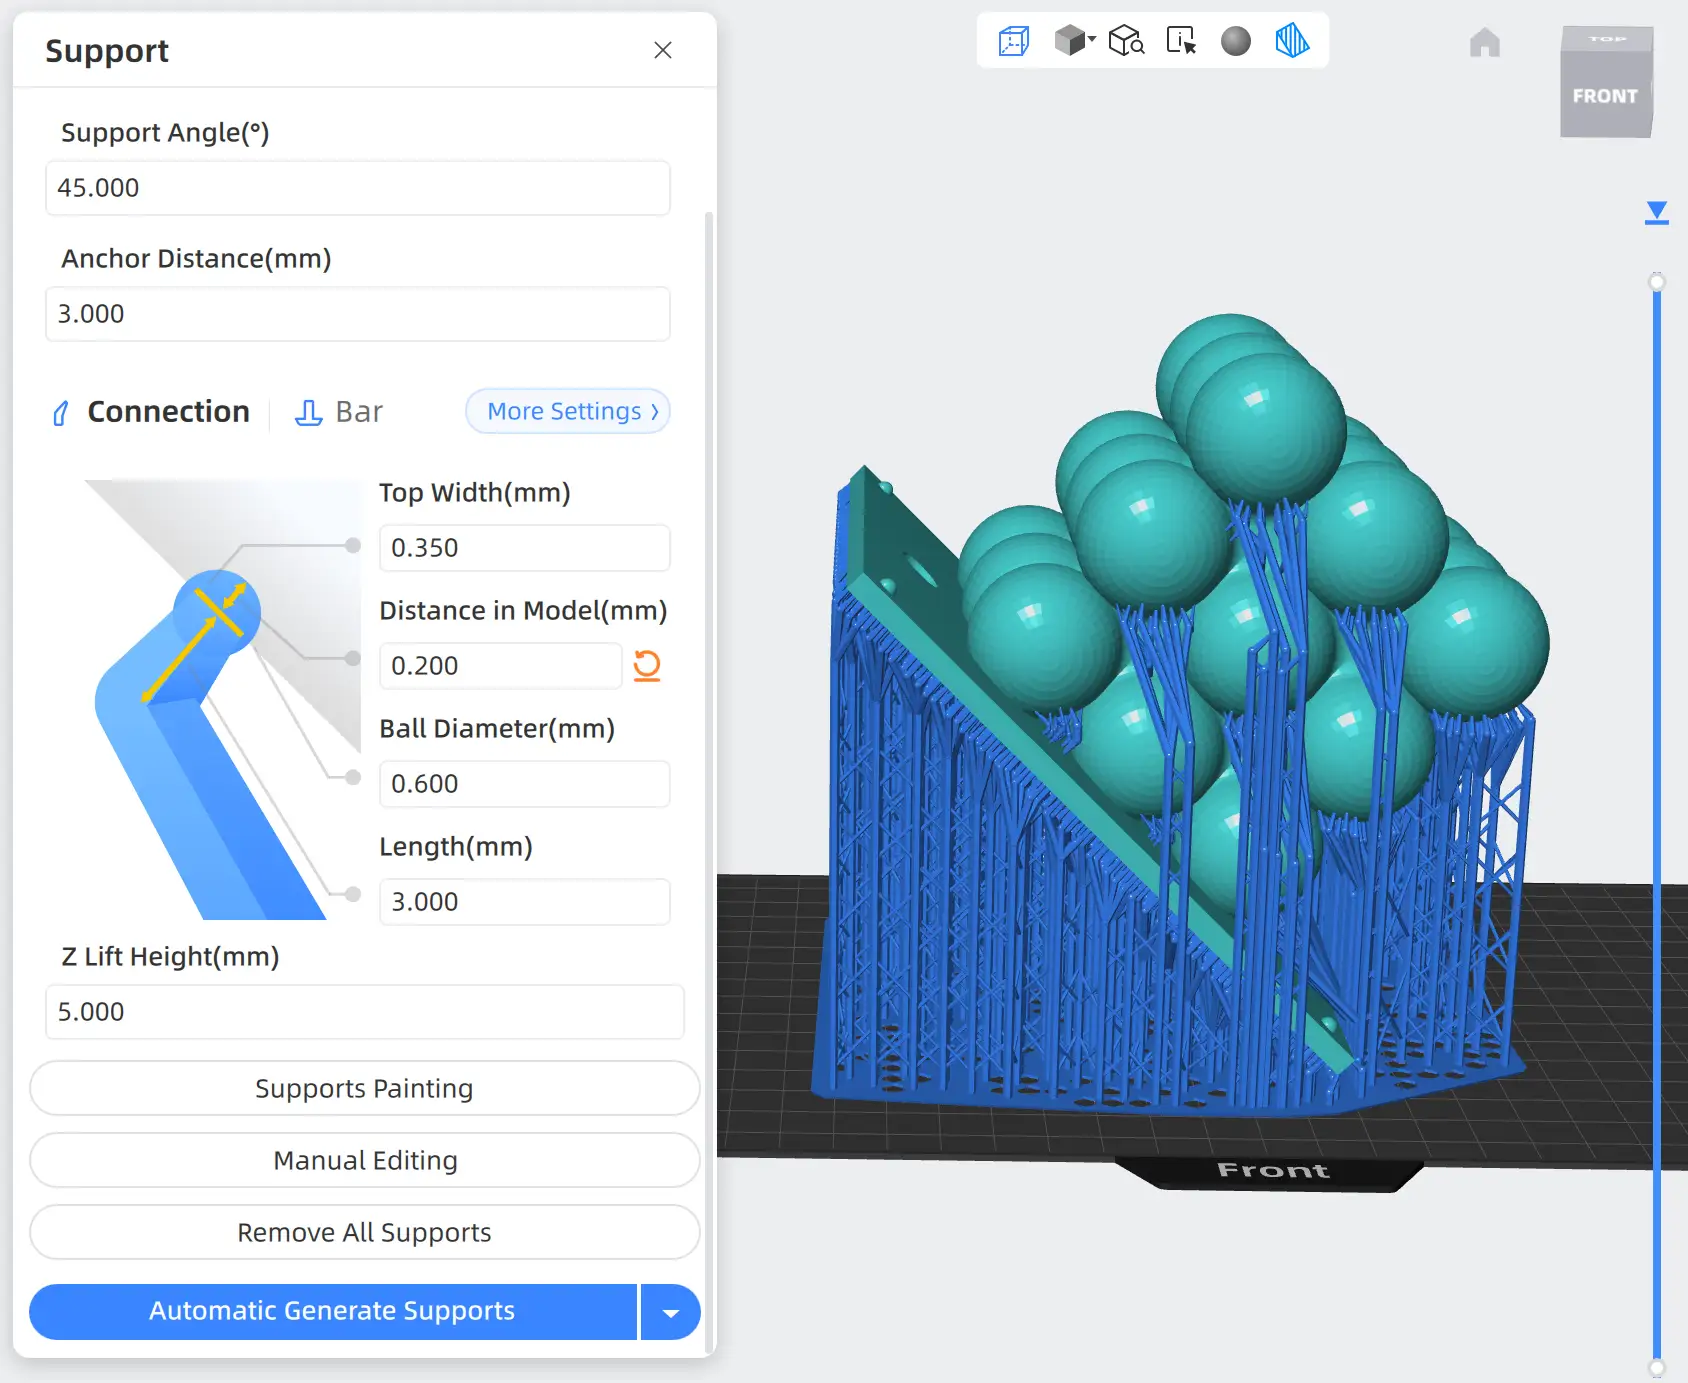
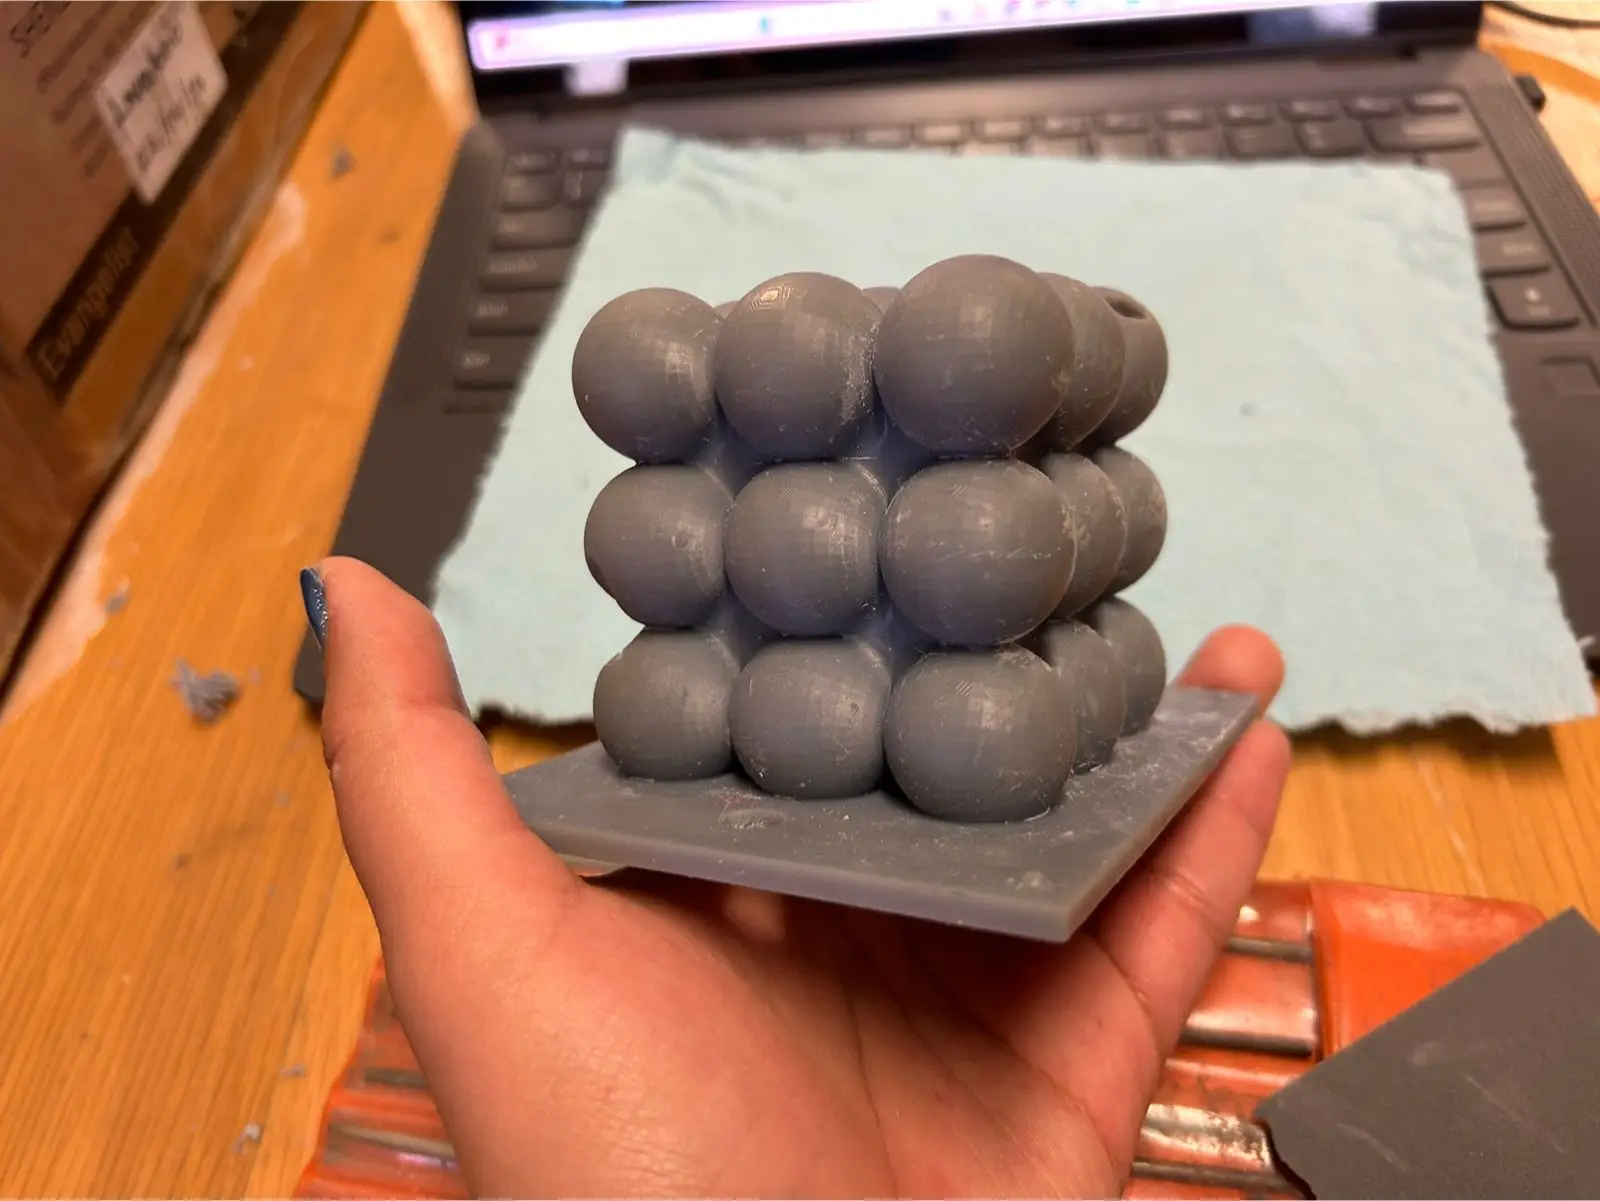
As can be seen in the image, my resin piece came out slightly damaged on some sides due to a few dead pixels on the printer’s screen. Later, I will show how I solved this problem.
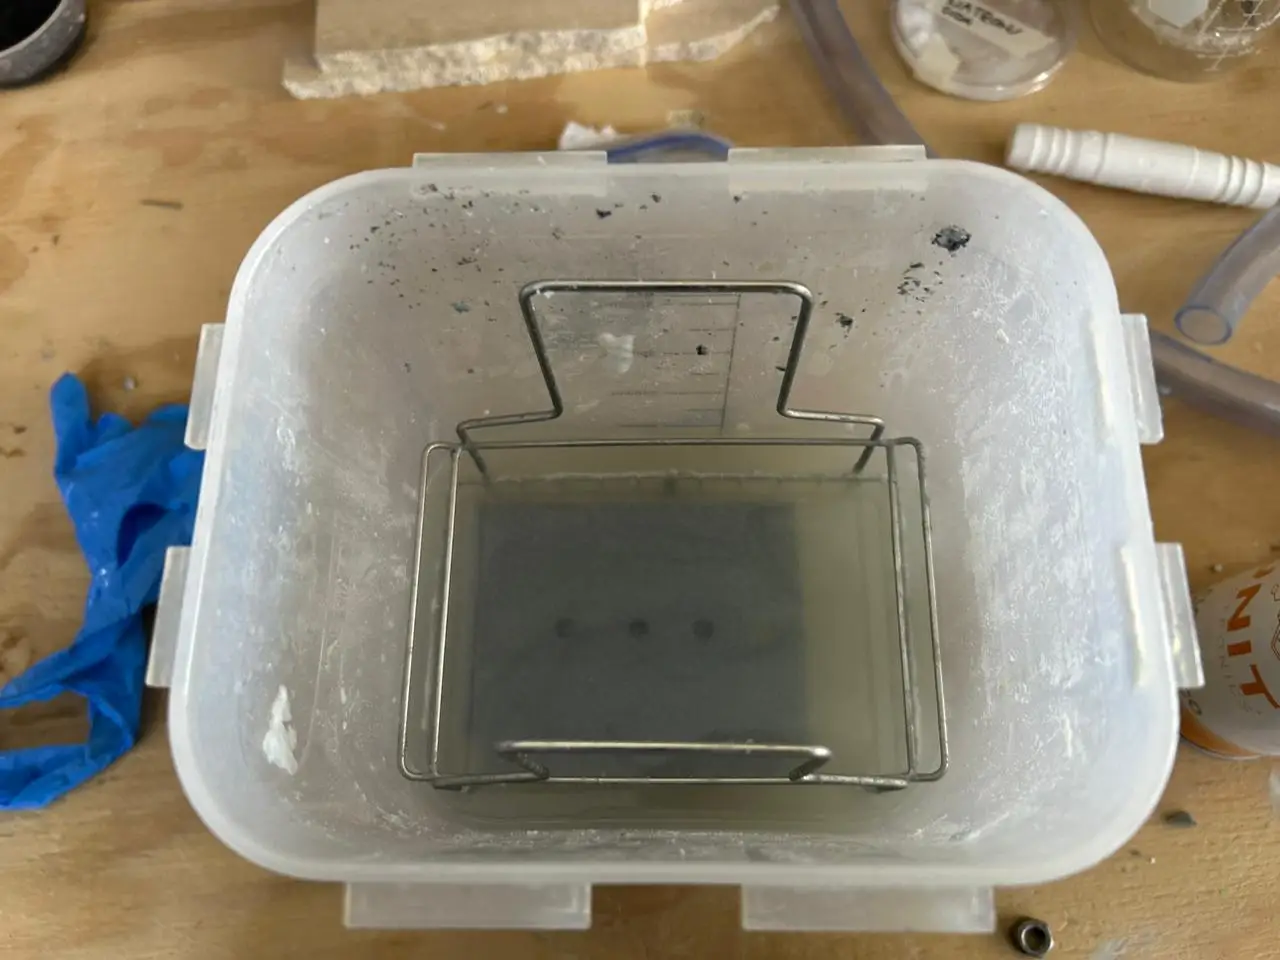
After removing the support structures of the piece, the curing process follows. First, the part must be cleaned with isopropyl alcohol to eliminate any residual resin. I submerged it in a container of alcohol for approximately 15 minutes and then left it to dry.
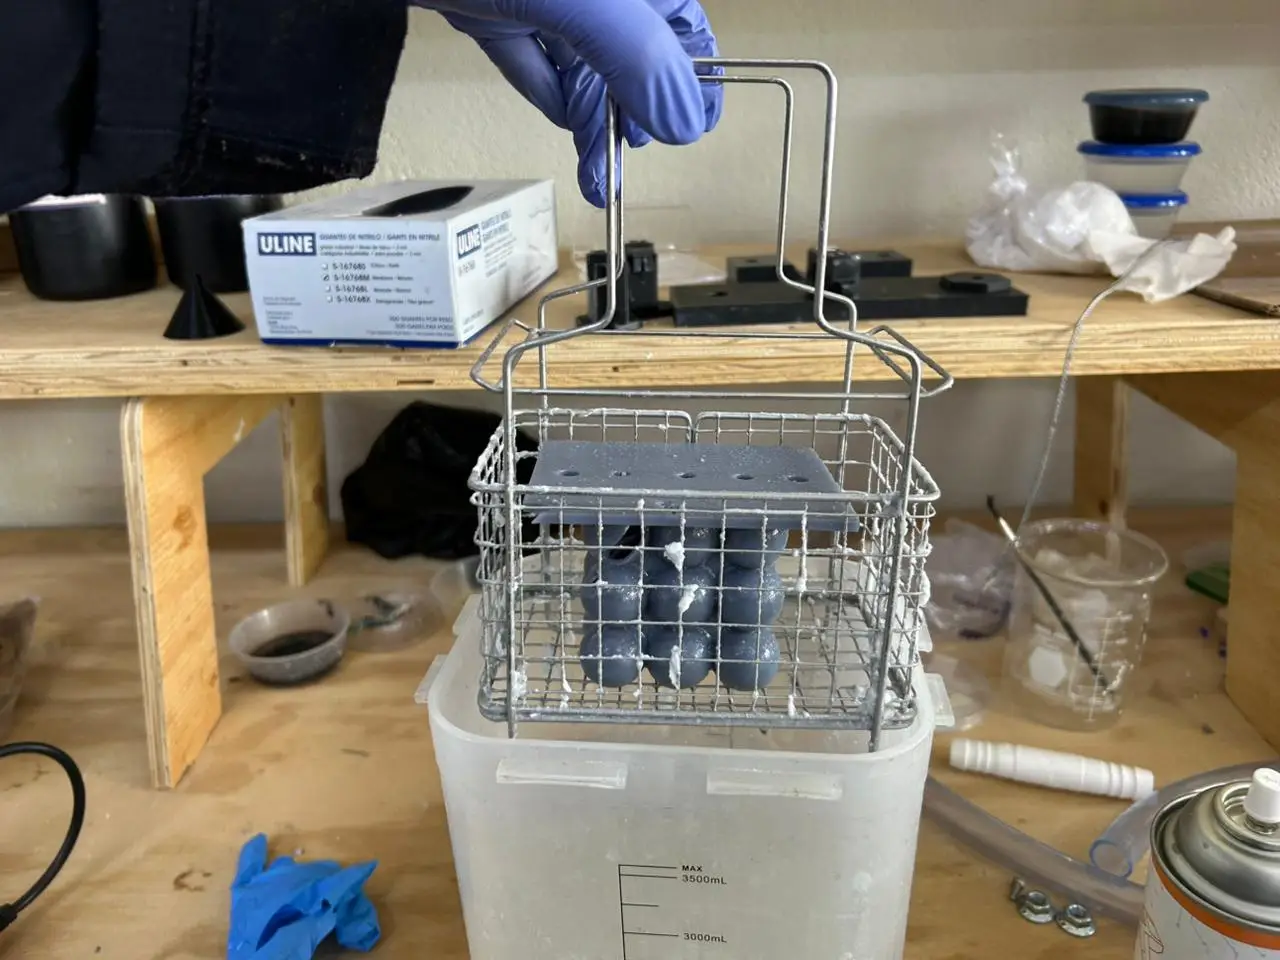
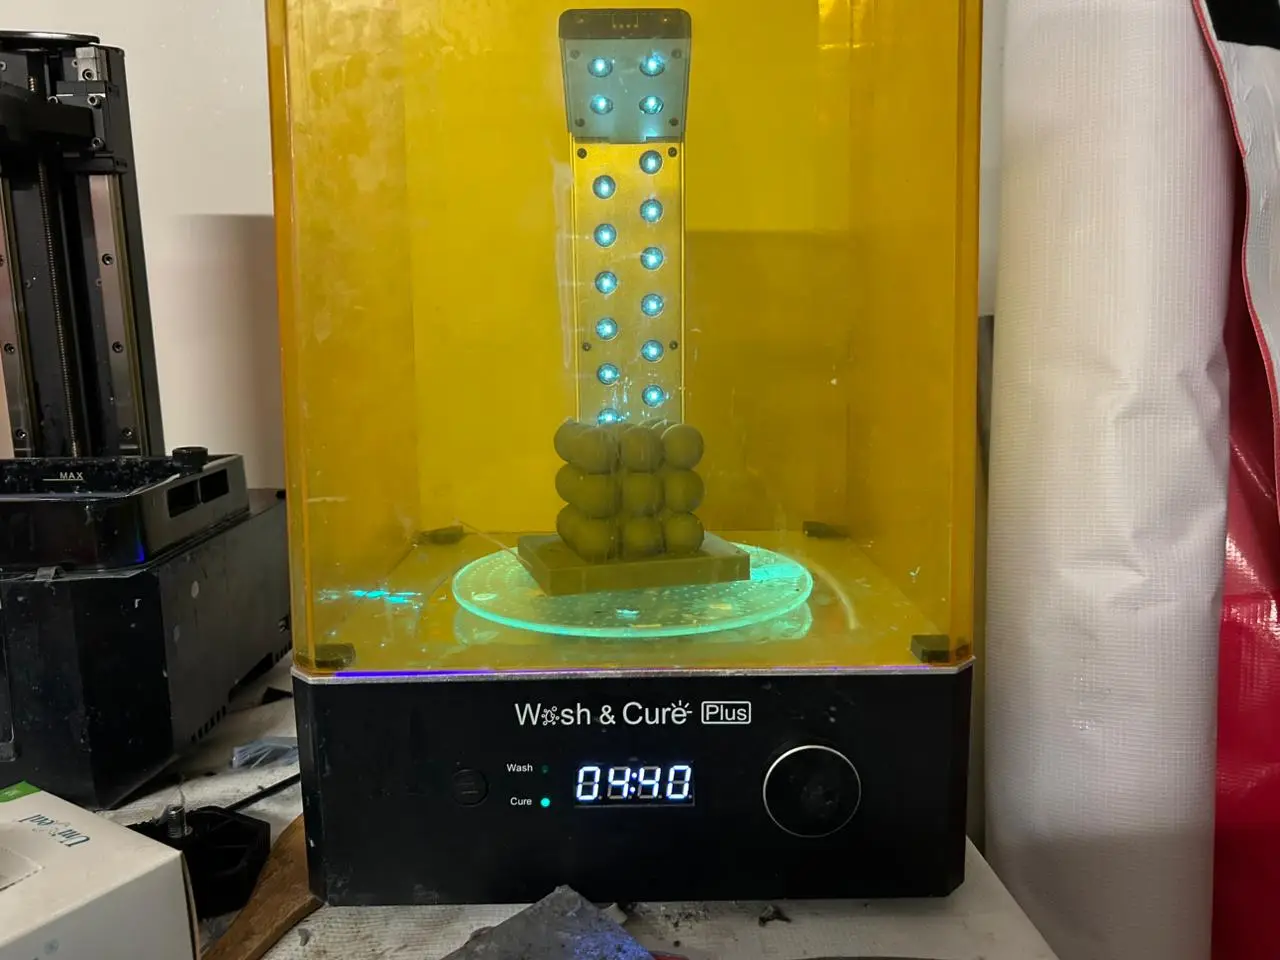
To cure the piece, select the curing mode on the cure machine. Set the timer by turning the knob (approximately 15 minutes) and press it to start the process. Continue curing as needed until the part is completely dry to the touch.
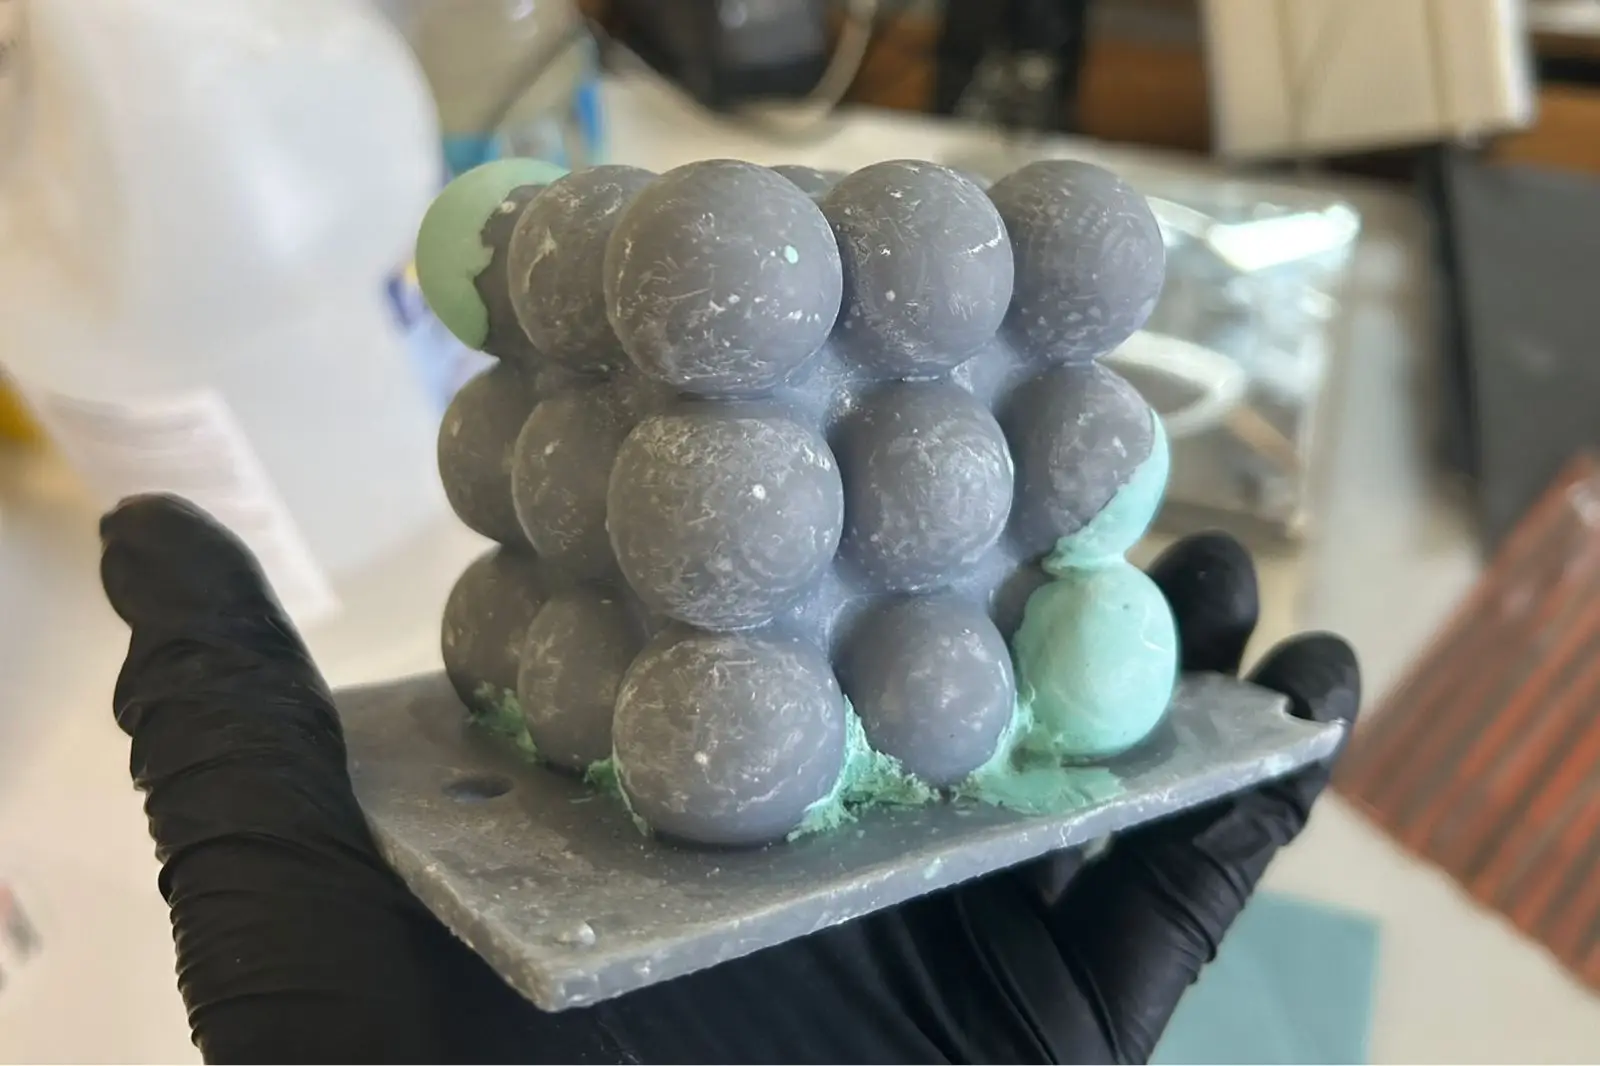
To fix the issue of the incomplete areas of the part, I used modeling clay to fill and repair the damaged sections. I let it cure for 16 hours and then sanded it to achieve a uniform finish.
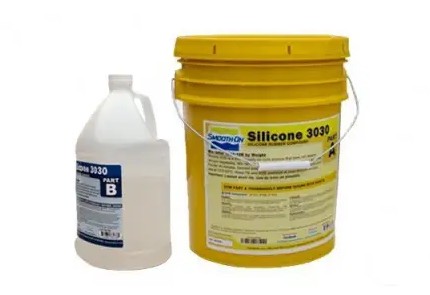
Once the part was ready, I proceeded to make the mold using a two-part silicone (3030). This material consists of Part A (the base) and Part B (the curing agent). The mixing ratio is 10:1, meaning 10 parts of Part A to 1 part of Part B. For example, 100 g of Part A should be mixed with 10 g of Part B.
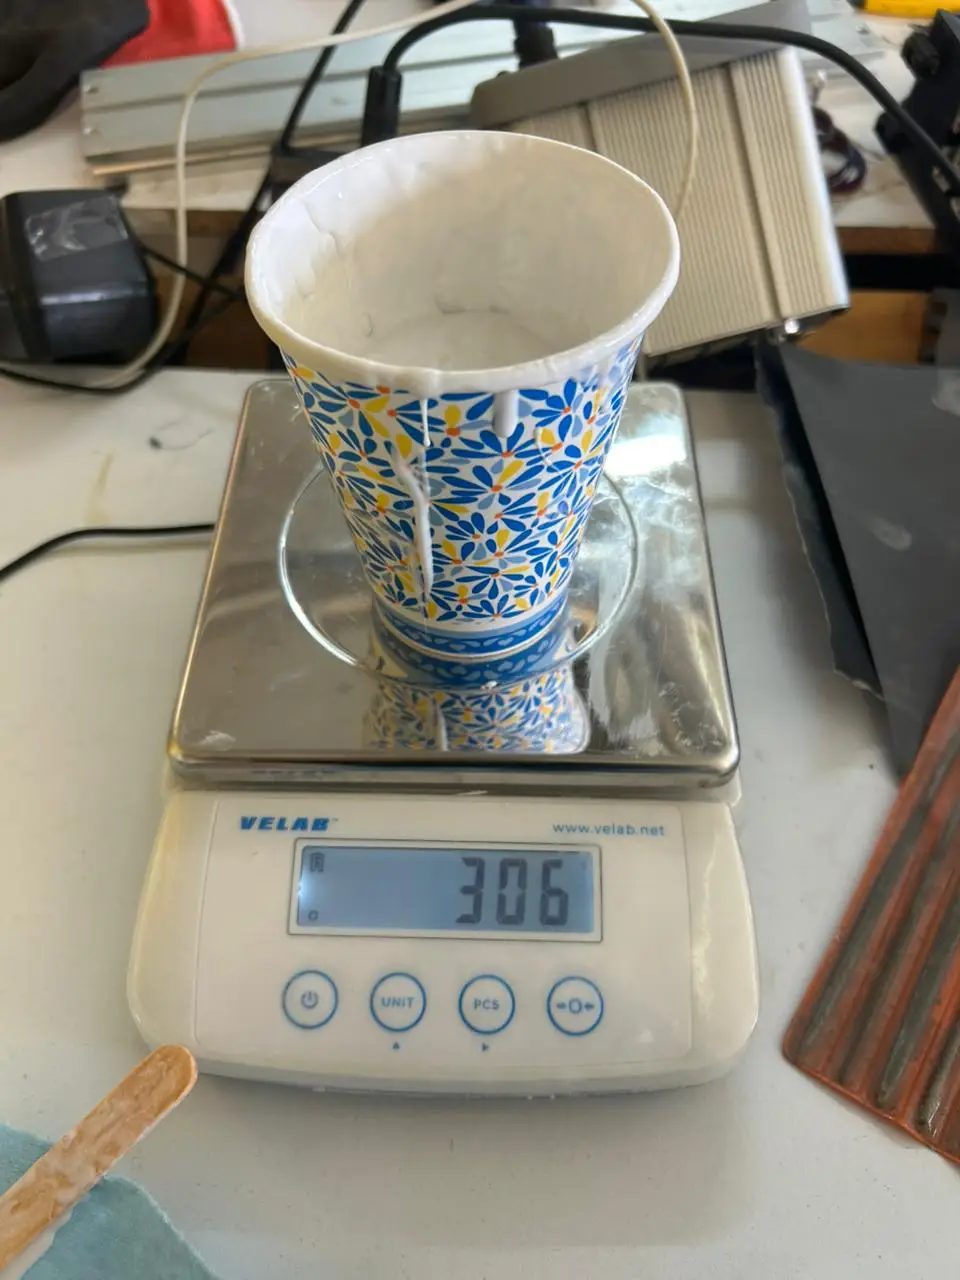
To estimate the amount of silicone required for the mold, a volume measurement can be done with water and a container. Once the approximate volume is determined, the weight has to be measured using a scale to calculate the required proportions of each component. Make sure to tare the scale to exclude the weight of the container.
 Part A
 Part B
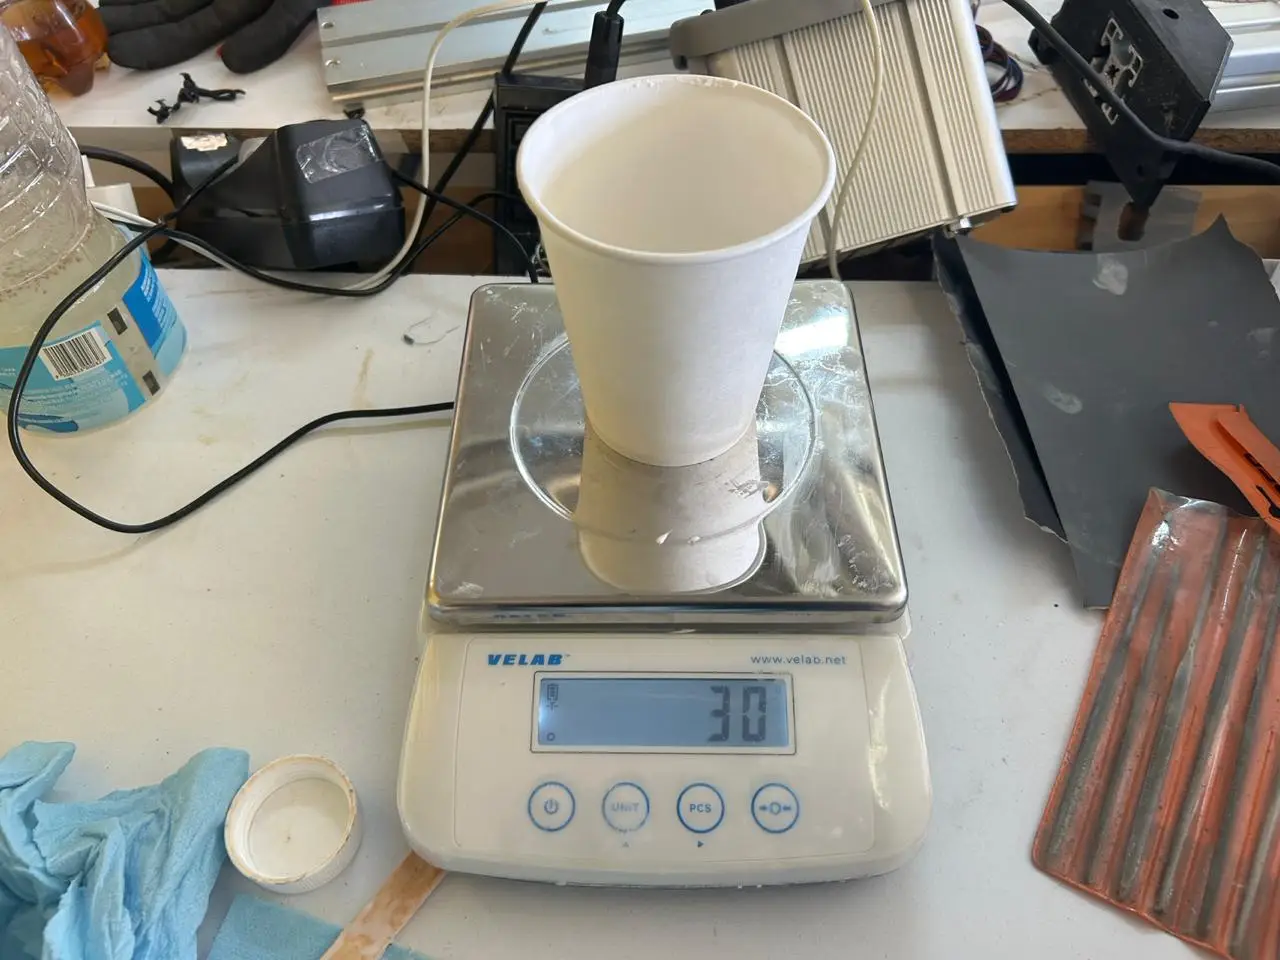
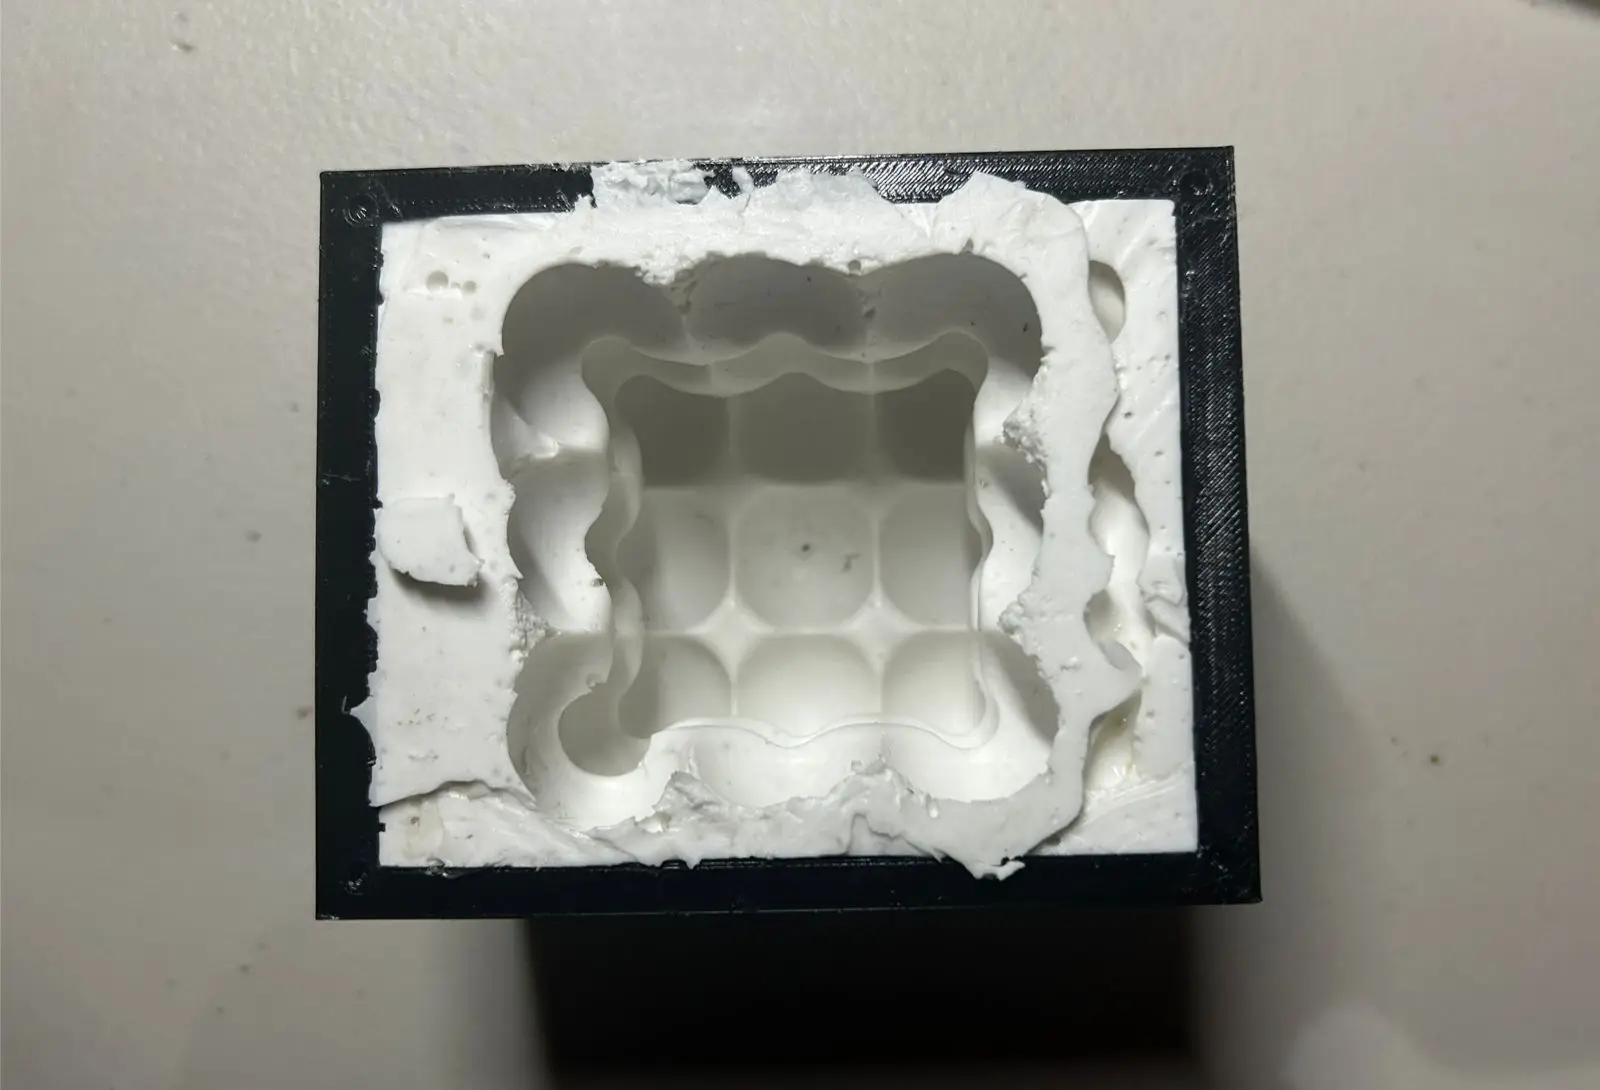
It is important to mix the silicone quickly to prevent it from beginning to cure before pouring. Once the mixture was ready, it was poured into the mold box designed earlier, and the resin piece was placed into it. The piece was then carefully inserted and removed multiple times to break any trapped air bubbles within the silicone.
I let the mold cure for 24 hours to ensure that the silicone fully cured. After curing, I carefully removed the resin piece from the box and extracted the mold. The final mold was flexible and had a smooth surface finish, ready for casting.
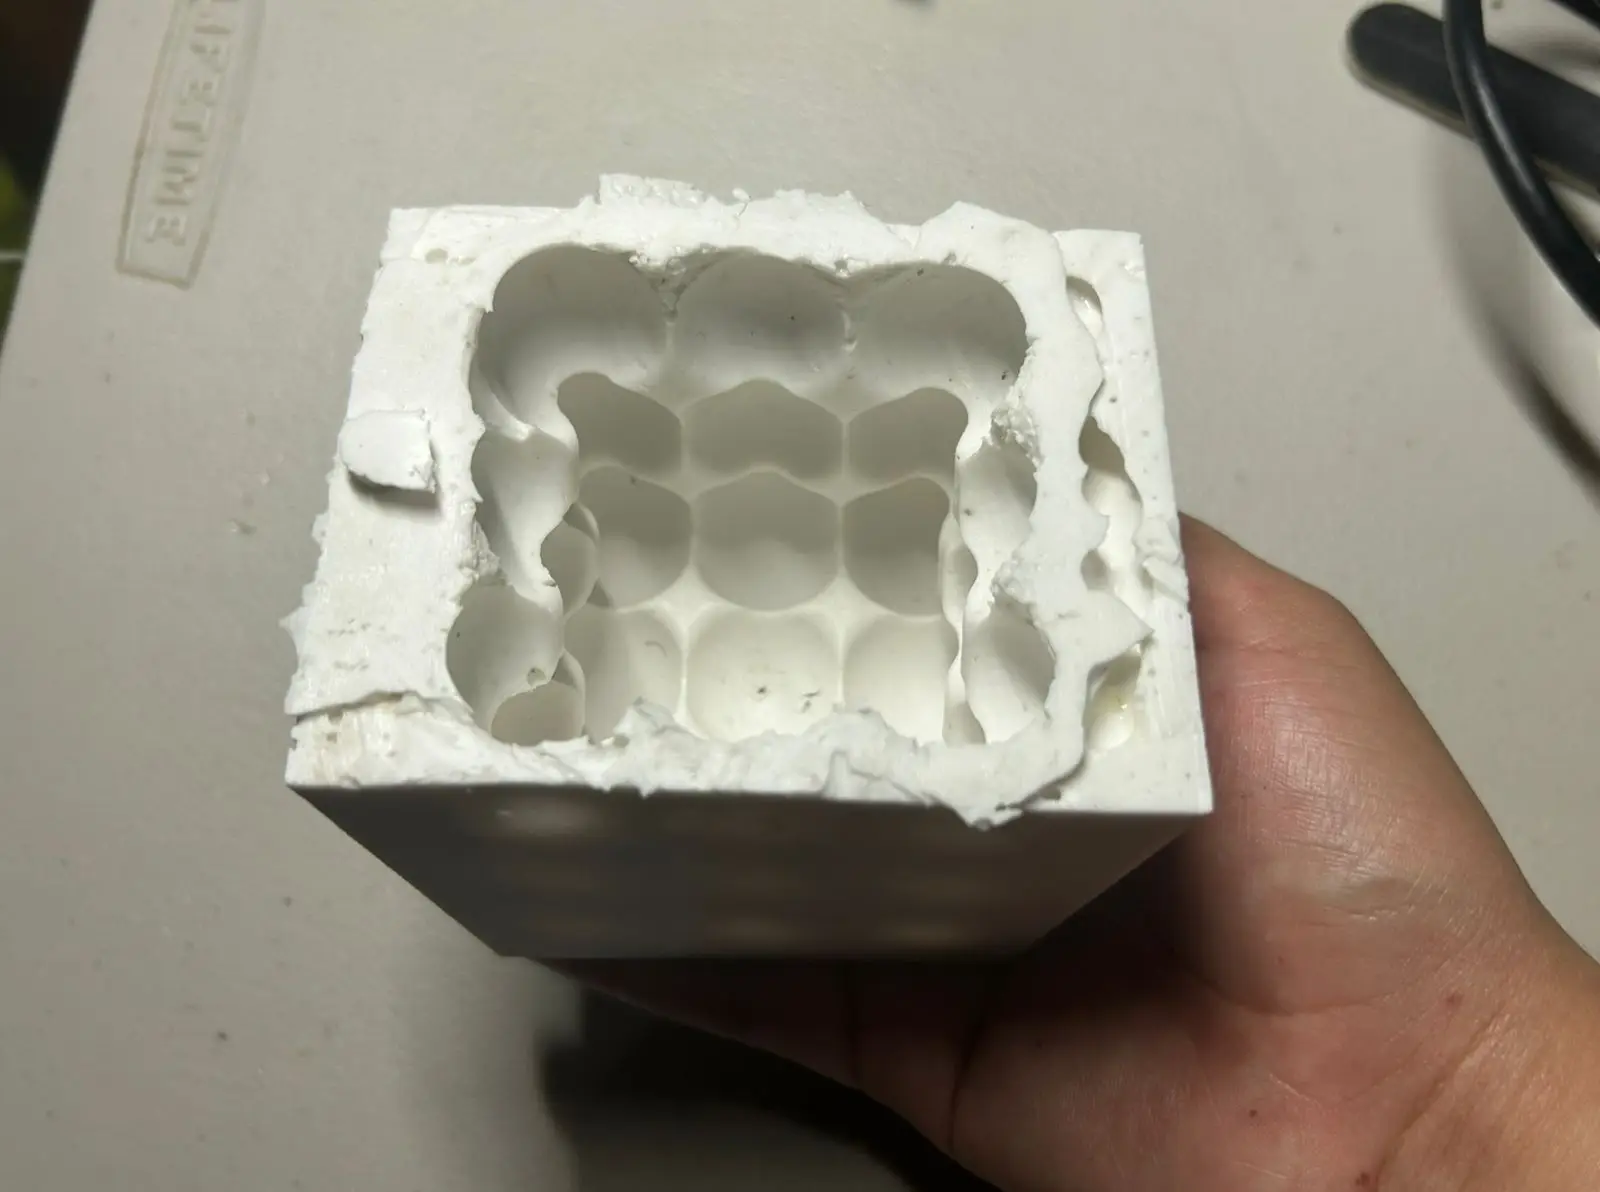 Final mold
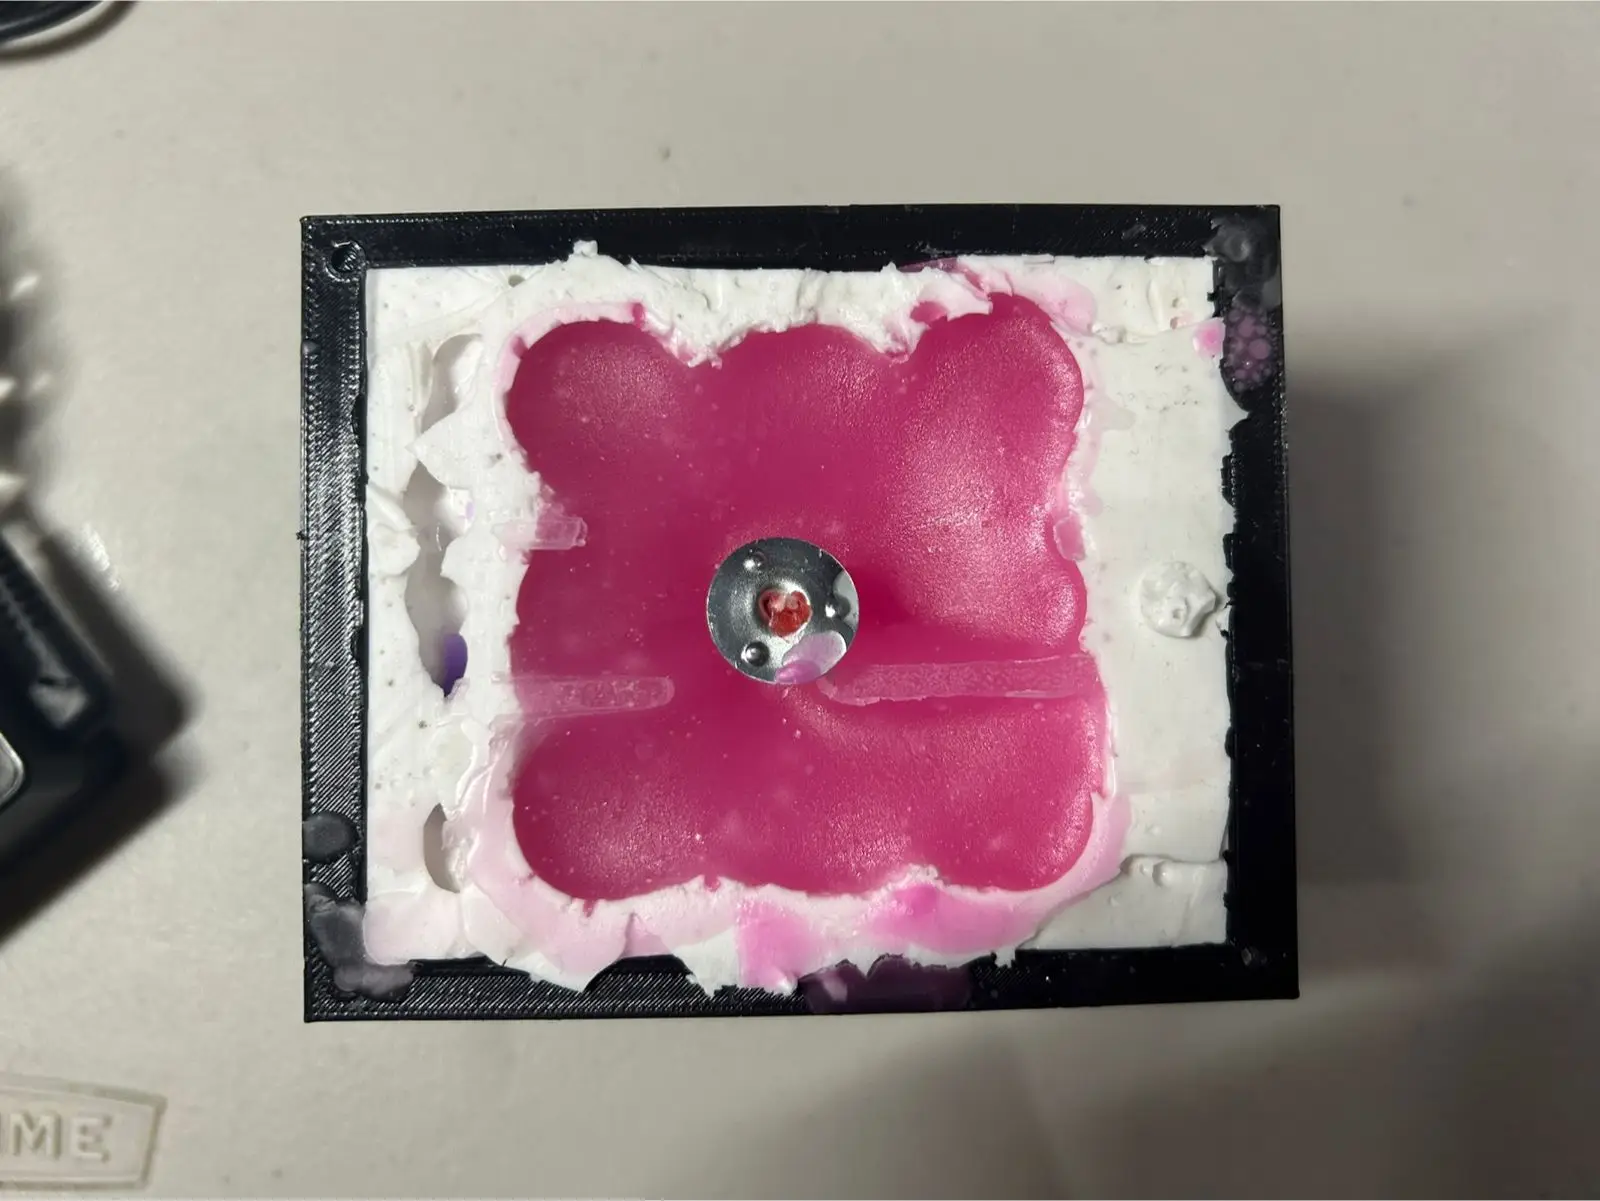
With the silicone mold ready, I proceeded to make the candle. I used melted wax colored with crayons to create layered colors. First, I made a small hole at the bottom of the mold to insert the candle wick. Then, I poured the melted wax in successive layers, allowing each layer to cool and solidify completely before adding the next.
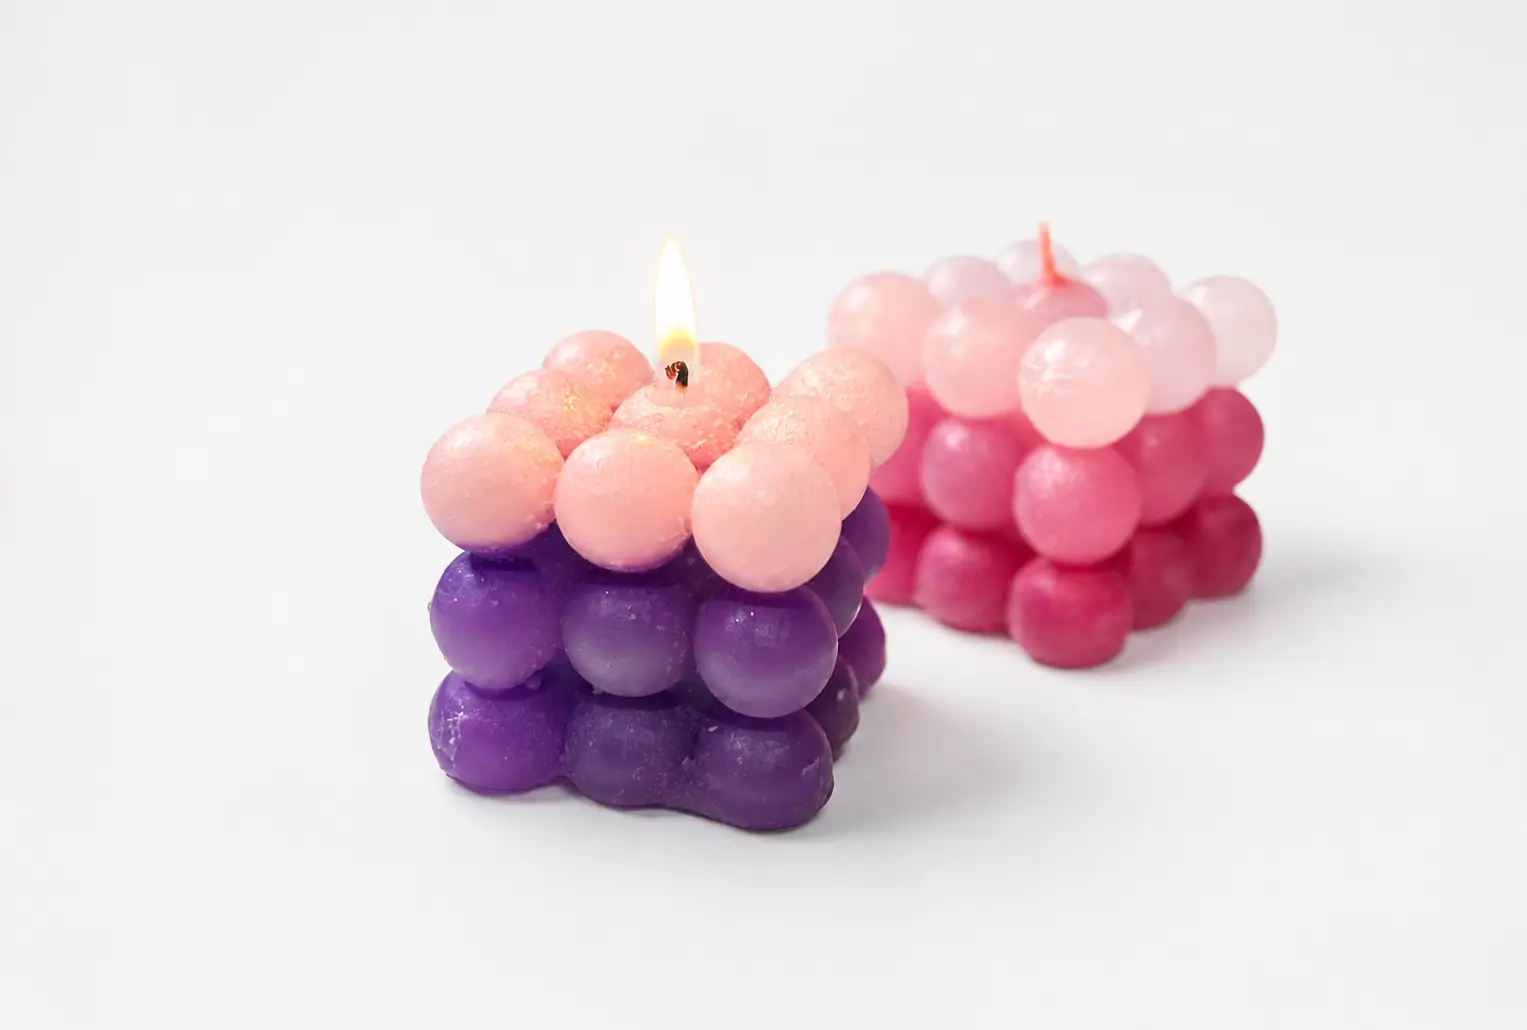 Final result
You can download the files created and used during this week here:
📄 Files.zip